Topic
This article describes how to remove contacts via a CSV file upload using the Delete option in Everbridge 360™.
Description
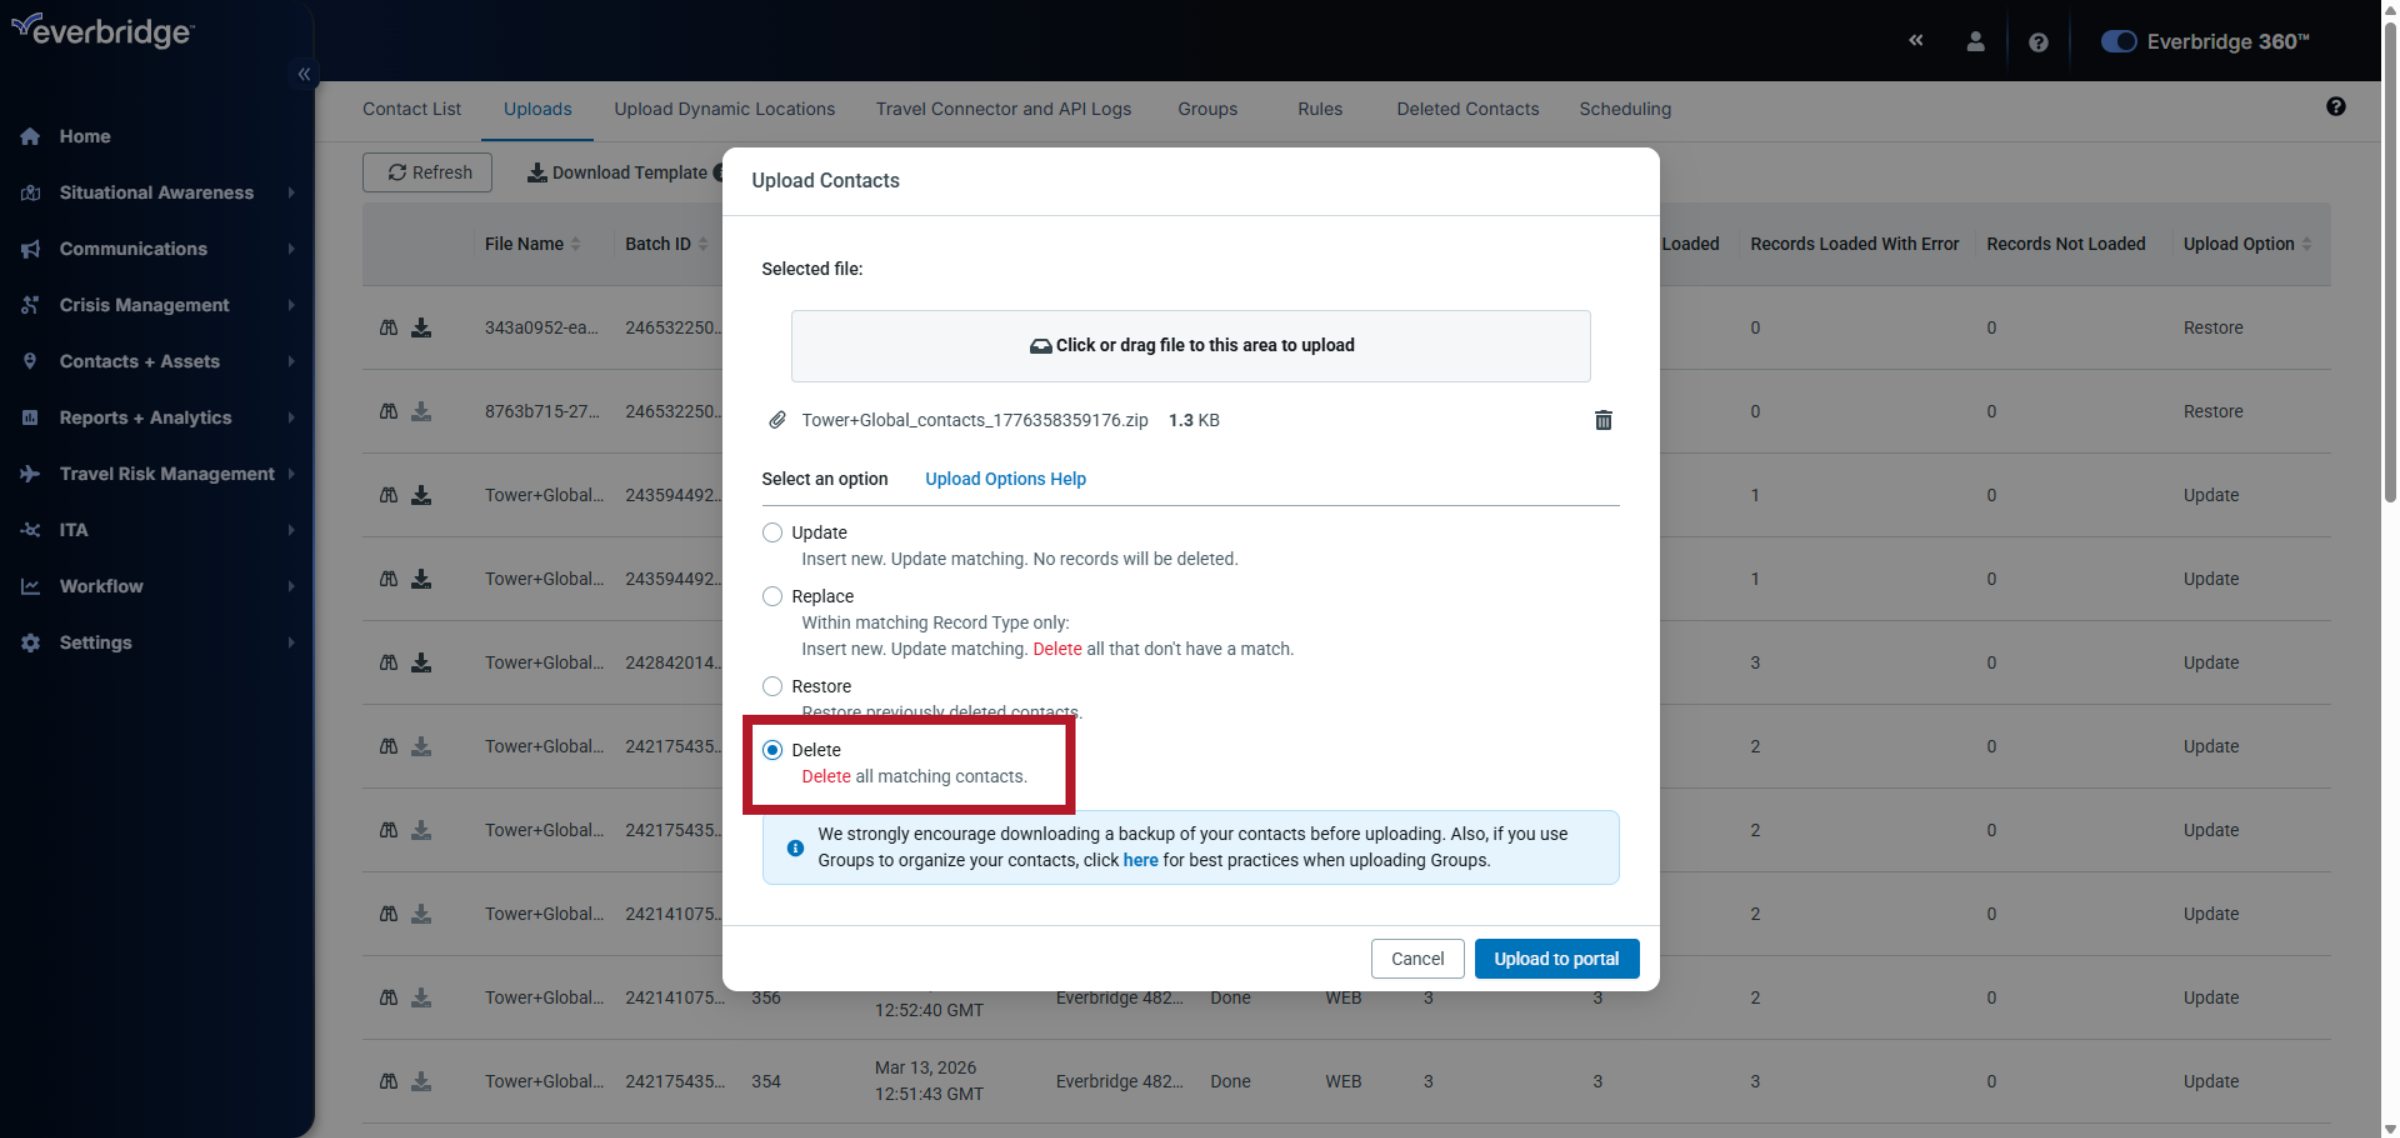
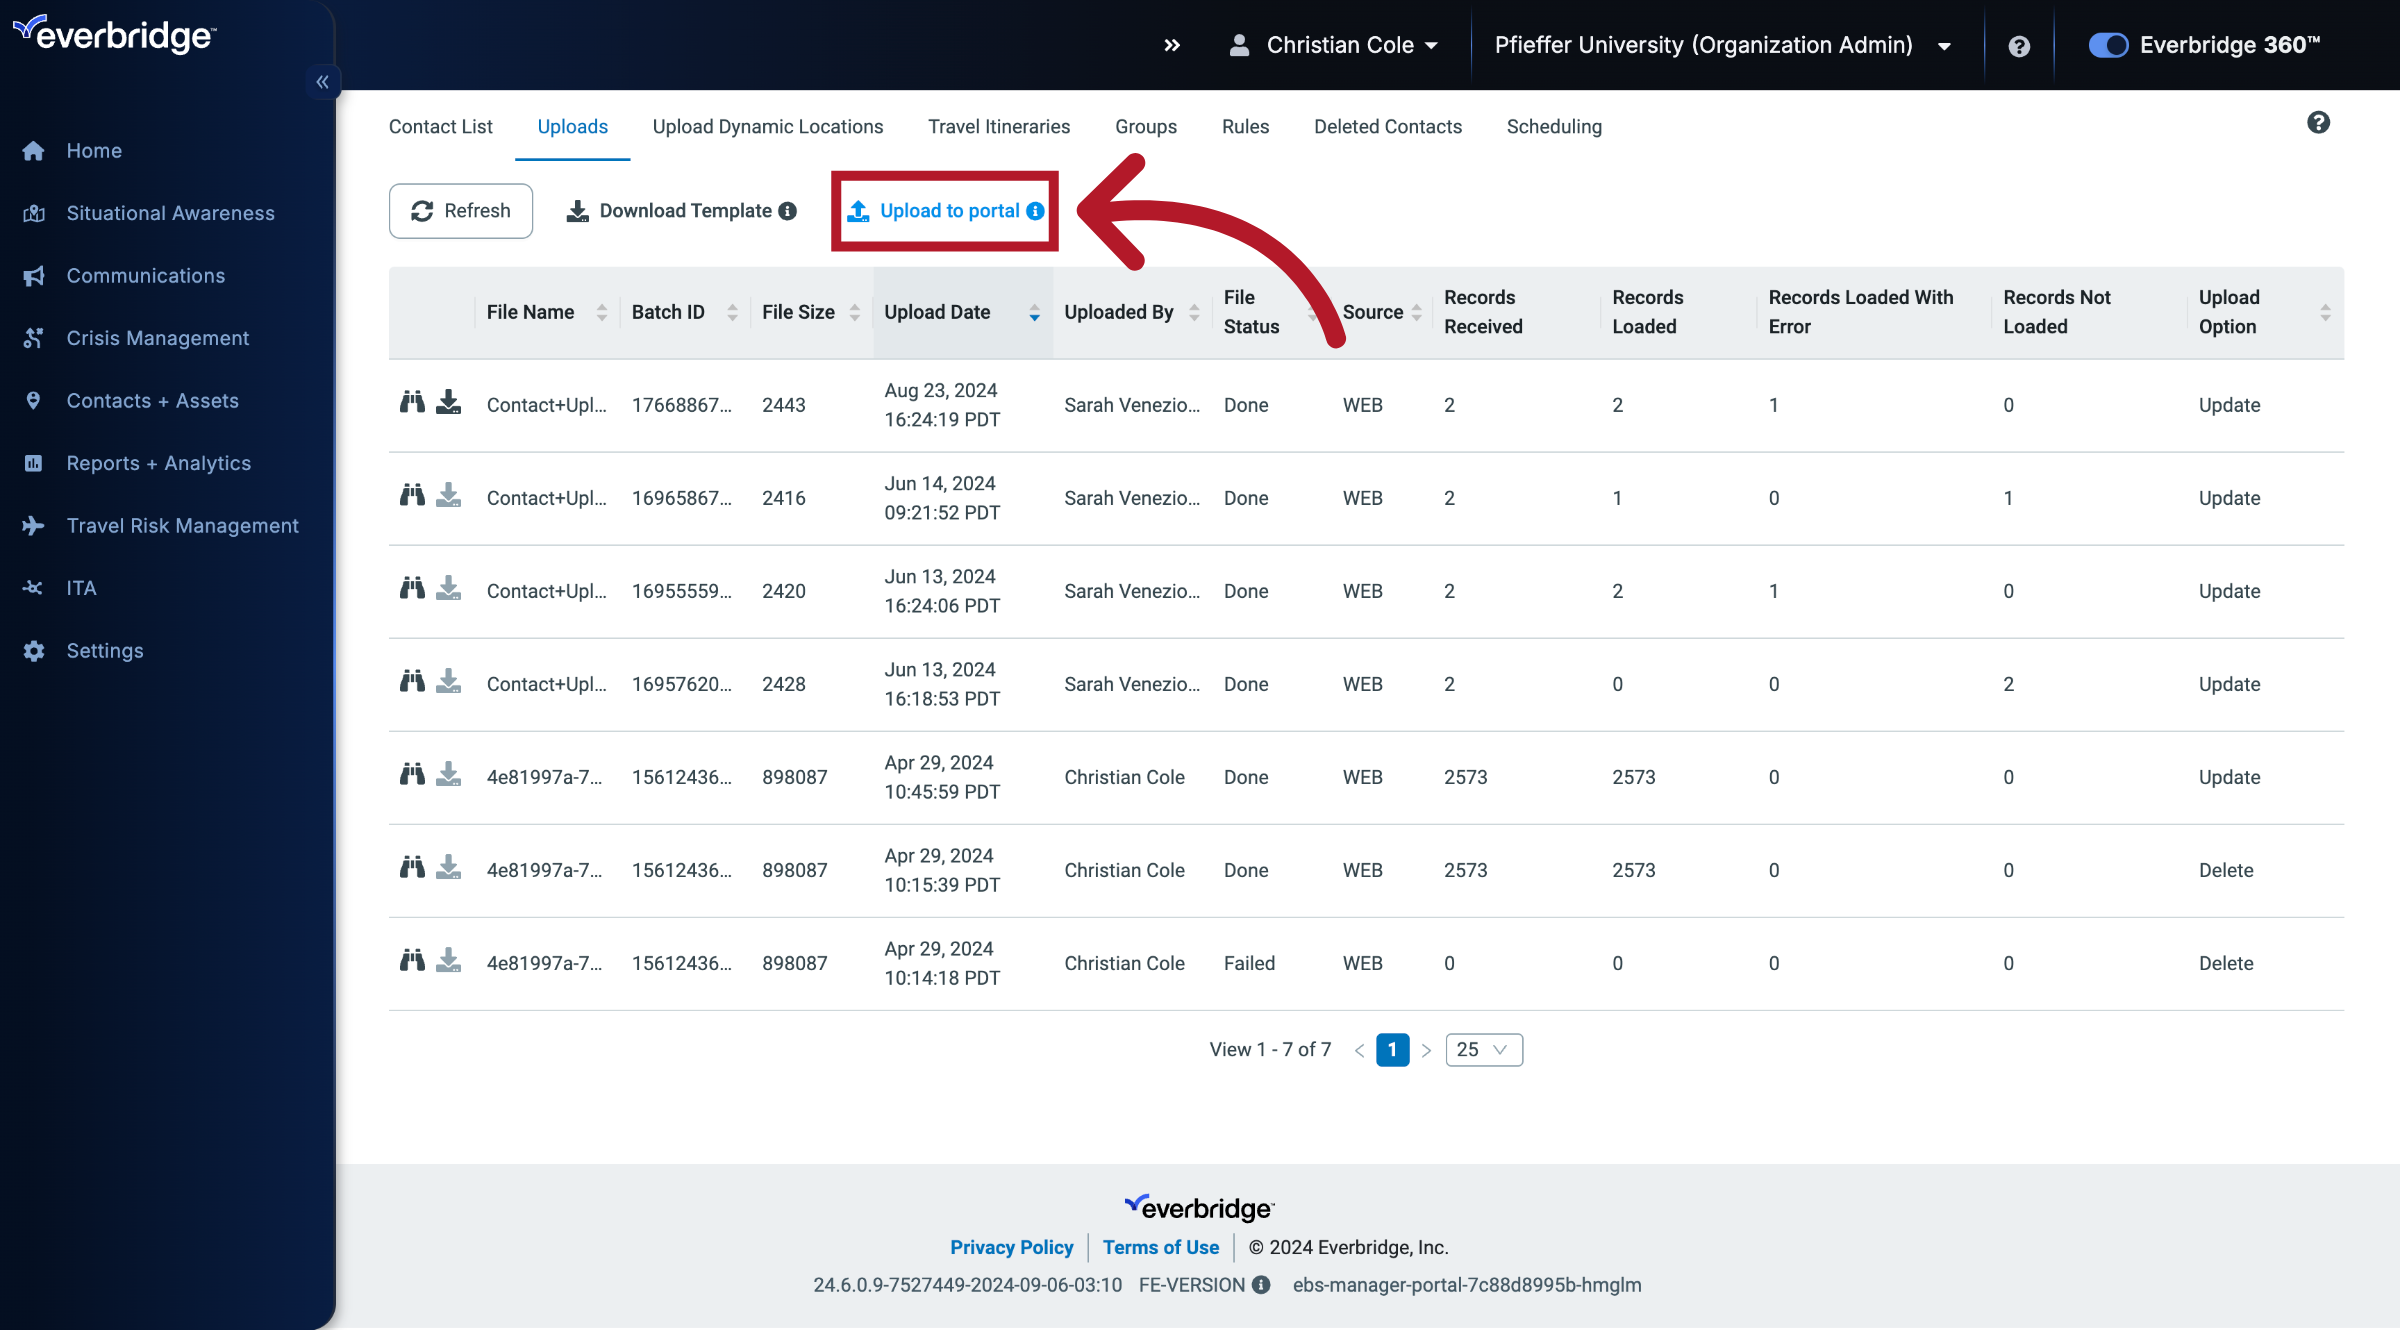
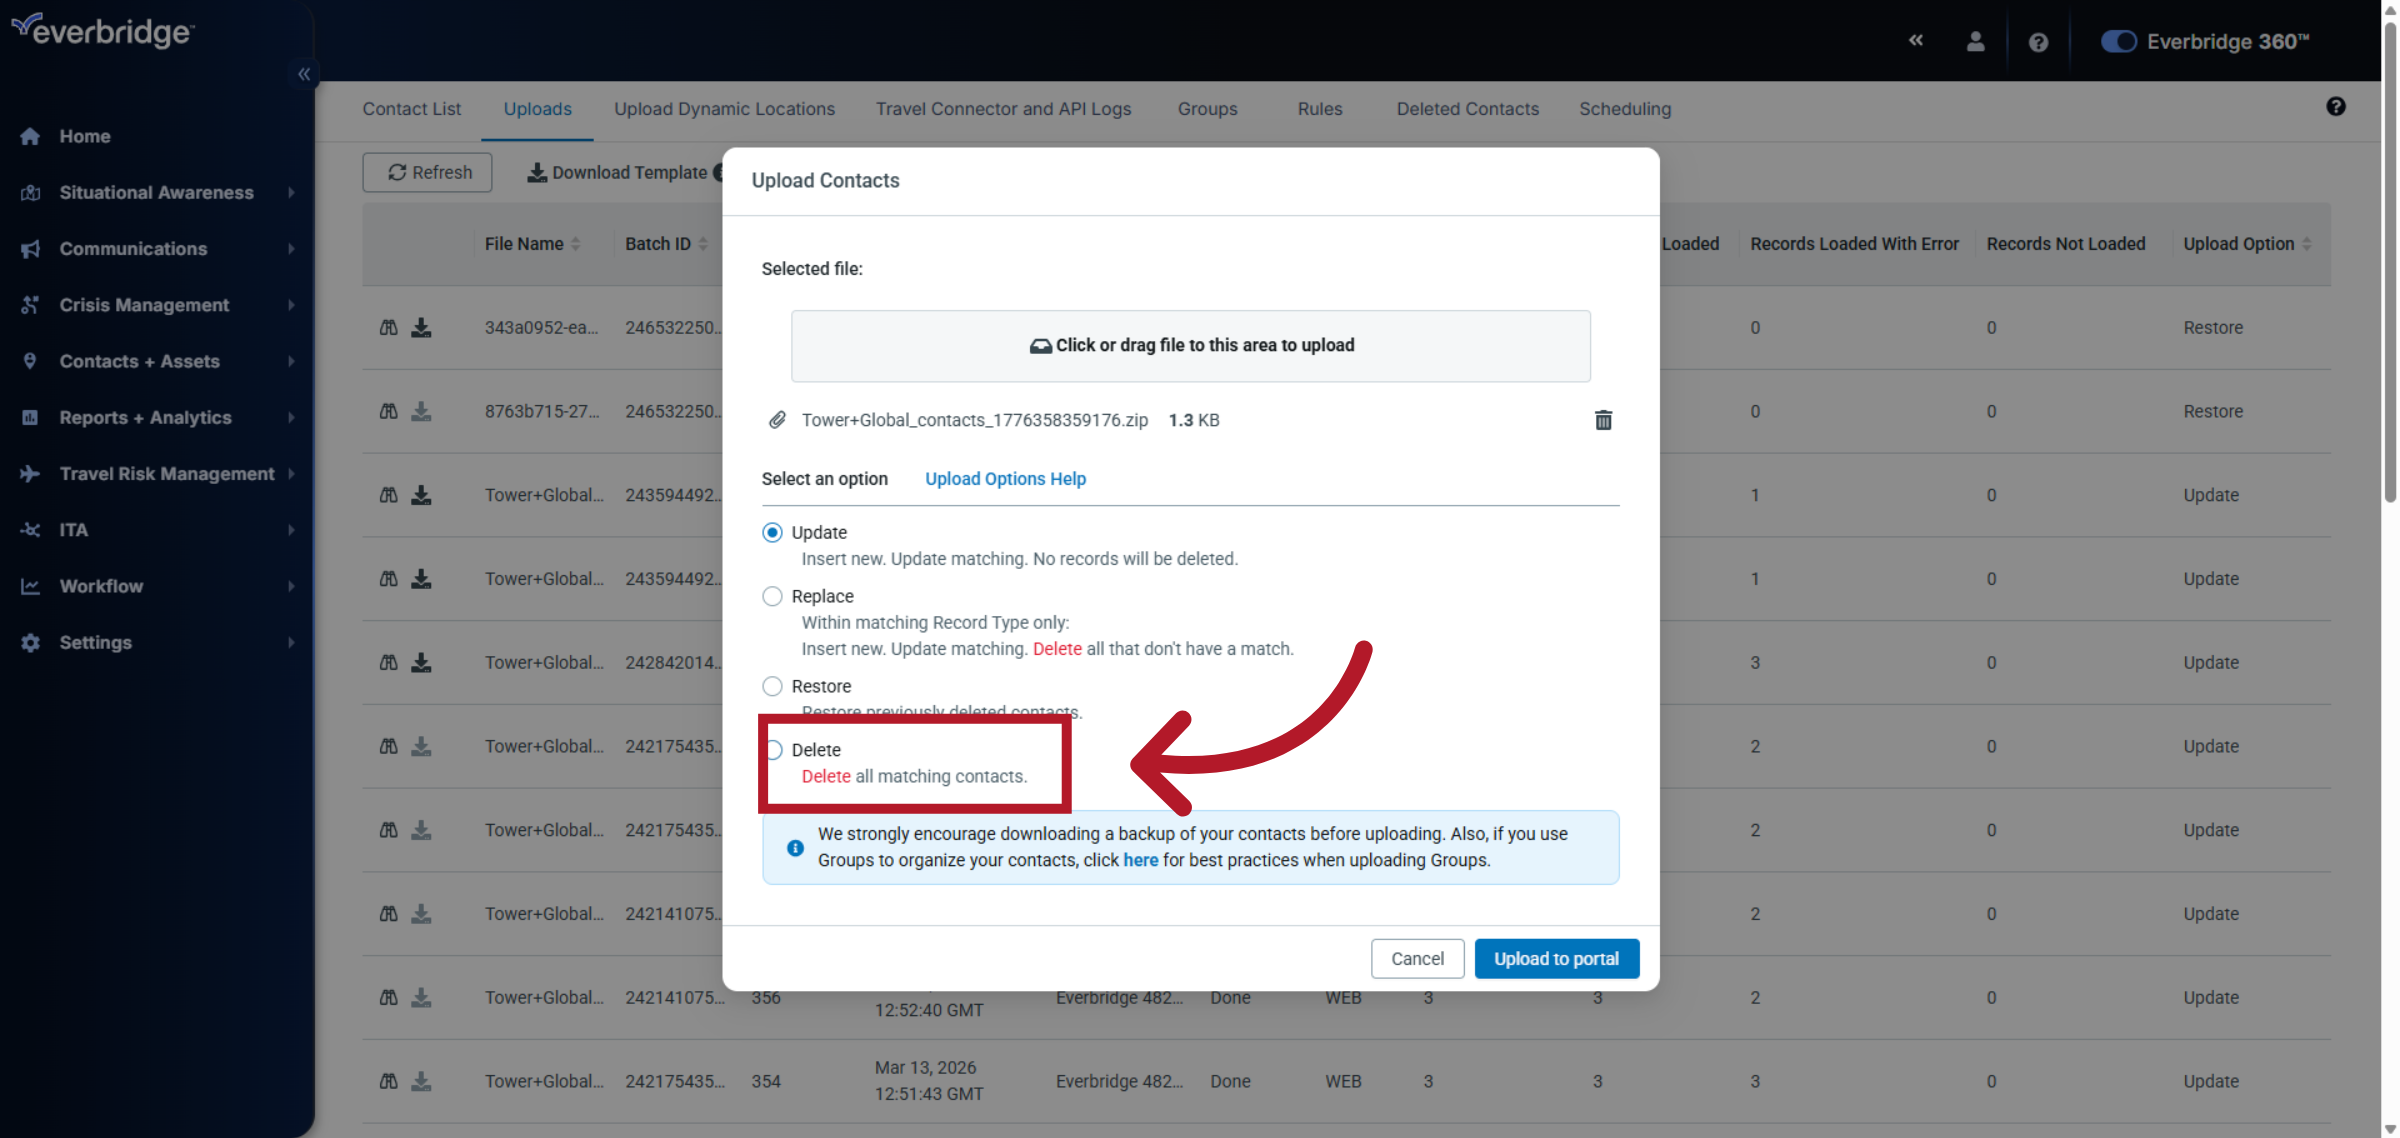
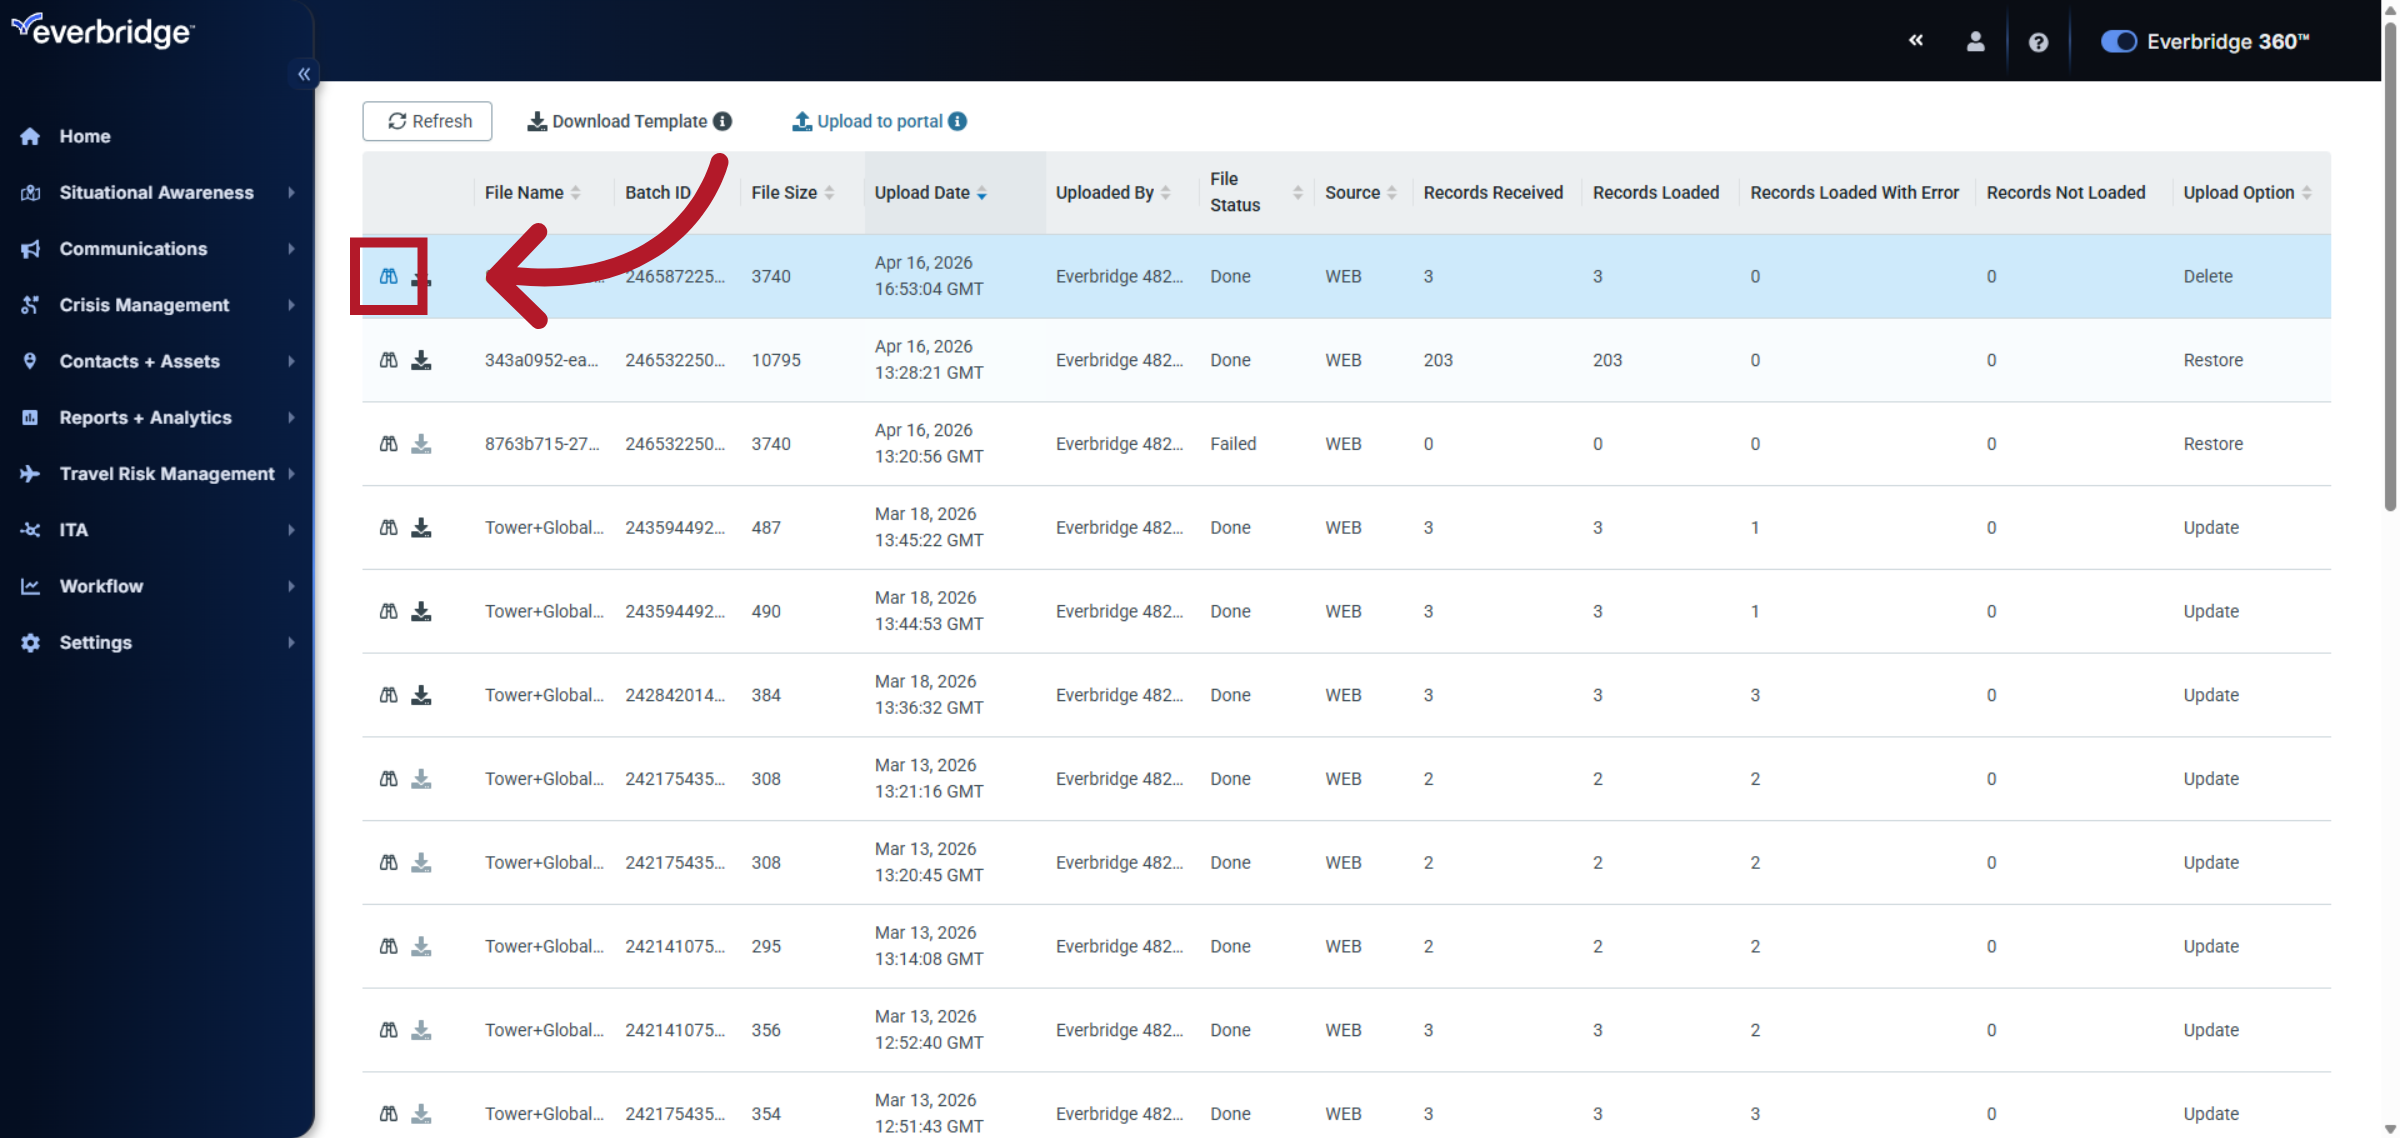
When managing contacts using a CSV file (Contacts > Uploads > Upload to portal), there are four options; Update, Replace, Restore and Delete. This knowledge article explains the contact upload Delete option.
The Delete option permanently removes contacts included in the uploaded contact file from the system. When this option is selected, the system evaluates the records in the CSV file and deletes all matching contacts from the existing contact database.
Contacts can also be deleted manually by following the steps found in this knowledge article: EBS: Deleting Contacts in Everbridge Suite.
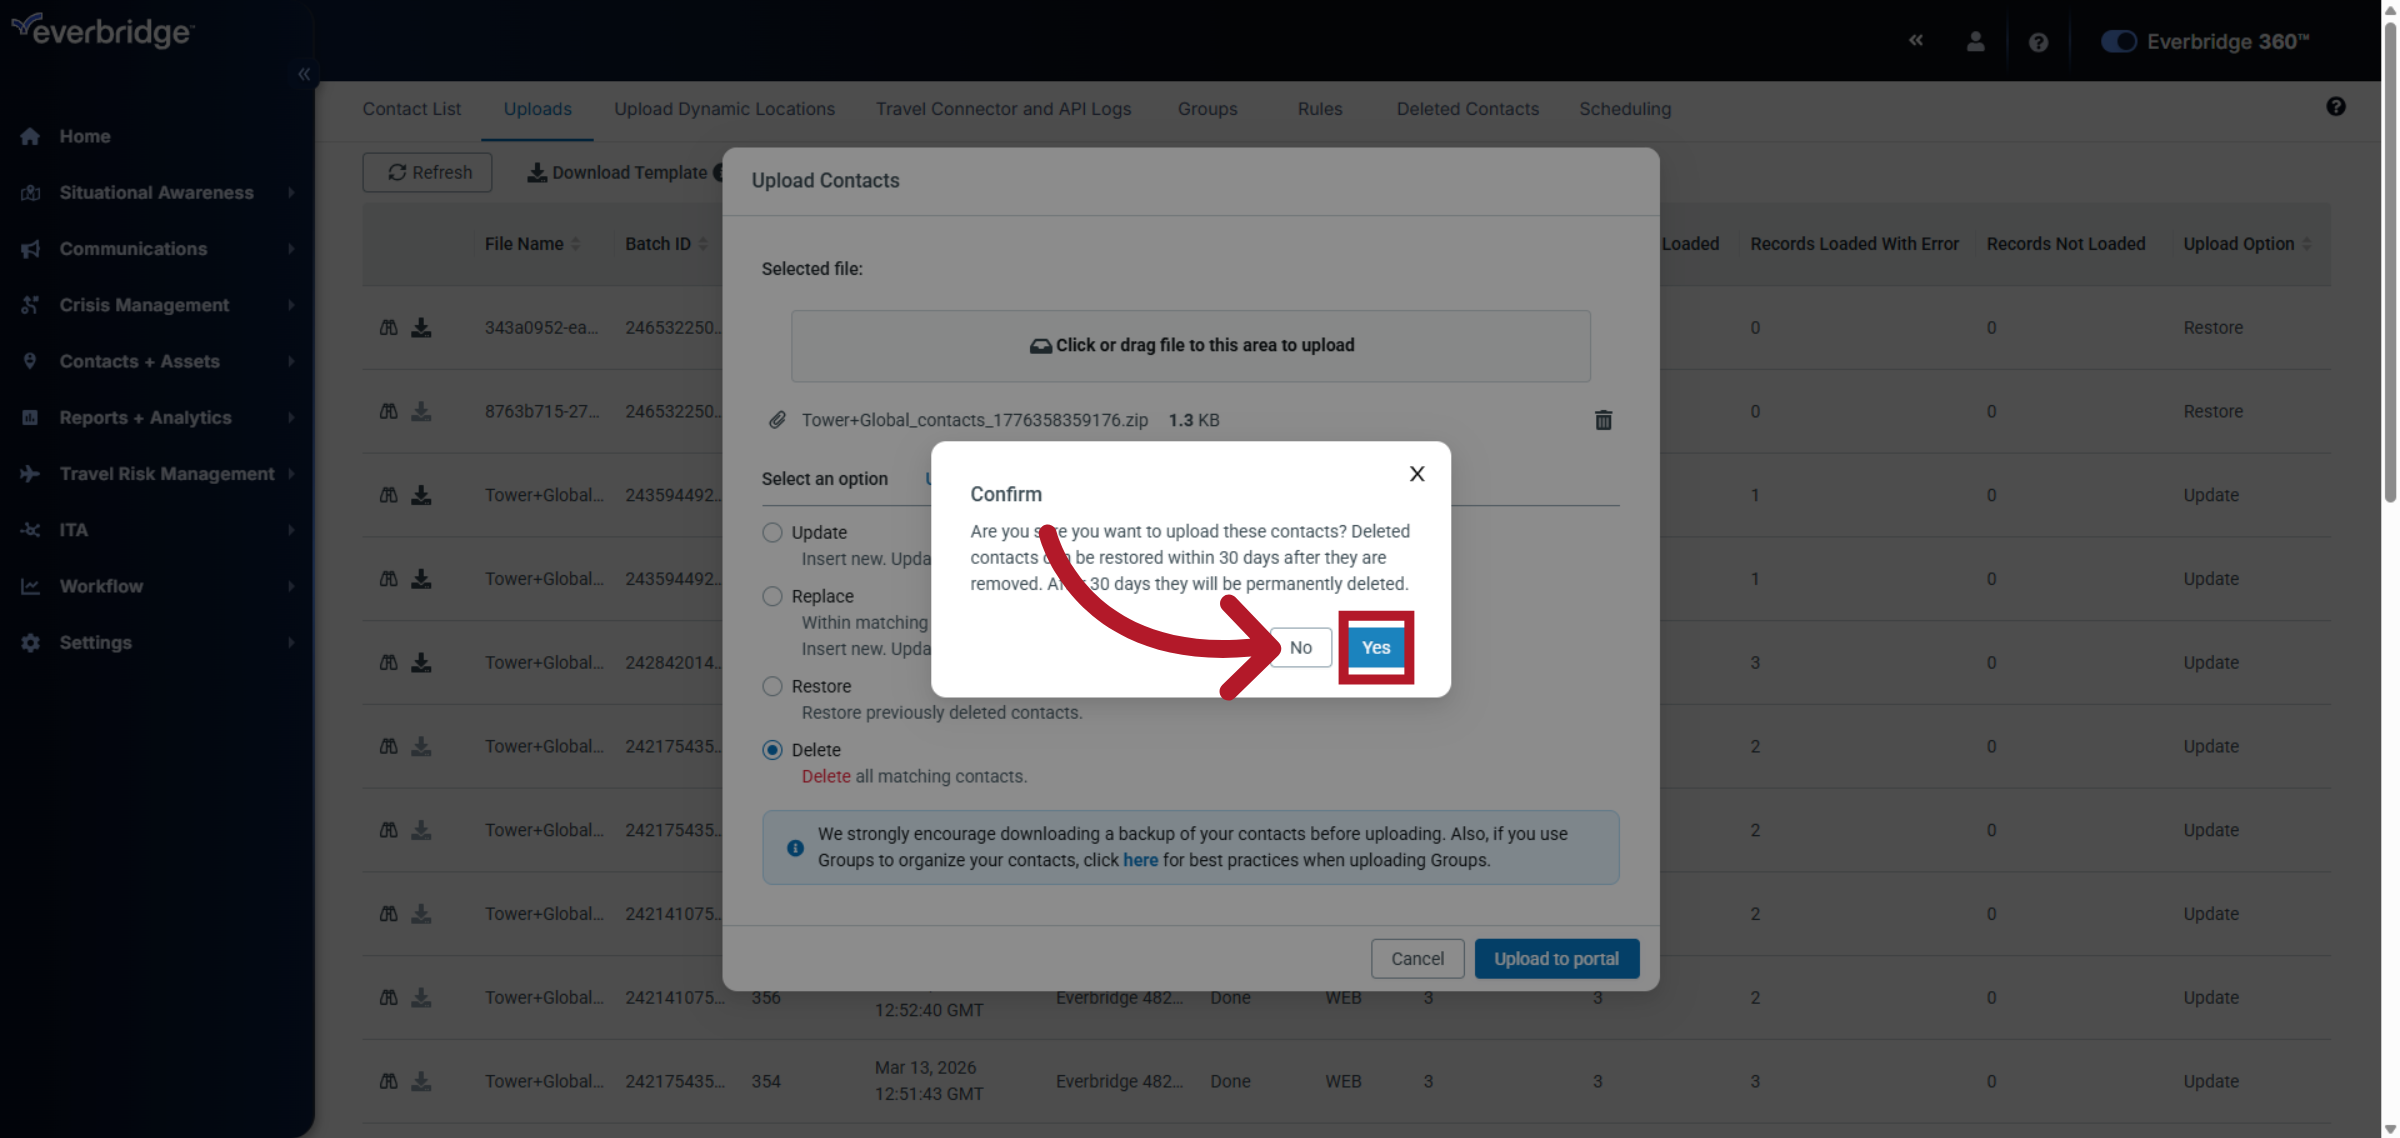
Deleted contacts can only be restored within thirty (30) days of deletion. After thirty (30) days, contact records are permanently removed and cannot be recovered.
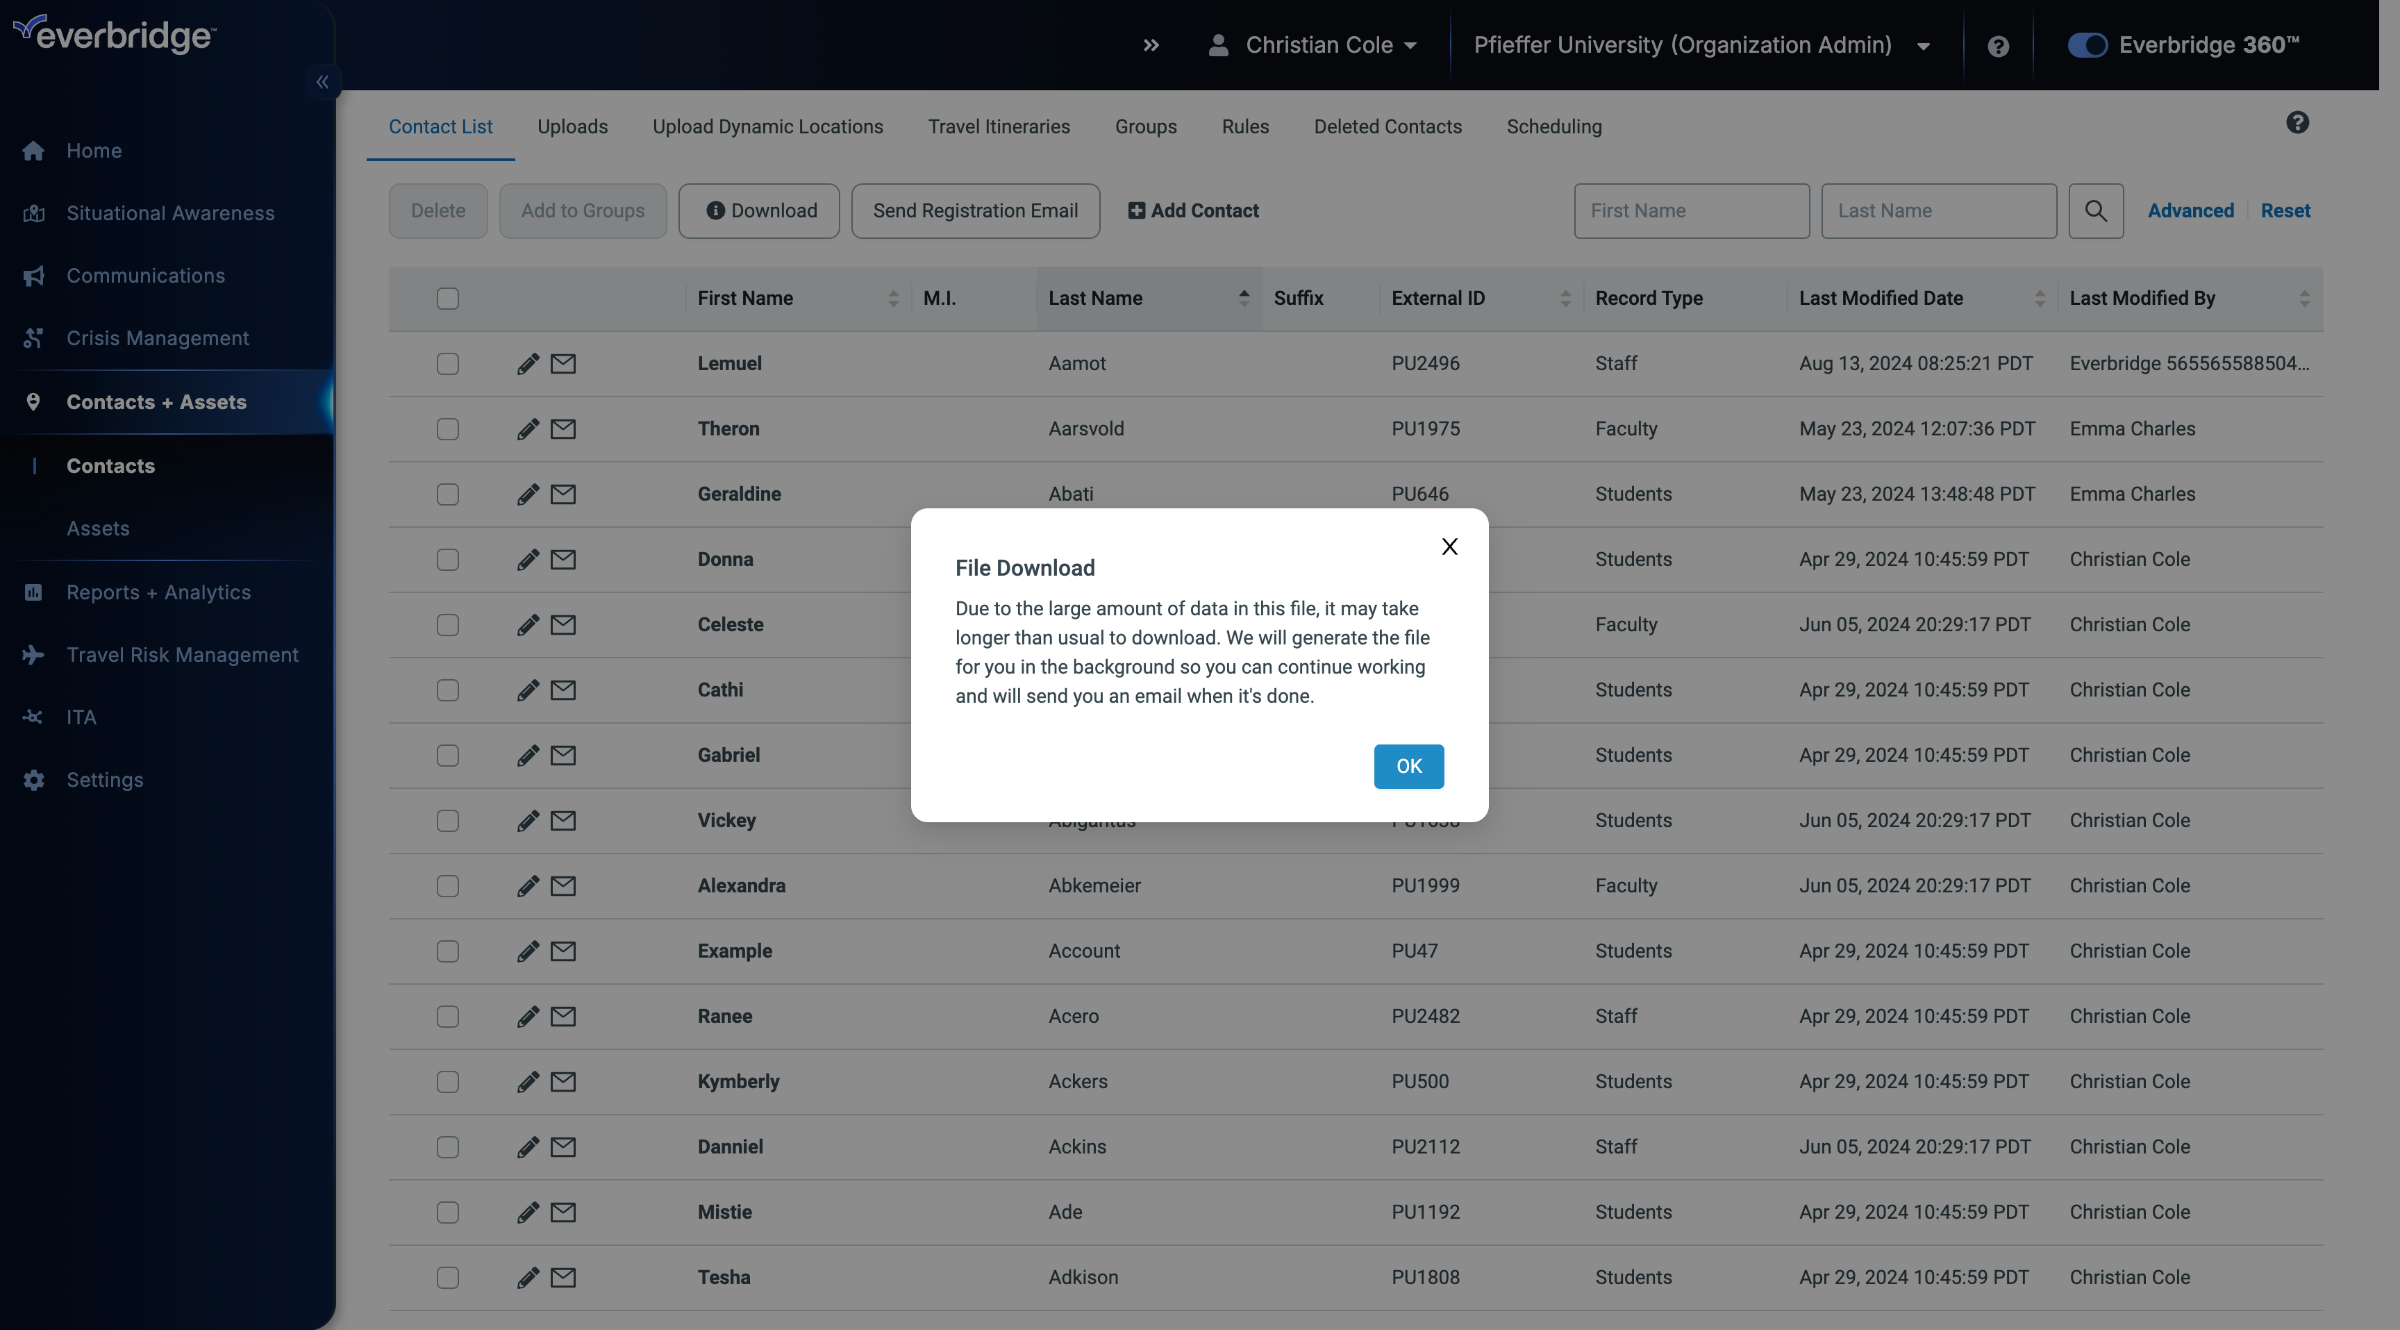
The recommended way to remove Contacts so they can be fully wiped is to first download your current Contact List, then upload that file using the Delete option described below.
When uploading a file to delete contacts, the External ID is the only value required to properly delete Contacts from an Organization.
Go to manager.everbridge.net
1. Delete Upload
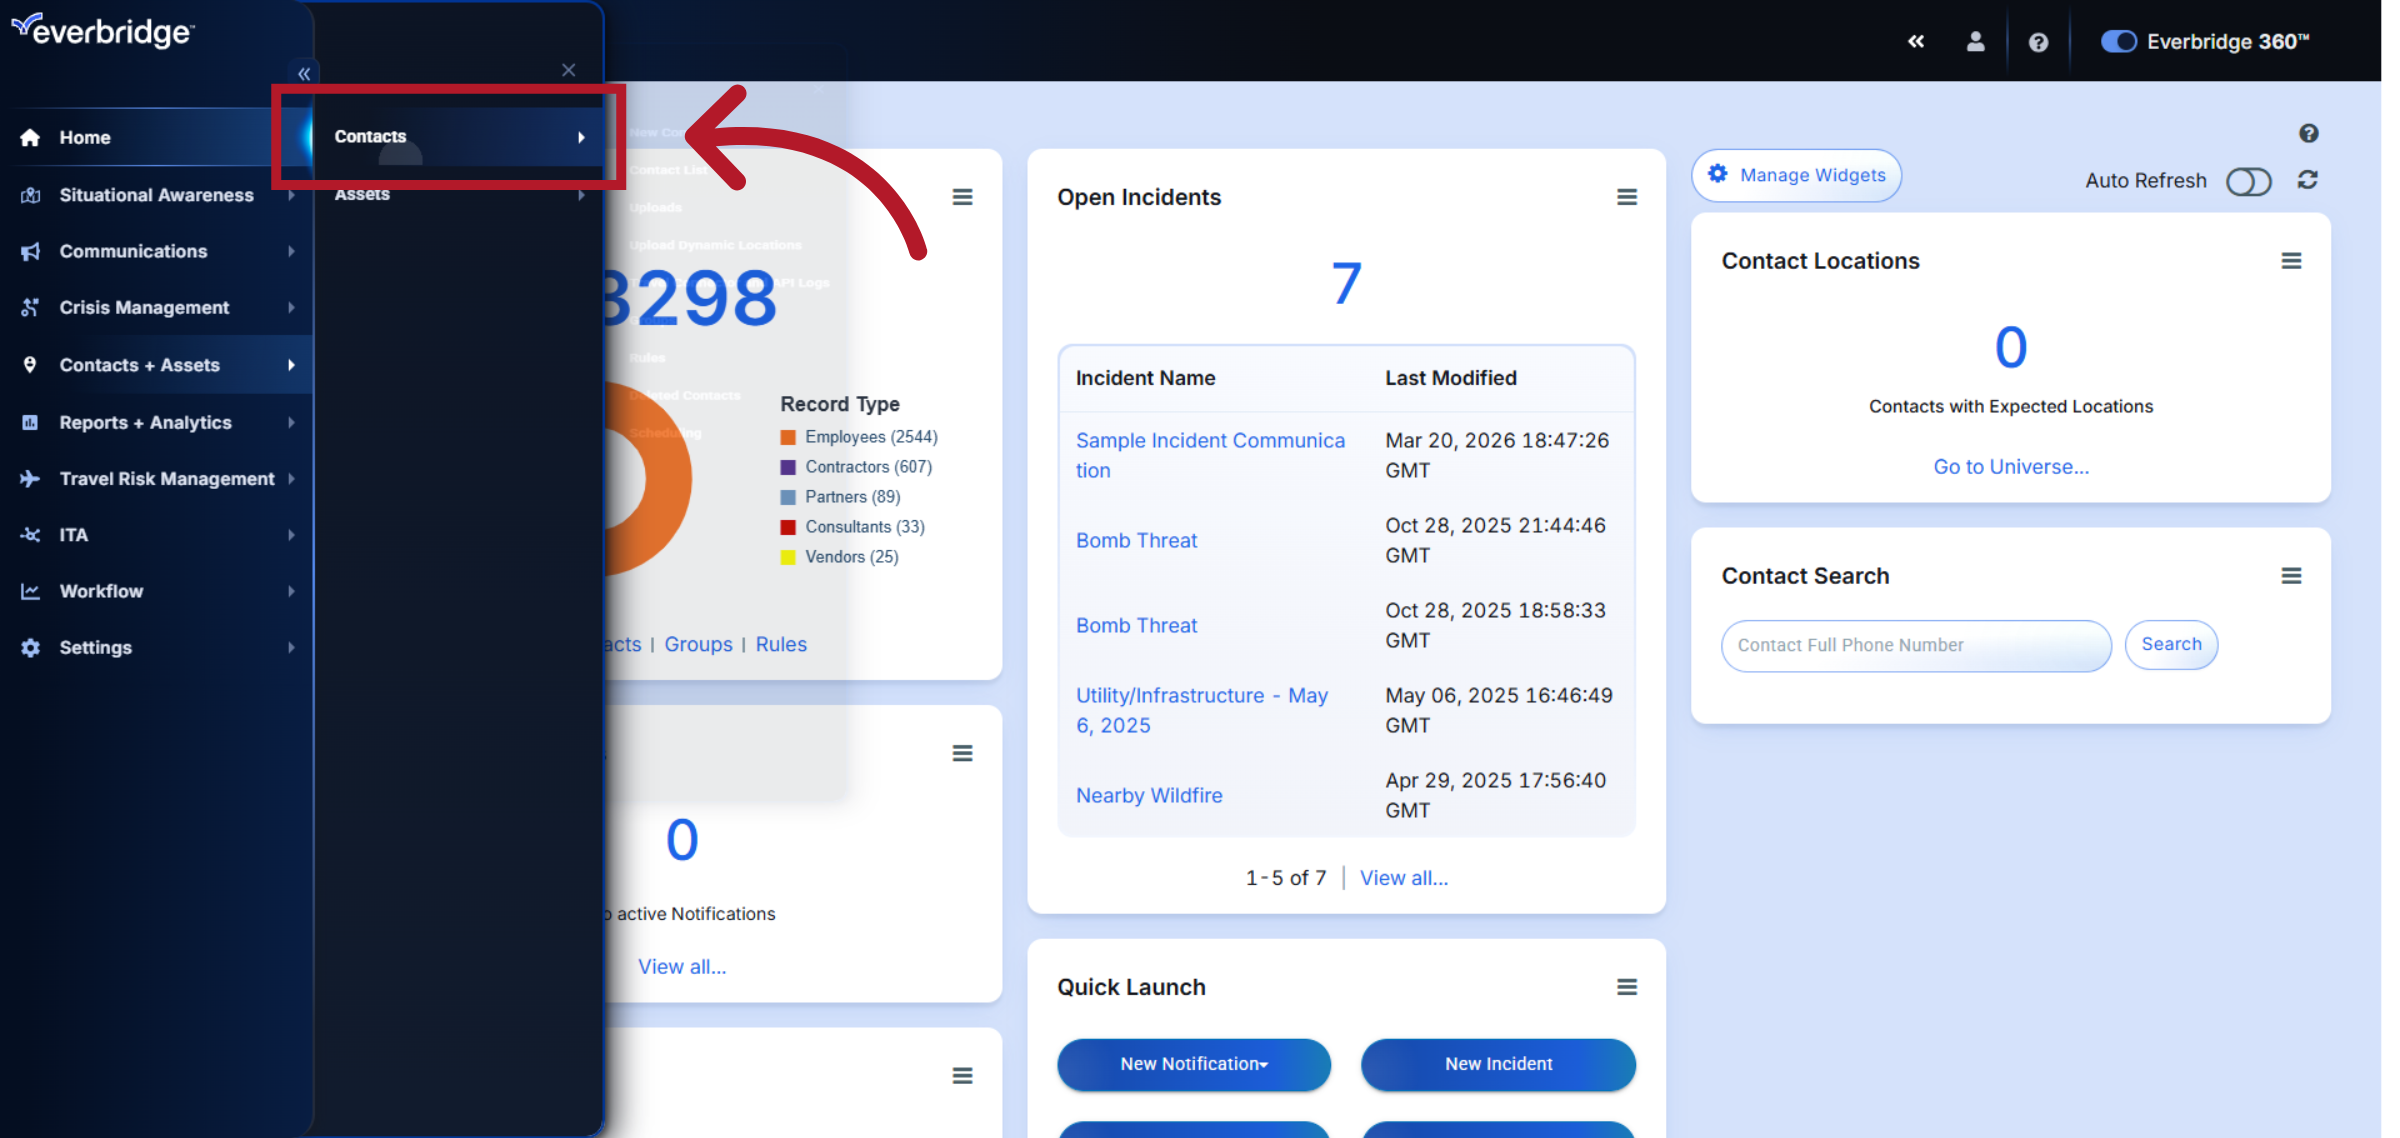
2. Access Contacts and Assets

3. Open Contacts Section
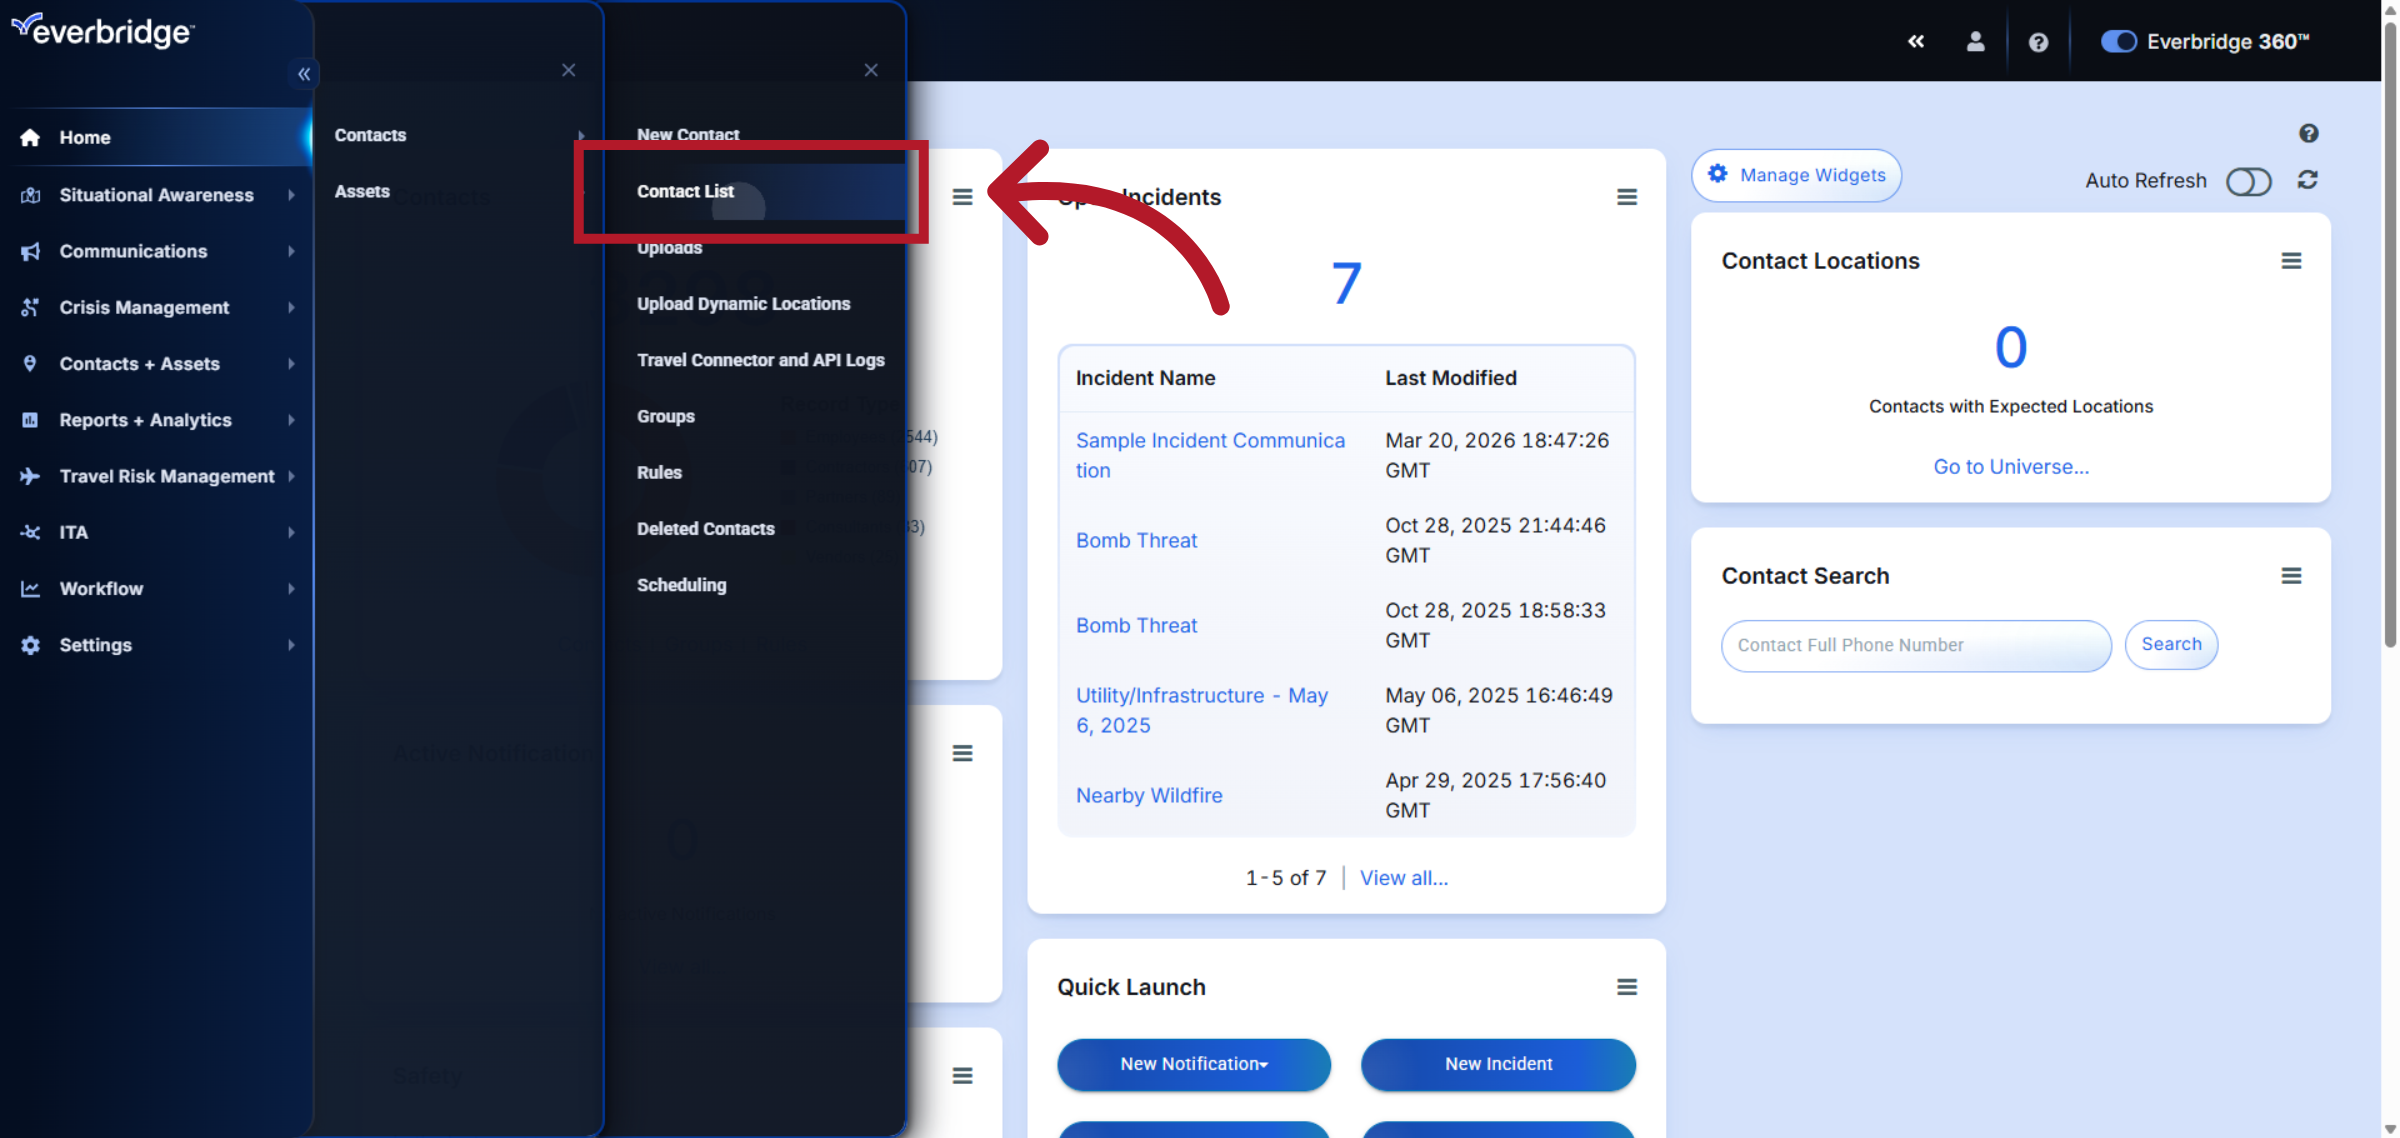
4. Navigate to Contact List
5. Contact List
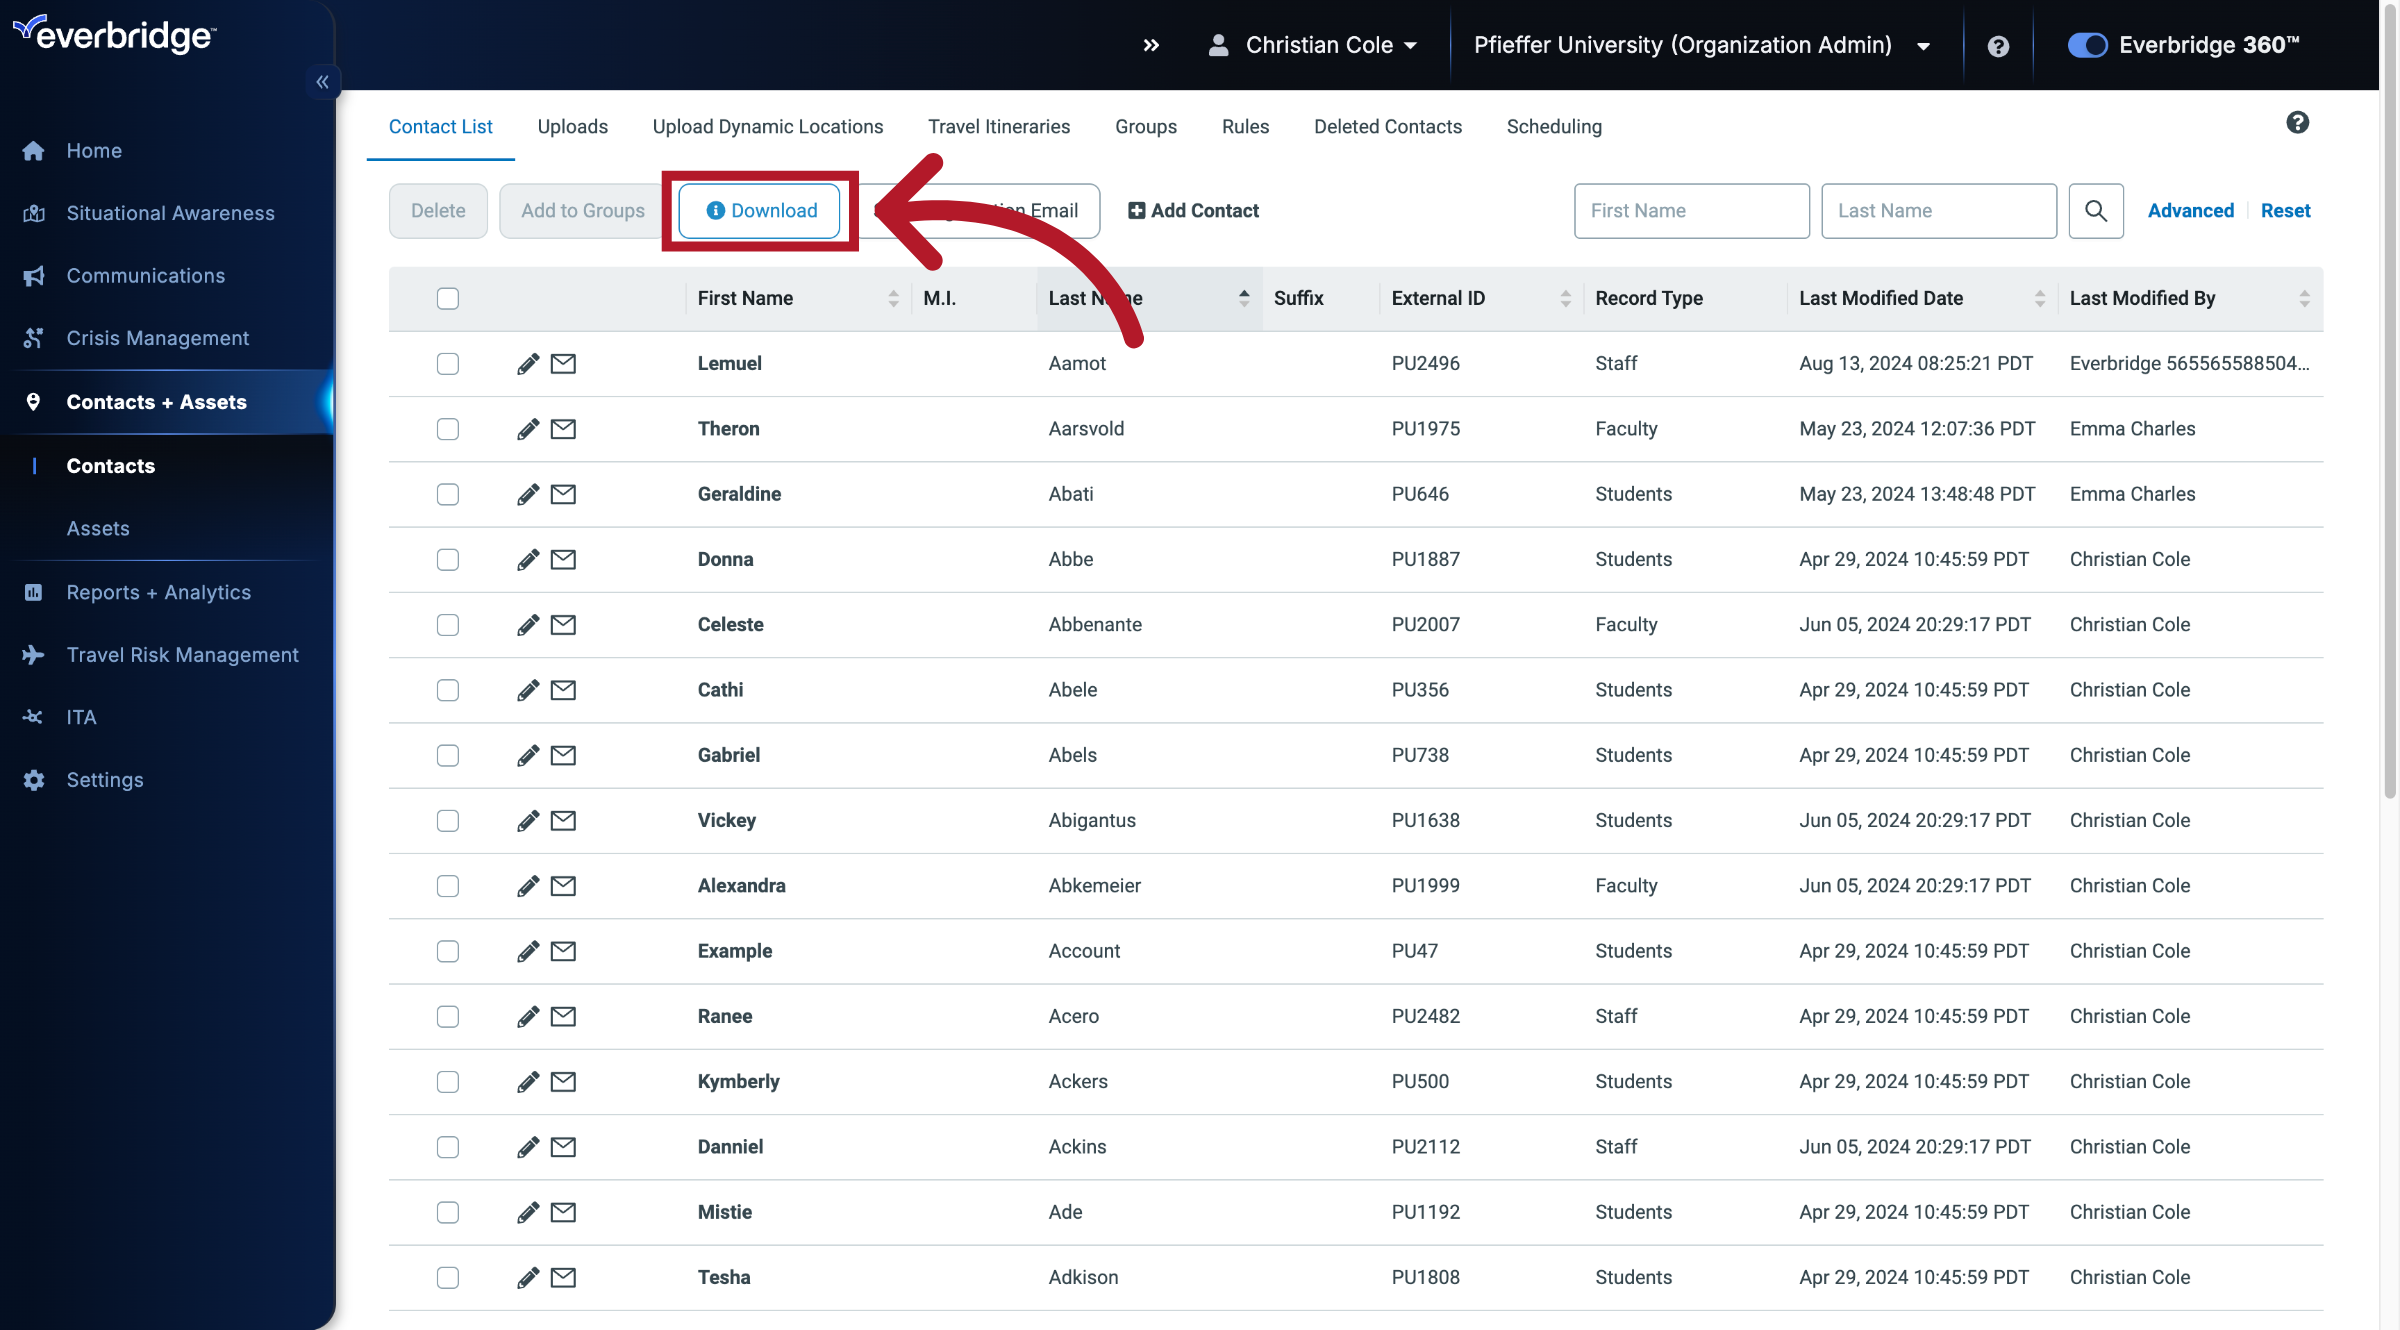
6. File Download
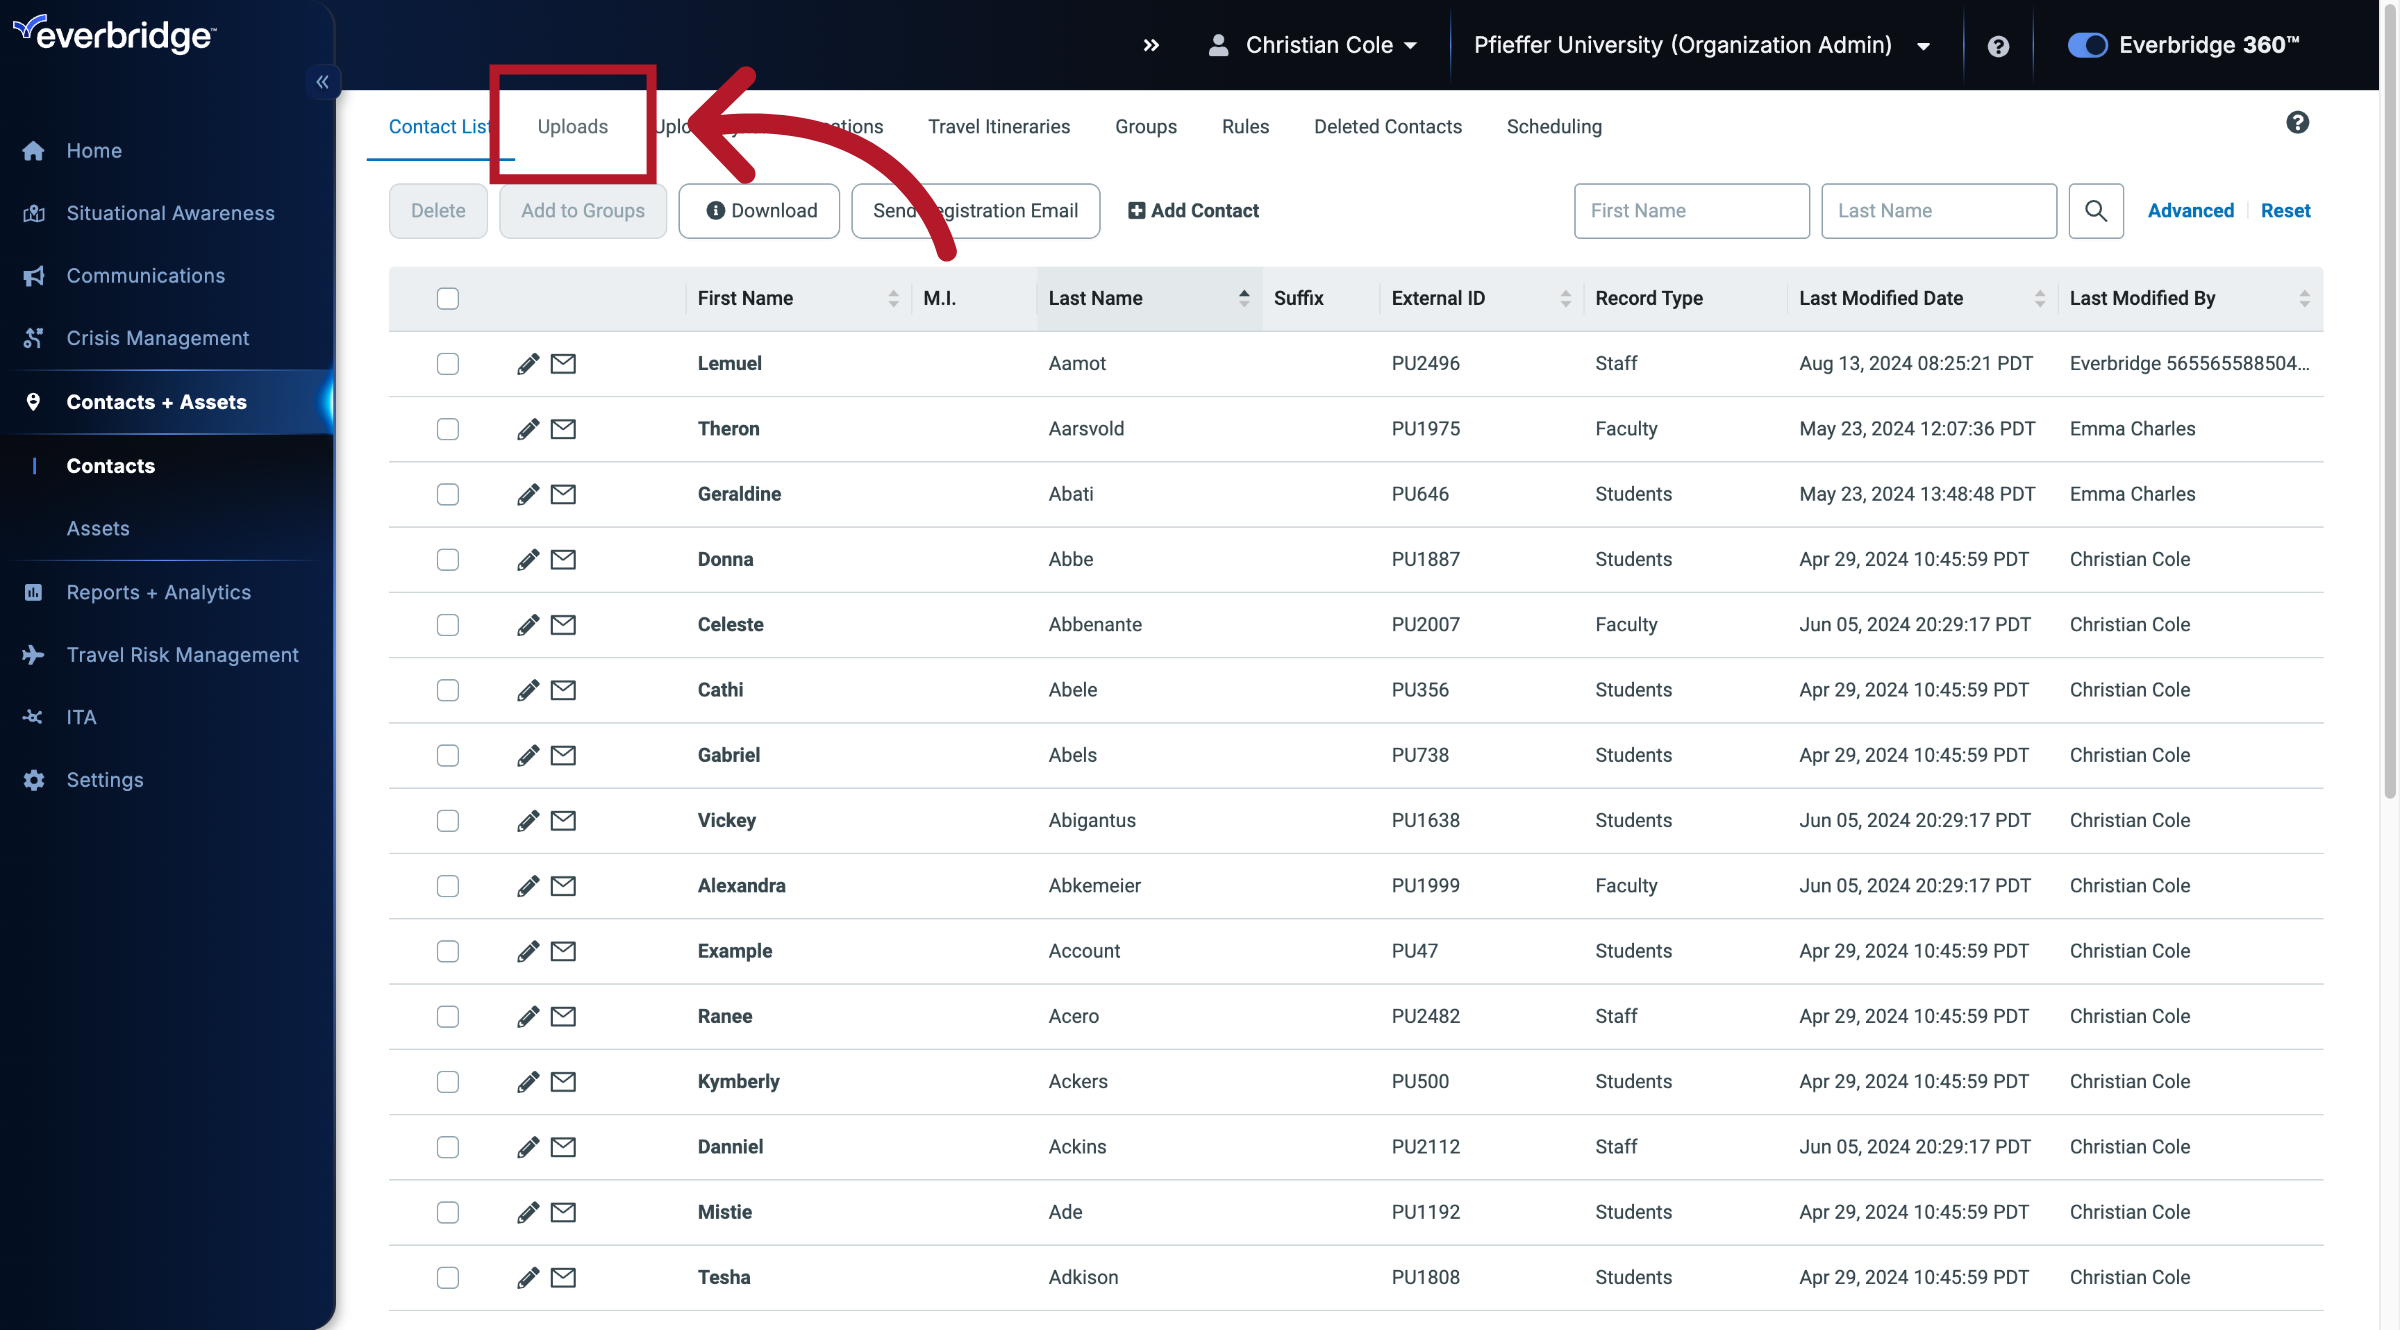
7. Uploads
8. Upload to Portal
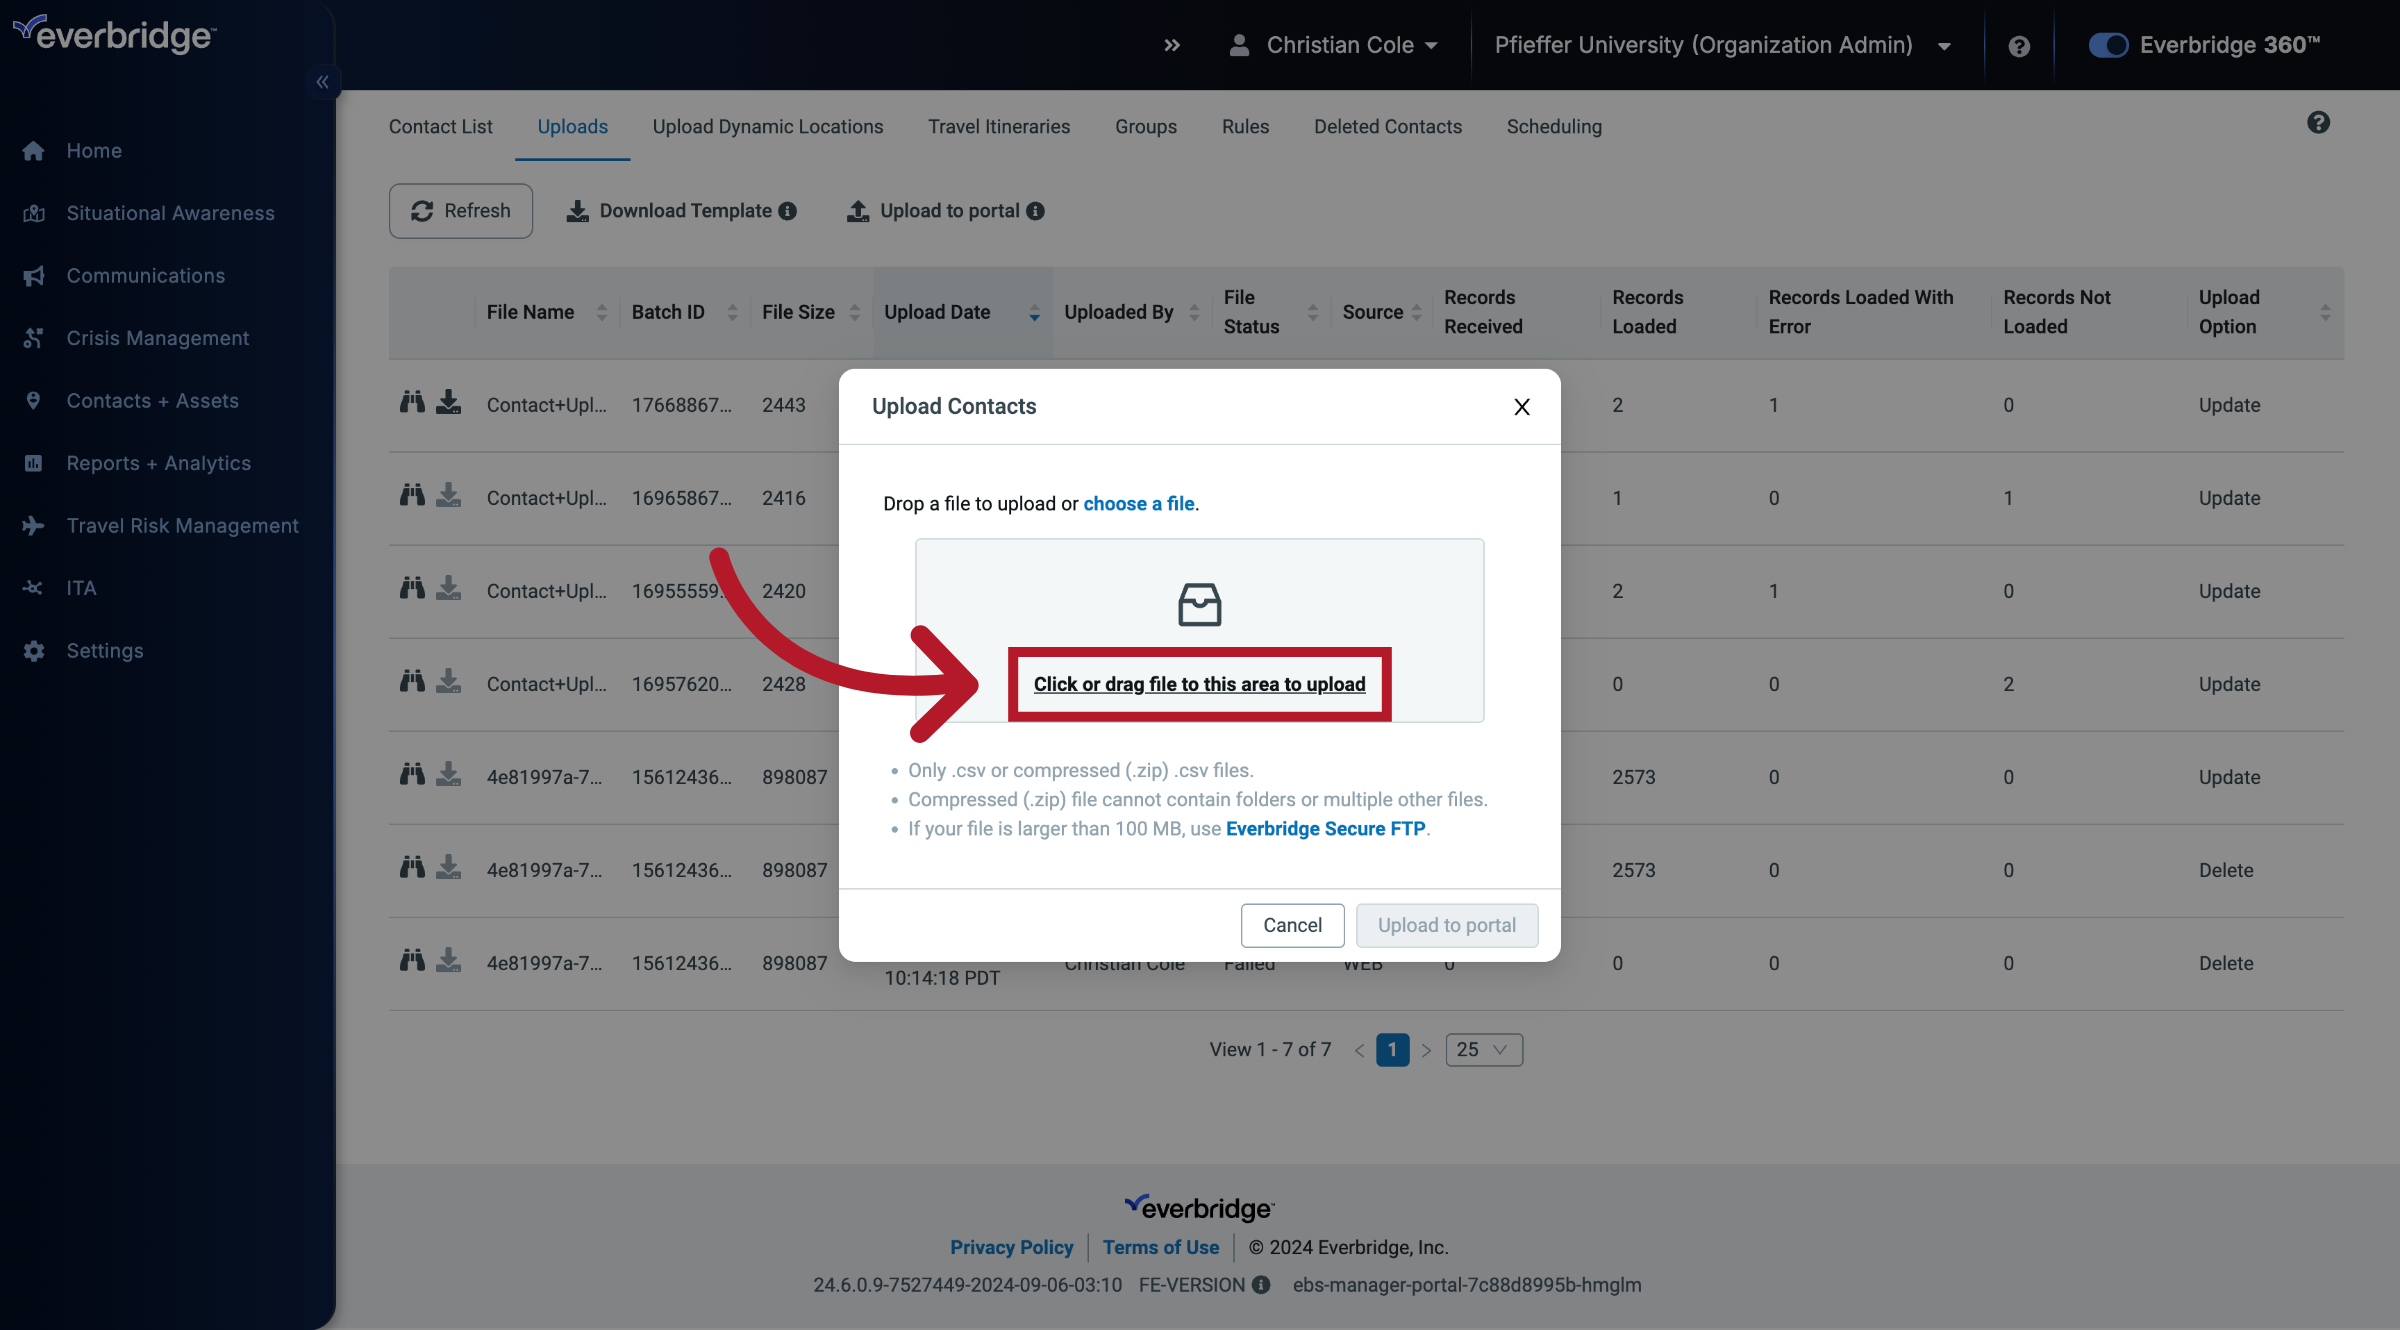
9. Upload Contacts
10. Delete Matching Contacts
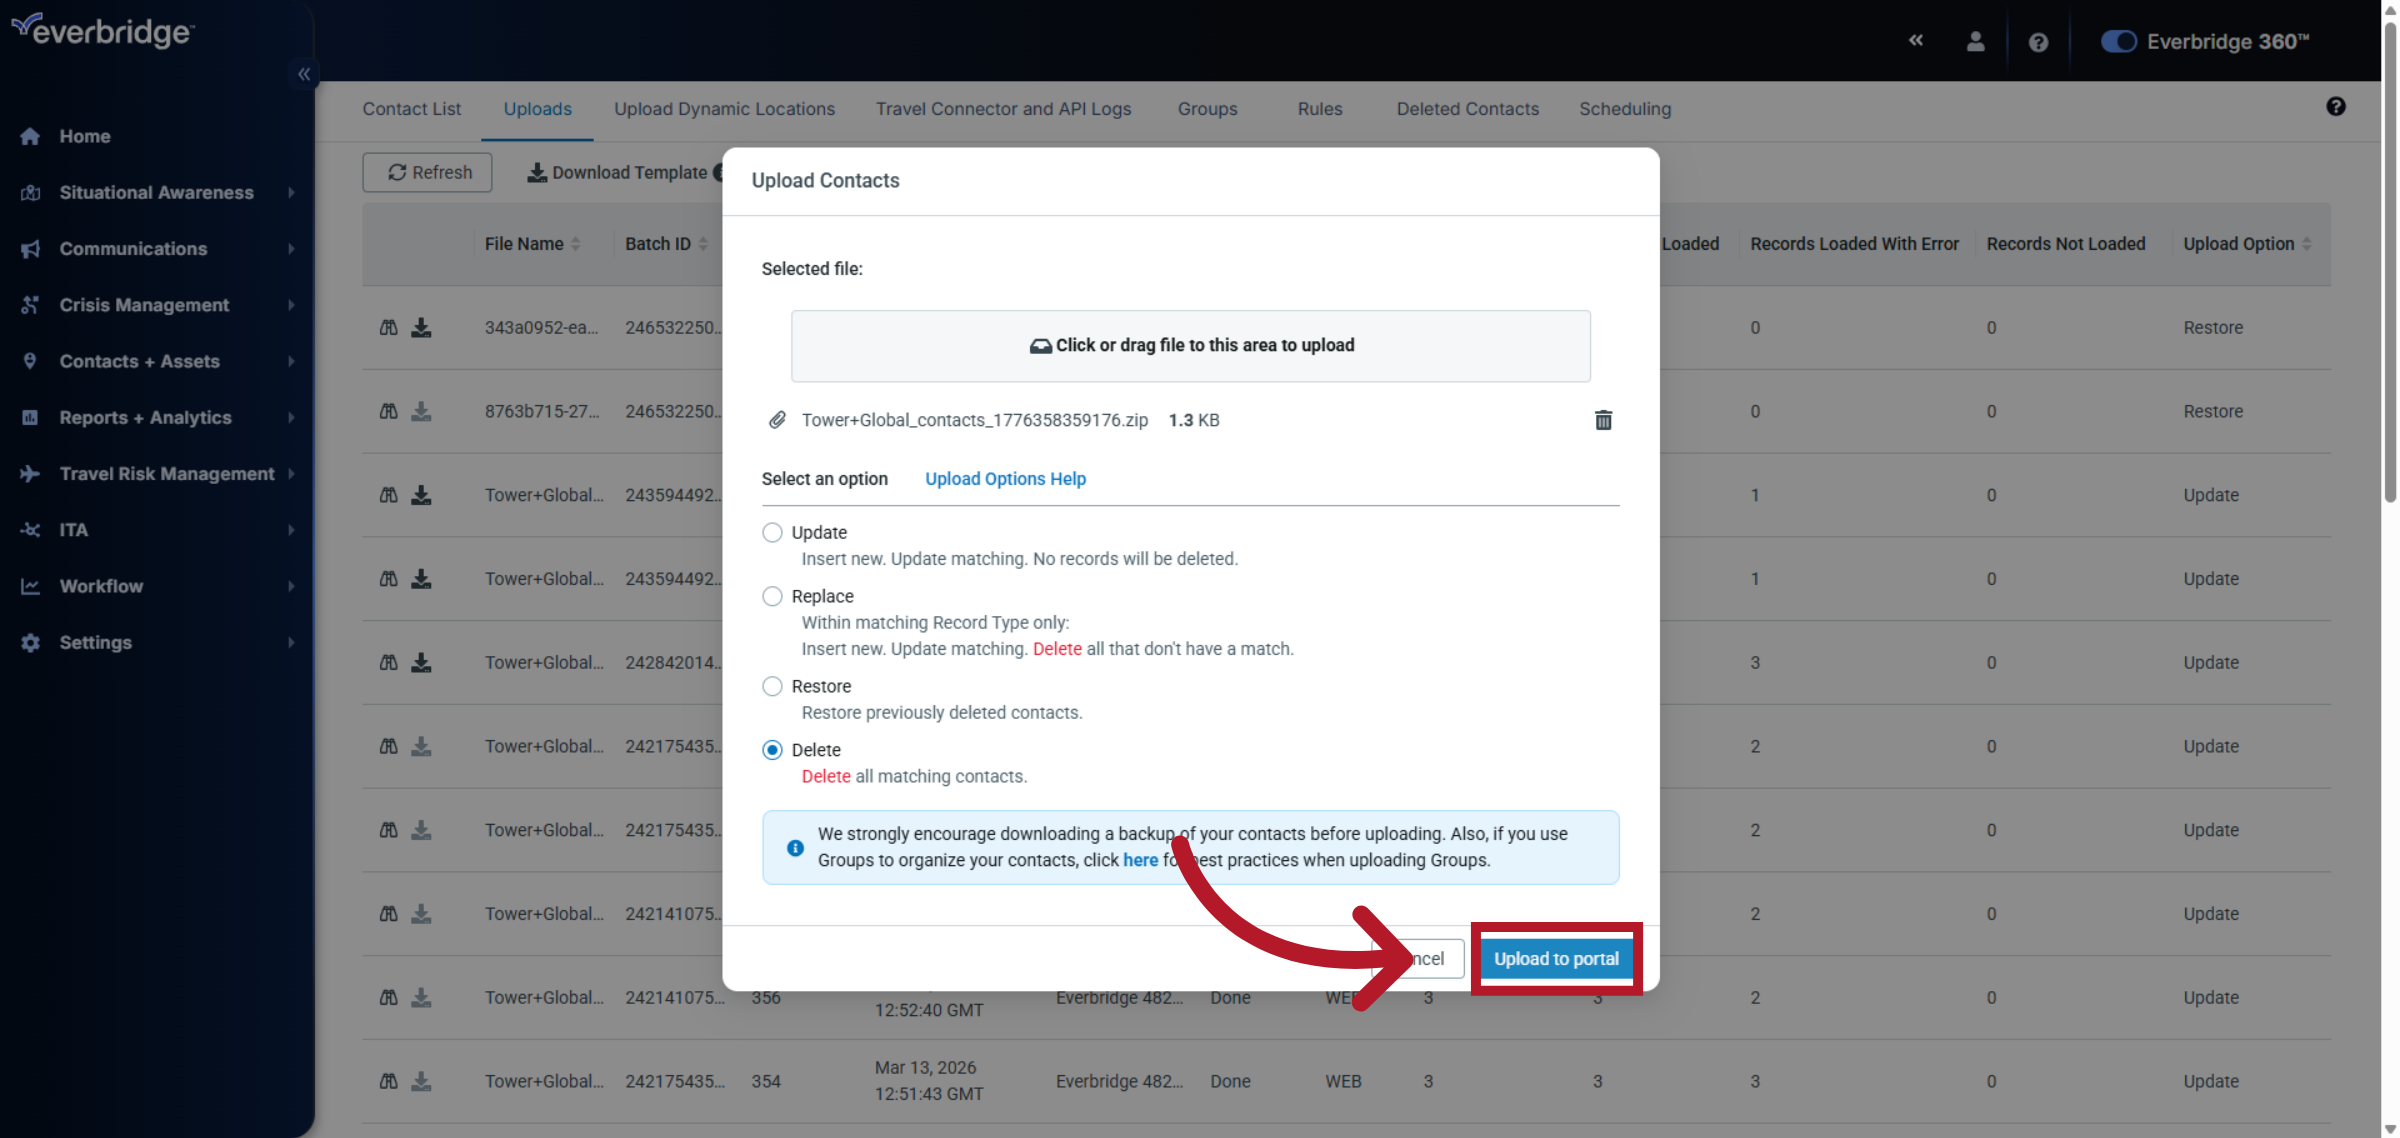
11. Proceed With Upload
12. Confirm Upload
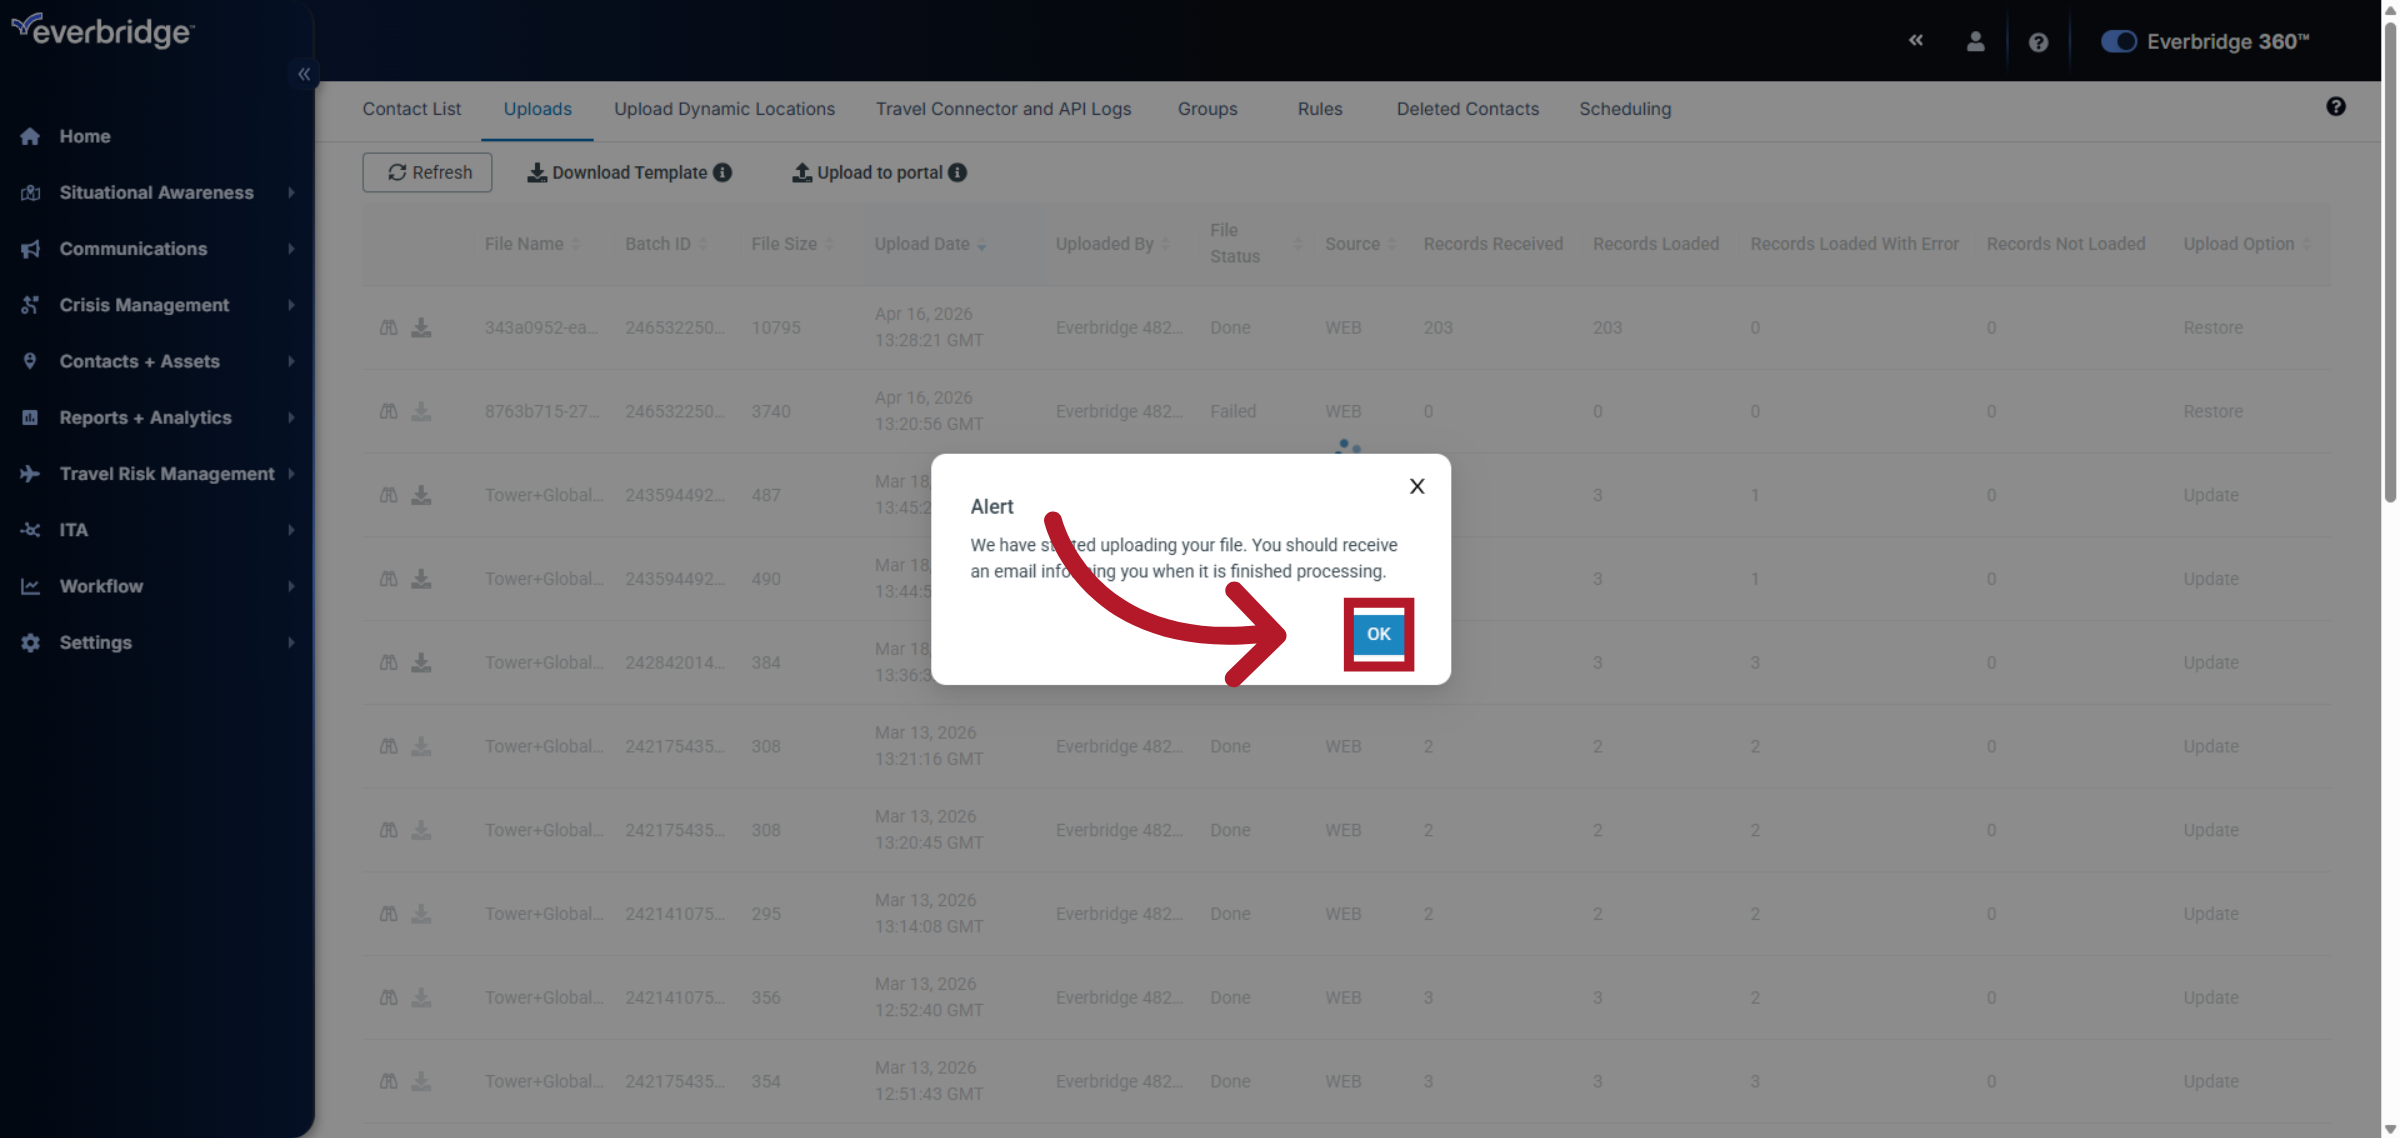
13. Acknowledge Confirmation
14. Upload Result
15. View Received Records
