Topic
How to create and upload a CSV file for loading contacts in to Everbridge Suite.
Description
Contacts may be uploaded at the Account level and the Organization level. This is done via the Everbridge manager portal user interface or via SFTP. Either method requires a properly formatted contact upload file (CSV file.) The attached file, Contact Upload Sample Records.xlsx, provides examples of populating fields in a contacts upload file for loading contacts into Everbridge Suite.
Adding contacts one by one can be time consuming. However, you can easily add multiple contacts by using the upload function in Everbridge 360. This is especially useful if you need to add a lot of contacts at once.
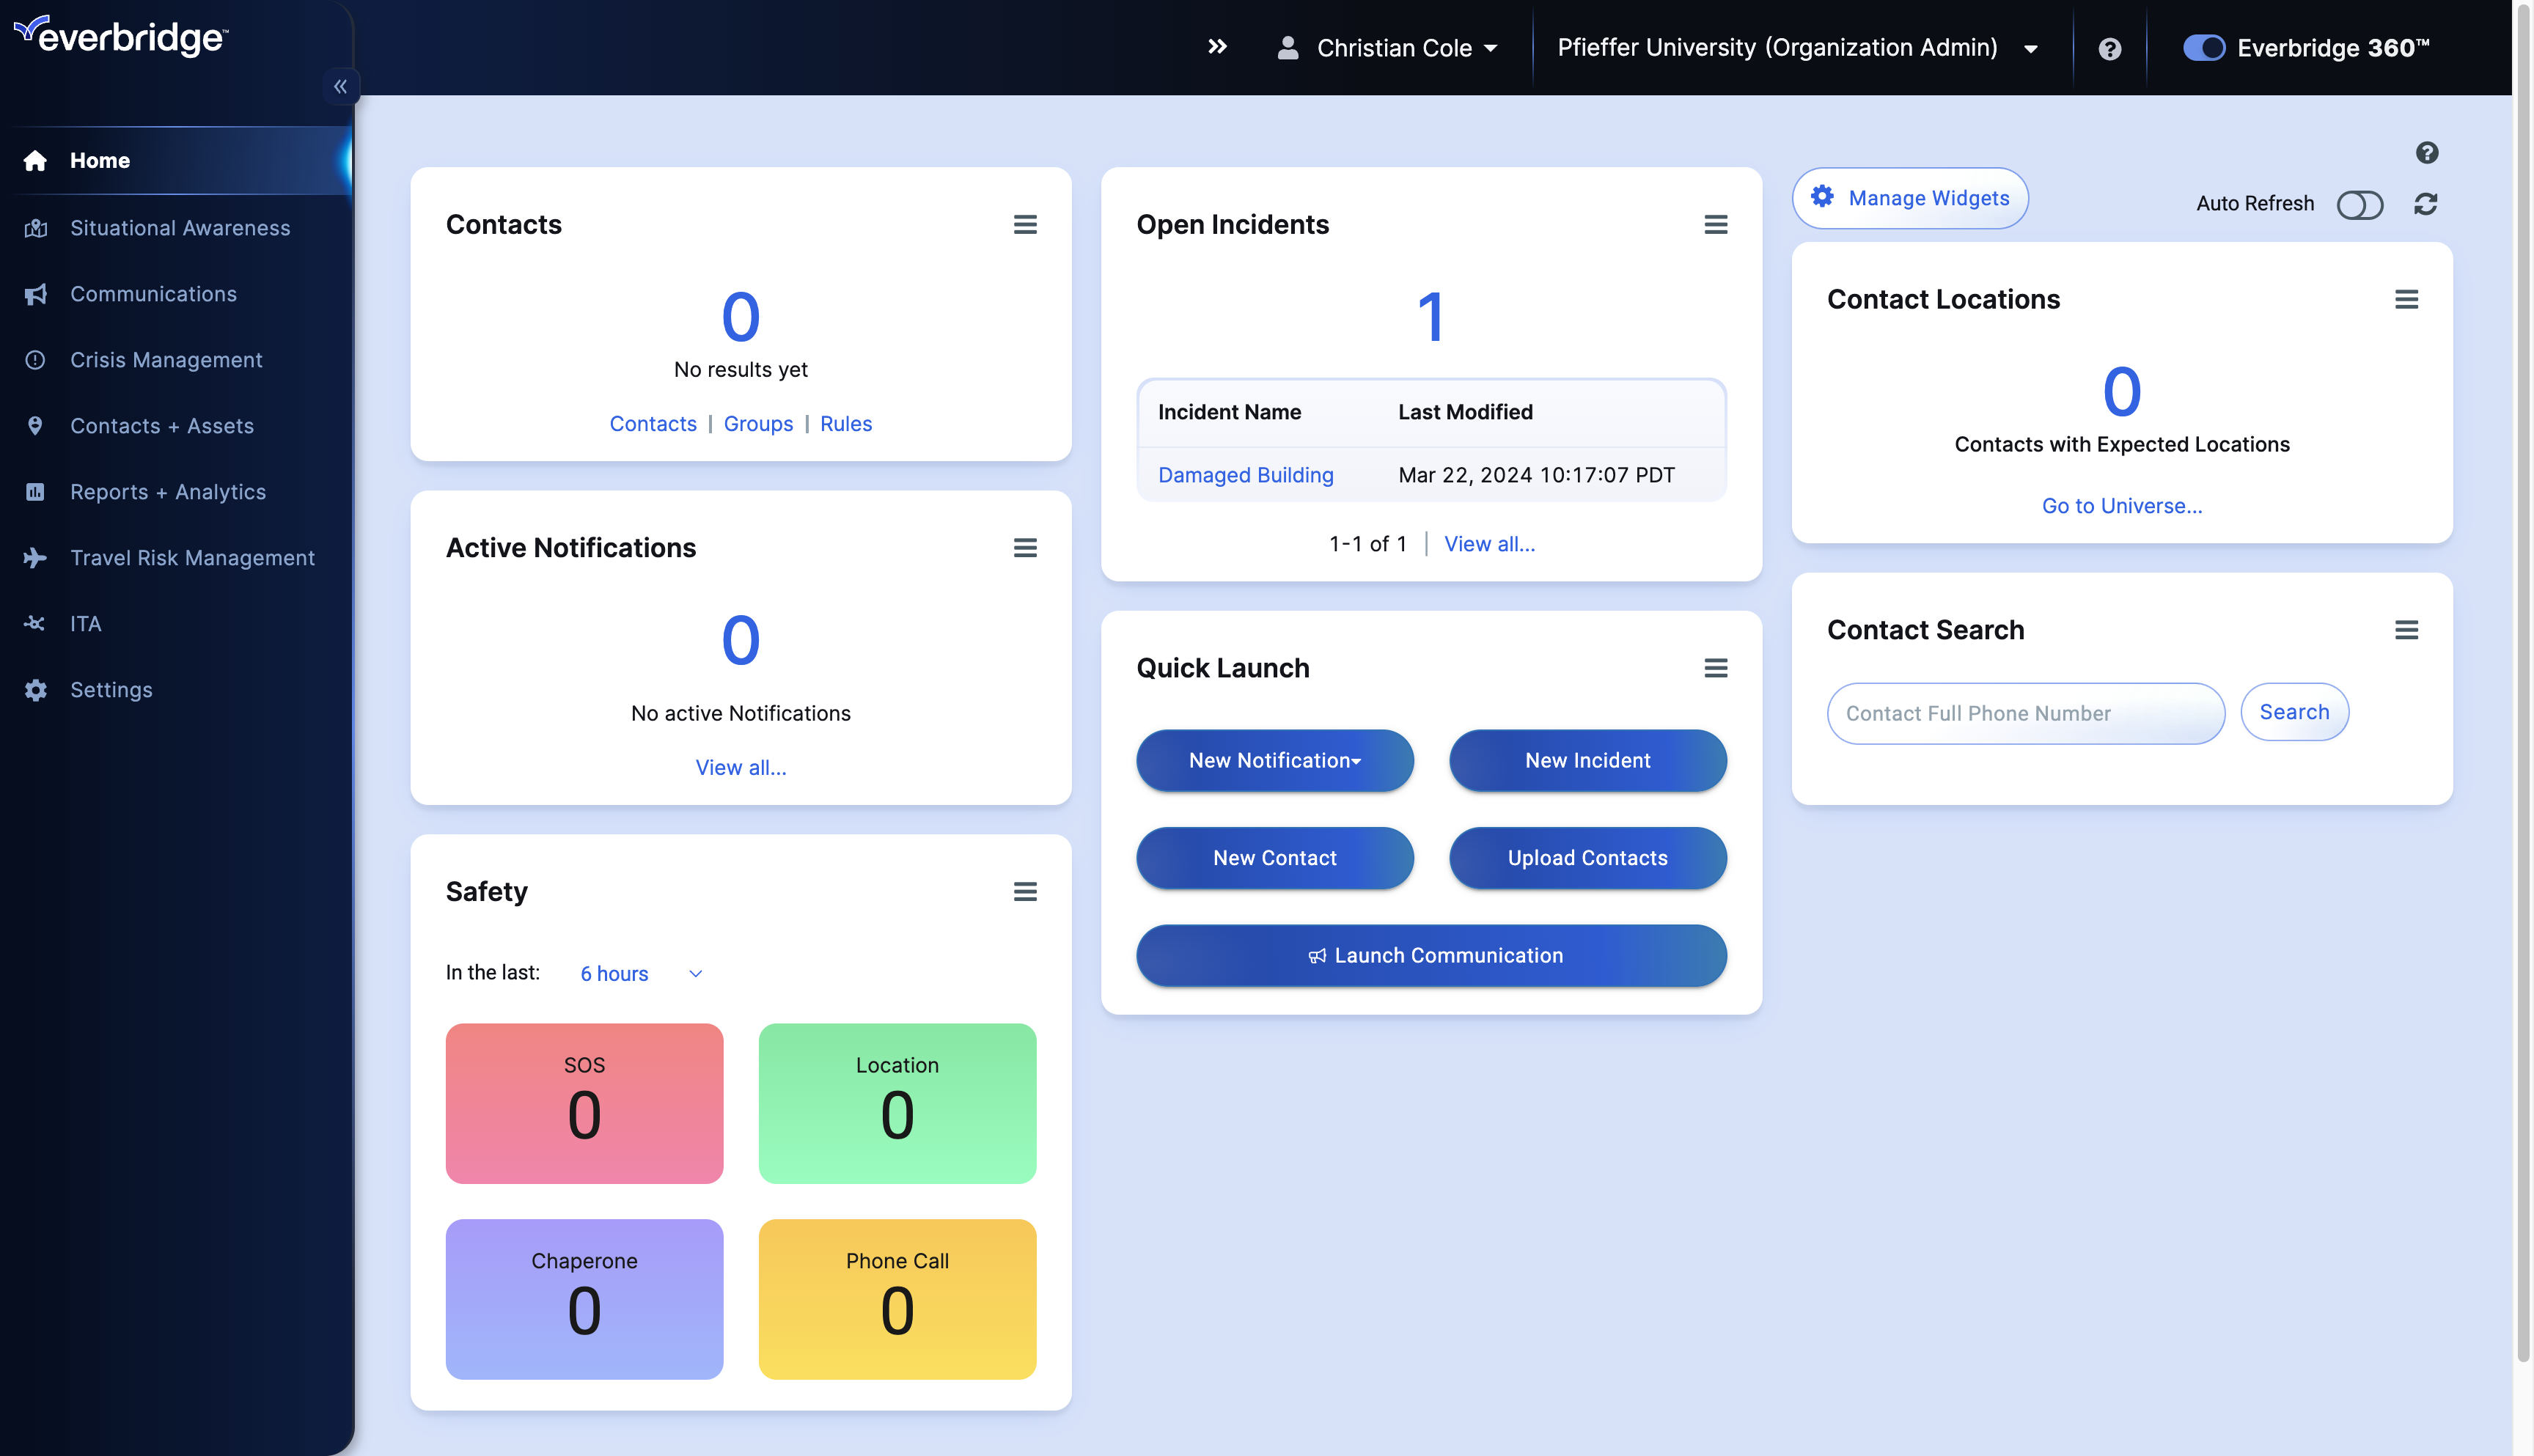
1. Dashboard
To begin, from the Everbridge 360 dashboard.
2. Dashboard
Hover over Contacts and Assets.
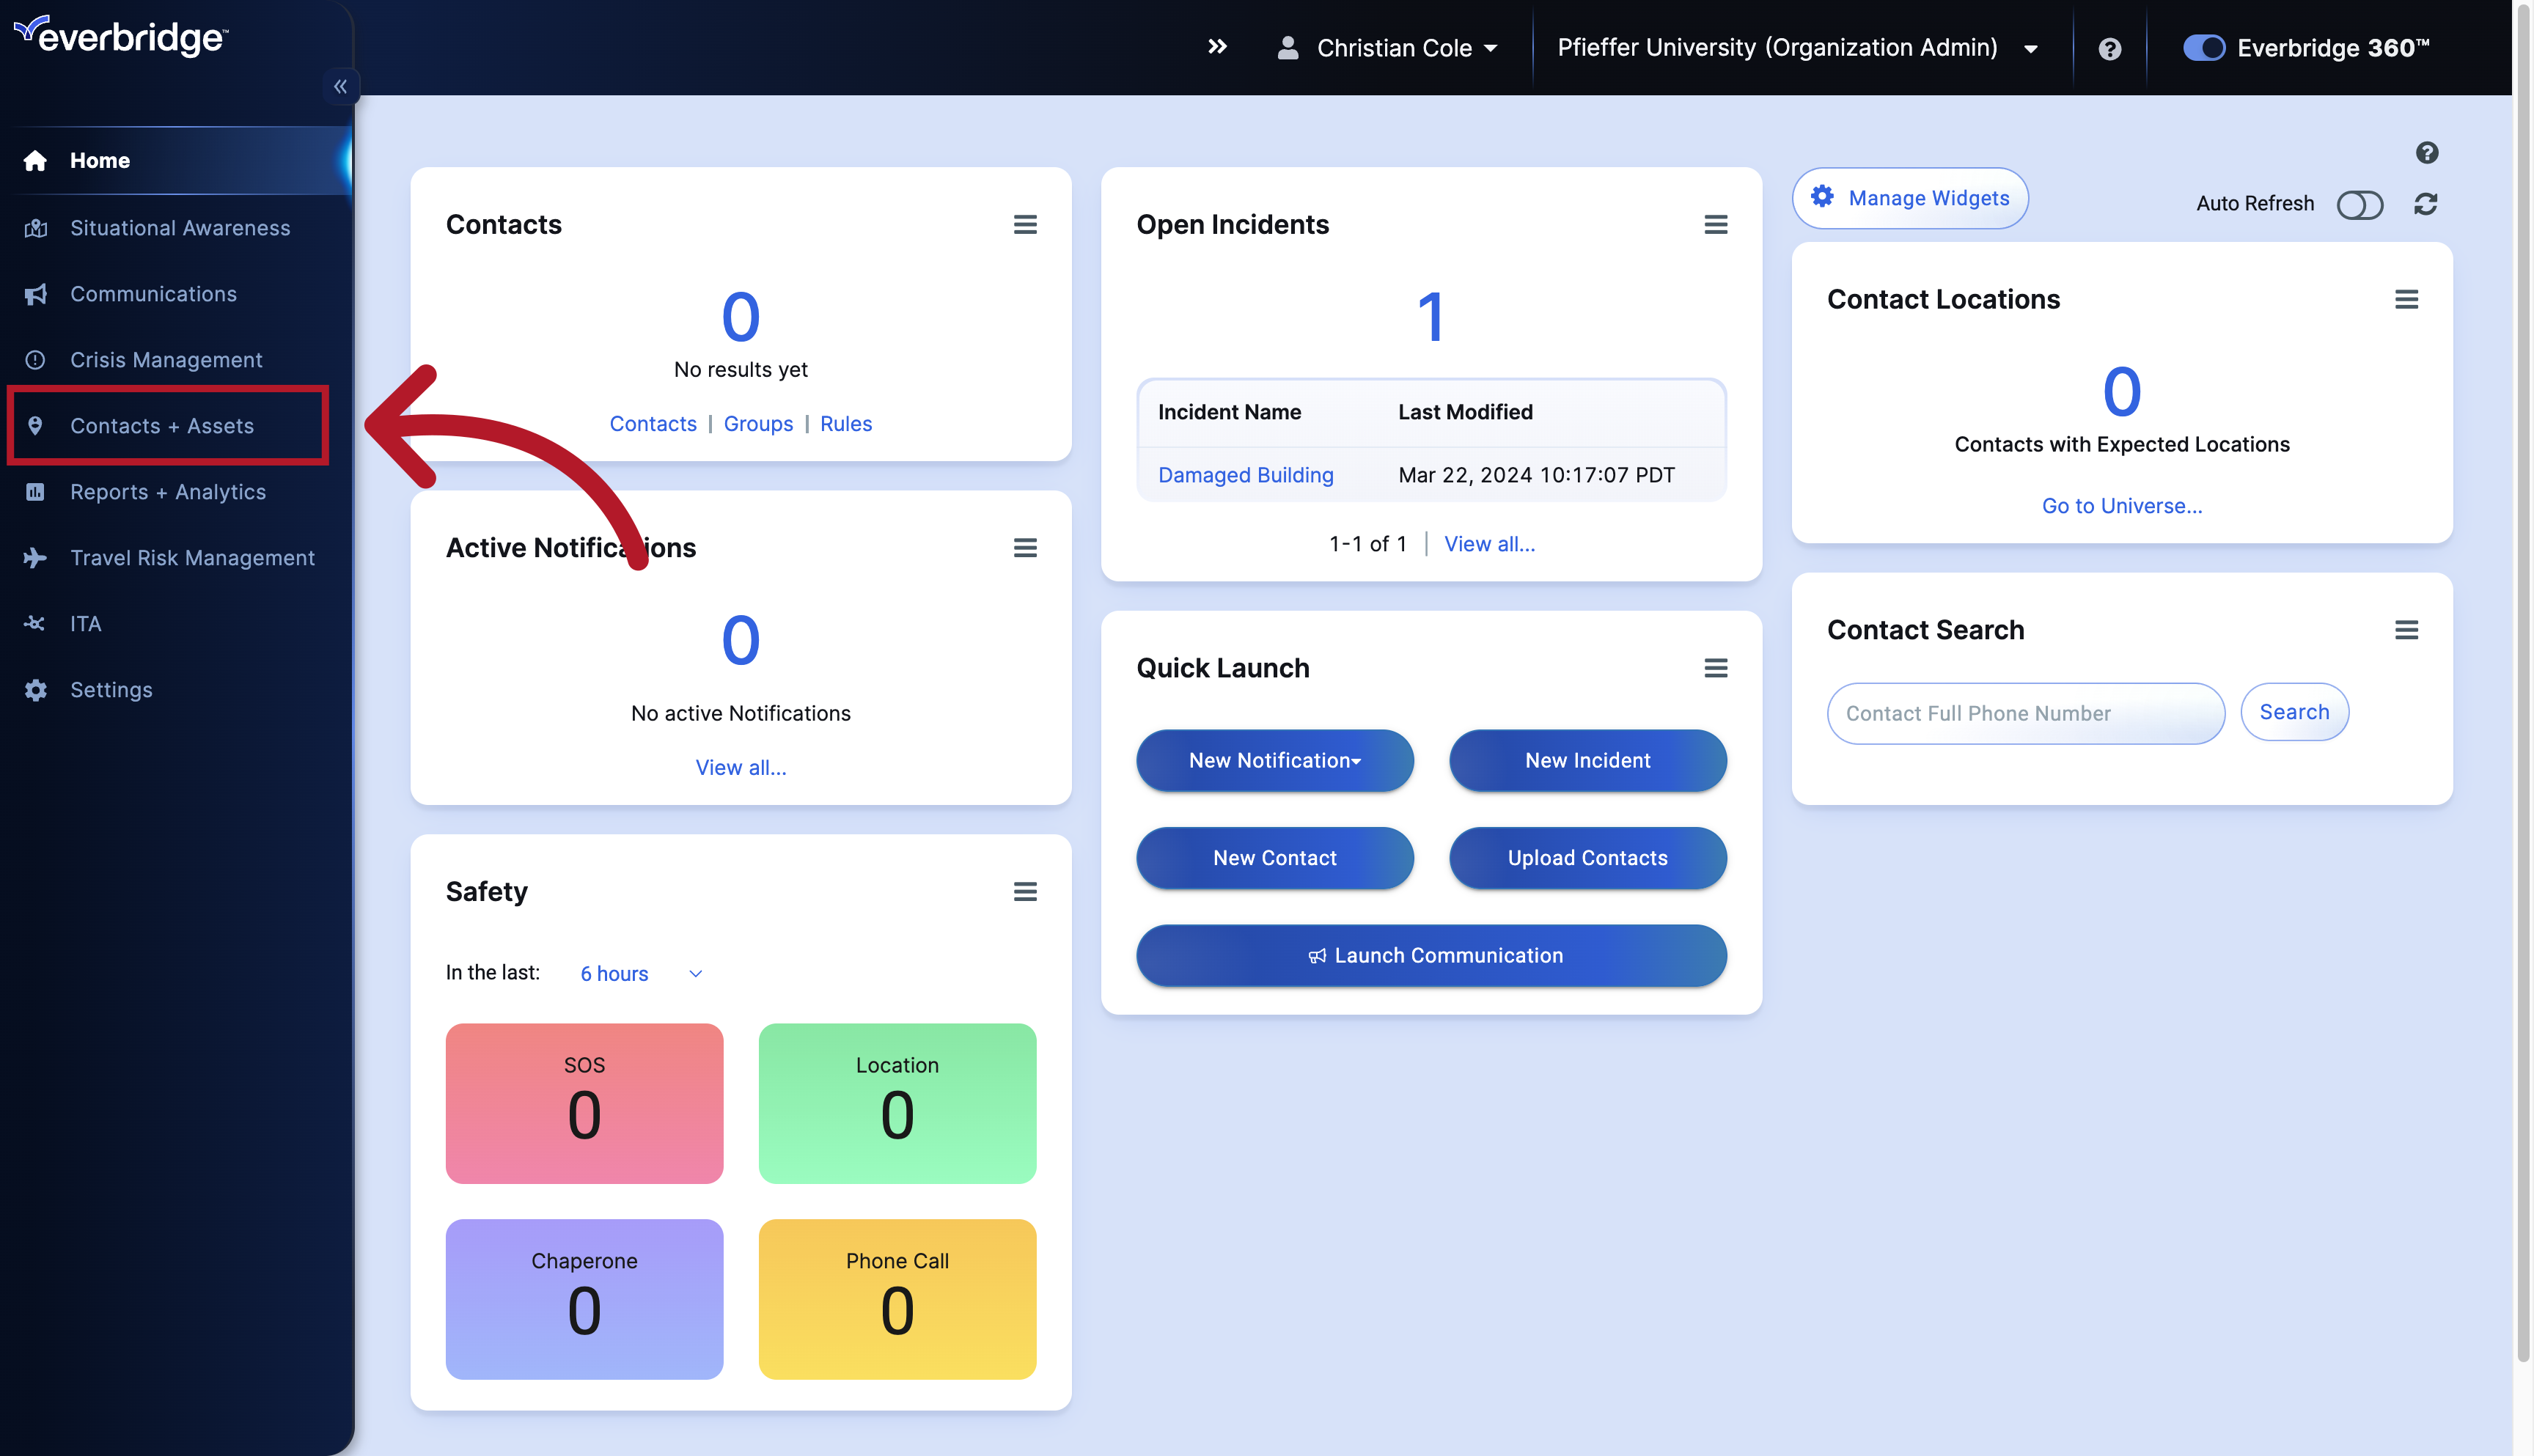
3. Dashboard
Then hover over Contacts,
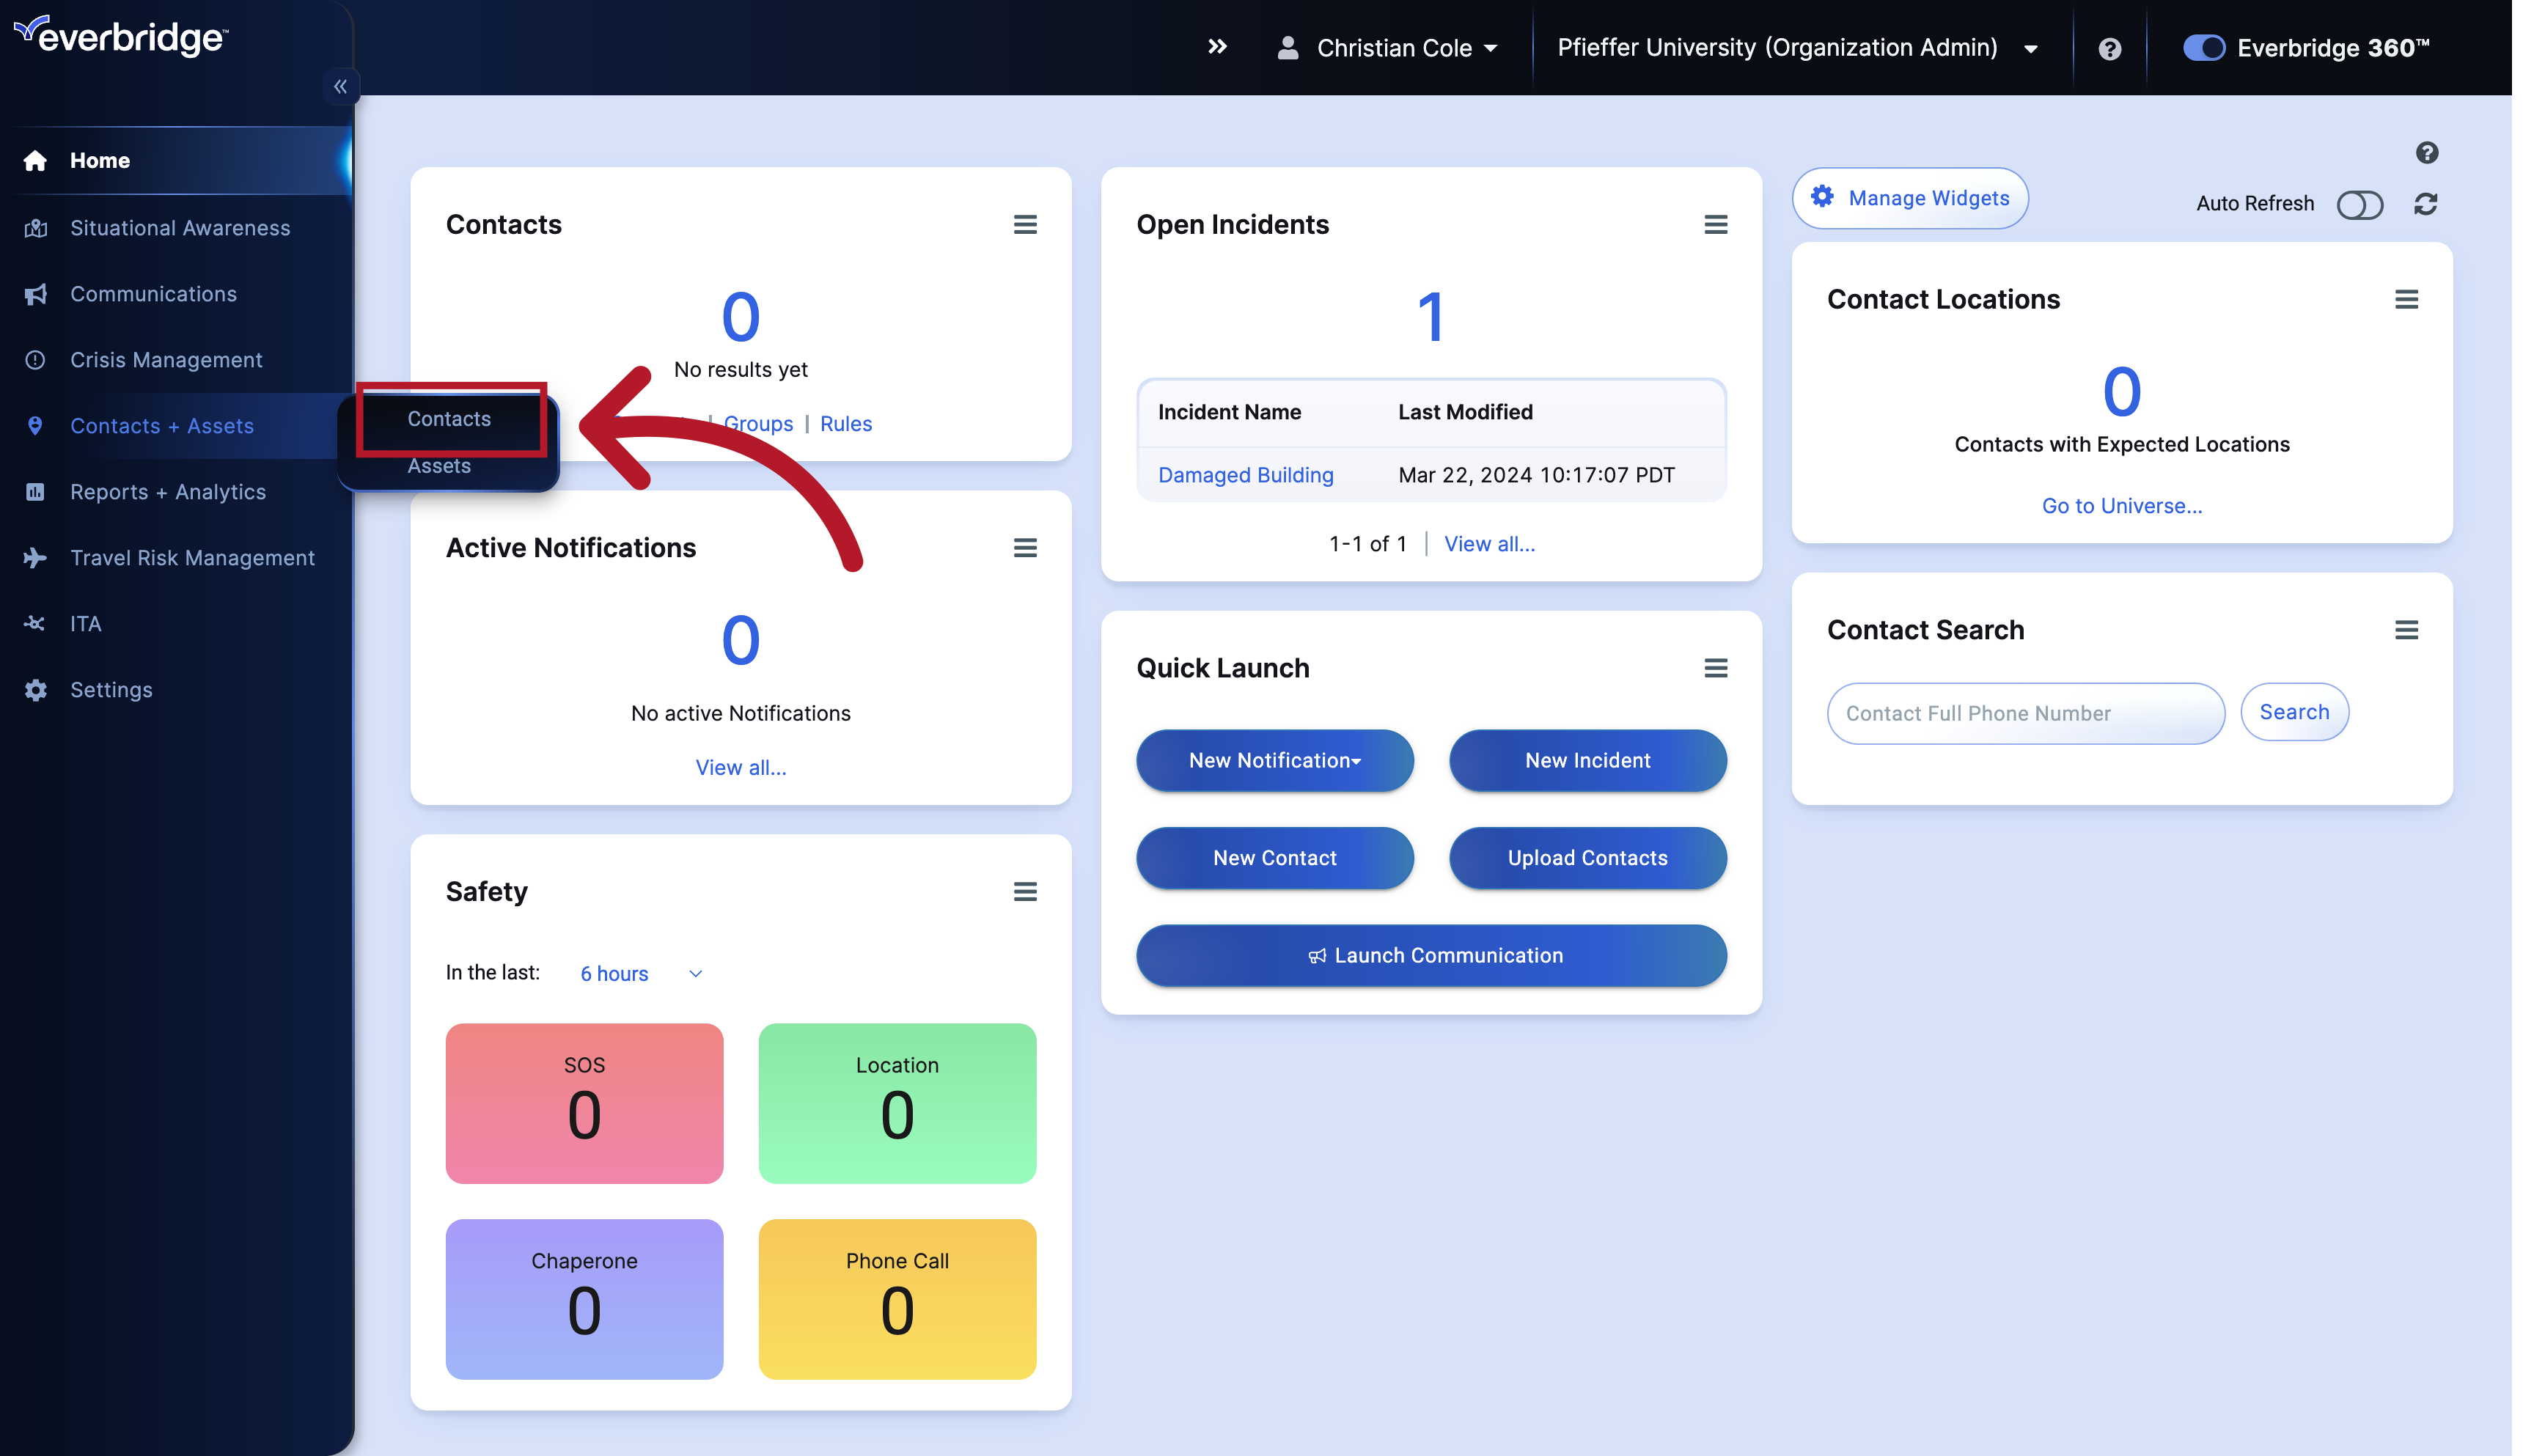
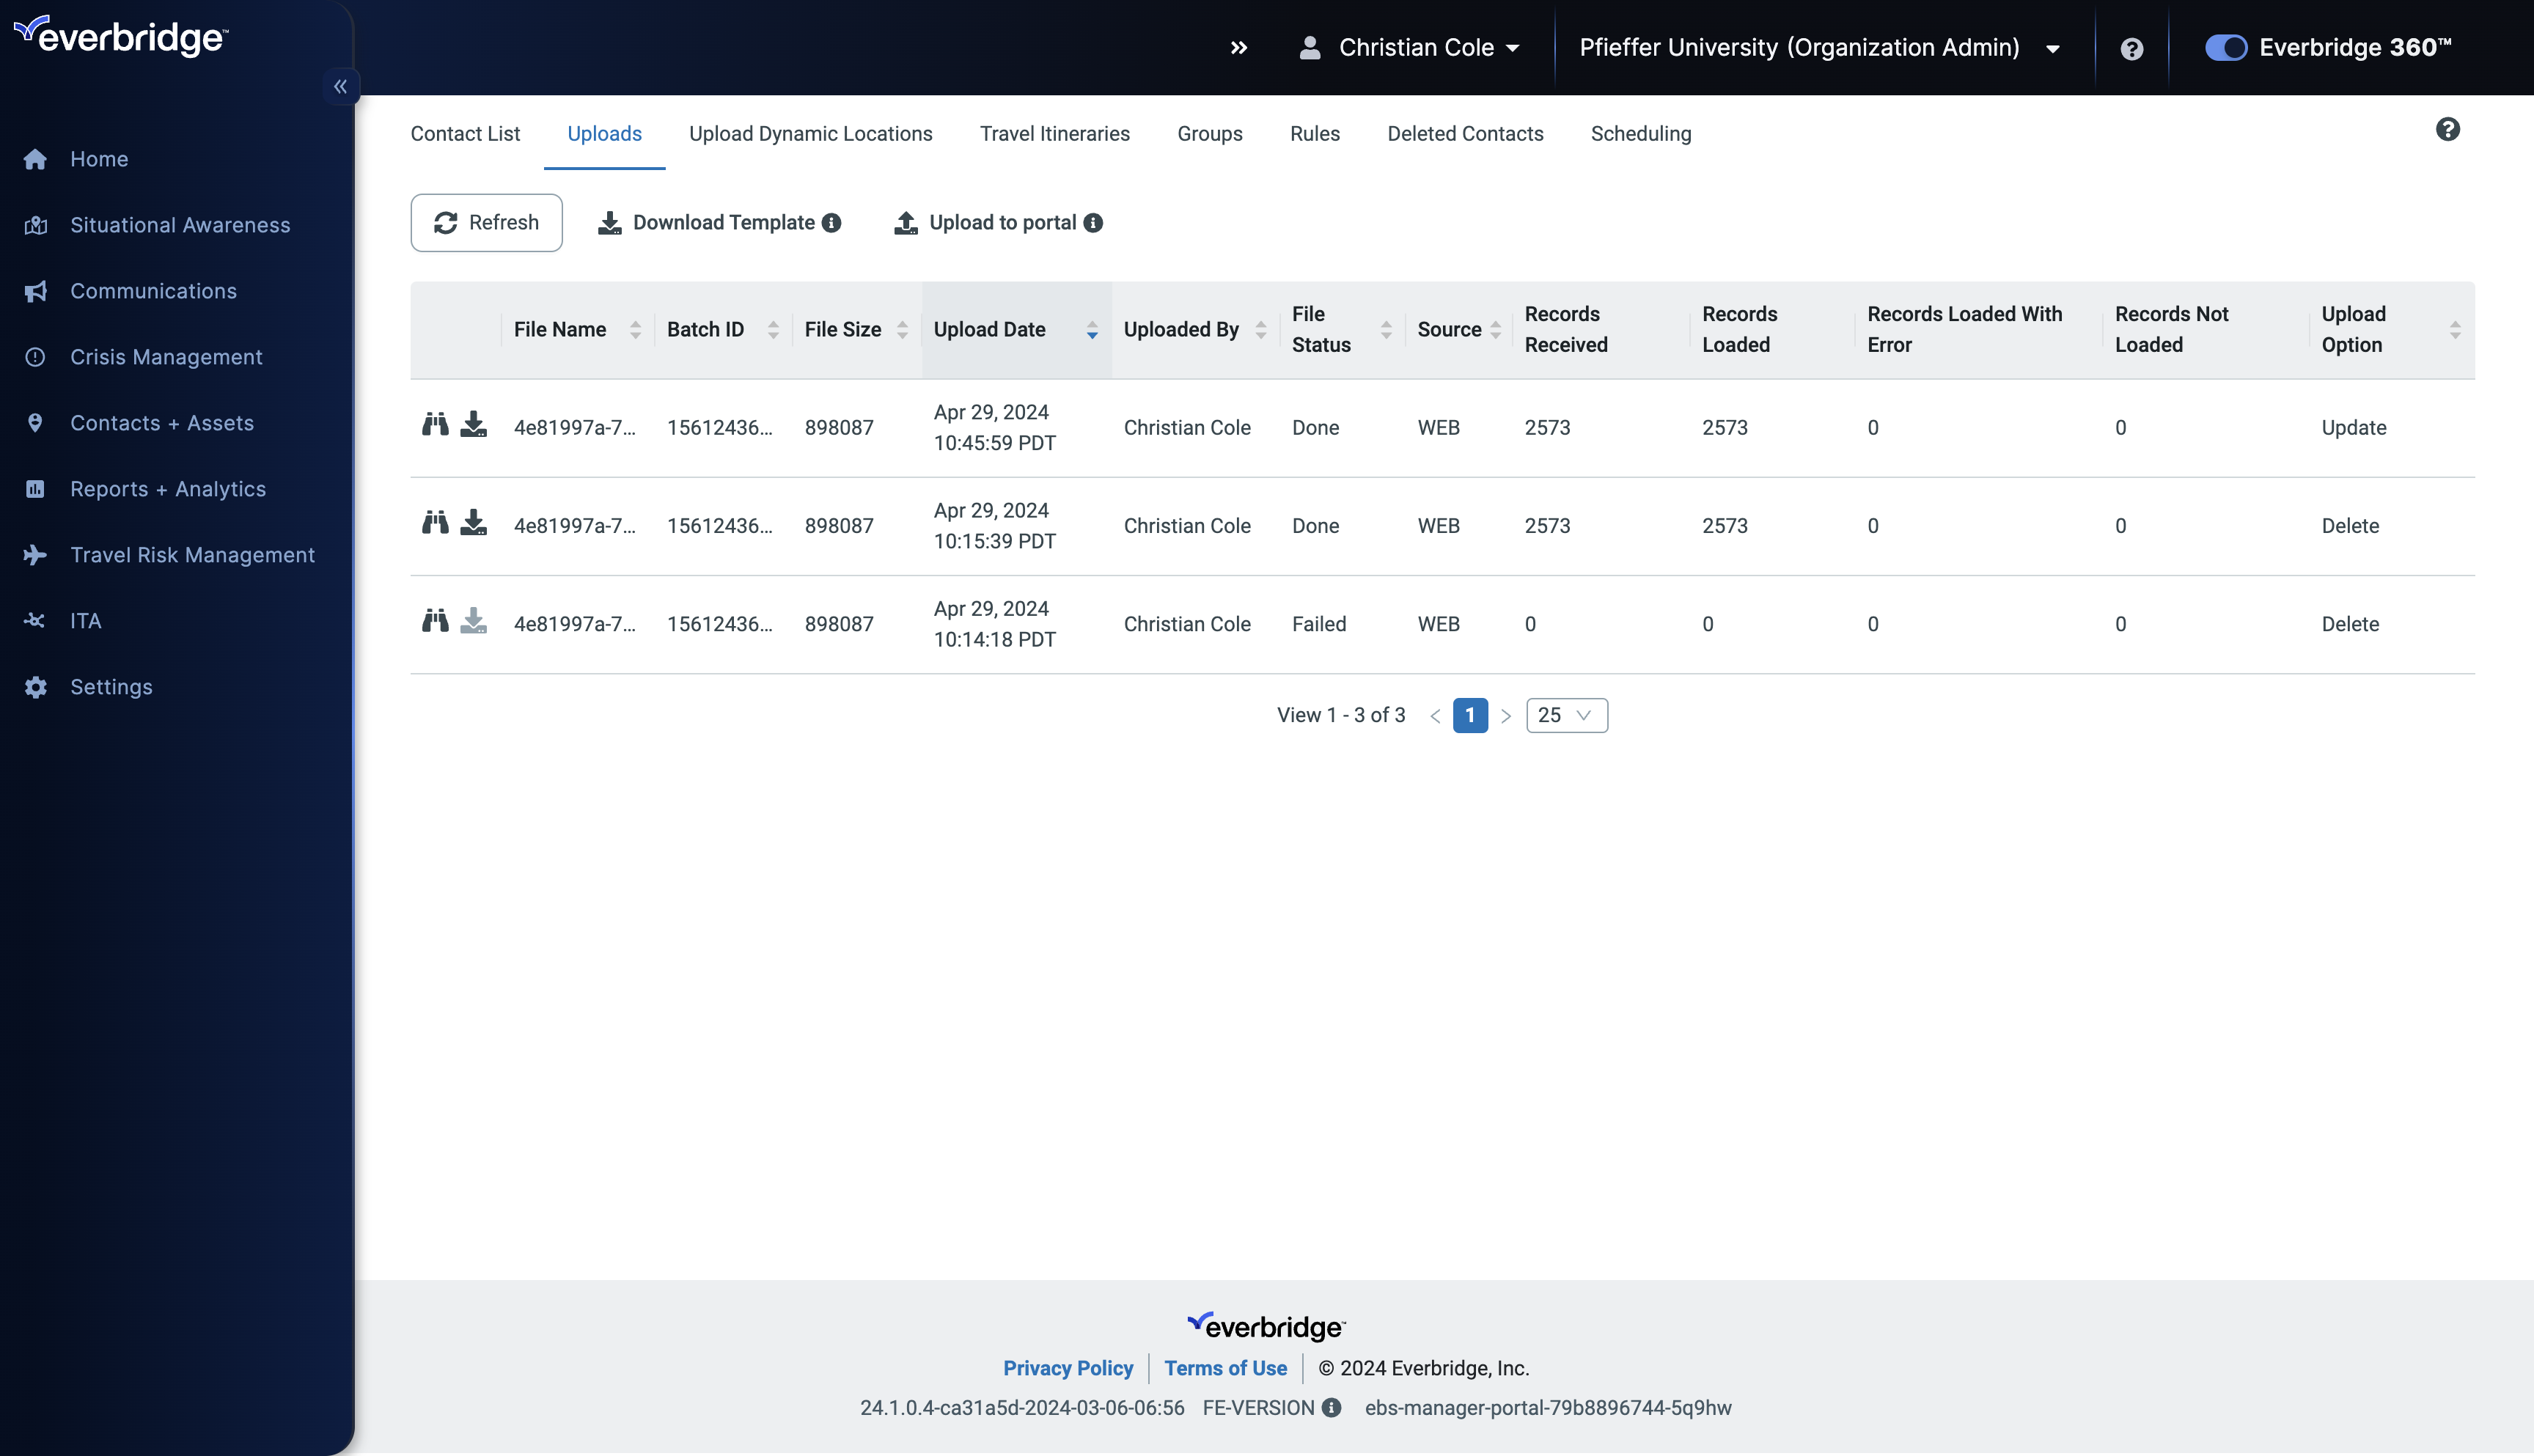
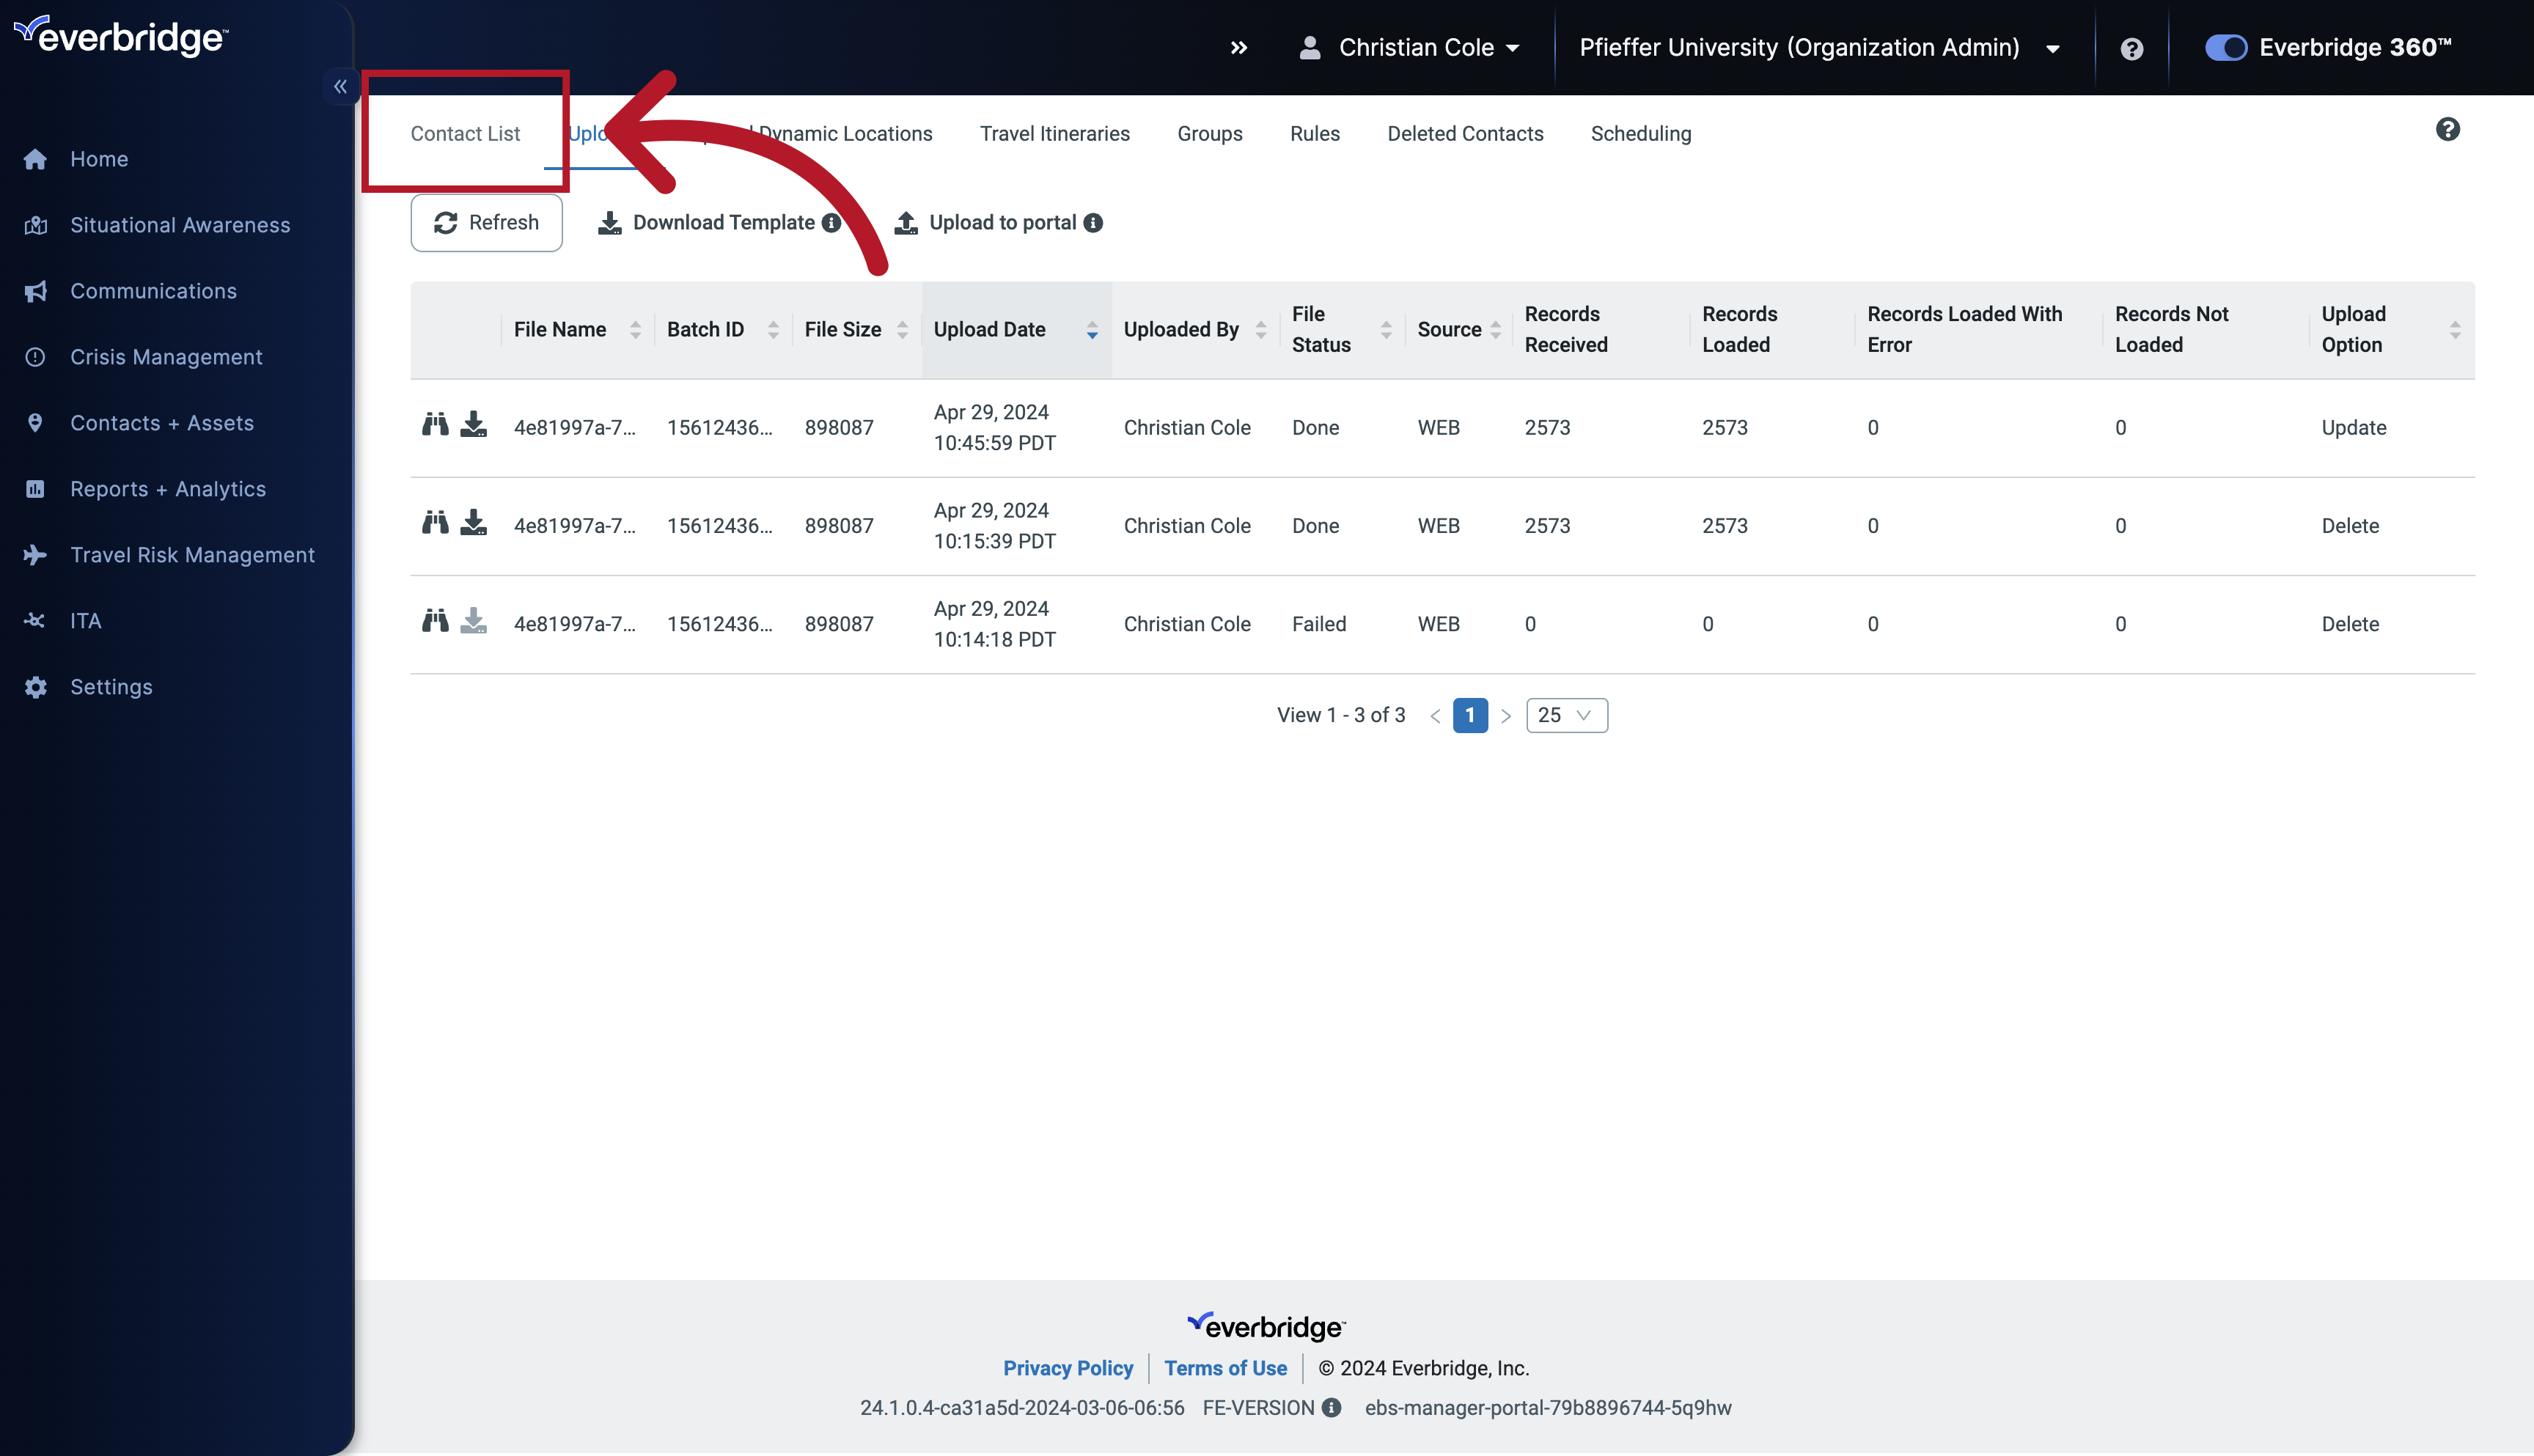
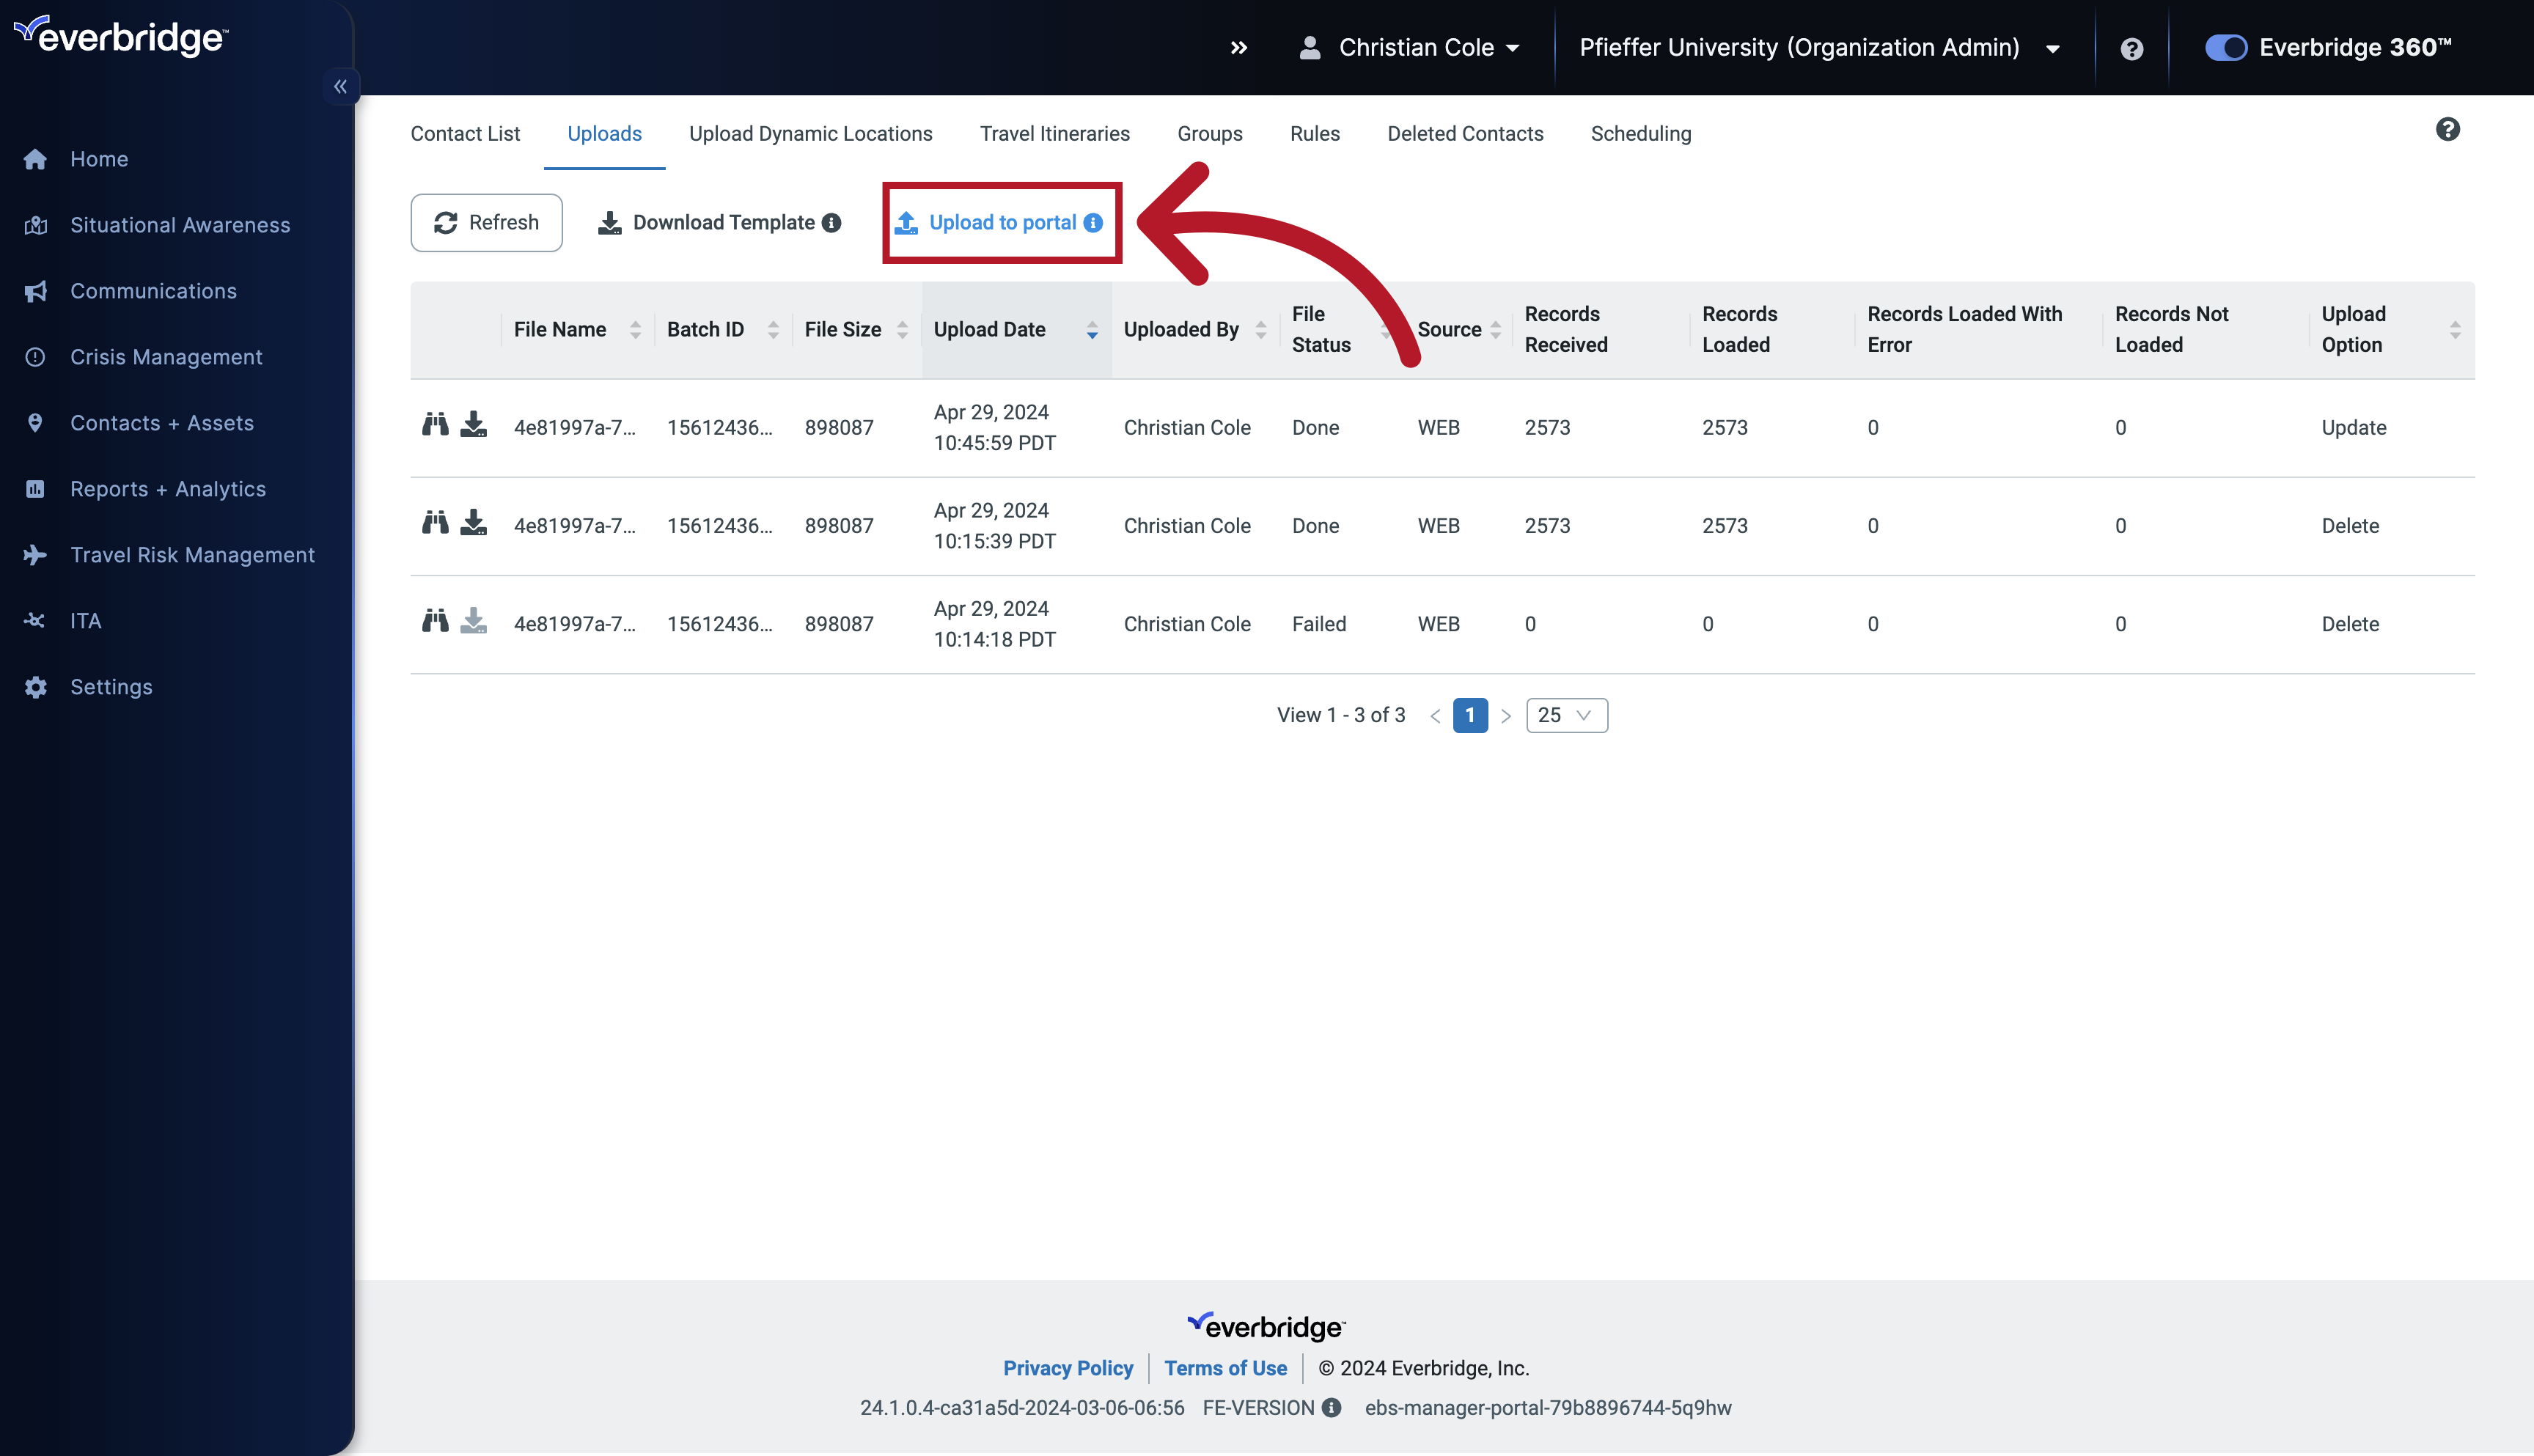
4. Uploads
And then select the Uploads sub tab.
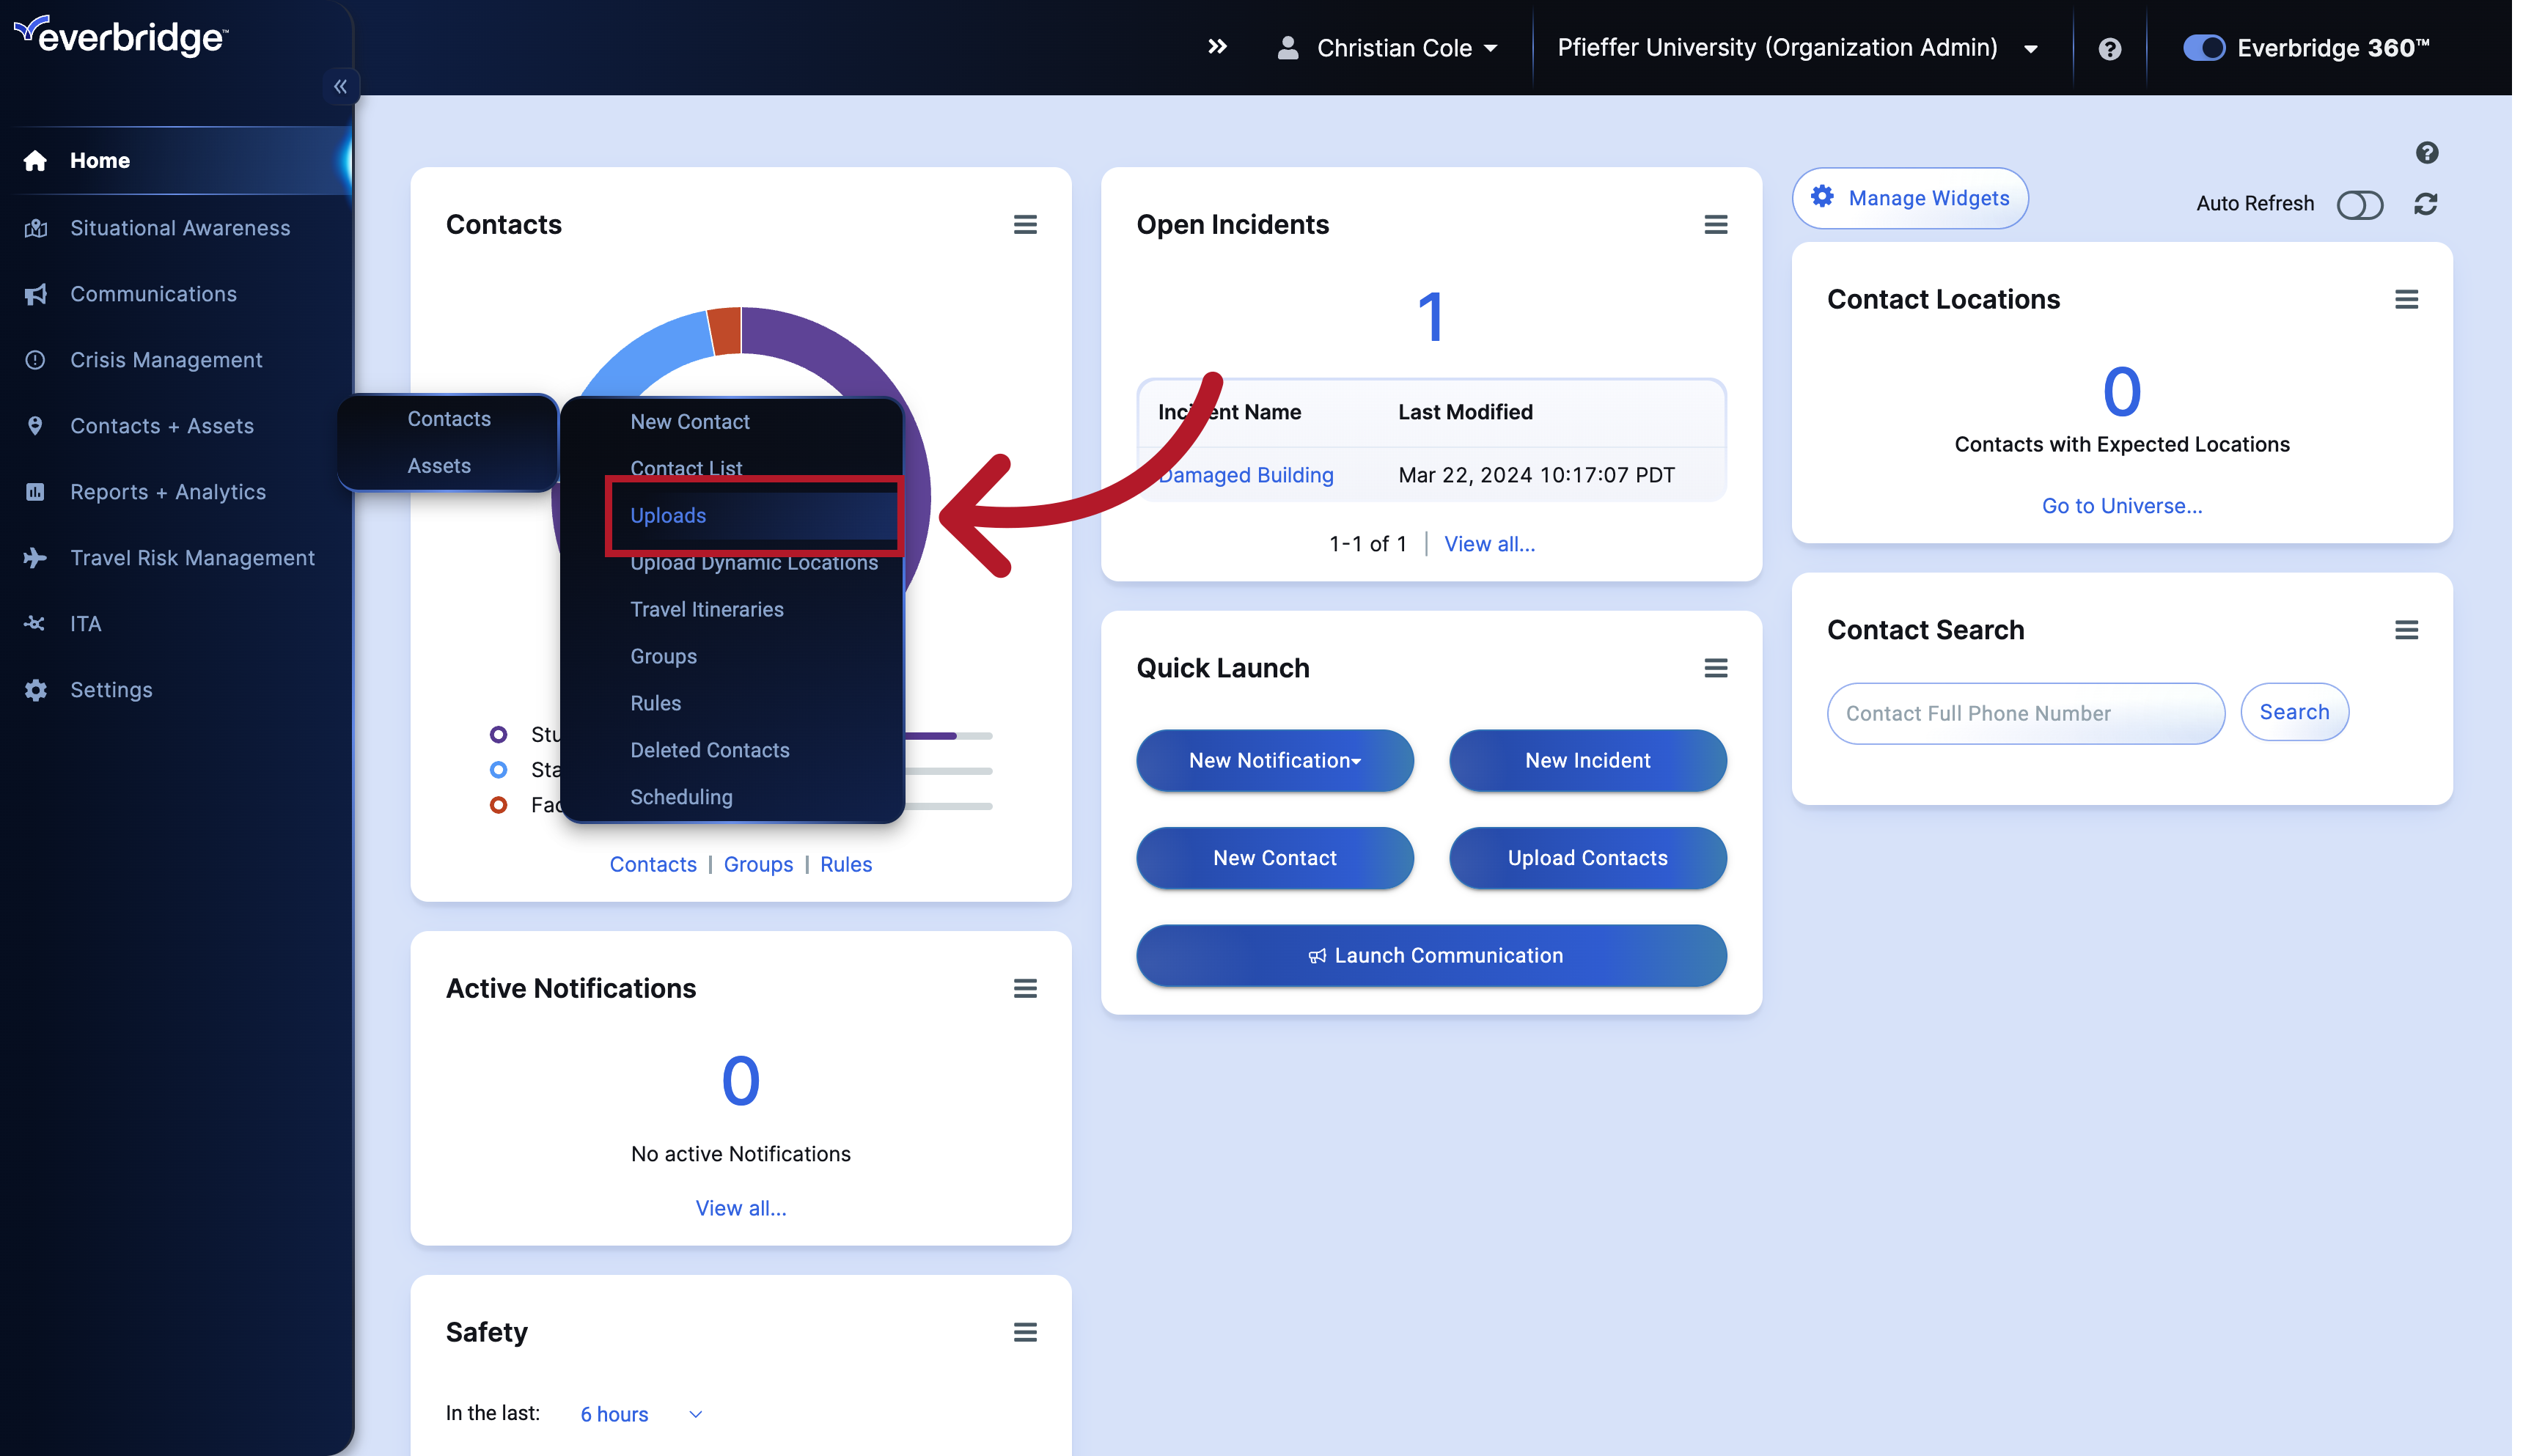
5. Uploads
Depending upon your organization,

6. Upload History
you may see previous Uploads from other users like we see here.

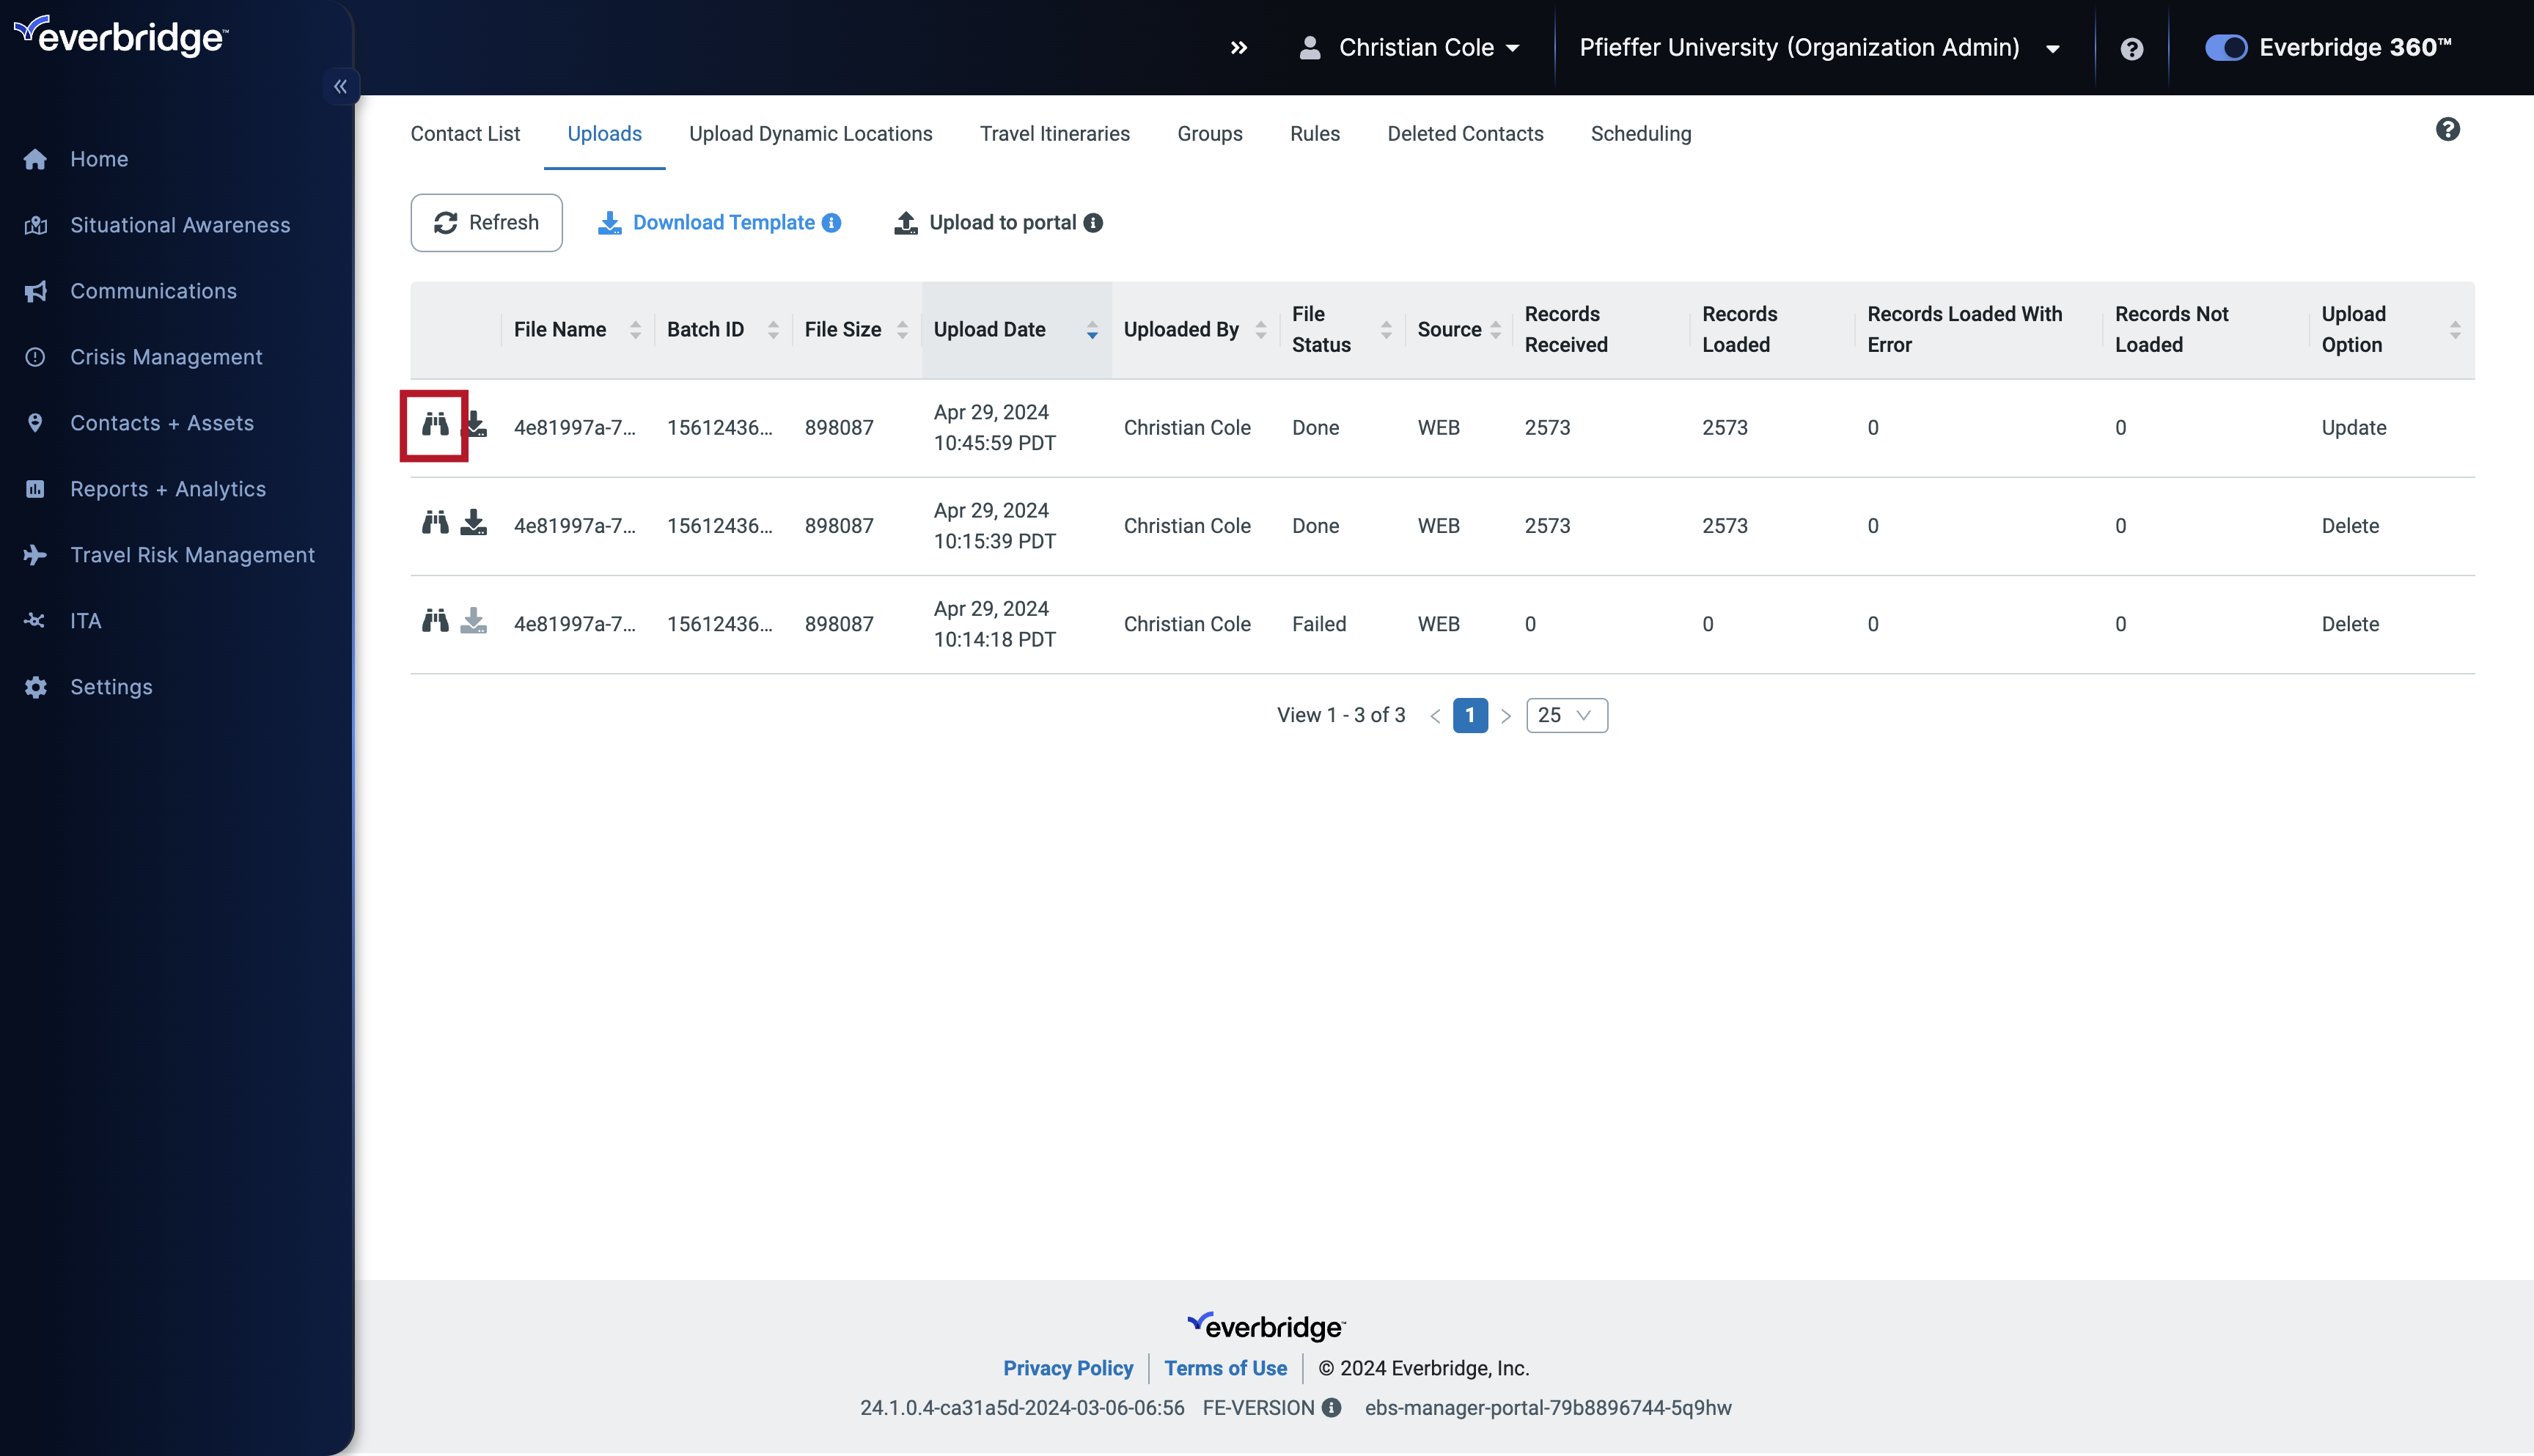
7. Upload Details
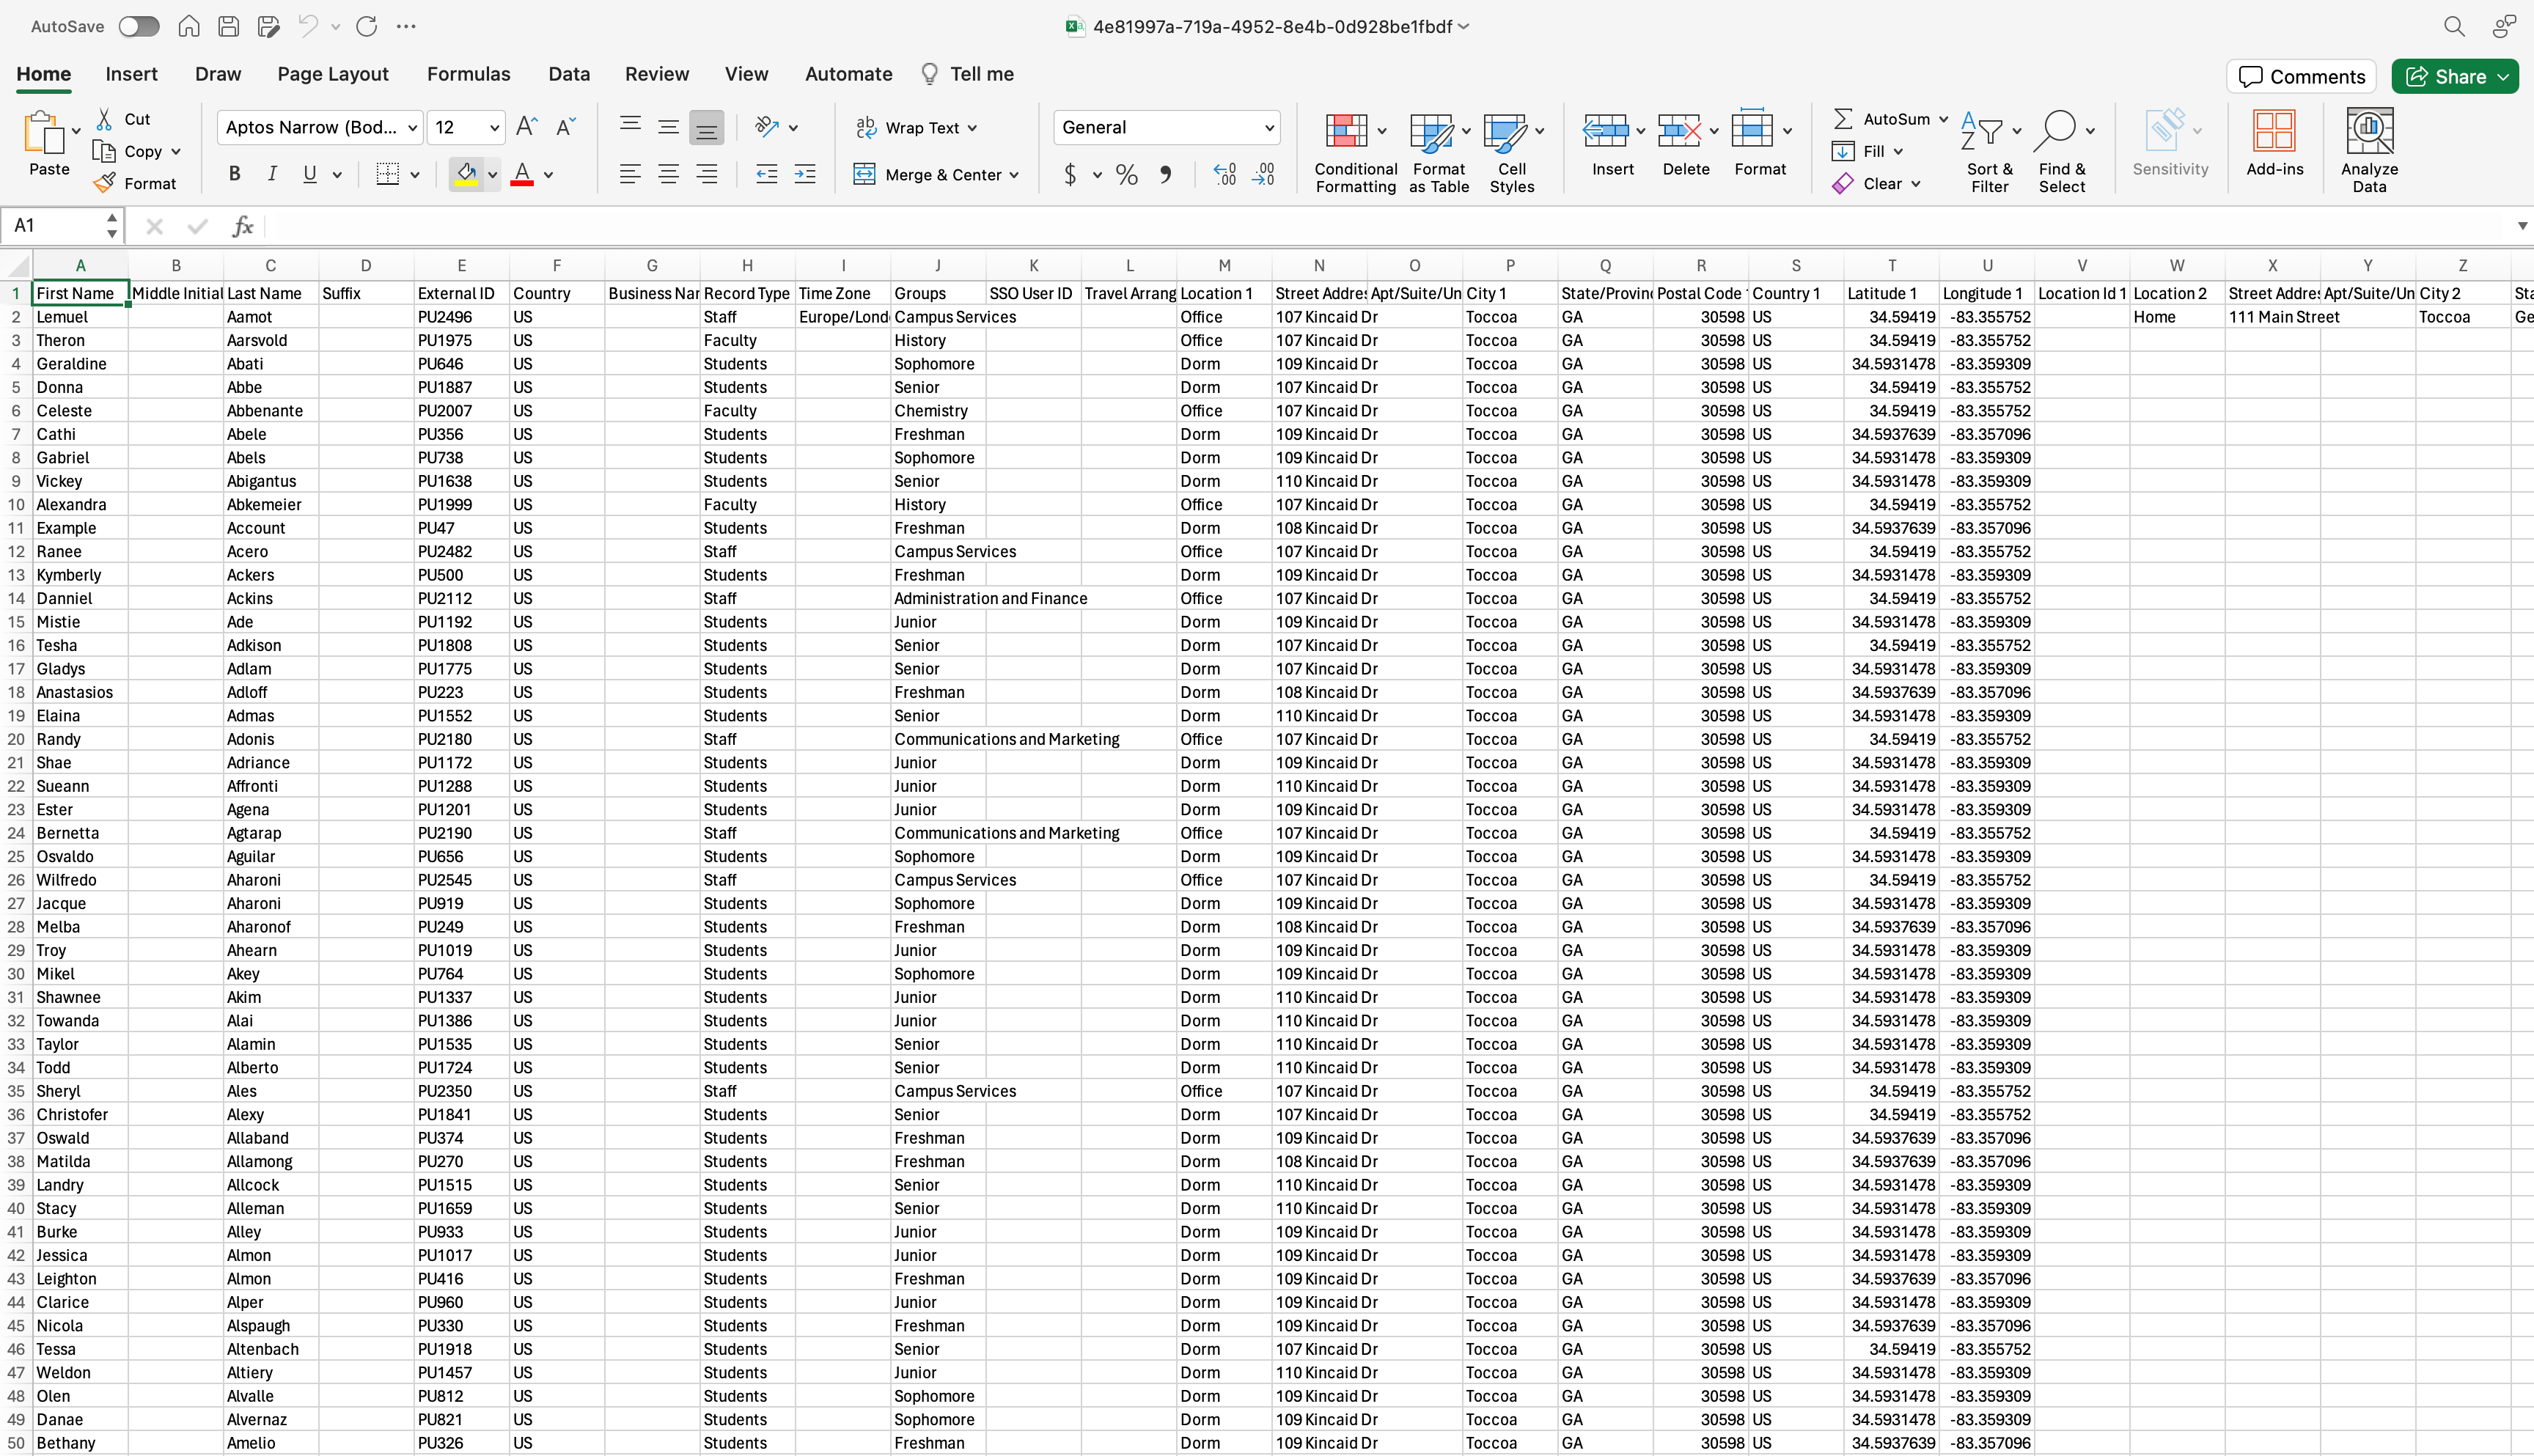
You can view details of these past Uploads by selecting the Binoculars icon
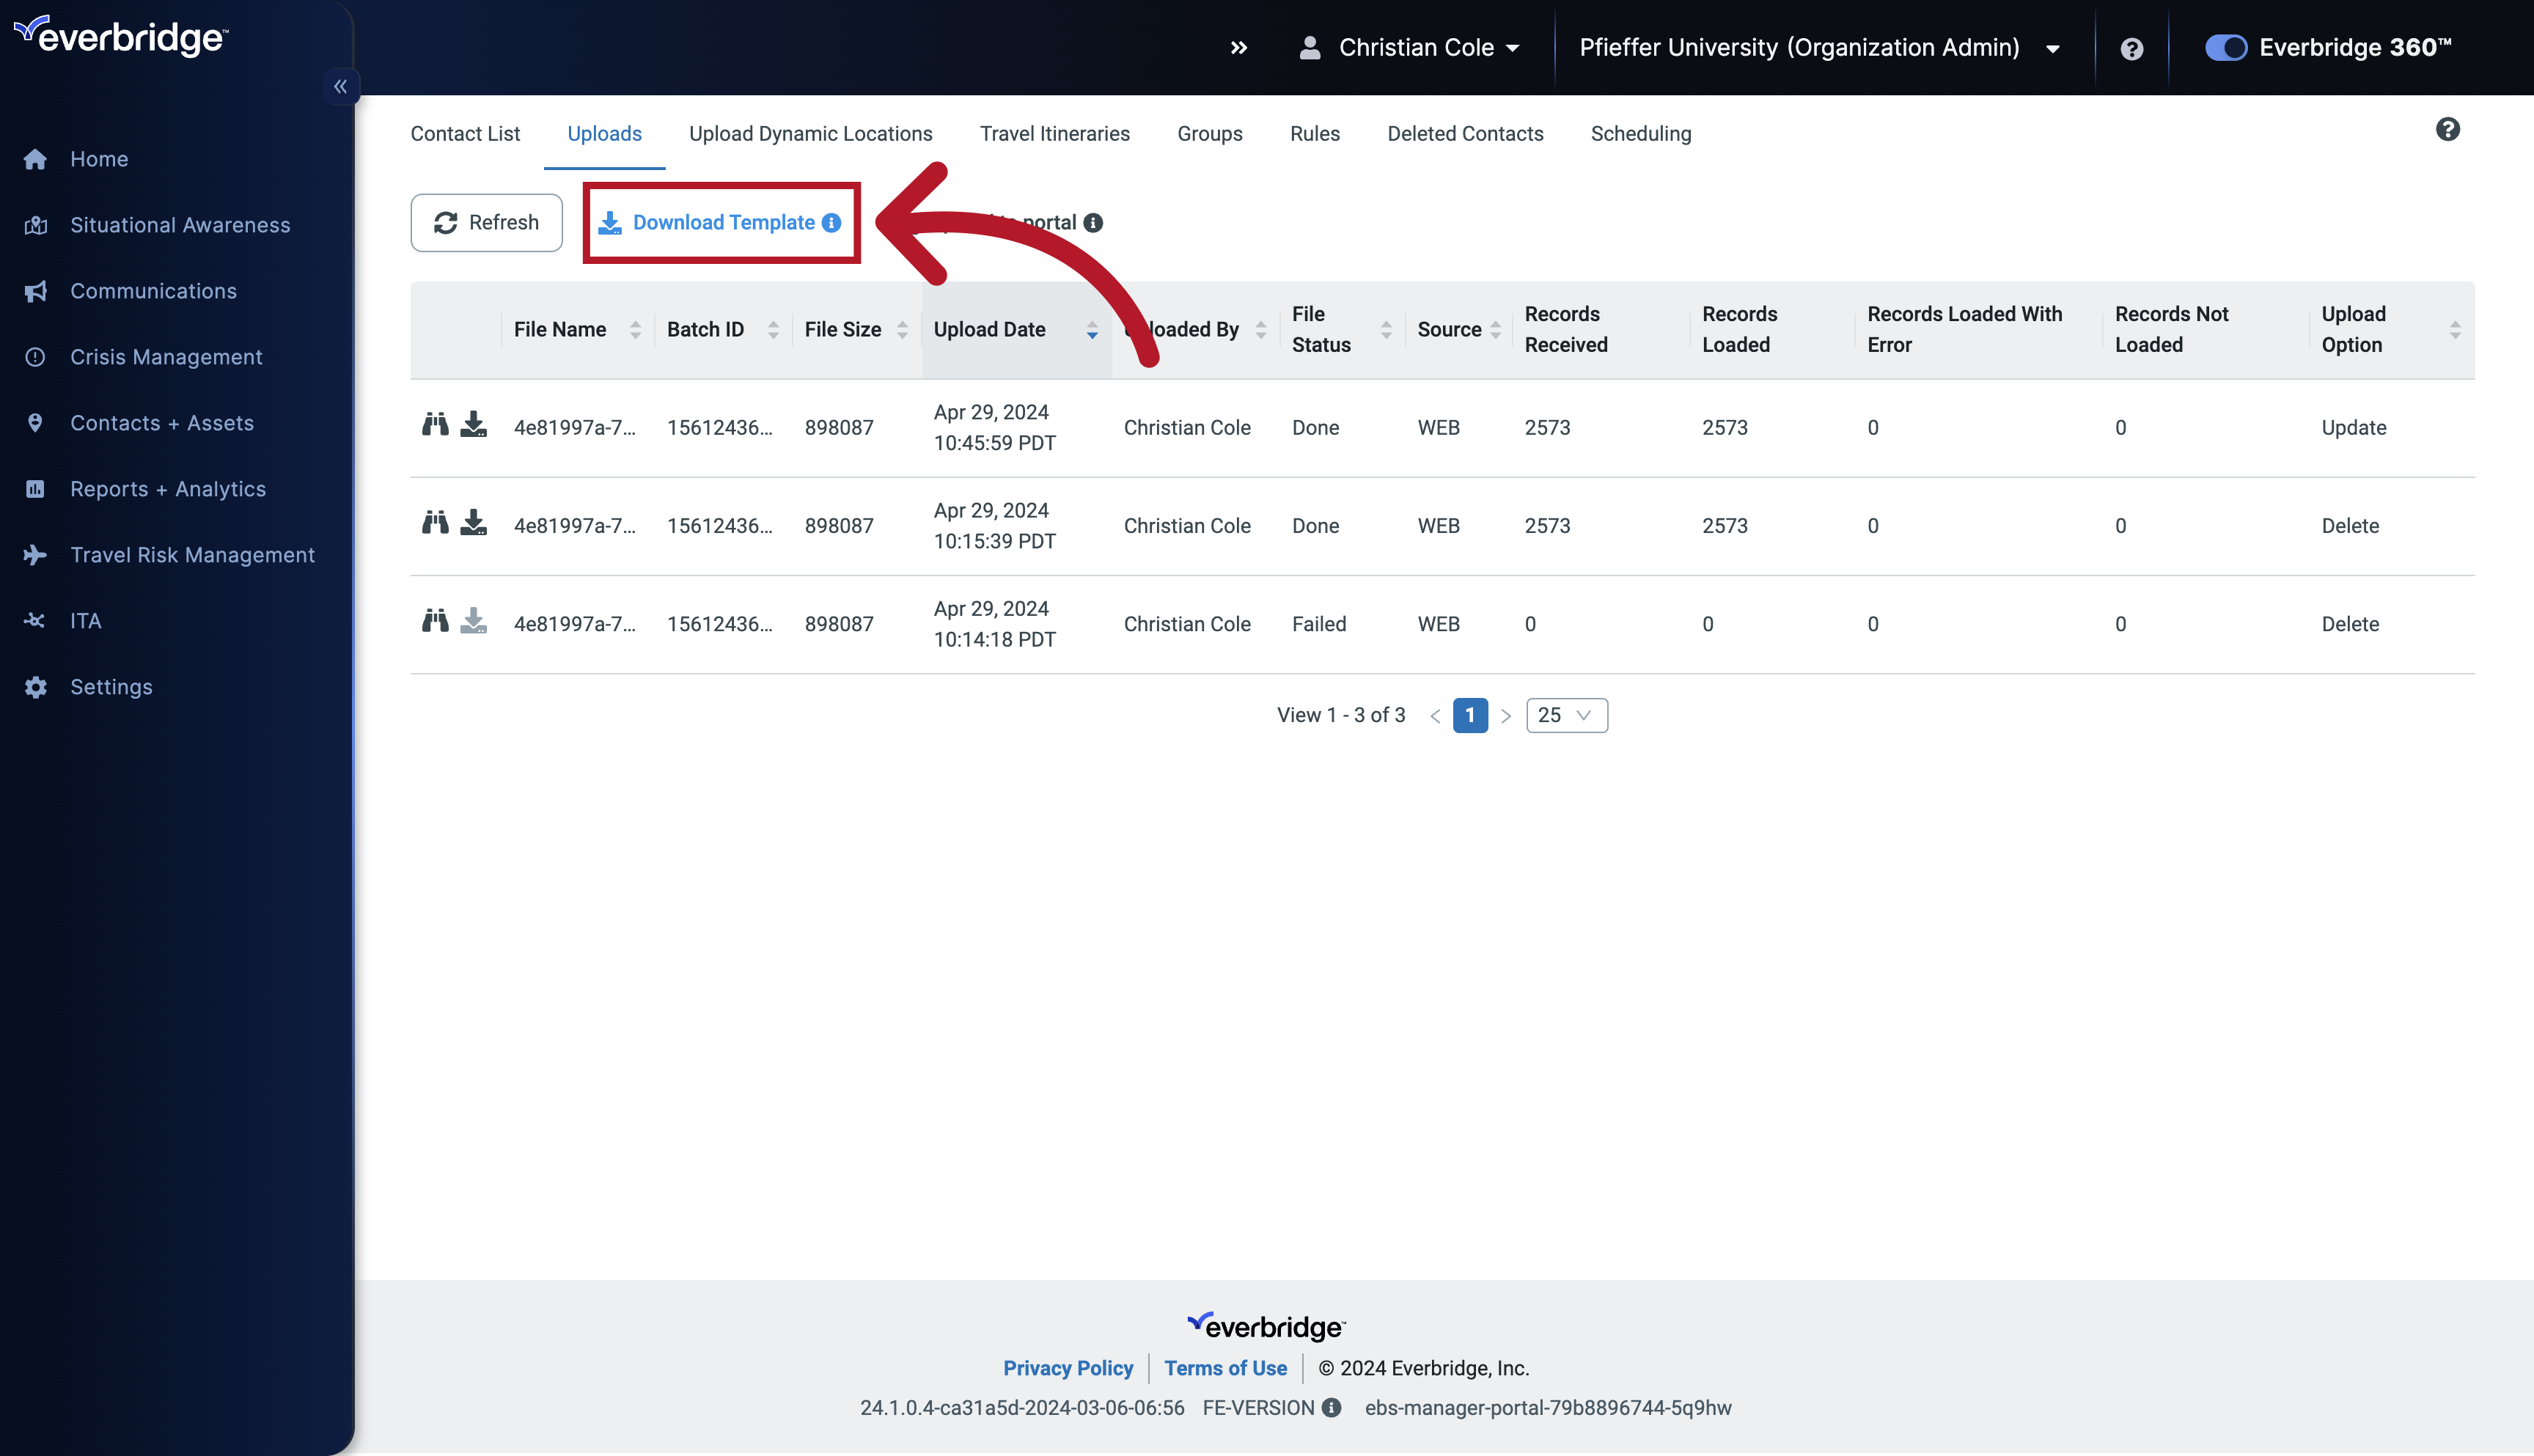
8. Download Template
As well as download a CSV template to use for your Contact Upload.
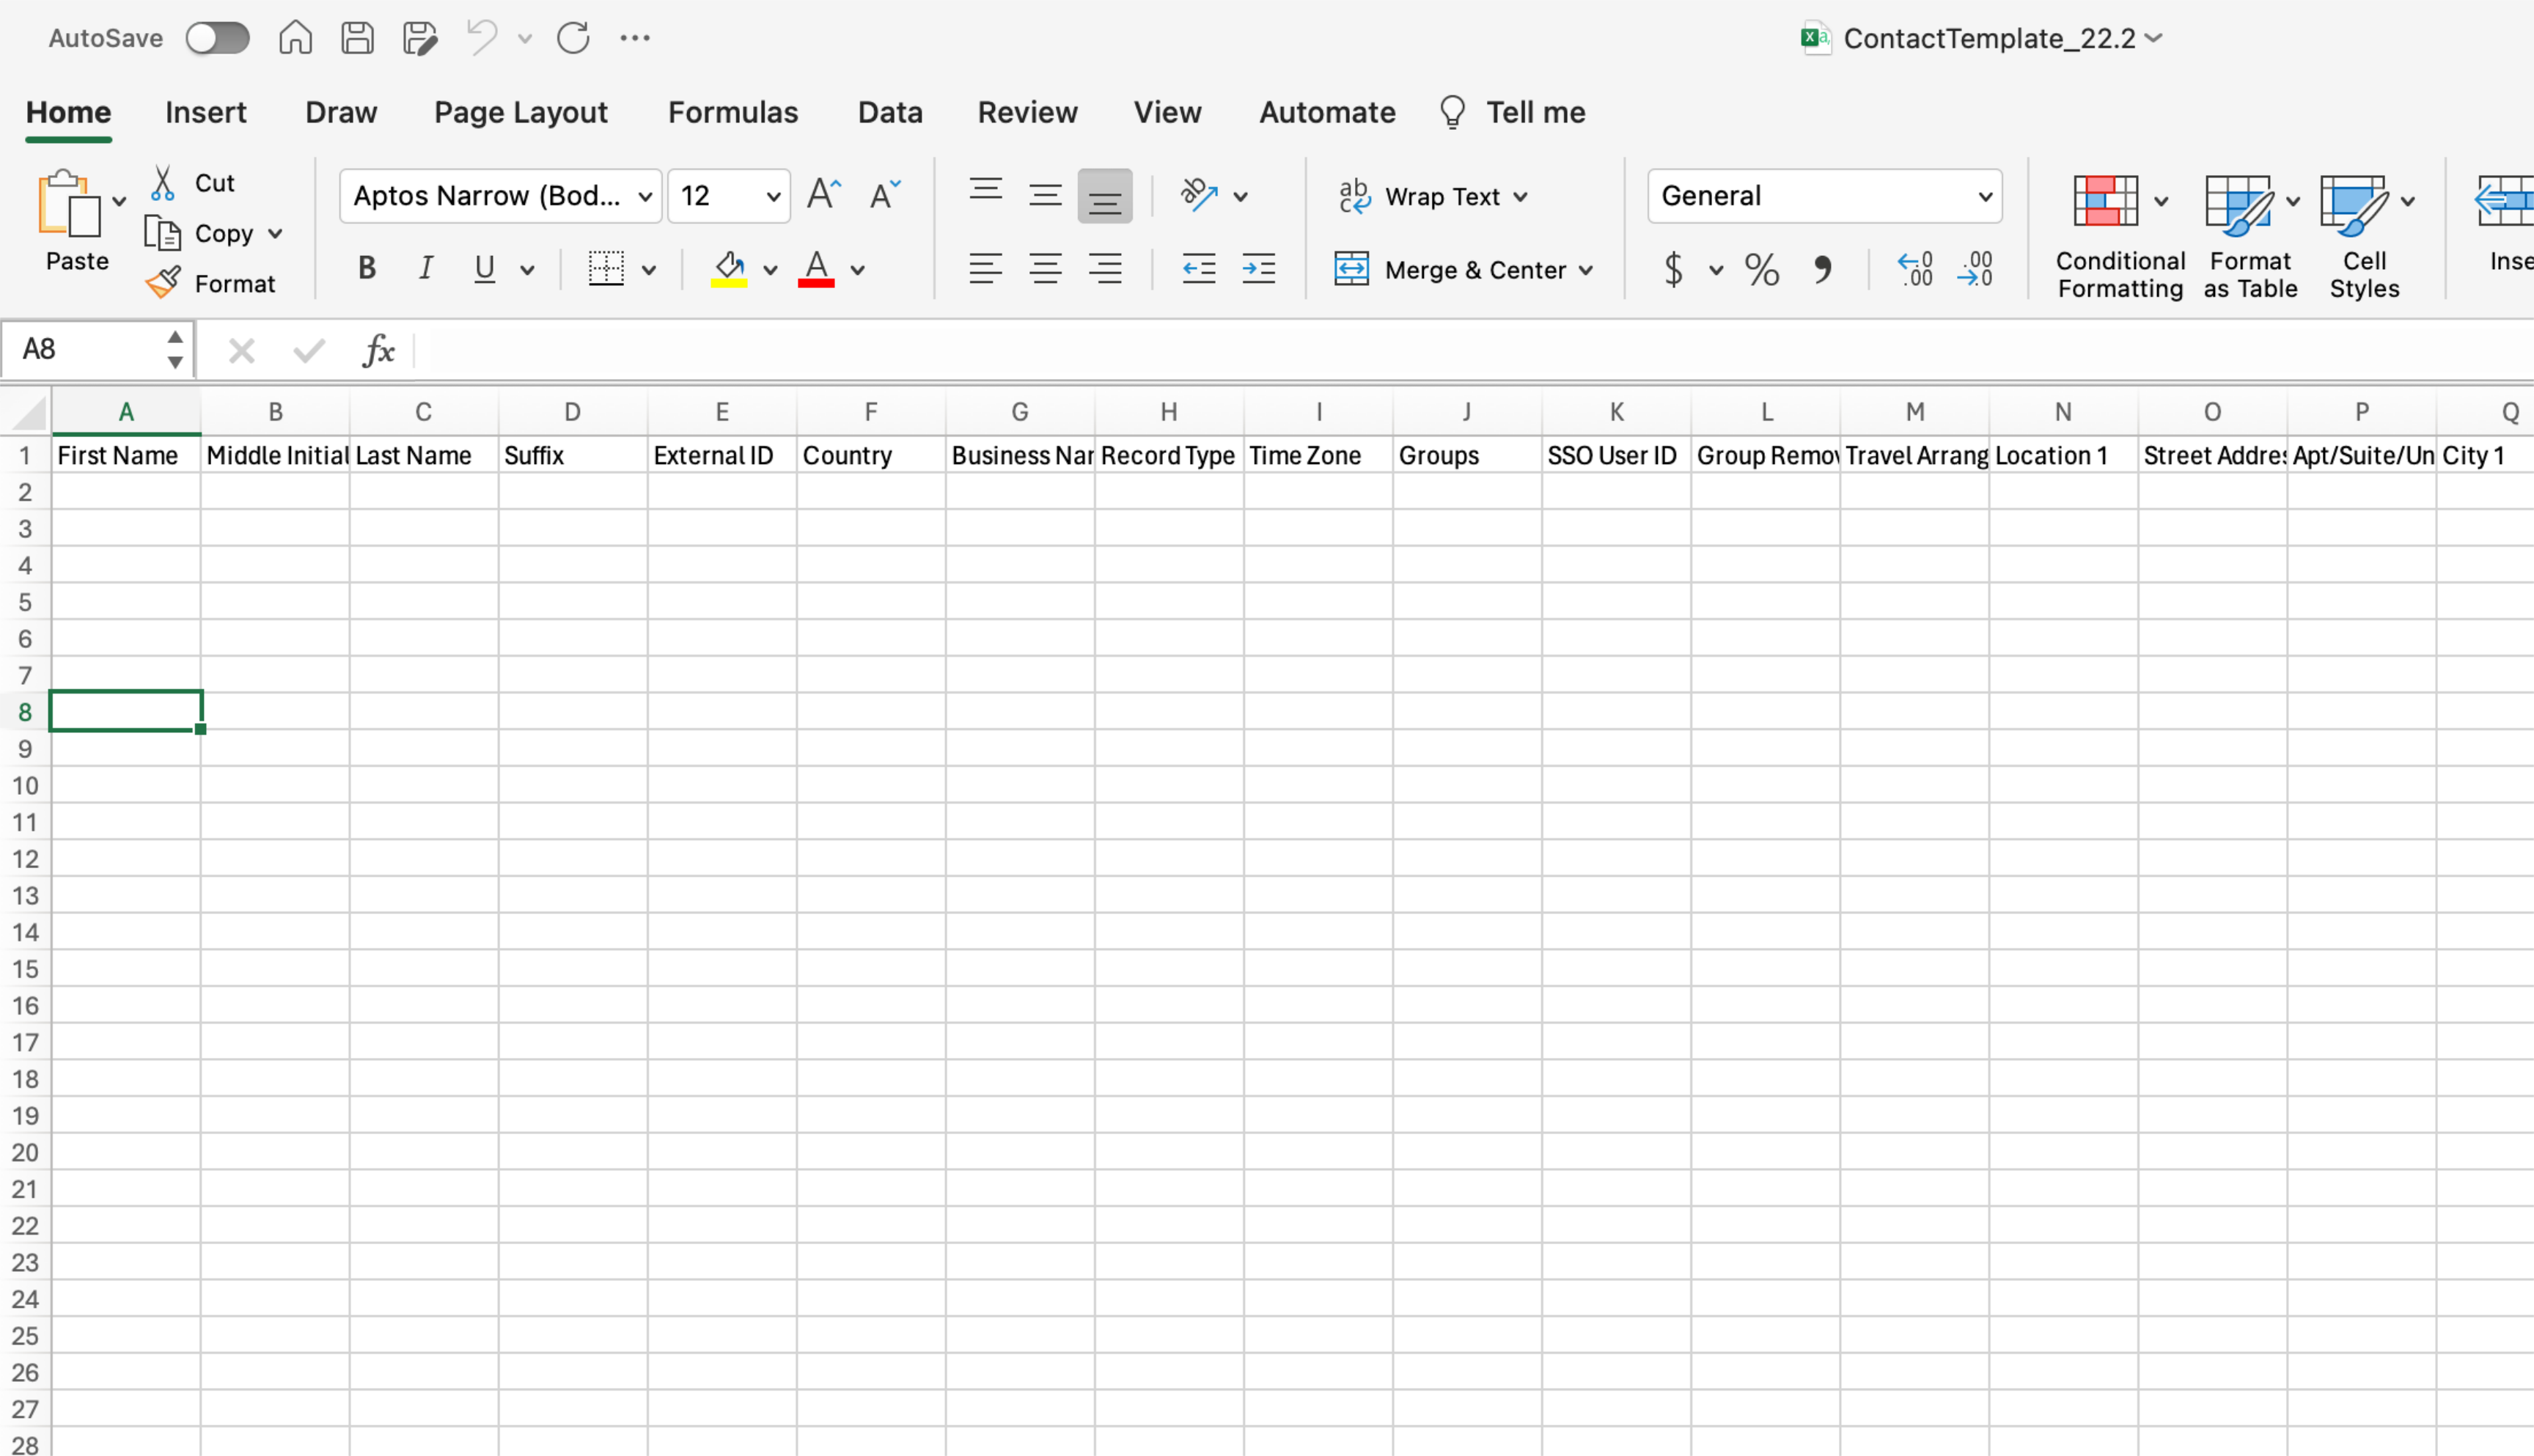
9. Template
Take incredible care when using this Template. If you adjust or edit the column headers, then errors will occur during the upload process.
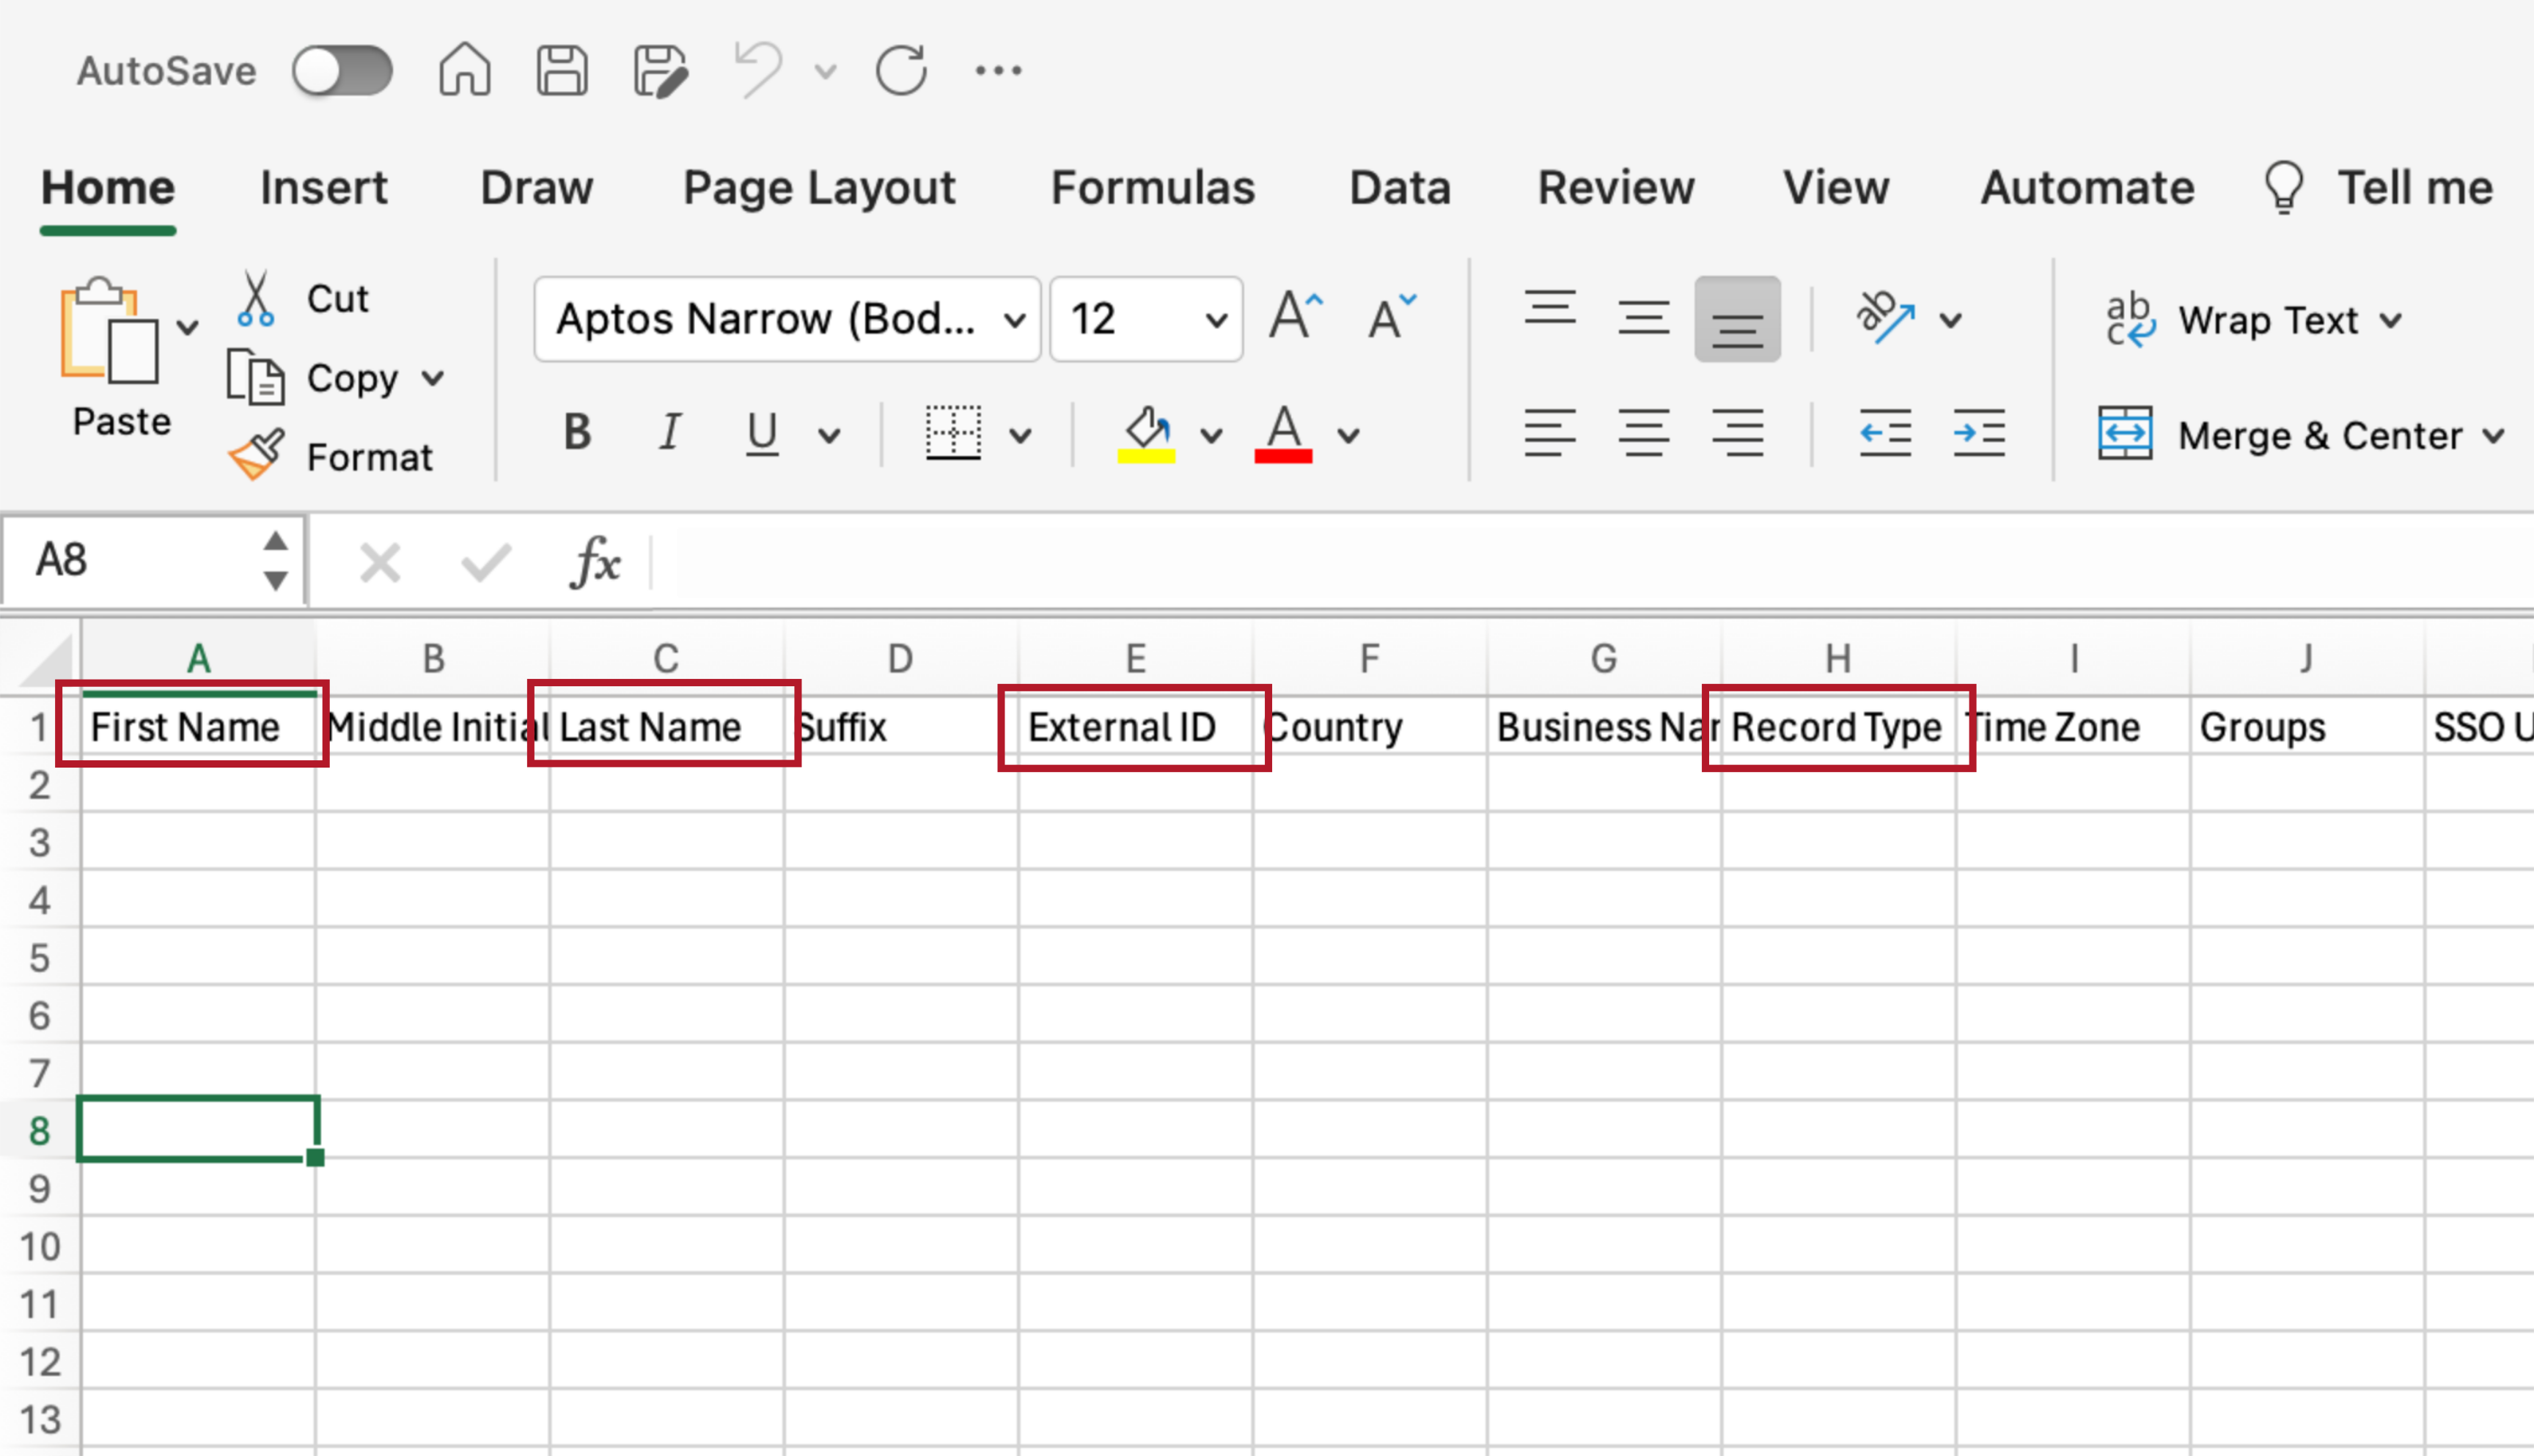
10. Required Fields
You also cannot leave the First Name,
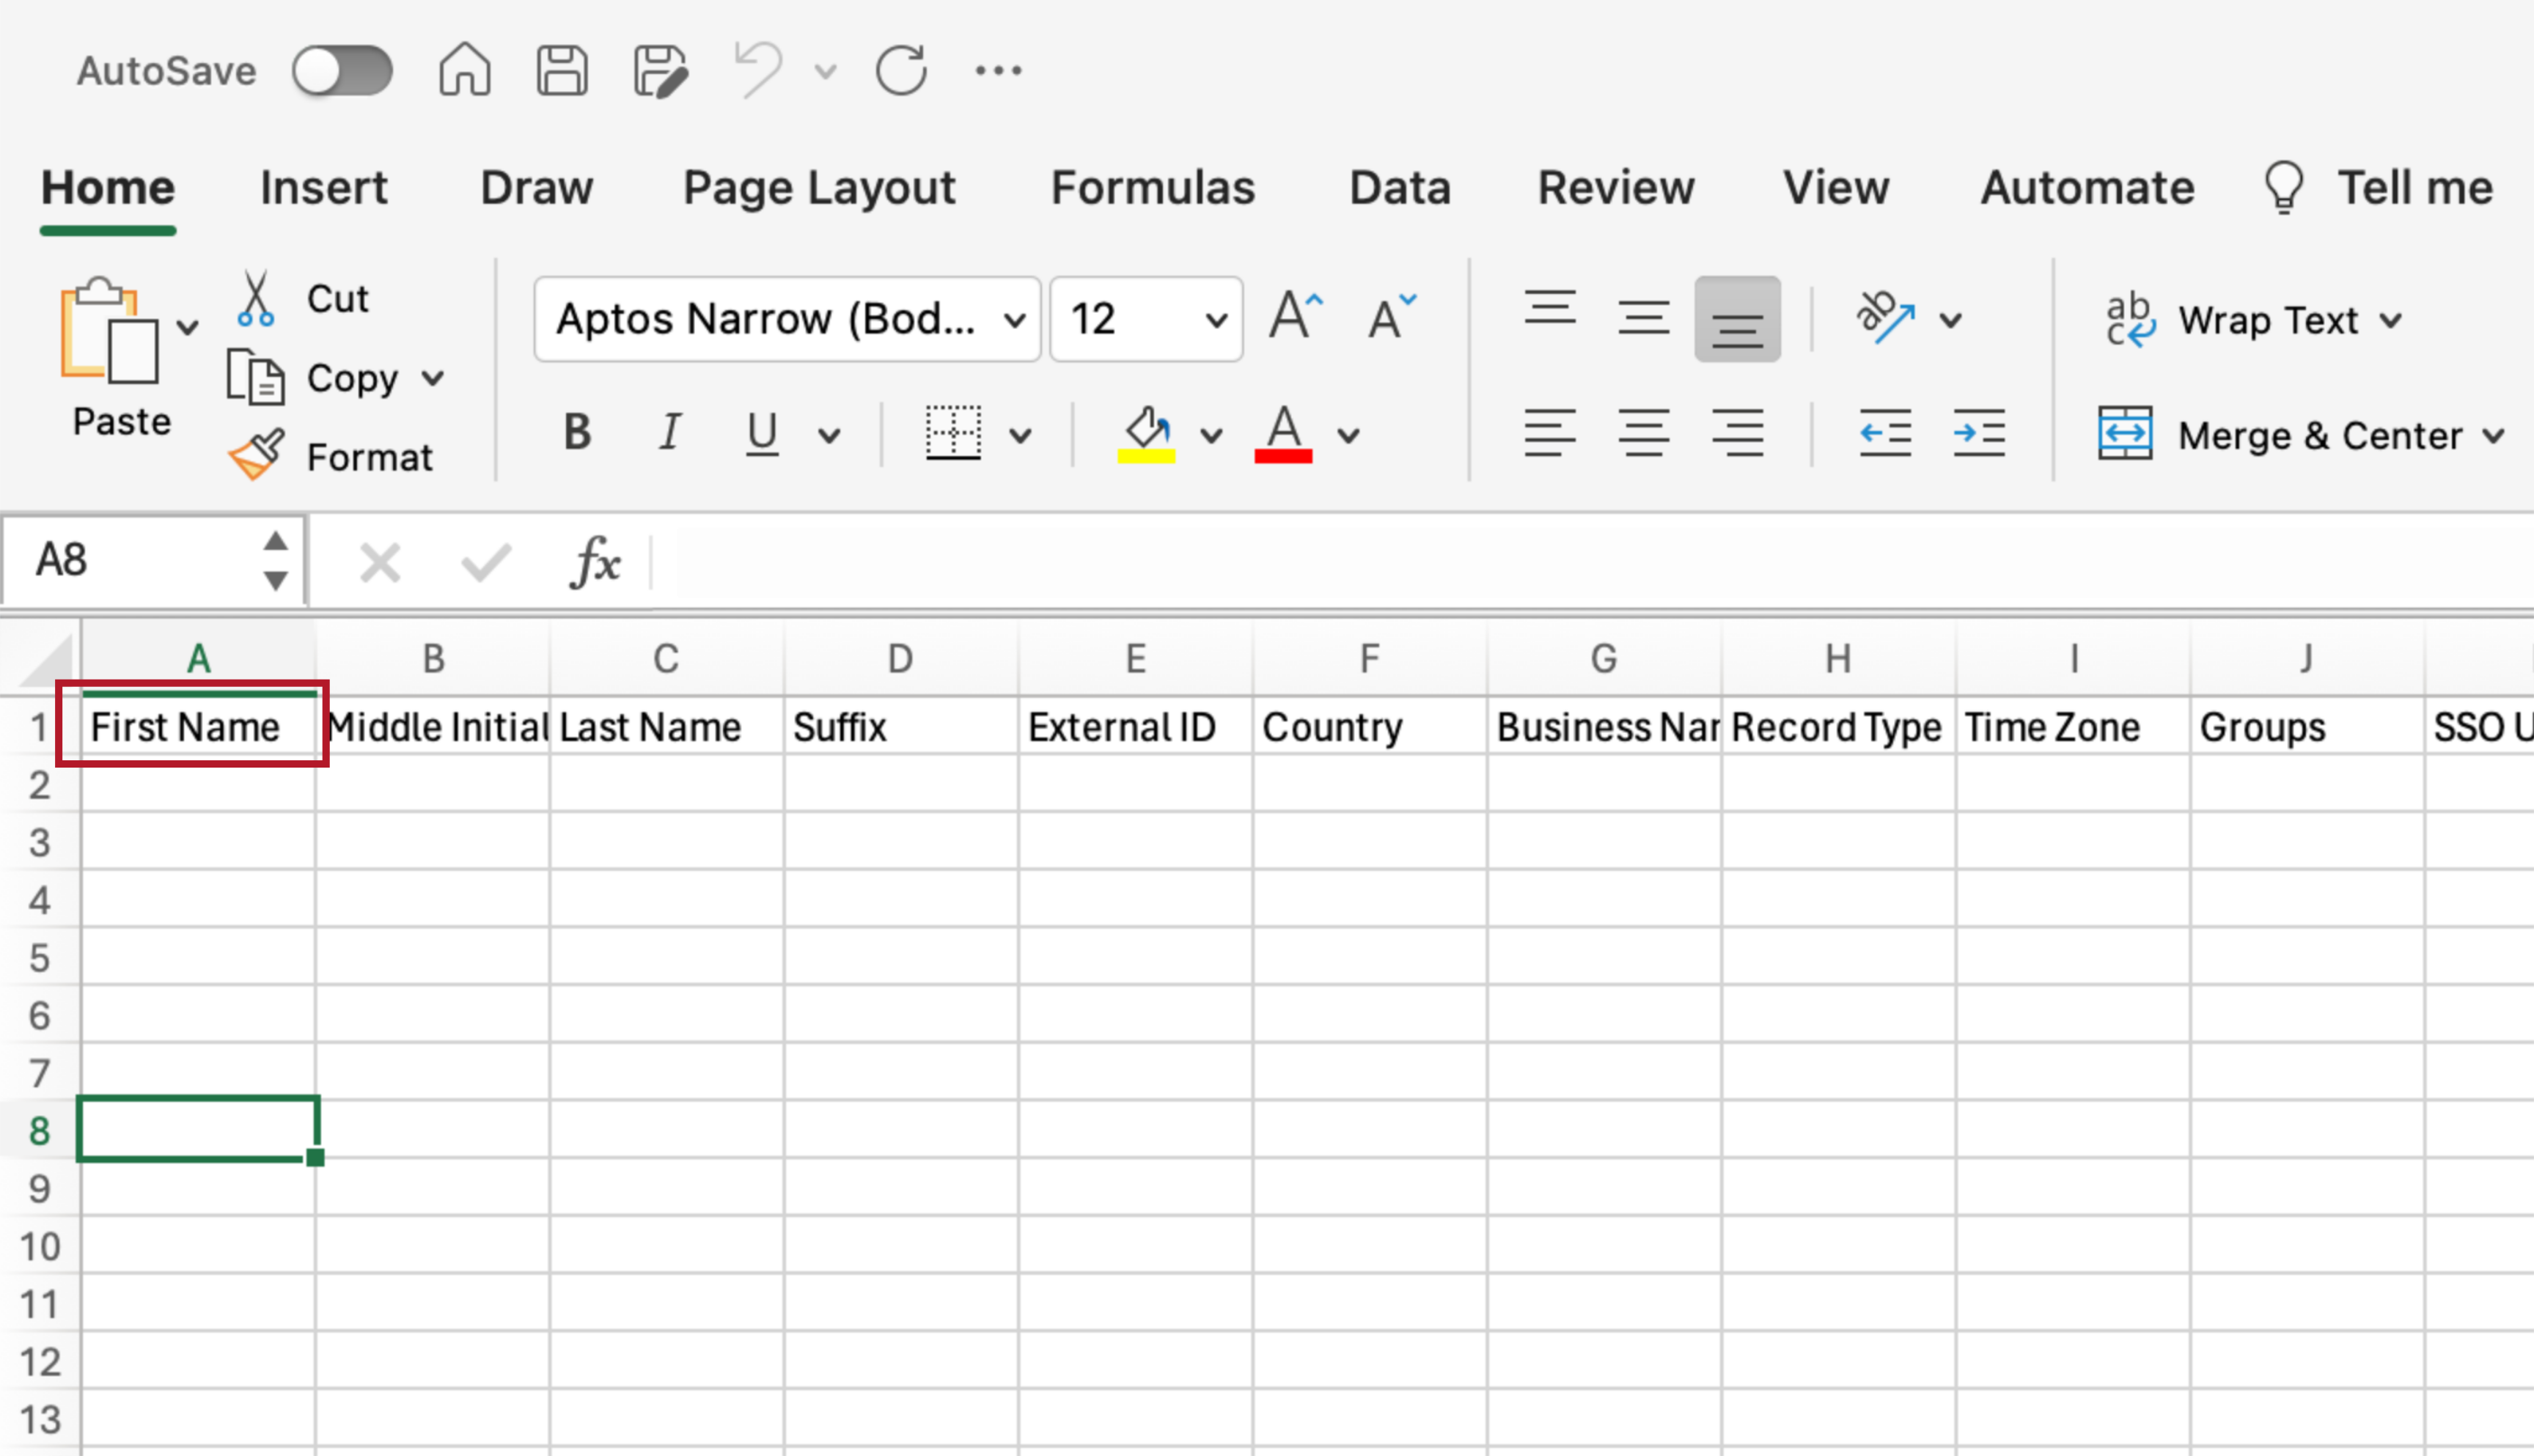
11. Required Fields
Last Name,

12. Required Fields
External ID,

13. Required Fields
or Record Type fields empty when performing a Contact Upload.
14. Uploads
Access the various options under "Uploads" to manage your data effectively.
15. Download All Contacts
Before performing an Upload, it's best practice to download all Contacts just in case an issue arises. To do this, navigate to your Contacts by selecting Contact List,
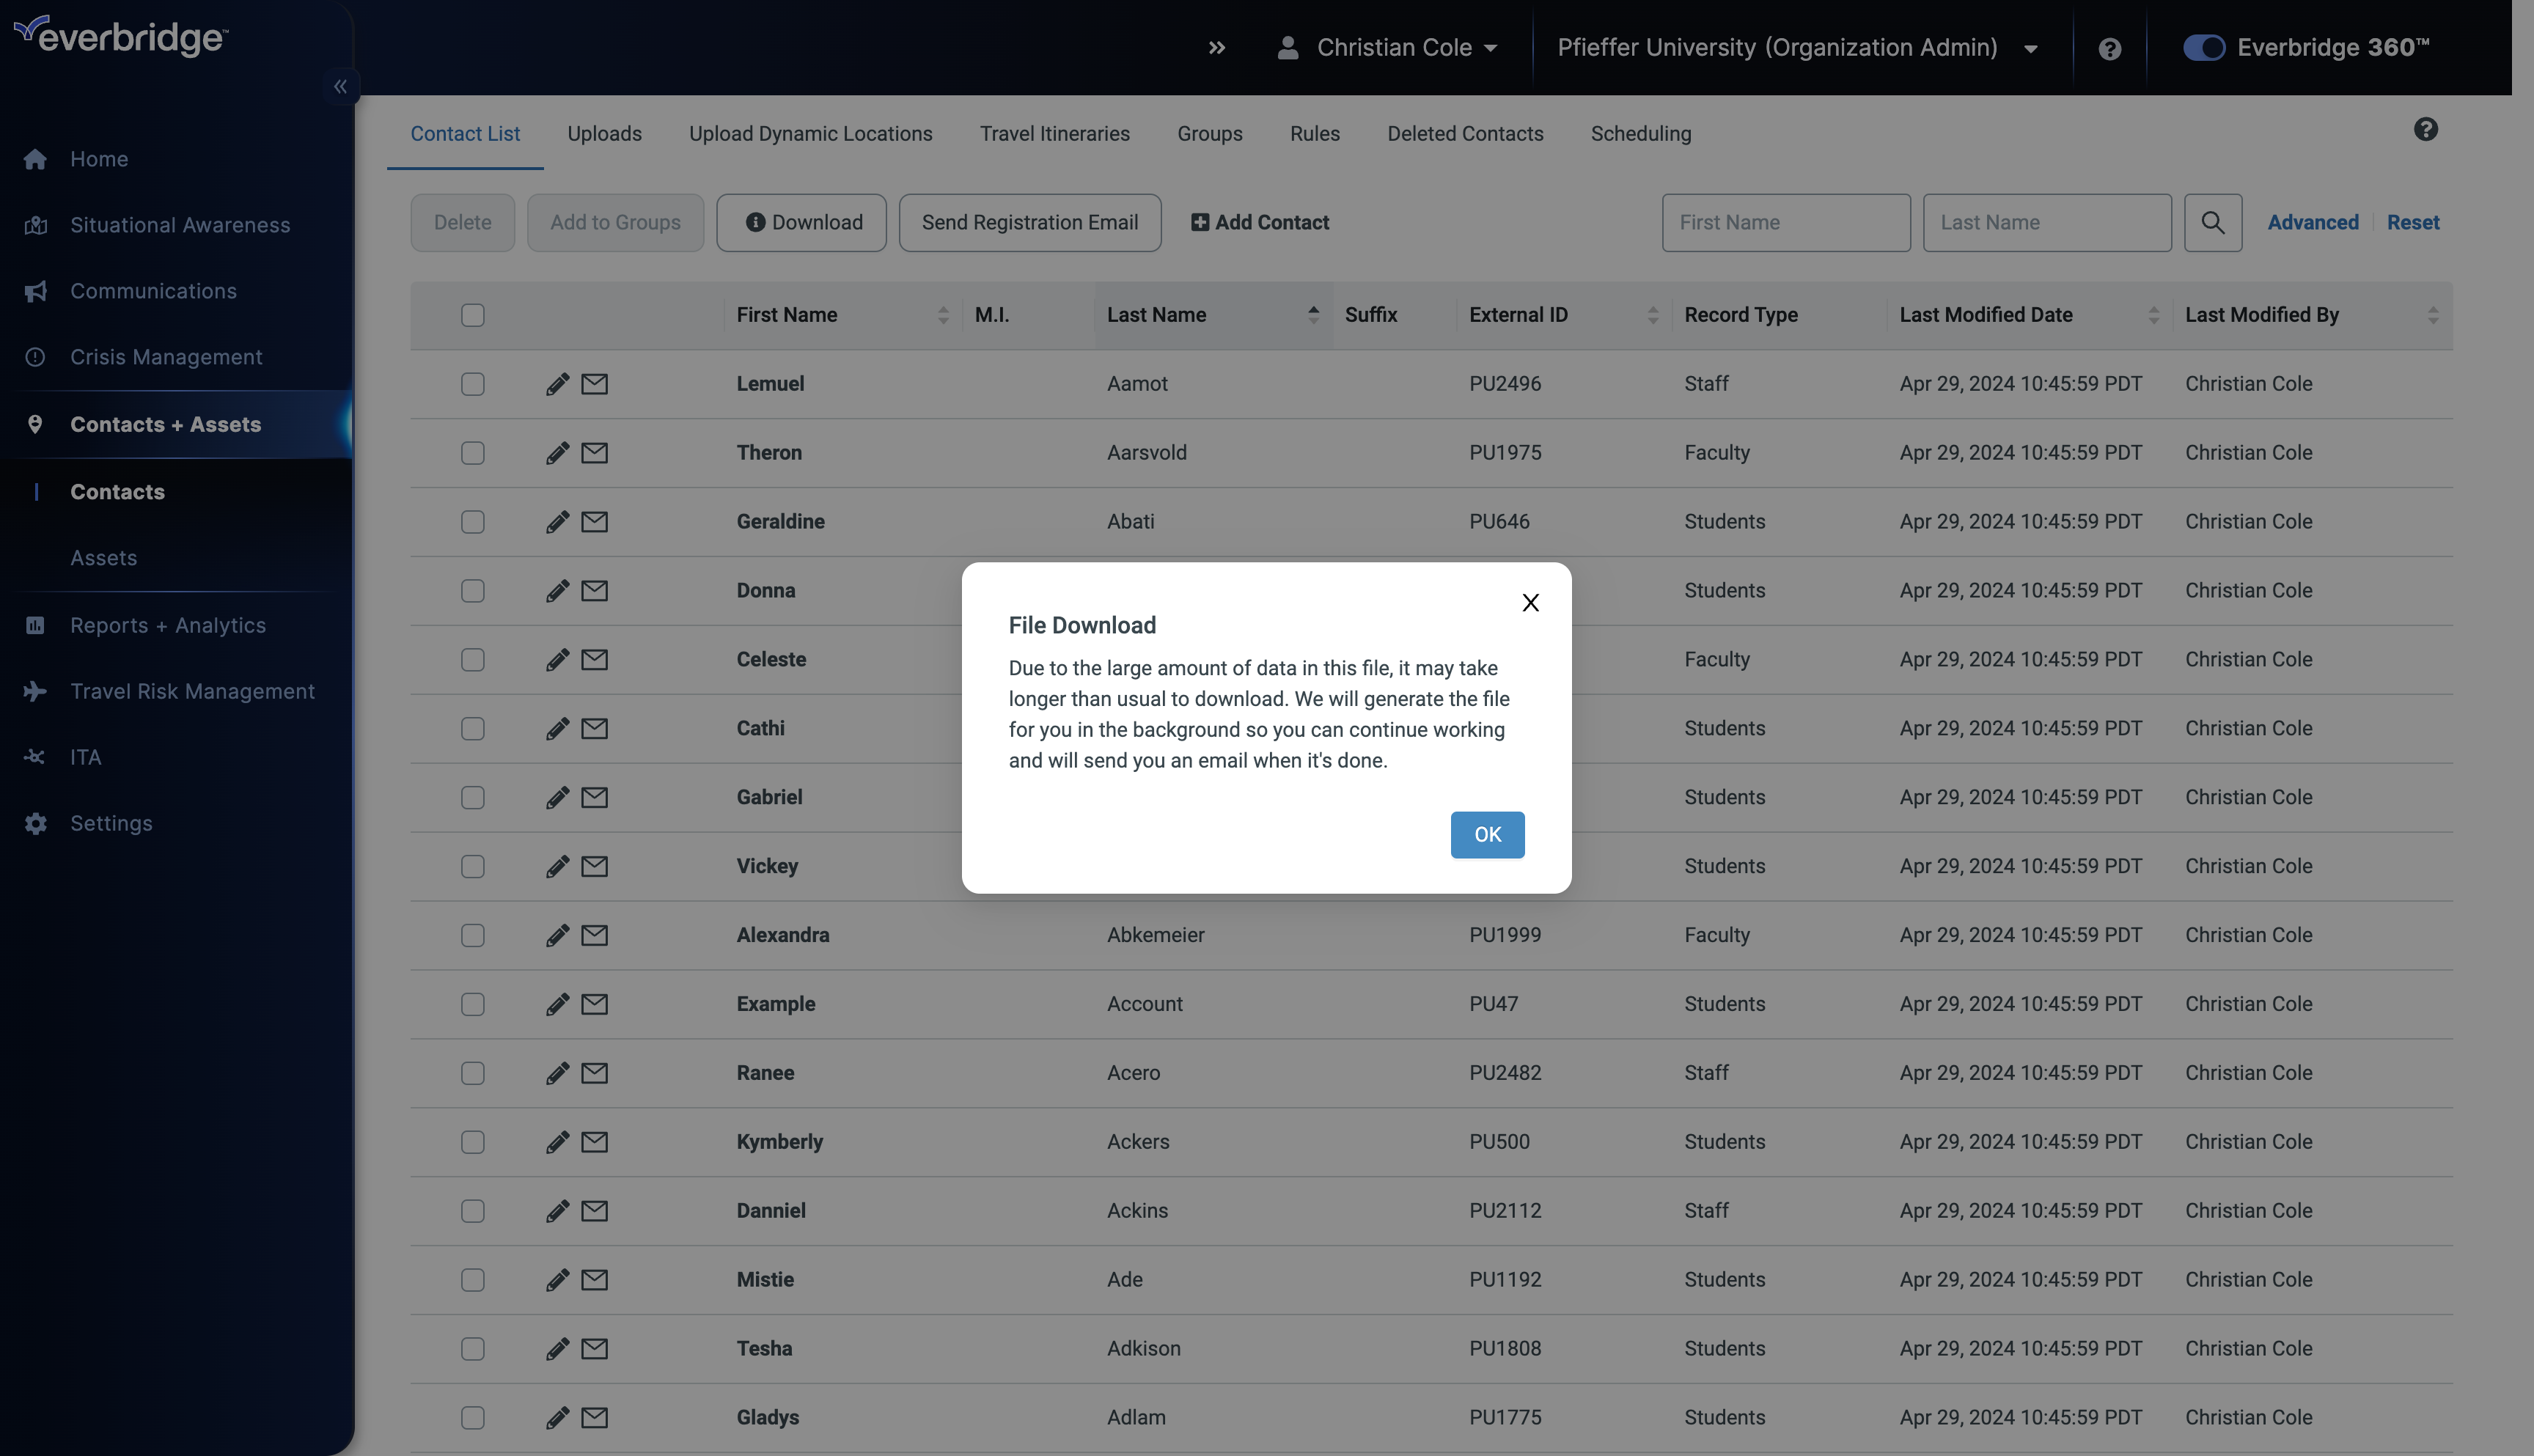
16. Download All Contacts
And then click Download to save your backup file.
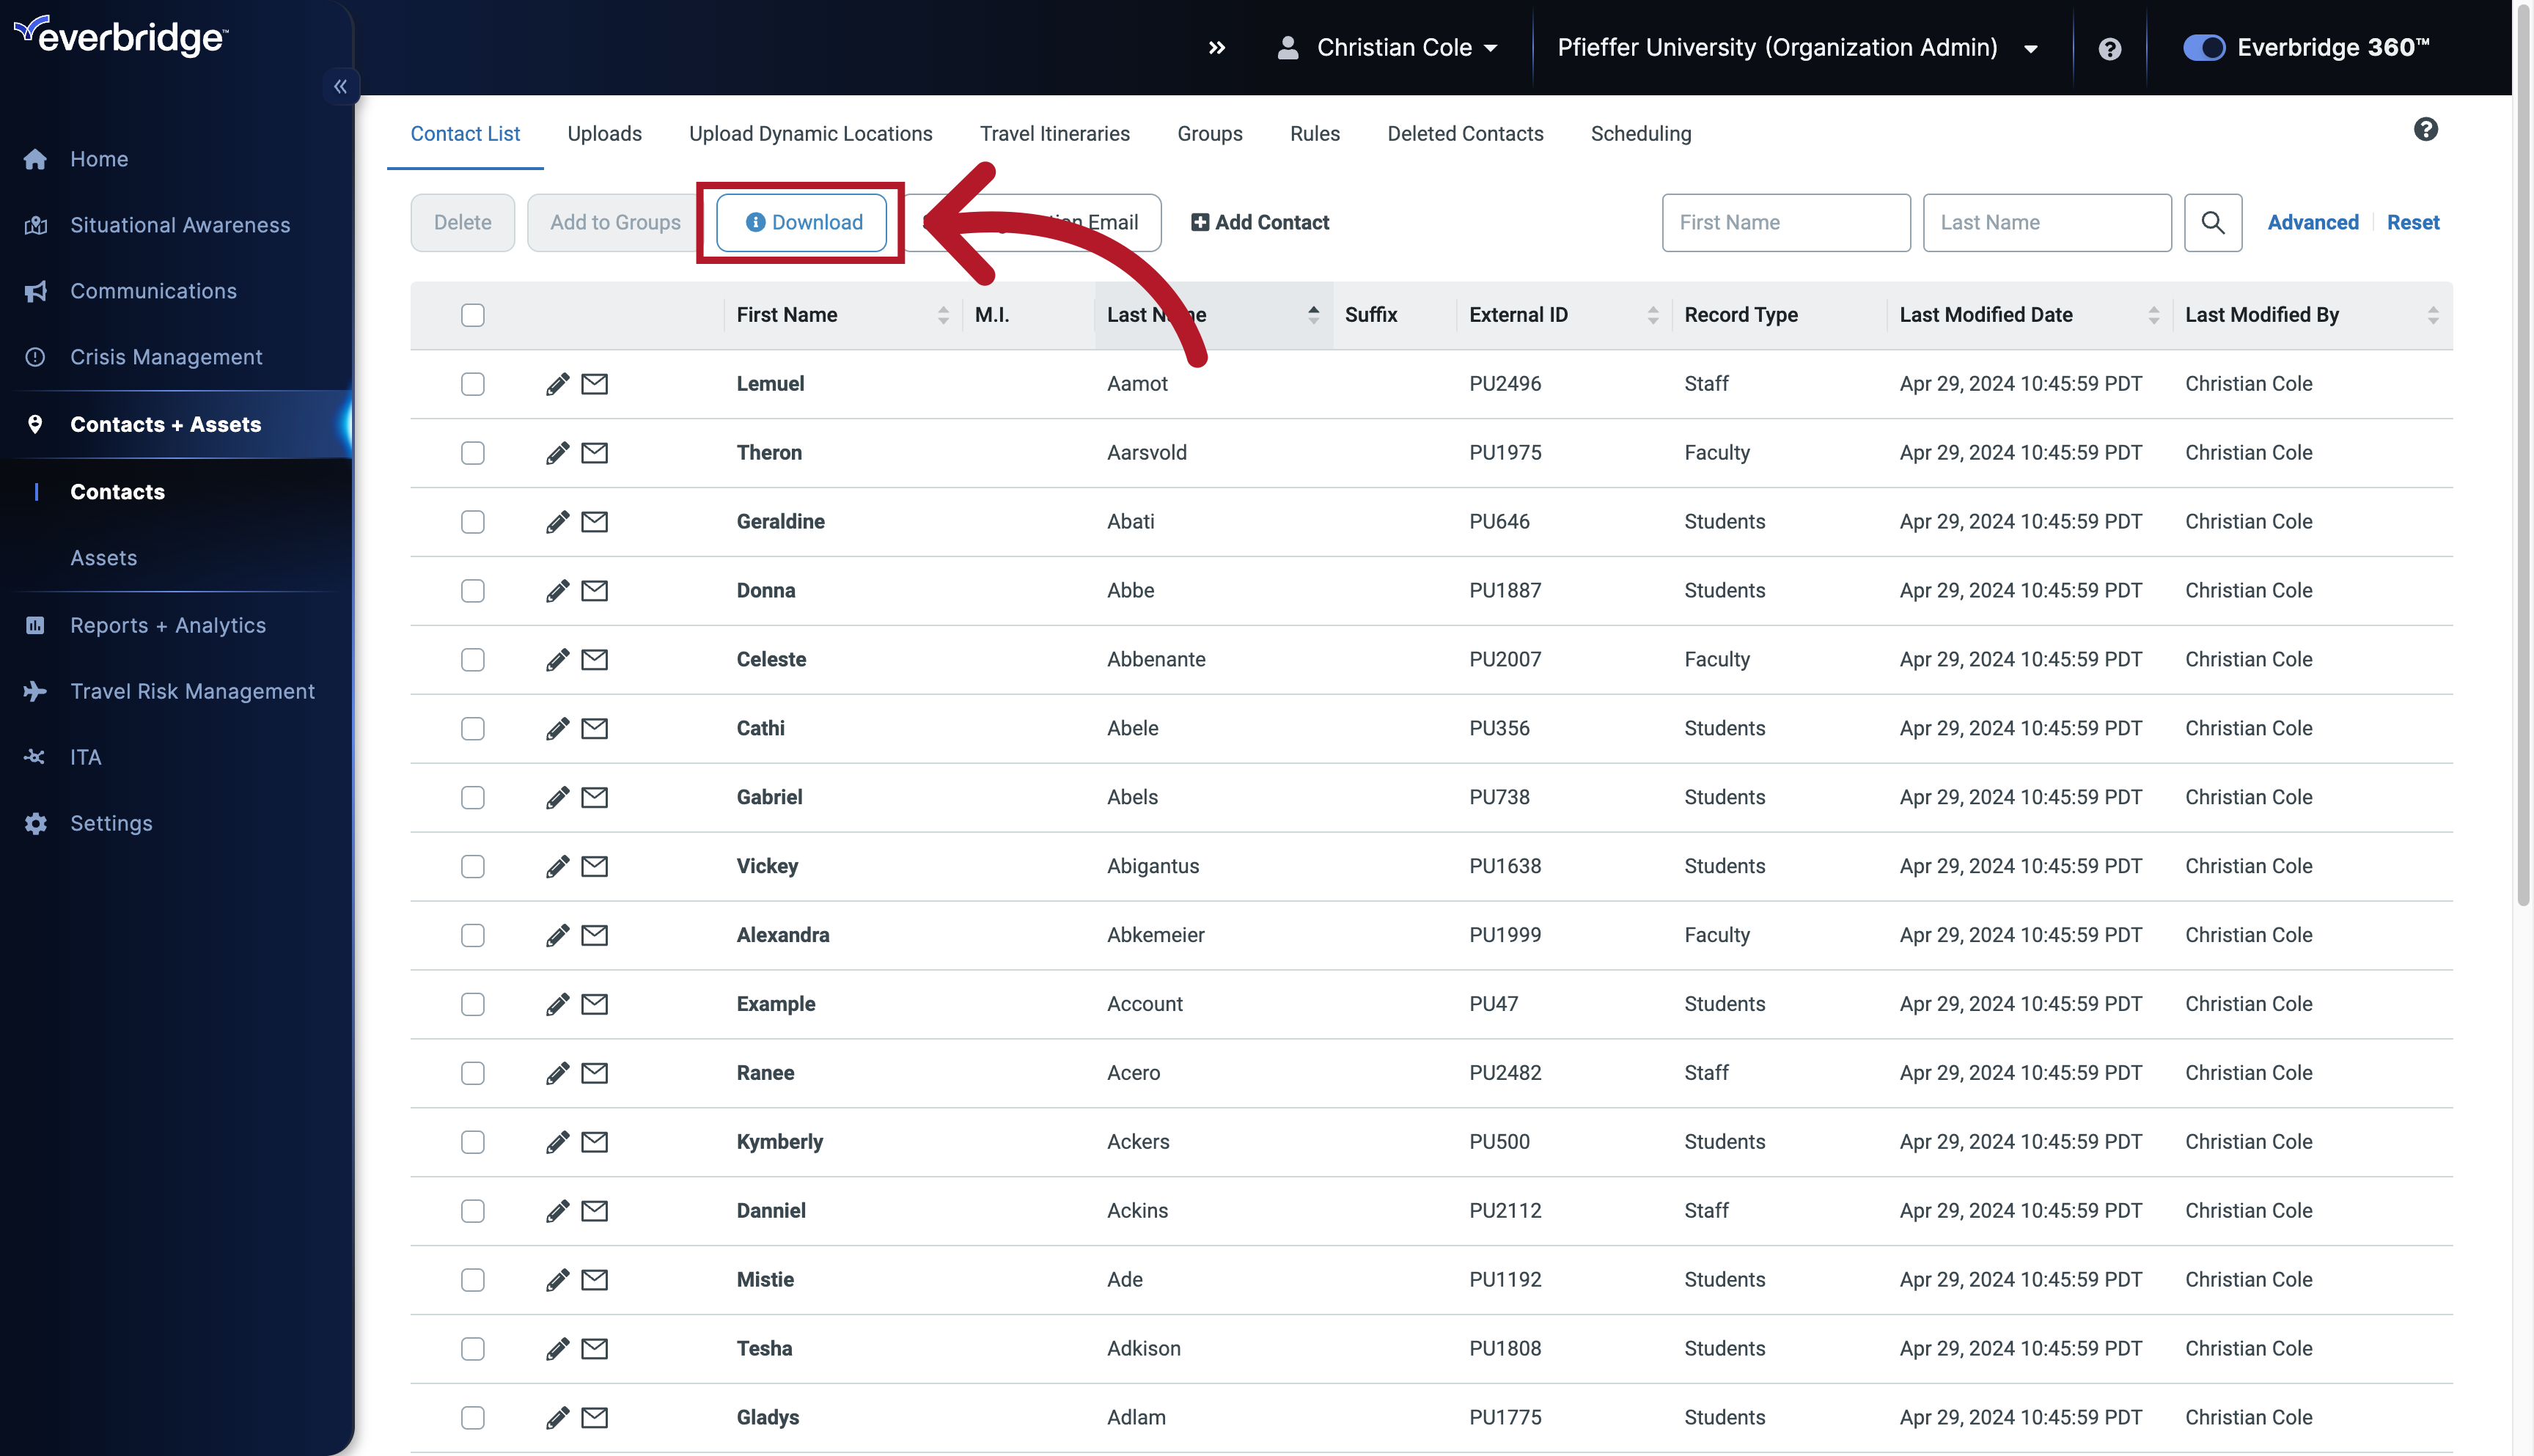
17. Download All Contacts
Depending upon the file size, an email may be generated containing the file once complete.
18. Populated Template
I'll be using an already filled-out Template. For more information on filling out the Template itself, check out our Contact Management courses in Everbridge University.
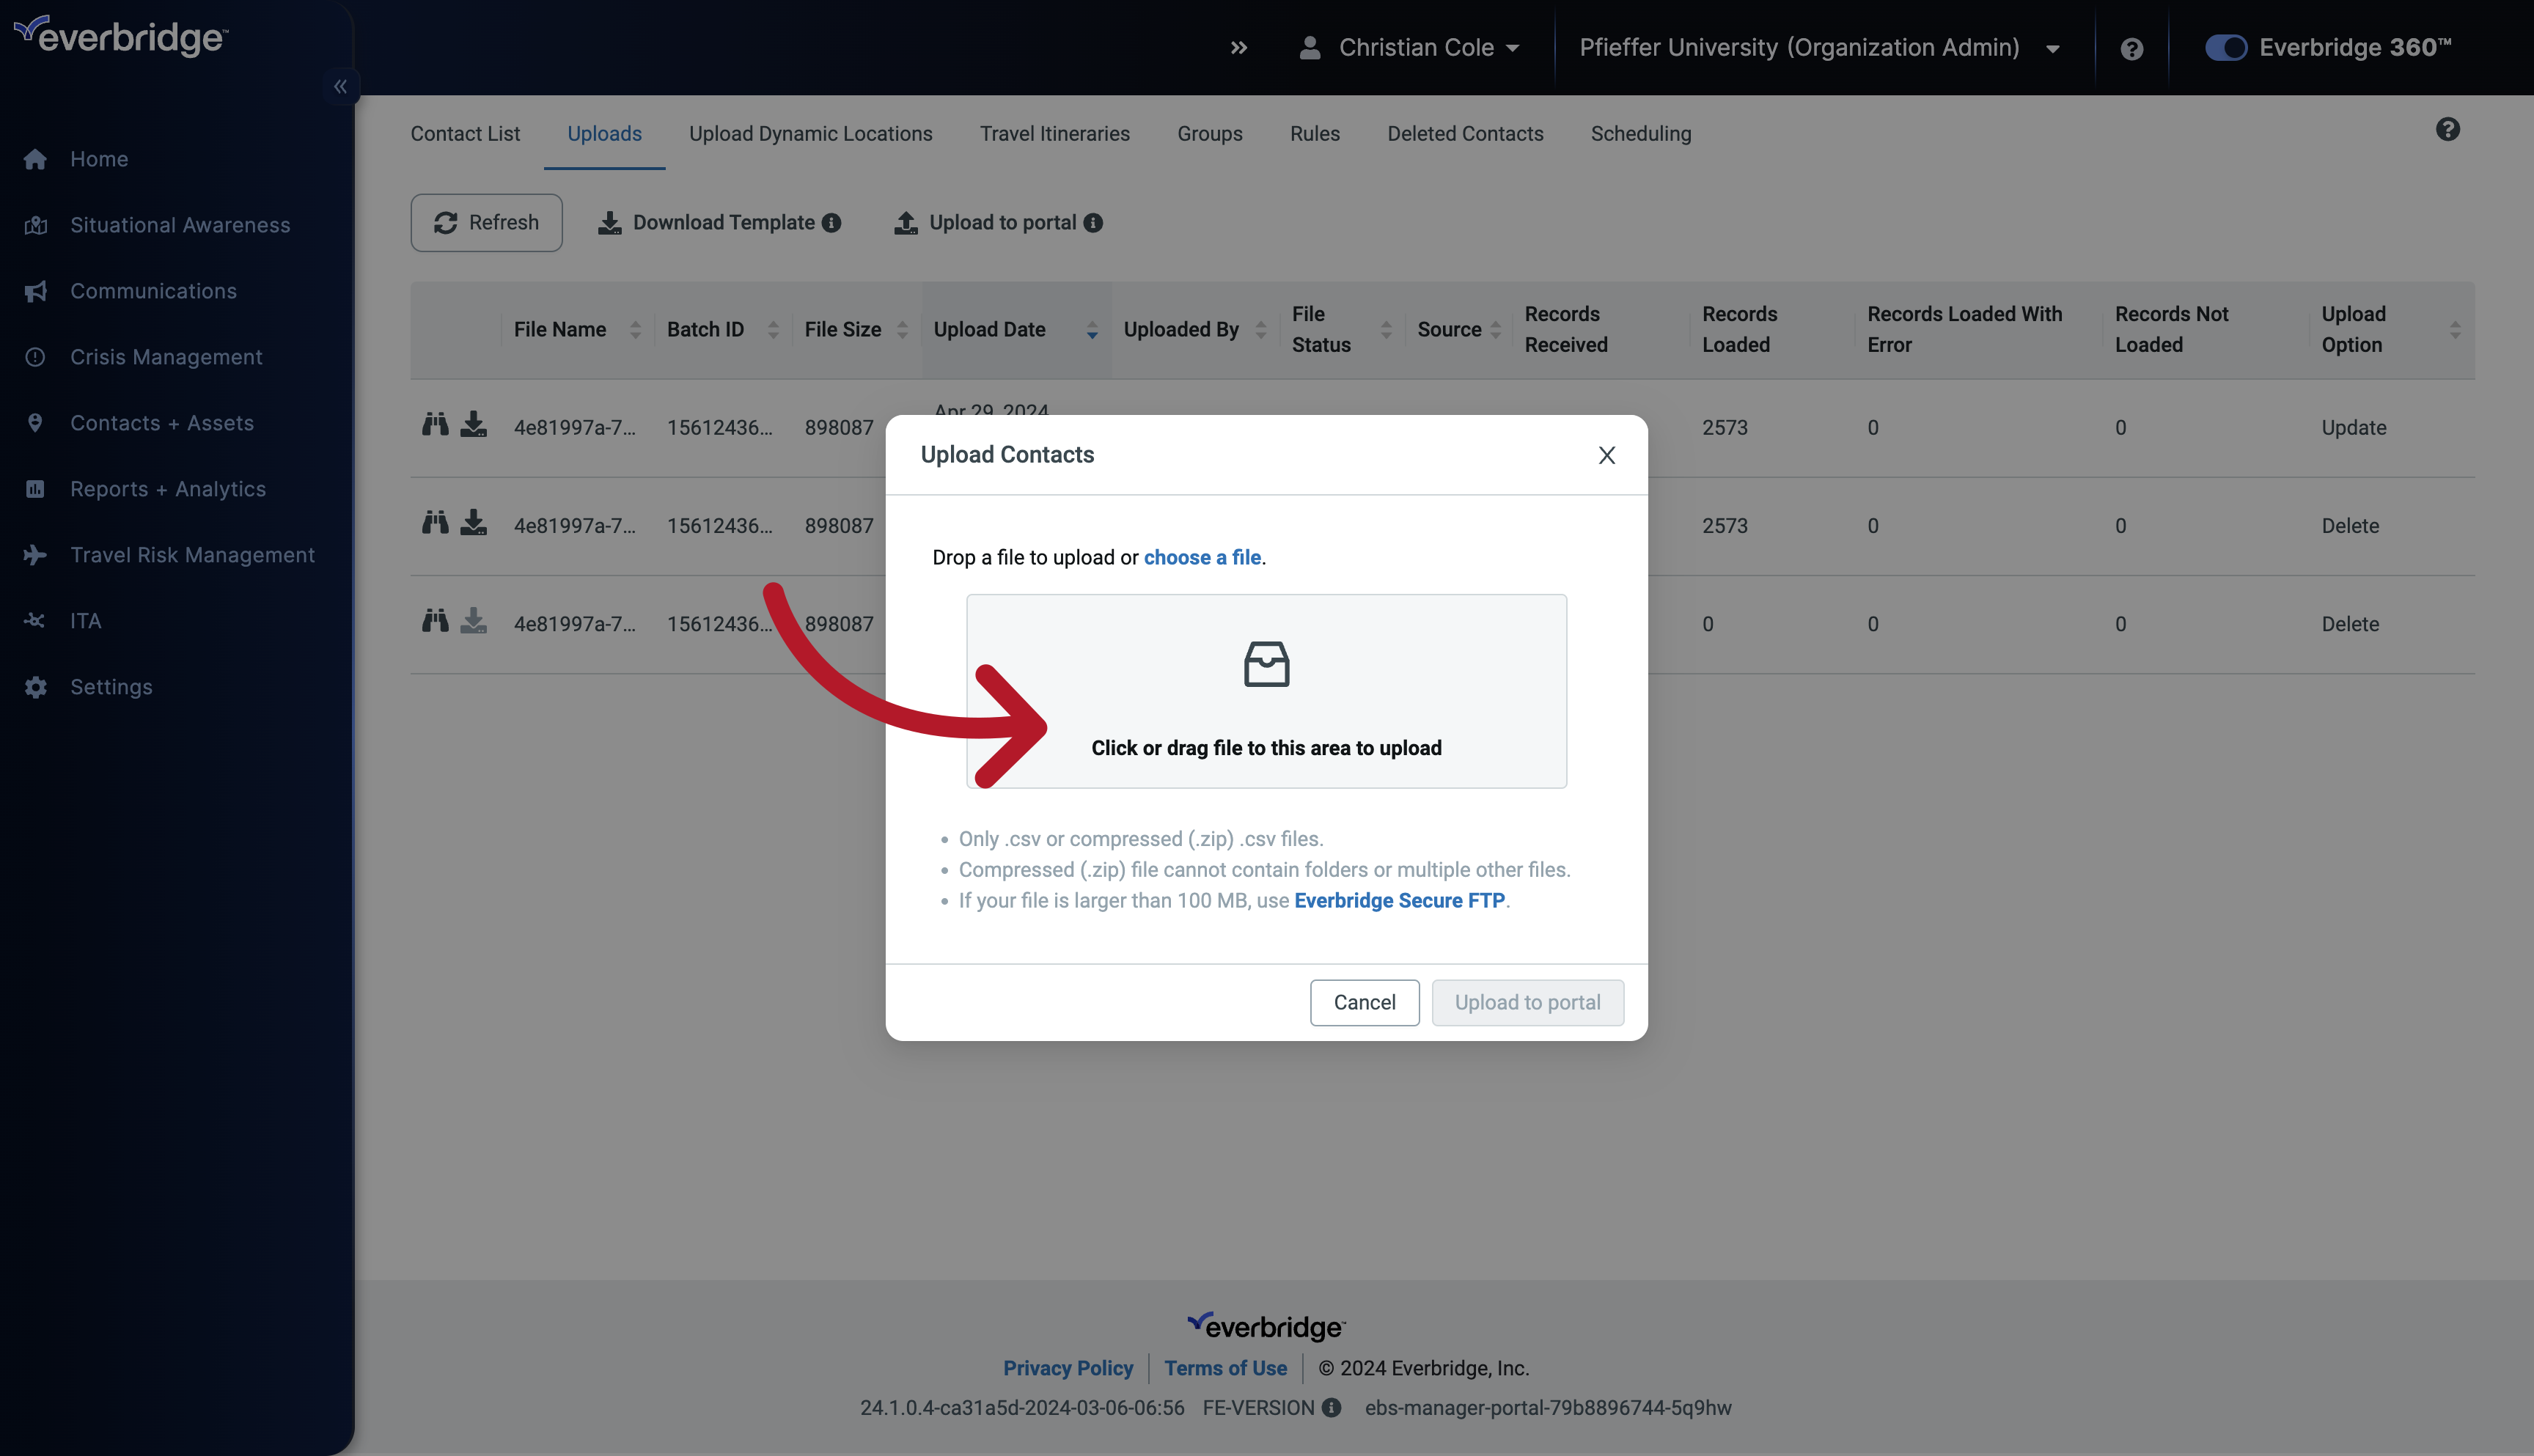
19. Upload to Portal
Once your CSV file is filled out and ready to upload, click the "Upload to Portal" text from the Uploads page.
20. Upload to Portal
A dialog box appears and you can attach the CSV file you want to upload, or drag and drop.
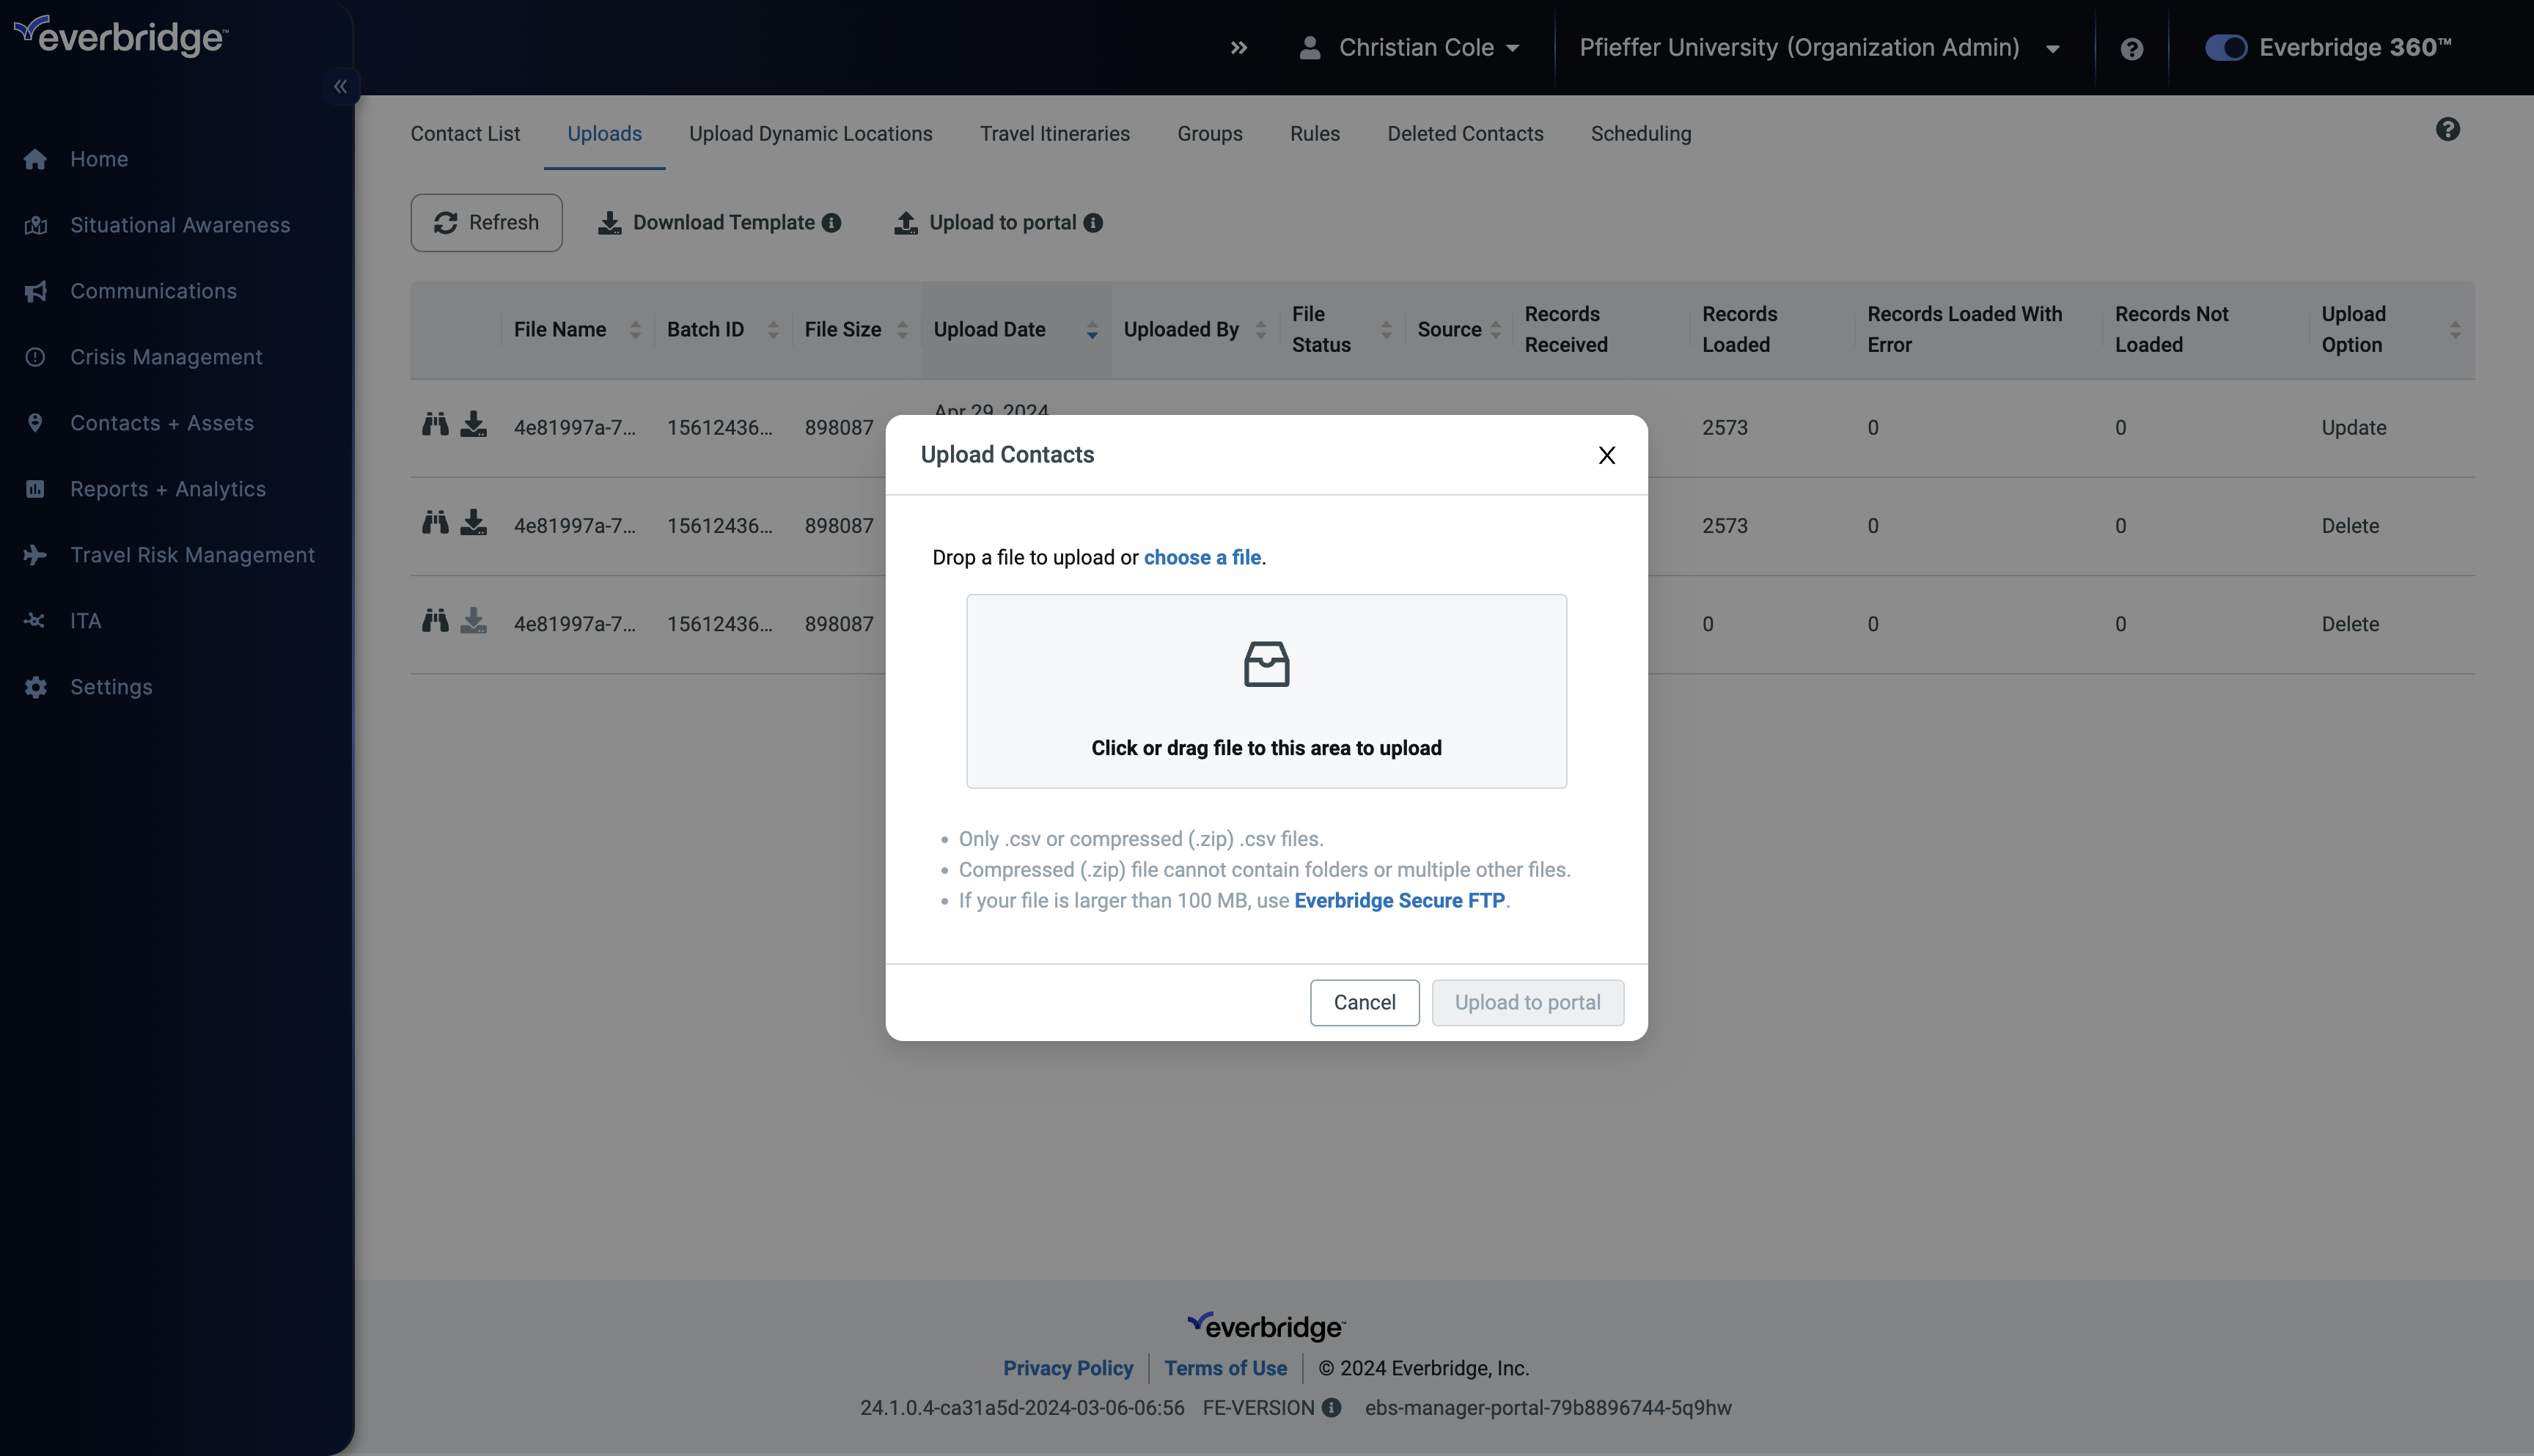
21. Drag File
For our example, I'll drag and drop my csv file for Upload.
22. File Attached
Once your file has been attached successfully, you will see the file name listed, as well as how large the file is.
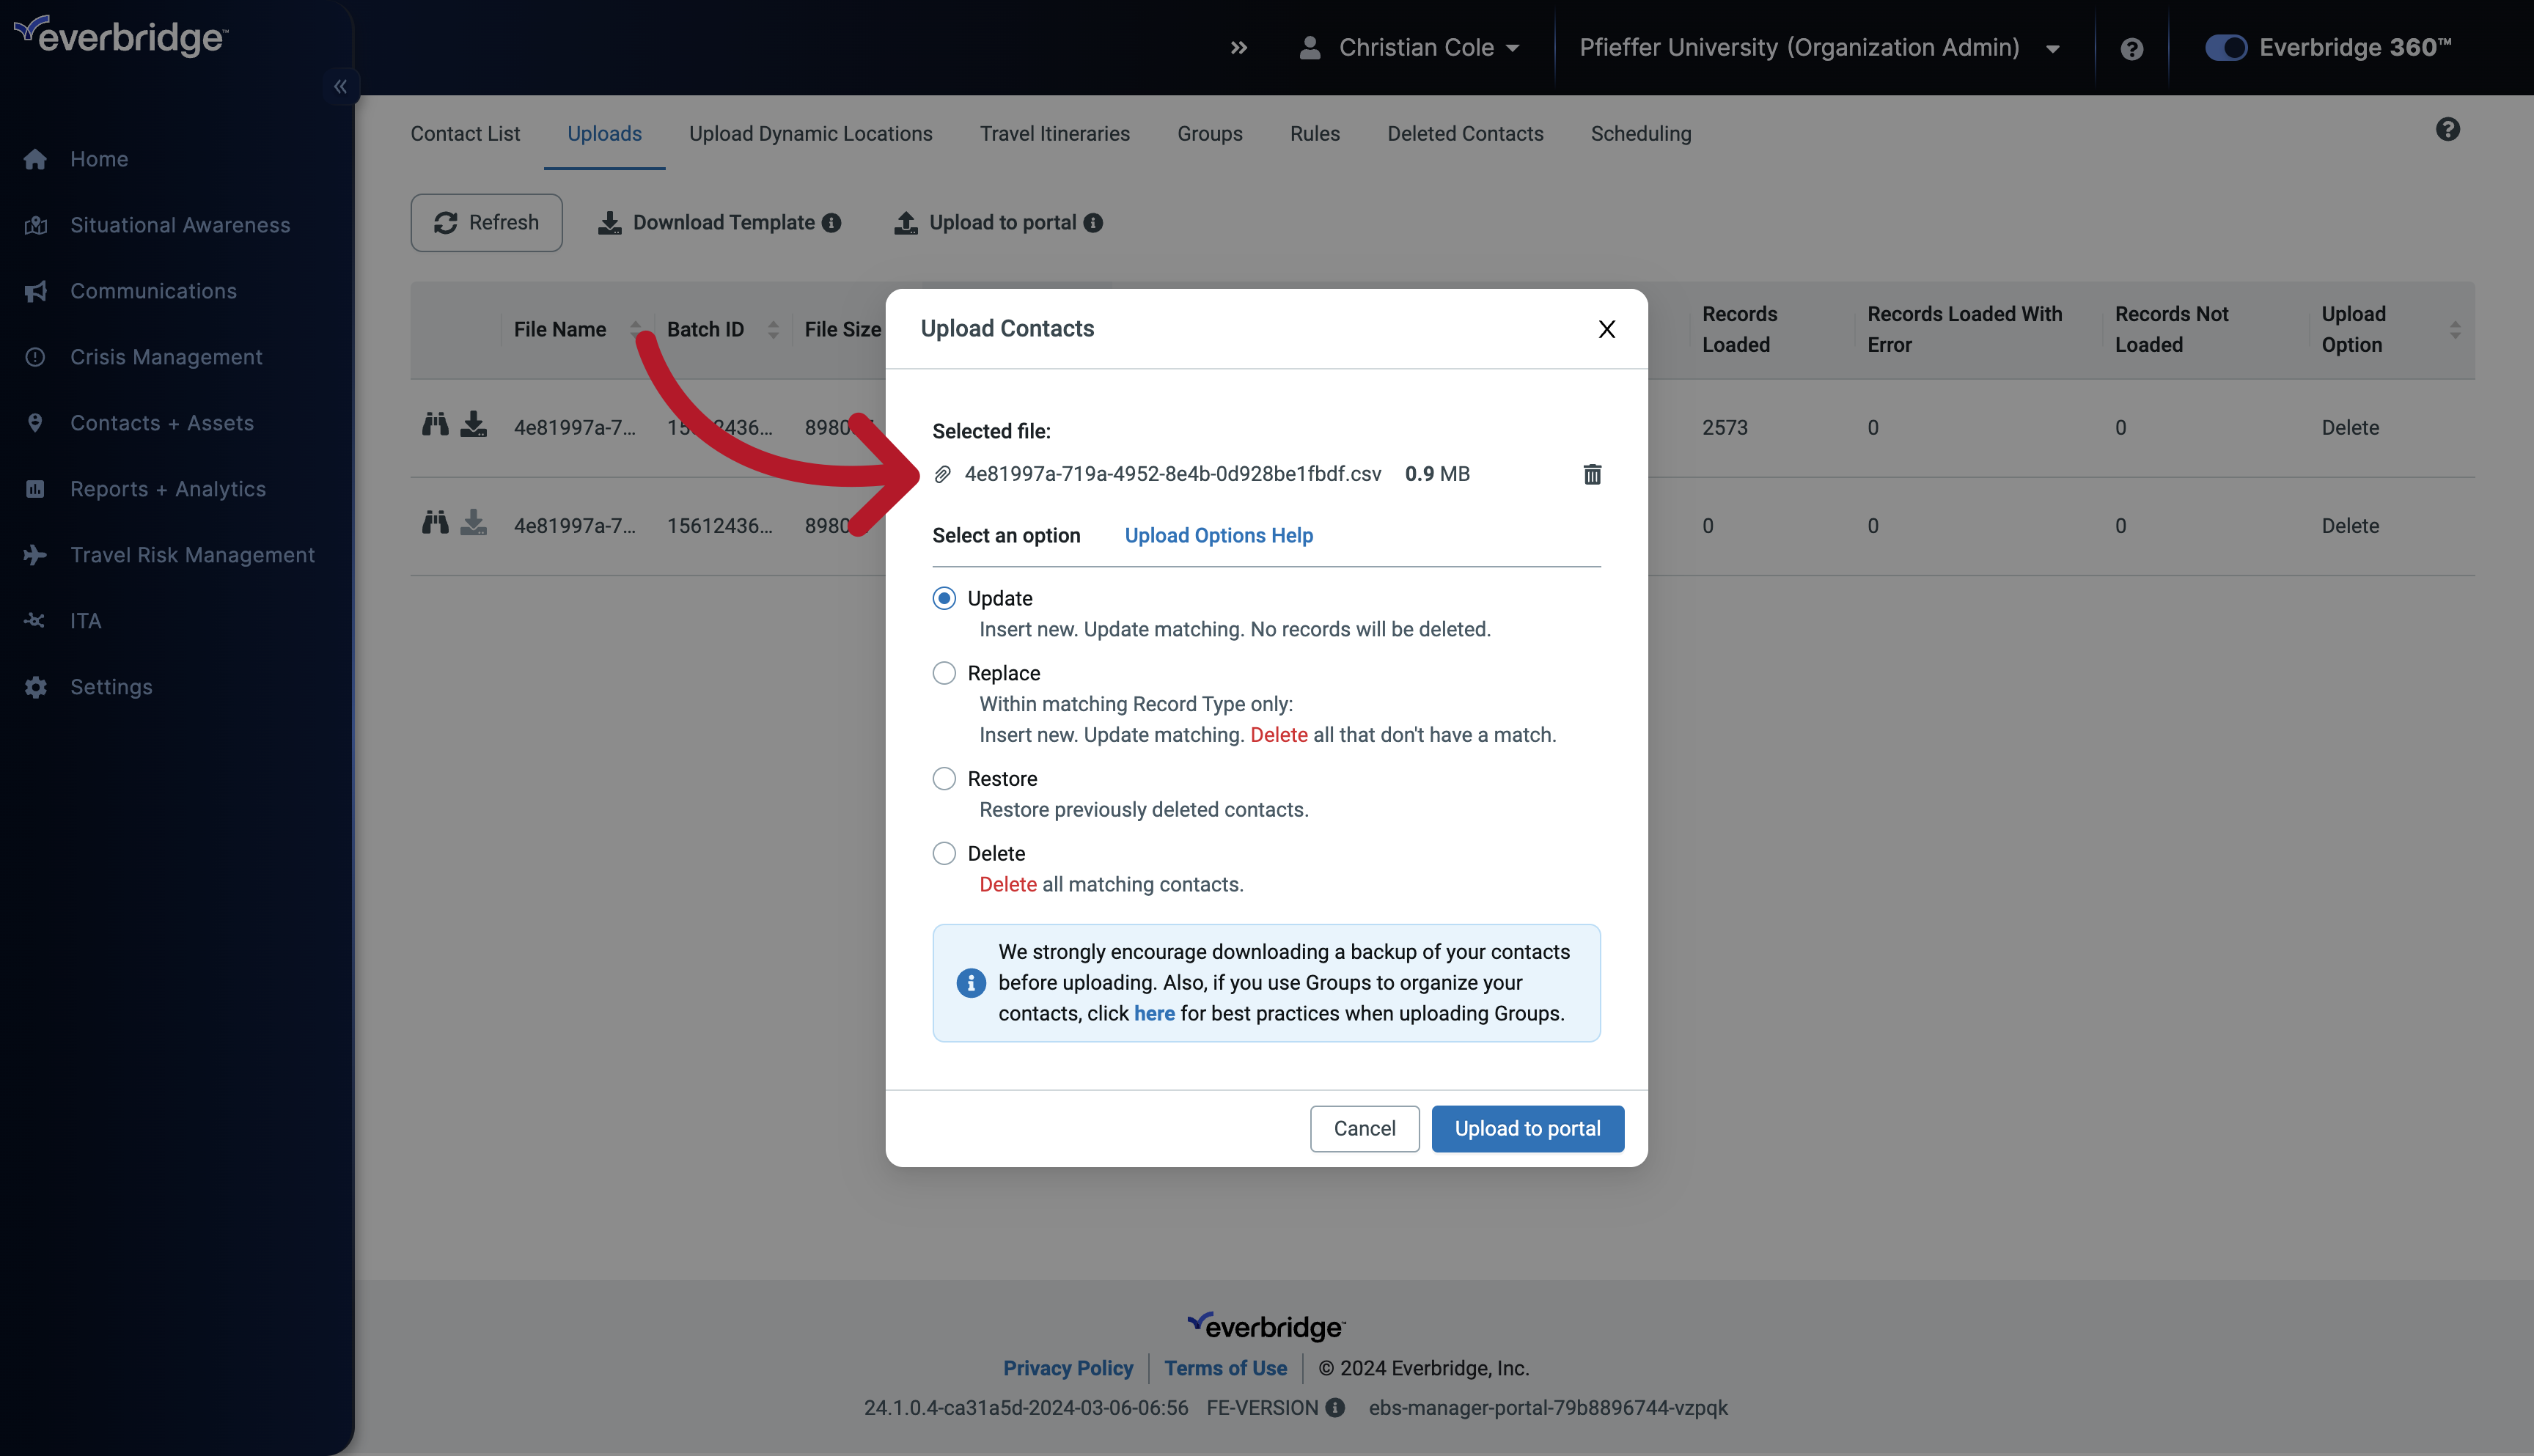
23. Remove File
If you selected an incorrect file, you can click the Trash icon to remove it.

24. Upload to Portal
However, this is the file we want to use.
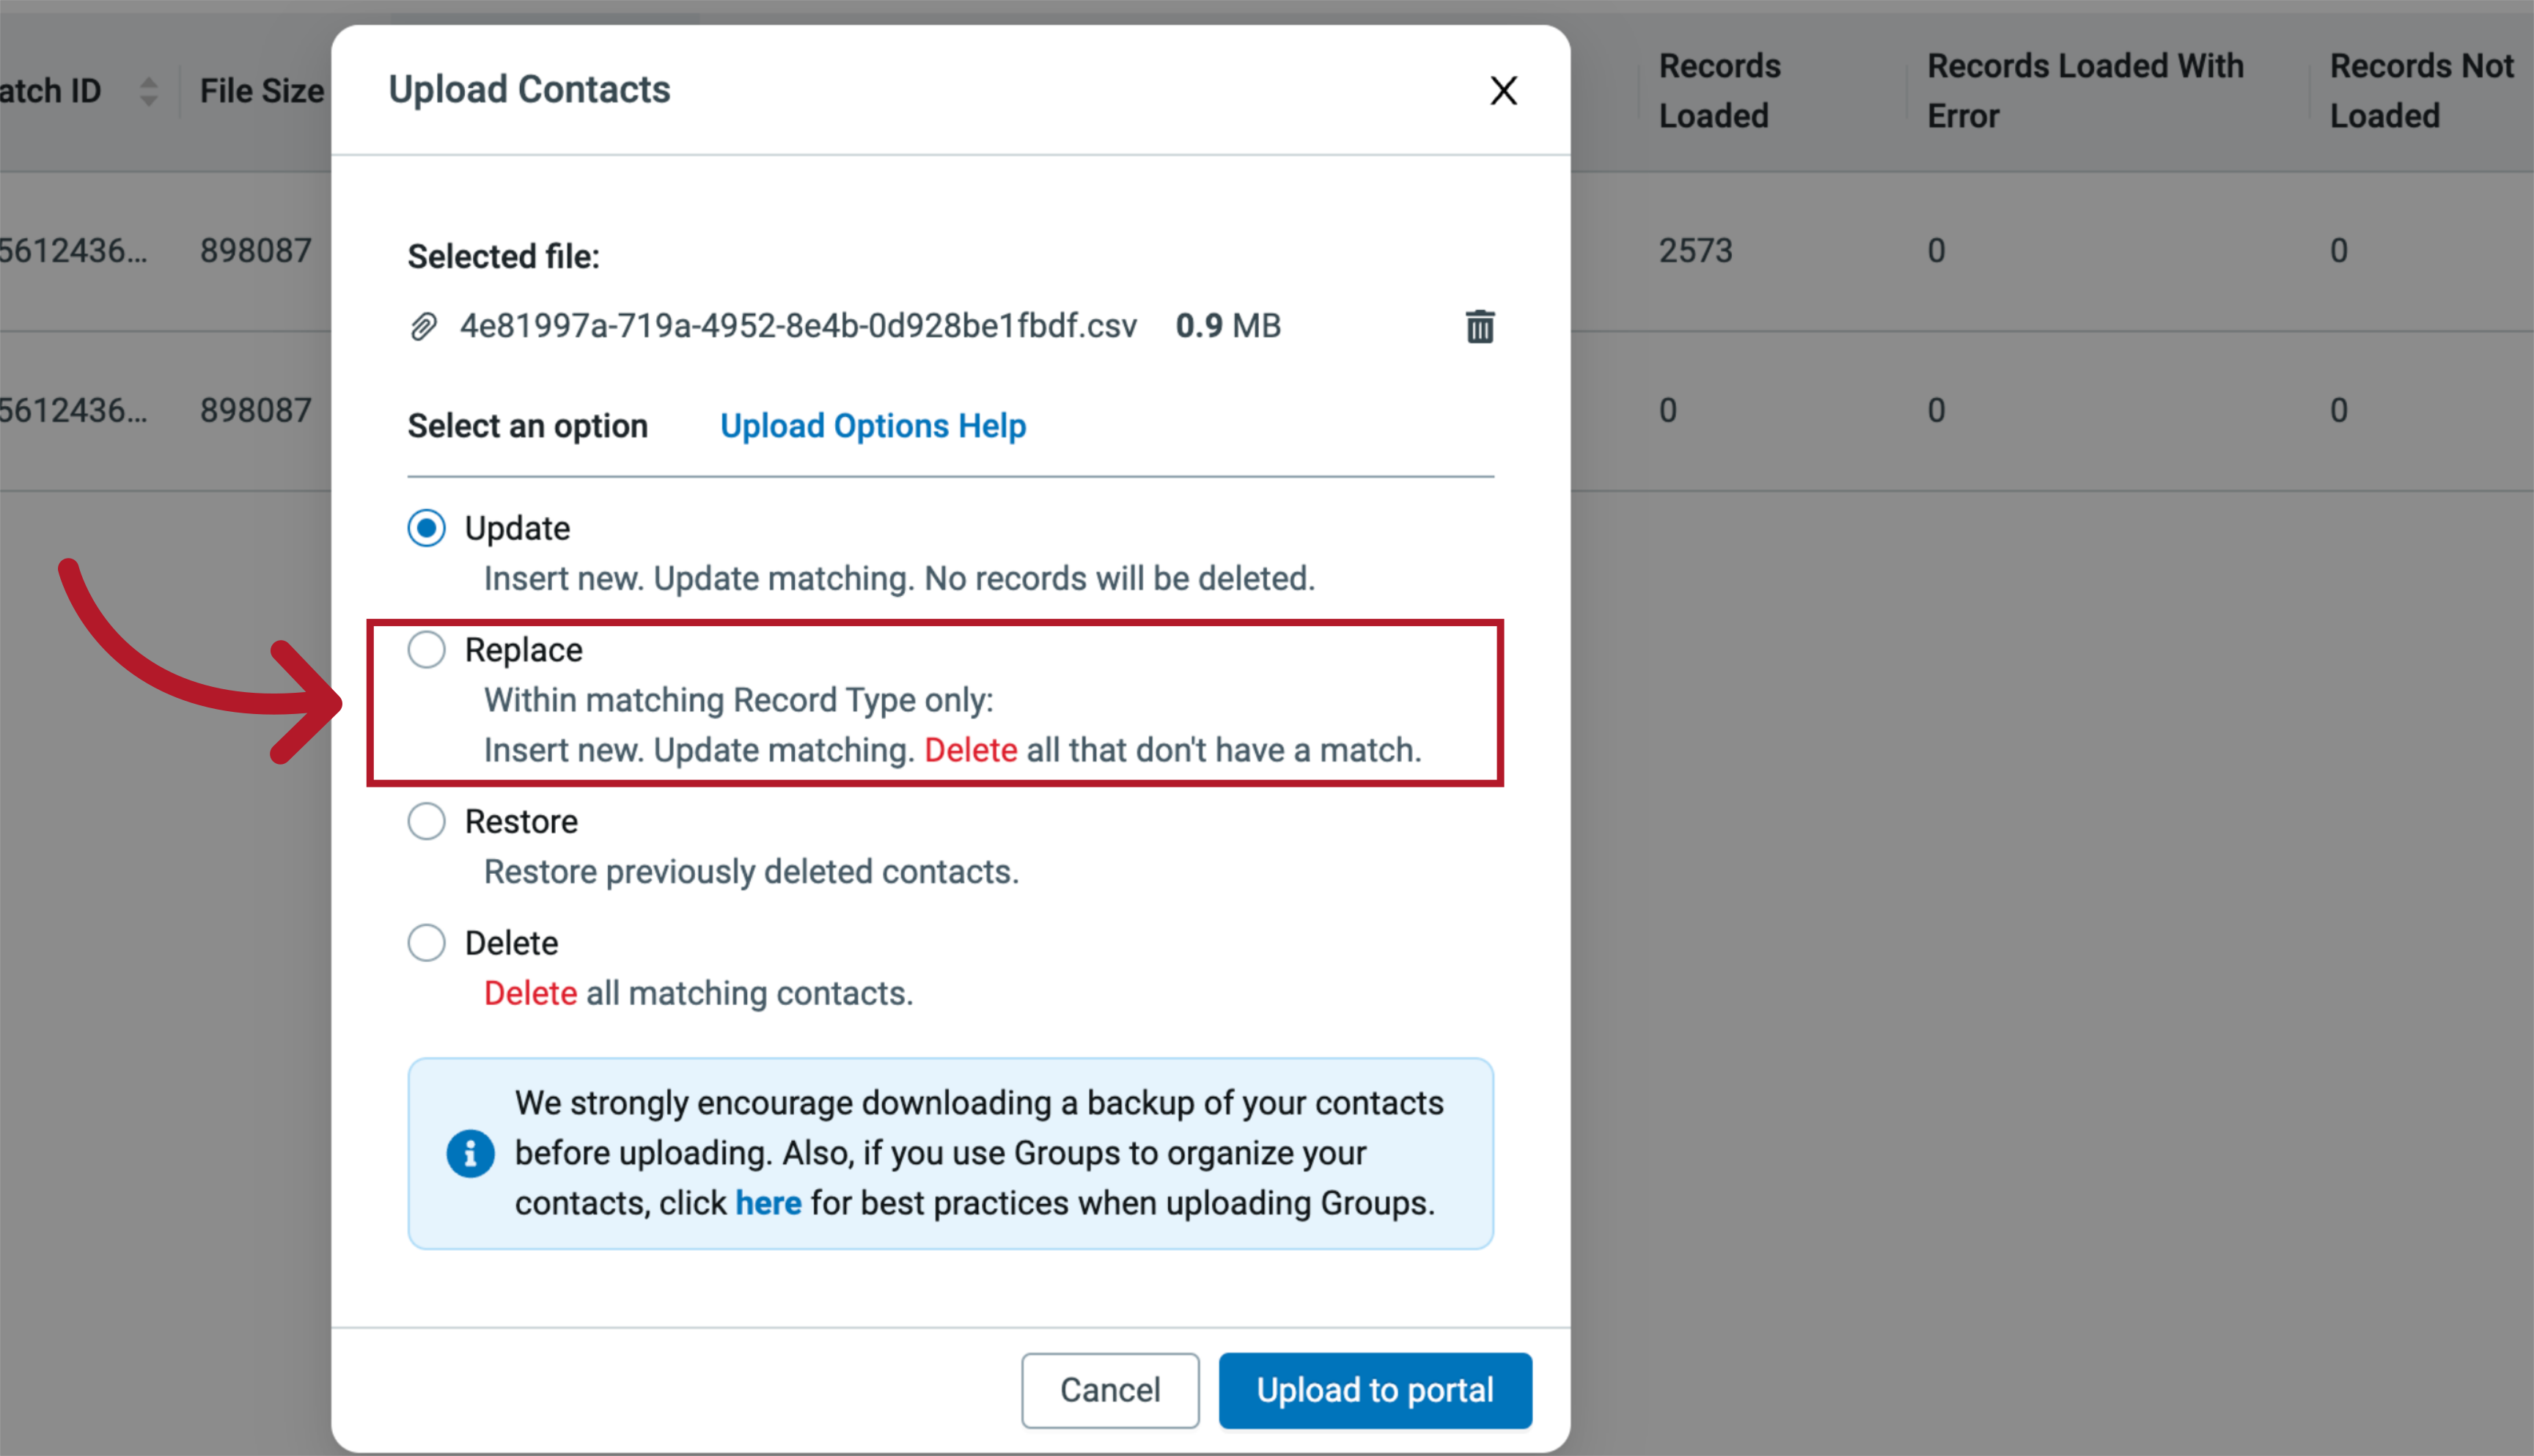
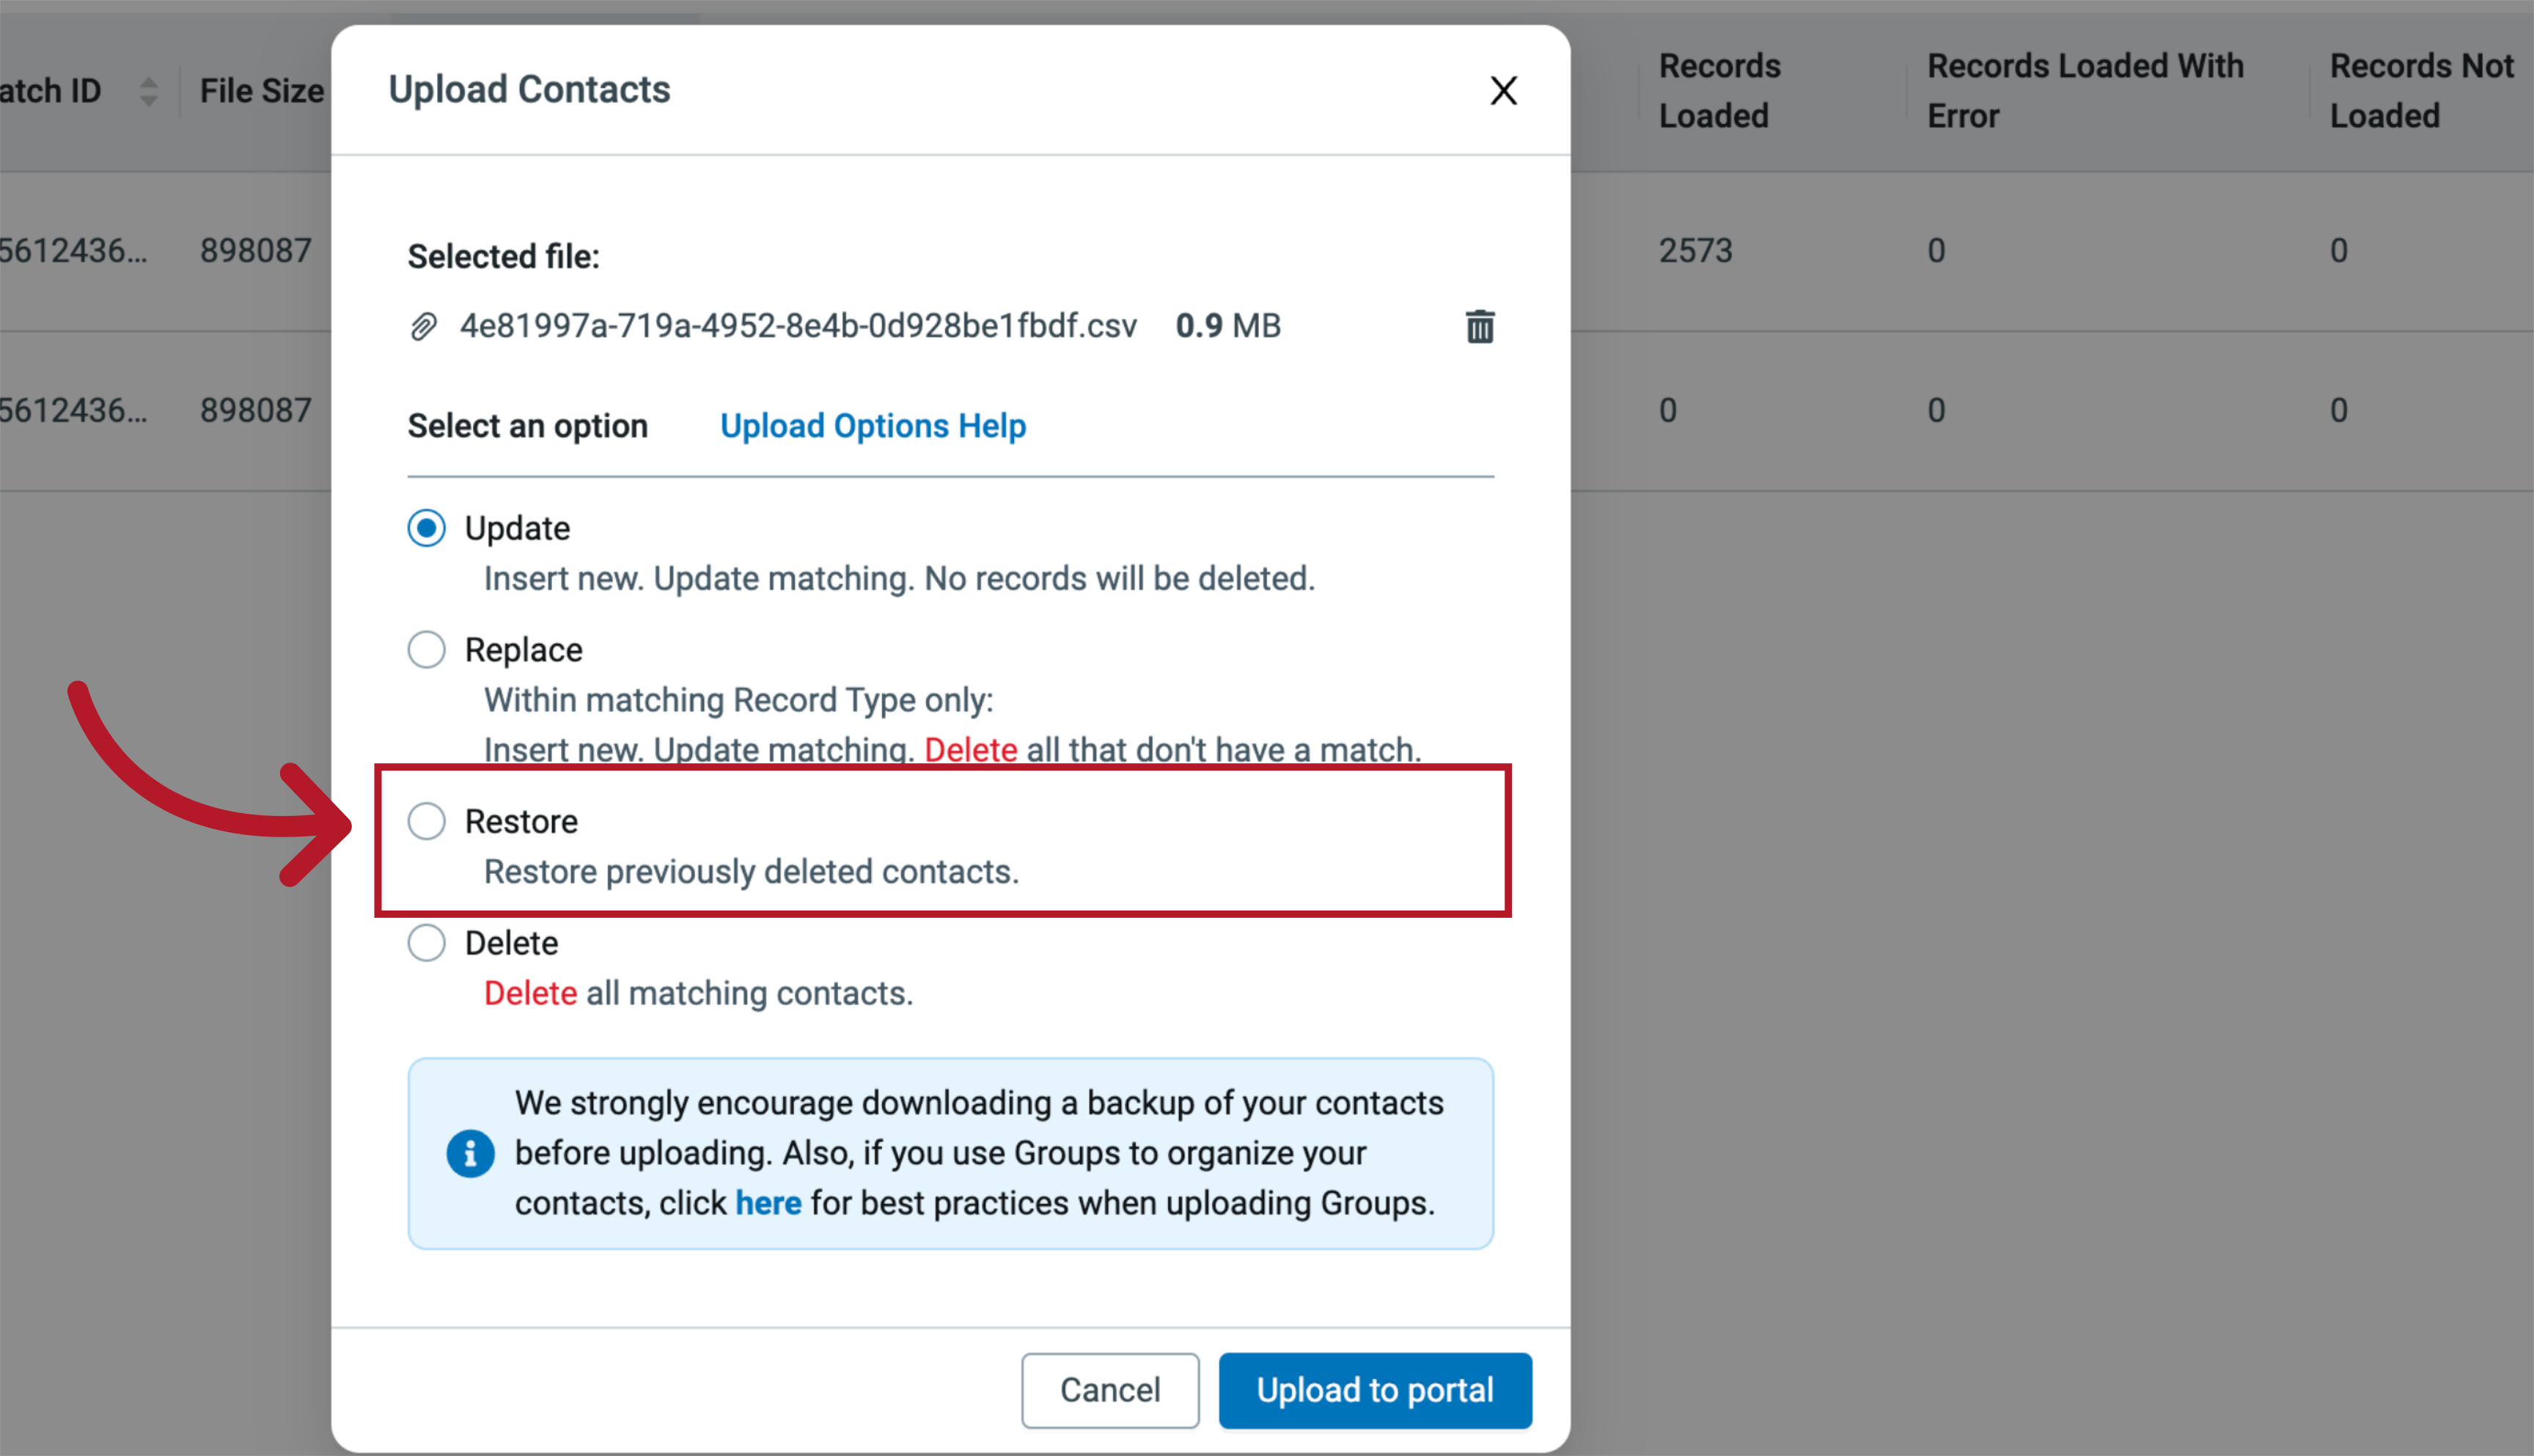
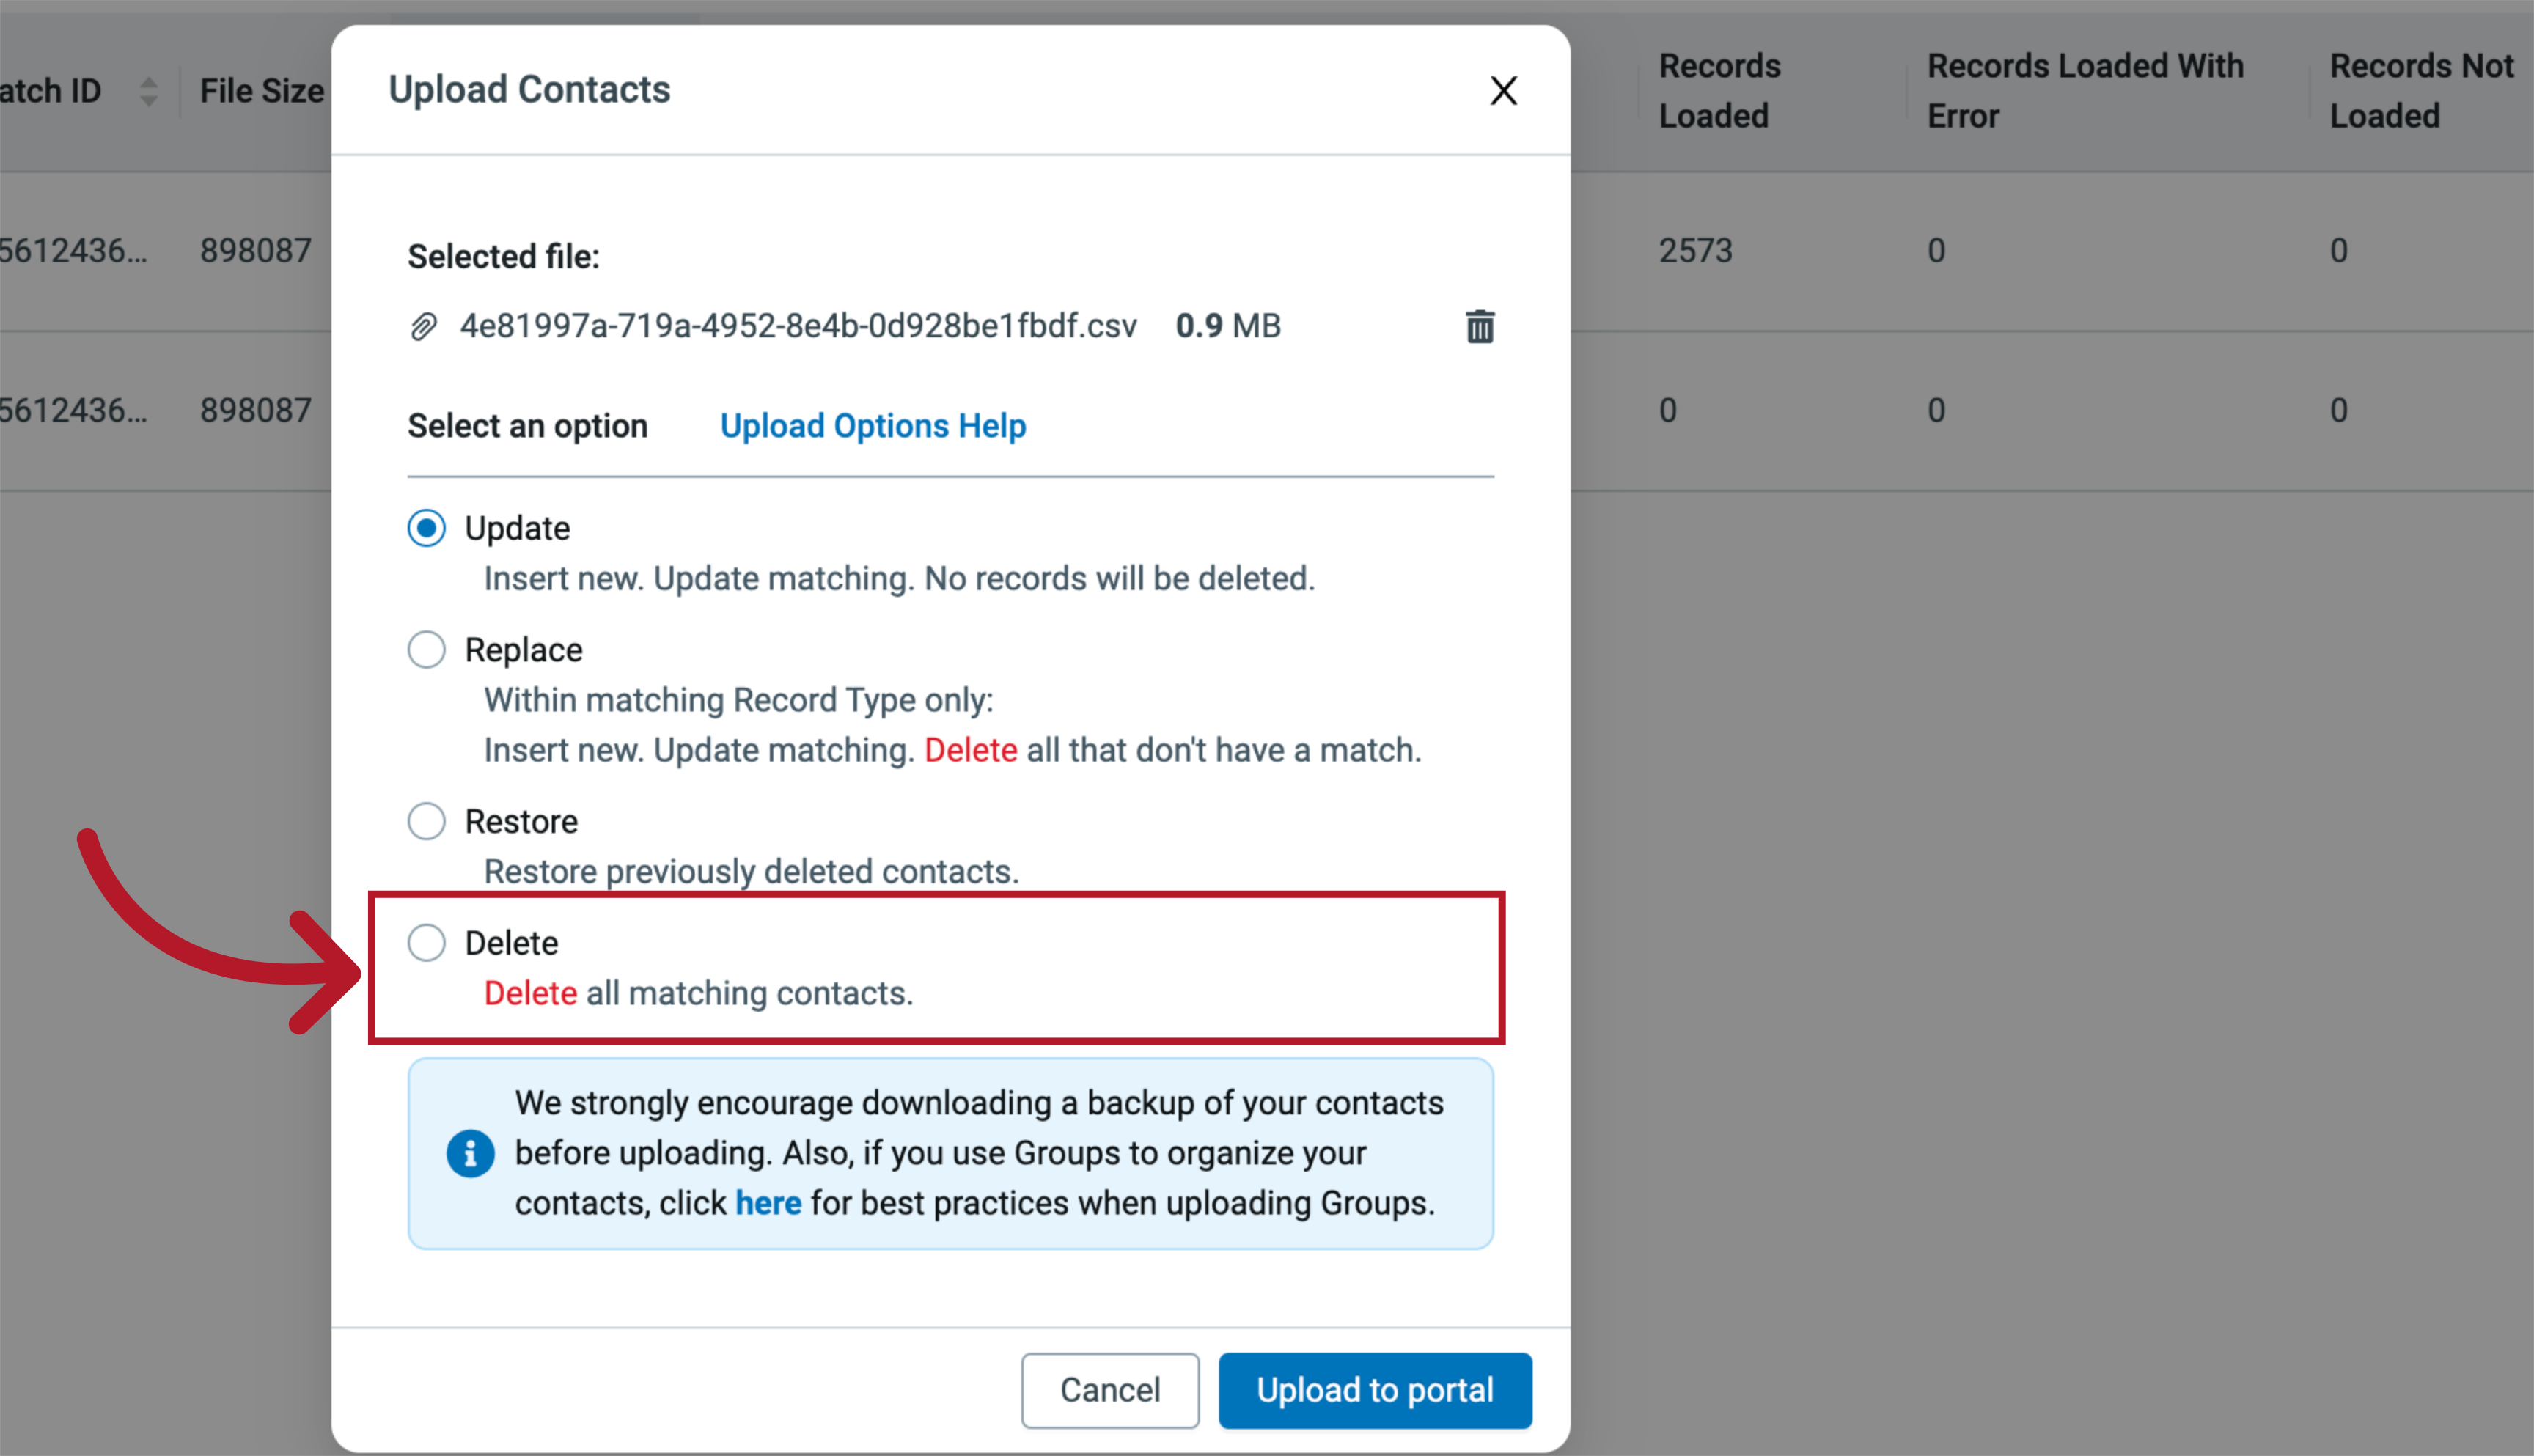
25. Upload Options
Below the selected file, we are provided with four different upload options, each with an explanation of its functionality below it.
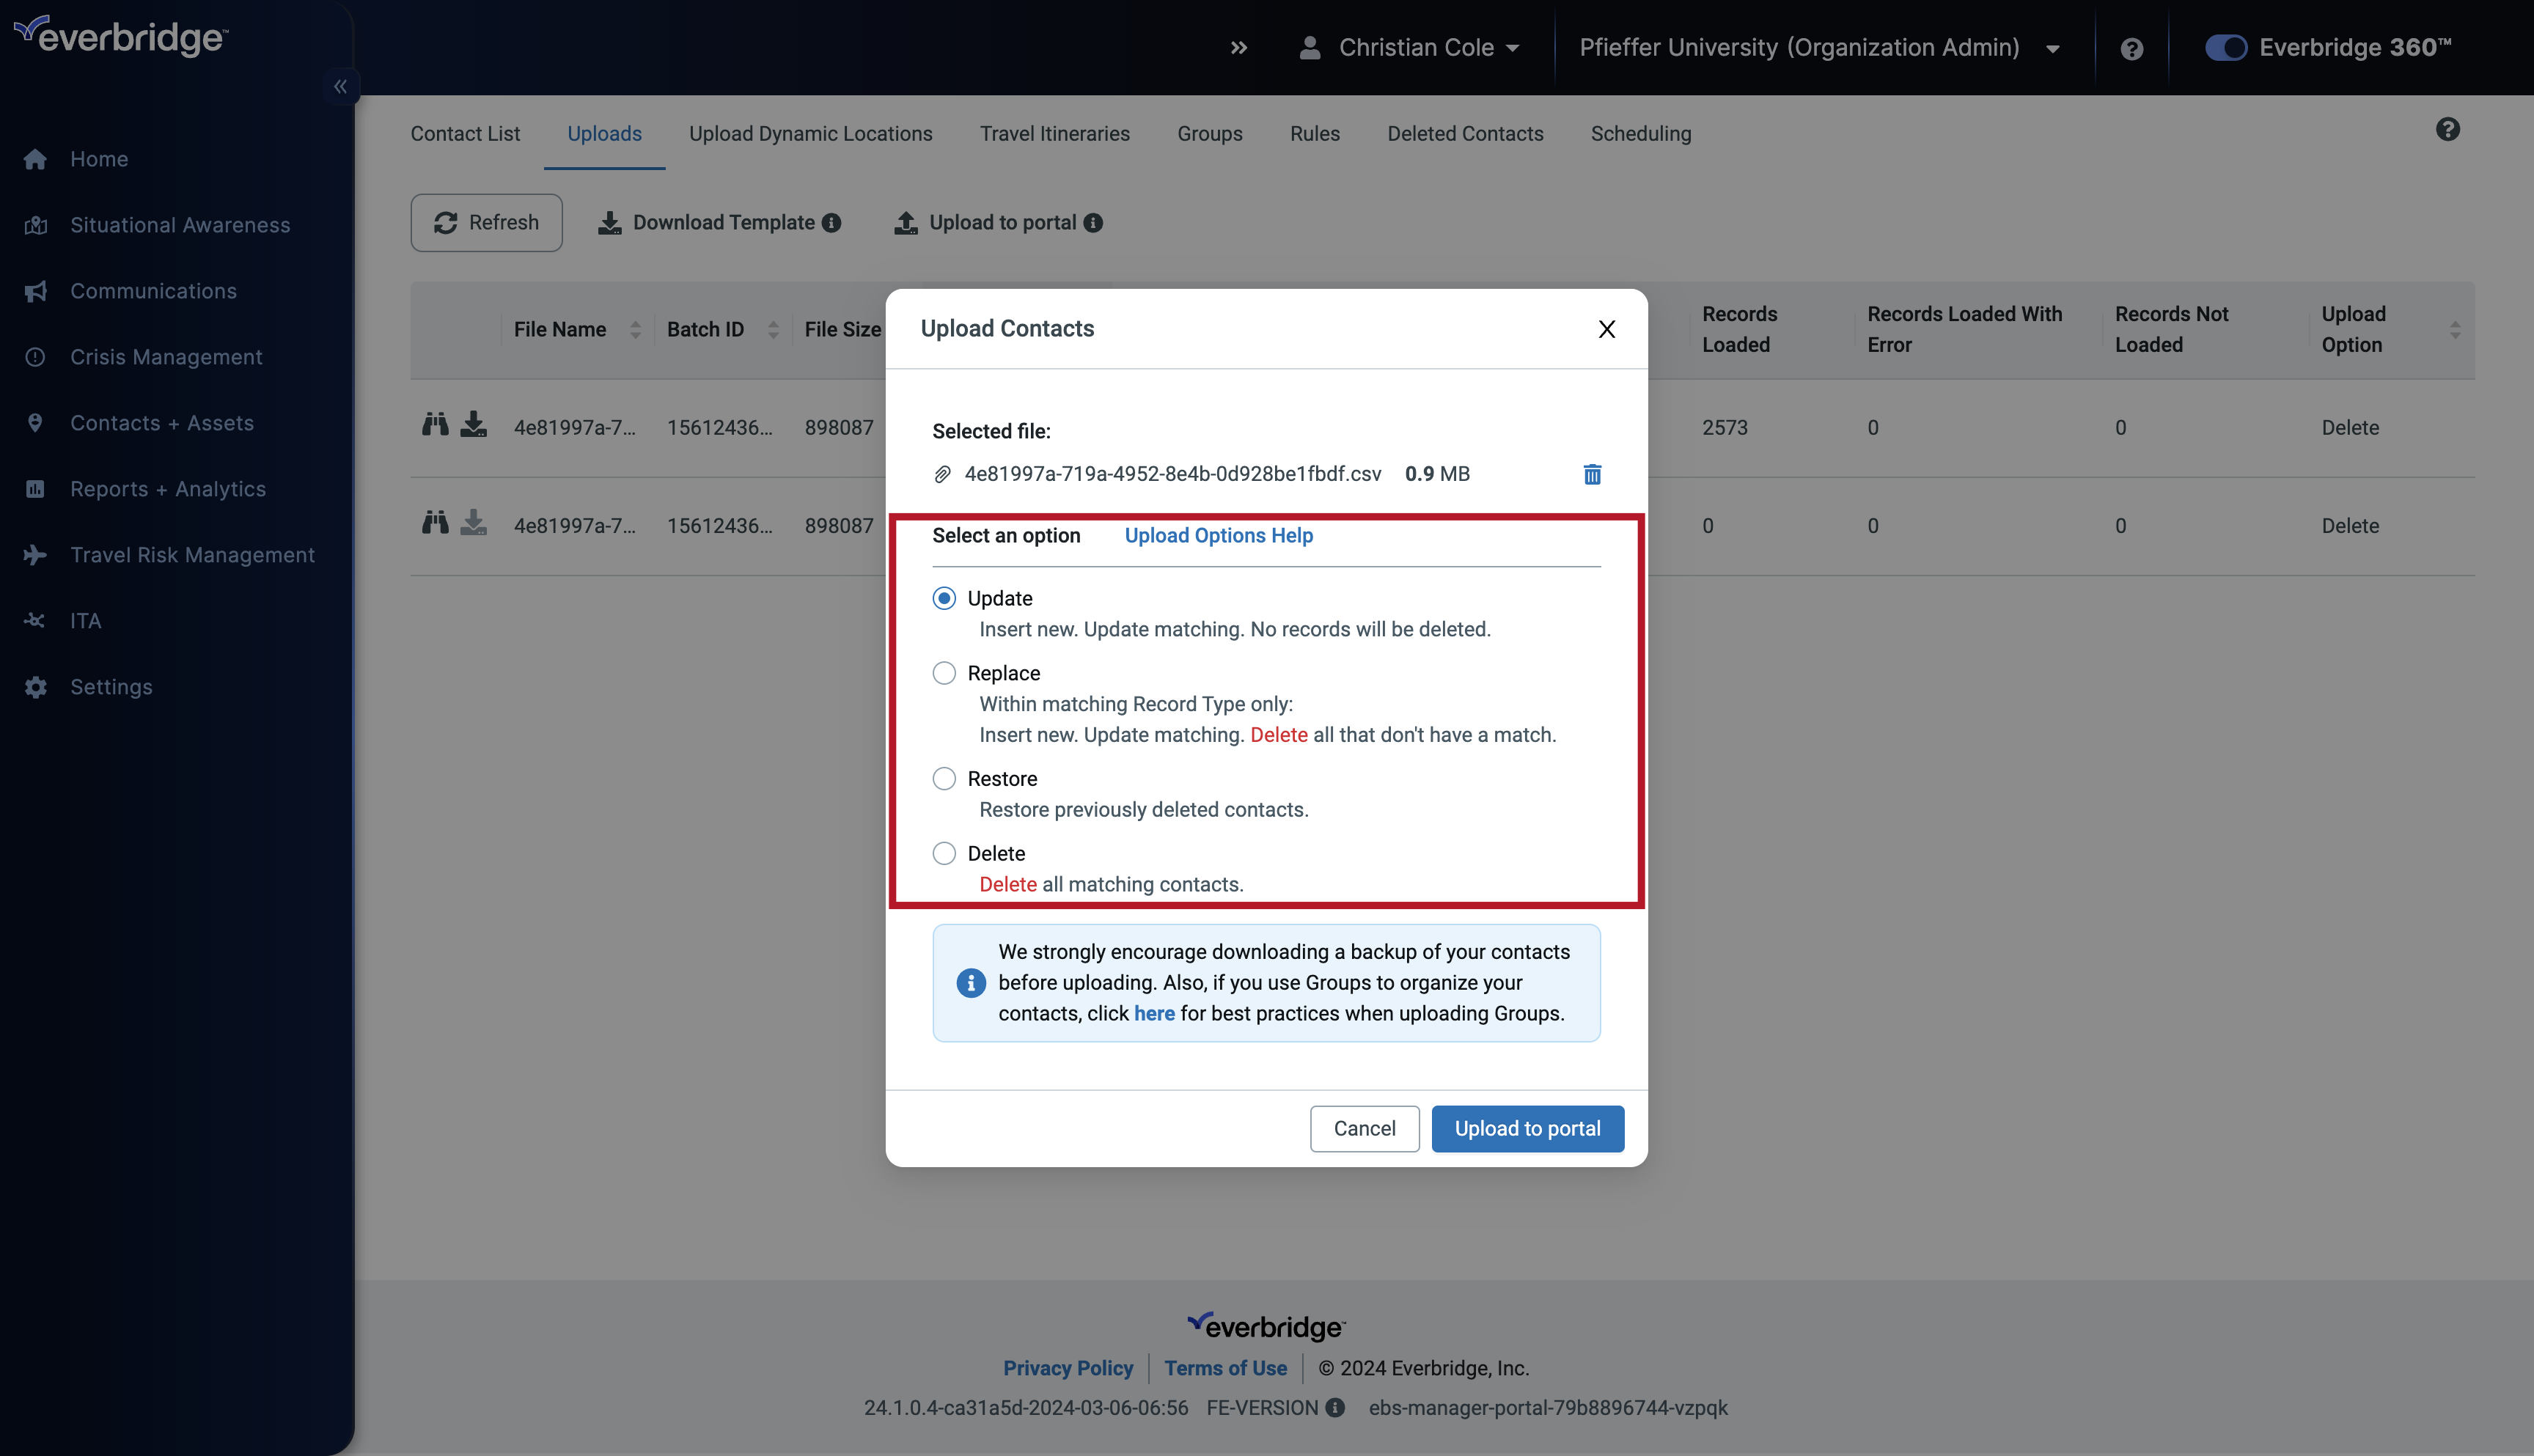
26. Update
The Update option only inserts new contact records and updates existing contact records. The Update option will not delete any contacts from your organization.

27. Replace
The Replace option replaces all contact records with the matching record type in your CSV file. This means the Replace option will delete all existing contacts in your organization that do not have a match within your file upload.
28. Restore
The Restore option lets you restore, or add back previously deleted contacts. Be careful when using this option as it will overwrite existing contact records that have the same External ID. Keep in mind, that the Restore option does not update contact information. It only reactivates a deleted record.
29. Delete
Lastly, the Delete option will do just that. It deletes all the contact records that match the records within your CSV file.
30. Upload Options Help
If you're feeling stuck during this process,

31. Upload Options Help
And are unsure which functionality fits best for your upload, you can hover over the Upload Options Help link for a tip.
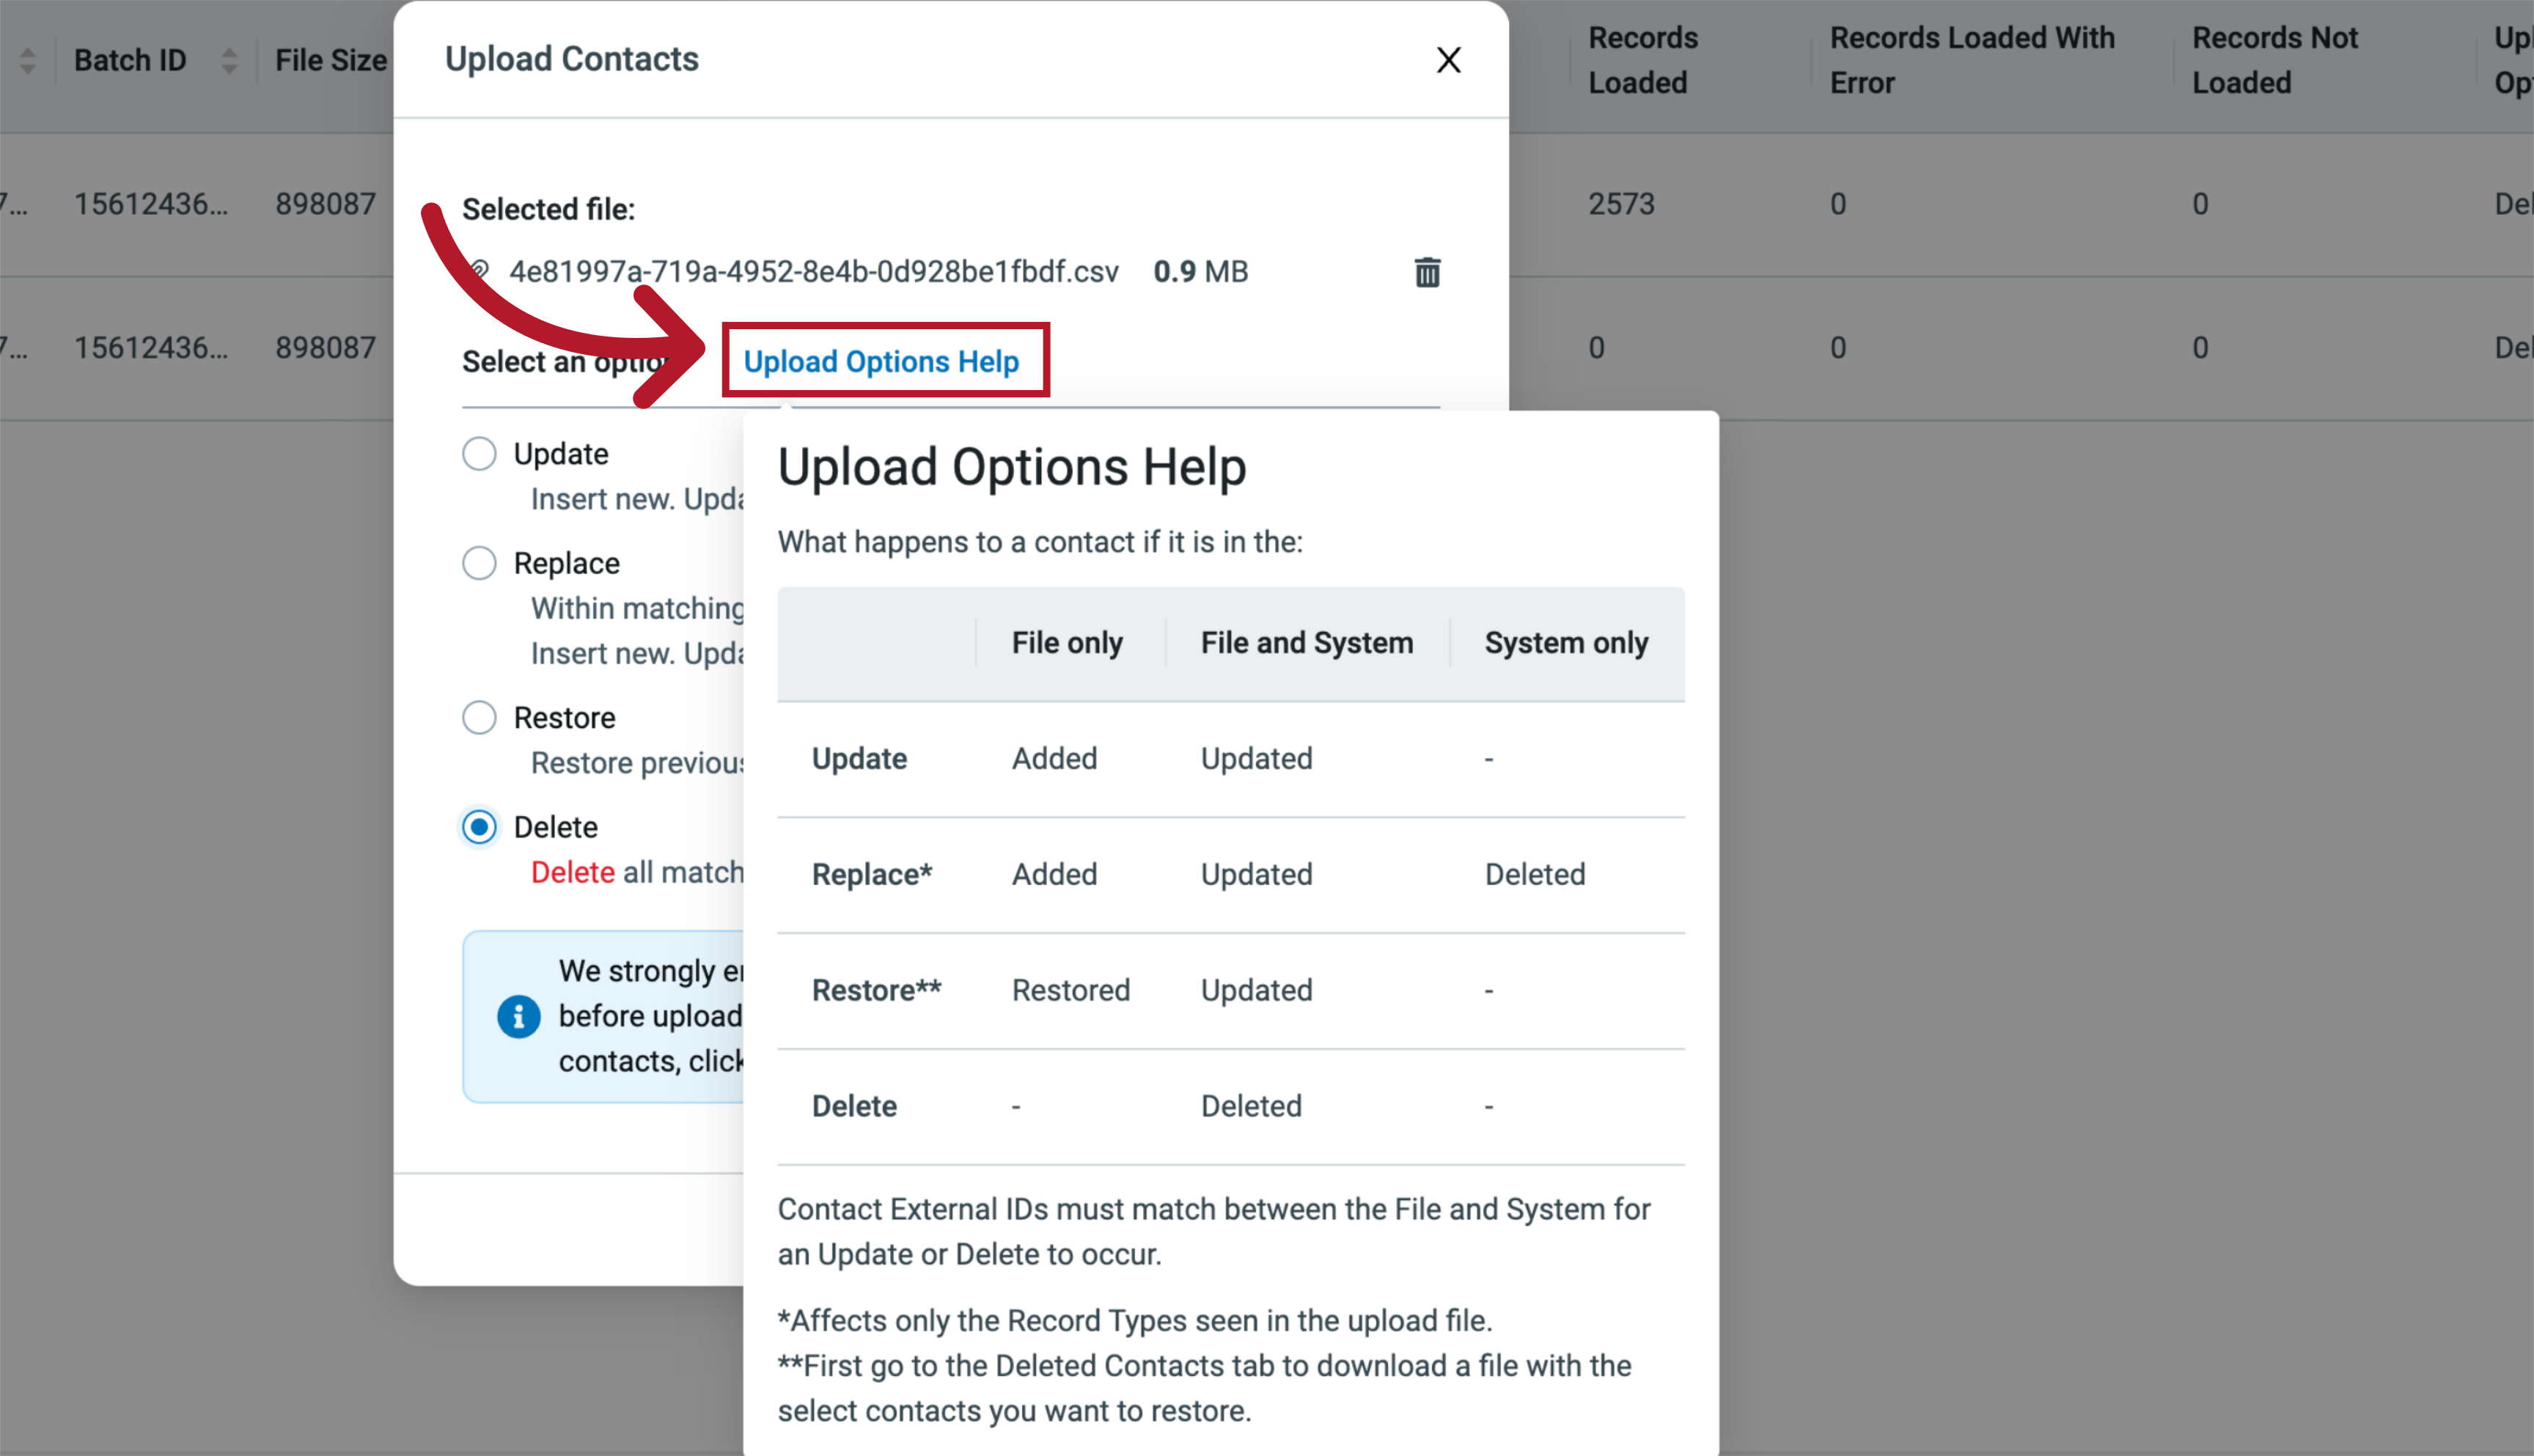
32. Upload Options
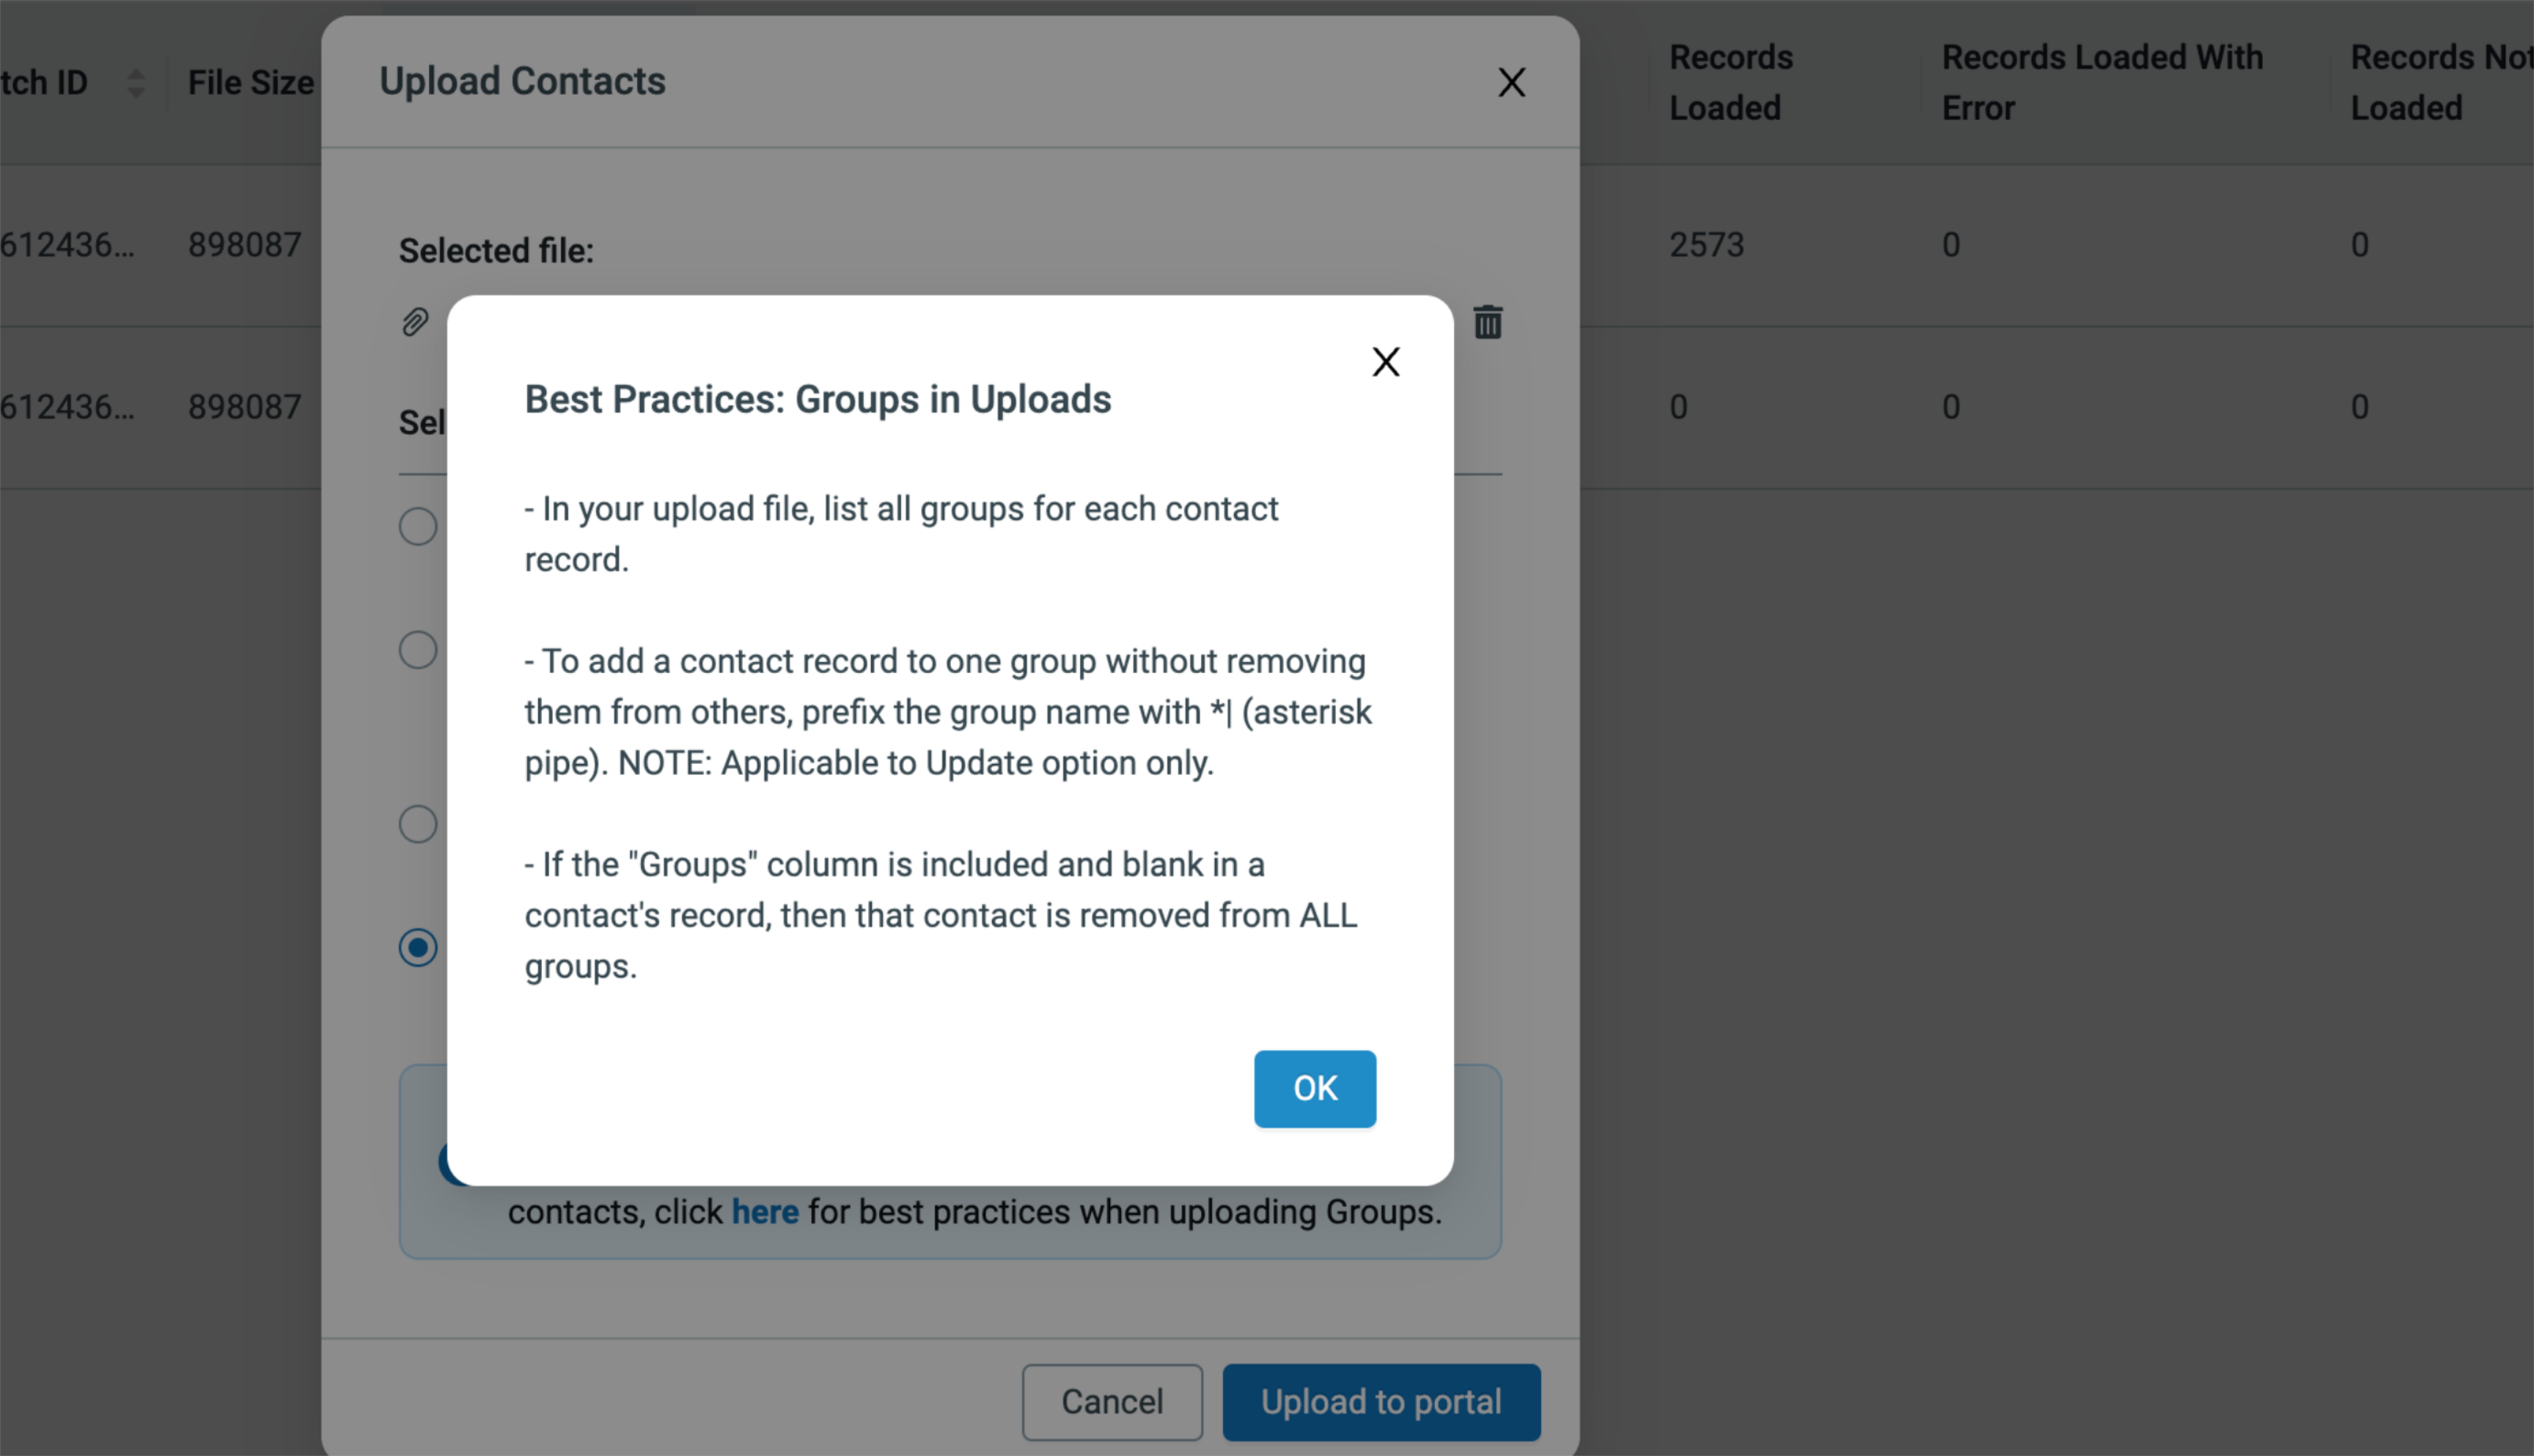
You can also click the link in the note below.
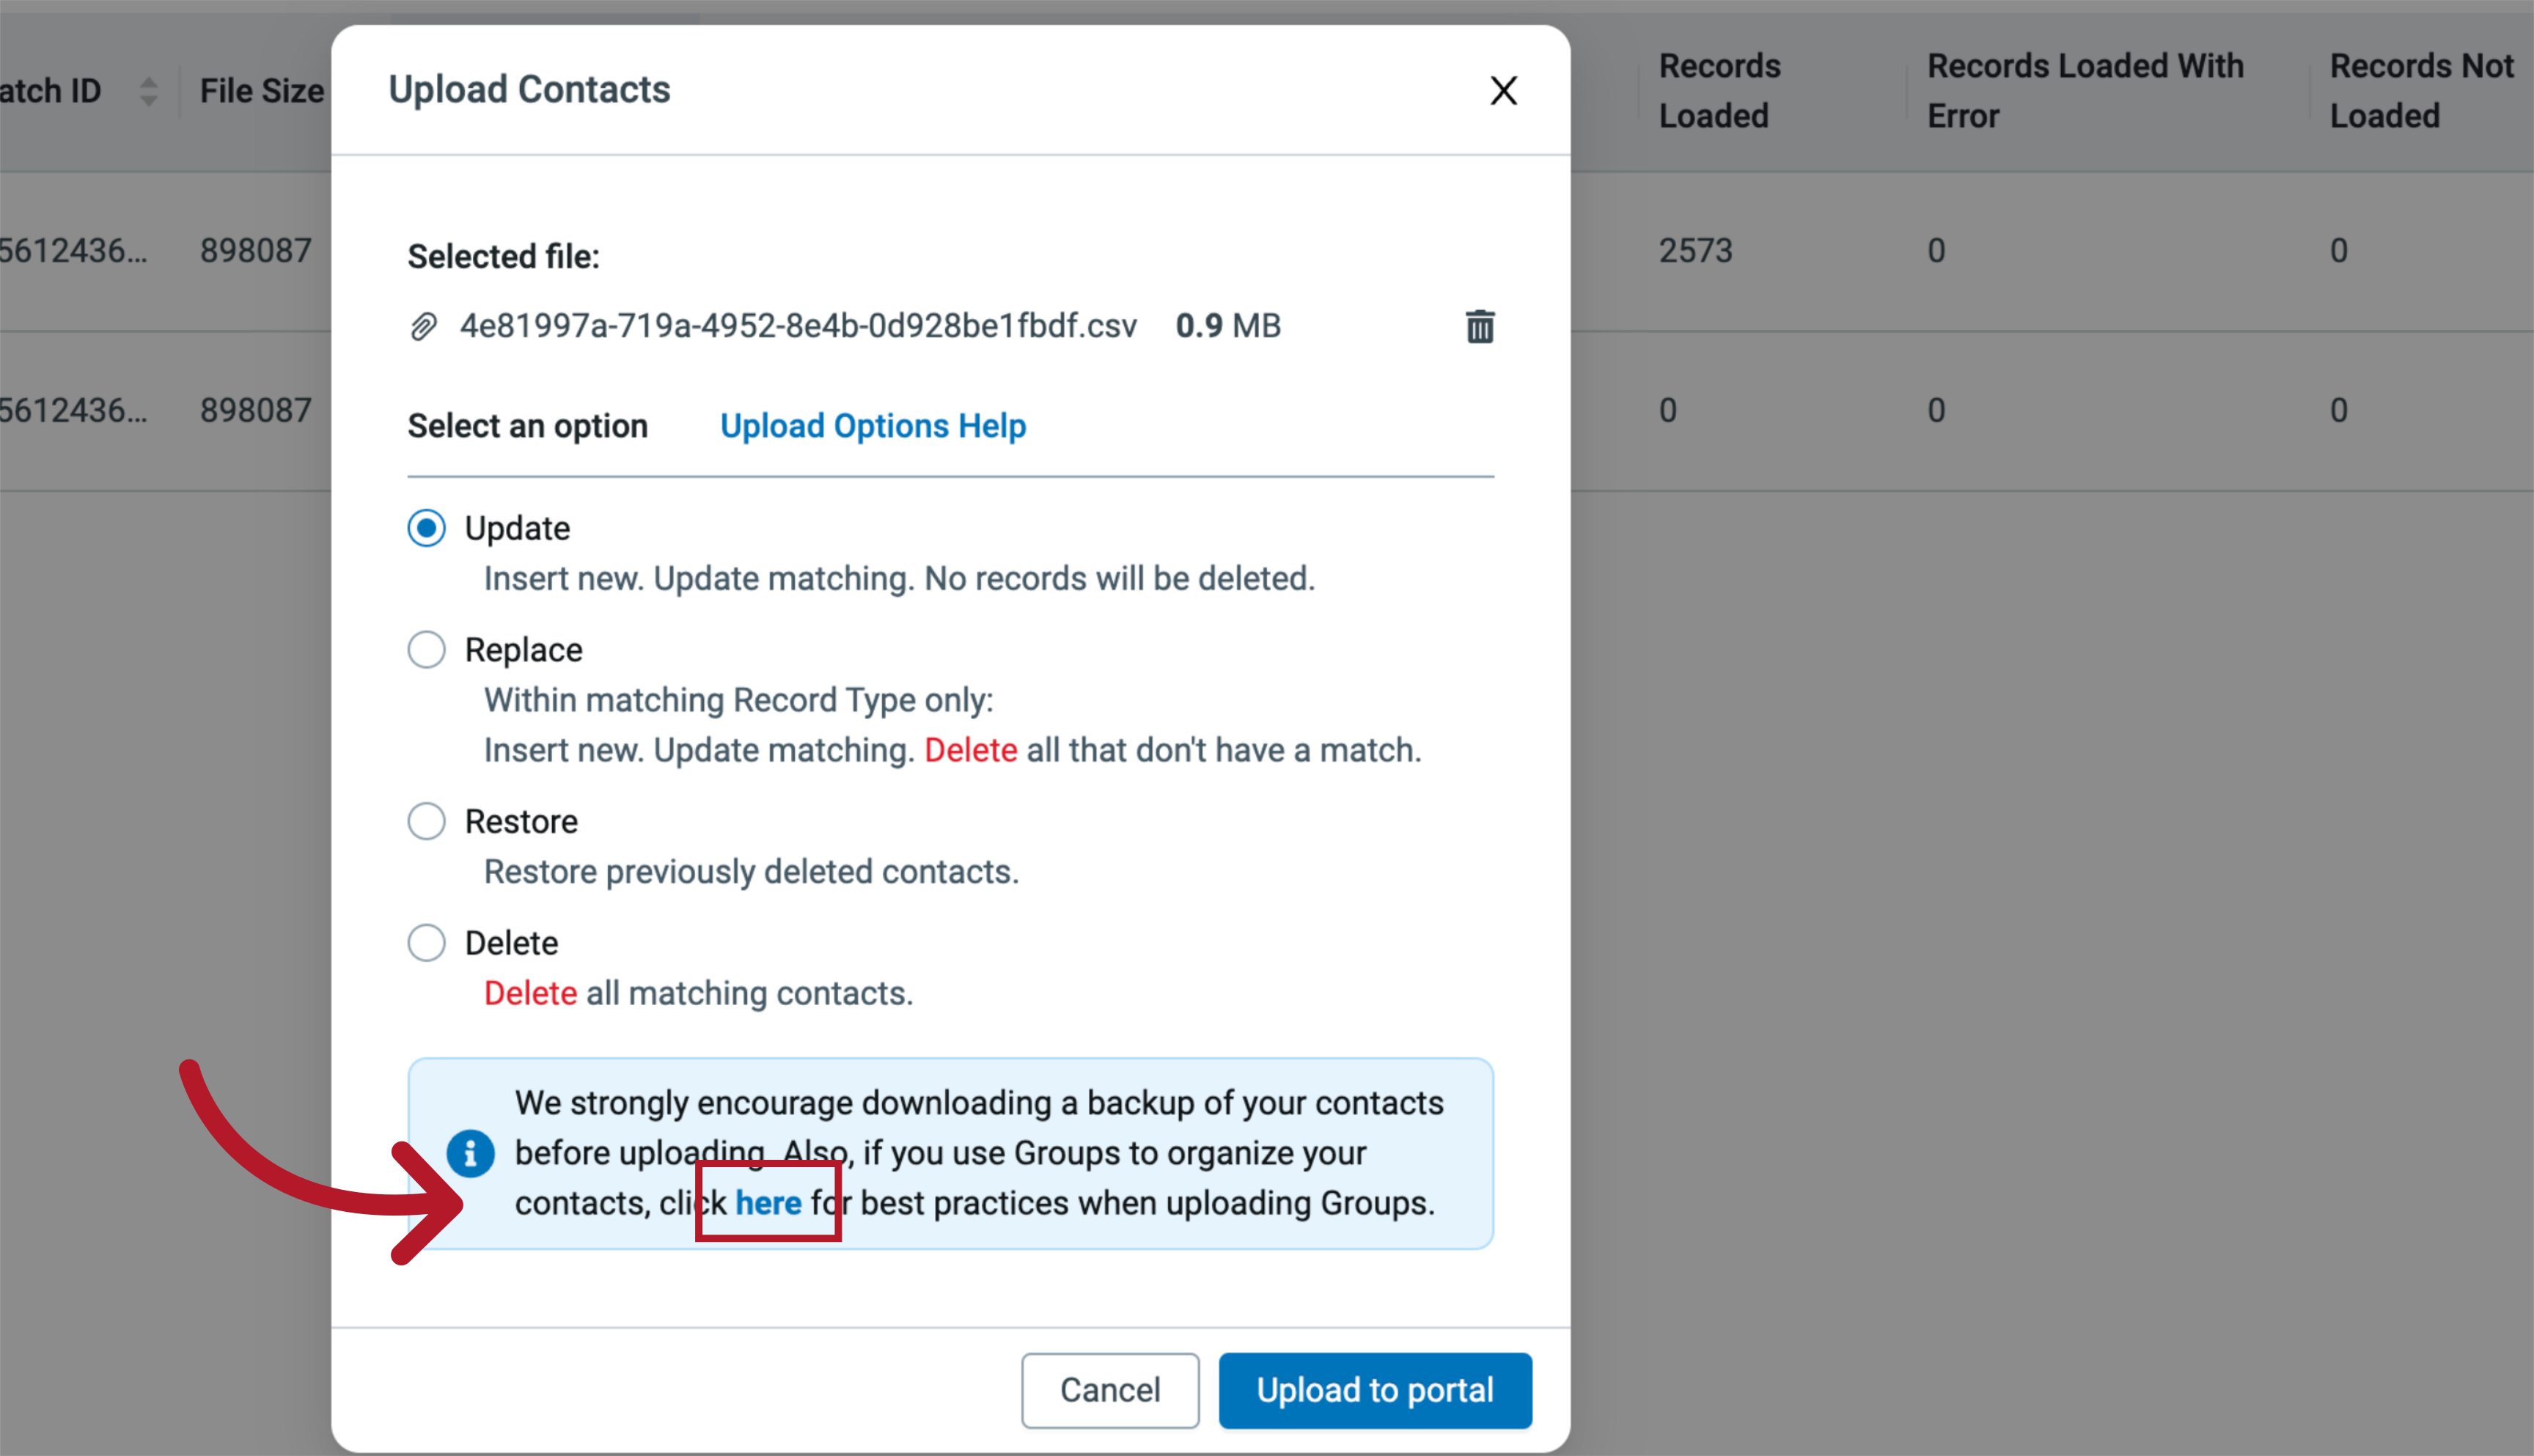
33. Best Practices
This will give you some additional best practices when uploading groups.
34. Upload Options
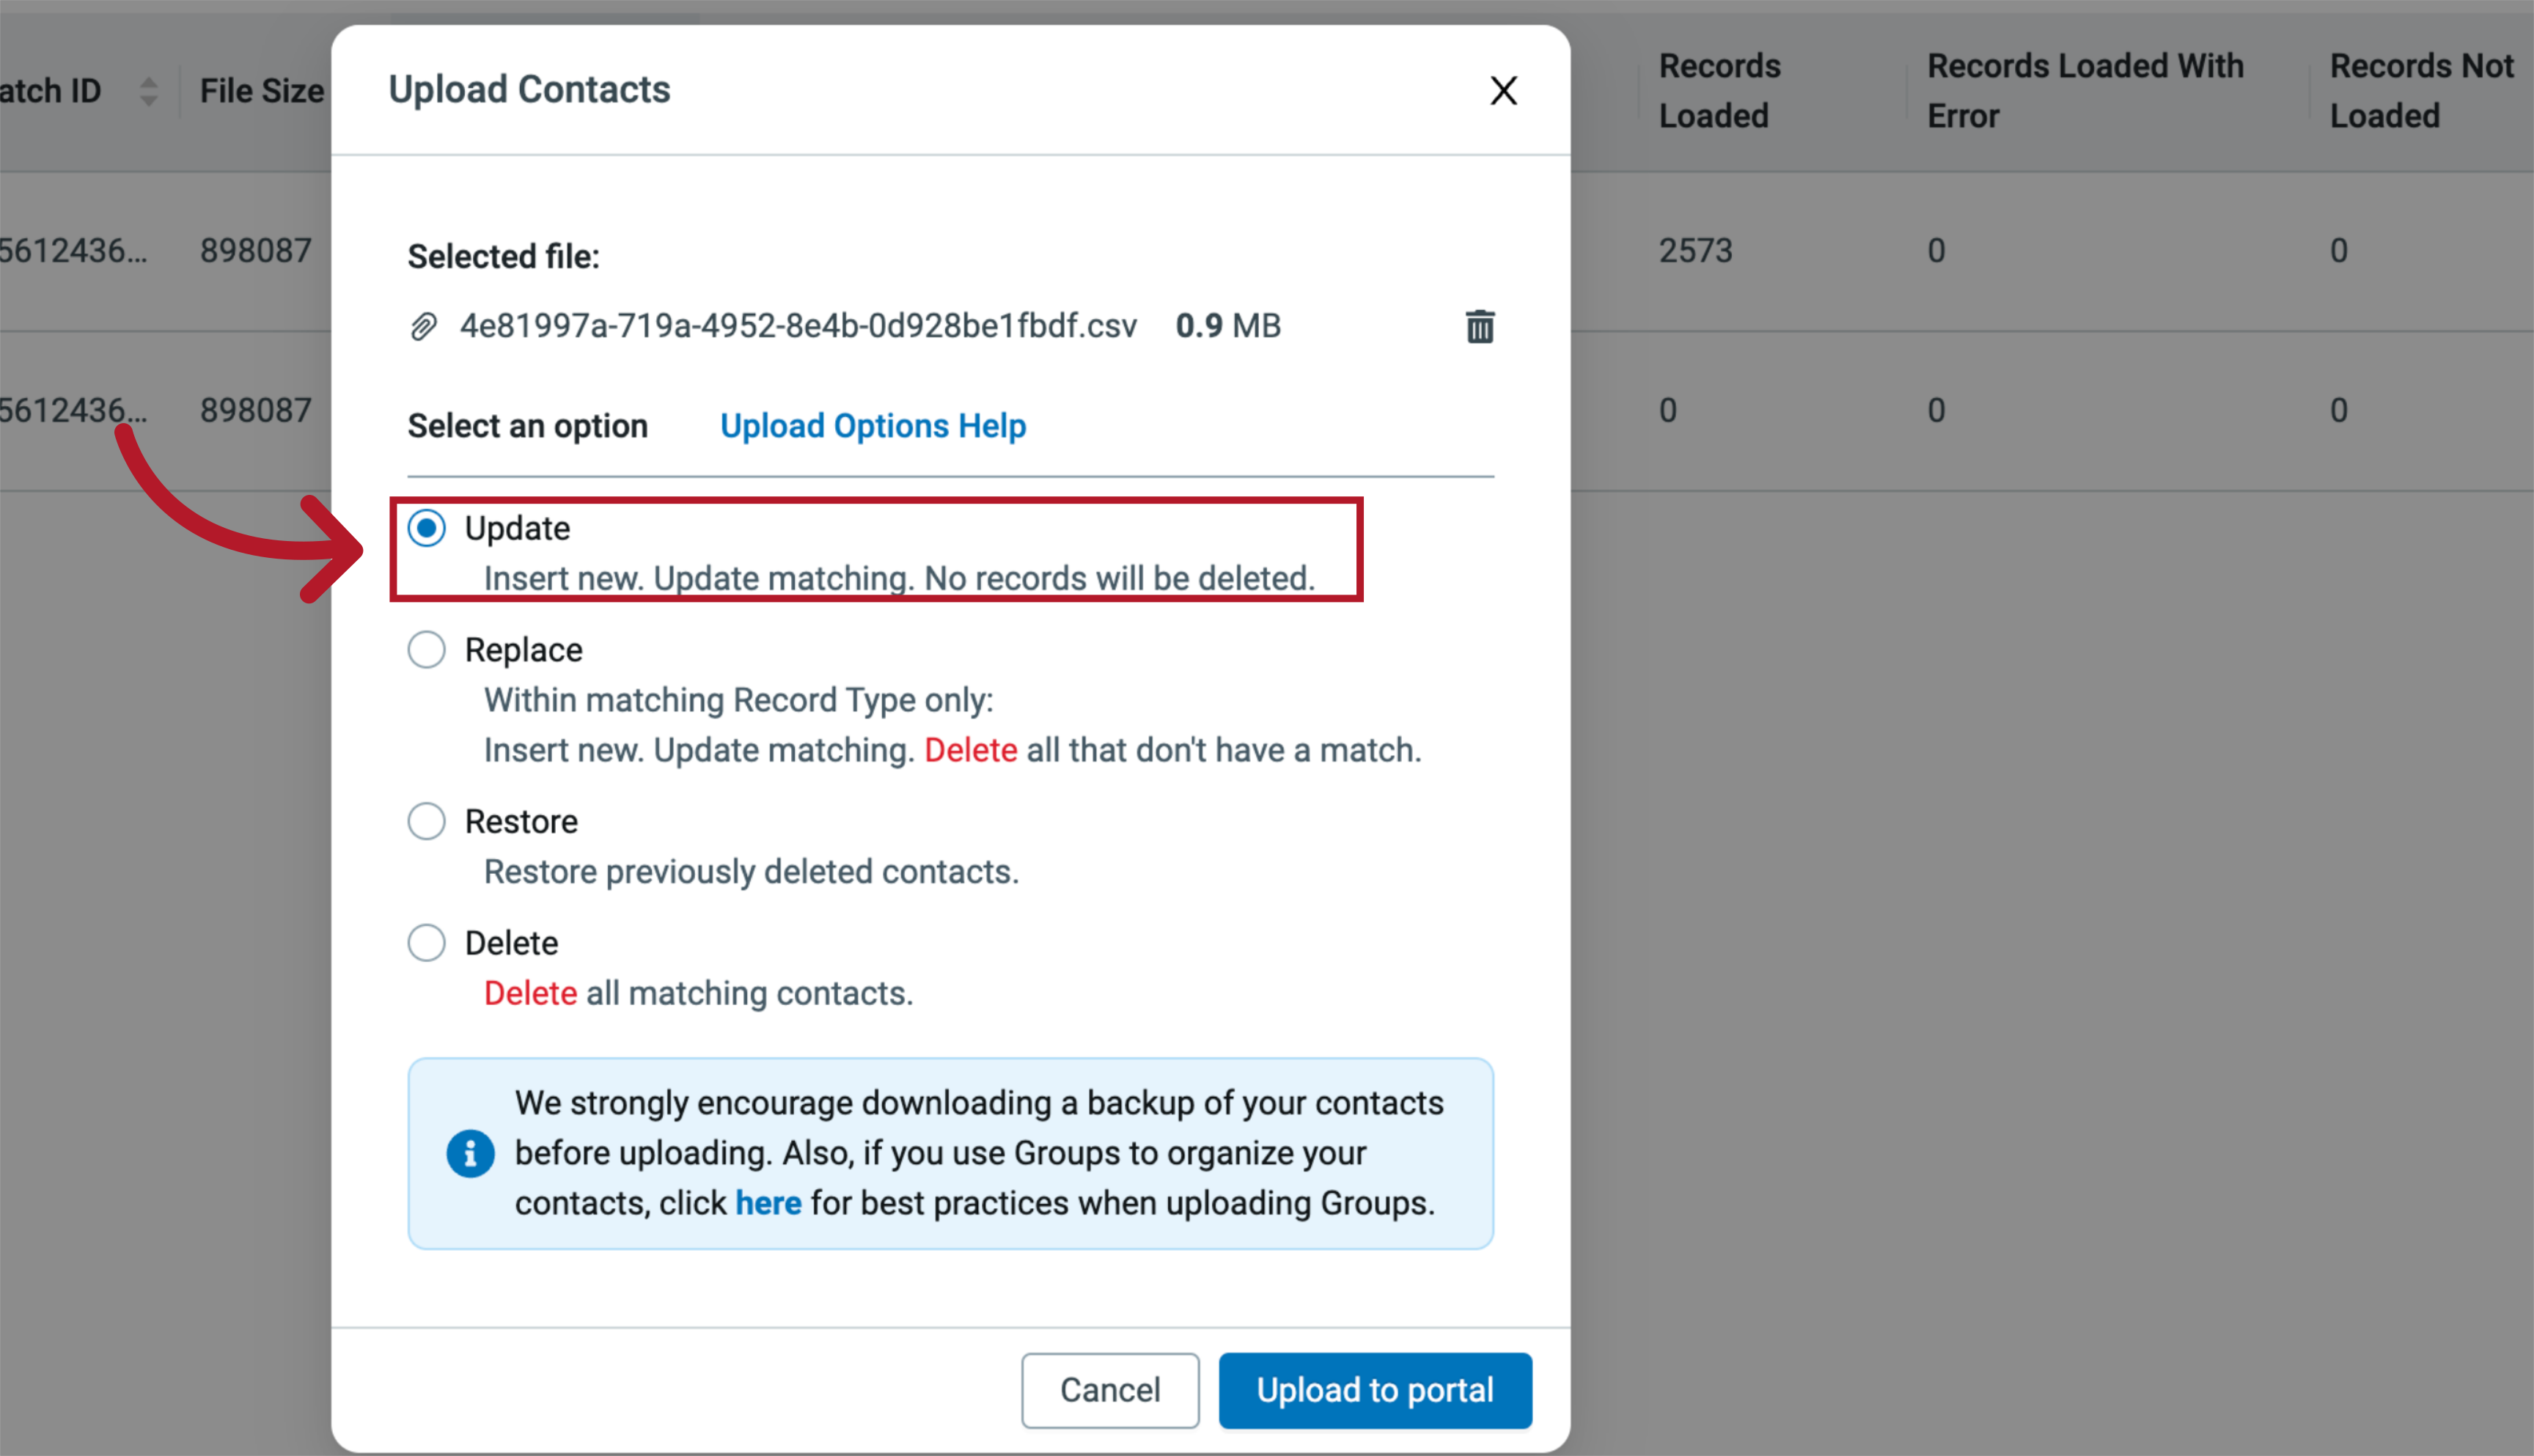
Okay, now that we know the different upload types, lets upload our file. We want to update our organization's contacts here. So we've selected the first option for Update.
35. Upload to Portal
Next, click Upload to portal.

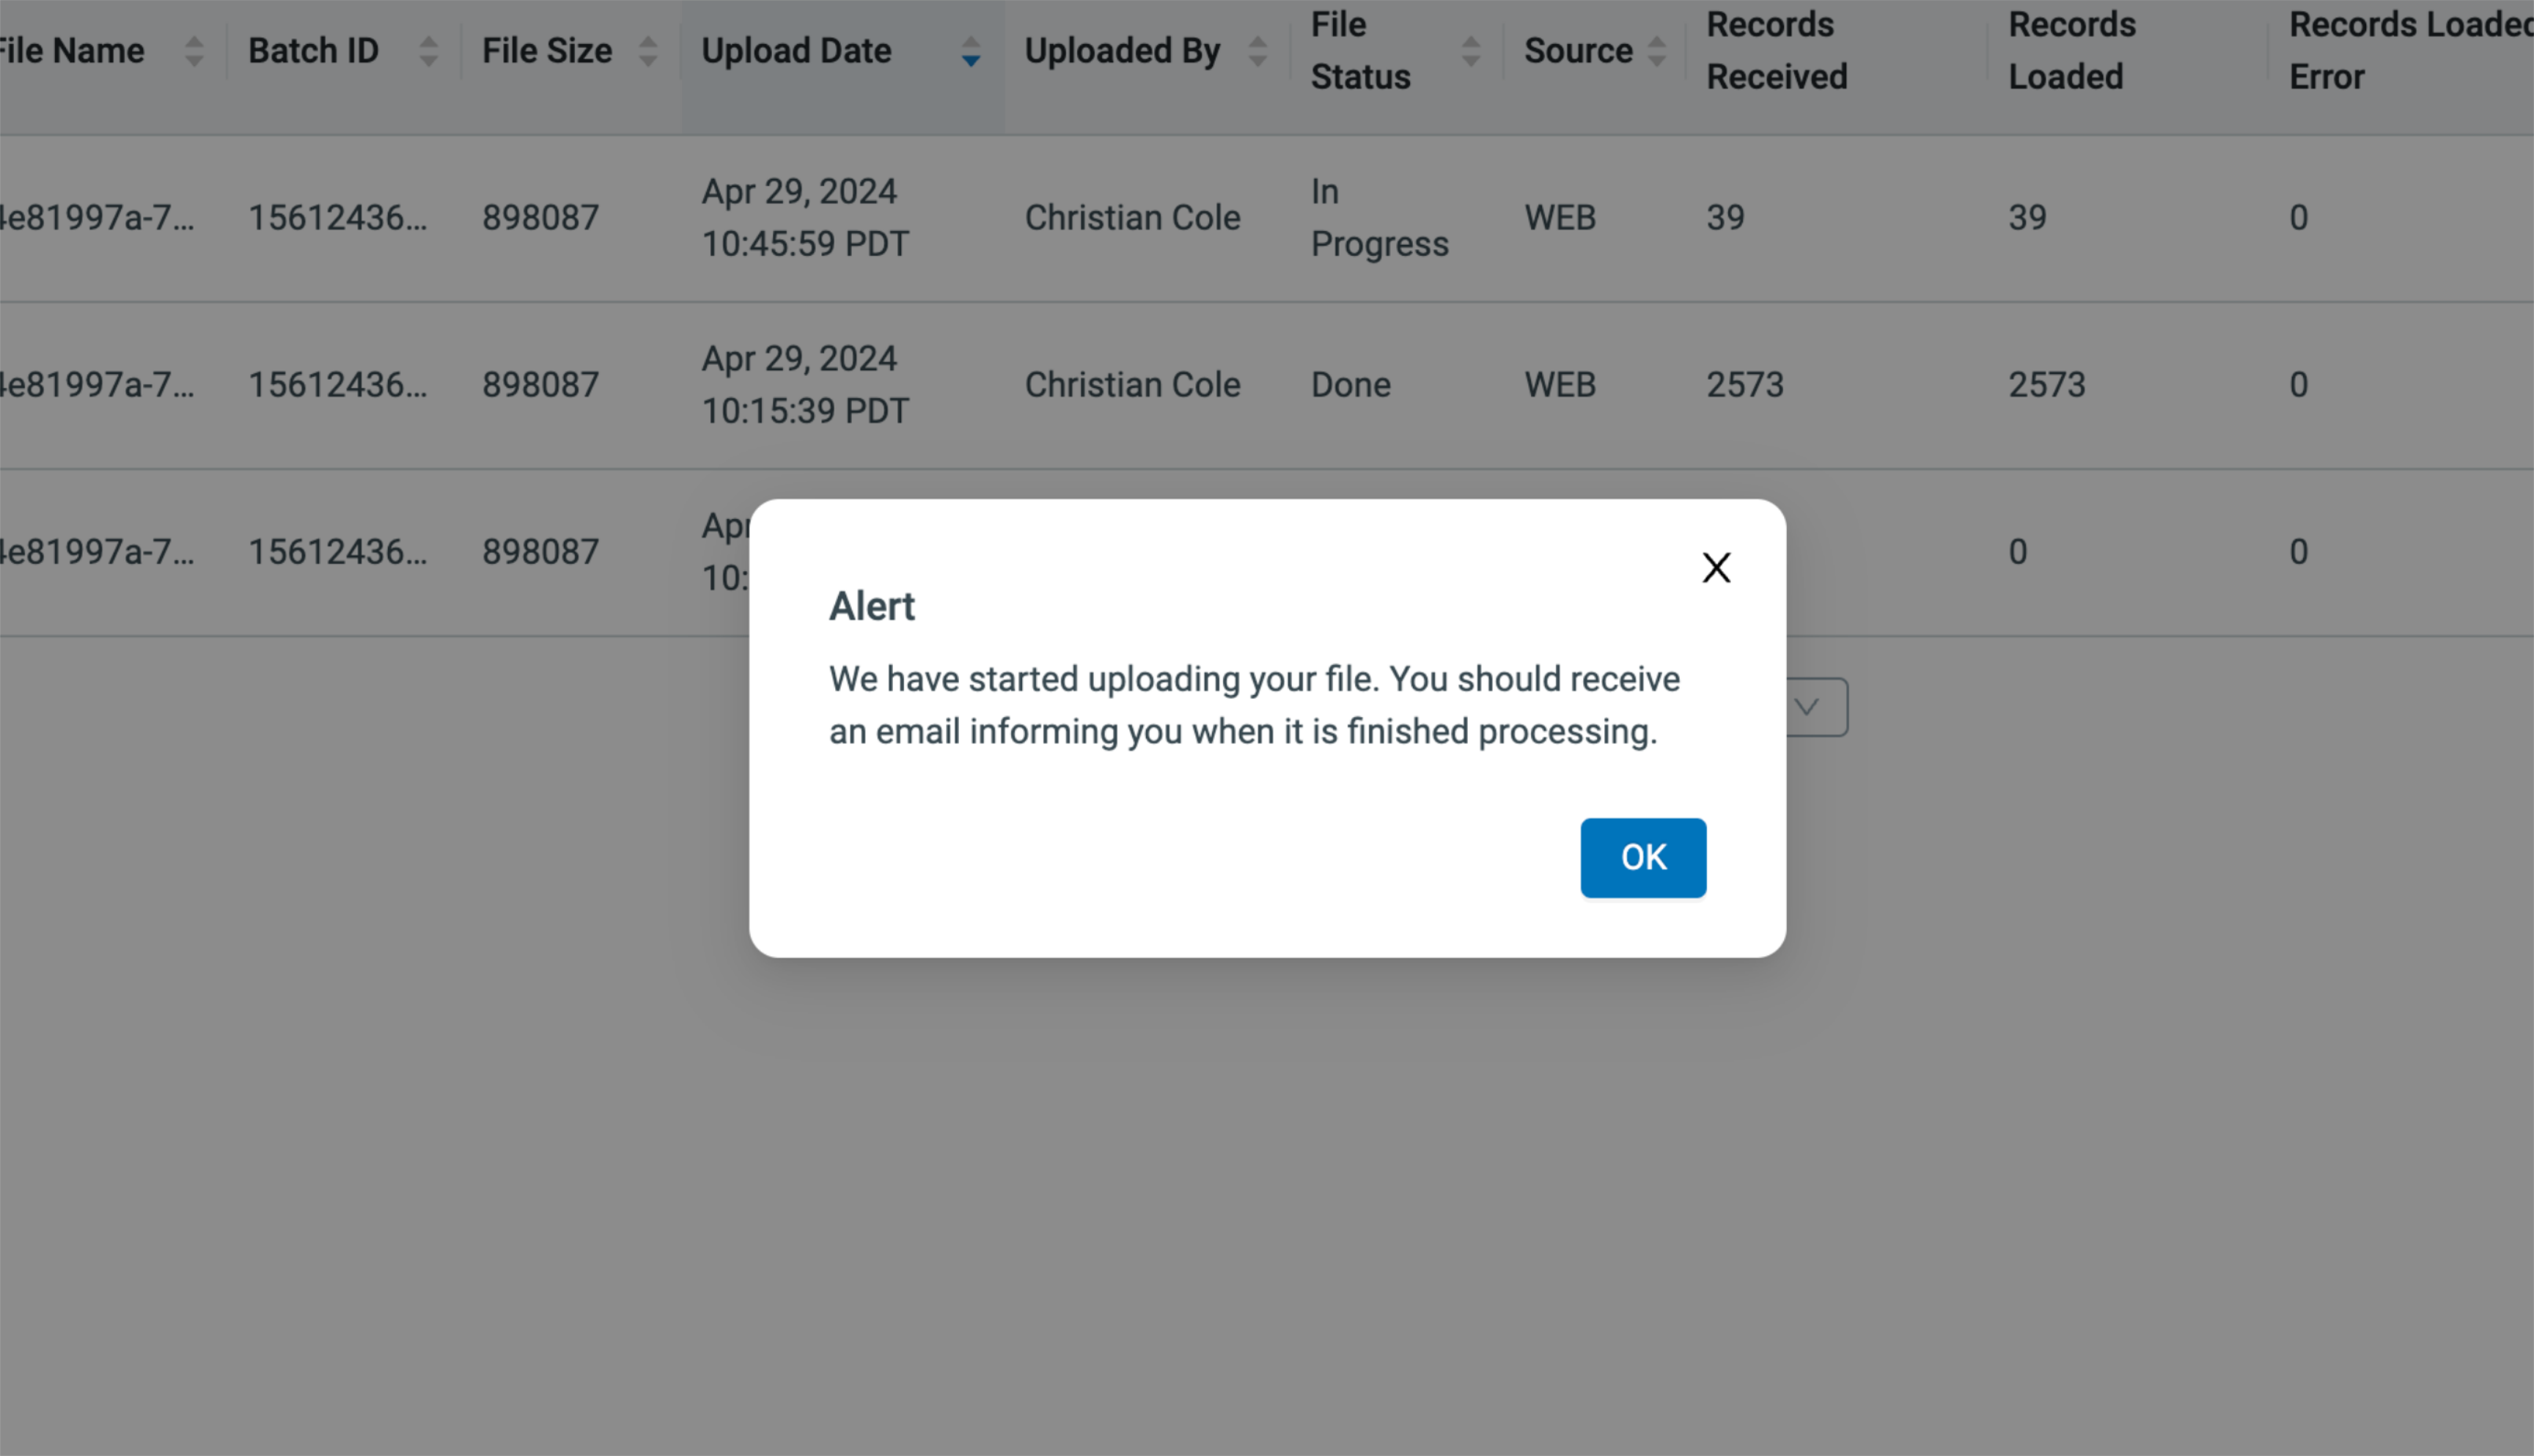
36. Upload to Portal
After selecting Upload to Portal, we are sent two automated emails, one email notifying us that the contact data file was received, and another email notifying us once the contact data file has been processed.
37. Review Upload
To view your new upload, select the View icon. That's the binoculars on the far left of the row. You can even view the upload as its processing in Everbridge 360.

For more detailed information on uploading a file to Everbridge 360, or how to remedy contact uploads with errors, check out our Digging Deeper with Contacts, File Upload course in Everbridge University. Thanks for watching!
Best Practices
It is recommended that you backup your contacts regularly. For example, create a directory on your computer for contact download backups. Each backup can be date and time stamped. To backup your contacts:
-
Click Contacts/Assets > Contacts > Contact List from the top menu bar.
-
Select the Download button. This action creates a zip file of your current contacts. By default this file is downloaded to your Downloads directory.
-
Optionally move the file to another directory such as a backup directory specifically created for that purpose.
-
When preparing your CSV file for upload, download a current contact list from Everbridge to see all required columns, including the 'Record Type' column. This is especially important when uploading contacts for a specific company or organization.
-
Ensure that the following mandatory fields are filled for each contact record: First Name, Last Name, External ID, and Record Type. These fields are required for successful upload.
-
If using custom fields, include them in the CSV file by adding two columns for each custom field - one for the field name and one for the field value.
-
Verify that all required fields contain valid data, as any missing or incorrect information will prevent the contact upload from being successful.
Troubleshooting
For information on troubleshooting contact uploads, see knowledge article EBS: Troubleshooting & Configuration Guide for Contact Uploads - Main Page.