Topic
How to configure Single Sign-On (SSO) for an Everbridge Member Portal.
Description
Organizations with private Everbridge Member Portals may be configured for Single Sign-on (SSO) at either the Account level or the Organization level.
If SSO is configured at the Account level, all Organizations under that Account inherit the Account-level SSO configuration for their Member Portal.
If SSO is configured at the Organization level, the SSO configuration for their Member Portal applies to that Organization only.
If SSO is defined at the Account level and at the Organization level, the Organization SSO configuration will override the Account-level SSO settings for that Organization's Member Portal.
Overview
Setting up SSO for an Everbridge Member Portal consists of the following tasks:
- Prerequisites
- Configure Member Portal SSO Settings via the Manager Portal
- Update Contact SSO User IDs
- Test the Member Portal SSO Configuration
- Download the Metadata
Prerequisites
Important: Before configuring SSO, ensure your organization is set as a private organization. SSO is only available for private Member Portals. To verify or change this setting, navigate to Settings > Member Portal and select 'Private'. If you see an error message stating "This is not private organization. Single Sign-On is unavailable", you must first change your organization type to private before proceeding with SSO configuration.
To prepare for configuring SSO in Everbridge, see knowledge article EBS: Single Sign-On (SSO Prerequisites.
Configure Member Portal SSO Settings via the Manager Portal
This guide will walk you through configuring Single Sign-On settings for Everbridge Organization Member Portals. Note that only private Member Portals can be configured for SSO. Member Portals can be configured by an Account Administrator or an Organization Administrator.
1. ACCOUNT CONFIGURATION
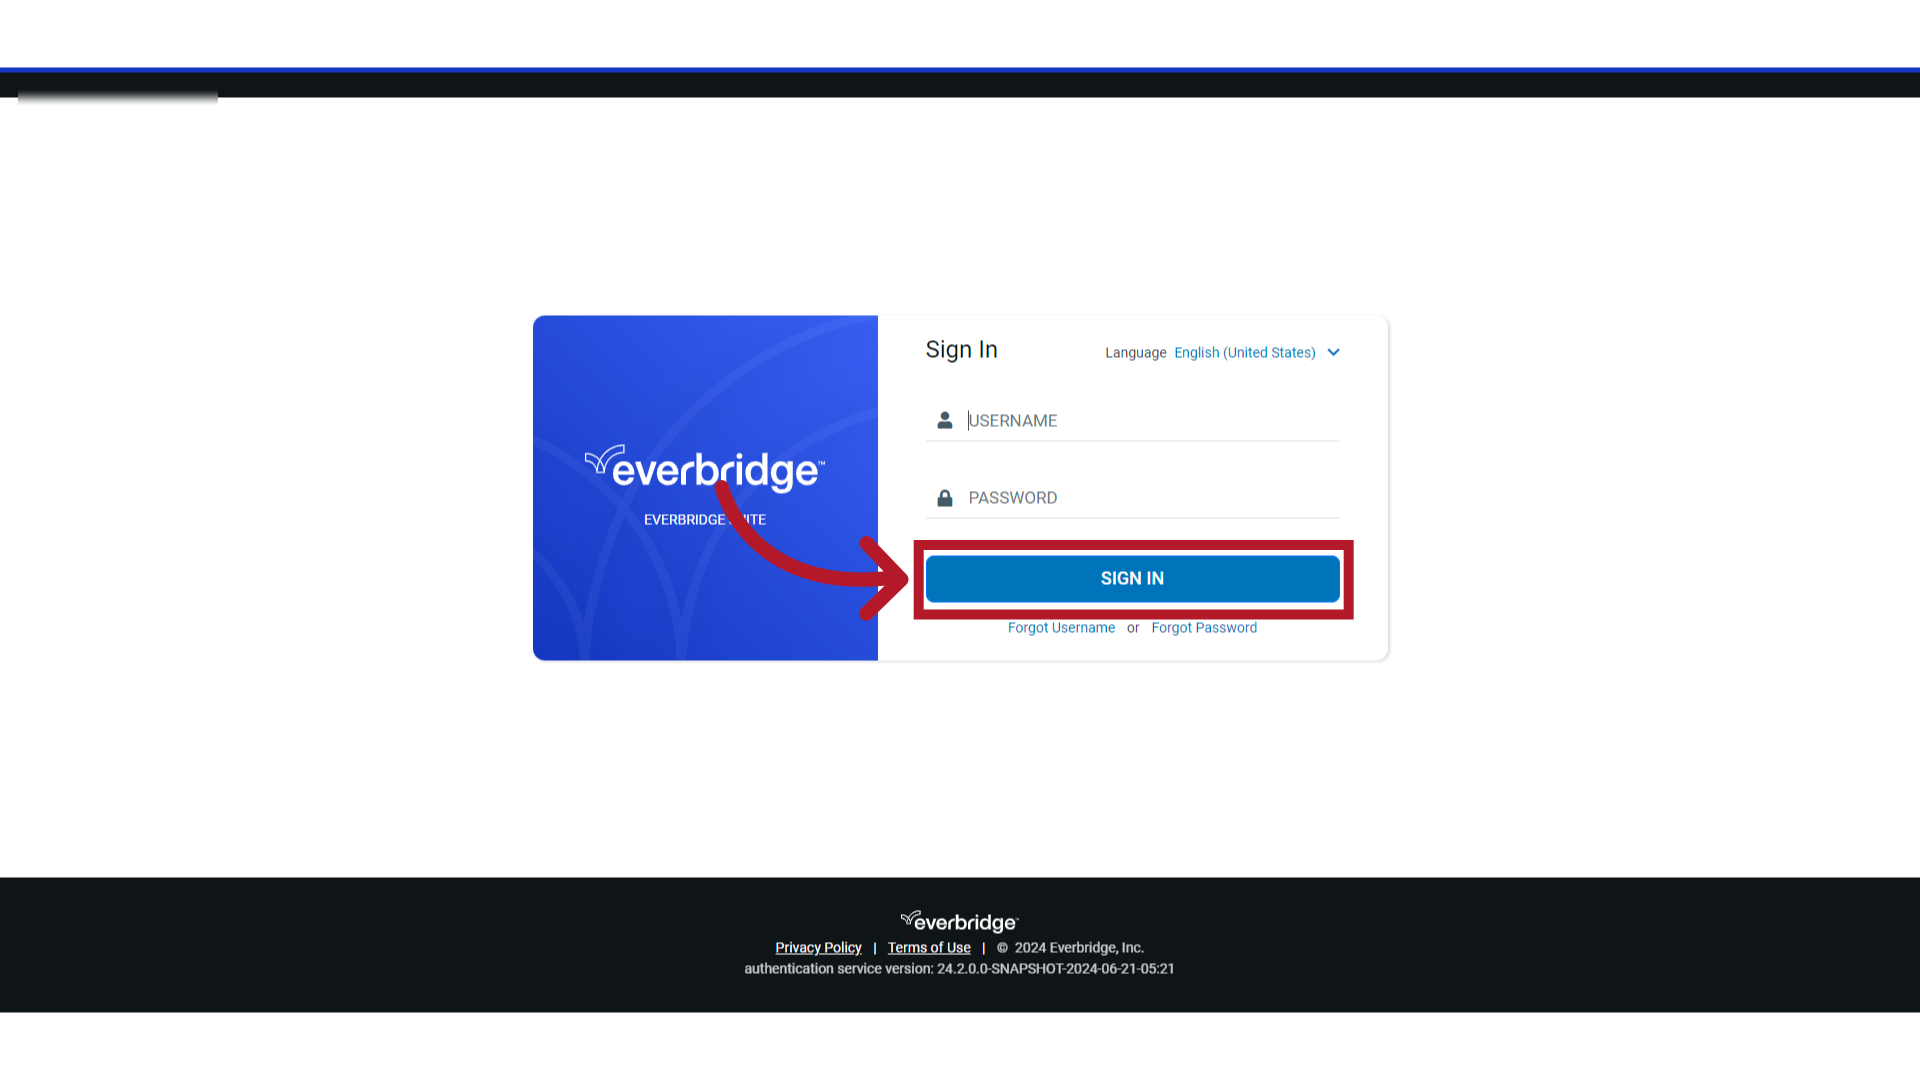
To configure SSO for all Organizations, login to the Everbridge Manager Portal as an Account Administrator.
2. Manager Portal
Ensure you are at the Account level.

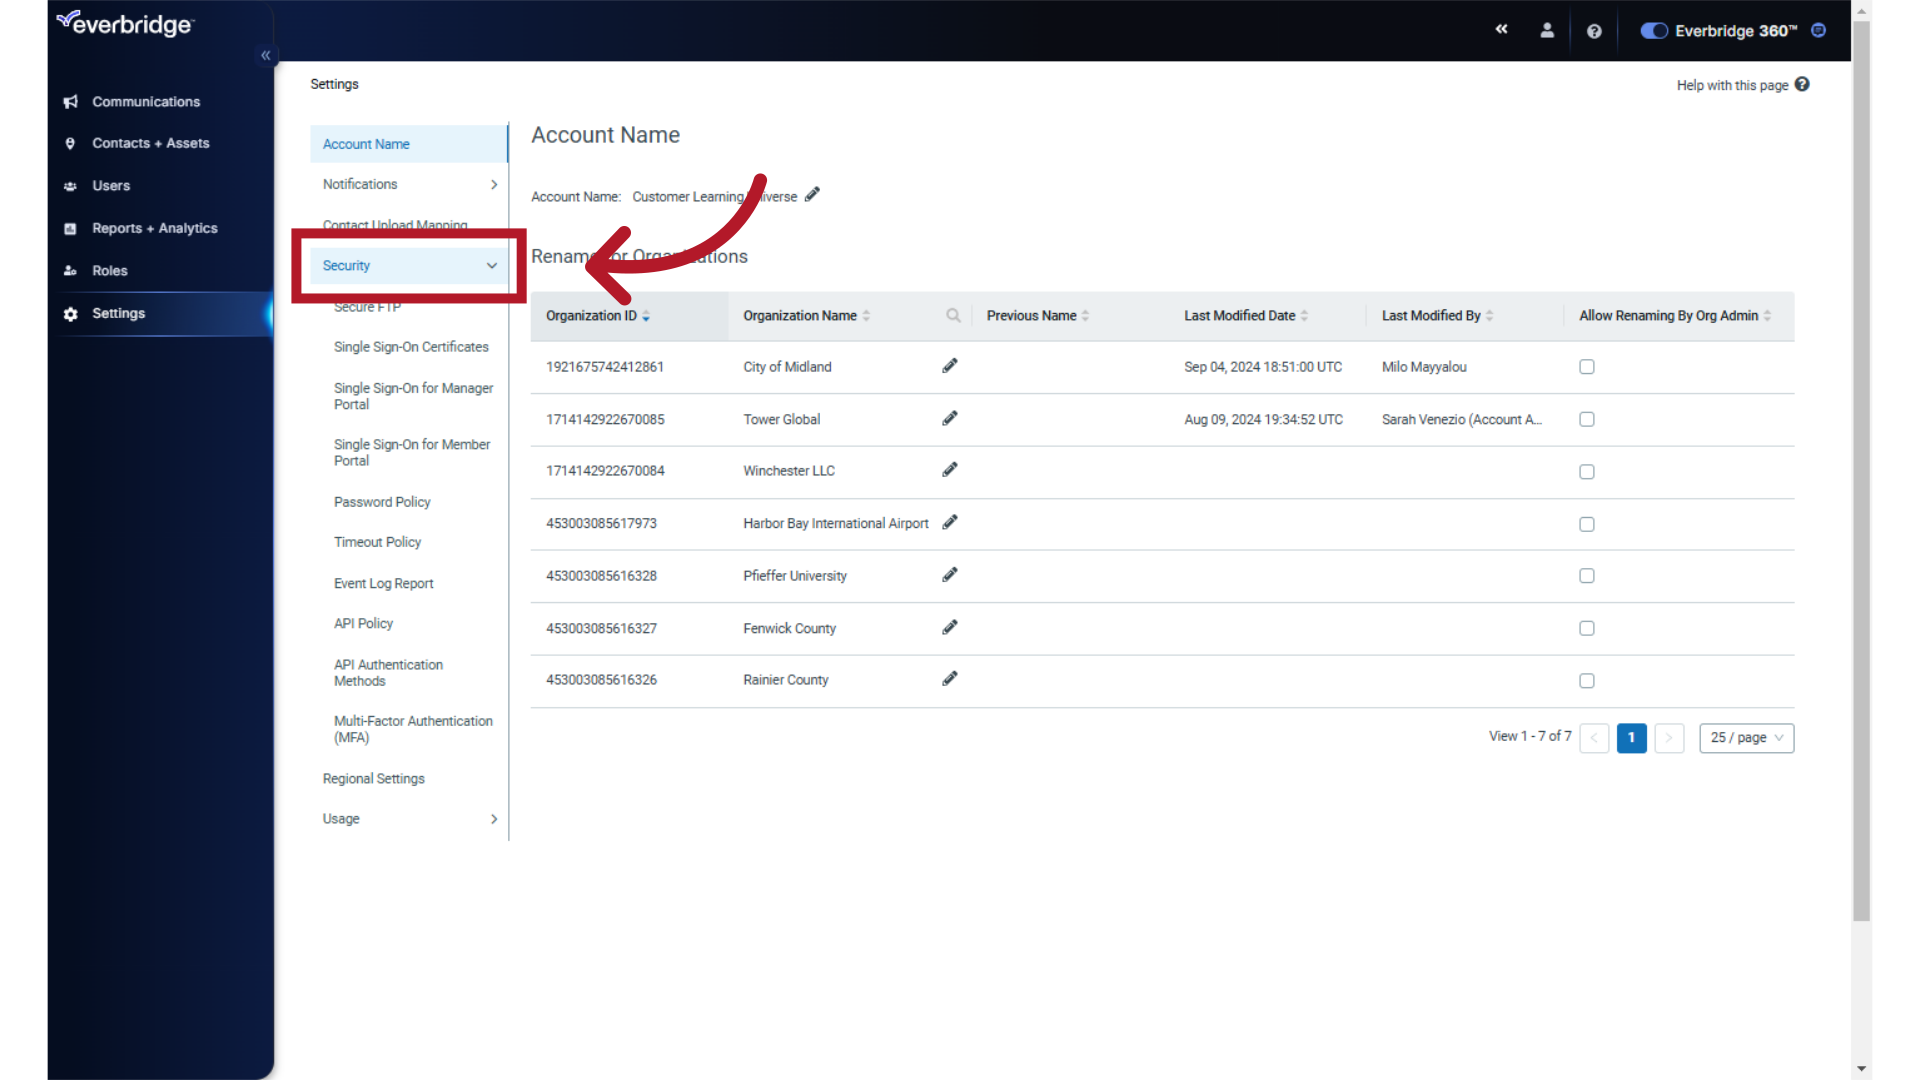
3. Settings
Select "Settings".

4. Security
Select "Security".
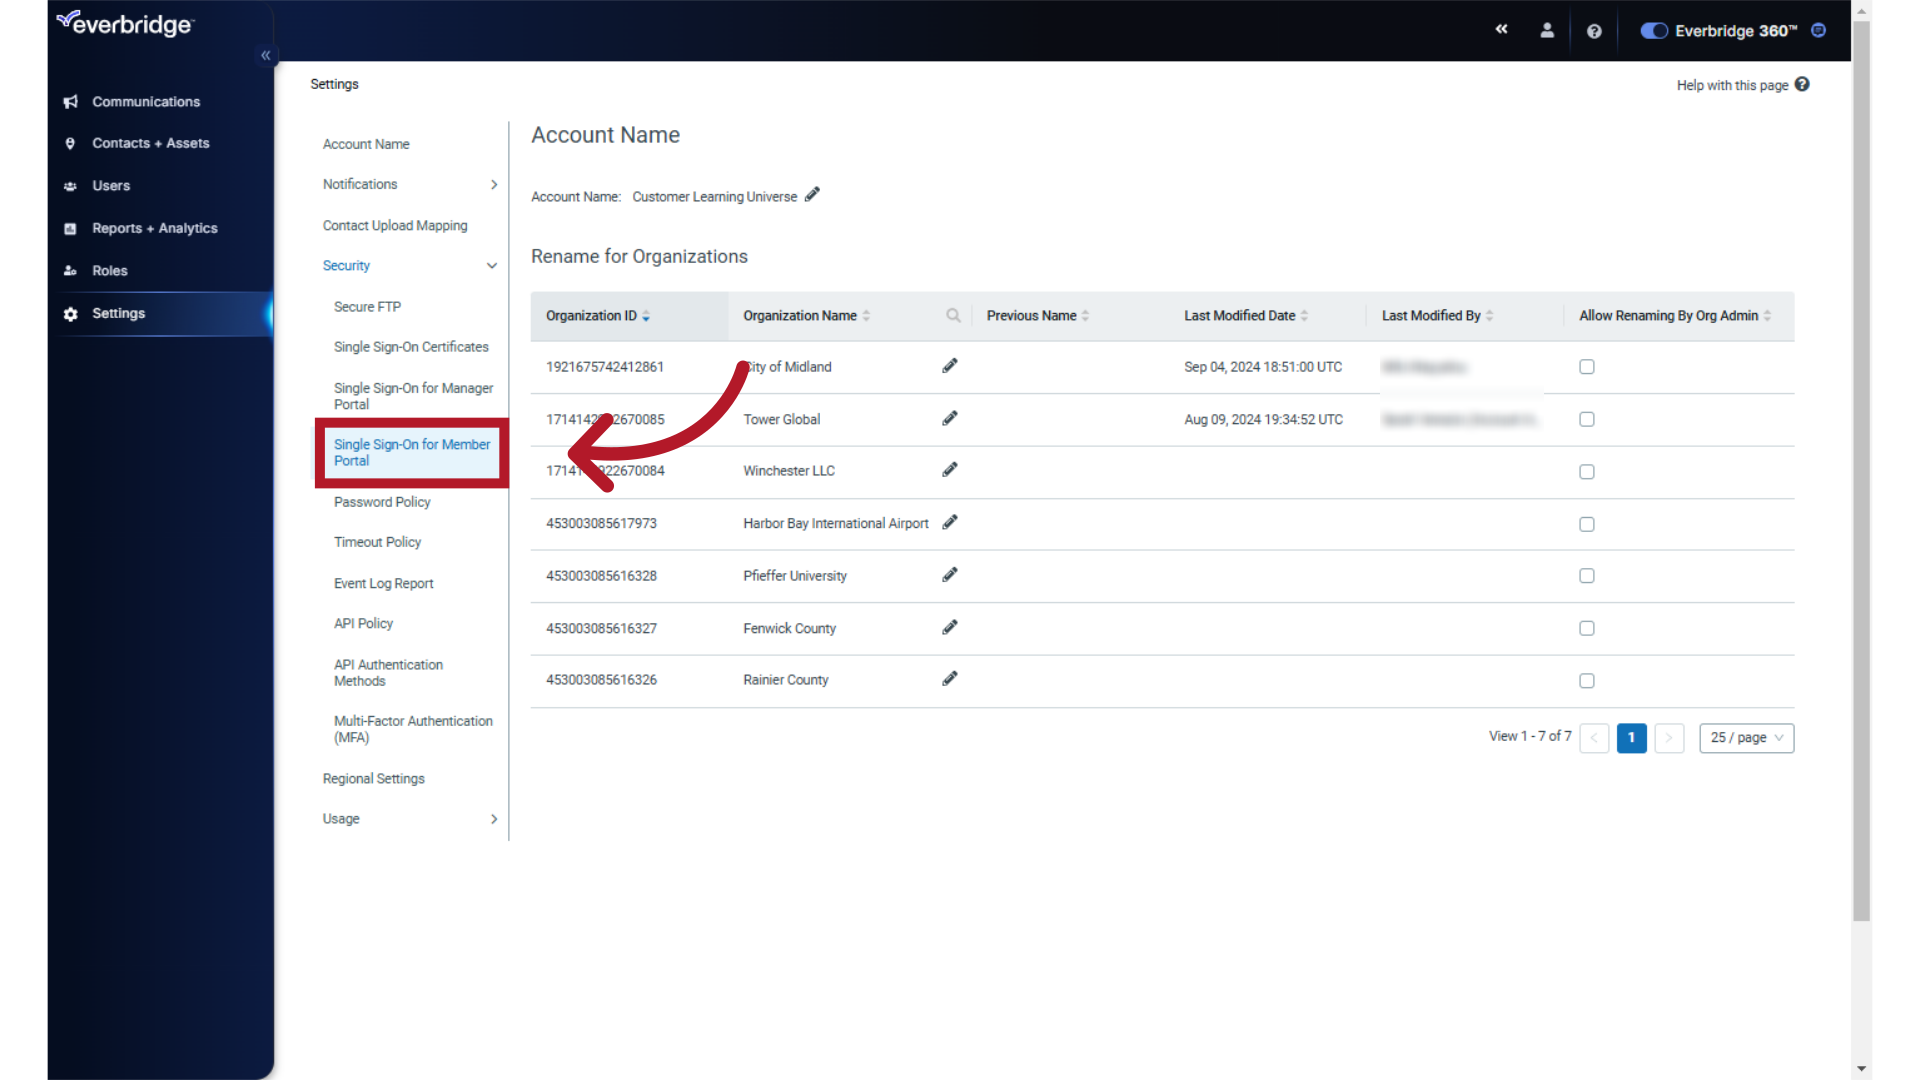
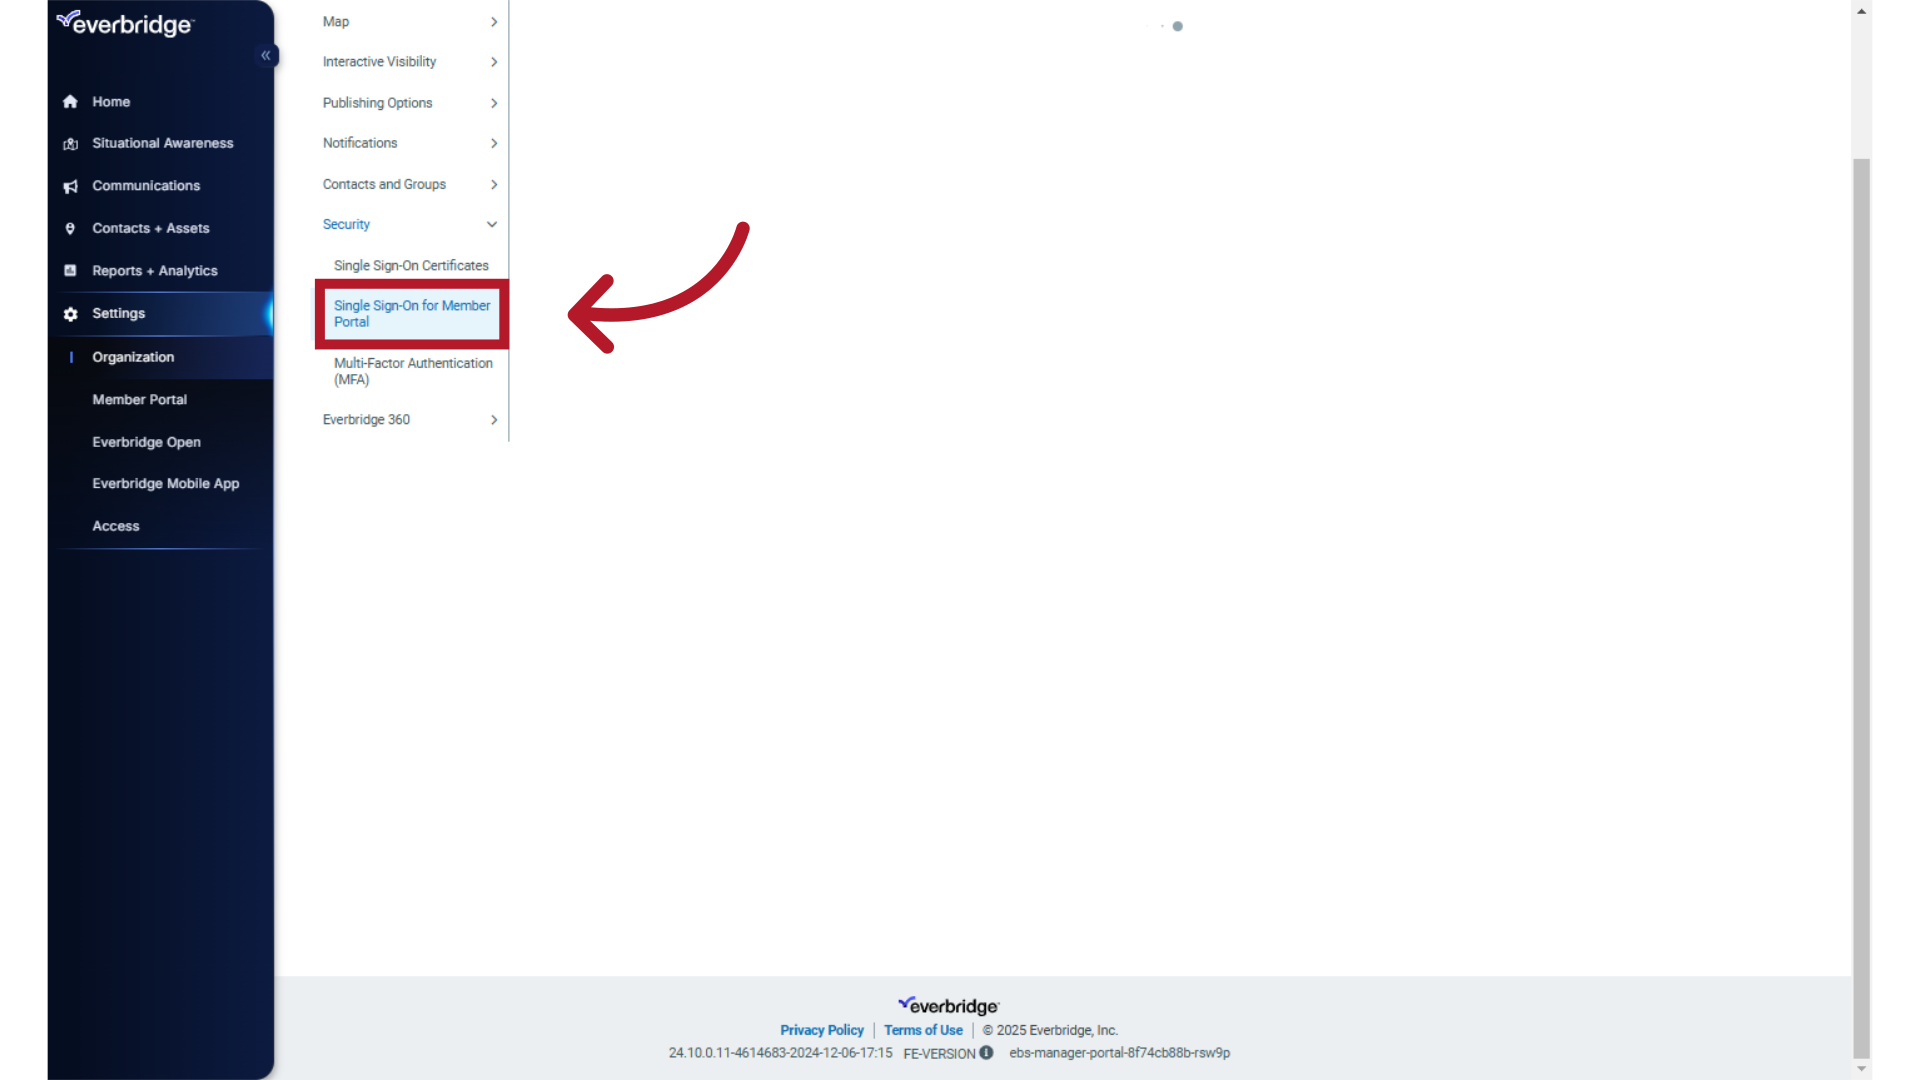
5. Single Sign-On for Member Portal
Select "Single Sign-On for Member Portal."
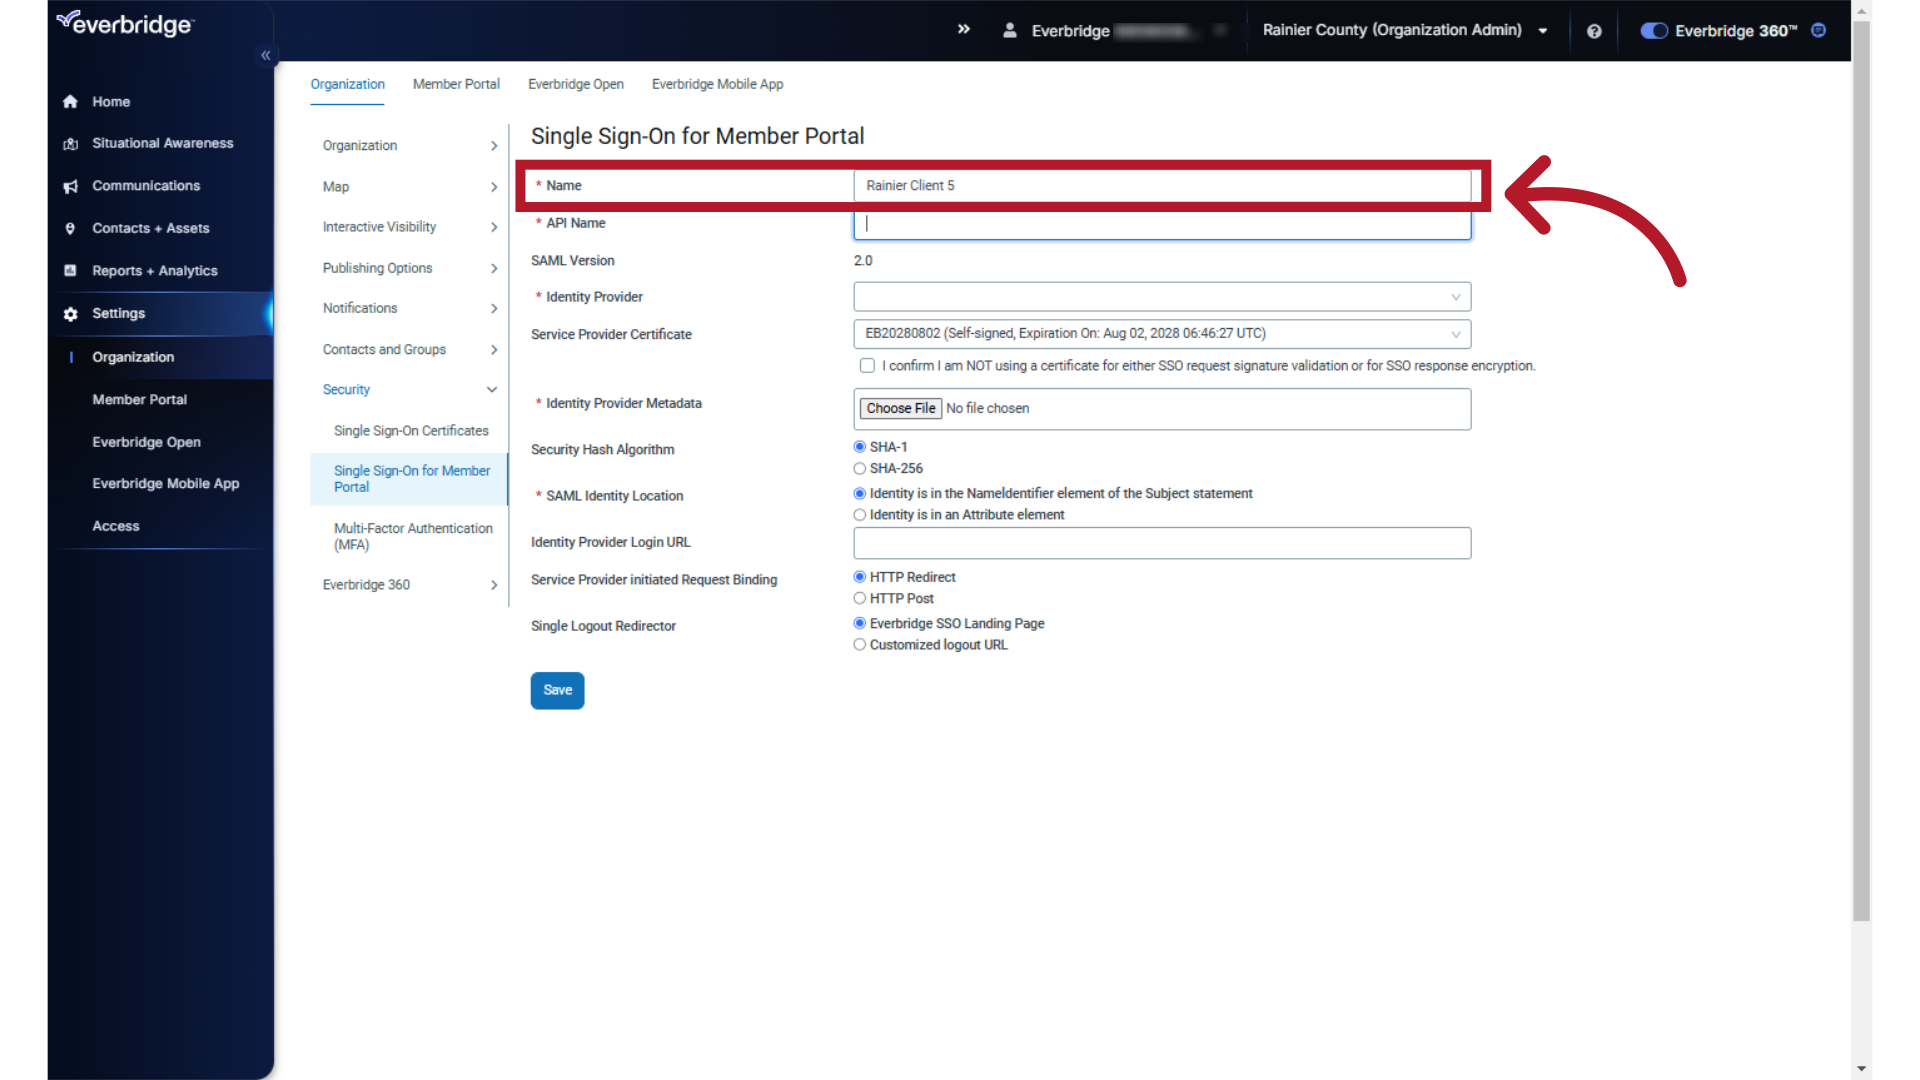
6. Name
Enter a "Name" for your Single Sign-On configuration.
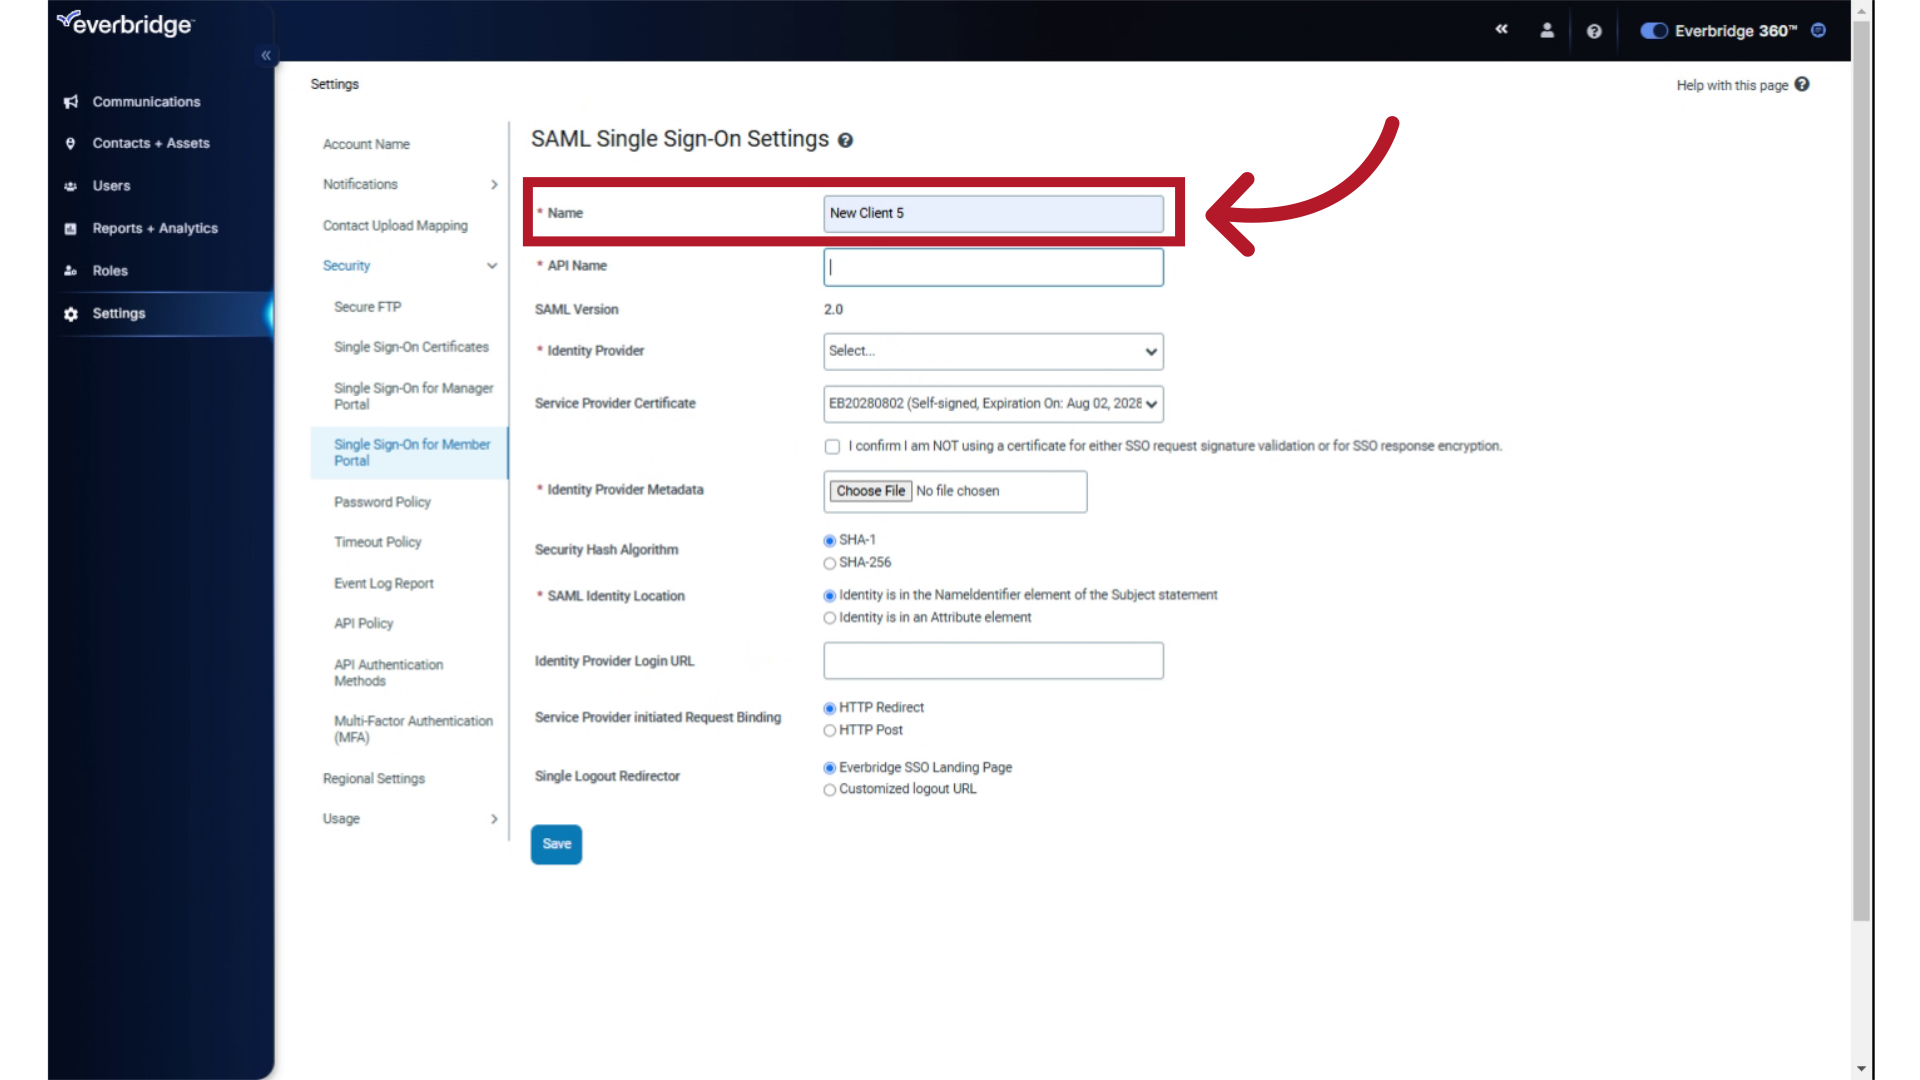
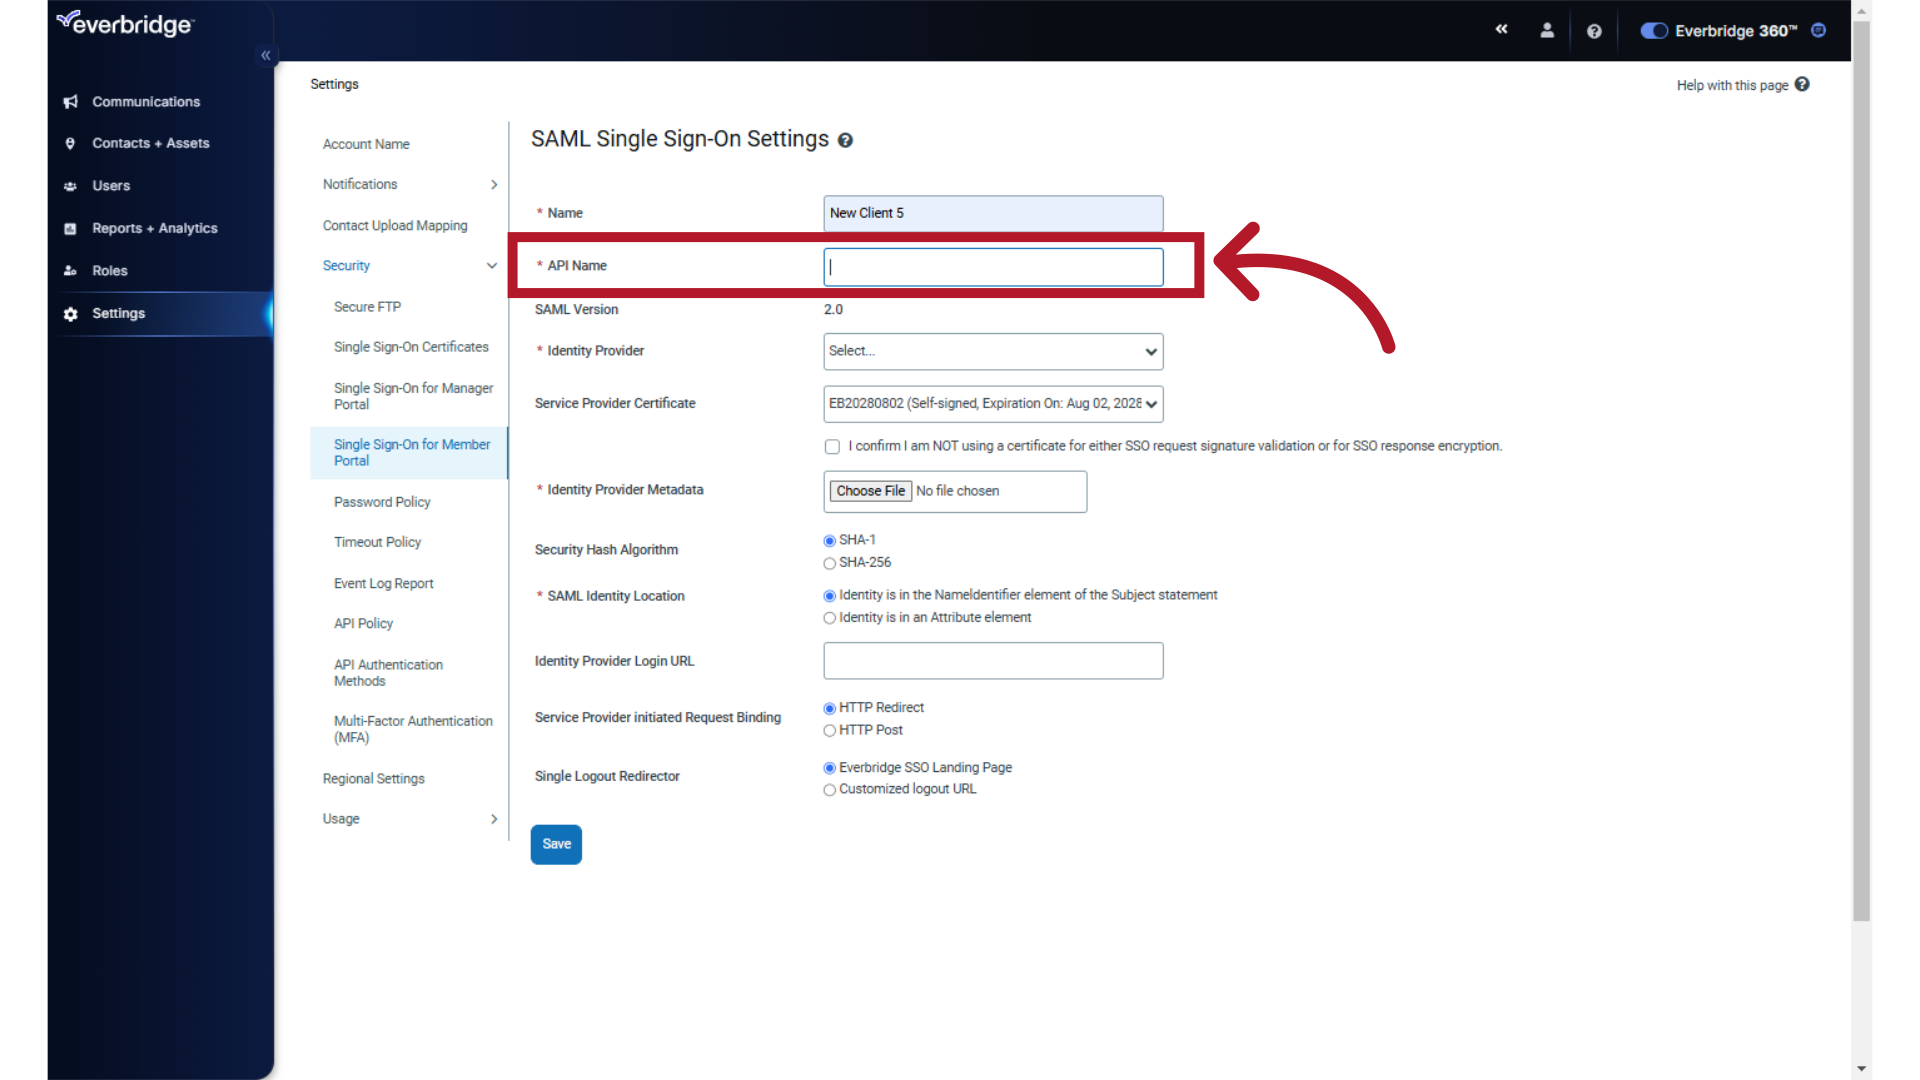
7. API Name
Enter the "API Name" for your SSO configuration. Everbridge recommends using all lowercase as a best practice.
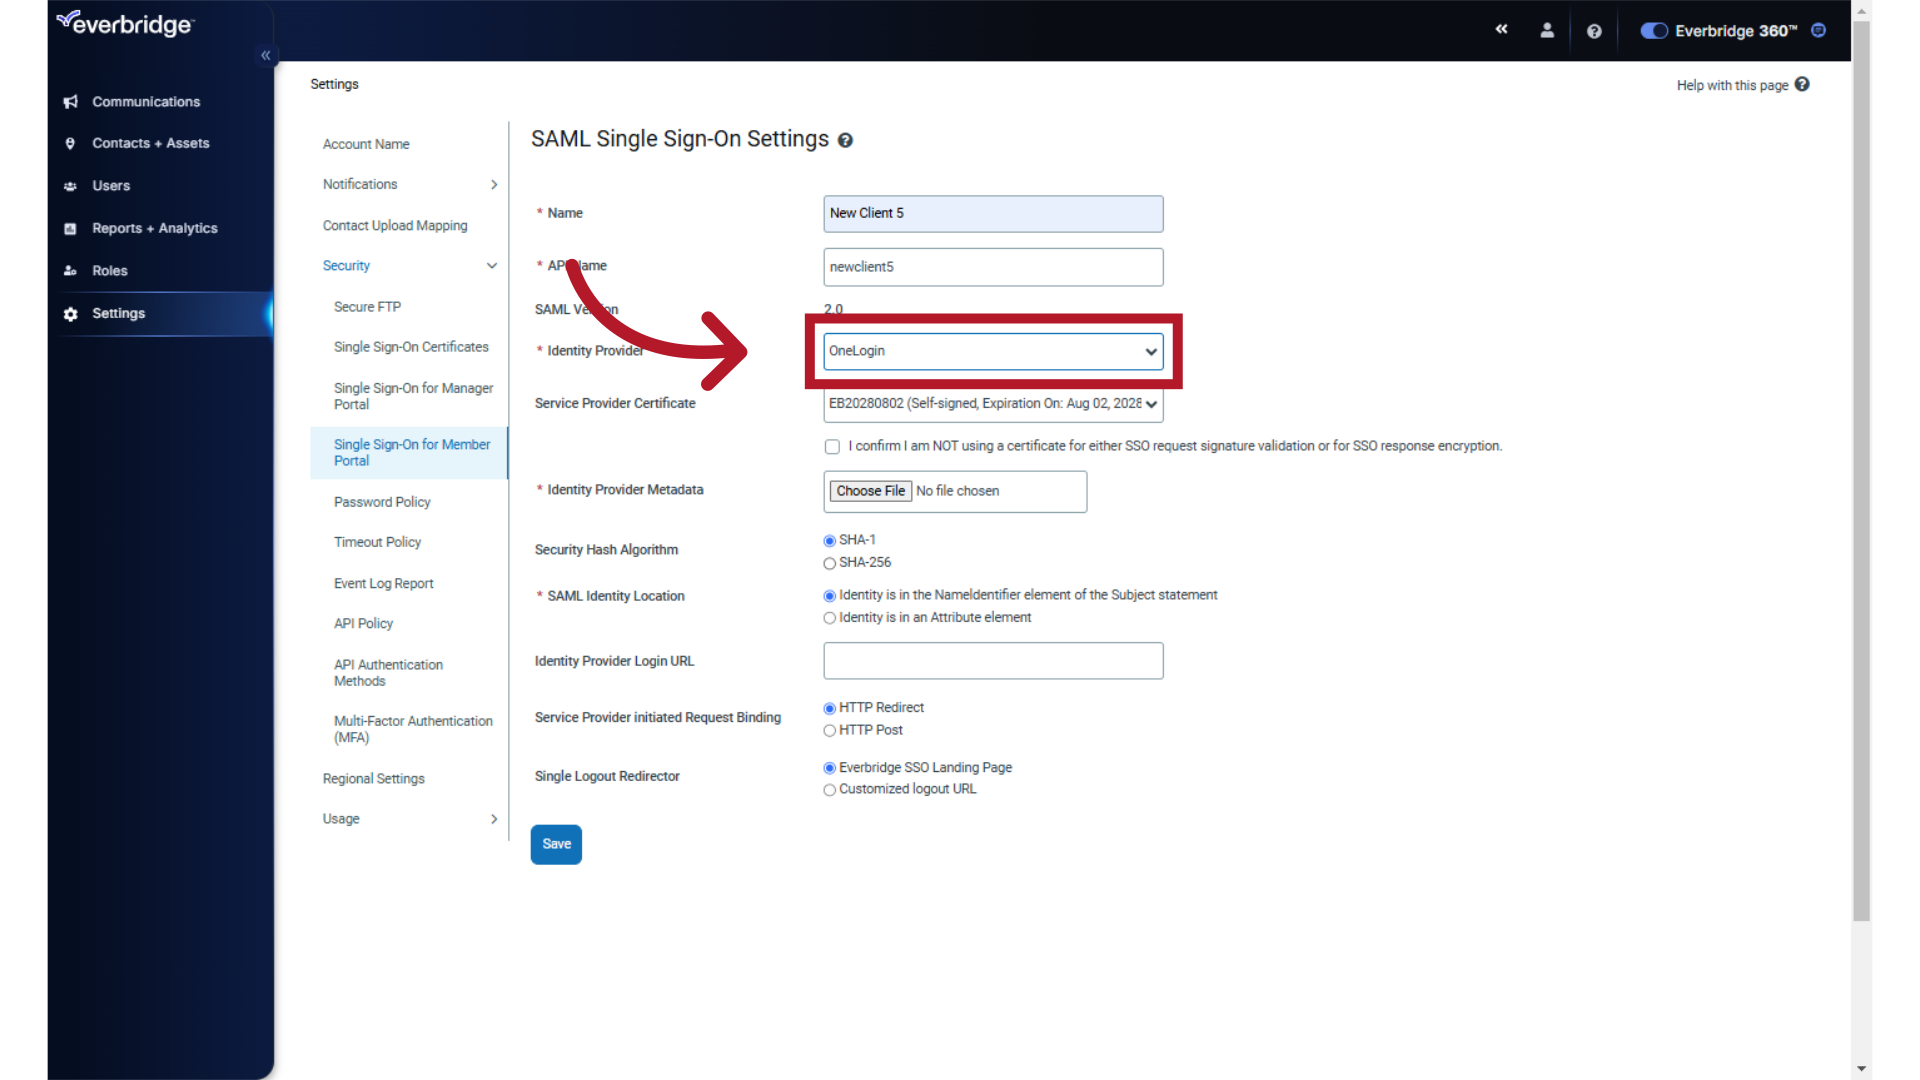
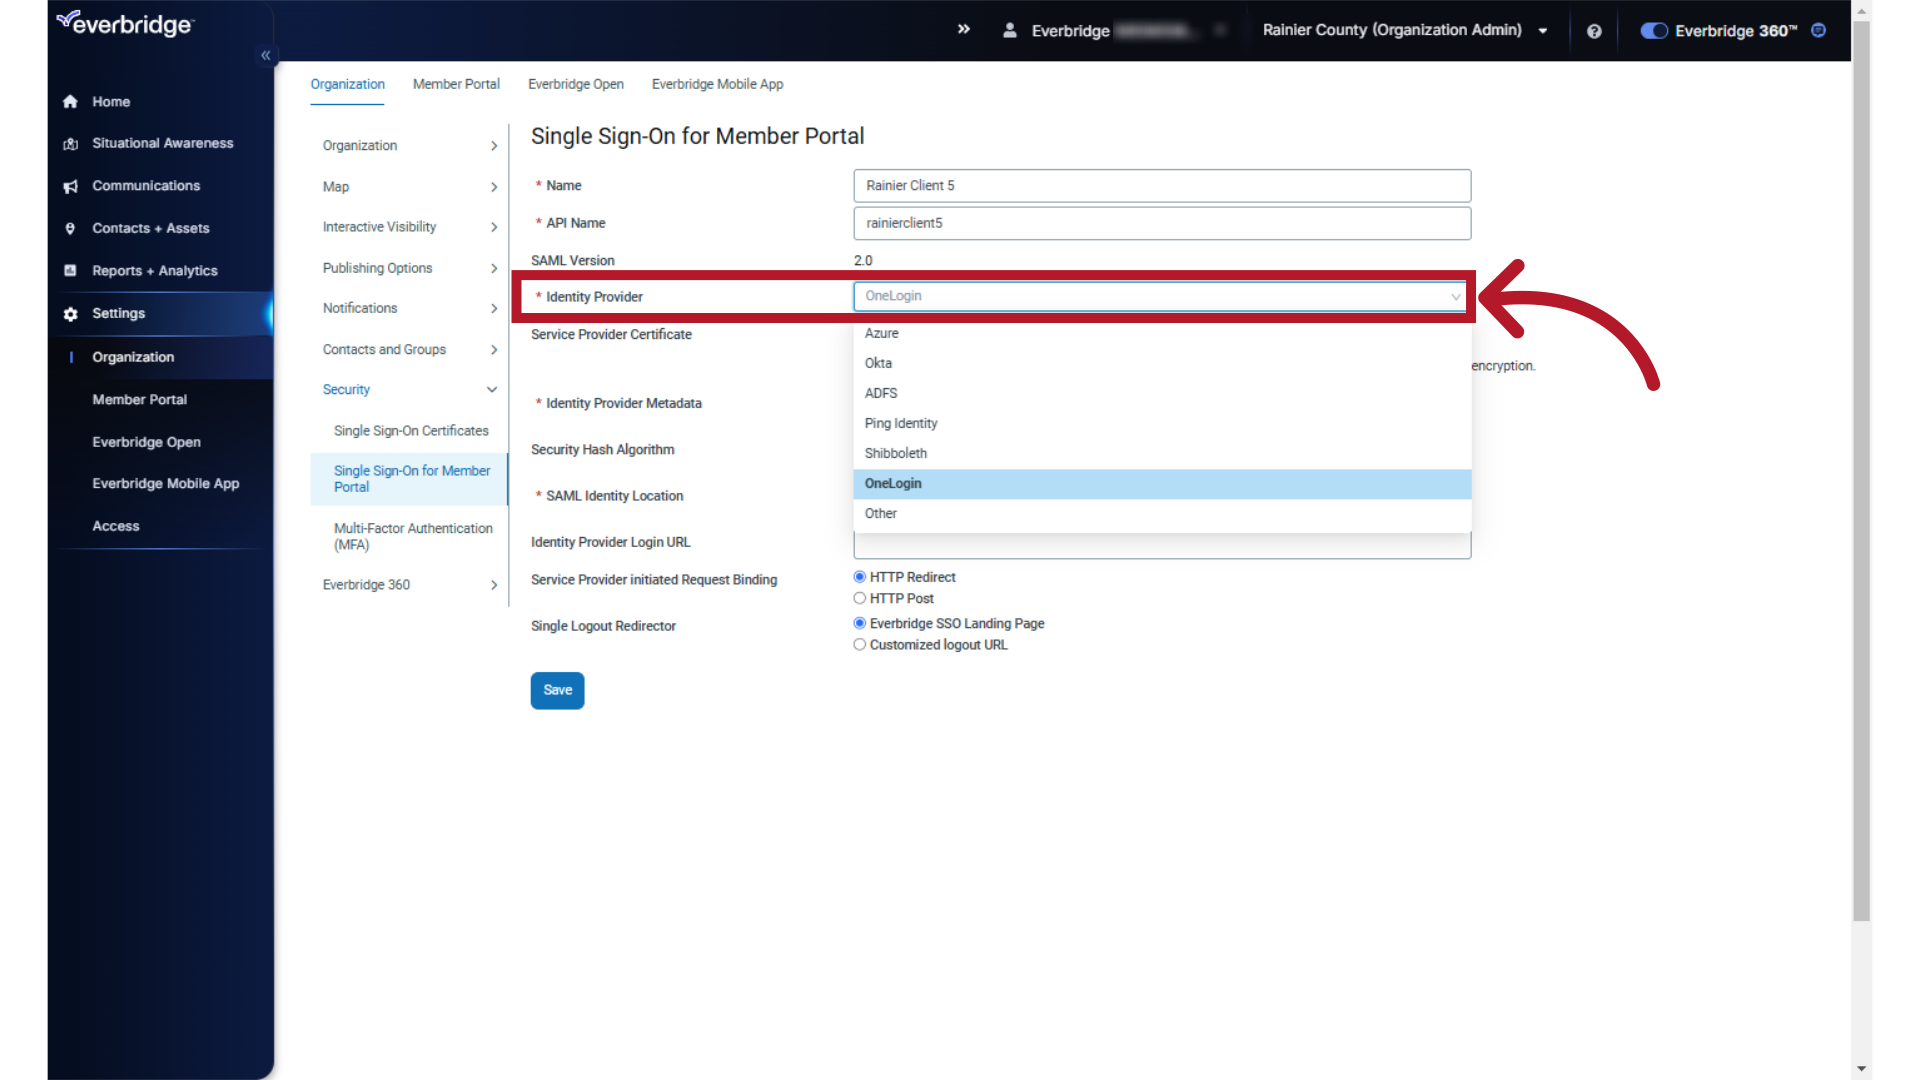
8. Identity Provider (Idp)
Select your "Identity Provider" from the drop-down menu.
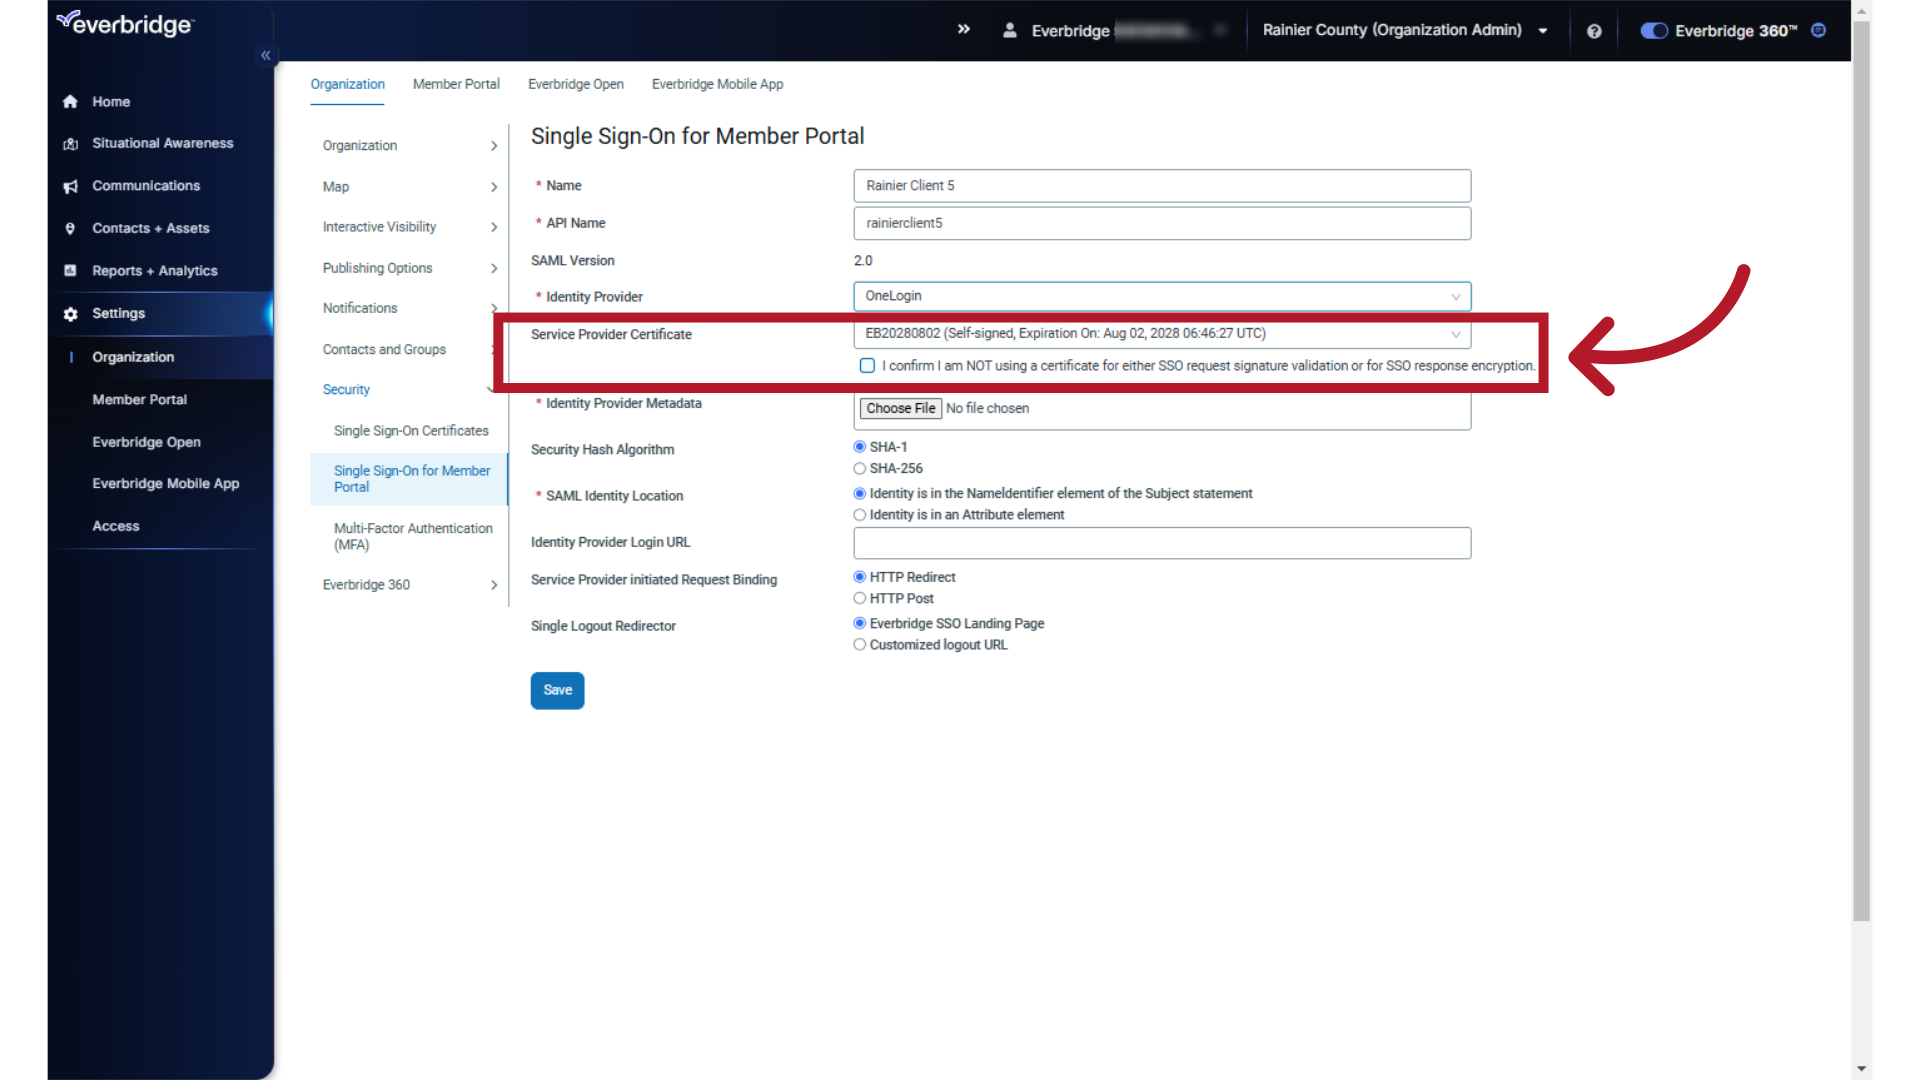
9. Service Provider (SP) Certificate Information
Enter the "Service Provider Certificate" information.

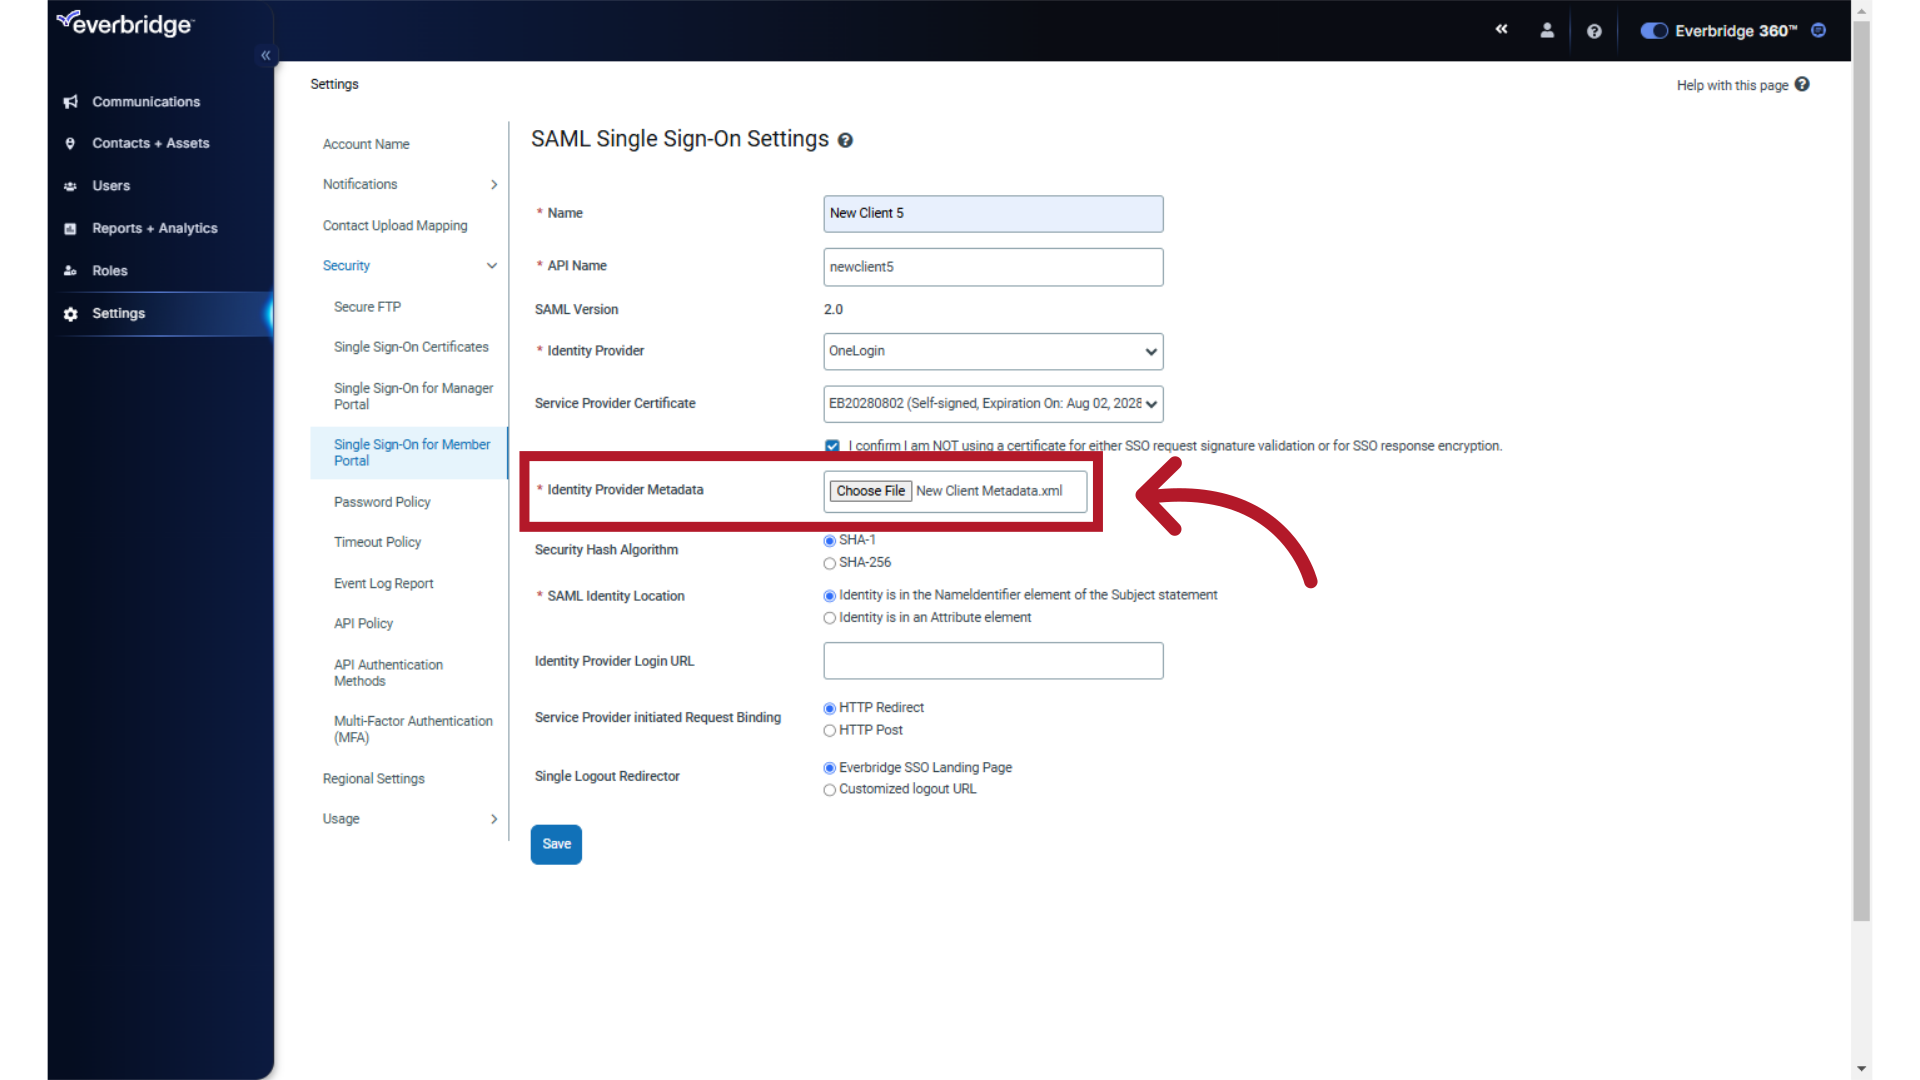
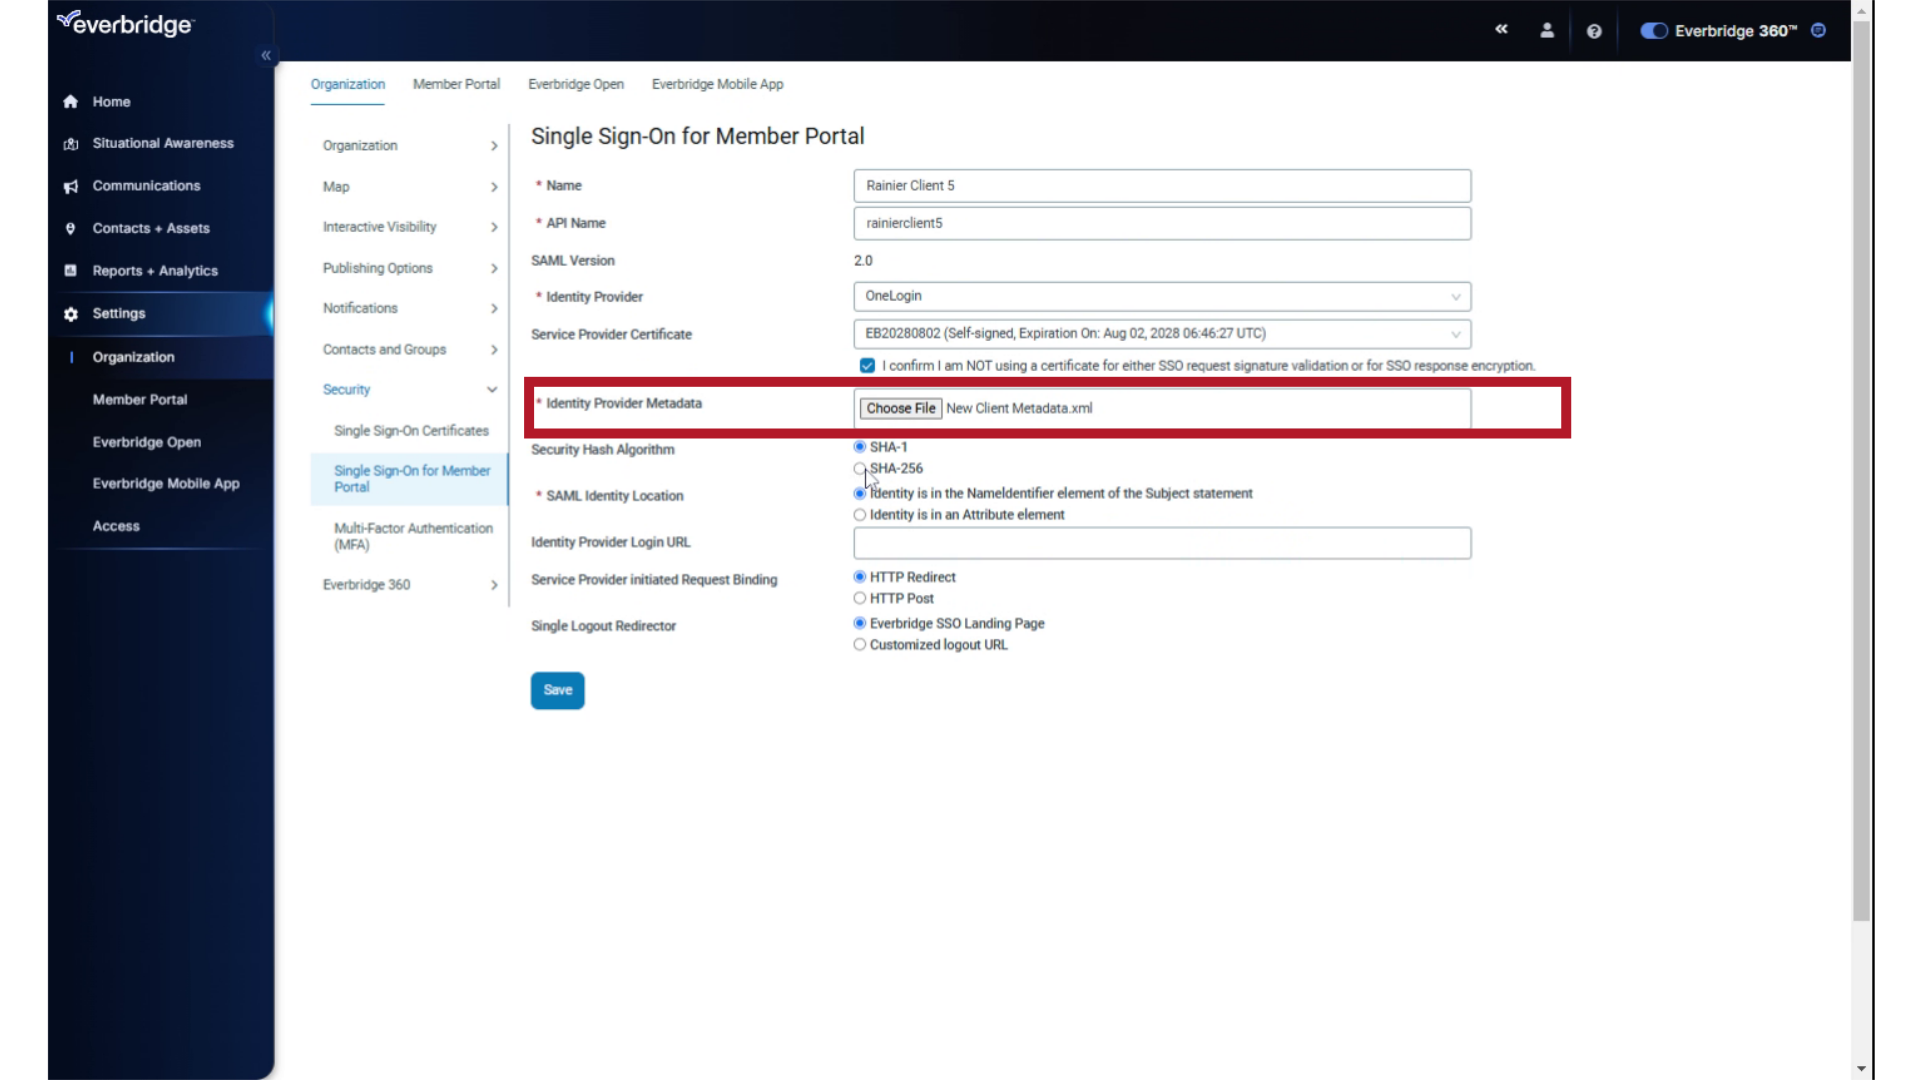
10. Identity Provider (IdP) Metadata file
Upload the "Identity Provider Metadata" file.
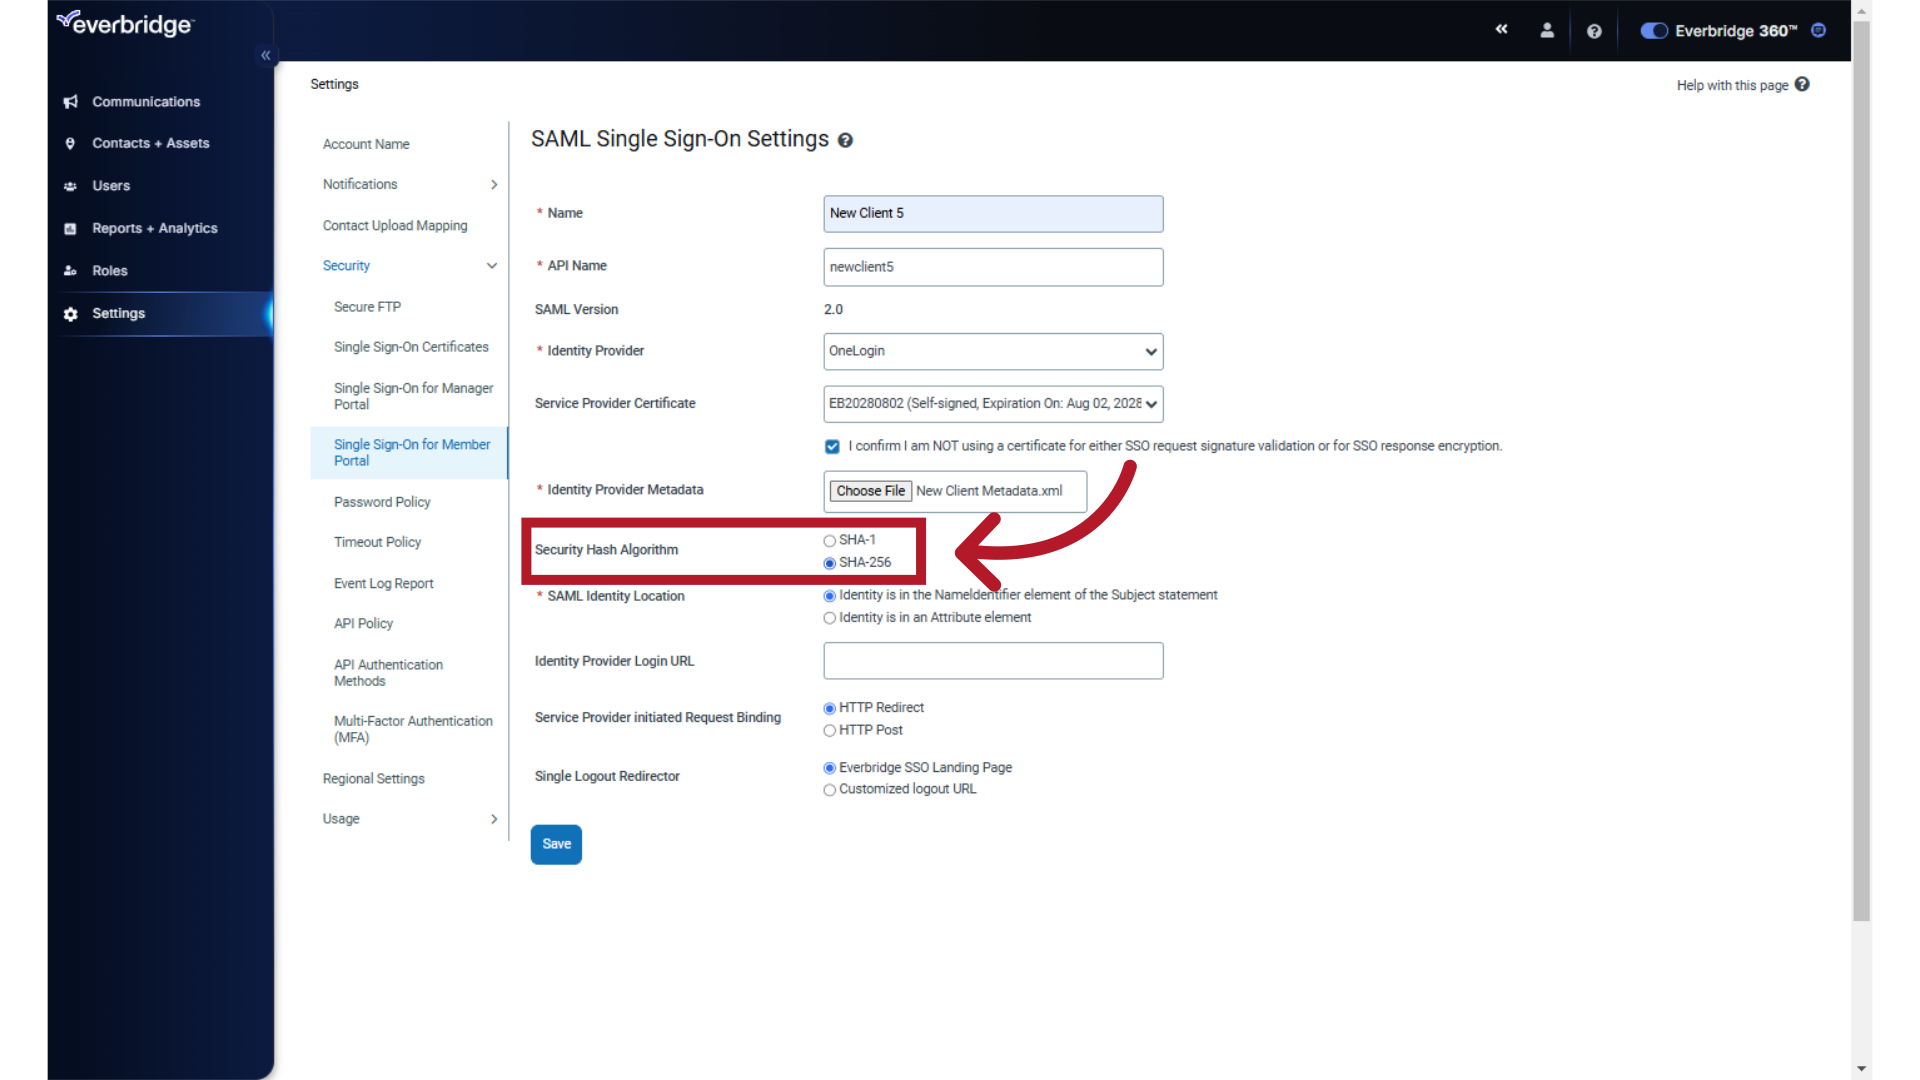
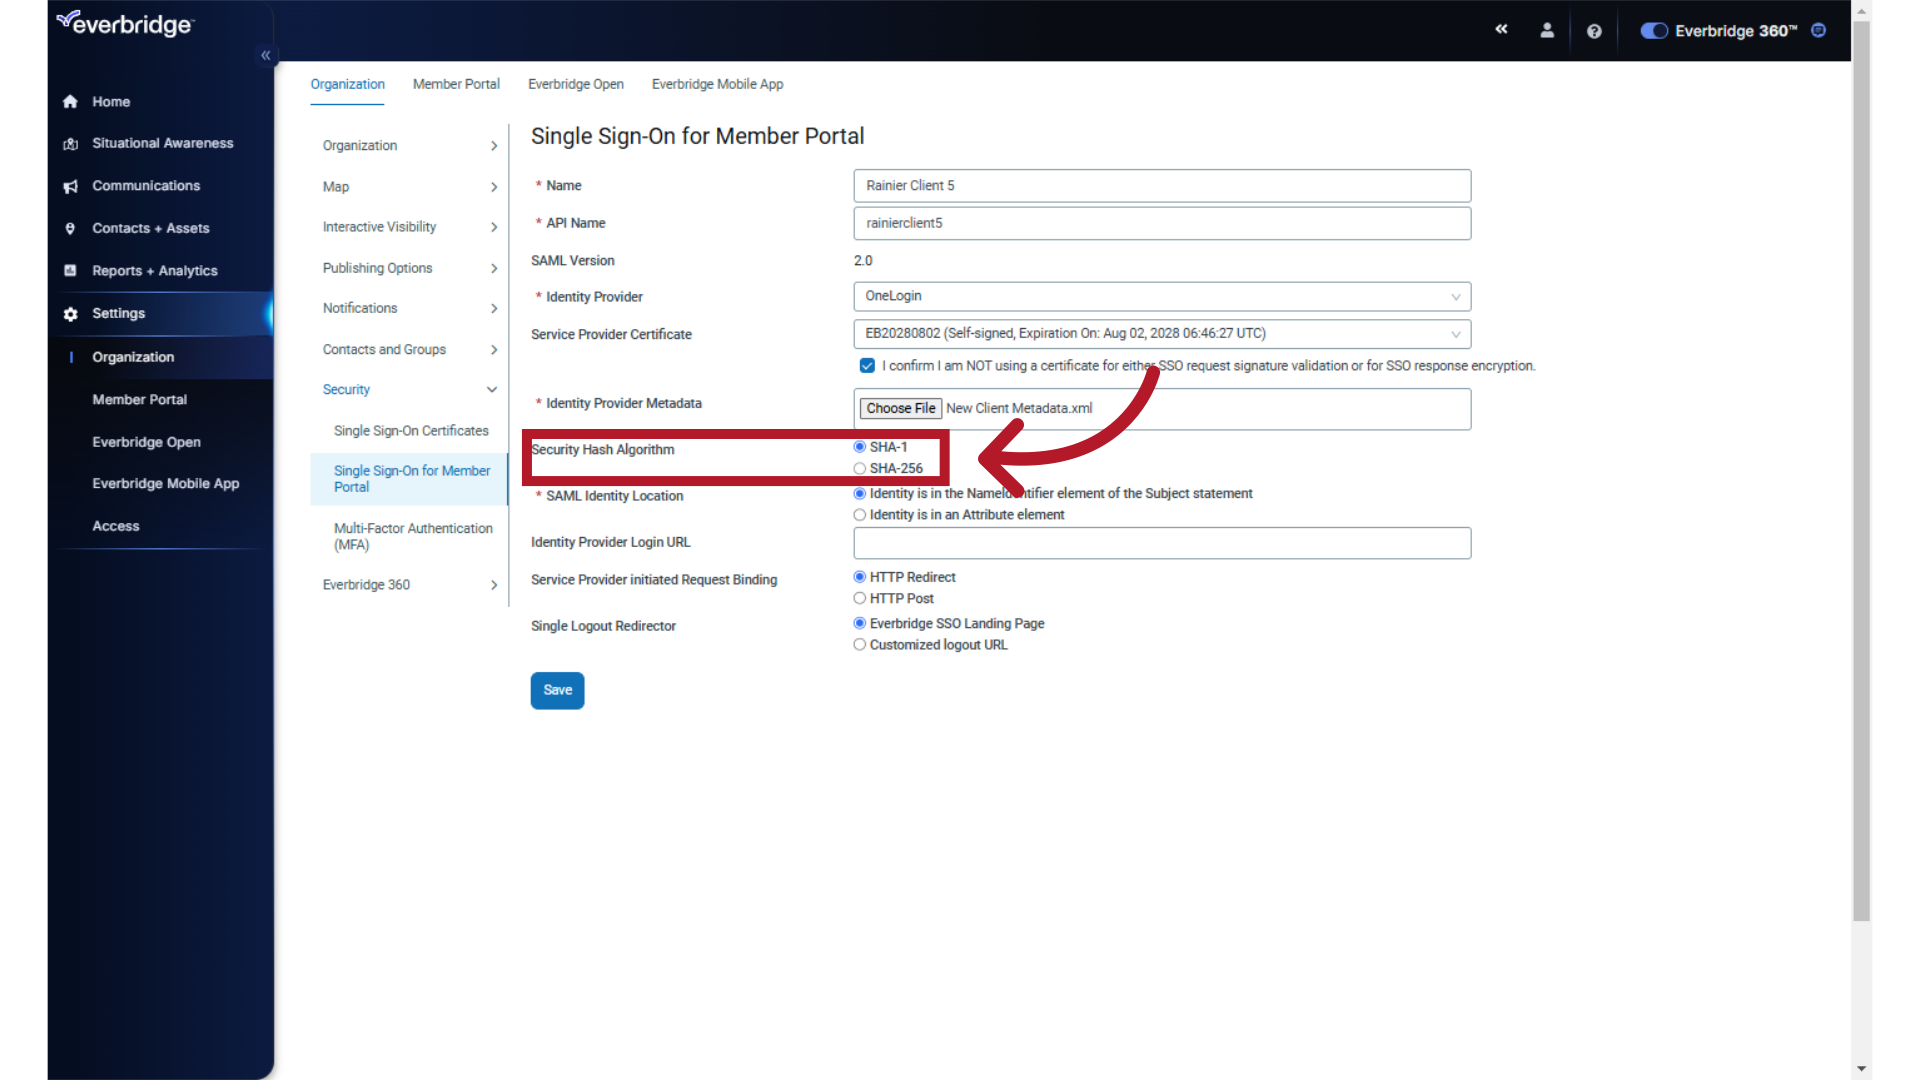
11. Security Hash Algorithm
Choose your "Security Hash Algorithm".
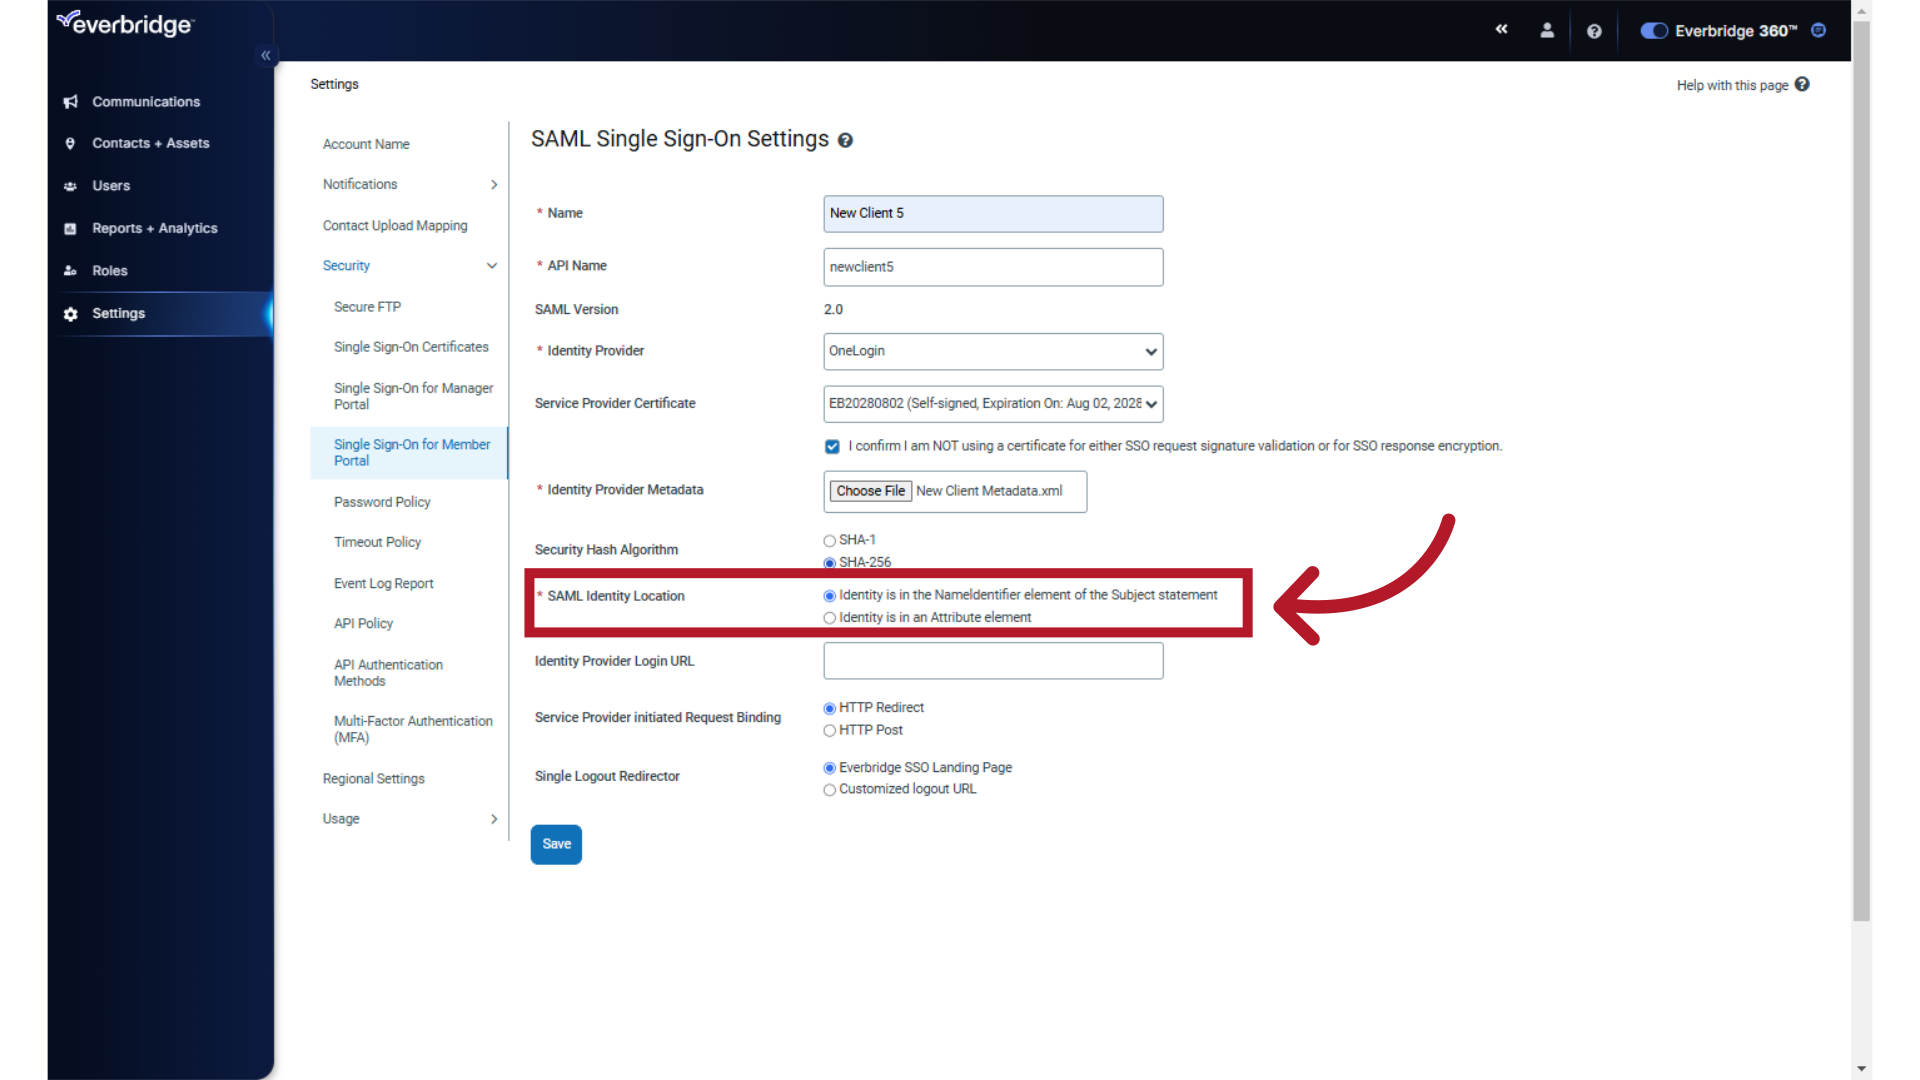
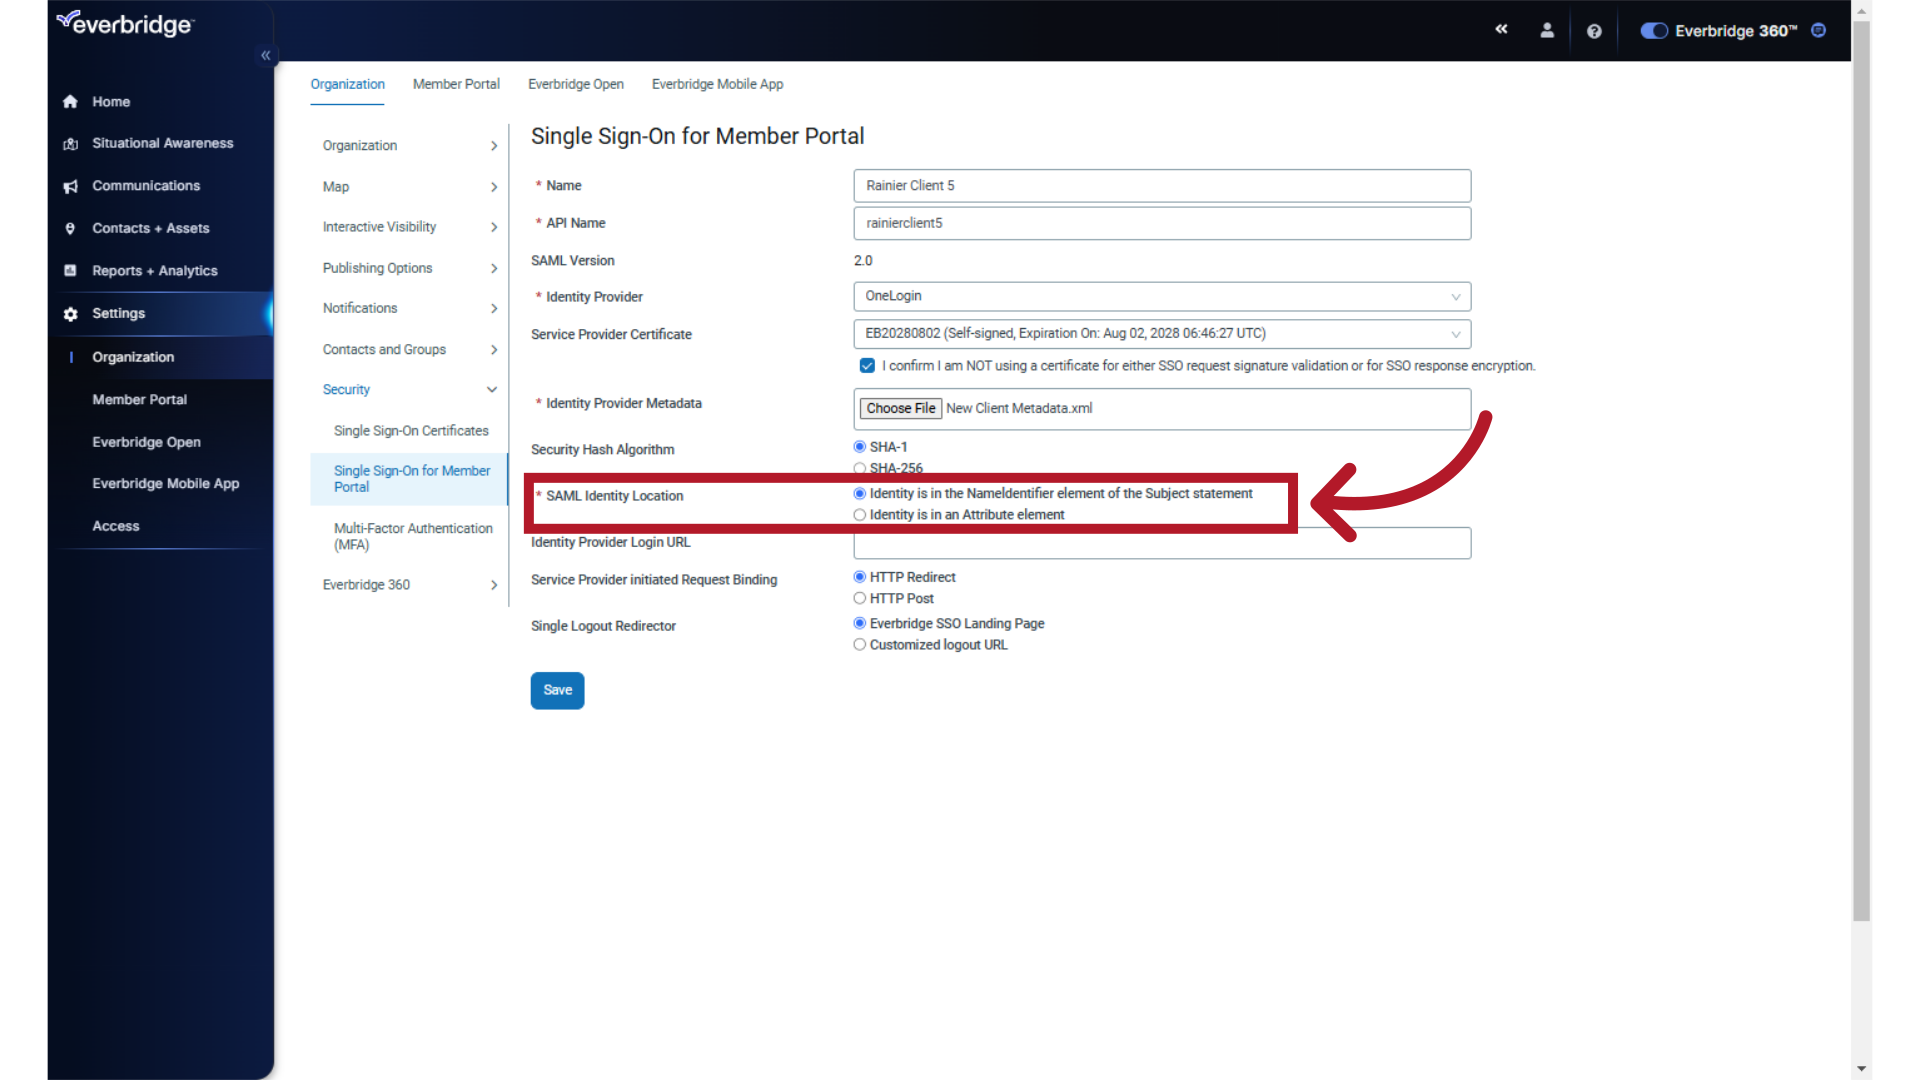
12. SAML Identity Location
Note the "SAML Identity Location".
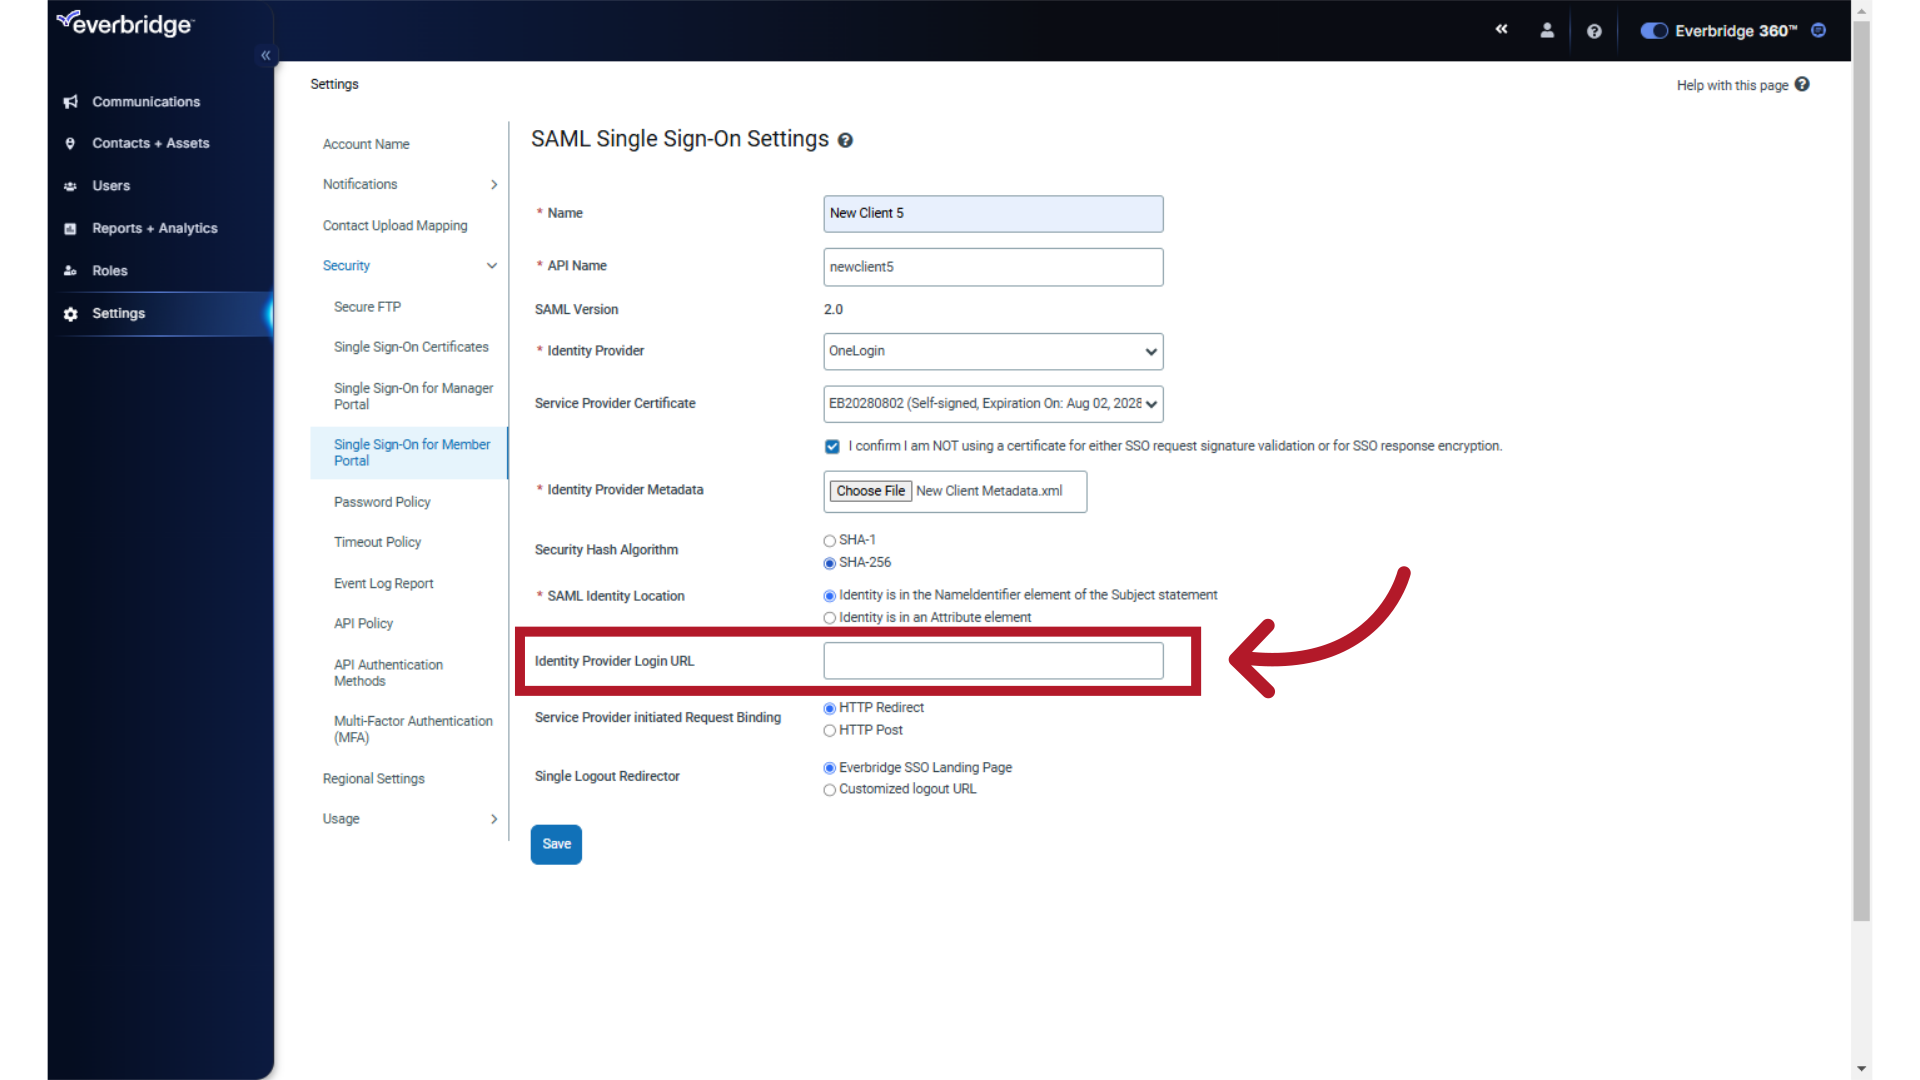
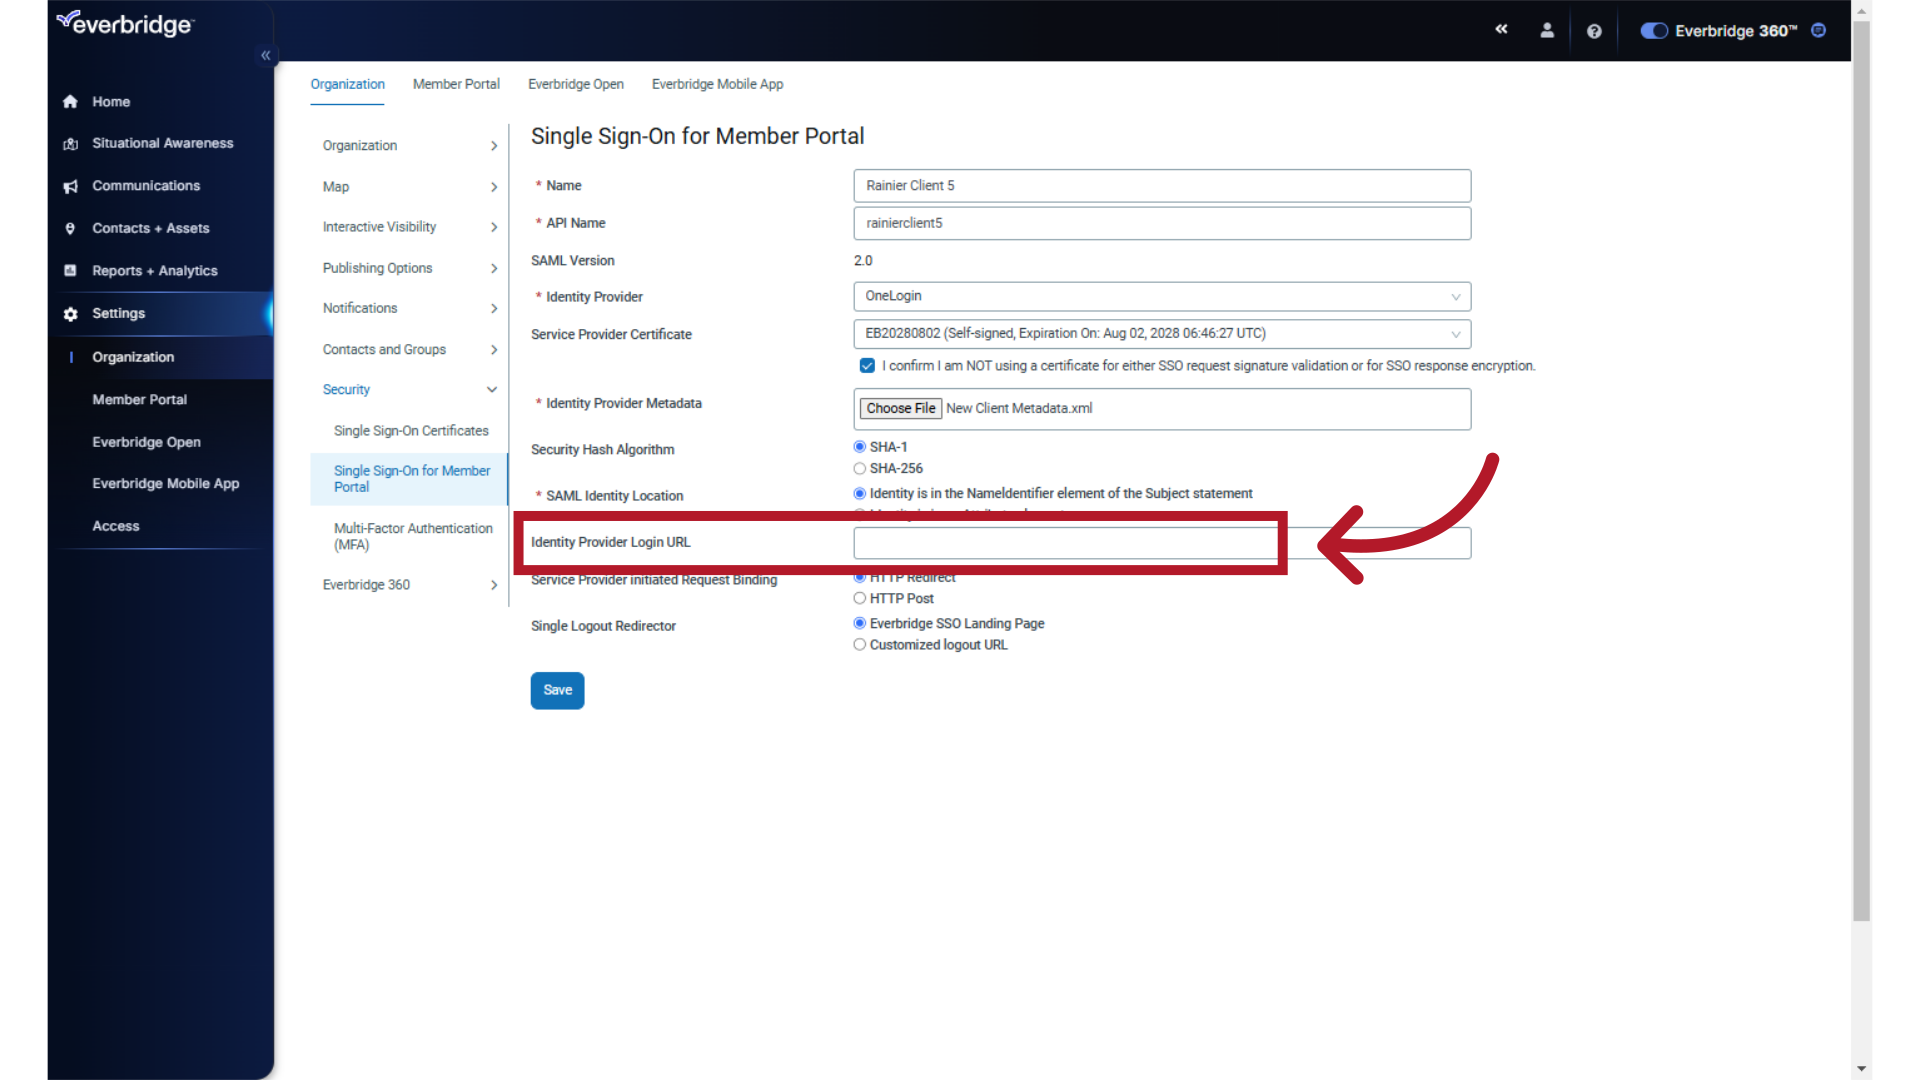
13. Identity Provider Login URL
Optionally enter the URL used to log in to your Identity Provider.
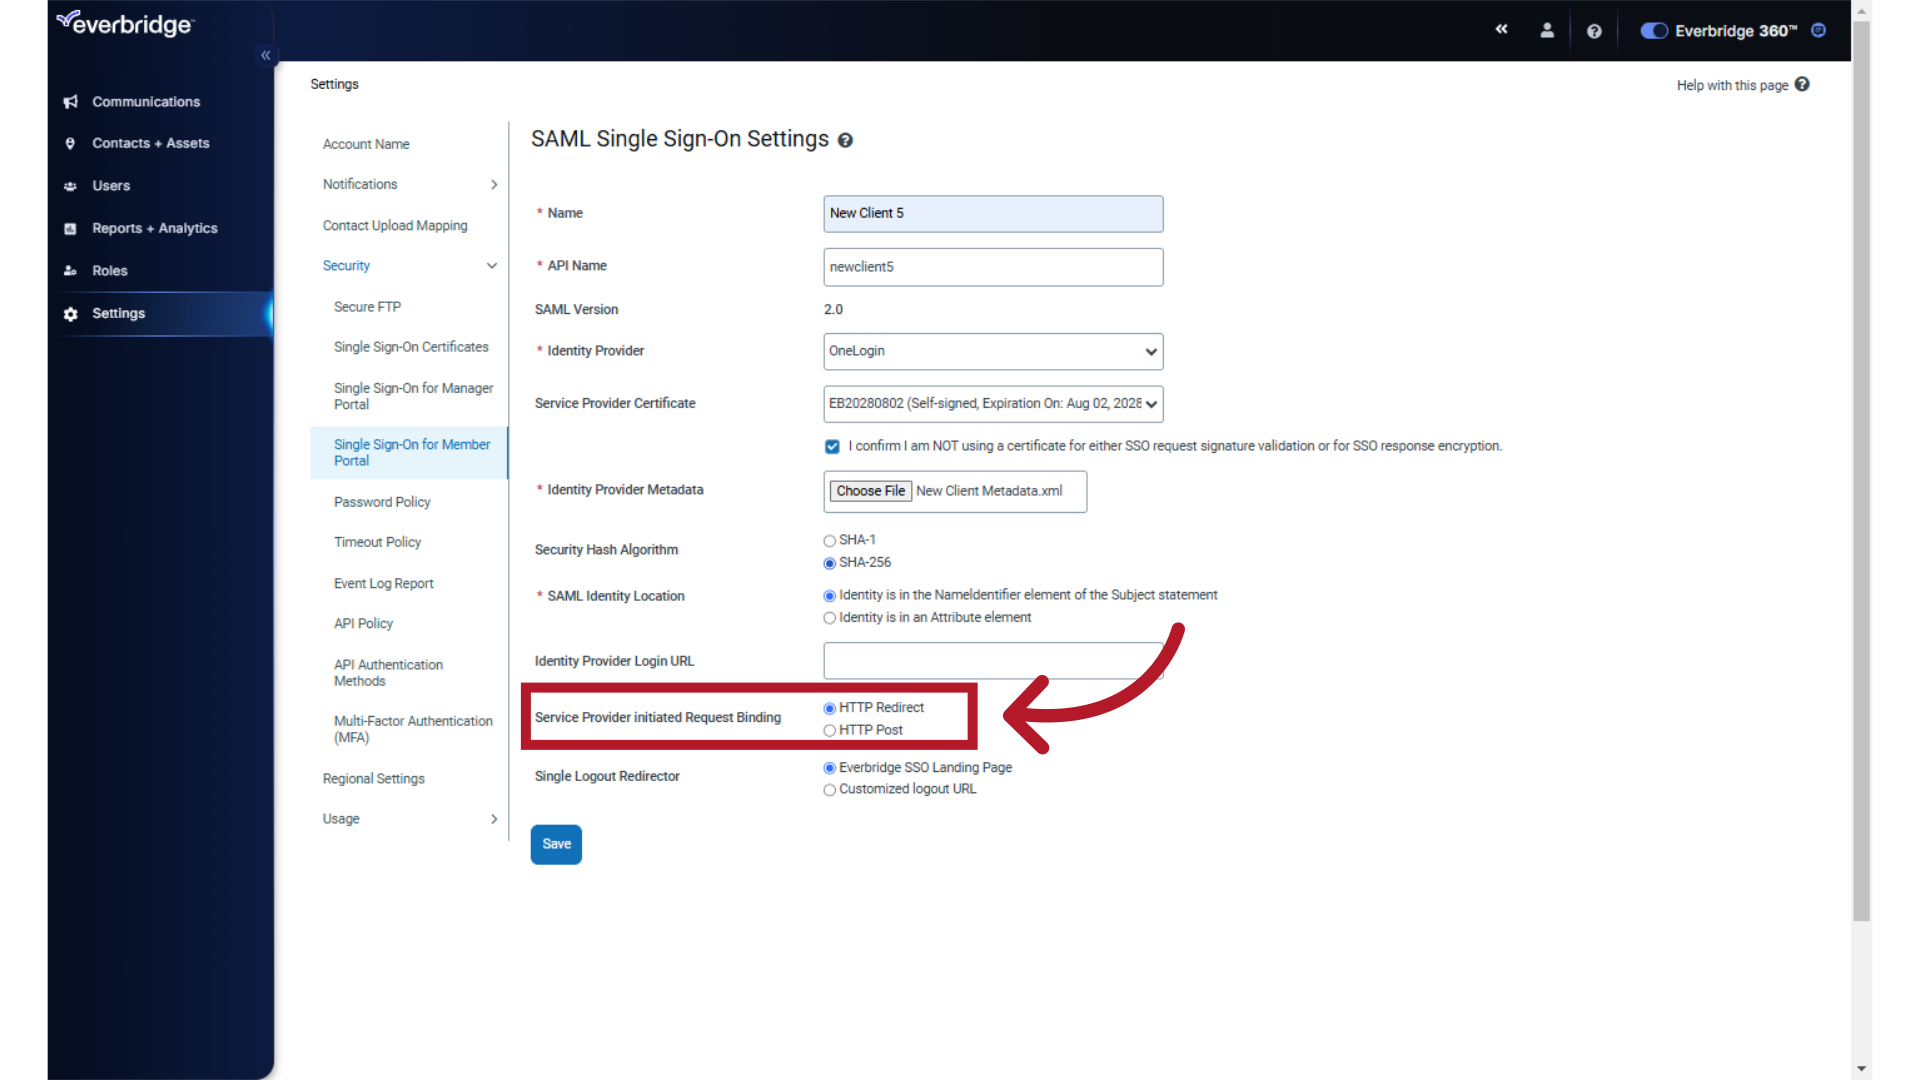
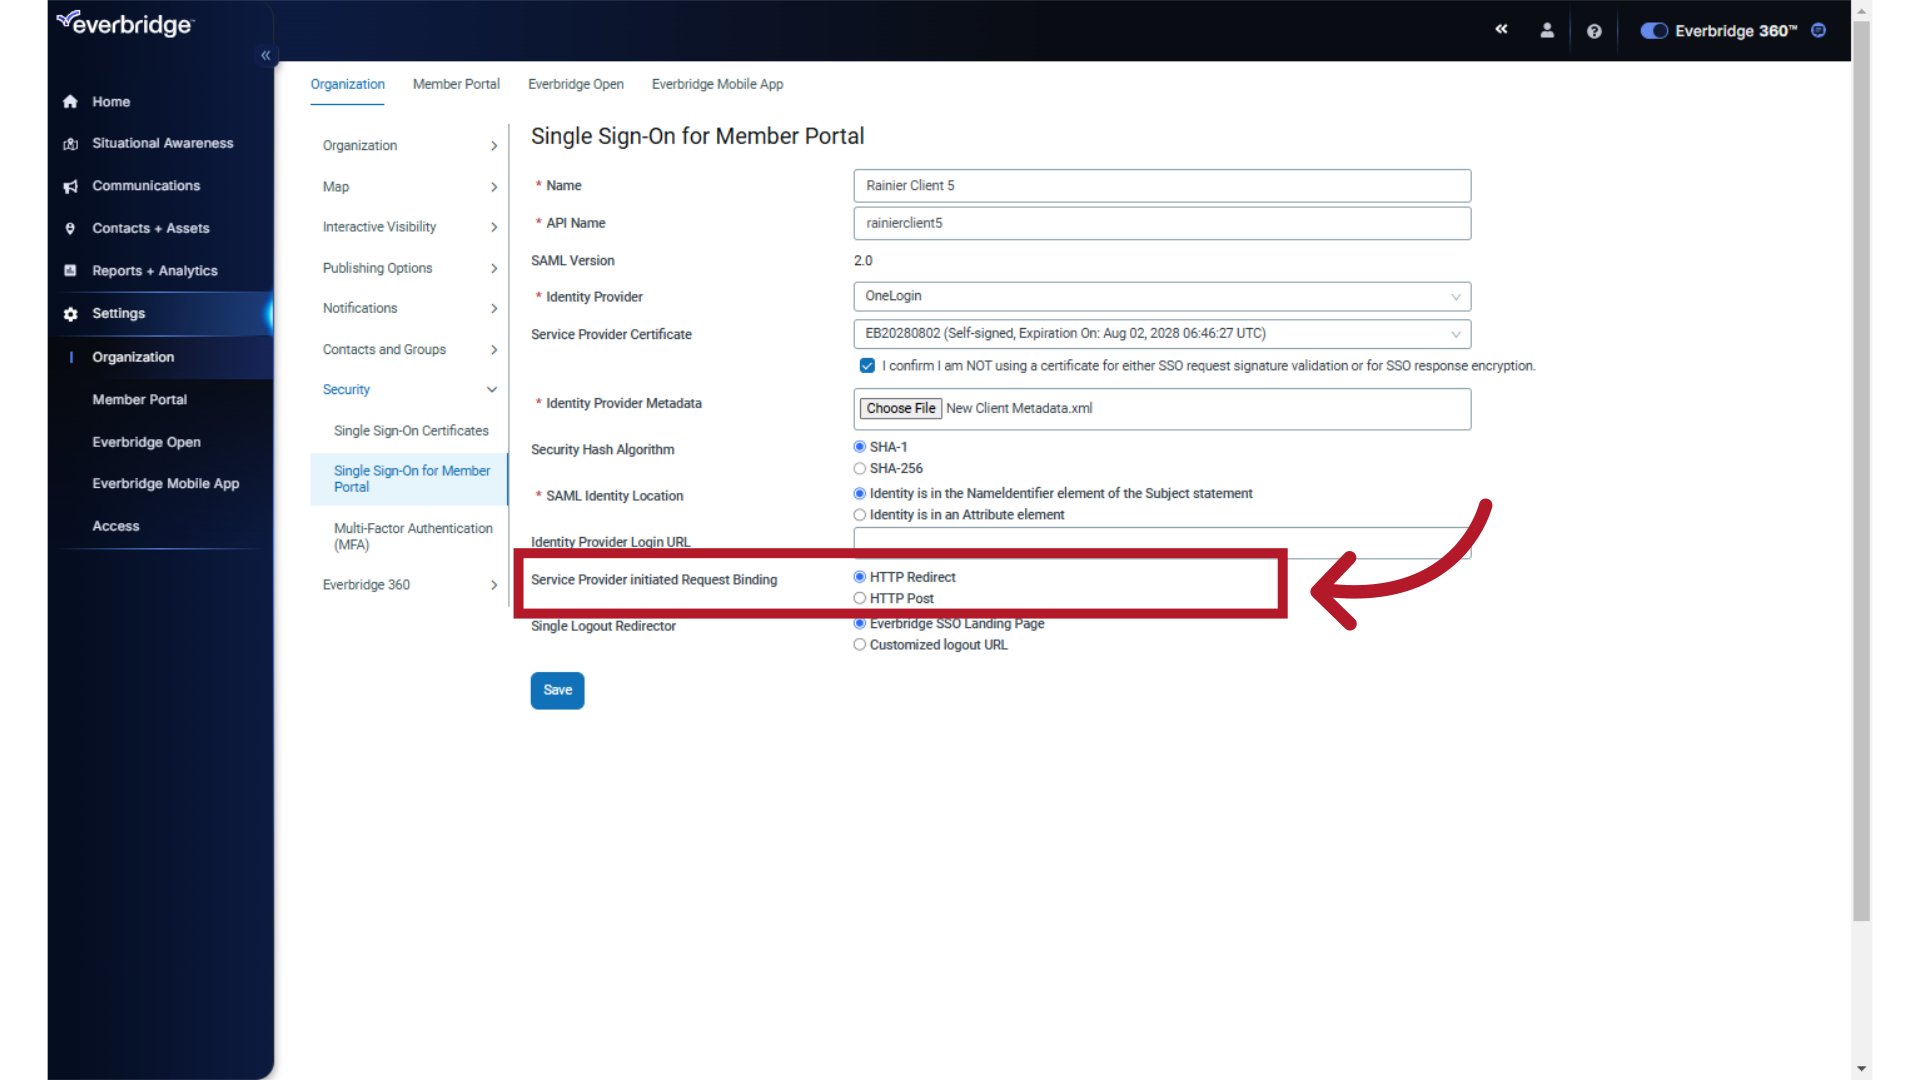
14. Service Provider Initiated Request Binding
Choose your "Service Provider Initiated Request Binding".
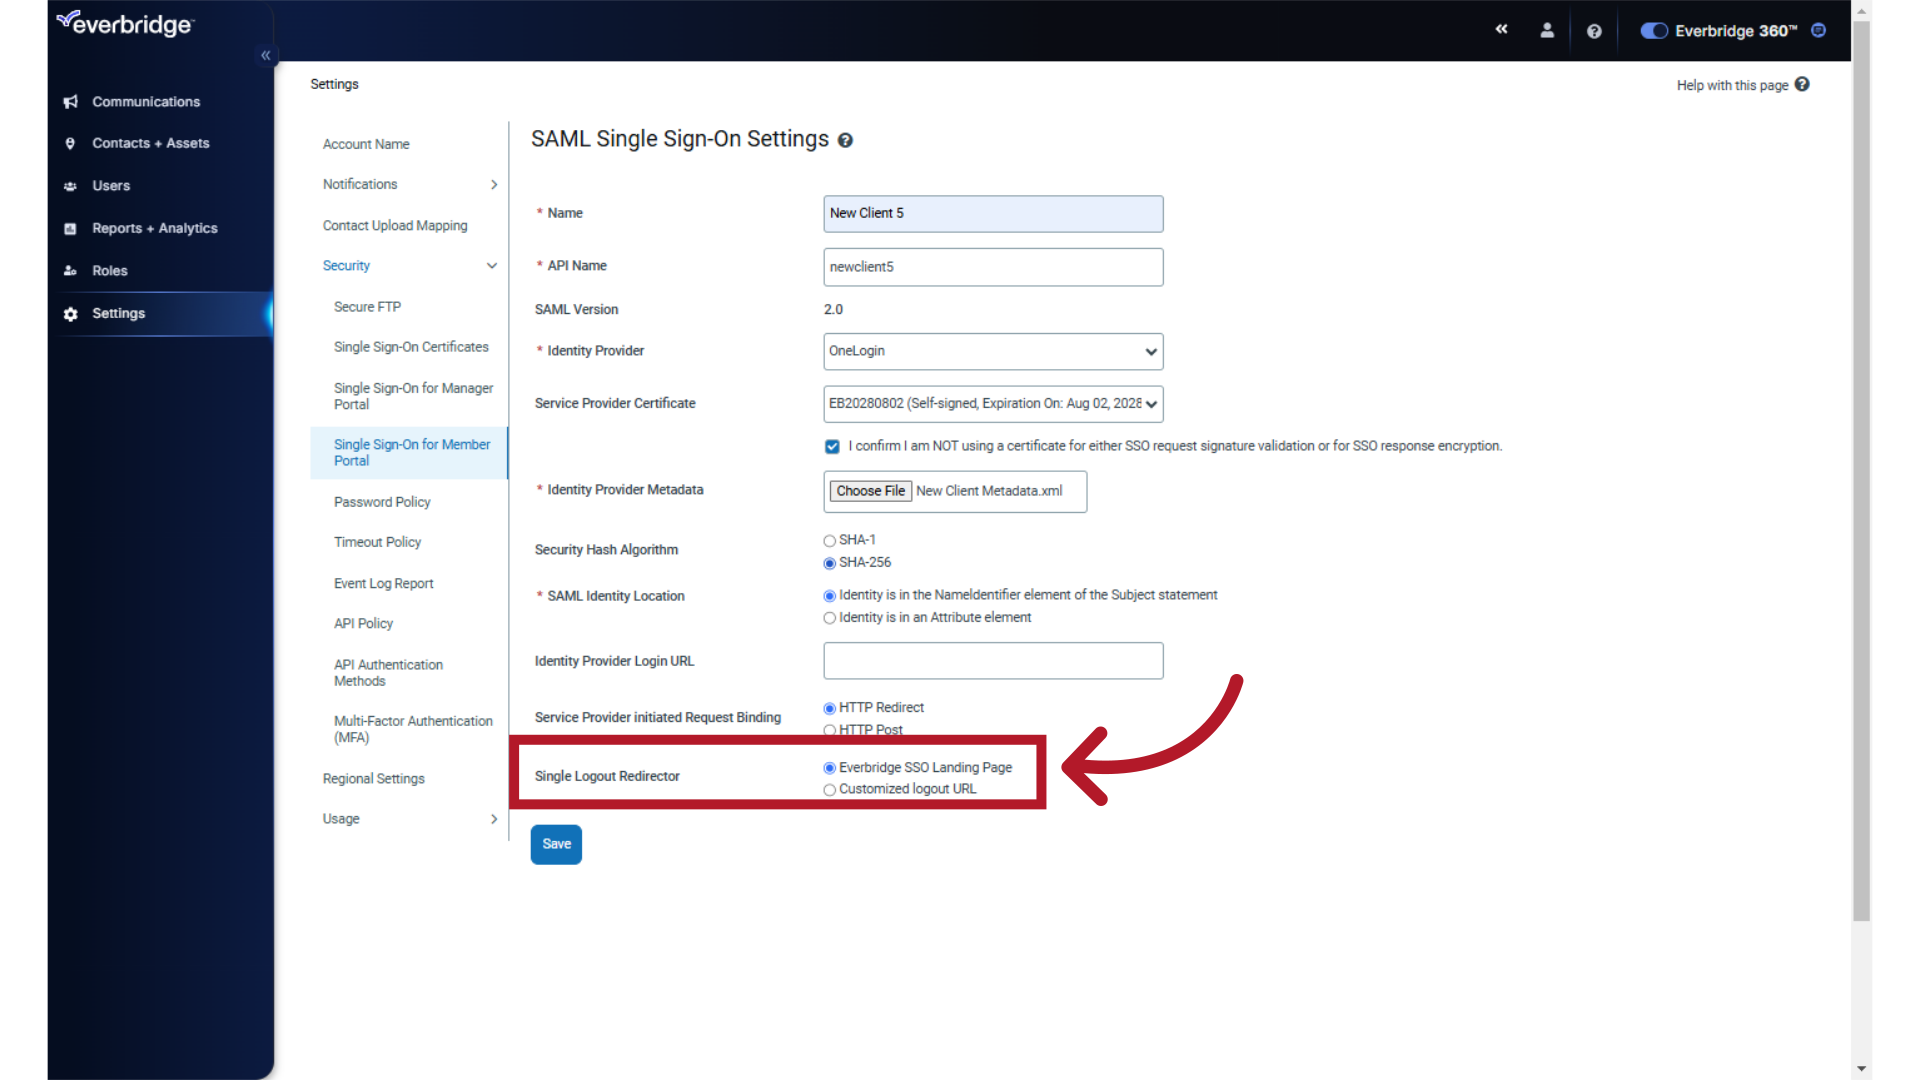
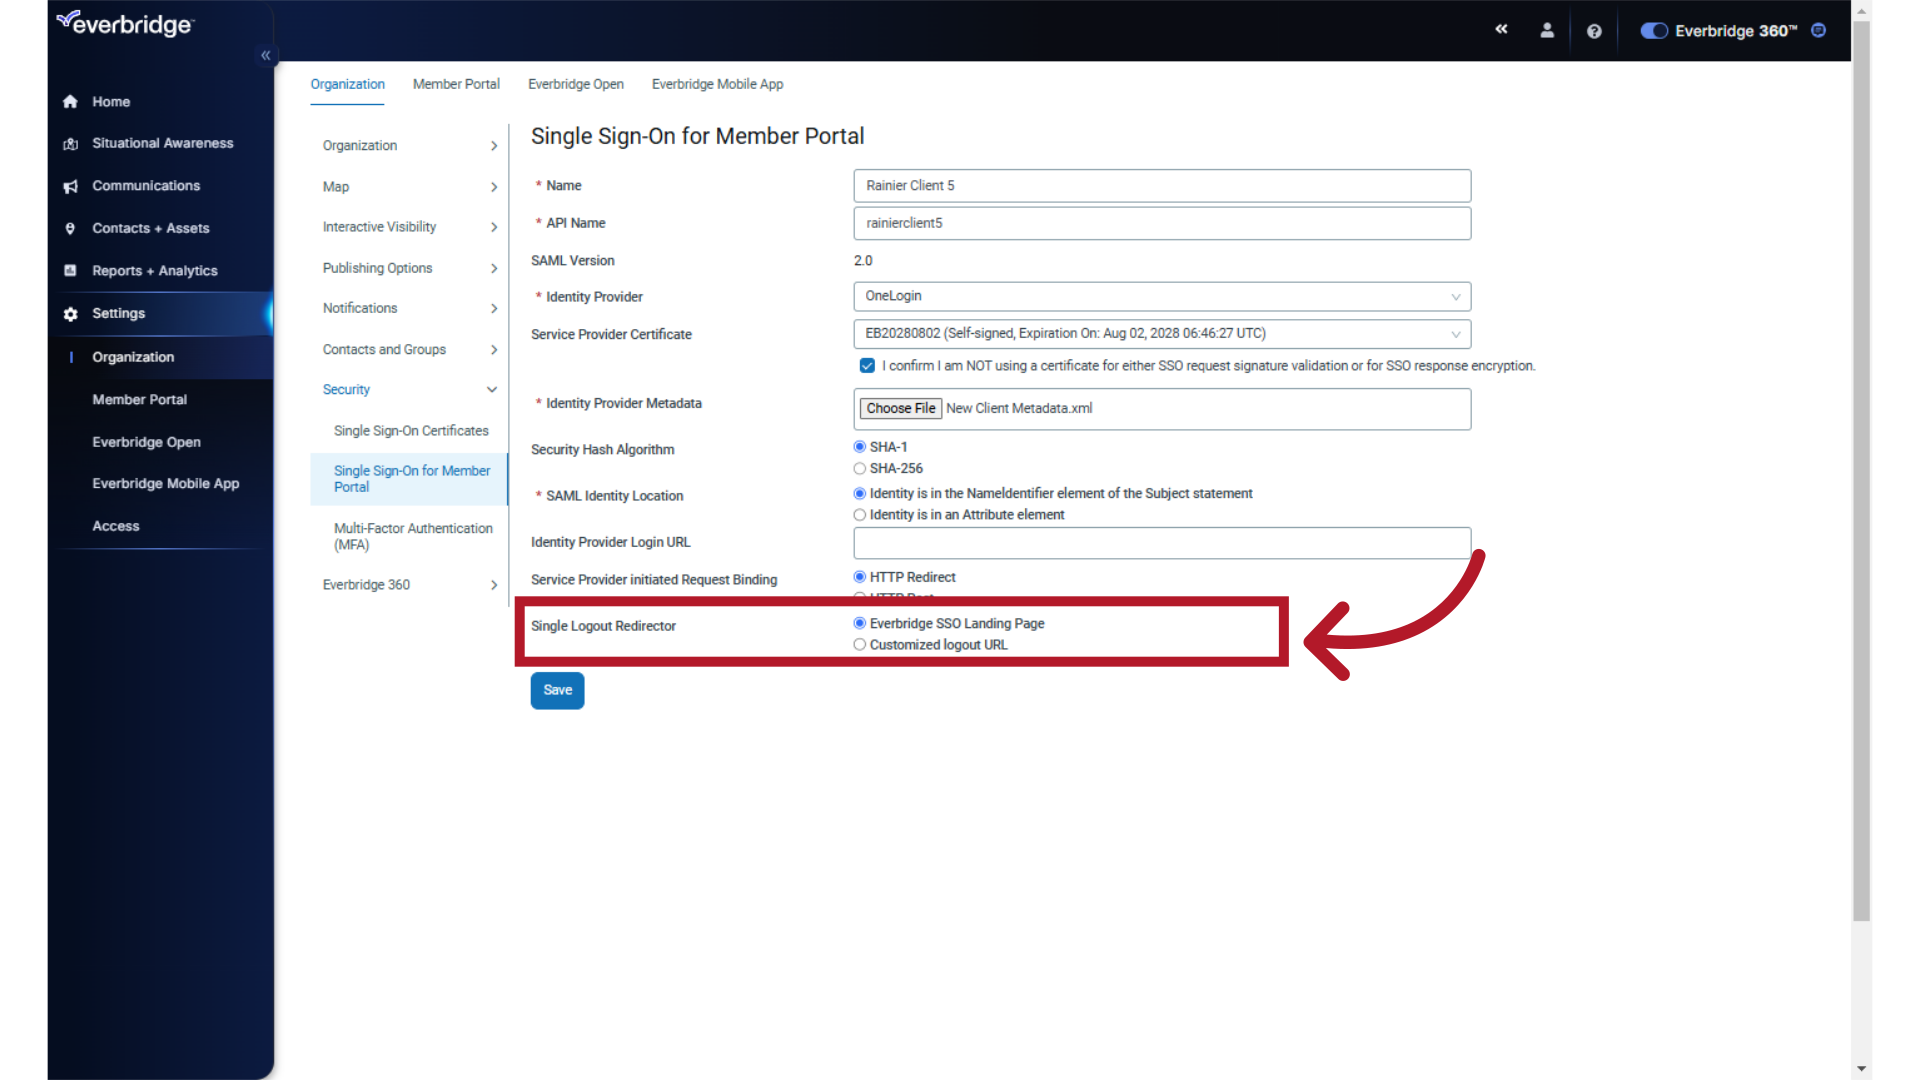
15. Single Logout Redirector
Choose your "Single Logout Redirector:"
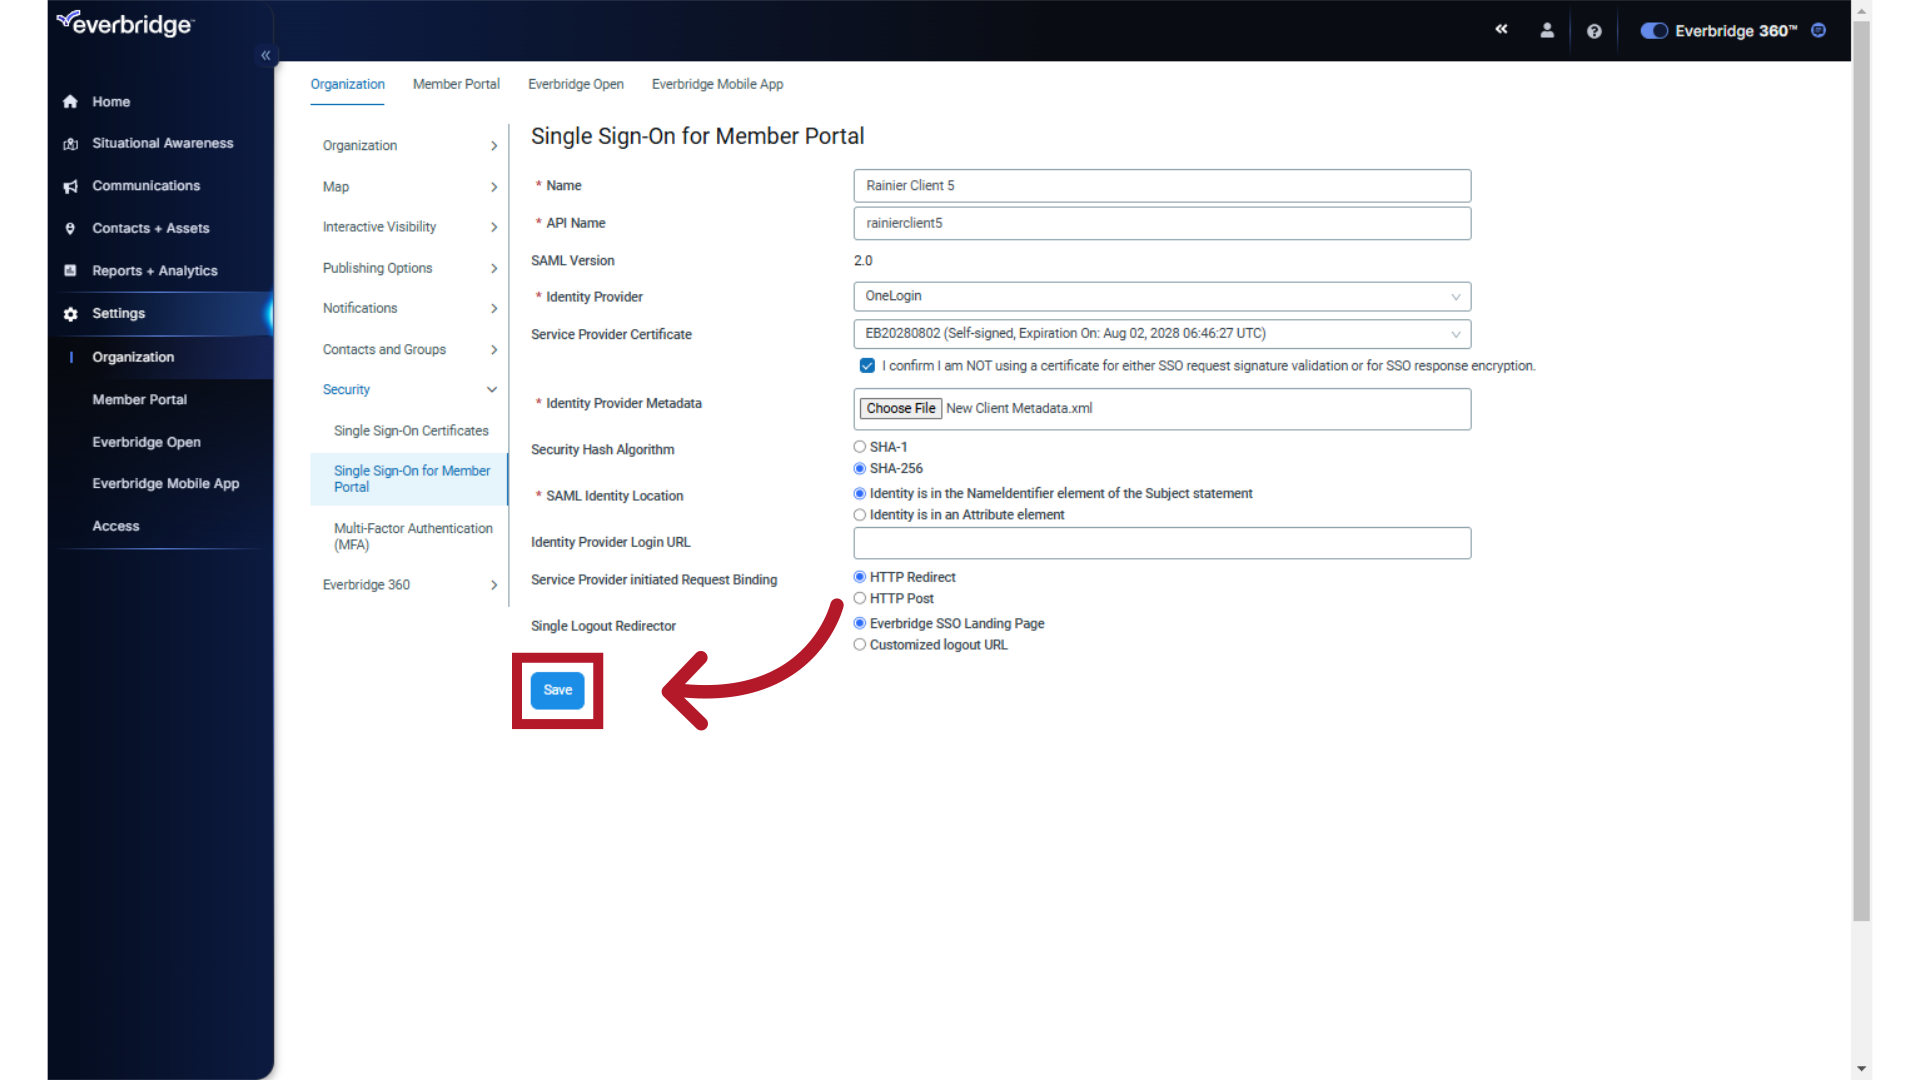
16. Save
Click "Save".

17. Configure Organizations
Once you click "Save", every Organization with private Member Portals configured, will be listed below.
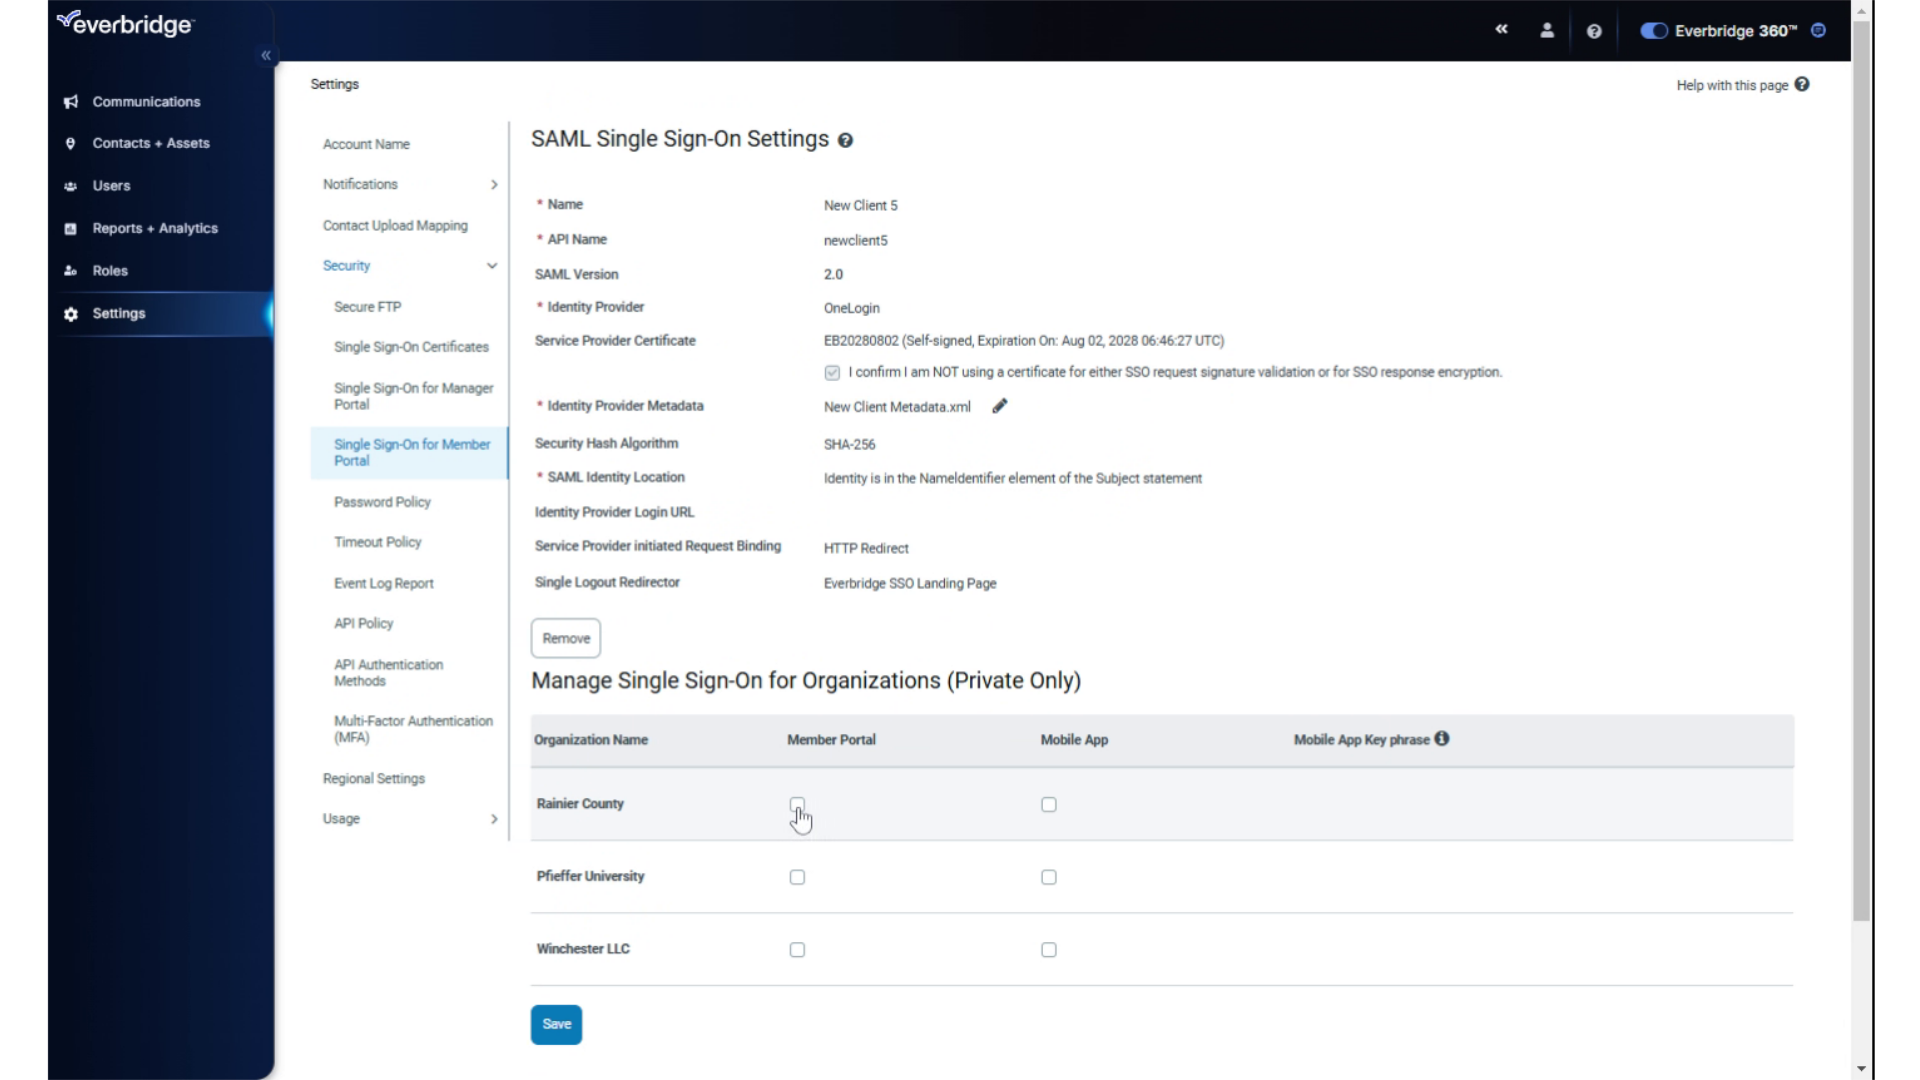
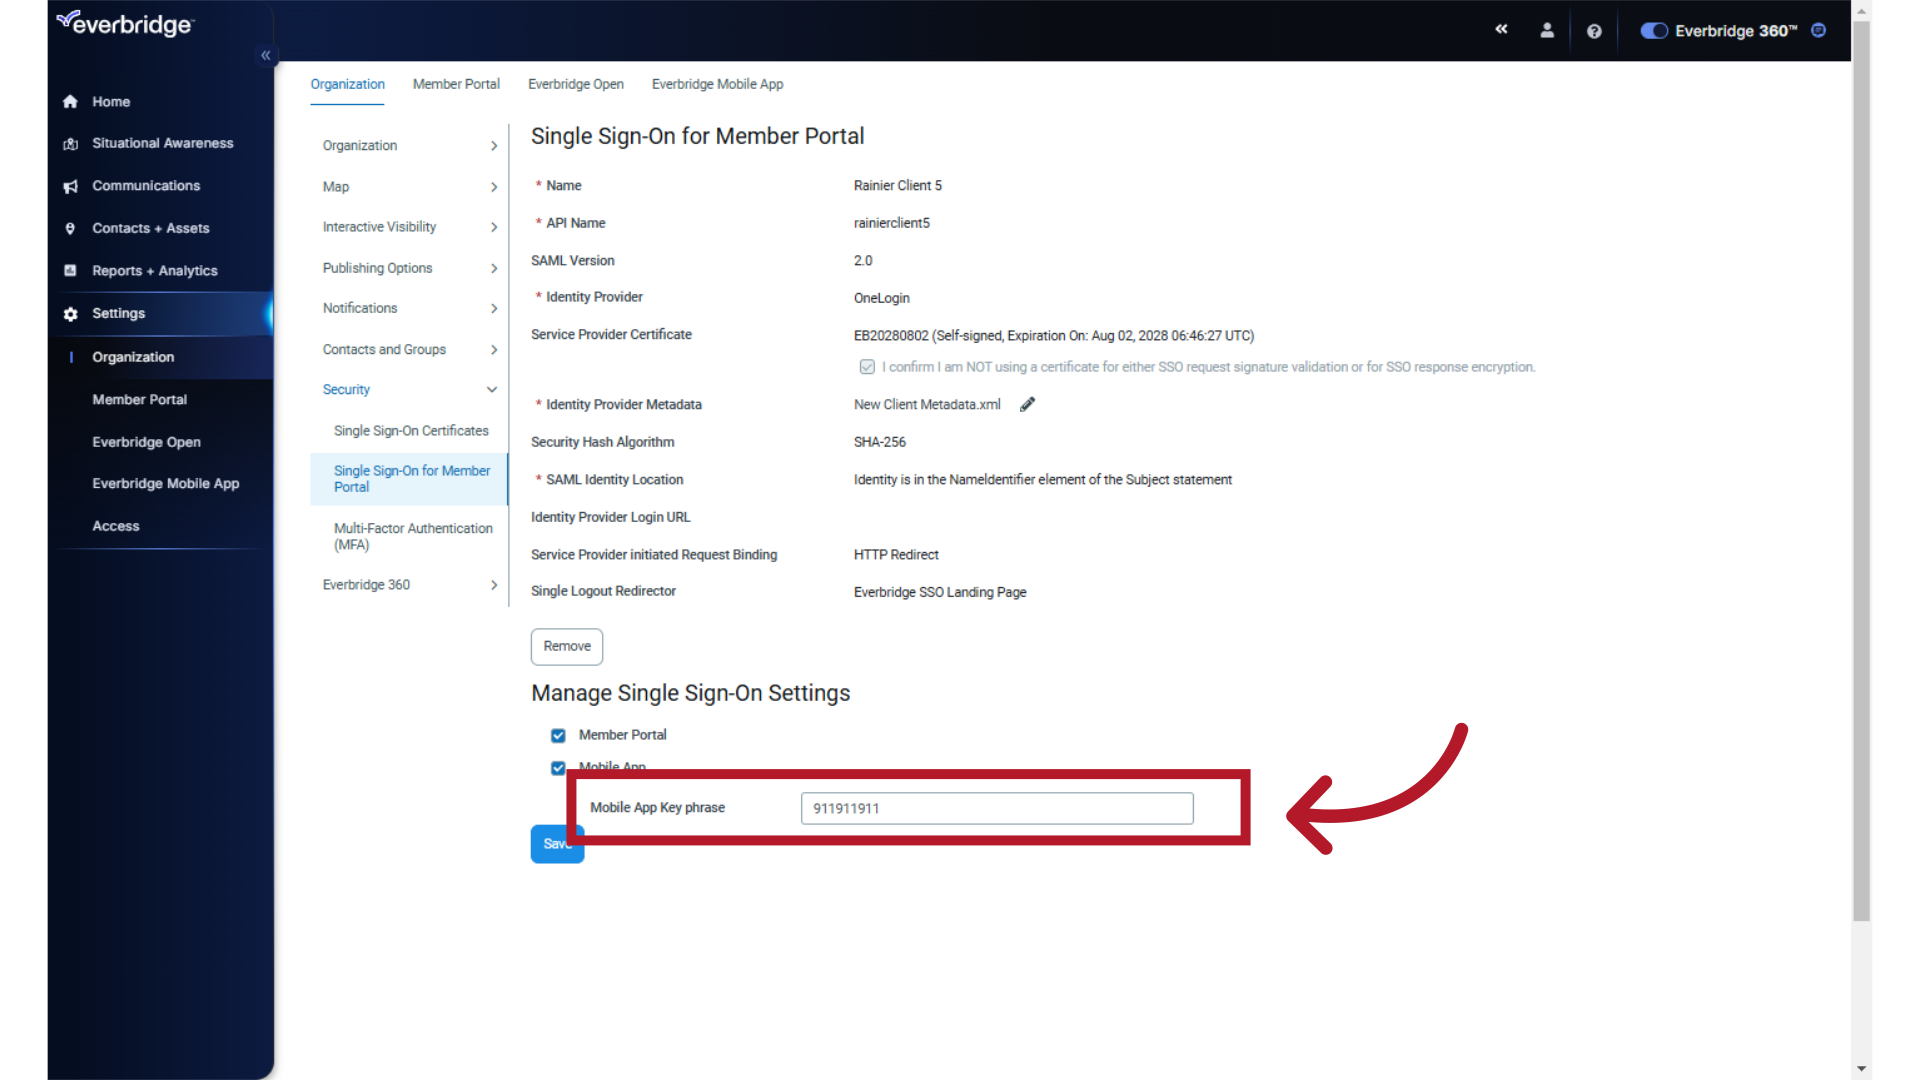
18. Configure Organizations
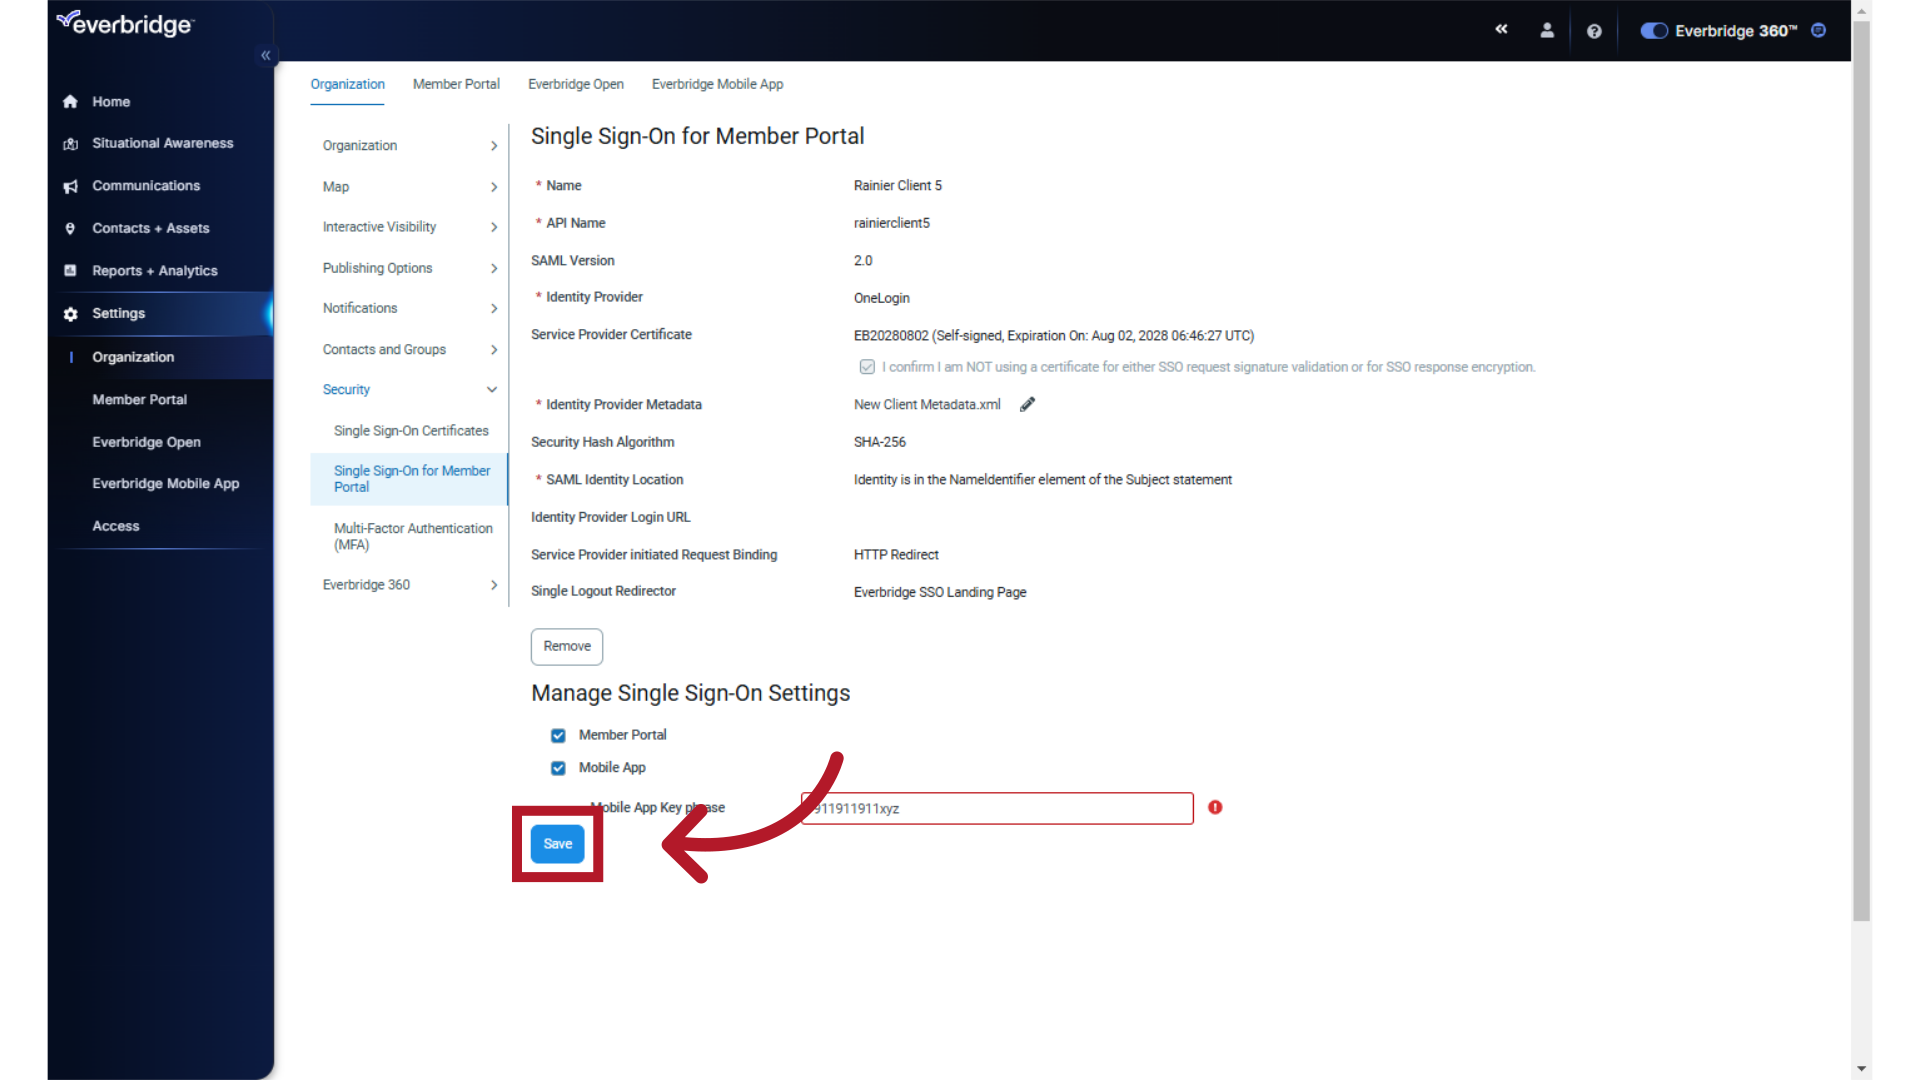
For each Organization that will be using SSO for Member Portal access, check "Member Portal" to activate SSO. Check "Mobile App" and add a "Mobile APp Key phrase" if you want to allow use of the Member Portal via the Everbridge Mobile App.
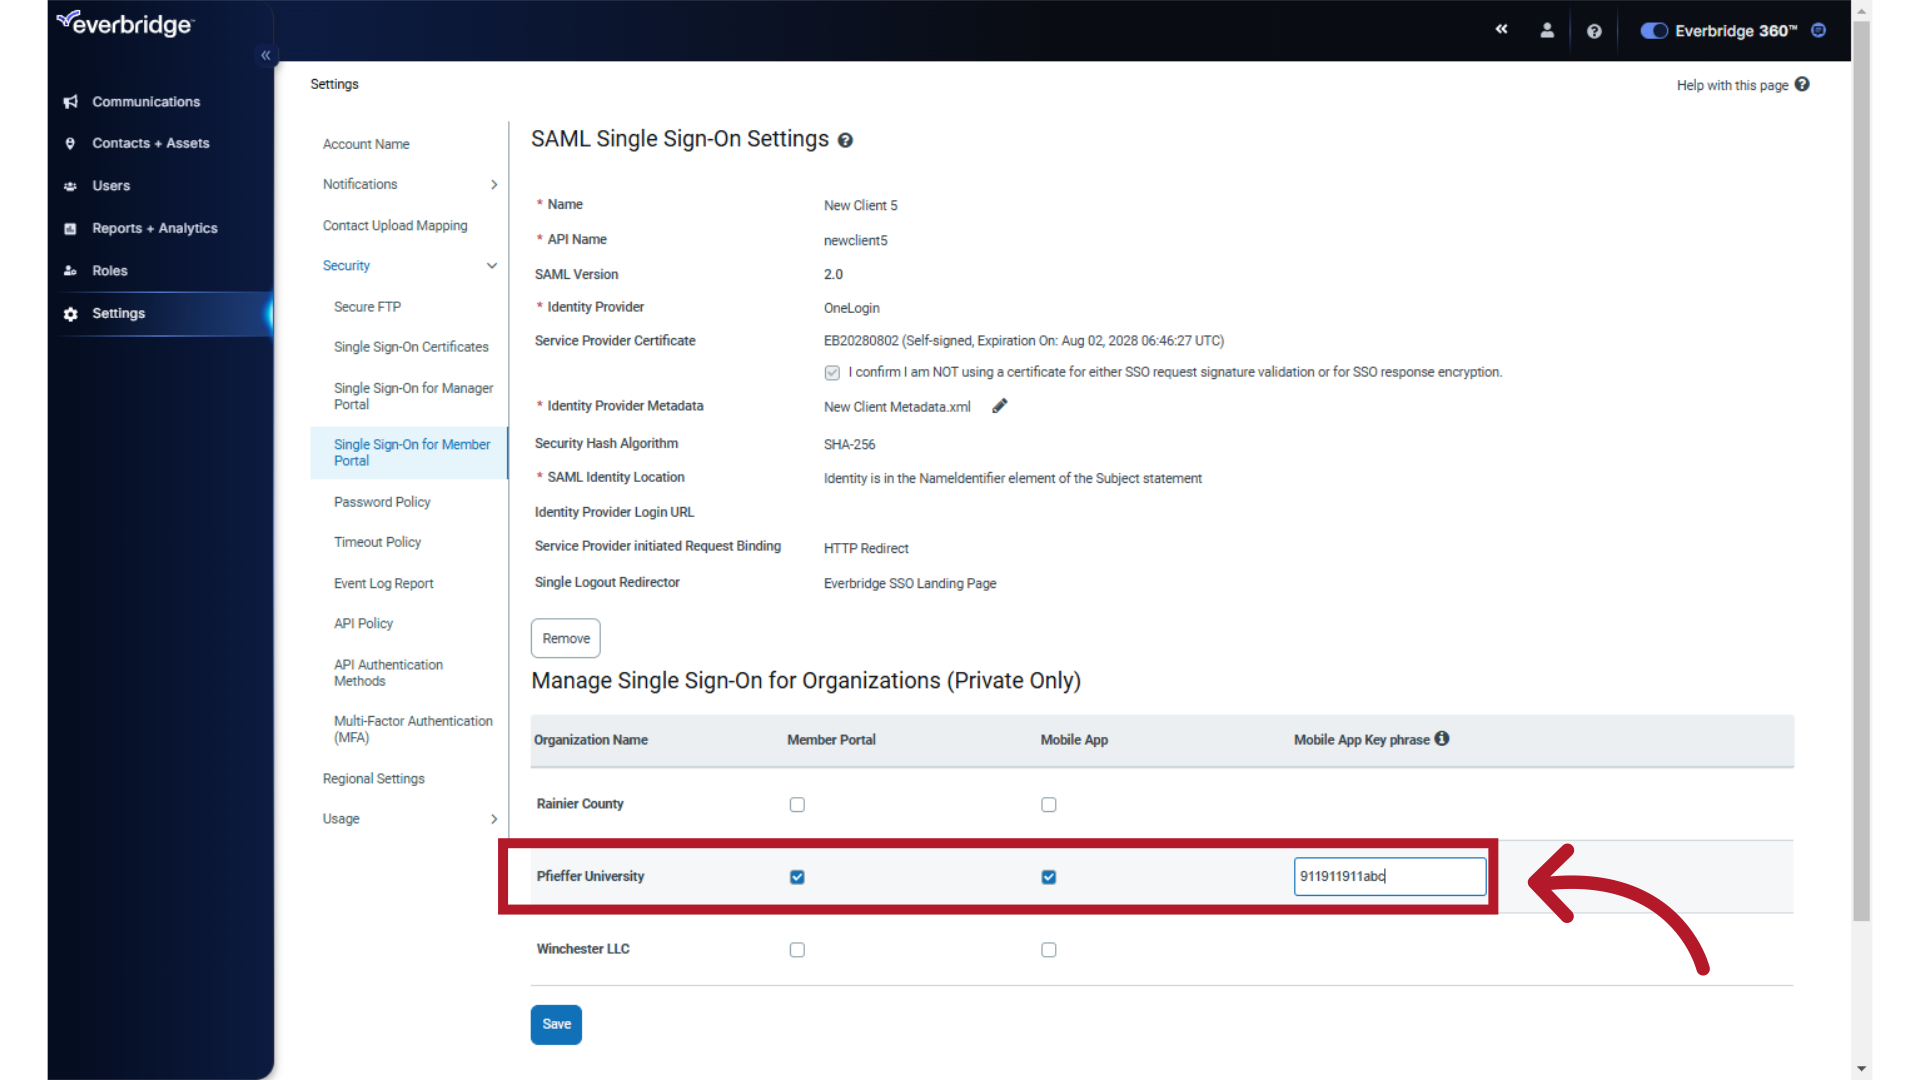
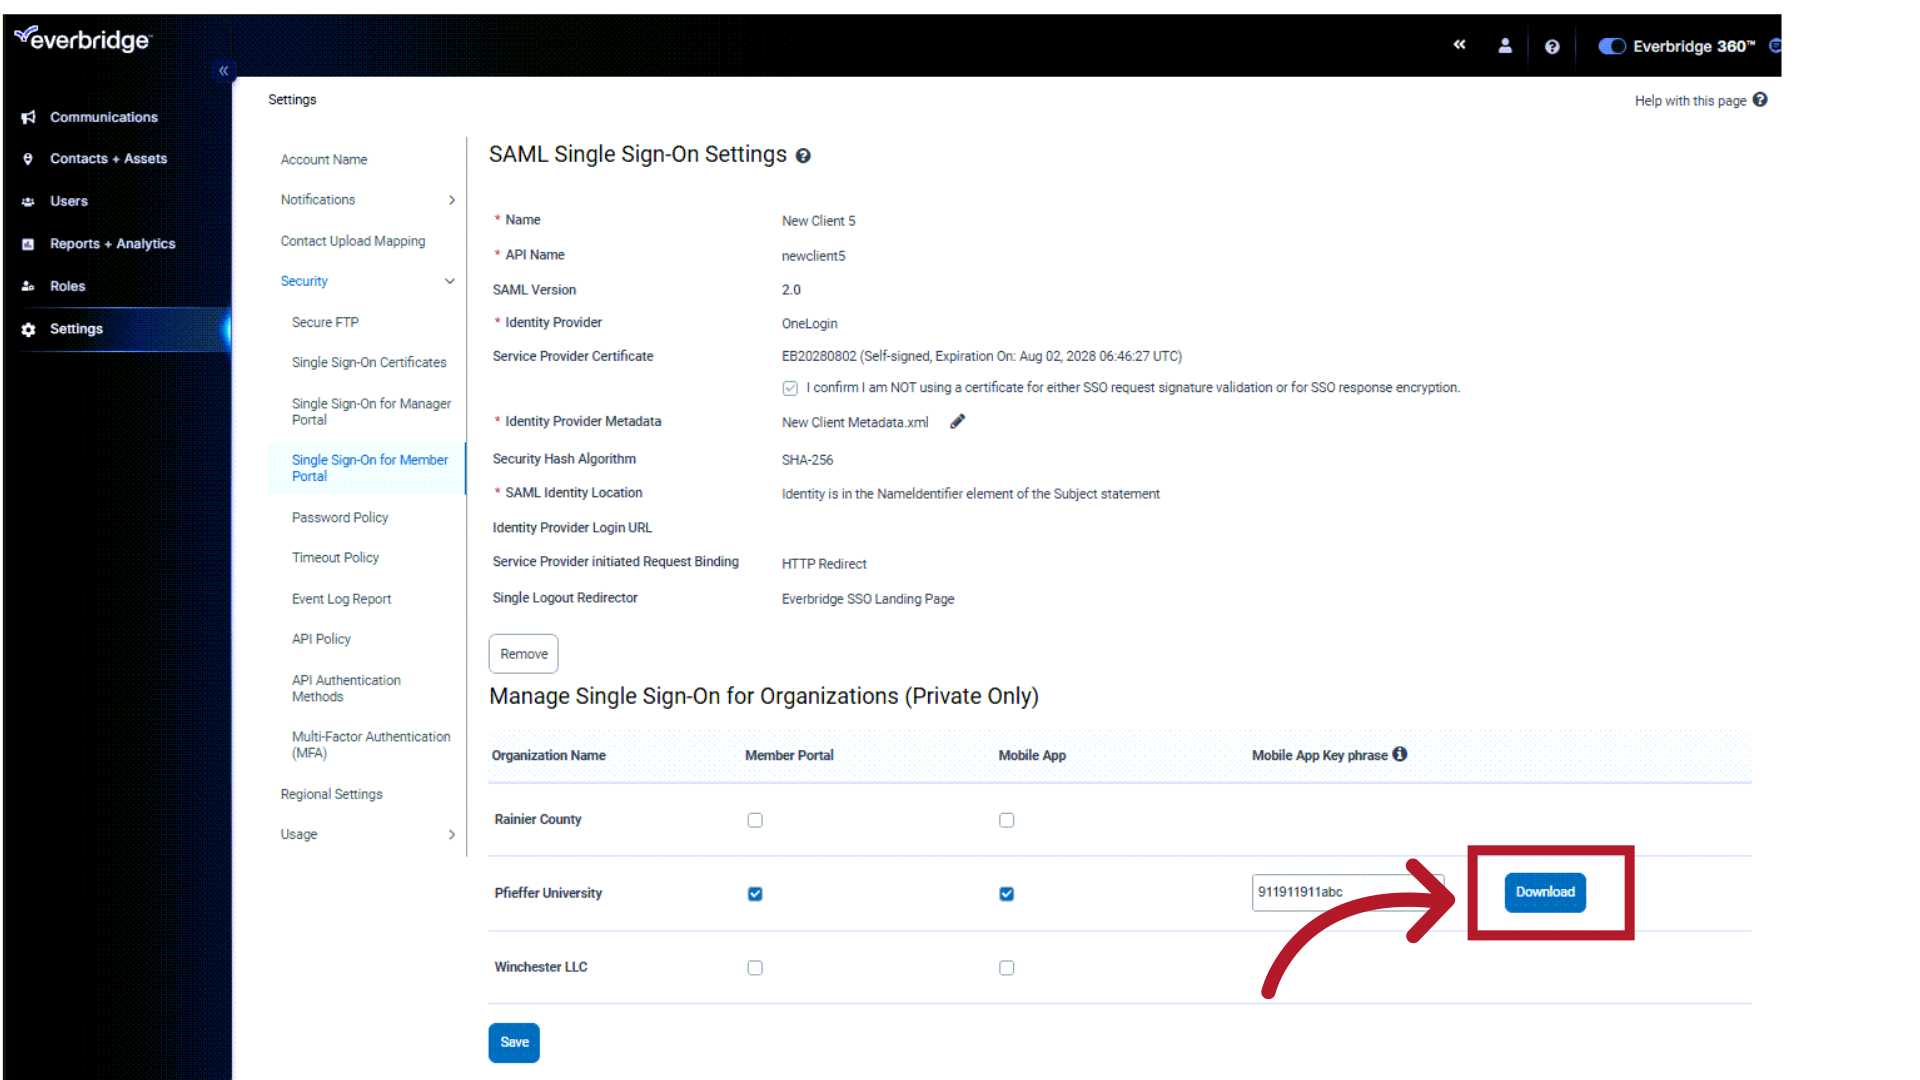
19. Example
Here is an example of defining an Organization to use SSO for accessing the Member Portal and to use SSO for accessing the Member Portal via the Mobile app.
20. Save
Click "Save" to save the changes.
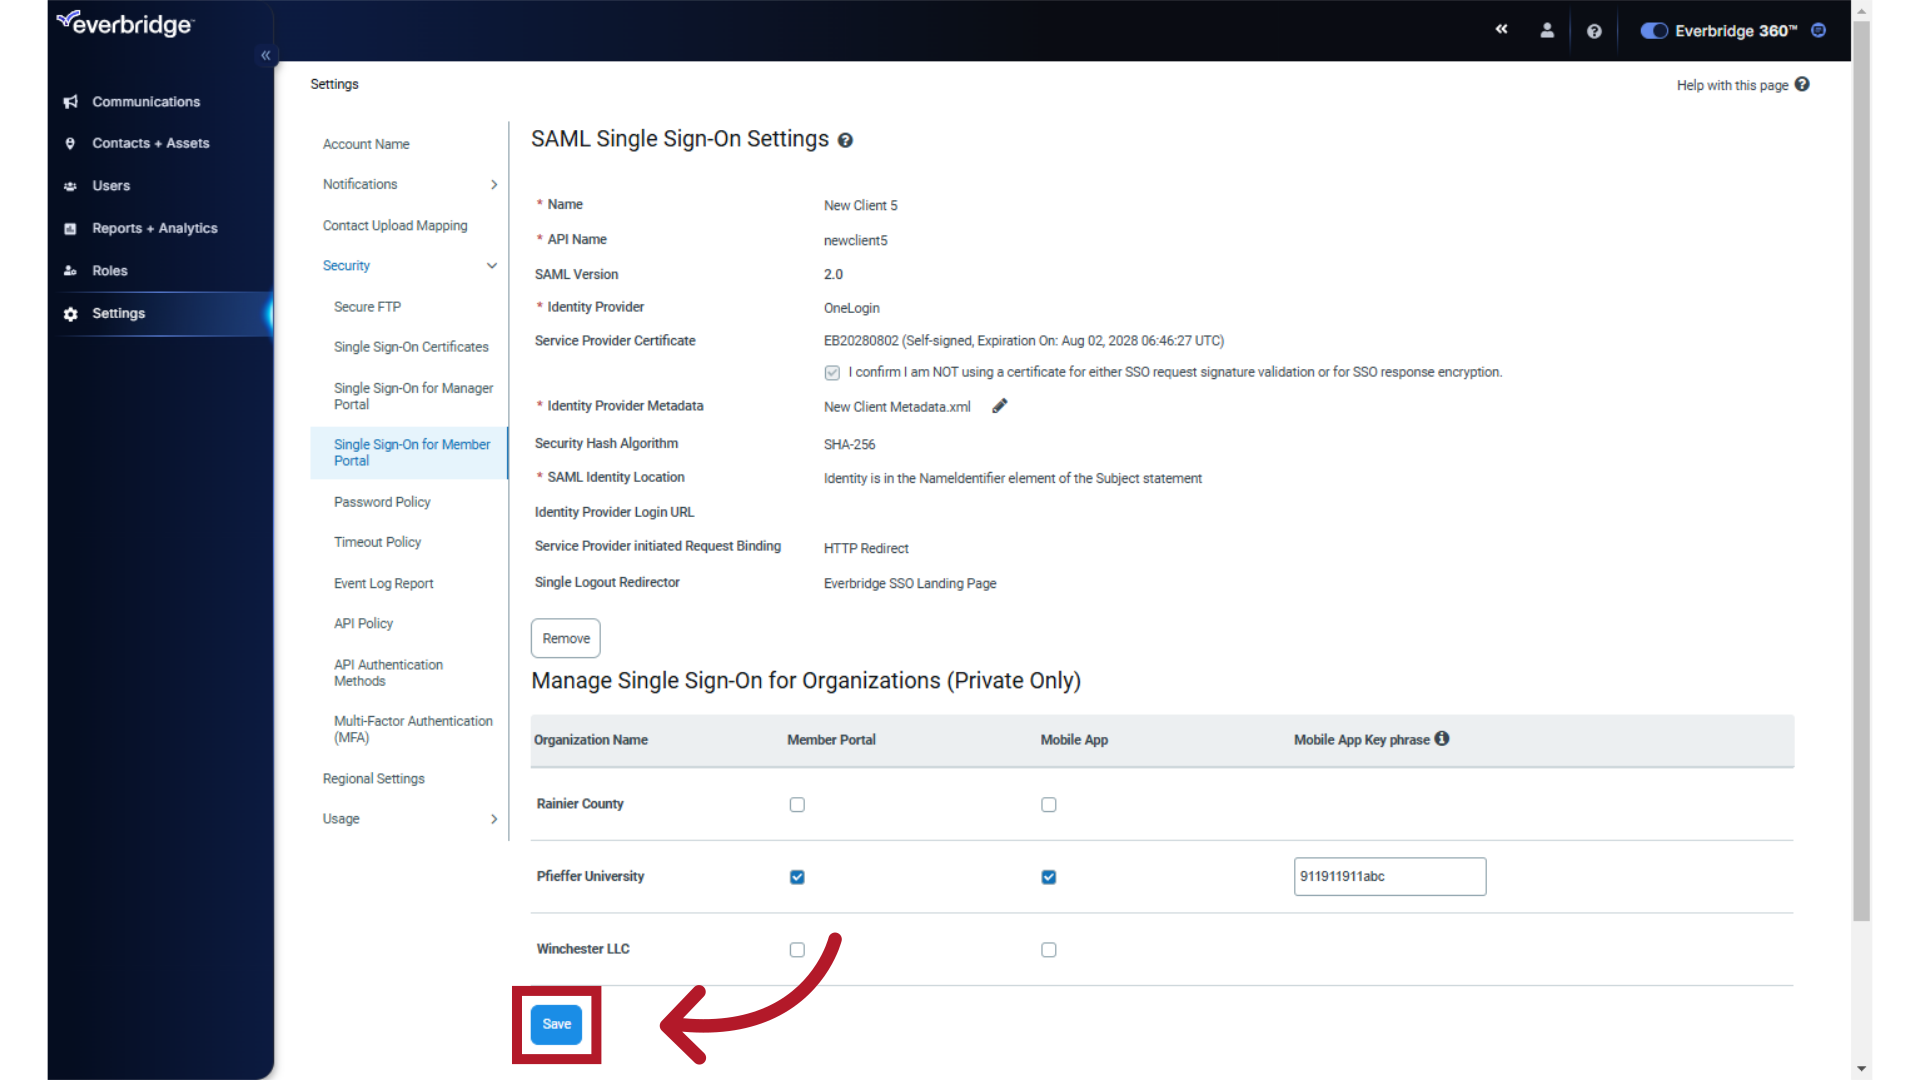
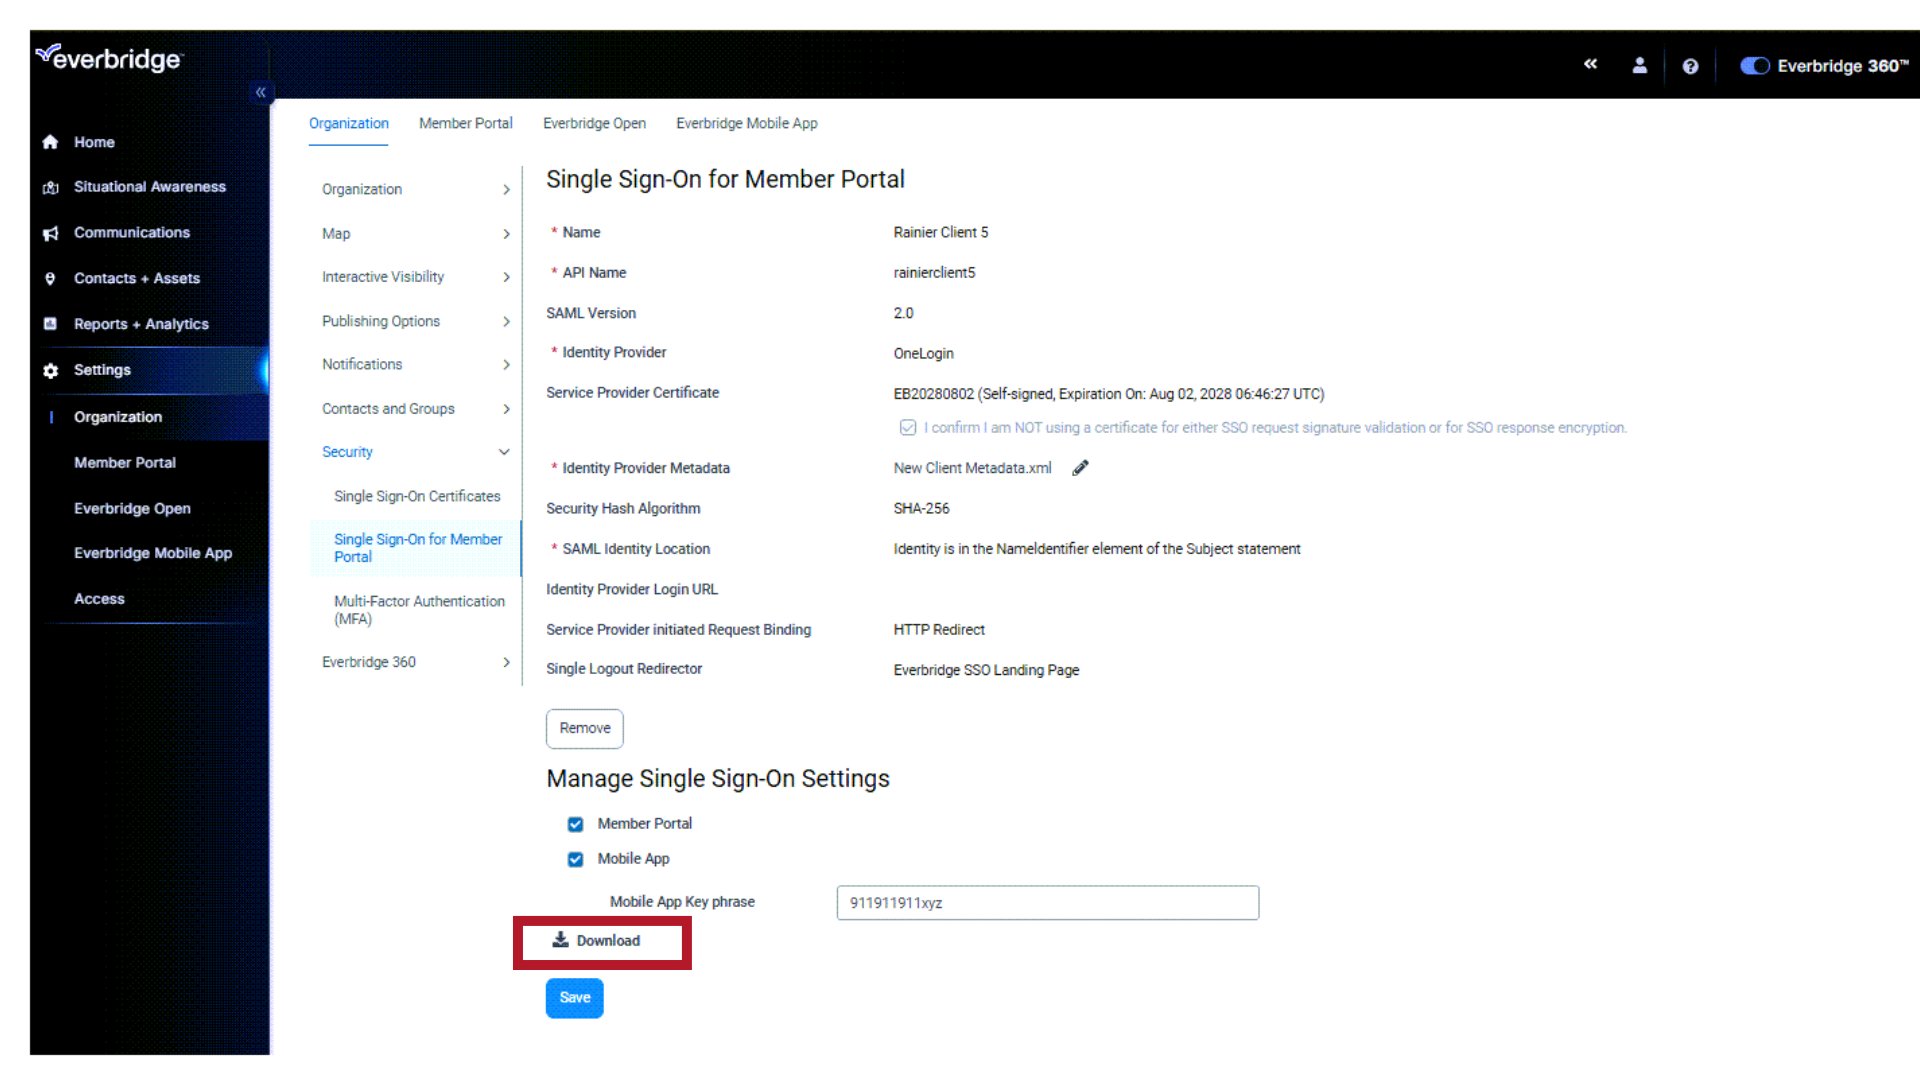
21. Save
Once the configuration is saved, a "Download" button appears confirming the configuration has been successfully saved. Your Everbridge Member Portal for each Organization has now been configured for SSO.
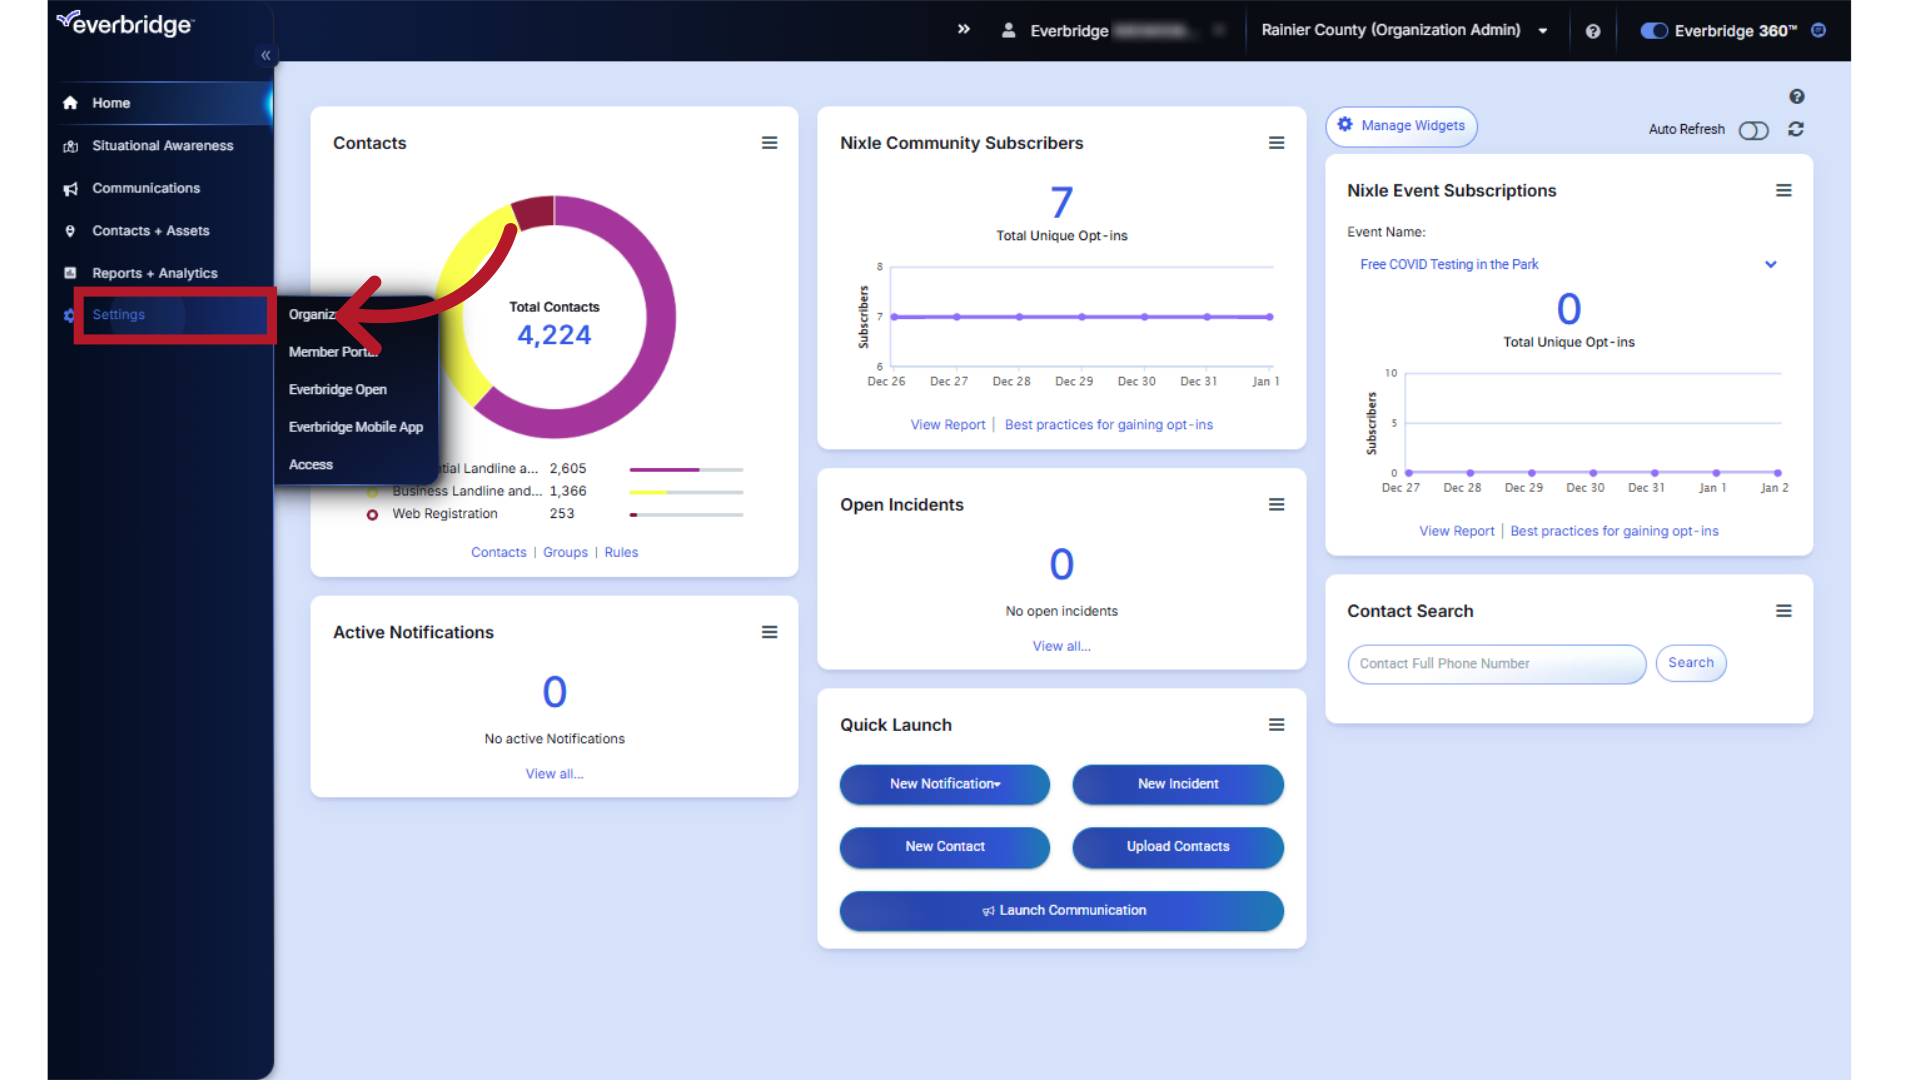
22. ORGANIZATION CONFIGURATION
You can also configure SSO for the Everbridge Member Portal at the Organization level. Here you can override Account level settings if defined, or define SSO for your Organization's Member Portal if not defined at the Account level. Log in to the Everbridge Manager Portal and select your Organization.

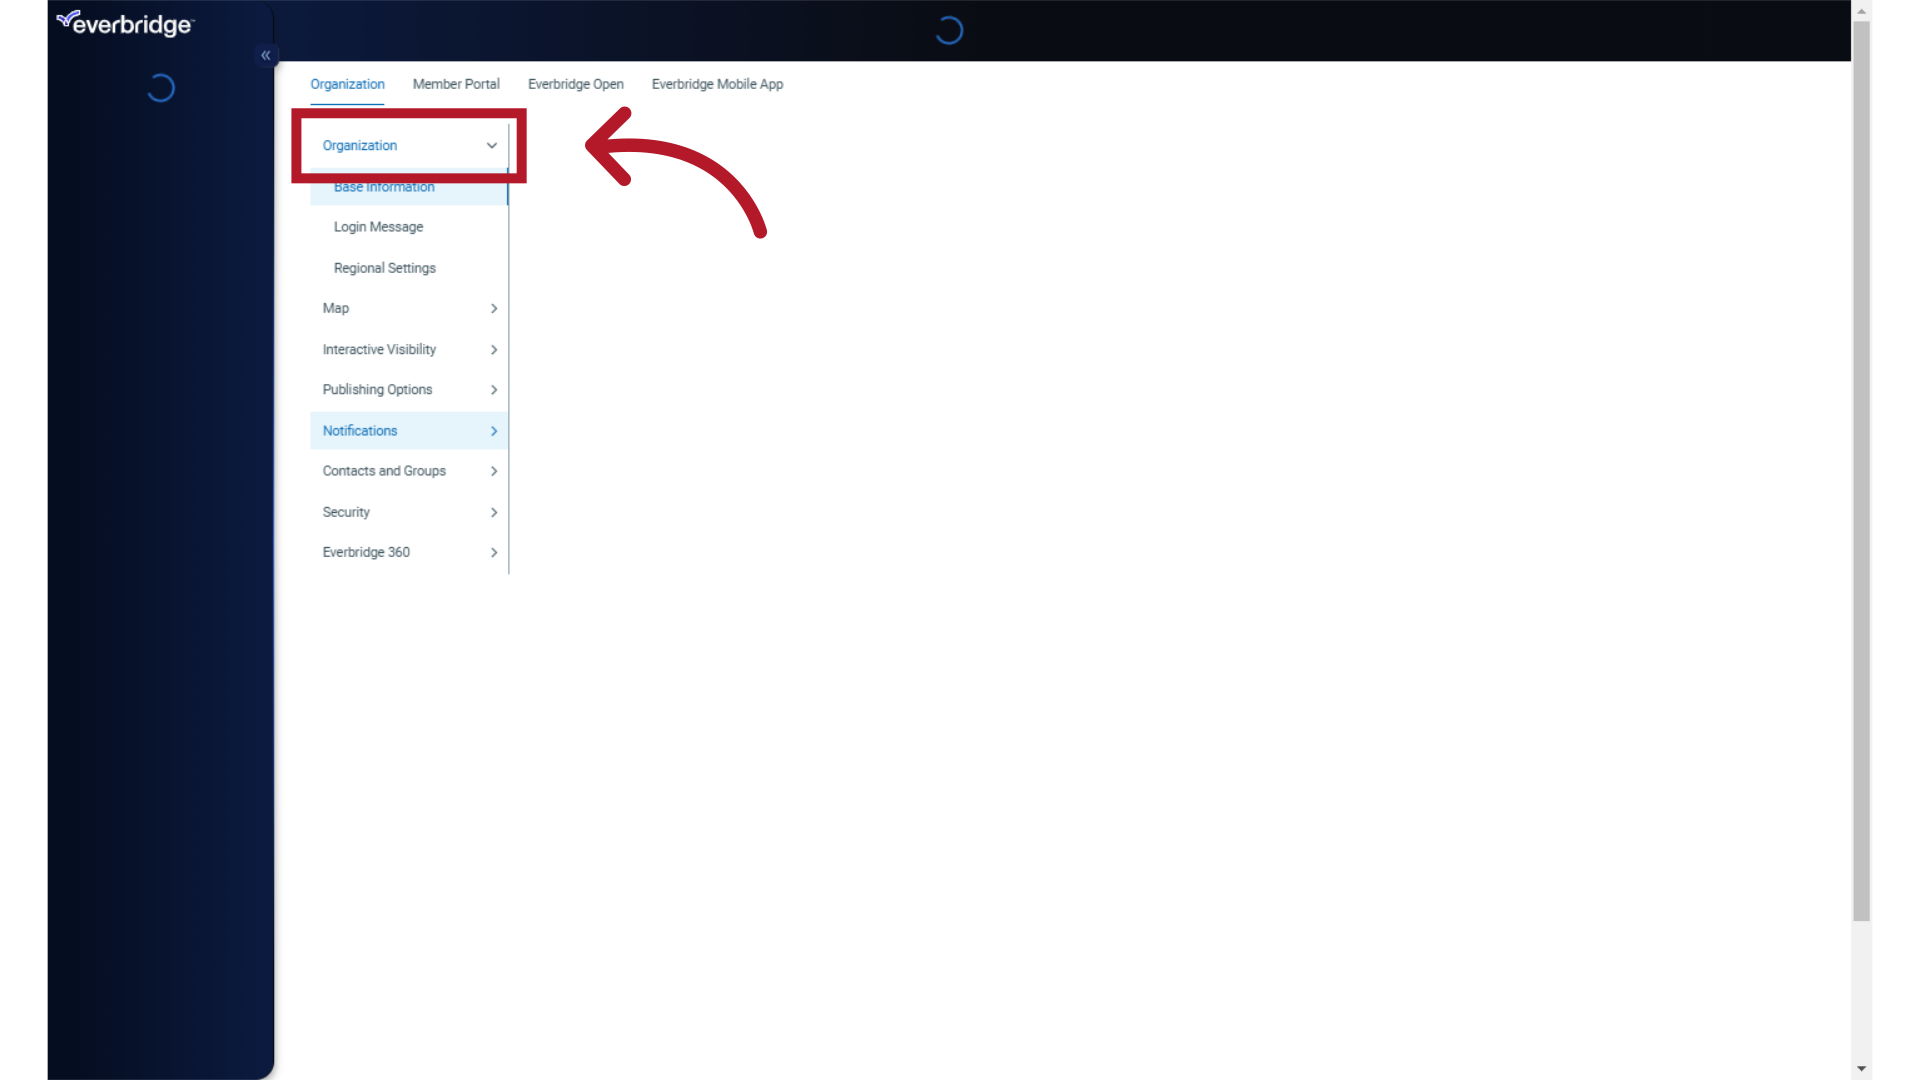
23. Manager Portal
Ensure you are at the Organization level.

24. Settings
Select "Settings".
25. Select Organization
Select "Organization".
26. Security
Select "Security".
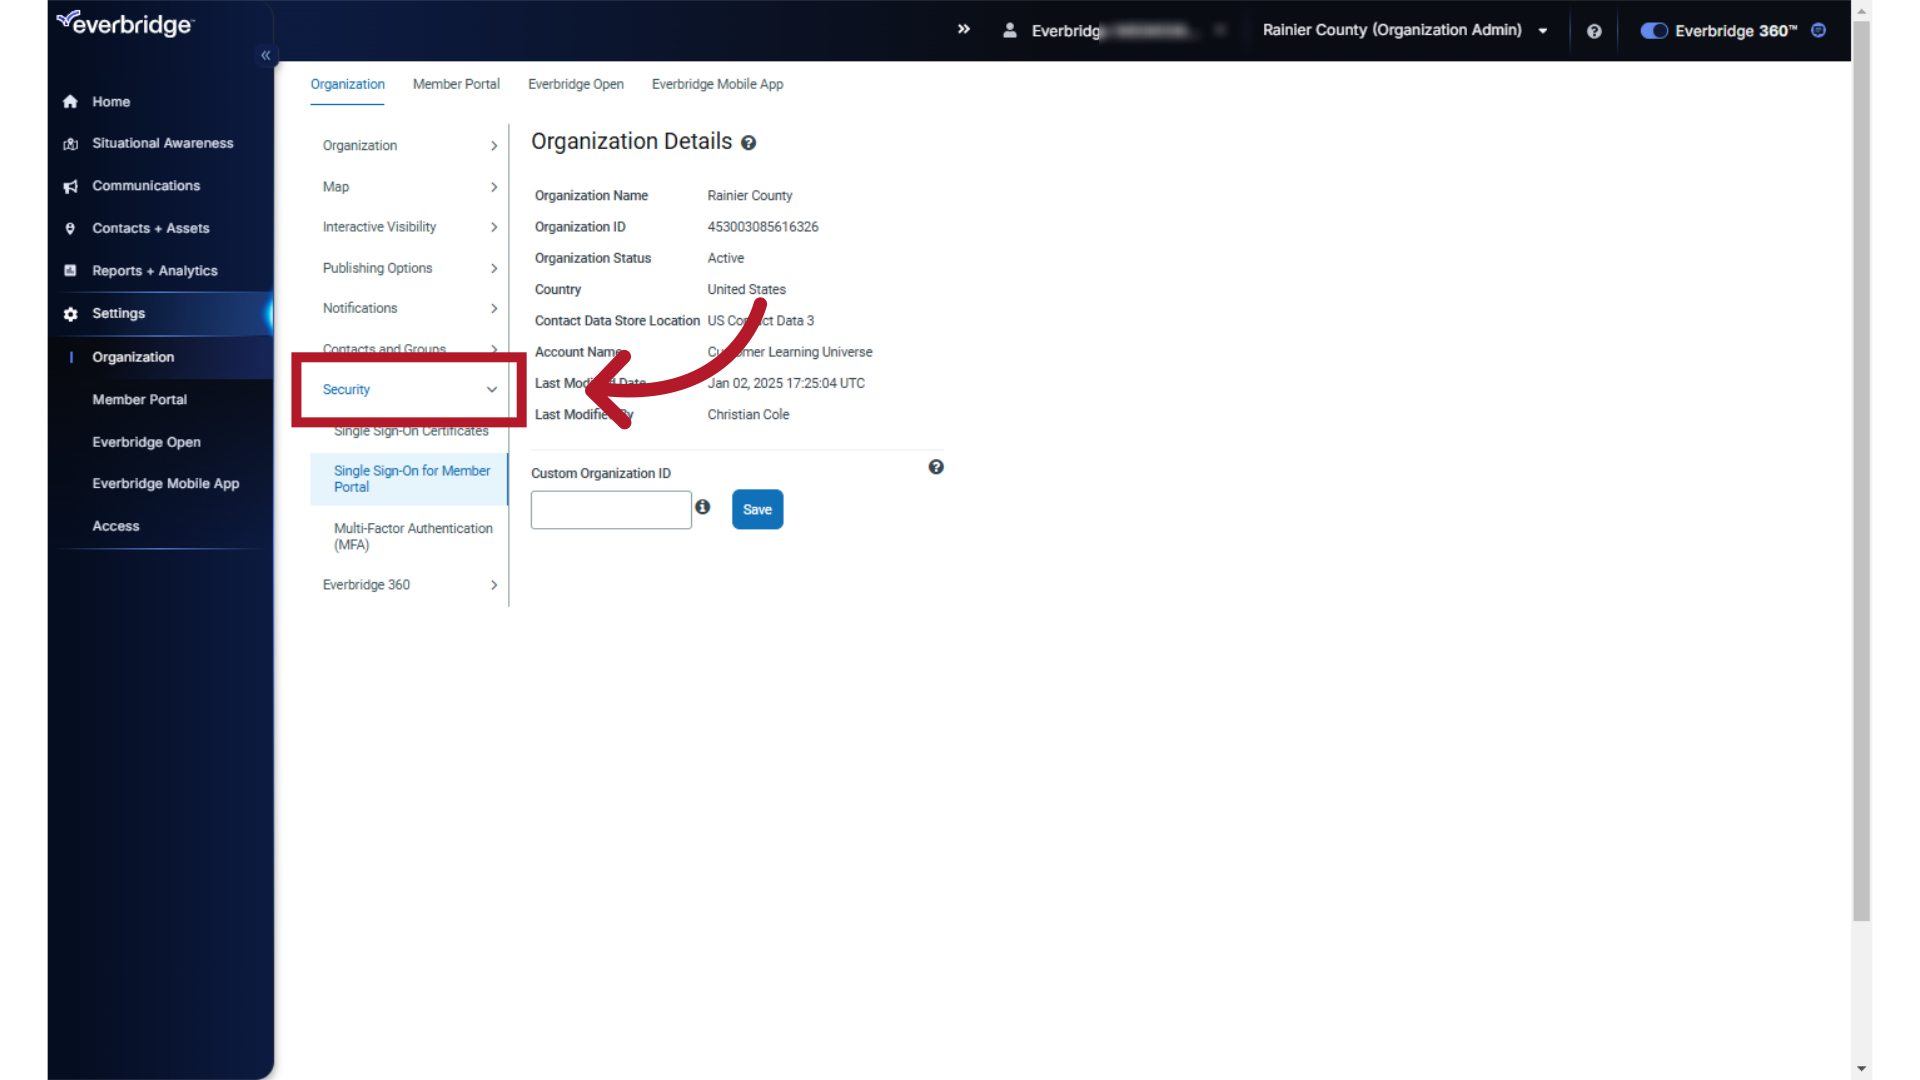
27. Single Sign-On for Member Portal
Select "Single Sign-On for Member Portal."
28. Name
Enter a "Name" for your Single Sign-On configuration.
29. API Name
Enter the "API Name" for your SSO configuration. Everbridge recommends using all lower case as a best practice.

30. Identity Provider (IdP)
Select your "Identity Provider" from the drop-down menu.
31. Service Provider (SP) Certificate Information
Enter the "Service Provider Certificate" Information.
32. Identiy Provider Metadata
Upload the "Identity Provider Metadata" file.
33. Security Hash Algorithm
Choose your "Security Hash Algorithm."
34. SAML Identity Location
Note the "SAML Identity Location".
35. Identity Provider Login URL
Optionally enter the URL used to log in to your Identity Provider.
36. Security Provider Initiated Request Binding
Choose your "Service Provider Initiated Request Binding".
37. Single Logout Redirector
Choose your "Single Logout Redirector:"
38. Save
Click "Save" to save your configuration .
39. SSO Settings
ONce the configuration is saved, you can configure additional Member Portal settings. Toggle Member Portal to enable SSO access to the Member Portal.

40. Mobile App
Select Mobile App to allow SSO access to the Member Portal from the Mobile App.

41. Mobile App Key Phrase
If you enabled SSO access frm the Mobile App, enter a "Mobile App Key phrase".
42. Save
Click "Save".
43. Download
Once the "Download" appears, the configuration is completed. Download to save your configuration details.
This guide covered the detailed process of configuring Member Portal SSO settings in Everbridge. Thank you for watching!
Update Contact SSO User IDs
See knowledge article EBS: Updating Contact SSO IDs in Everbridge Suite.
Test the Member Portal SSO Configuration
See knowledge article EBS: Testing the Member Portal Single Sign-On (SSO) Configuration.
Download the Metadata
See knowledge article EBS: Downloading the Member Portal Single Sign-On Metadata XML File