This video demonstrates how to create a CEM orchestration workflow in Everbridge 360. It covers creating filters, selecting sources, setting conditions, configuring actions, and enabling the workflow.
1. Select Workflows
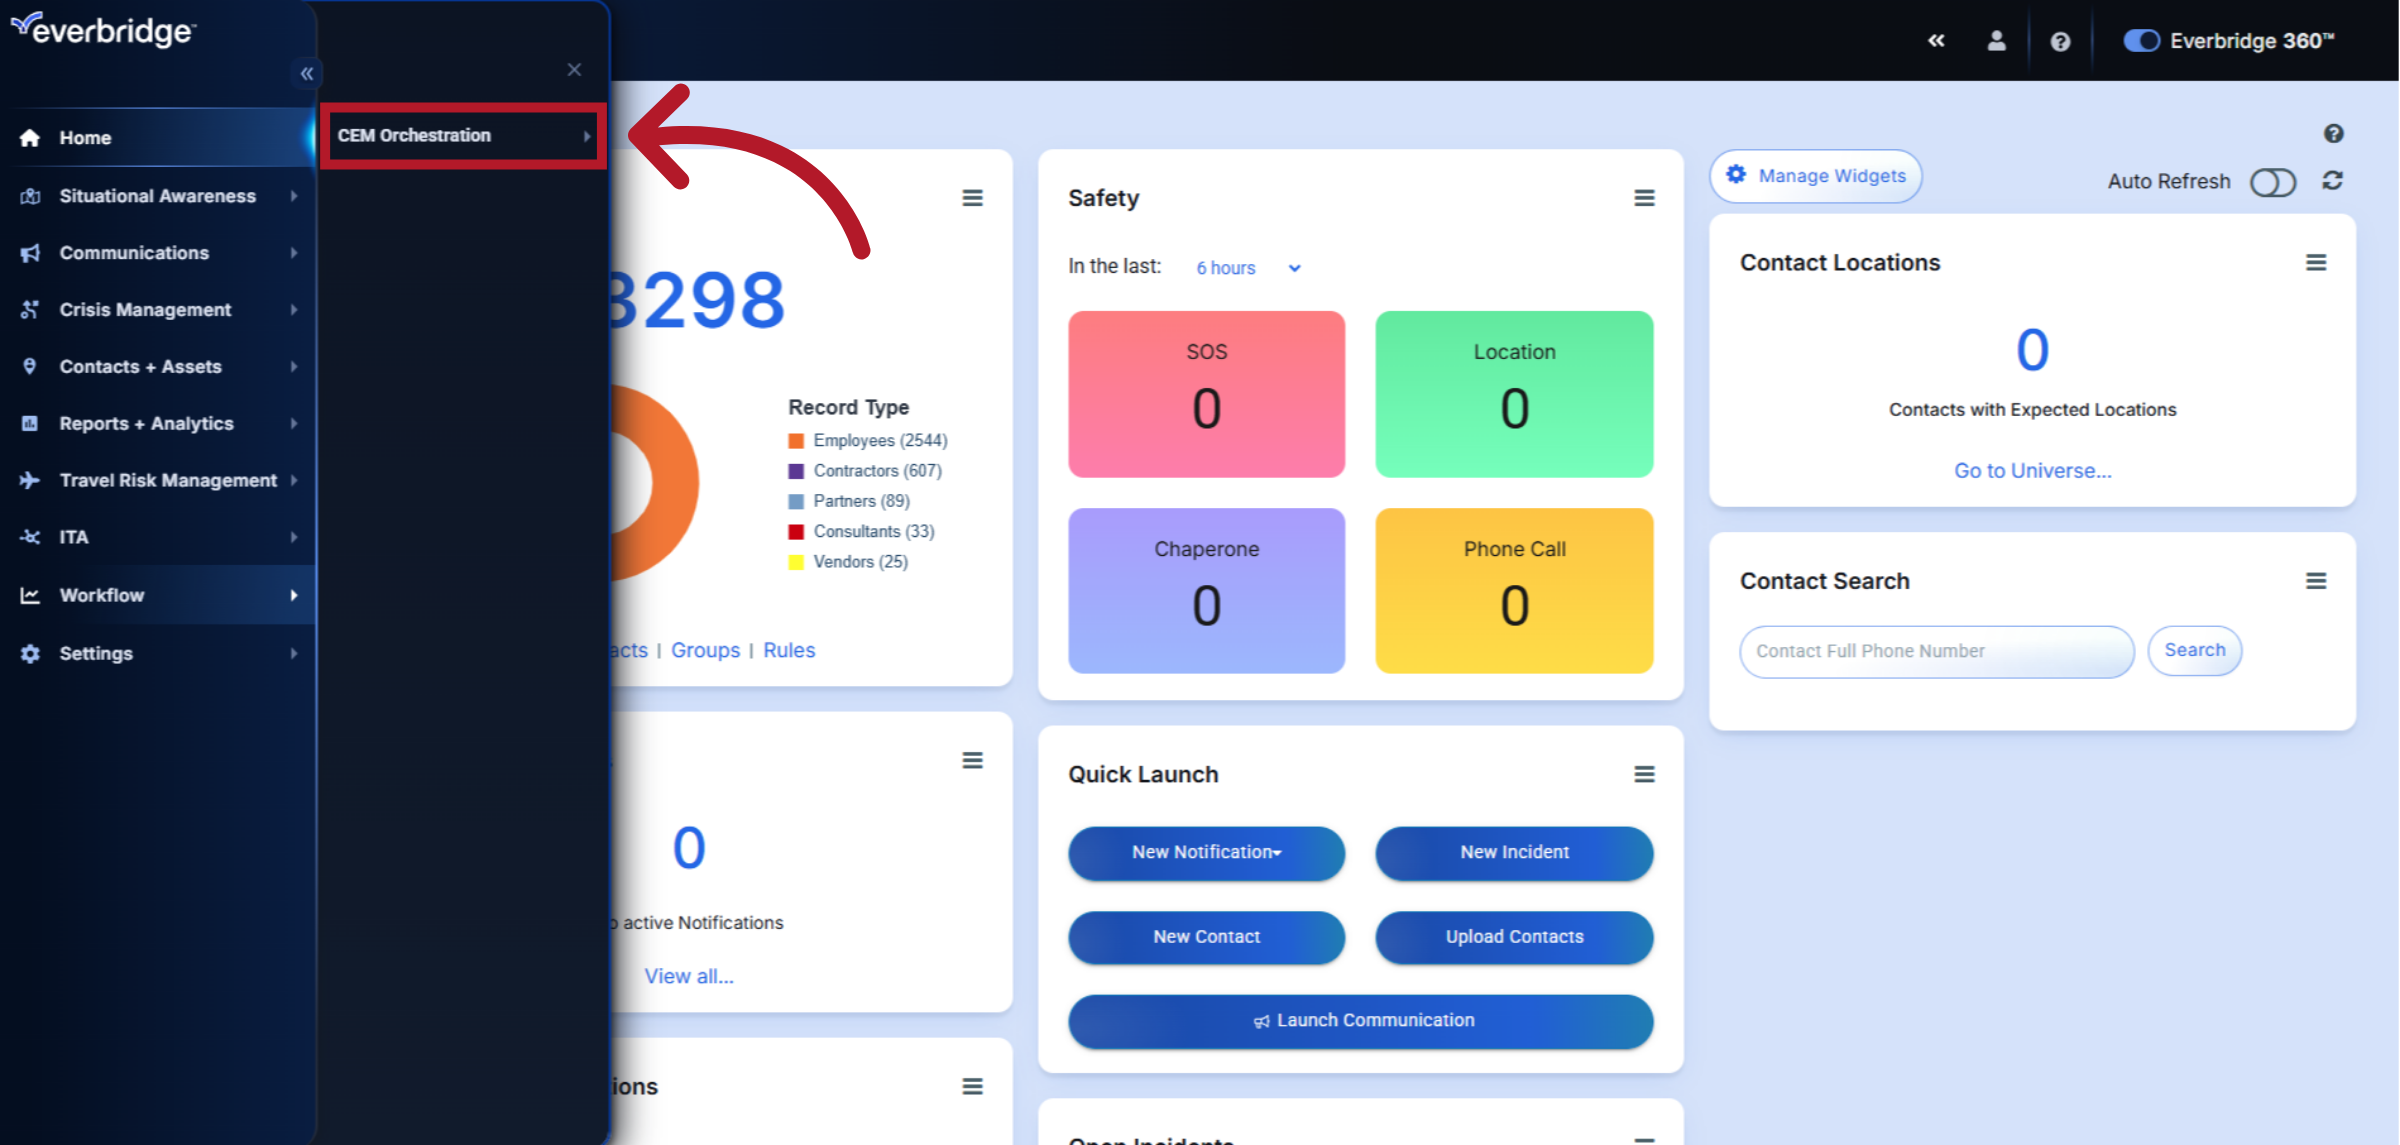
To start creating a workflow, navigate to the left-hand menu, select Workflows

2. Select CEM Orchestration
Then select CEM Orchestration.
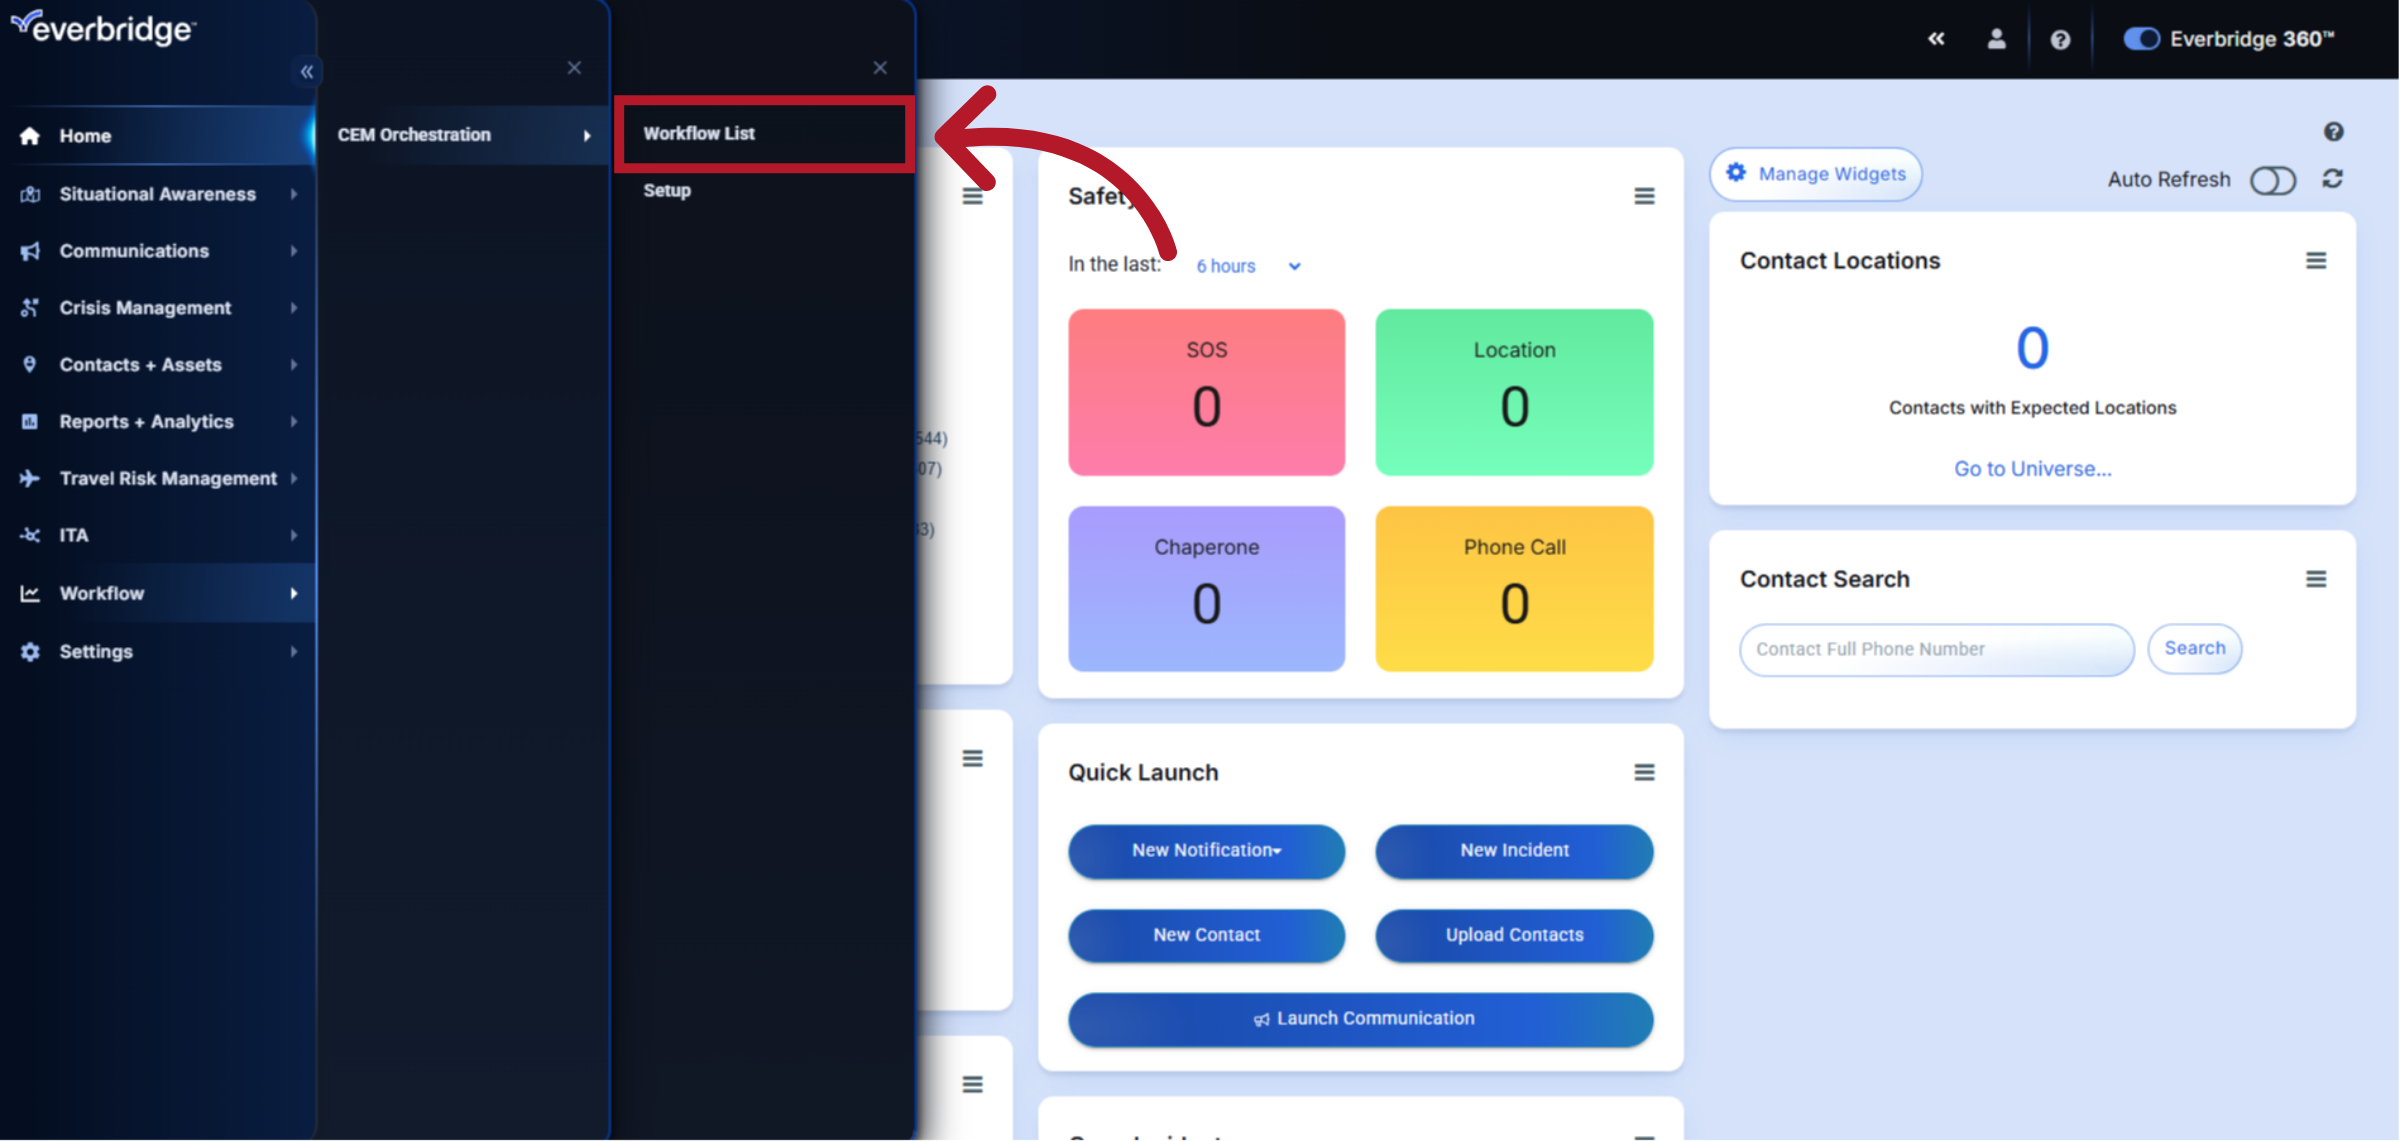
3. Select Workflow List
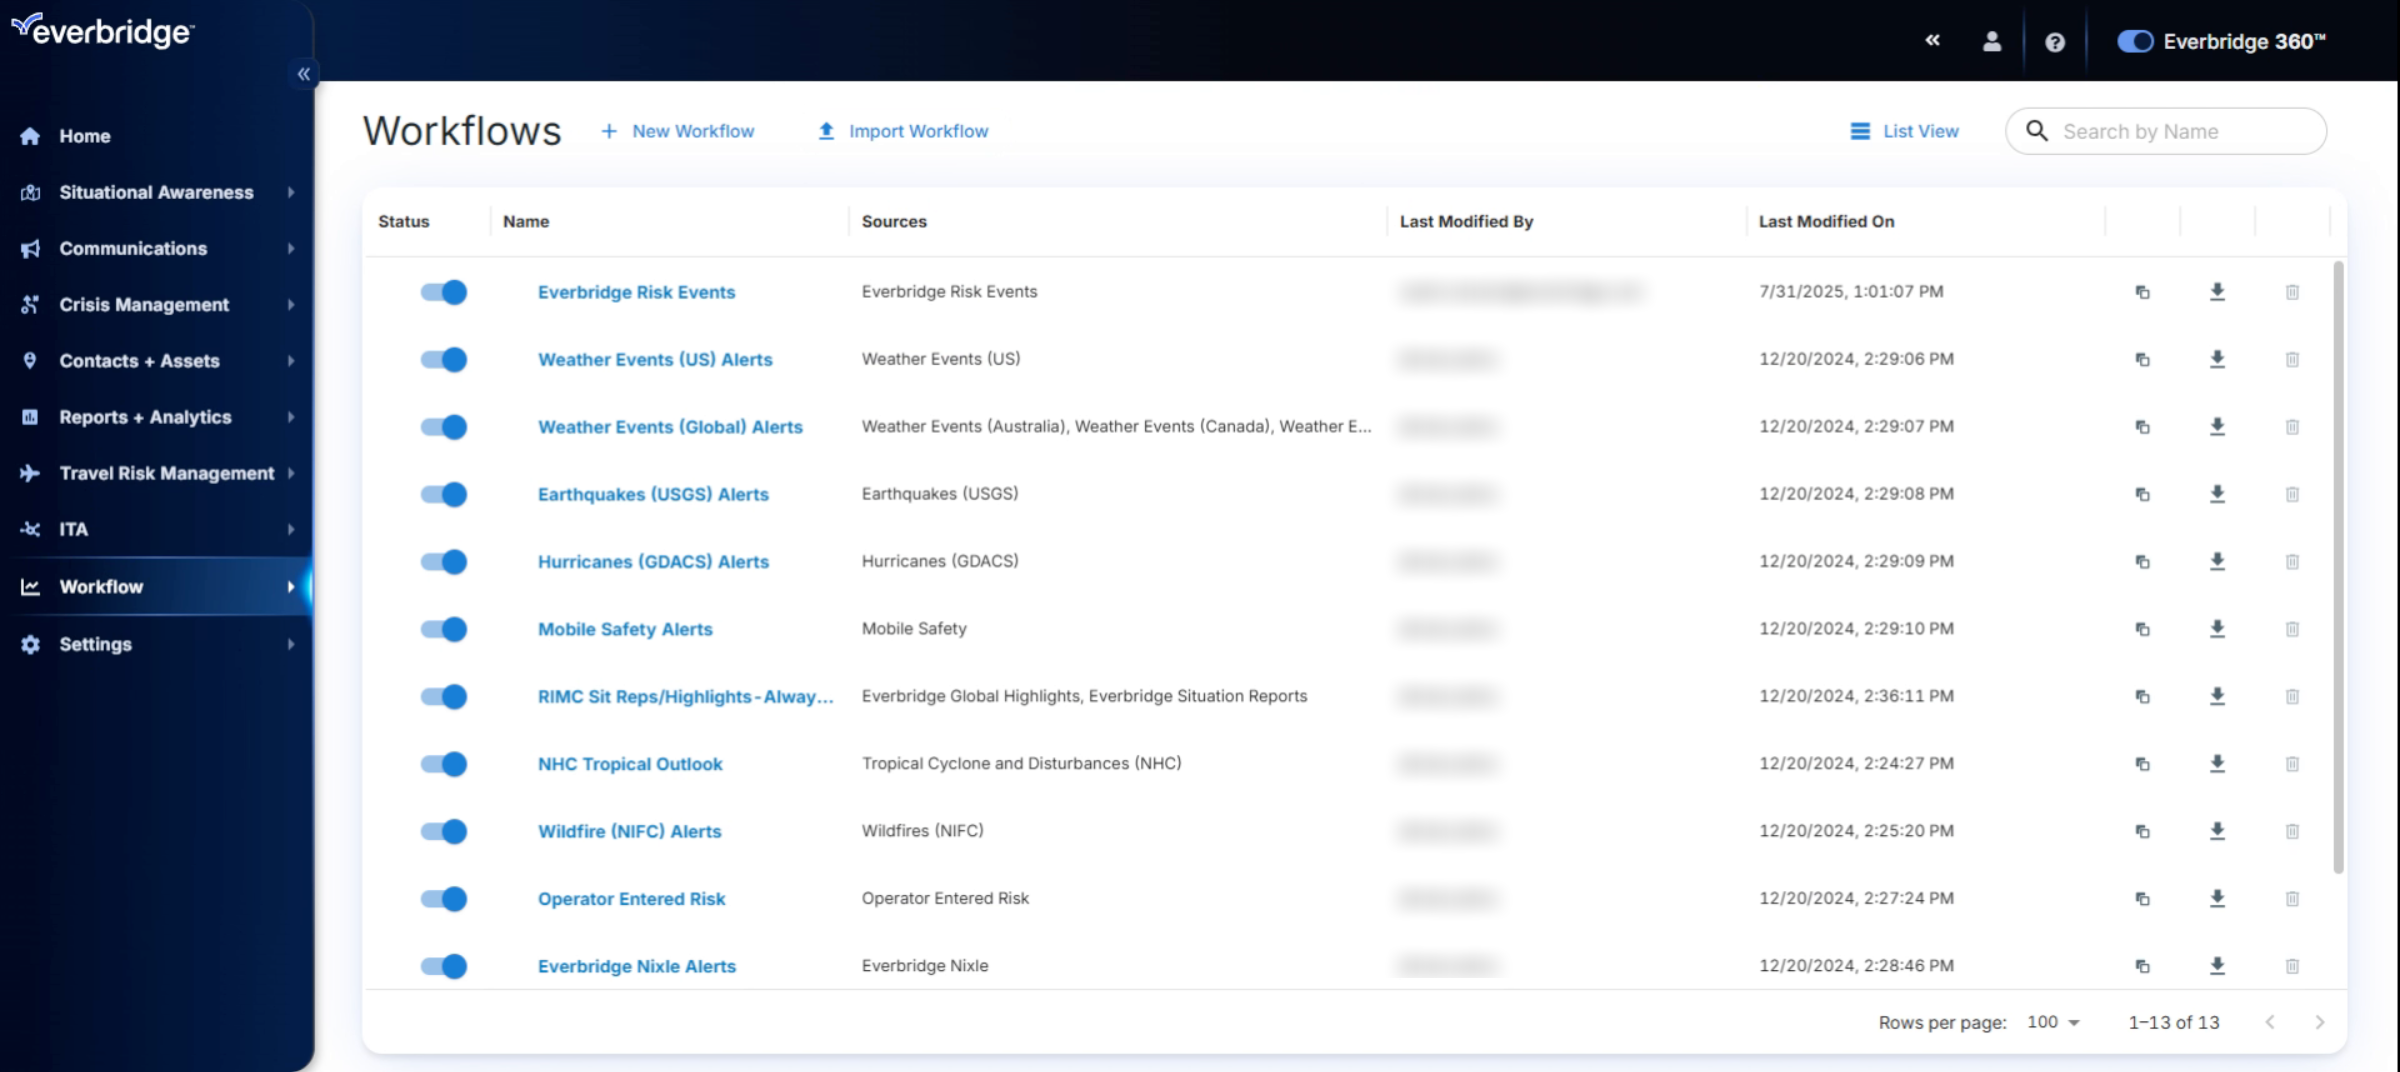
Then Workflow List. Here, you can view, manage, and create new workflows.
4. Workflow Structure Components
Before configuring a new workflow, it is essential to understand its structure. A workflow consists of rules that determine when an alert is triggered, filters that specify the conditions, and actions that outline what occurs when those conditions are met.

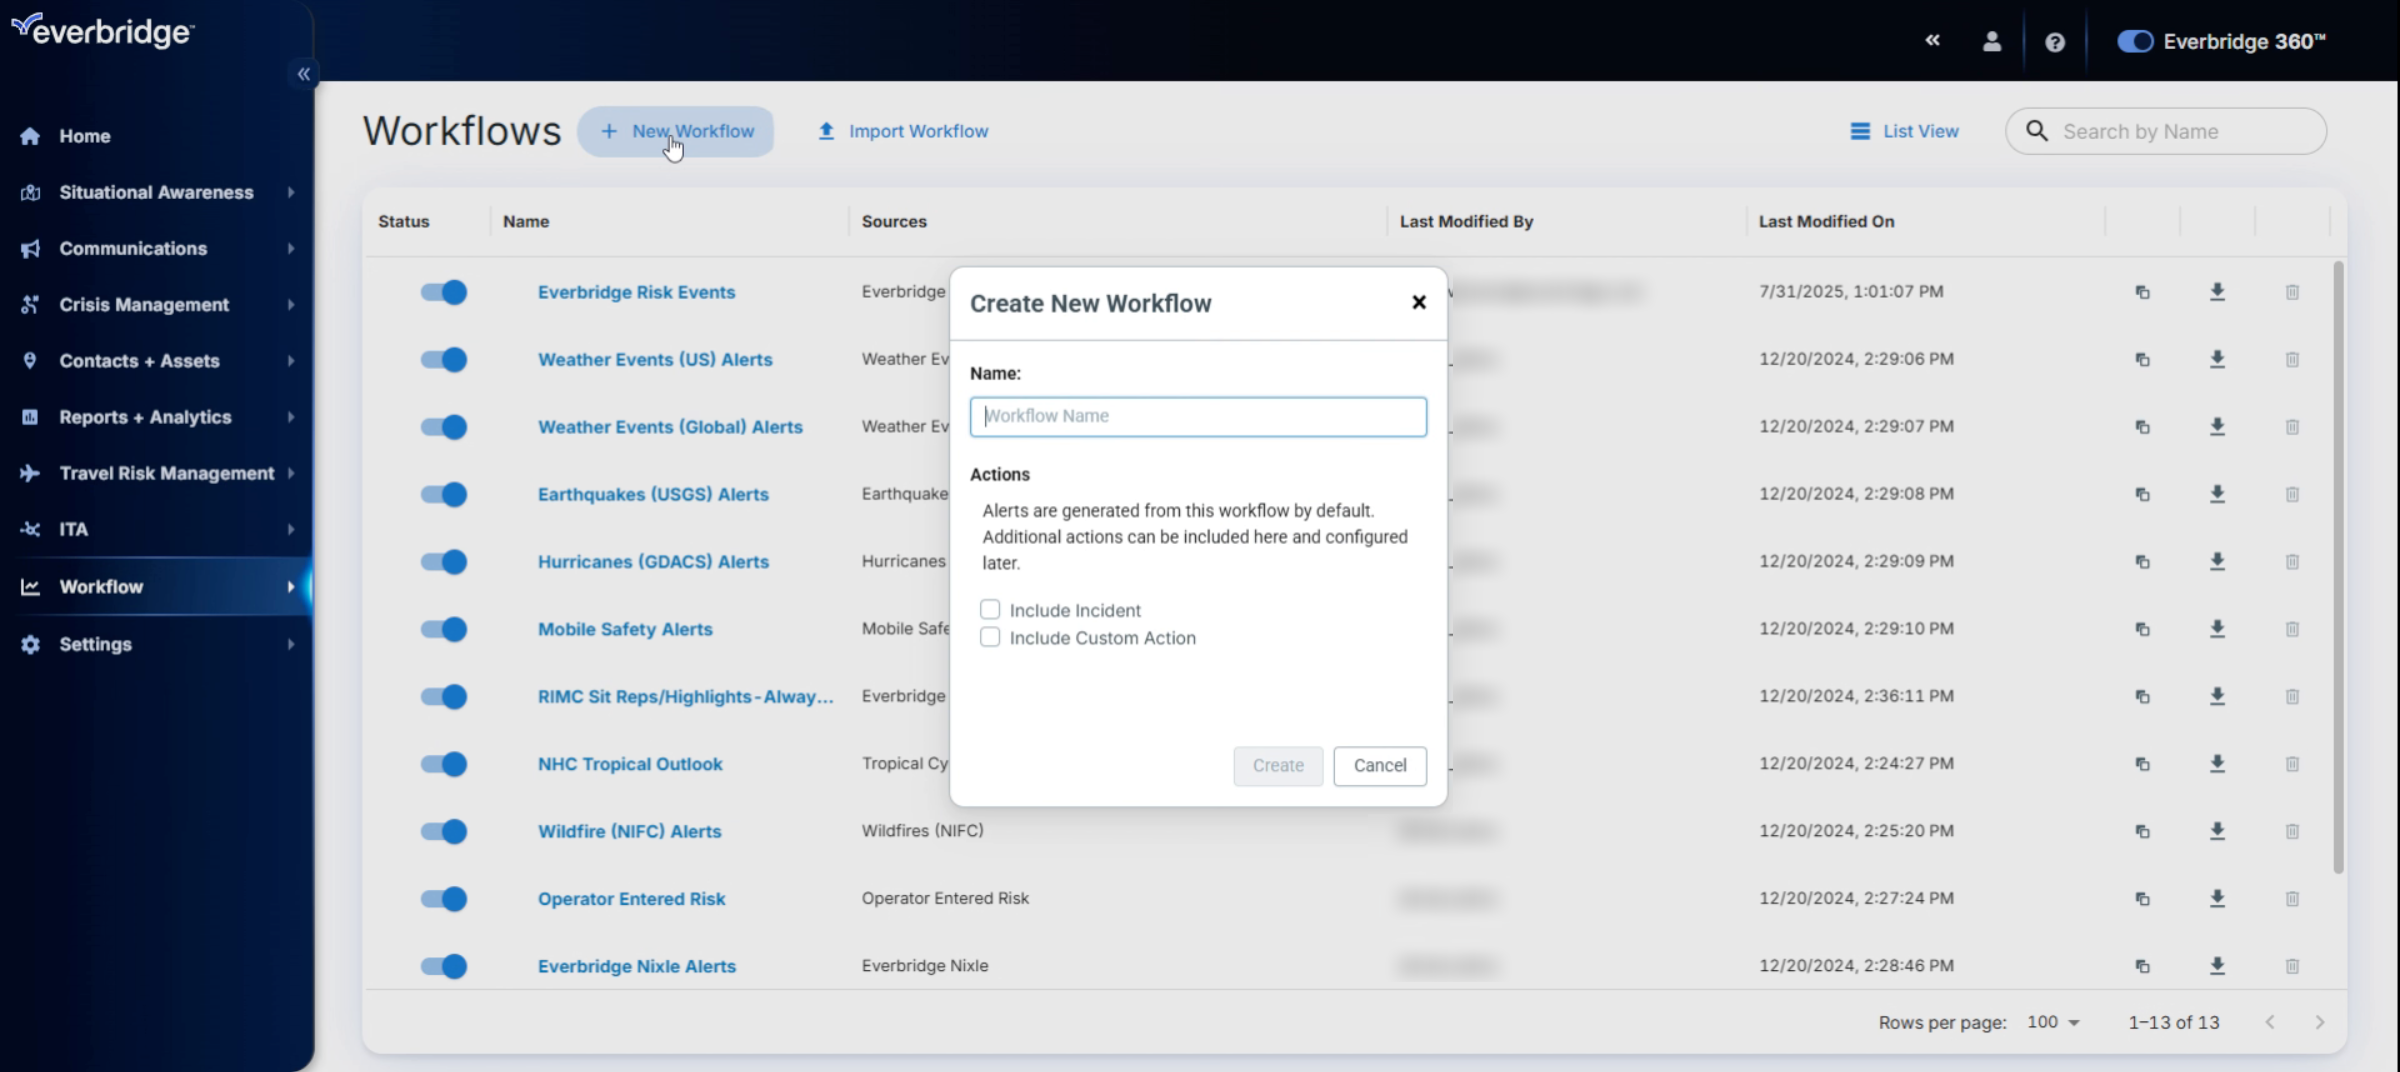
5. Creating New Workflow
Now, let's begin creating a new workflow. First, select "New Workflow."
6. Creating New Workflow Name
Next, enter a clear and descriptive name for the workflow. In this example, I will use "Earthquake Events." Then, click "Create."
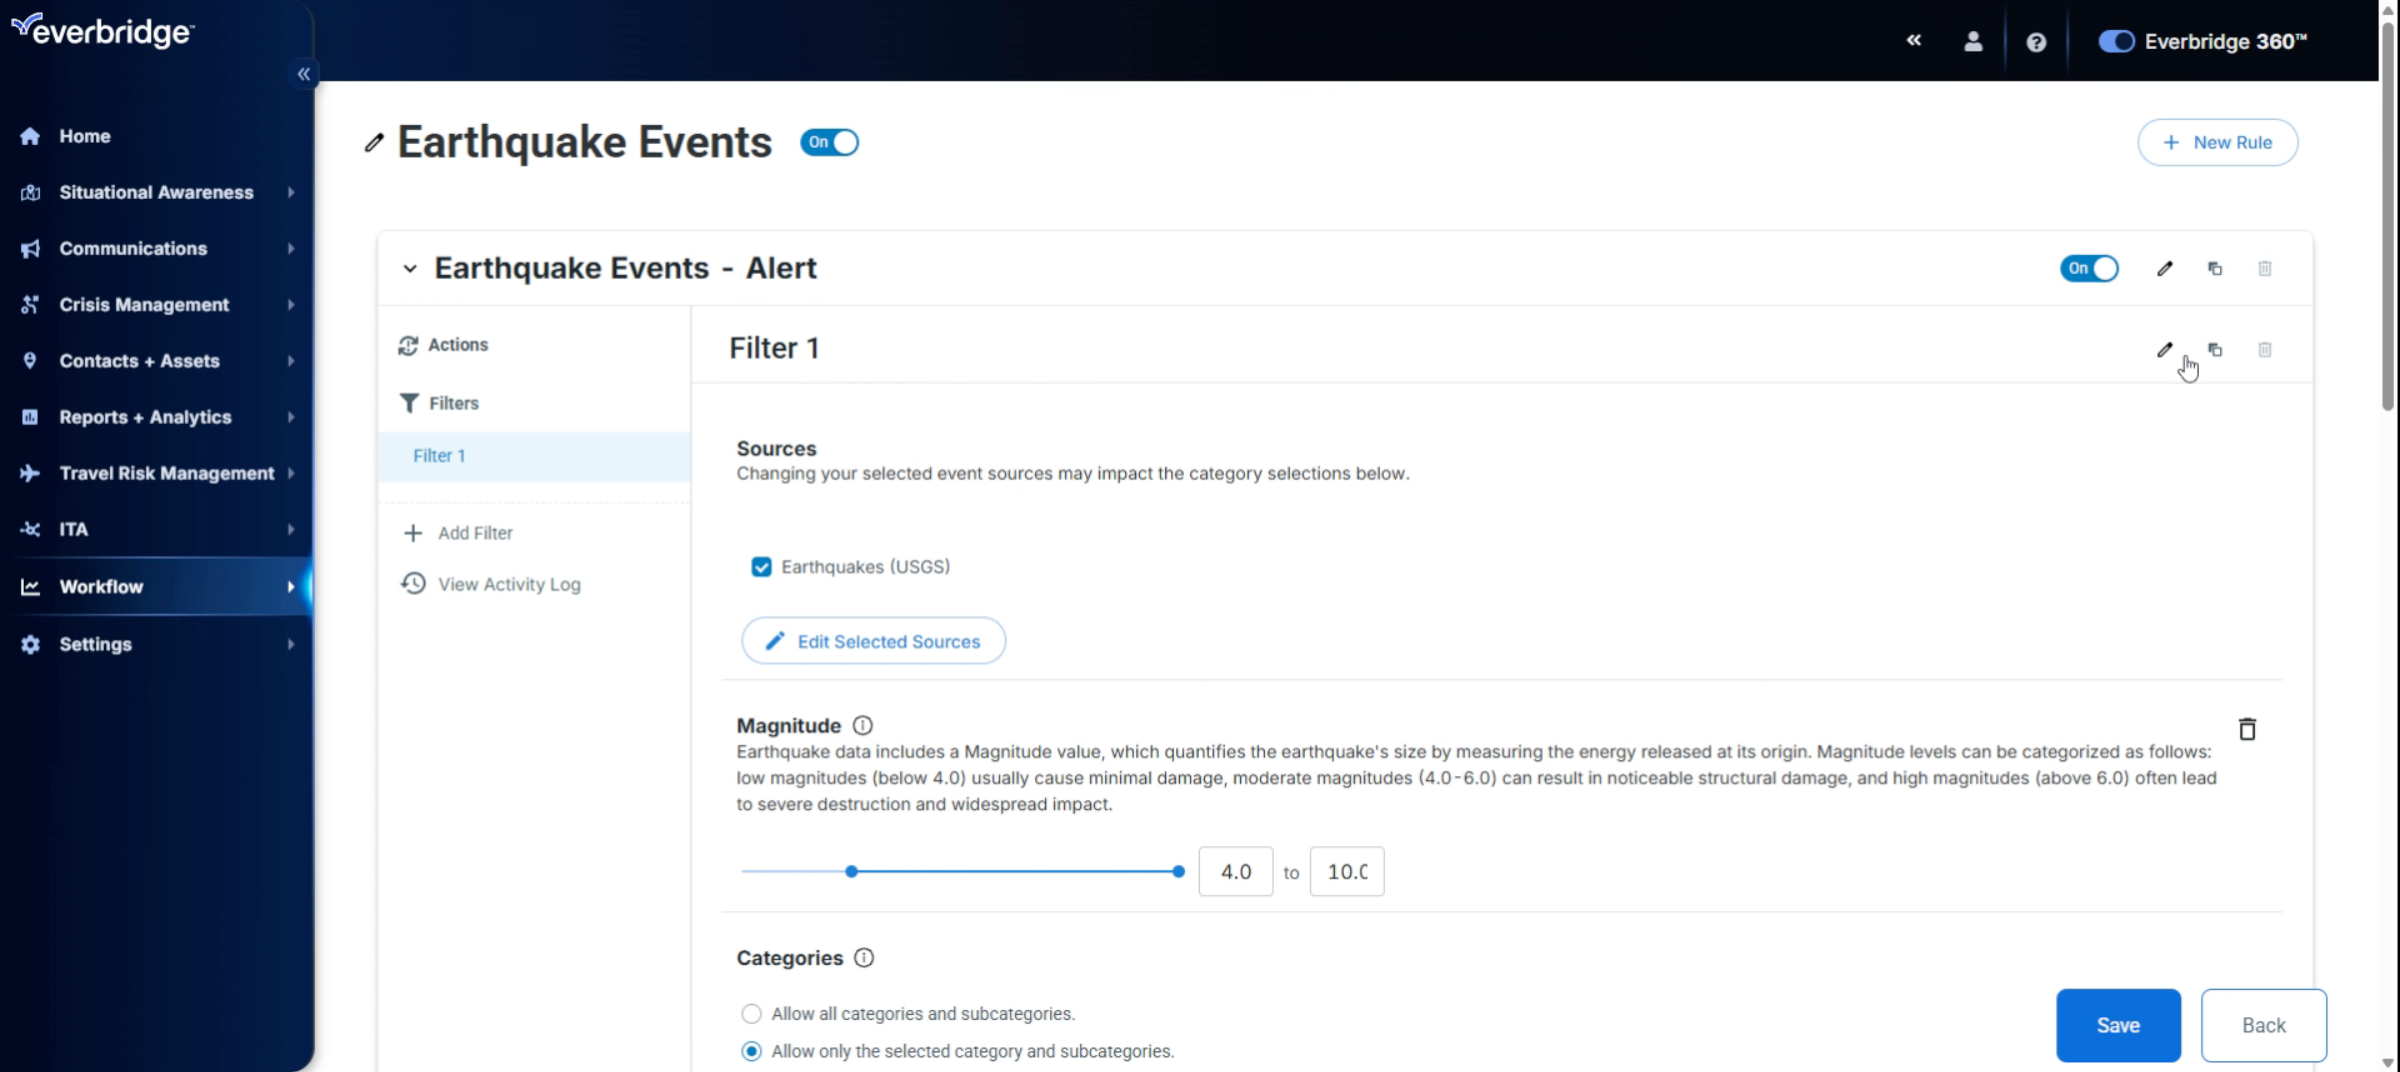
7. Selecting Source And Category
We will begin by creating a filter for the workflow. First, let's select the source. In this case, I will choose earthquake USGS. Next, we will select the category and choose earthquake.
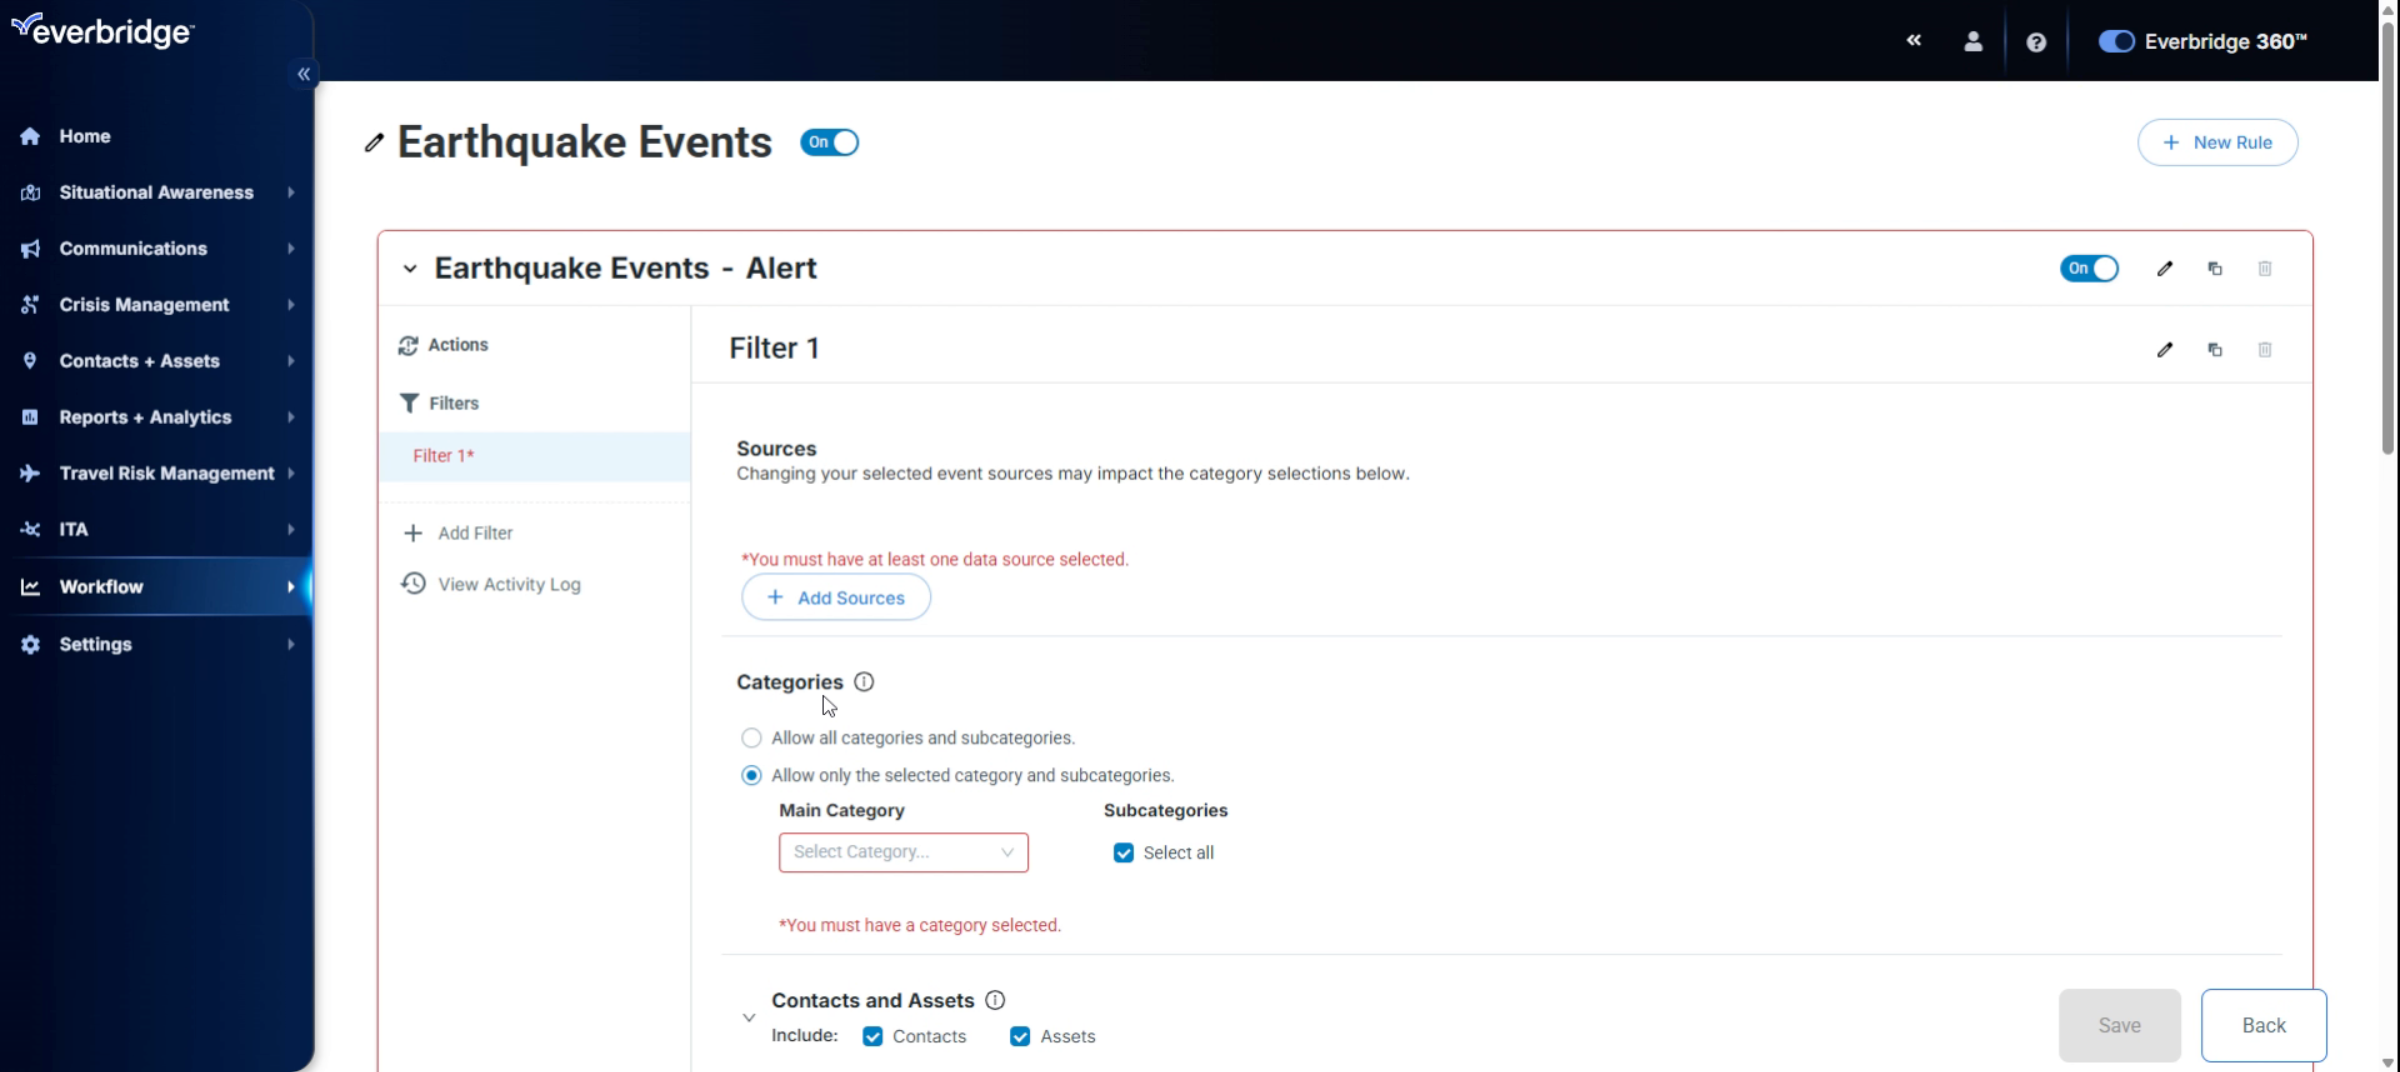
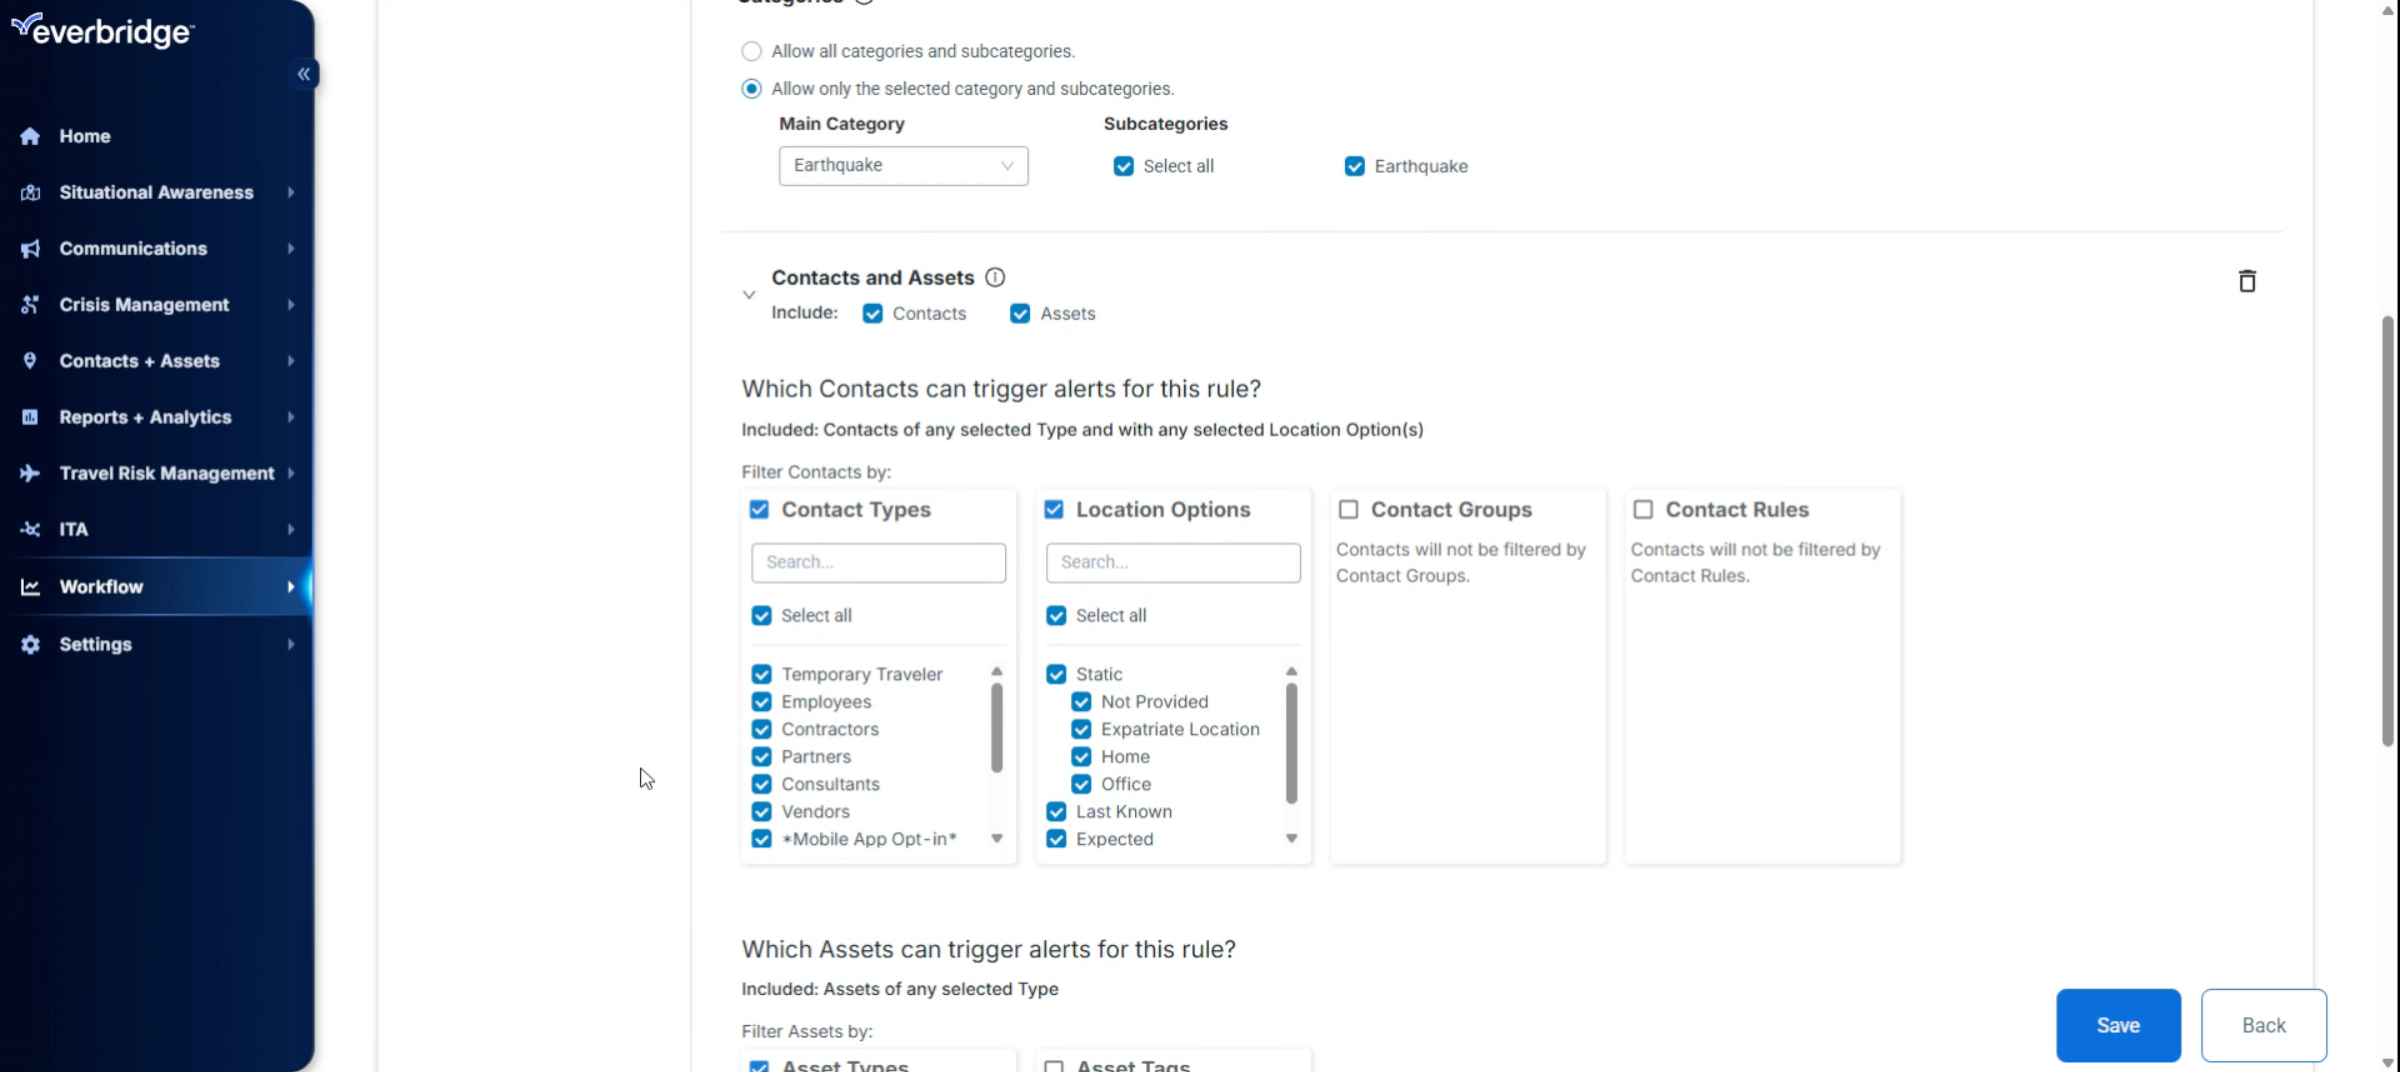
8. Configuring Contacts And Radius
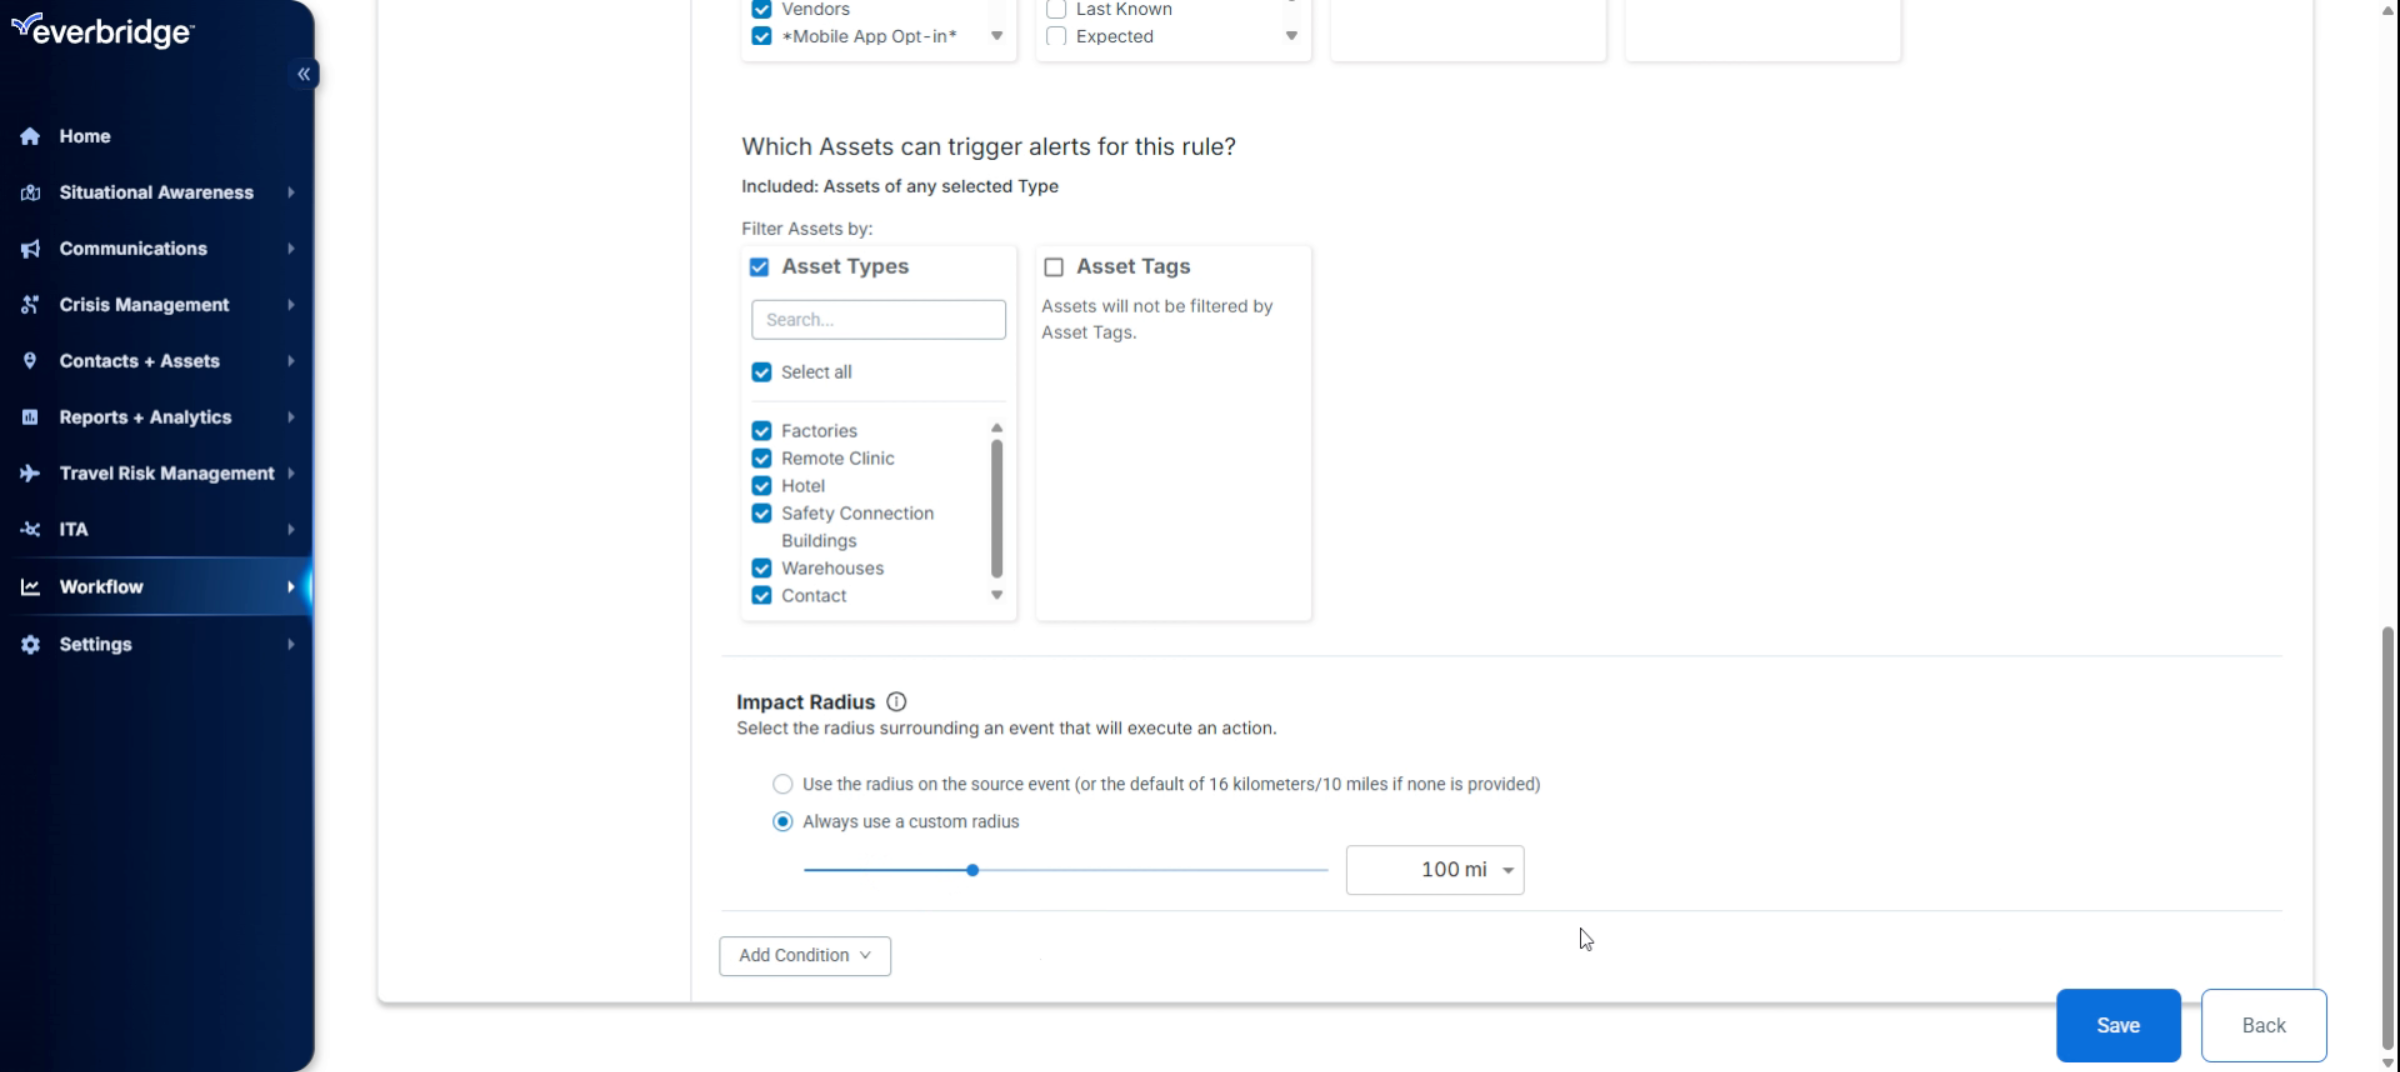
We'll move on to the contacts and assets section. In this case, I will select only the office locations.
9. Setting Custom Radius
Now, I will set a custom radius. In this example, we will adjust the measurement to miles and set the radius to 100 miles. In general, when configuring CEM workflow proximity settings, it is recommended to use the source-defined radius when the event source provides a meaningful impact area. For point-based events like single-location incidents, or when you need tighter or broader proximity controls than the source provides, you can instead define a custom radius with a reasonable default.

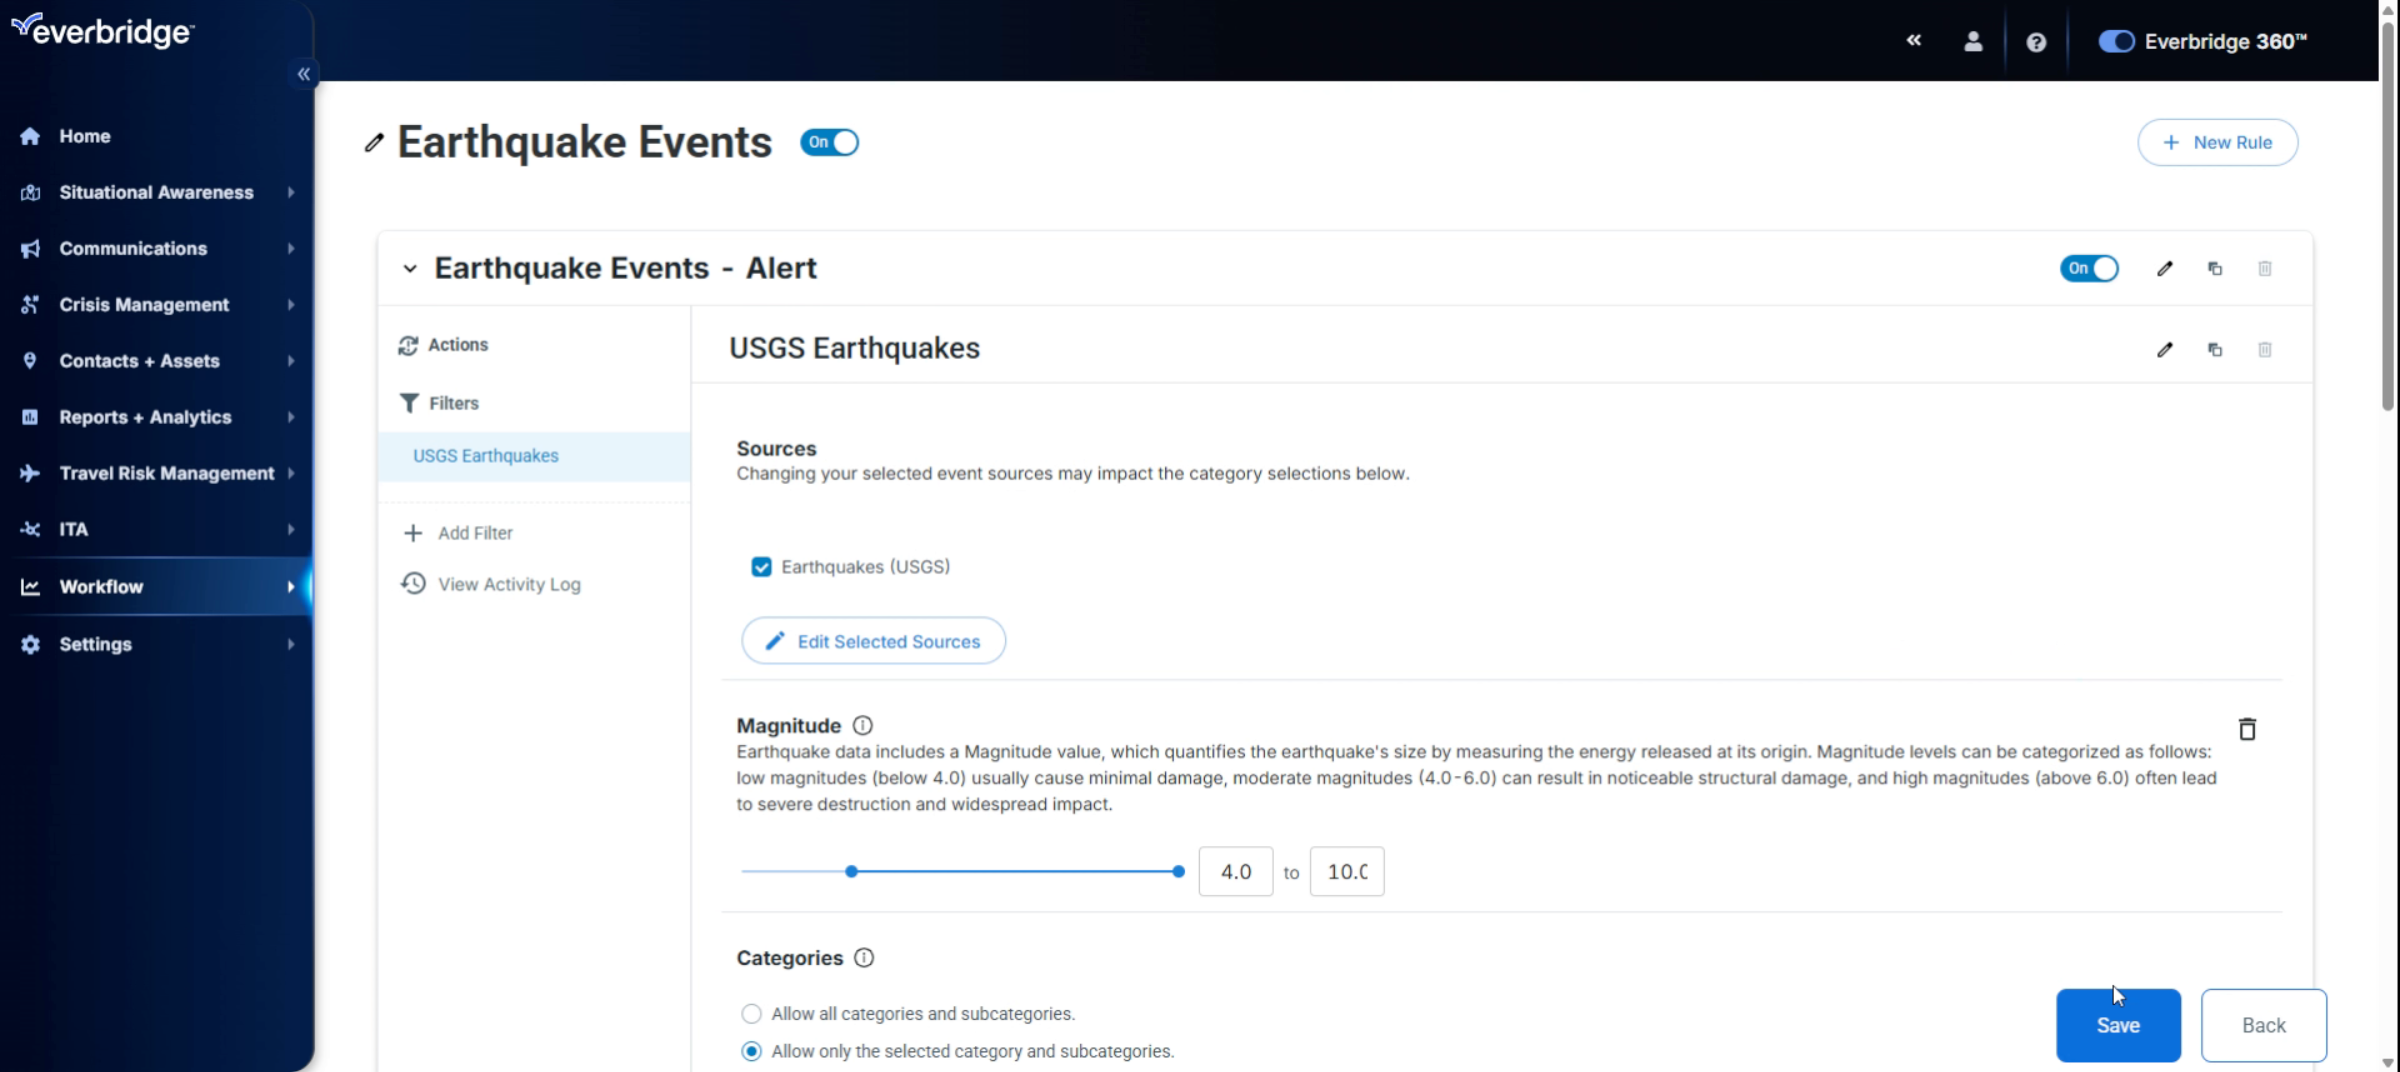
10. Adding Magnitude Filter
Next let's add a condition. We'll select Magnitude and choose a magnitude greater than 4.0. Finally, I will rename this filter.
11. Naming Filter
We will change the name to USGS Earthquakes and select OK.
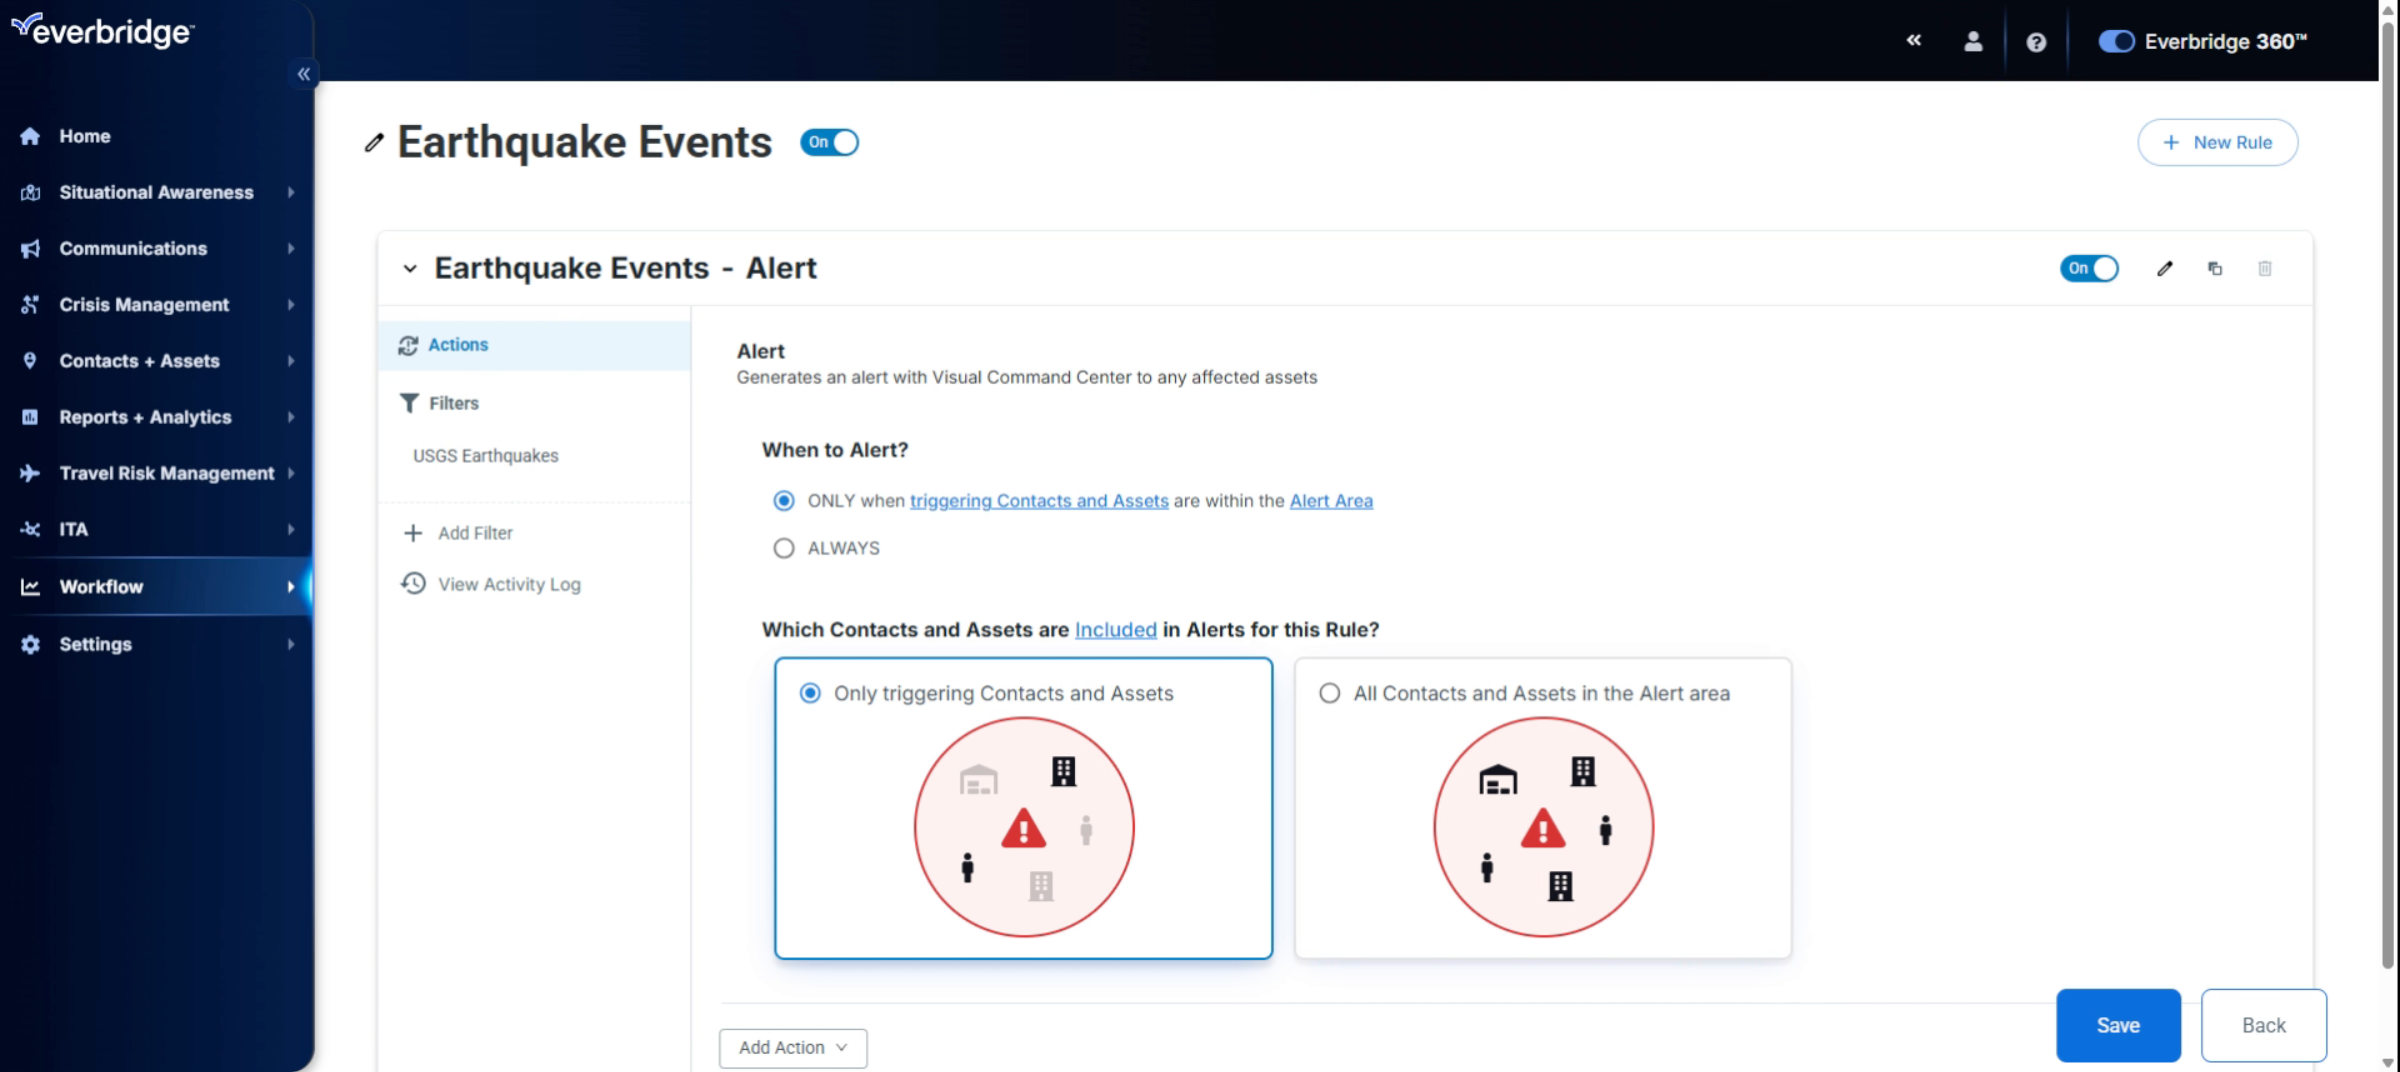
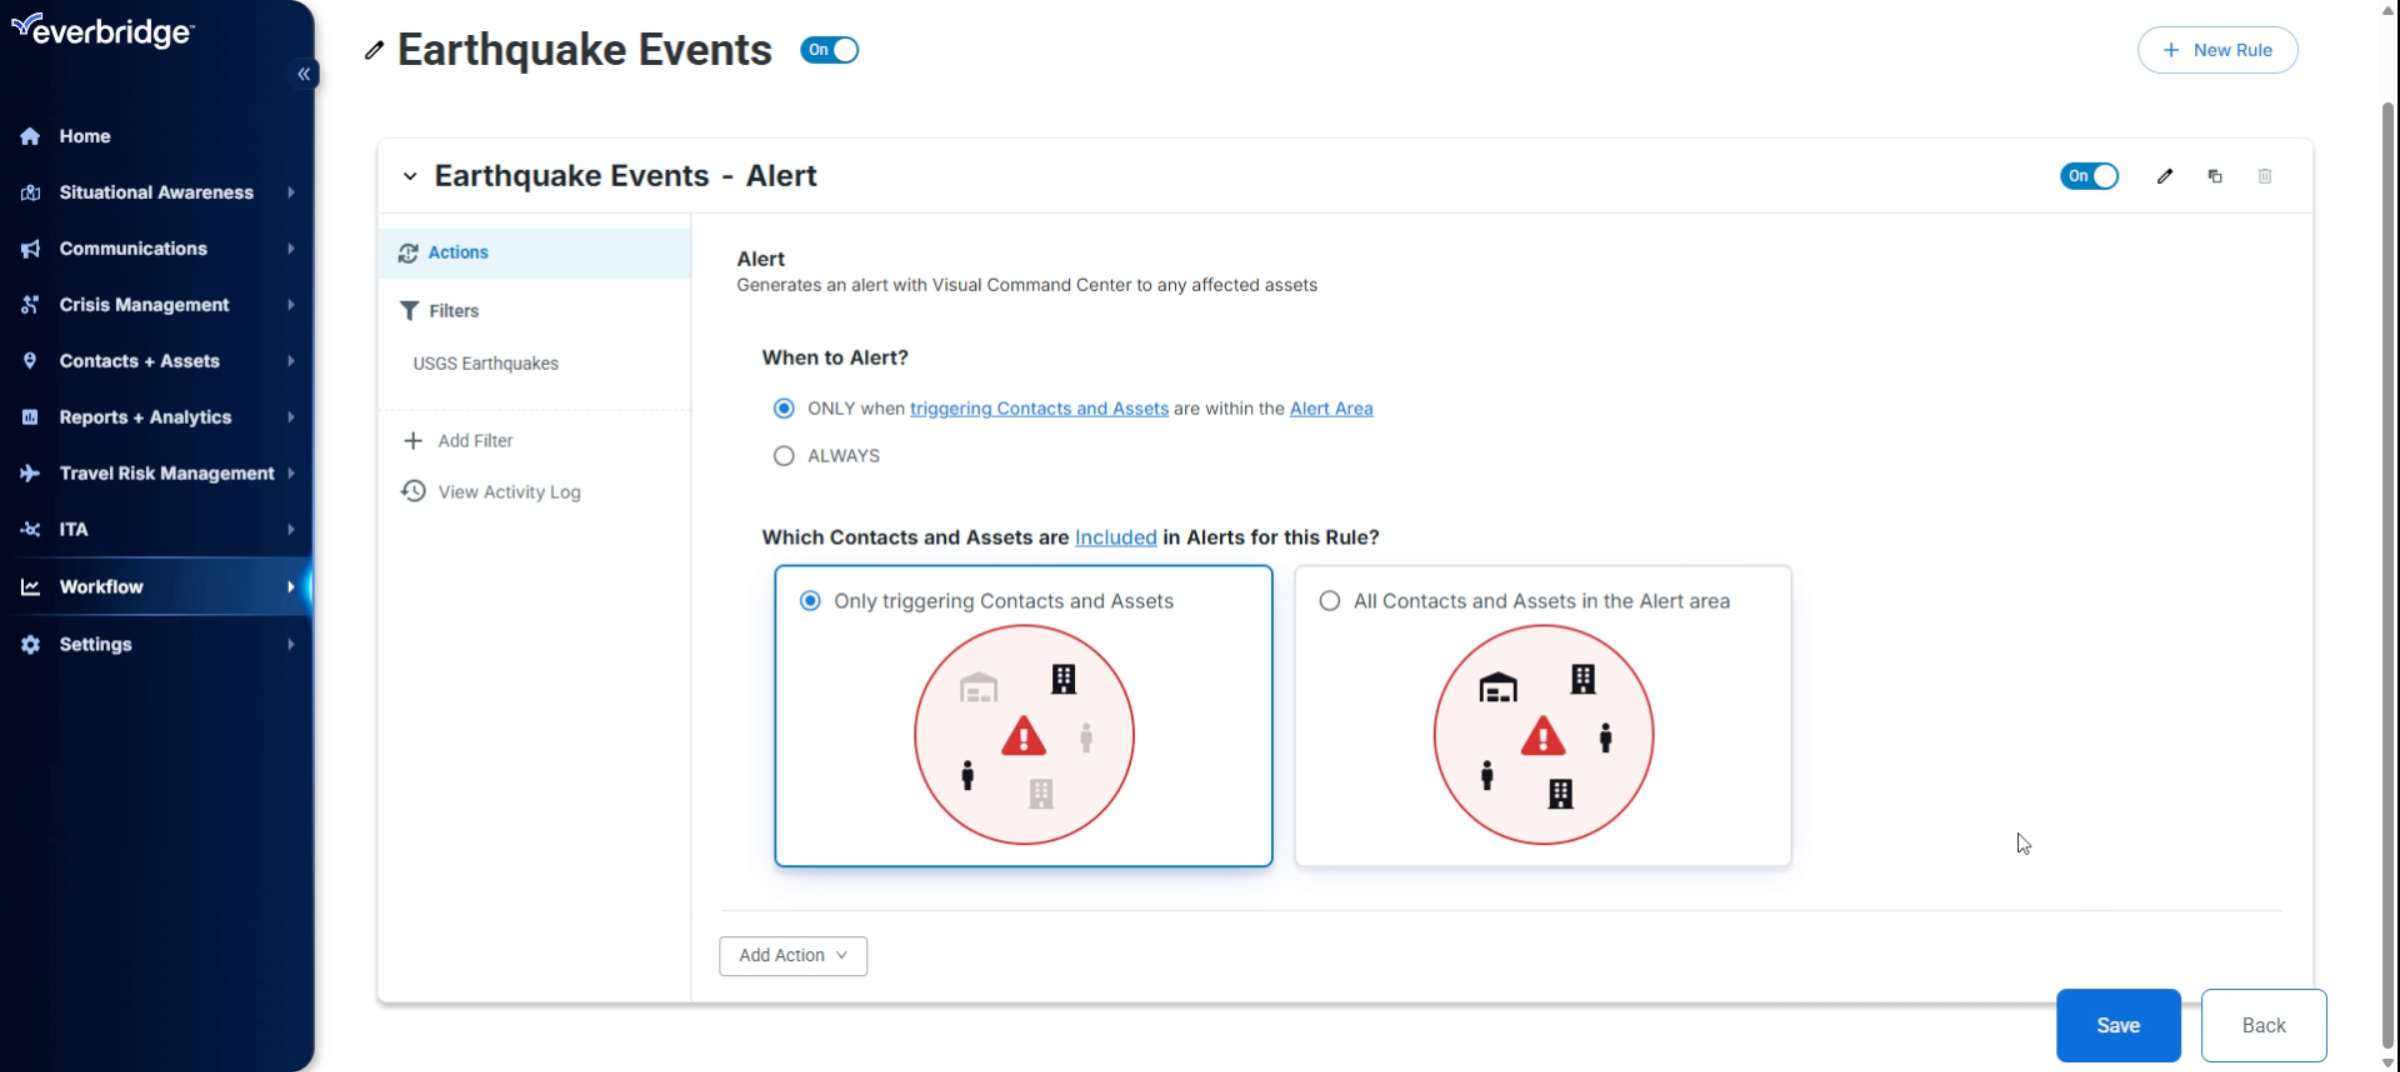
12. Setting Alert Actions
Now, let's proceed to save this filter. Next, we will move on to the action section. By default, the workflow generates an alert within the Visual Command Center to any affected assets. I will keep the default setting to trigger alerts only for contacts and assets located within the area.
13. Adding Incident Notification
If needed, you can also add an incident template to notify users via SMS, email, or any other channels by clicking Add Action and then Incident. Finally, we will click Save to store the actions we have configured here.
14. Activating Workflow
Once everything is configured, we will ensure that the toggle is set to "on" to activate the workflow.
Congratulations, you've successfully created a CEM Orchestration workflow to monitor and respond to earthquake events in Everbridge.