
Topic
Registering for new subscriptions and deleting subscriptions within the Everbridge Community.
Description
This guide offers a step-by-step walkthrough on how to manage subscriptions within the Everbridge Community.
Go to public.everbridge.net
1. Registering New Subscriptions
In this section, you will learn how to register for new subscriptions to your Everbridge Community.

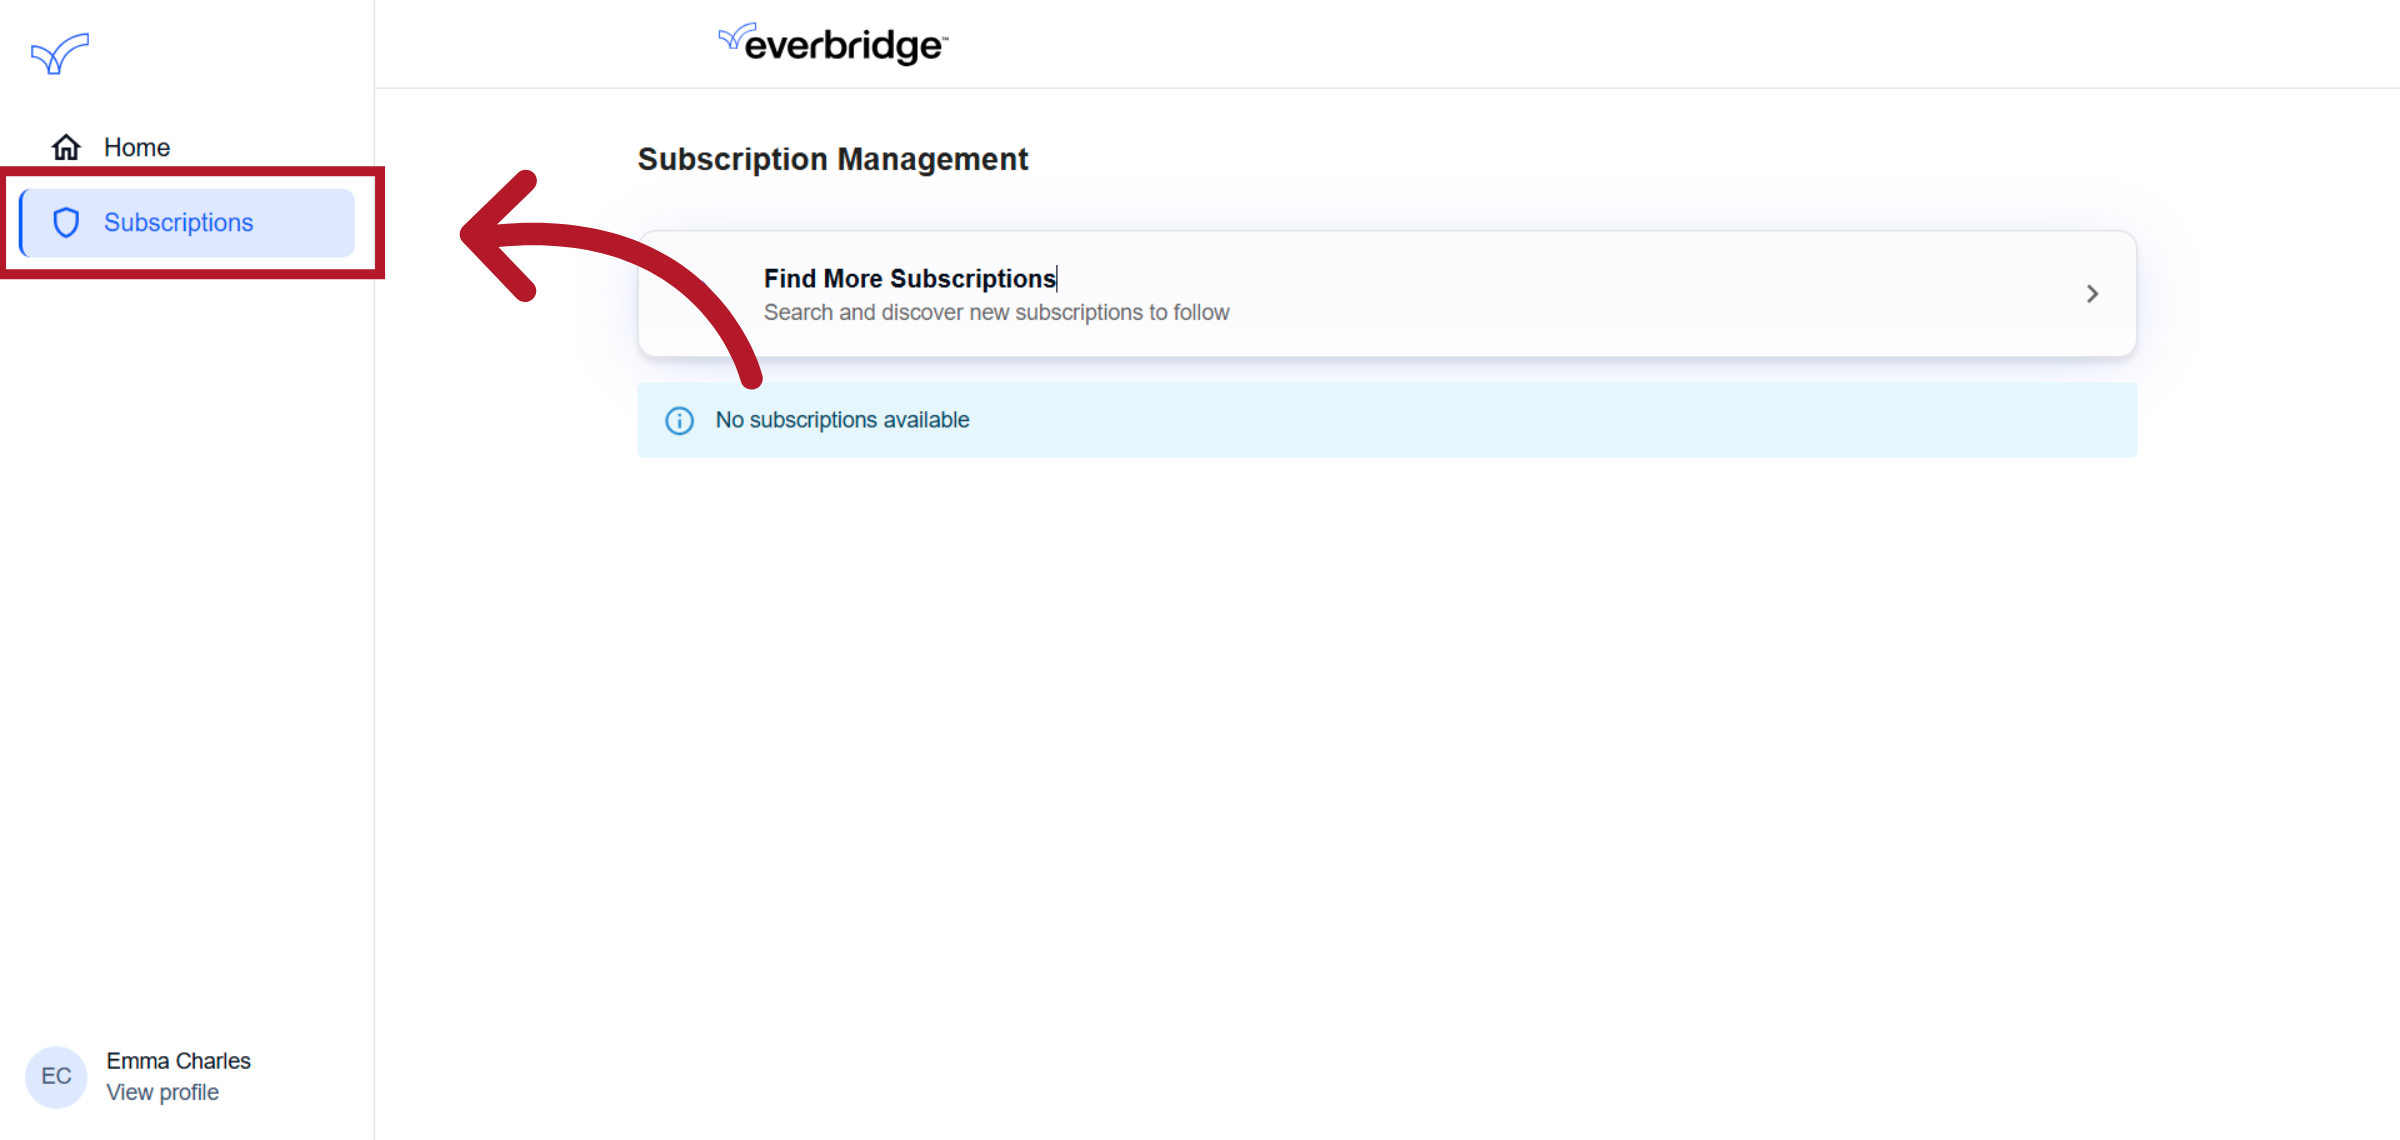
2. Access Subscription Management
Begin by navigating to the Subscription Management section,
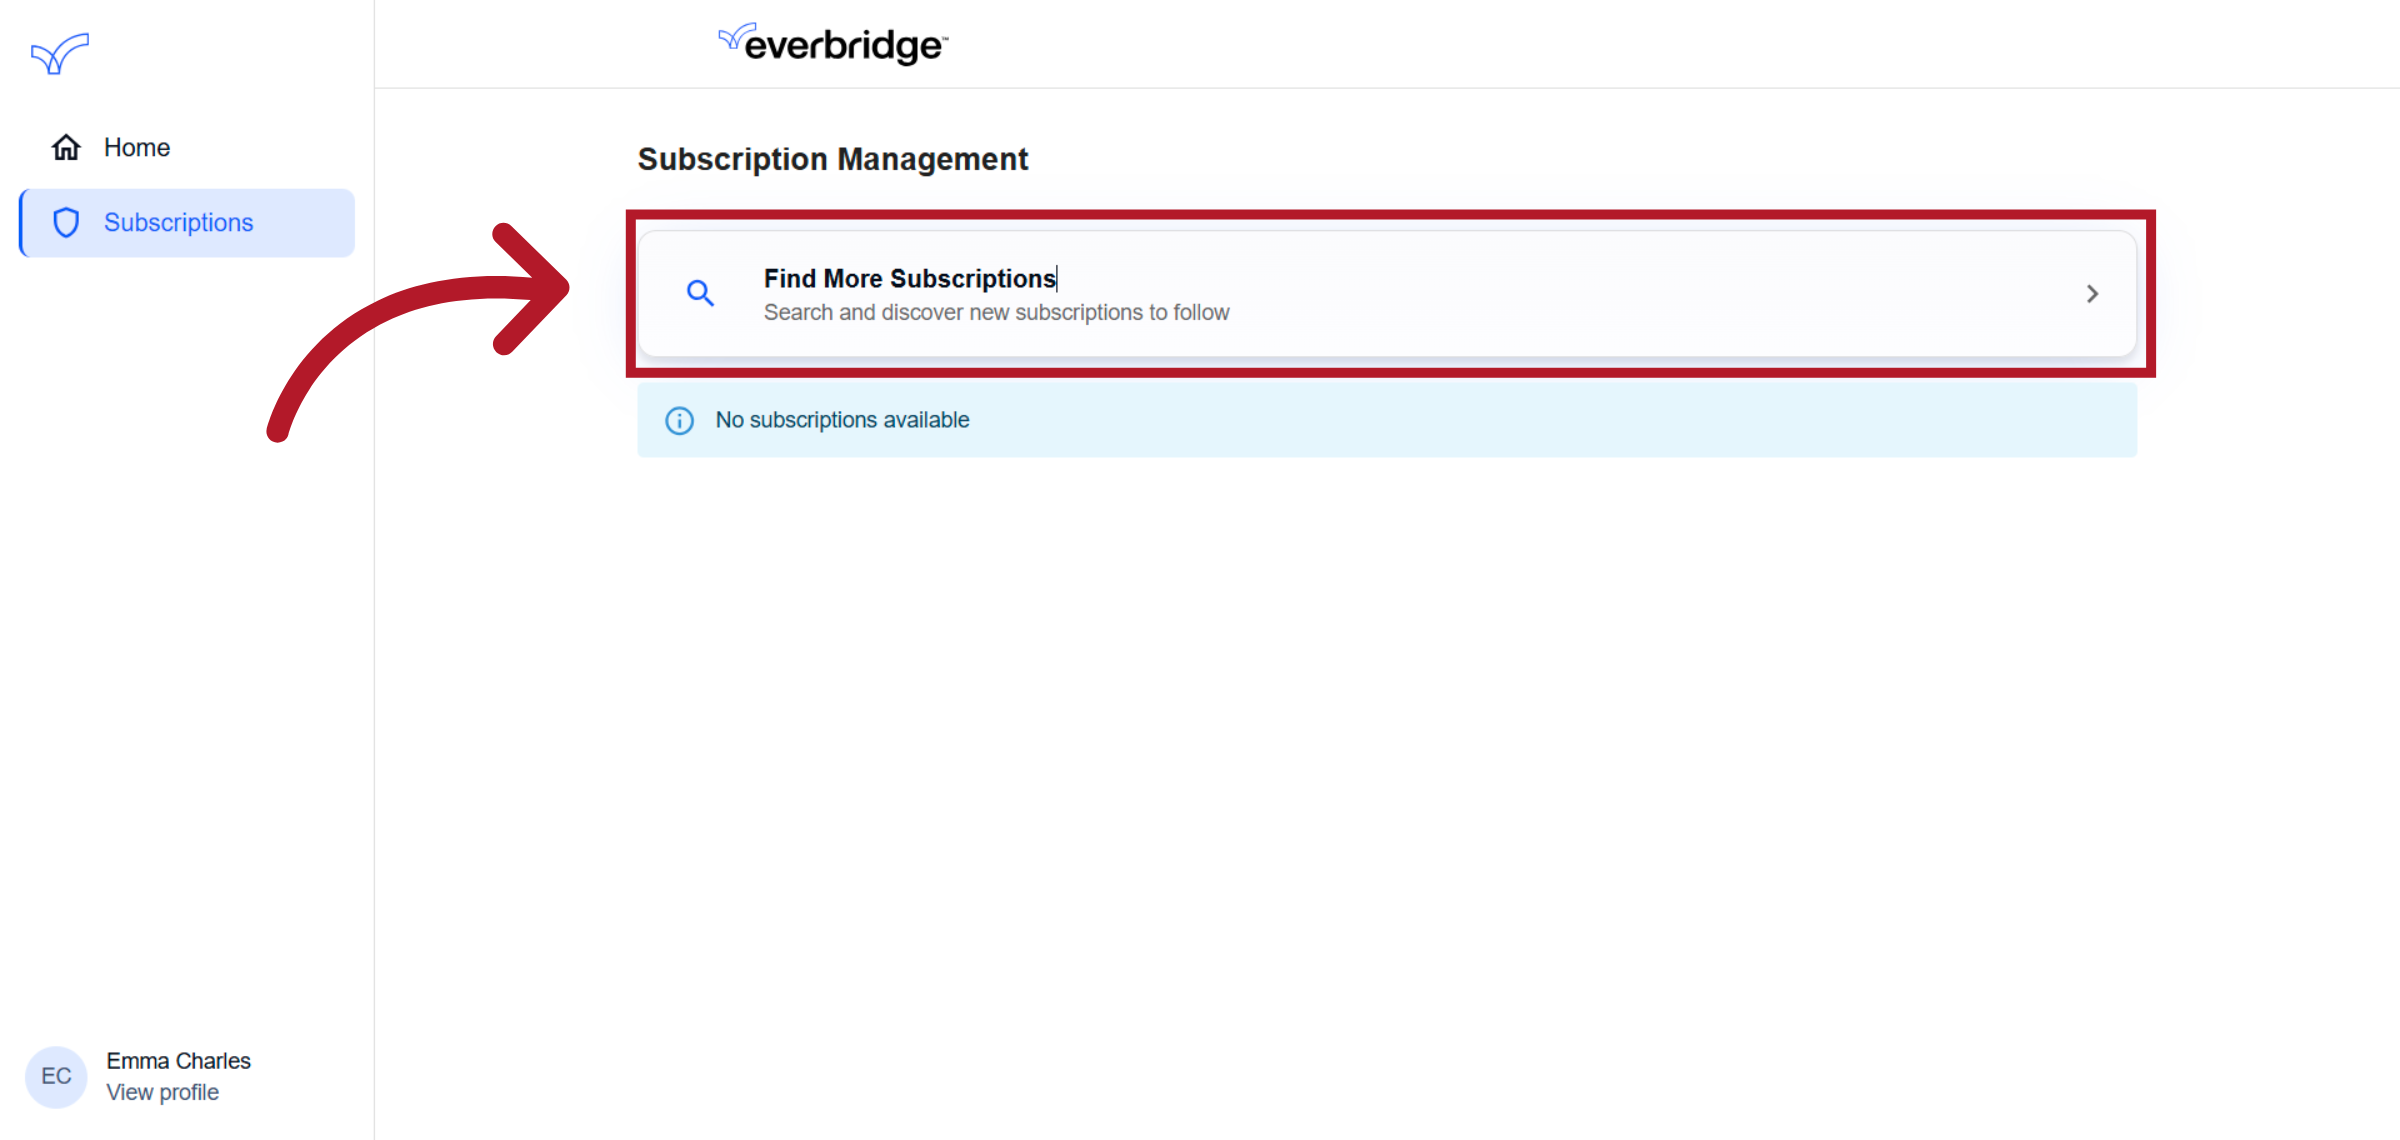
3. Click "Add Subscriptions"
To add a new subscription to your Everbridge Community profile, click on: Find More Subscriptions.
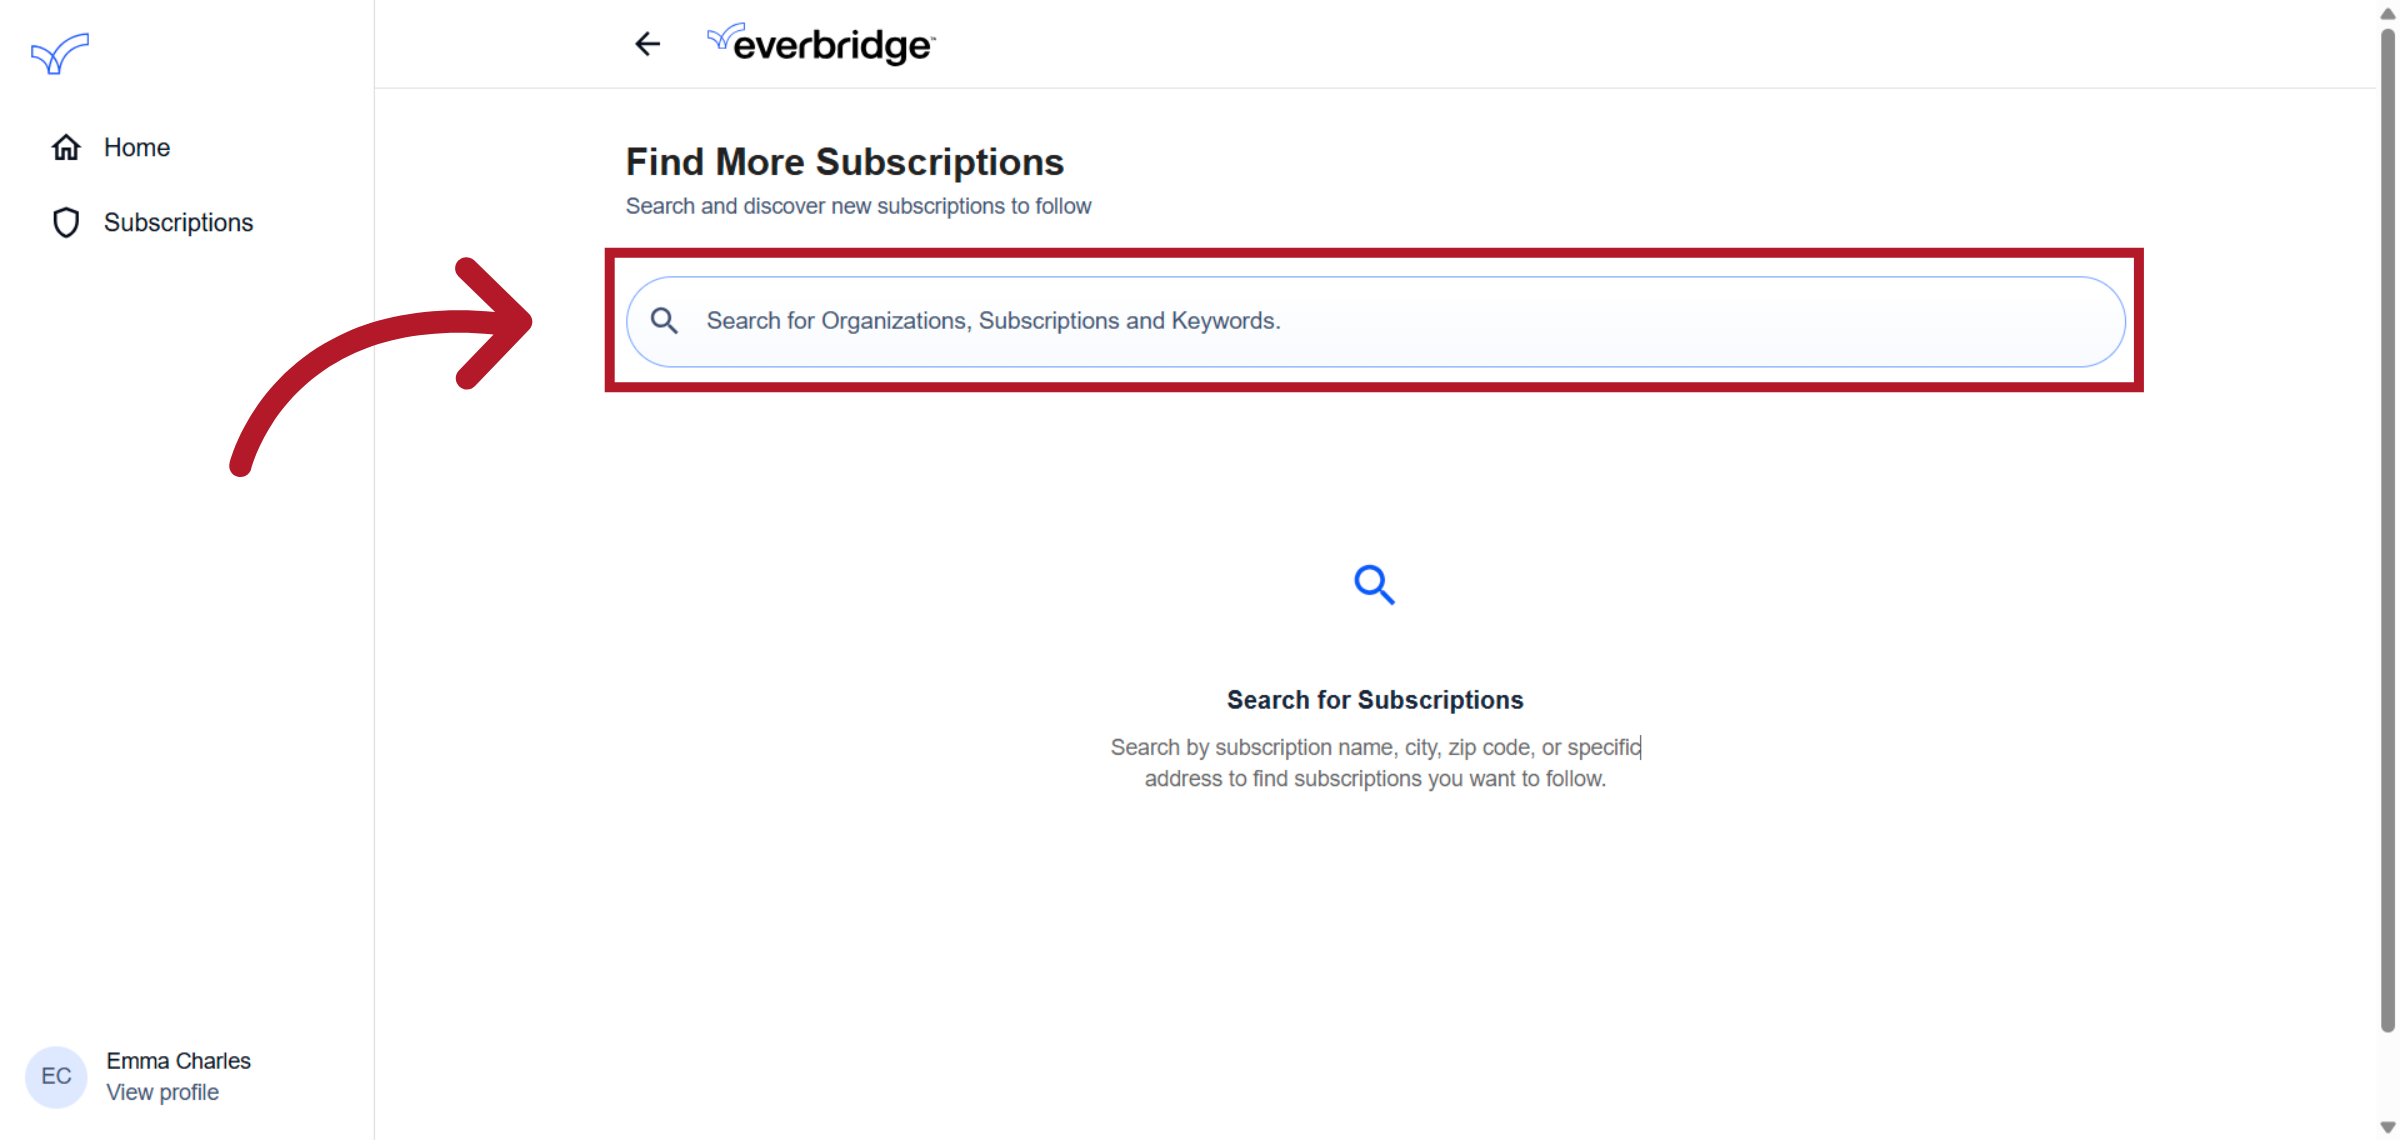
4. Search
Search for the subscription you’d like to add using the 'Search' field. You can search by organization name, nickname, ZIP code, or even partial terms.
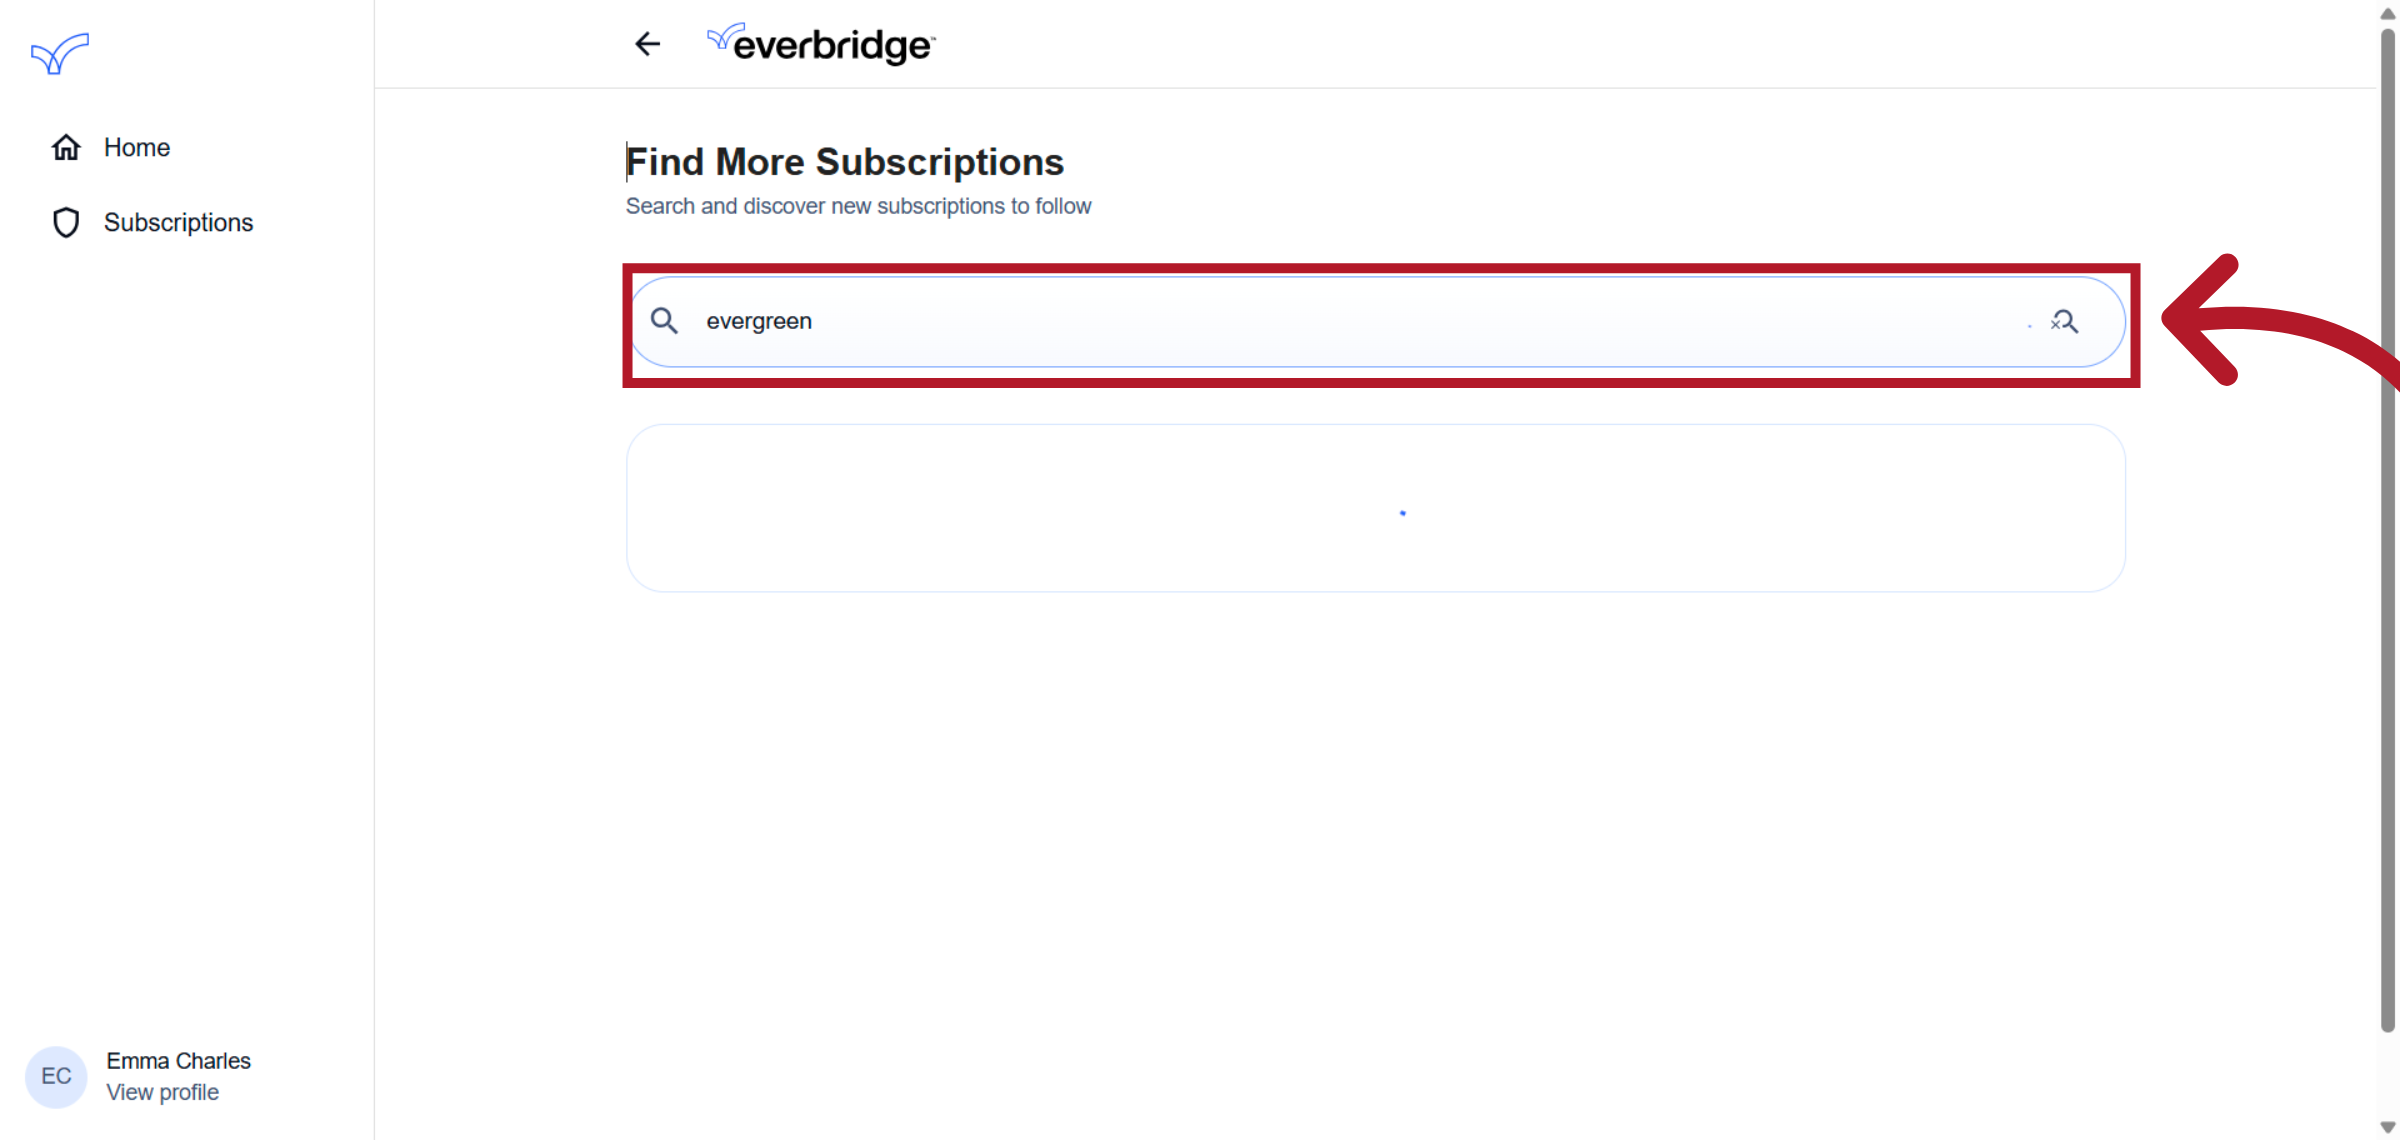
5. Initiate Search
To initiate a search, simply click the magnifying glass icon.
6. Select Results
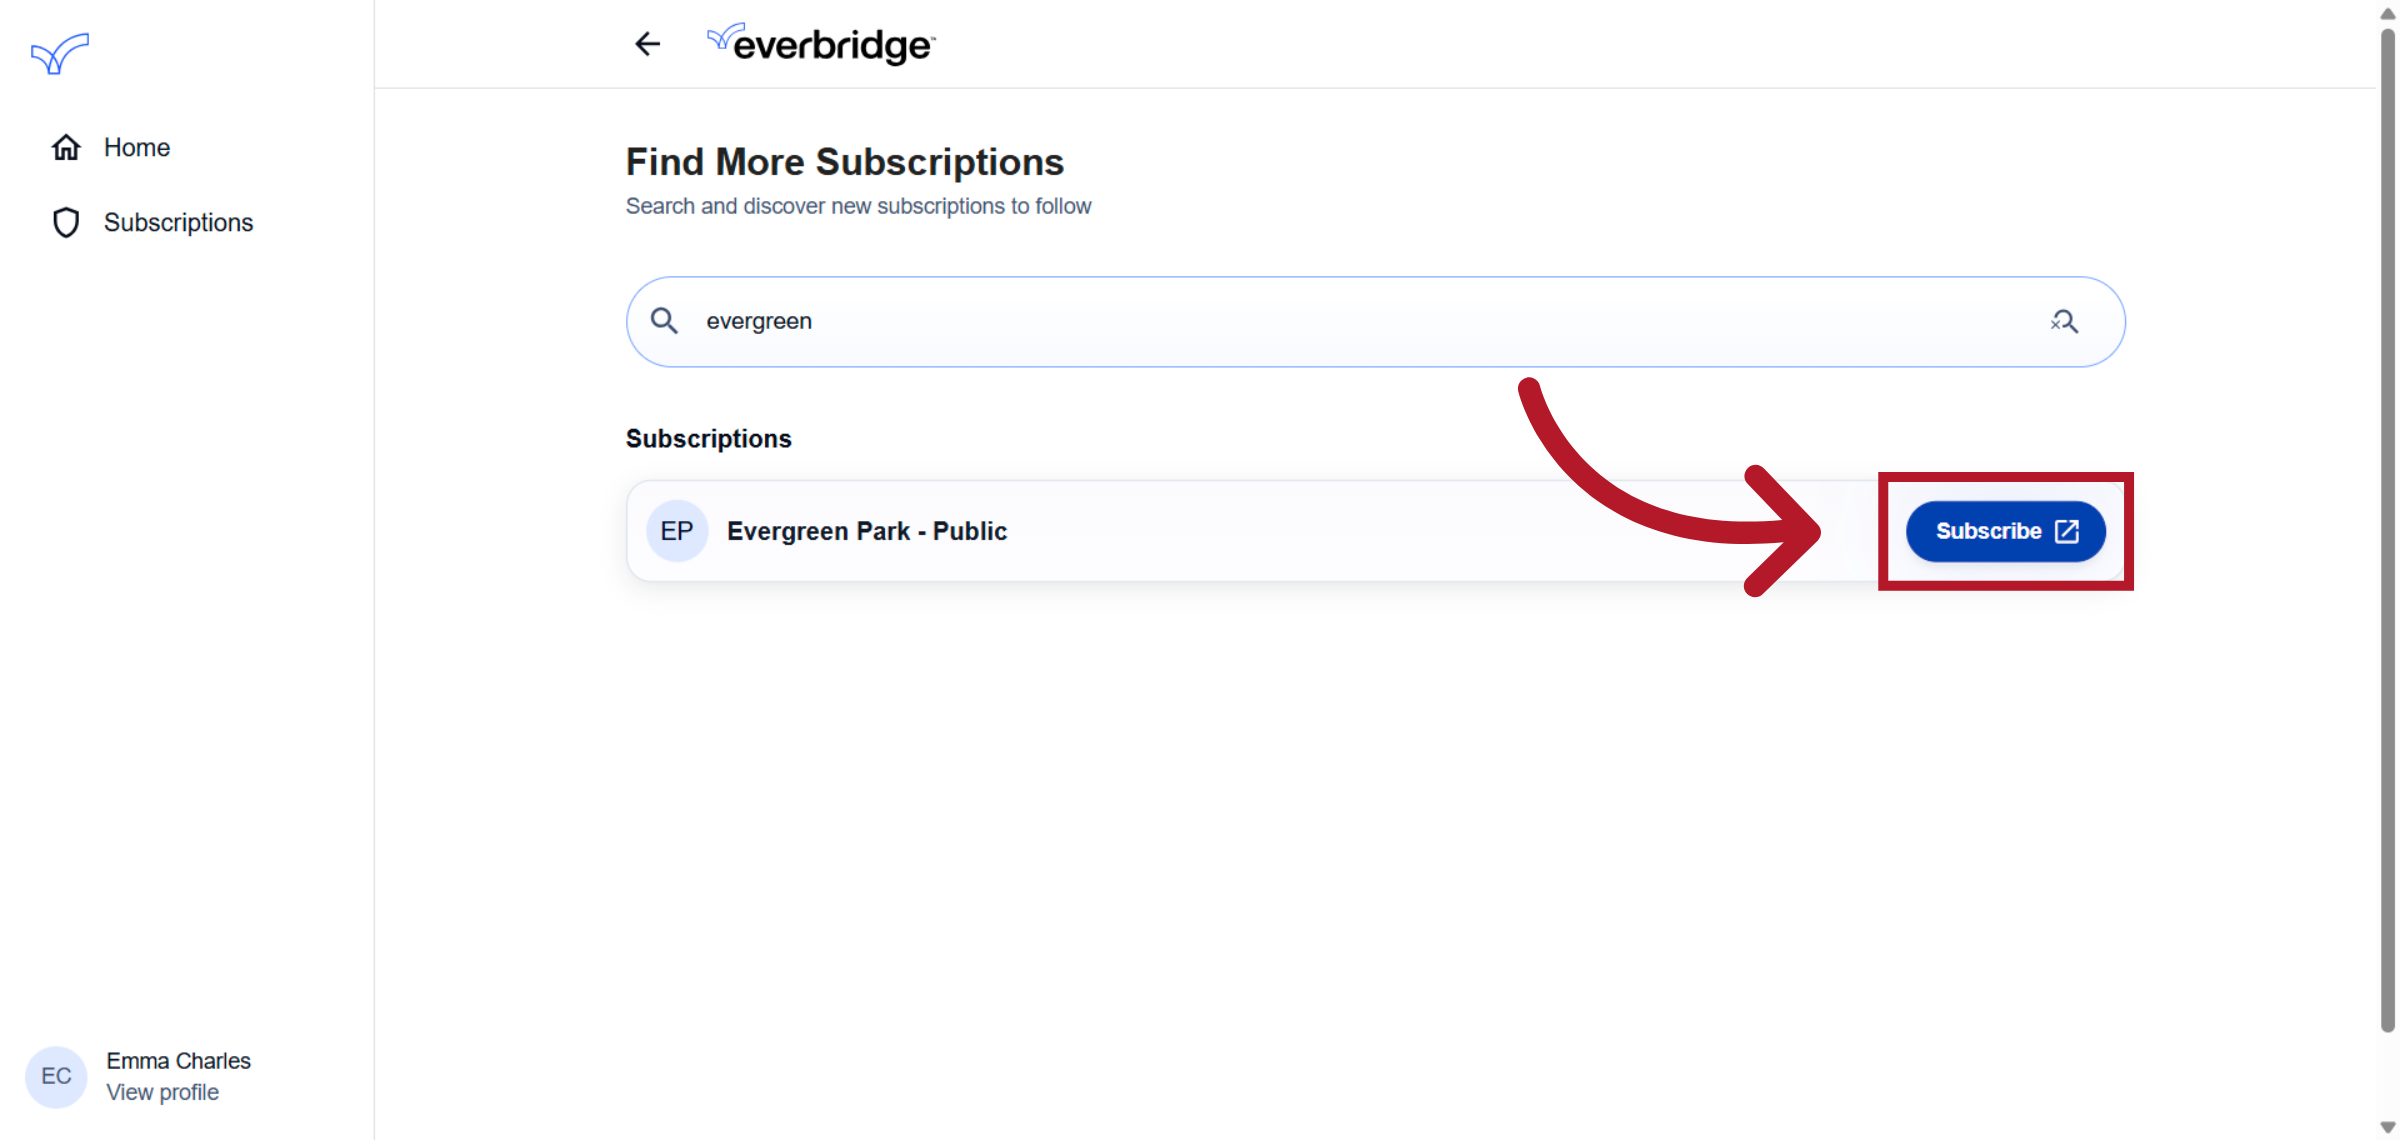
After the results have loaded, select the desired subscription from the list. If the correct subscription does not appear, modify your search in the search field and try again.
7. Continue Subscription Process
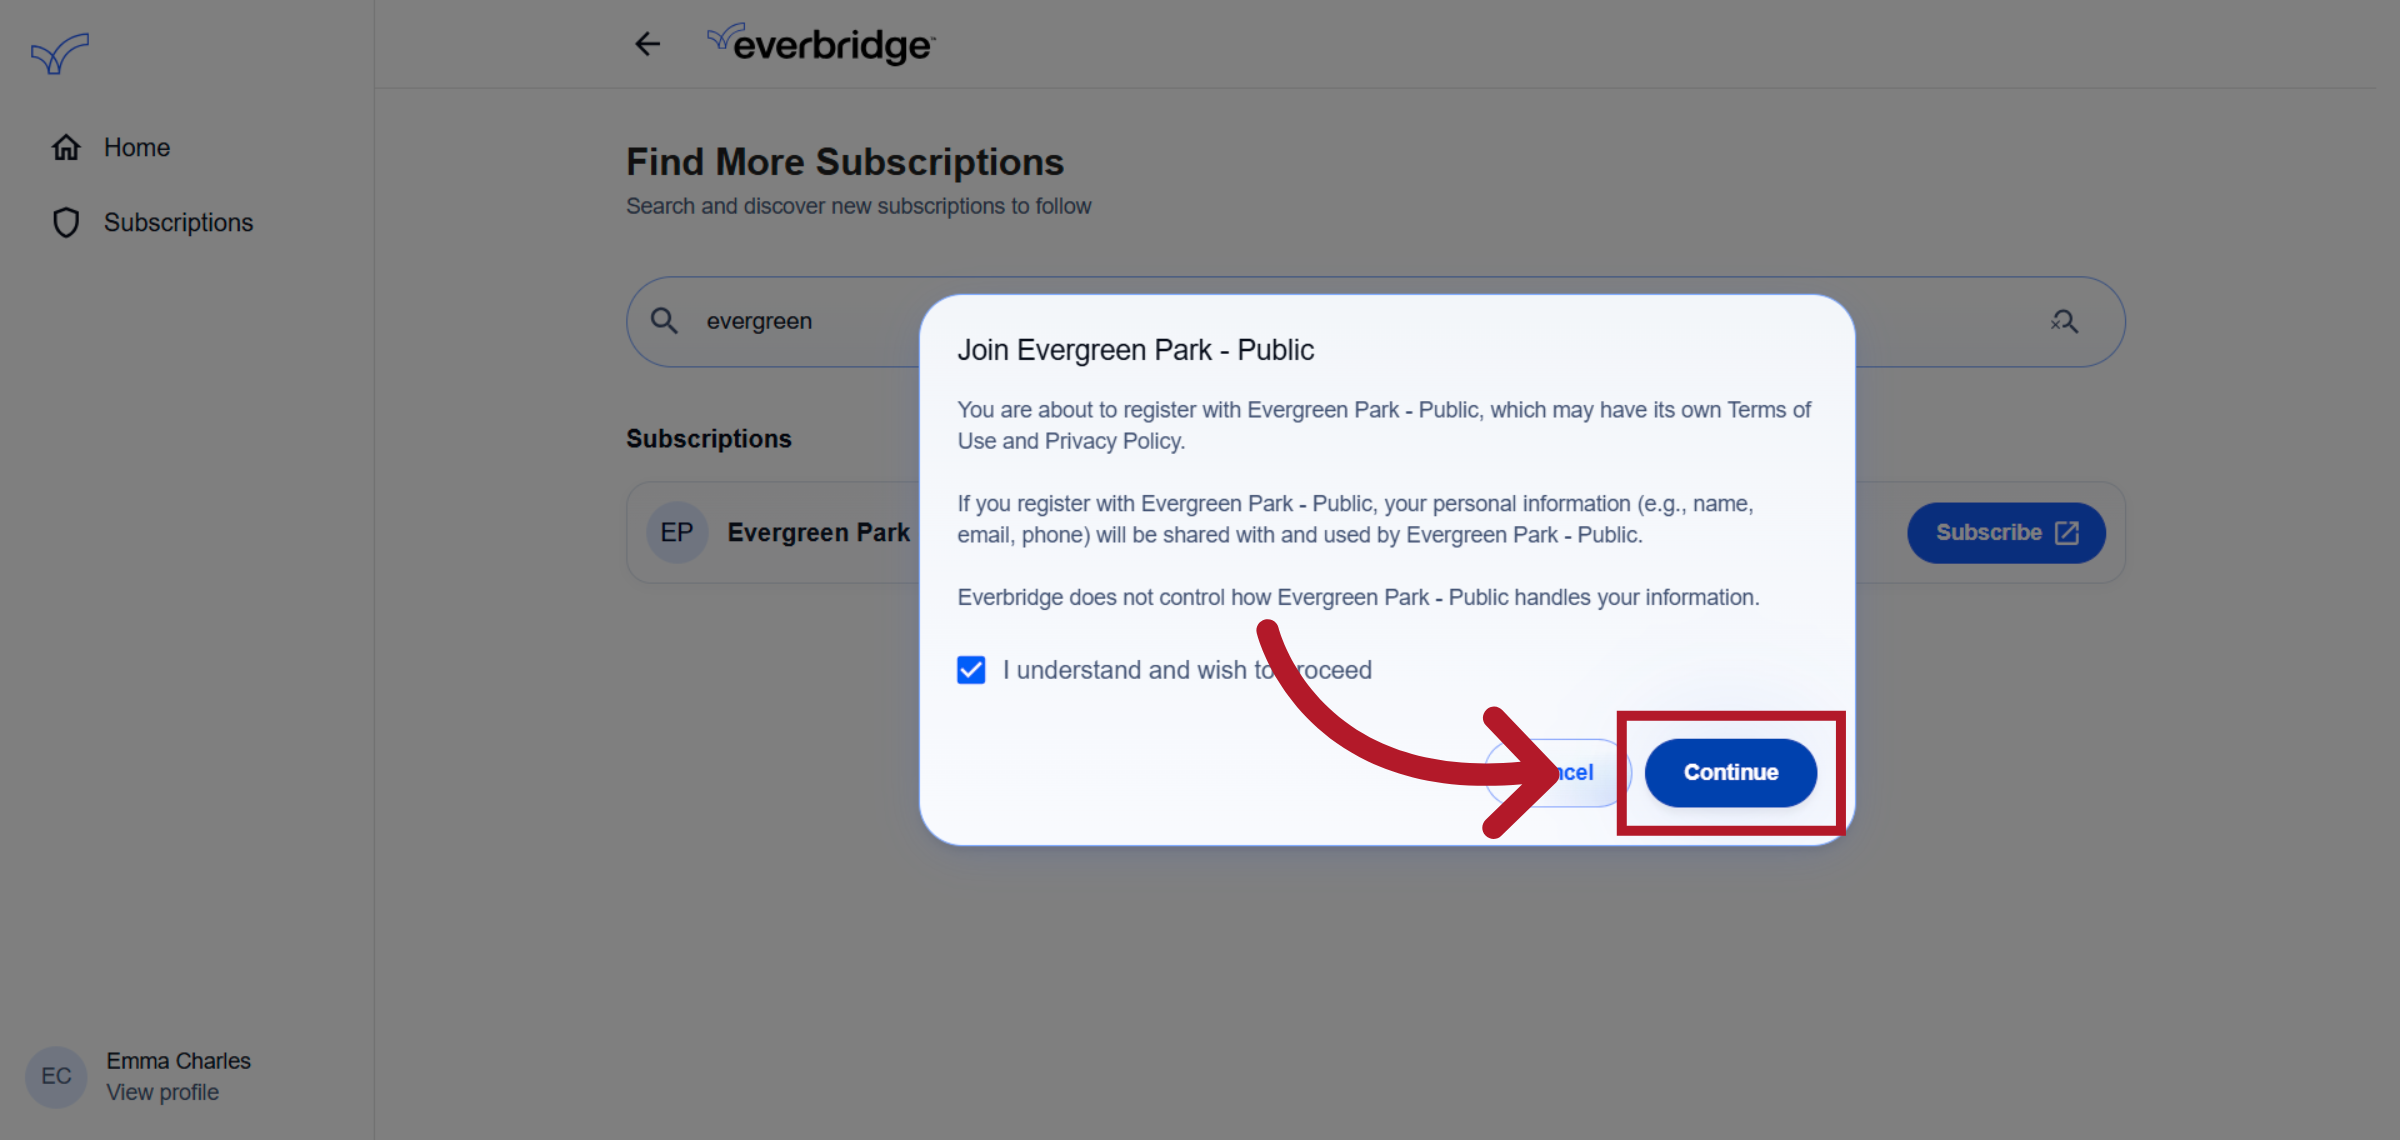
Acknowledge the terms and confirm your intention to proceed with the subscription.
8. Sign Up Fom
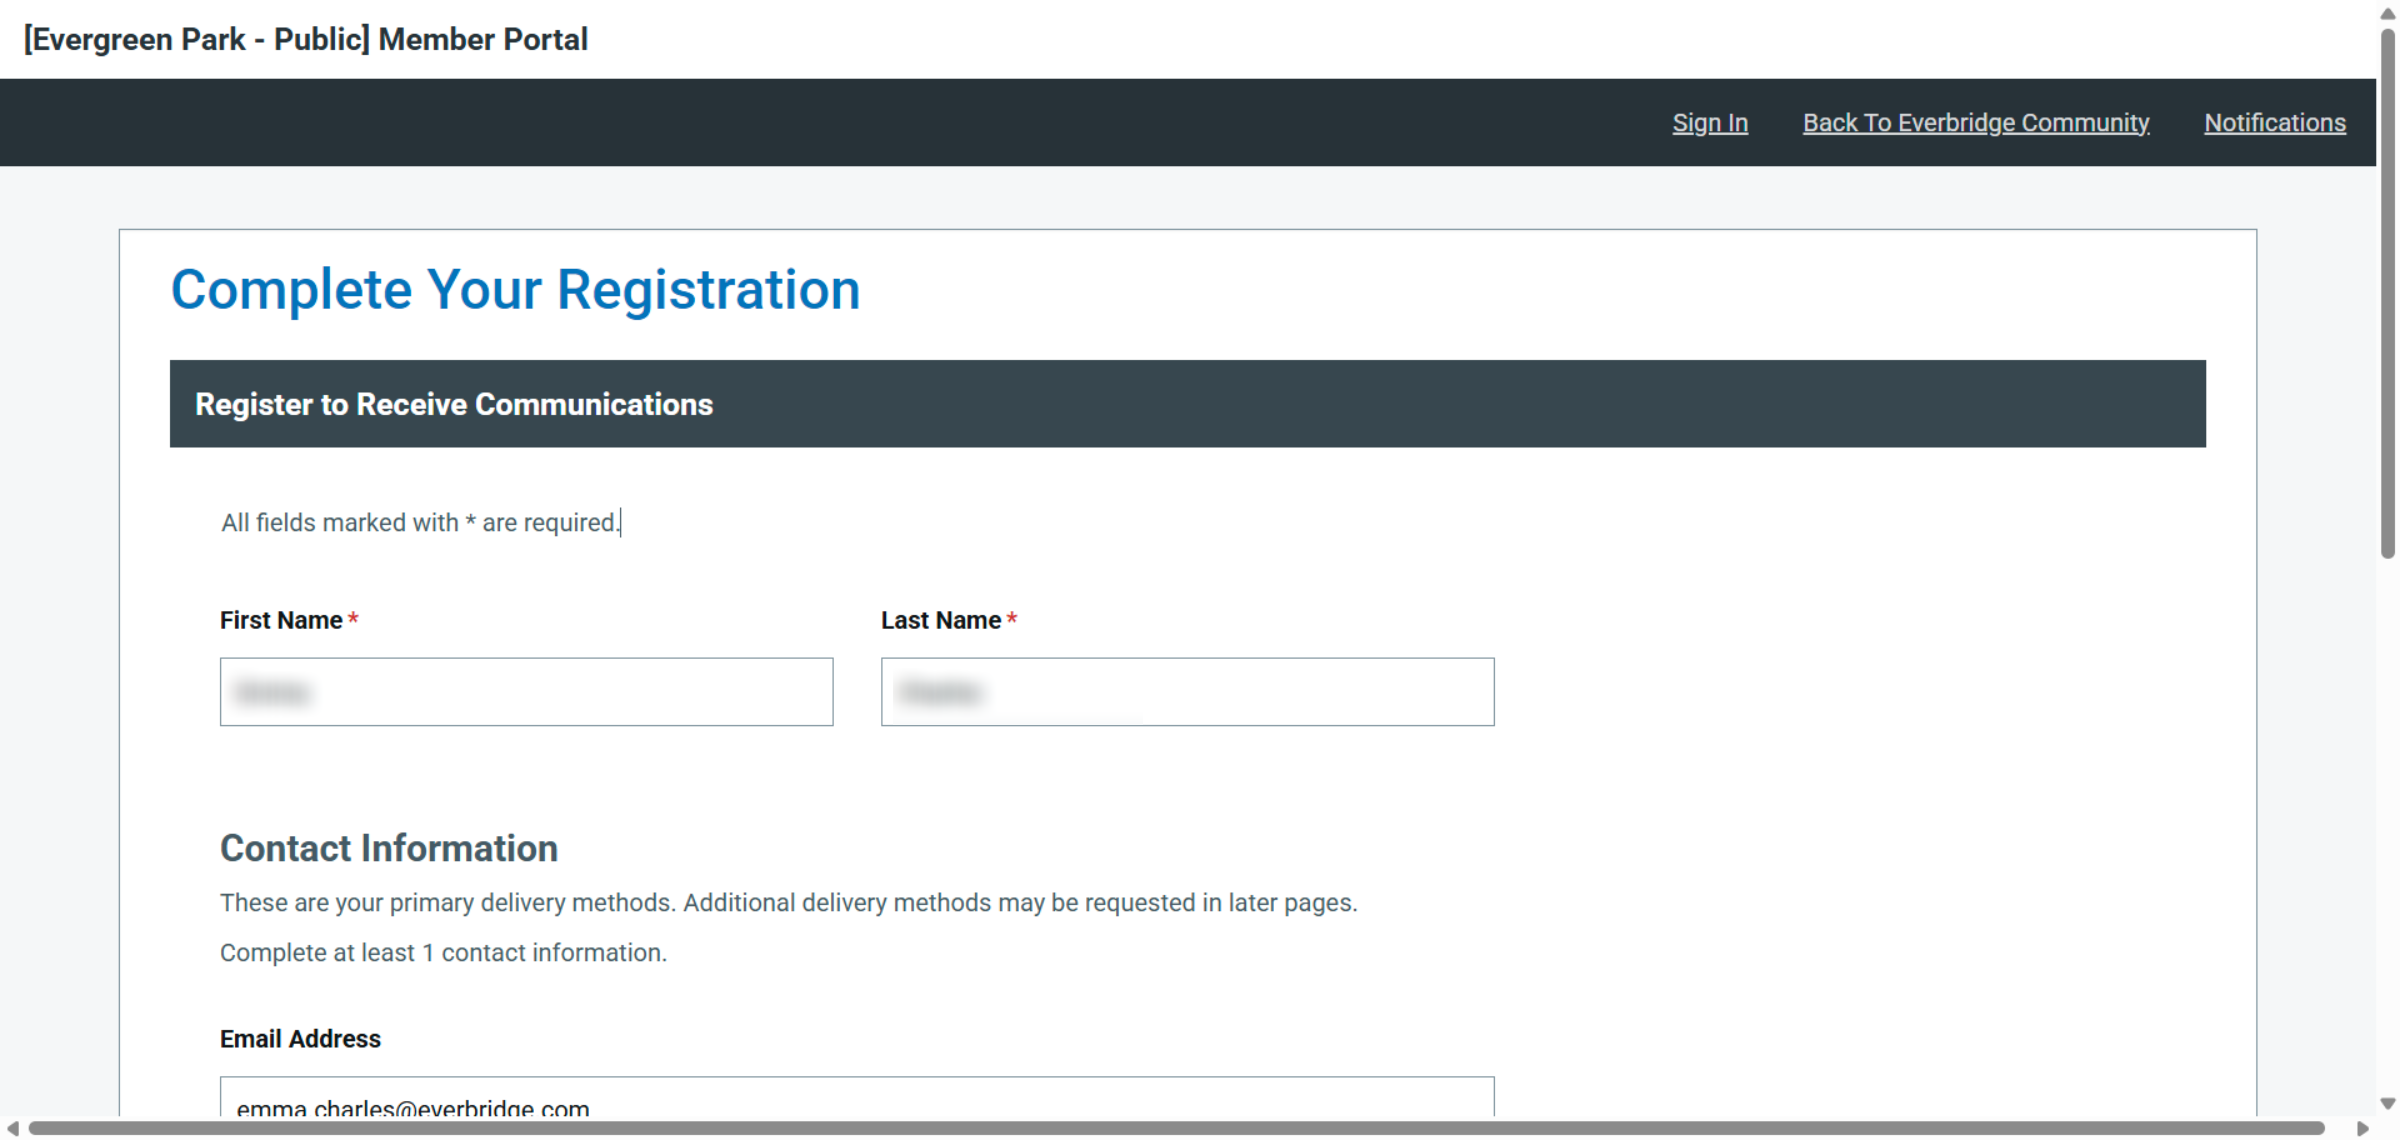
Certain details in the Sign-Up page will be extracted from your community profile and automatically prefilled for your convenience.
9. Add Missing Information
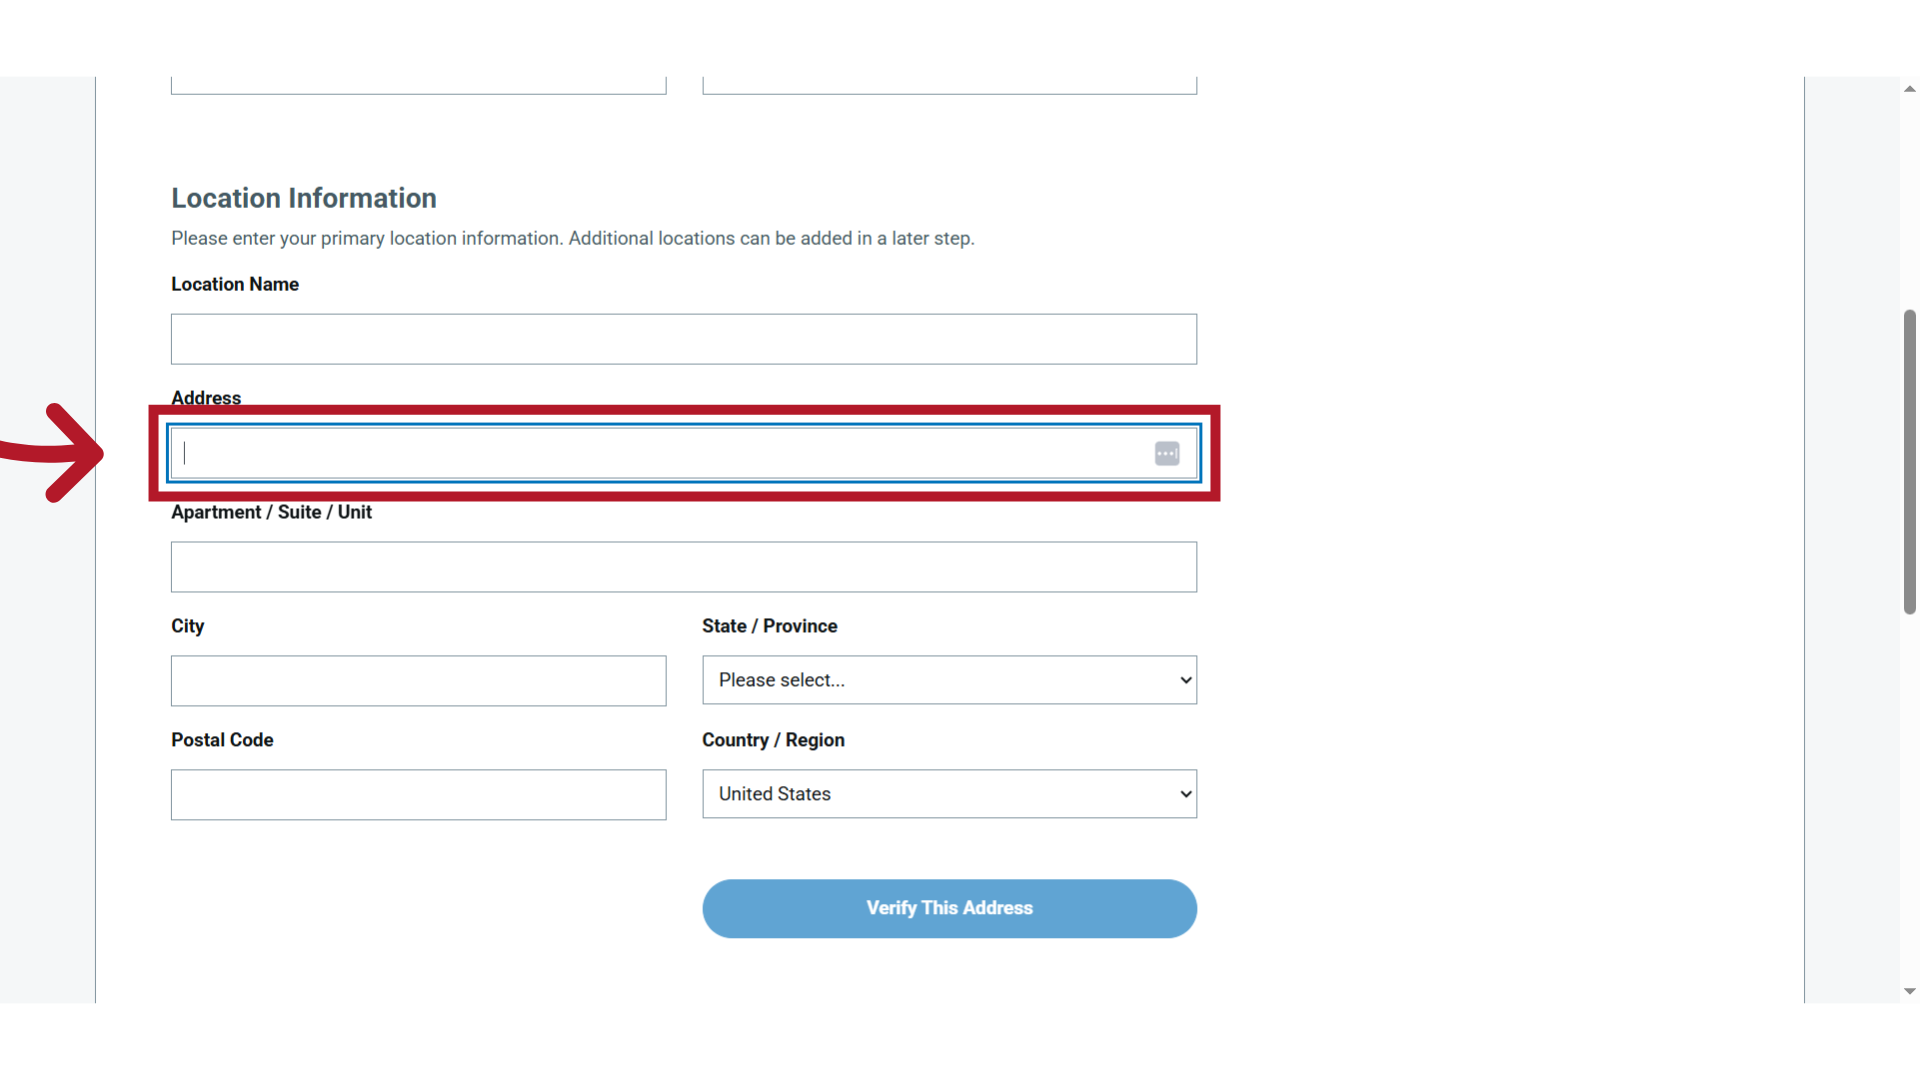
Scroll through the sign up page and add any missing information as needed.
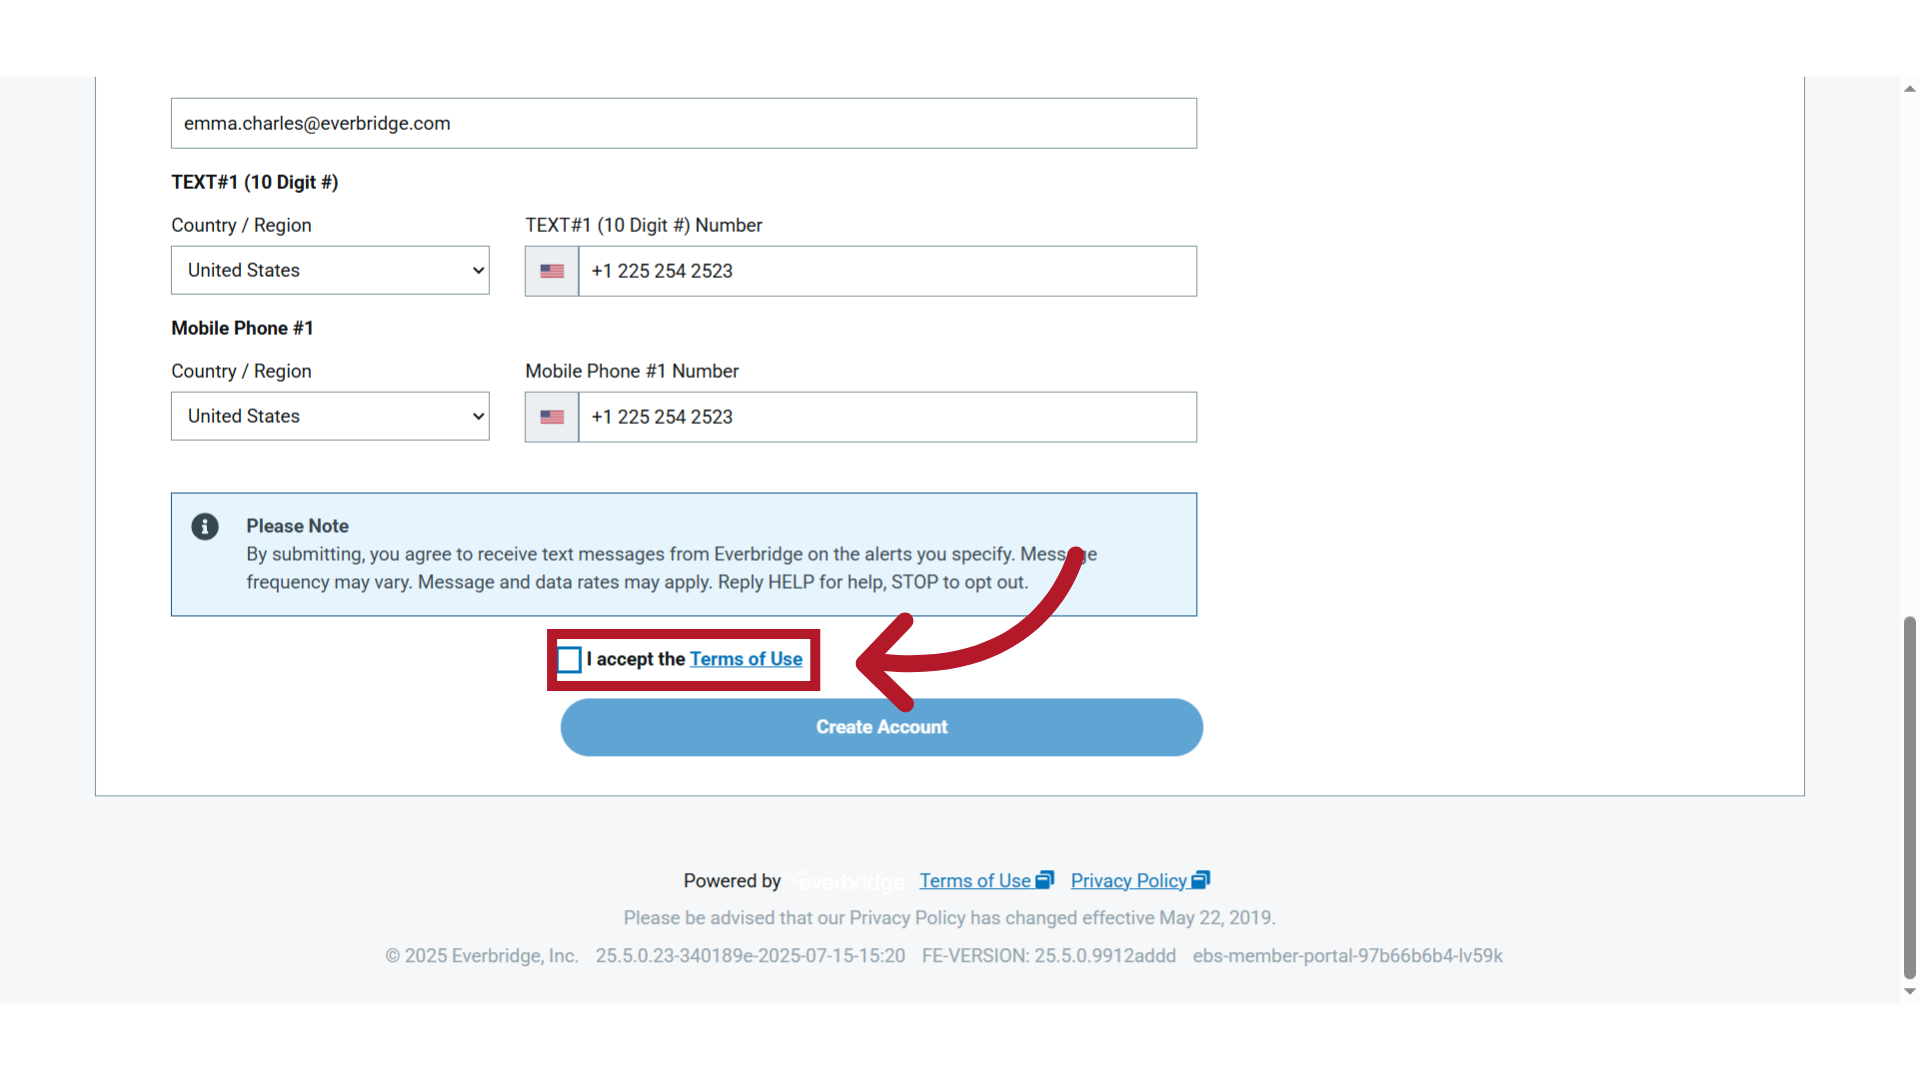
10. Click "I accept the Terms of Use"
Review and accept the terms and conditions.
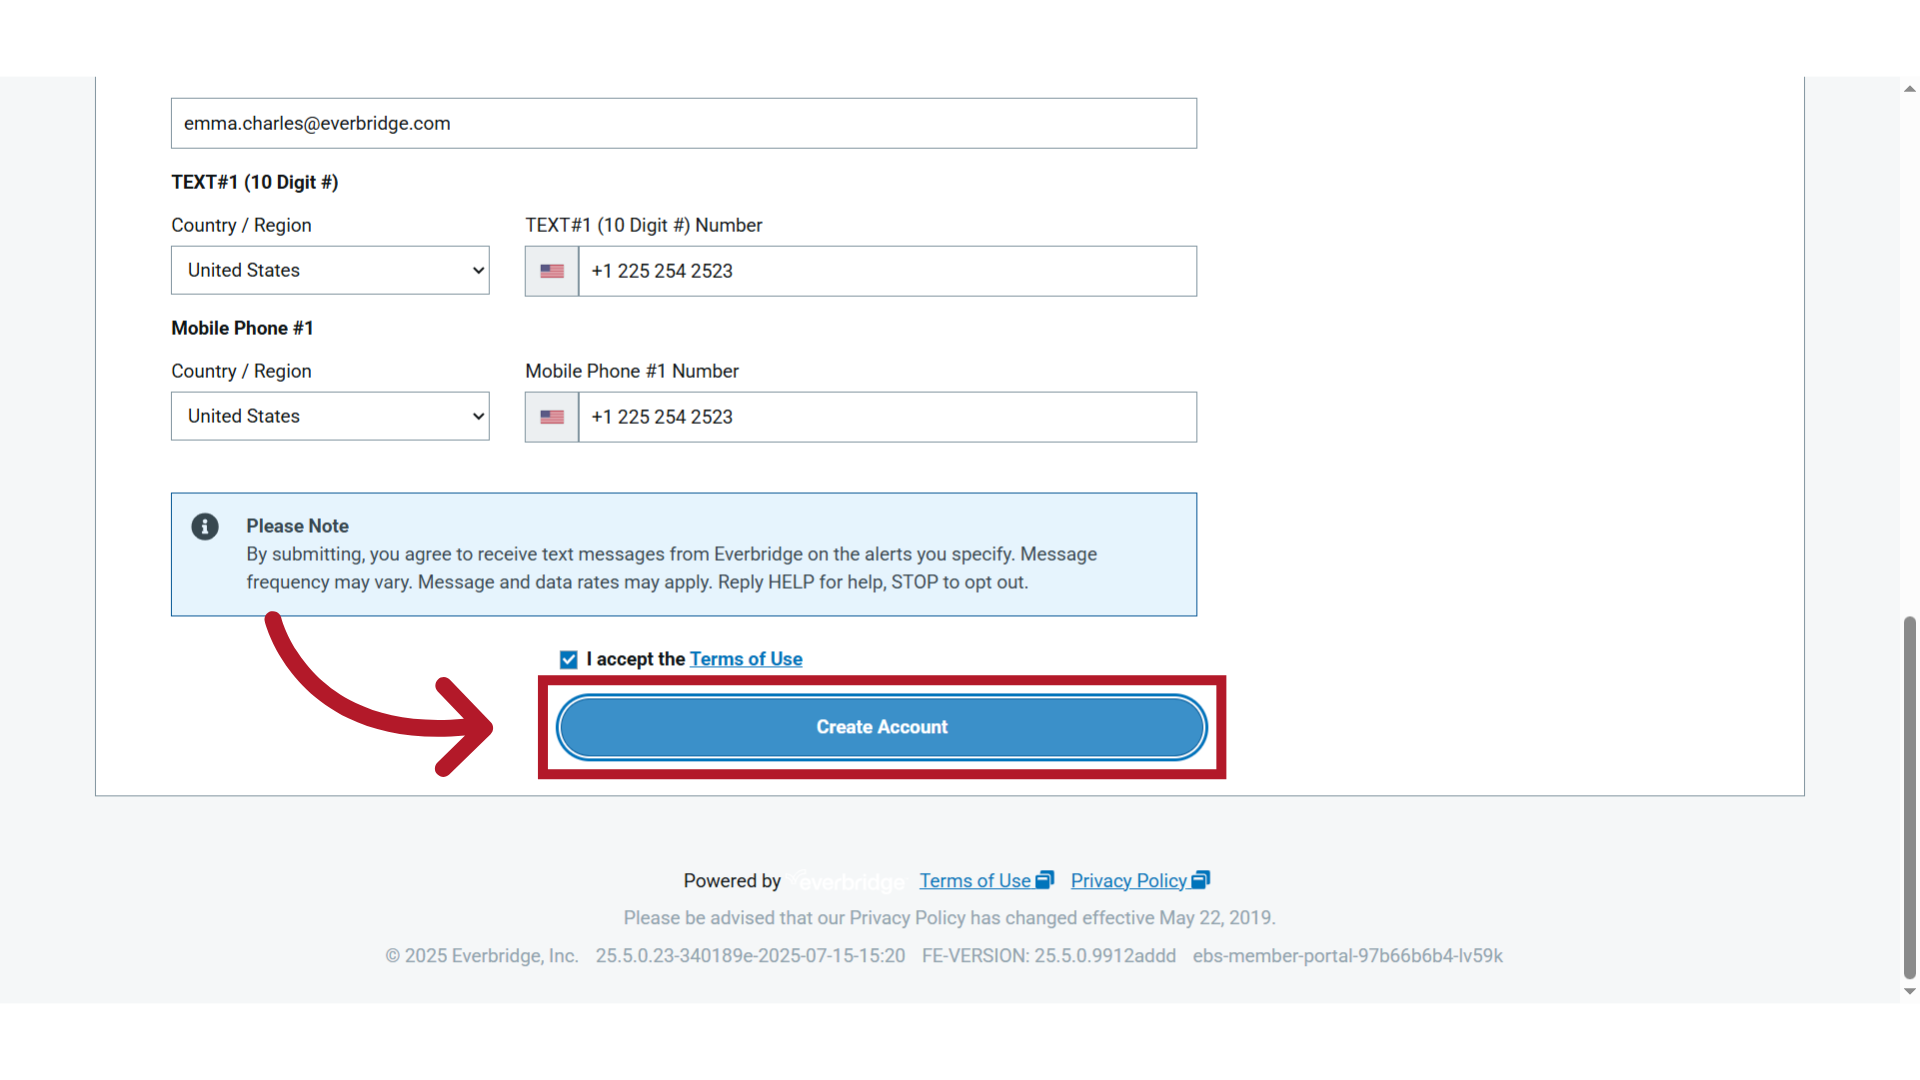
11. Click "Create Account"
Click here to create your account. This account will be connected to your Everbridge Community profile.
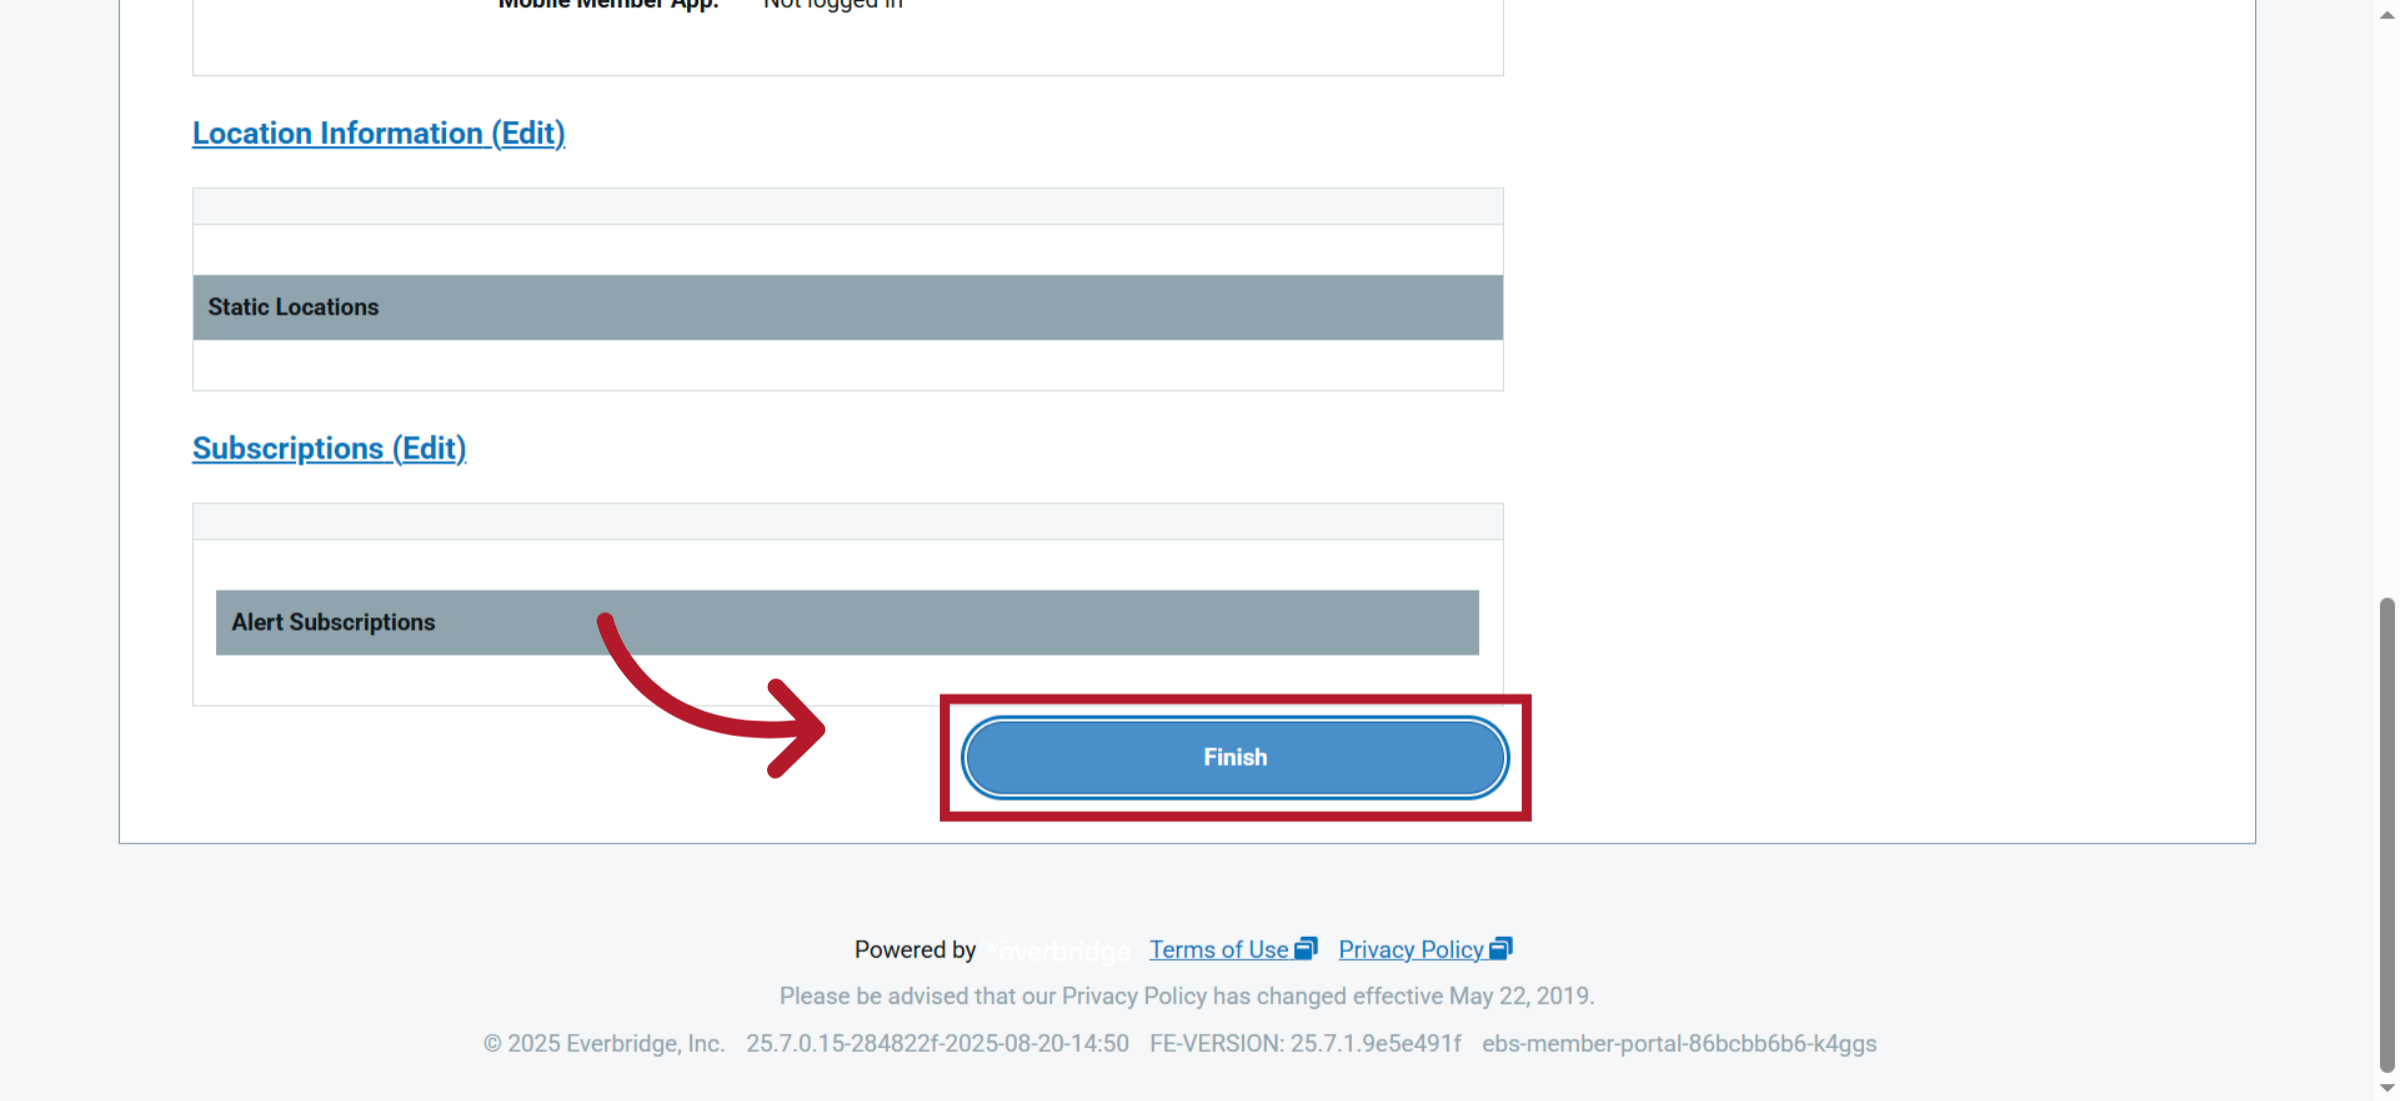
12. Click "Finish"
Complete any remaining registration steps required by your organization, then click Finish to finalize the registration.
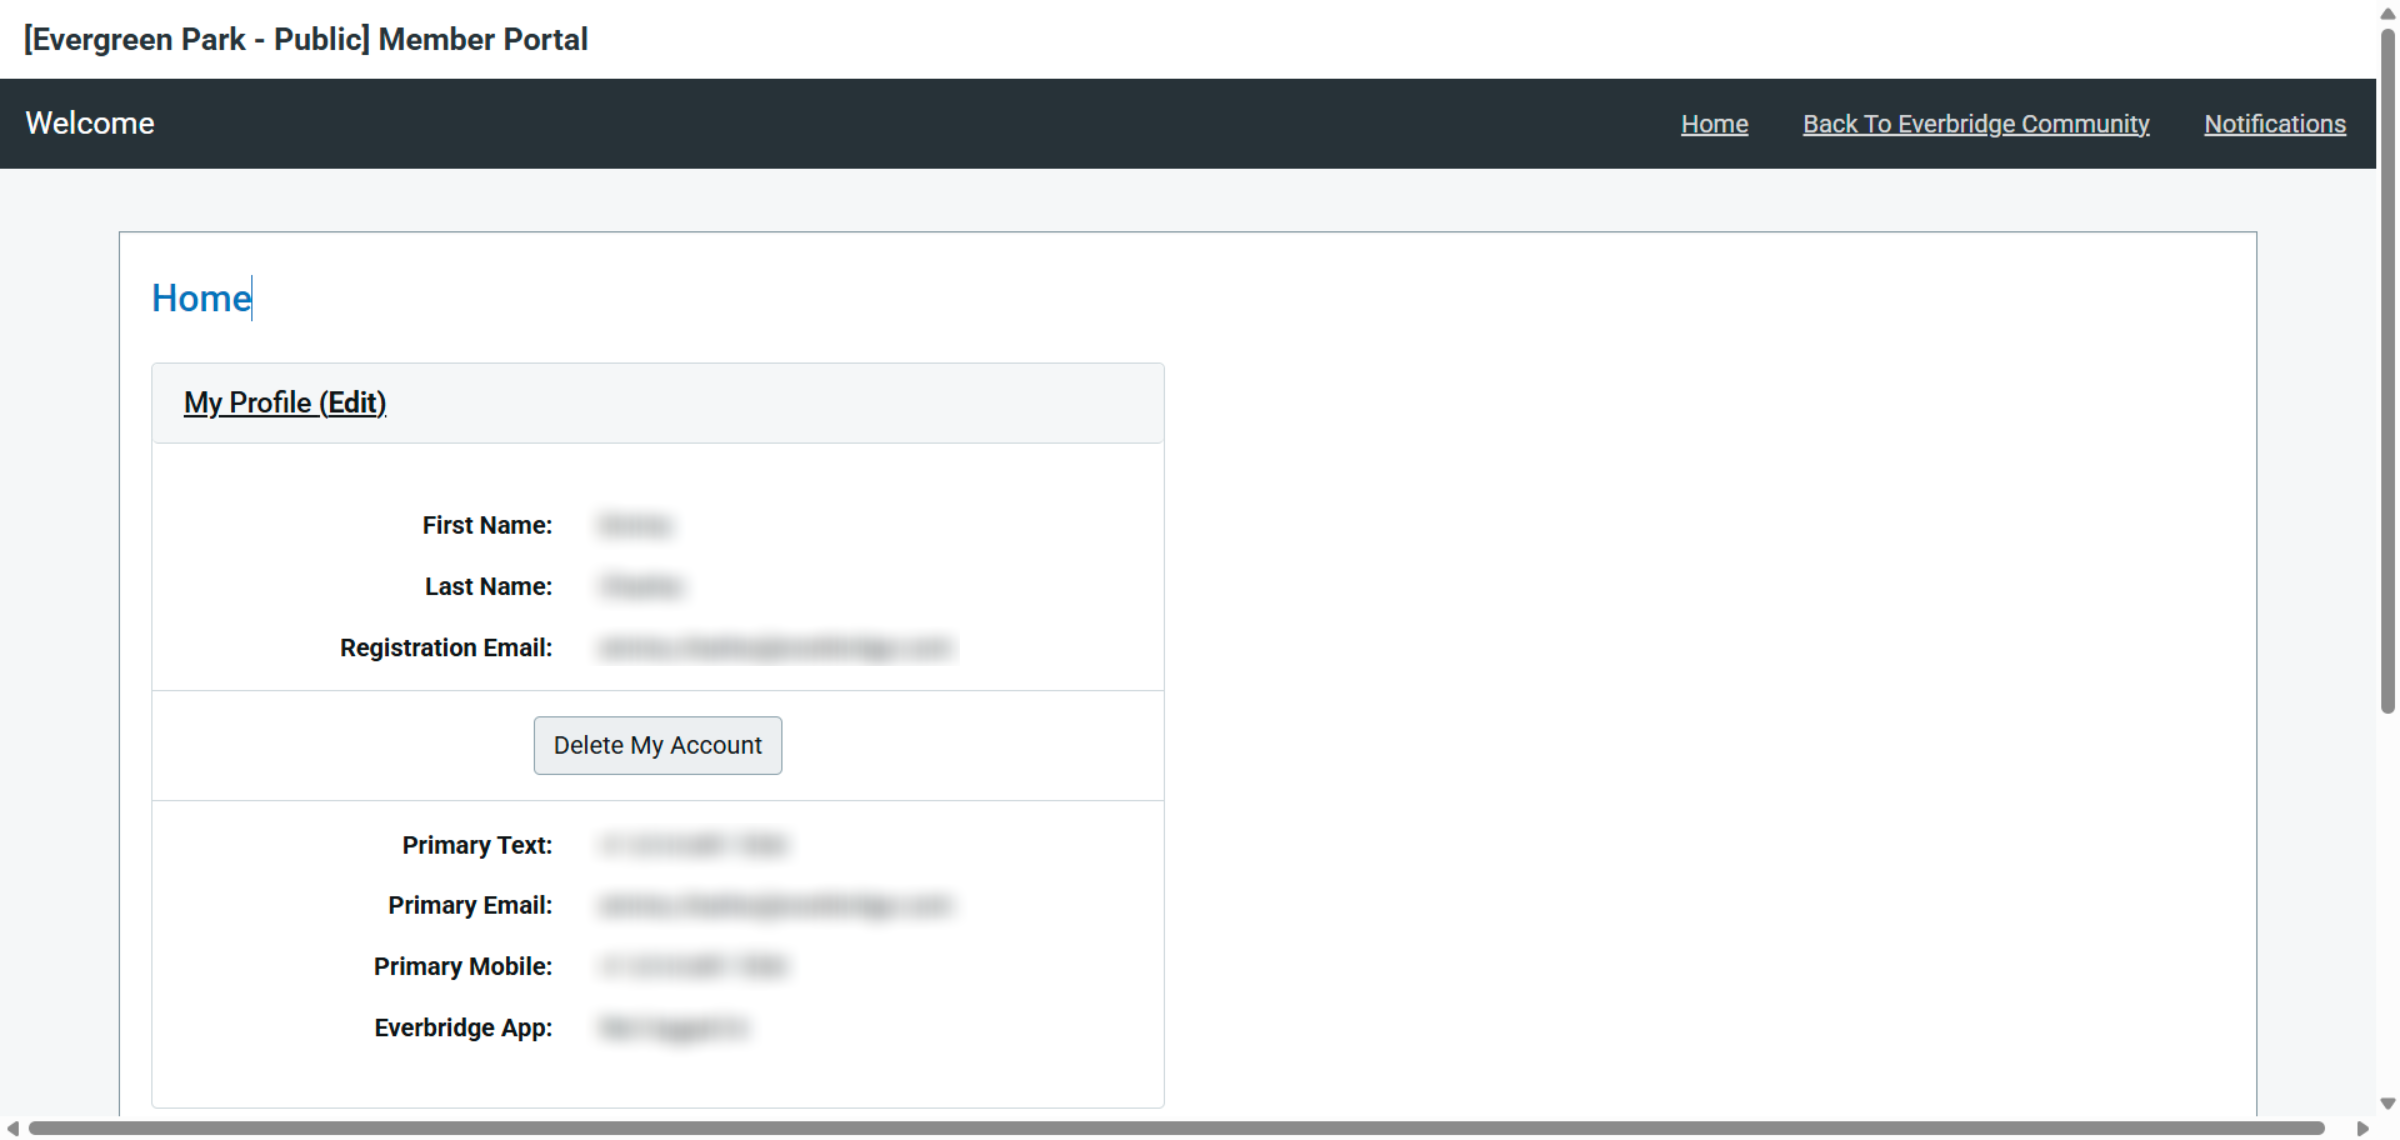
13. Access Member Portal Home
You can then view your registration details with the Organization.
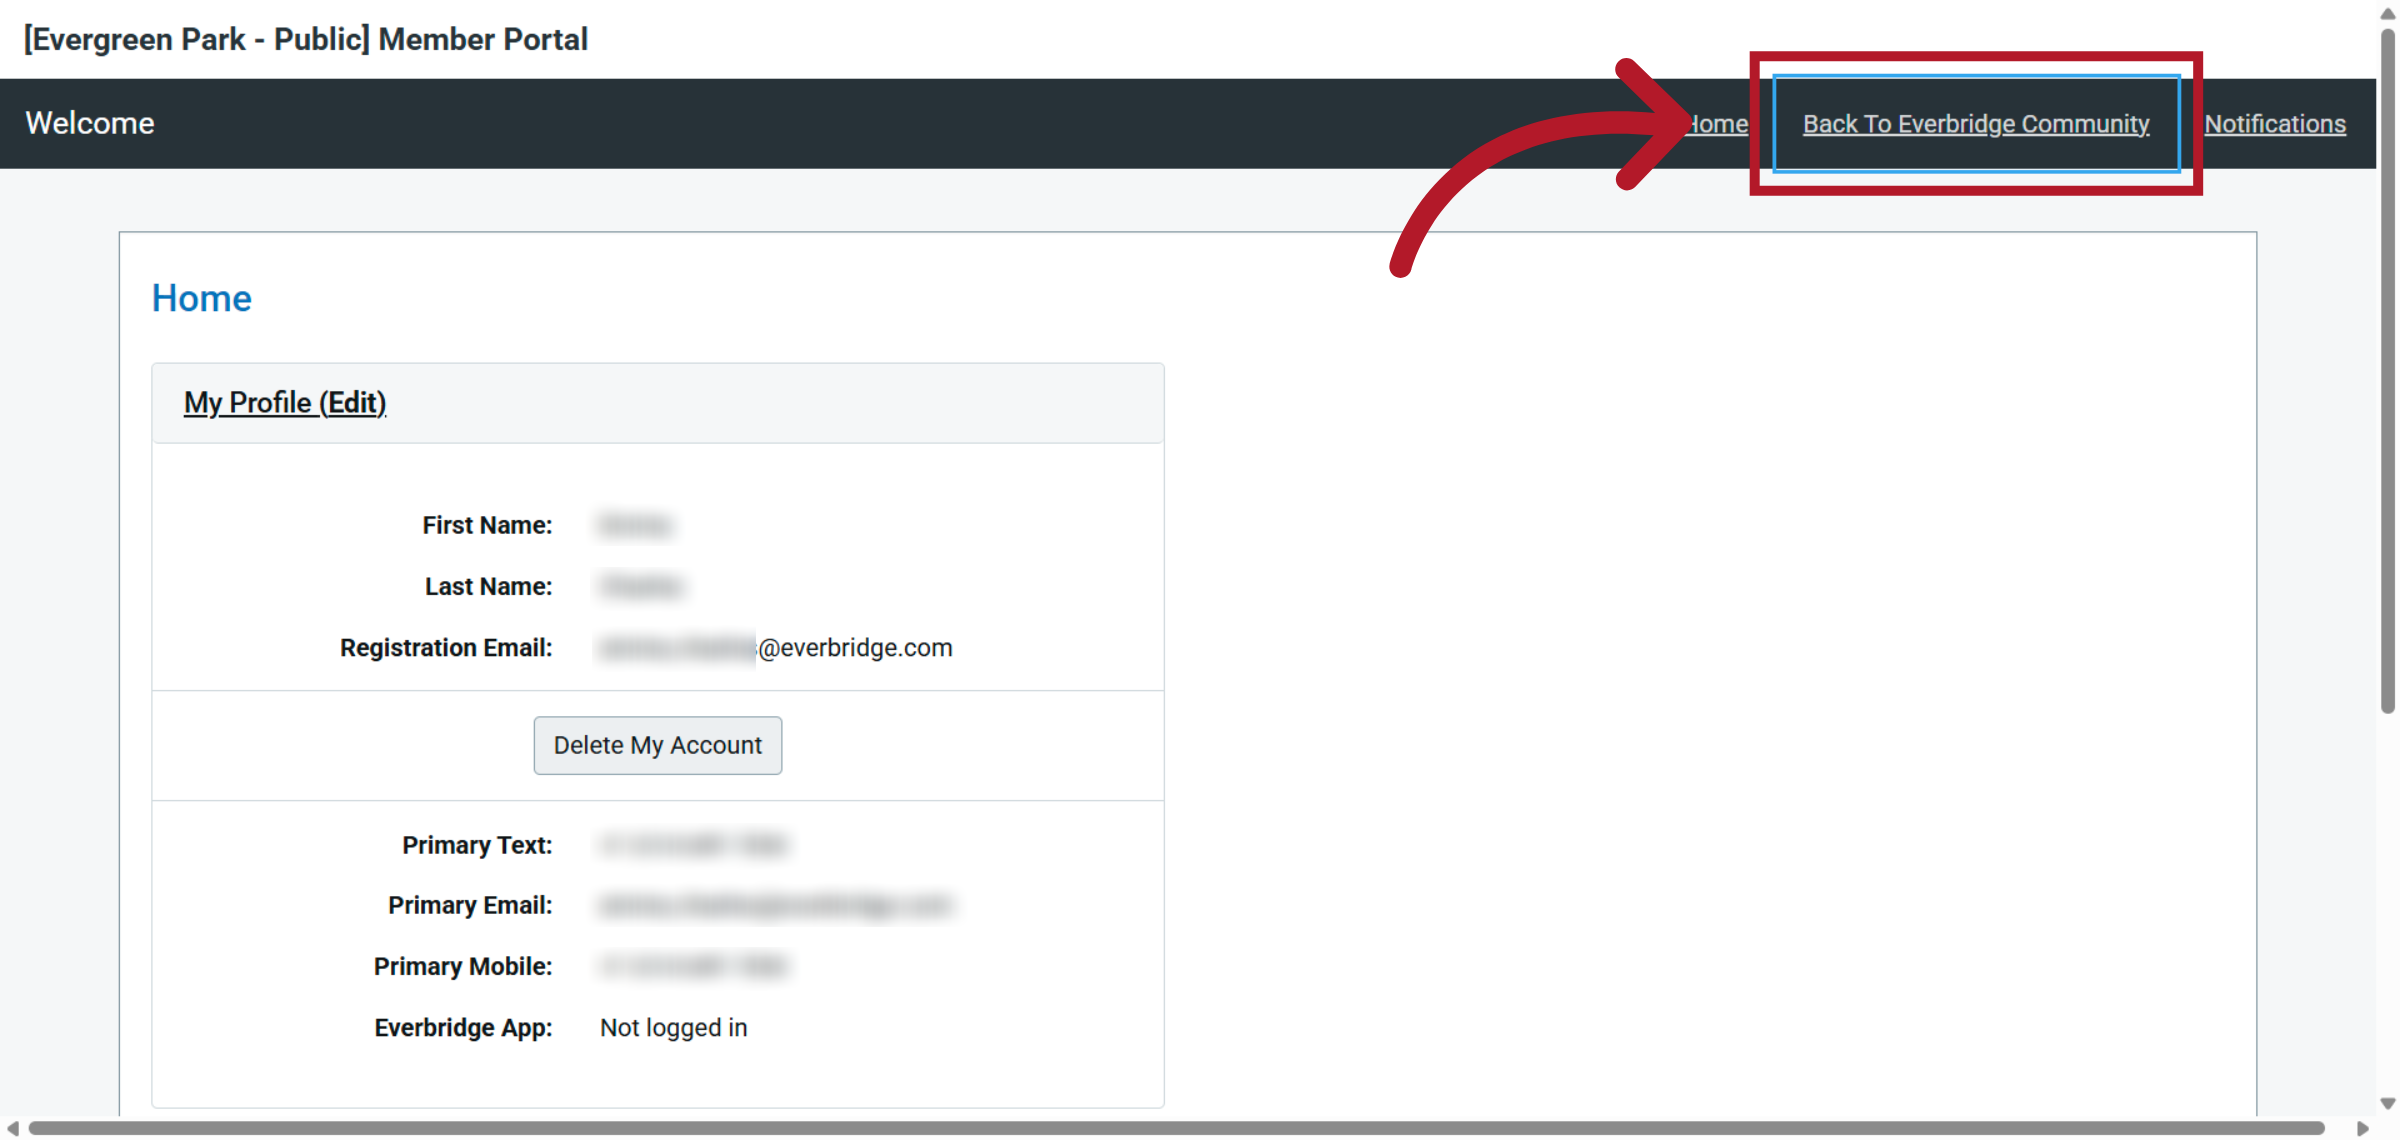
14. Click "Back To Everbridge Community"
Click "Back To Everbridge Community" to return to the main community page.
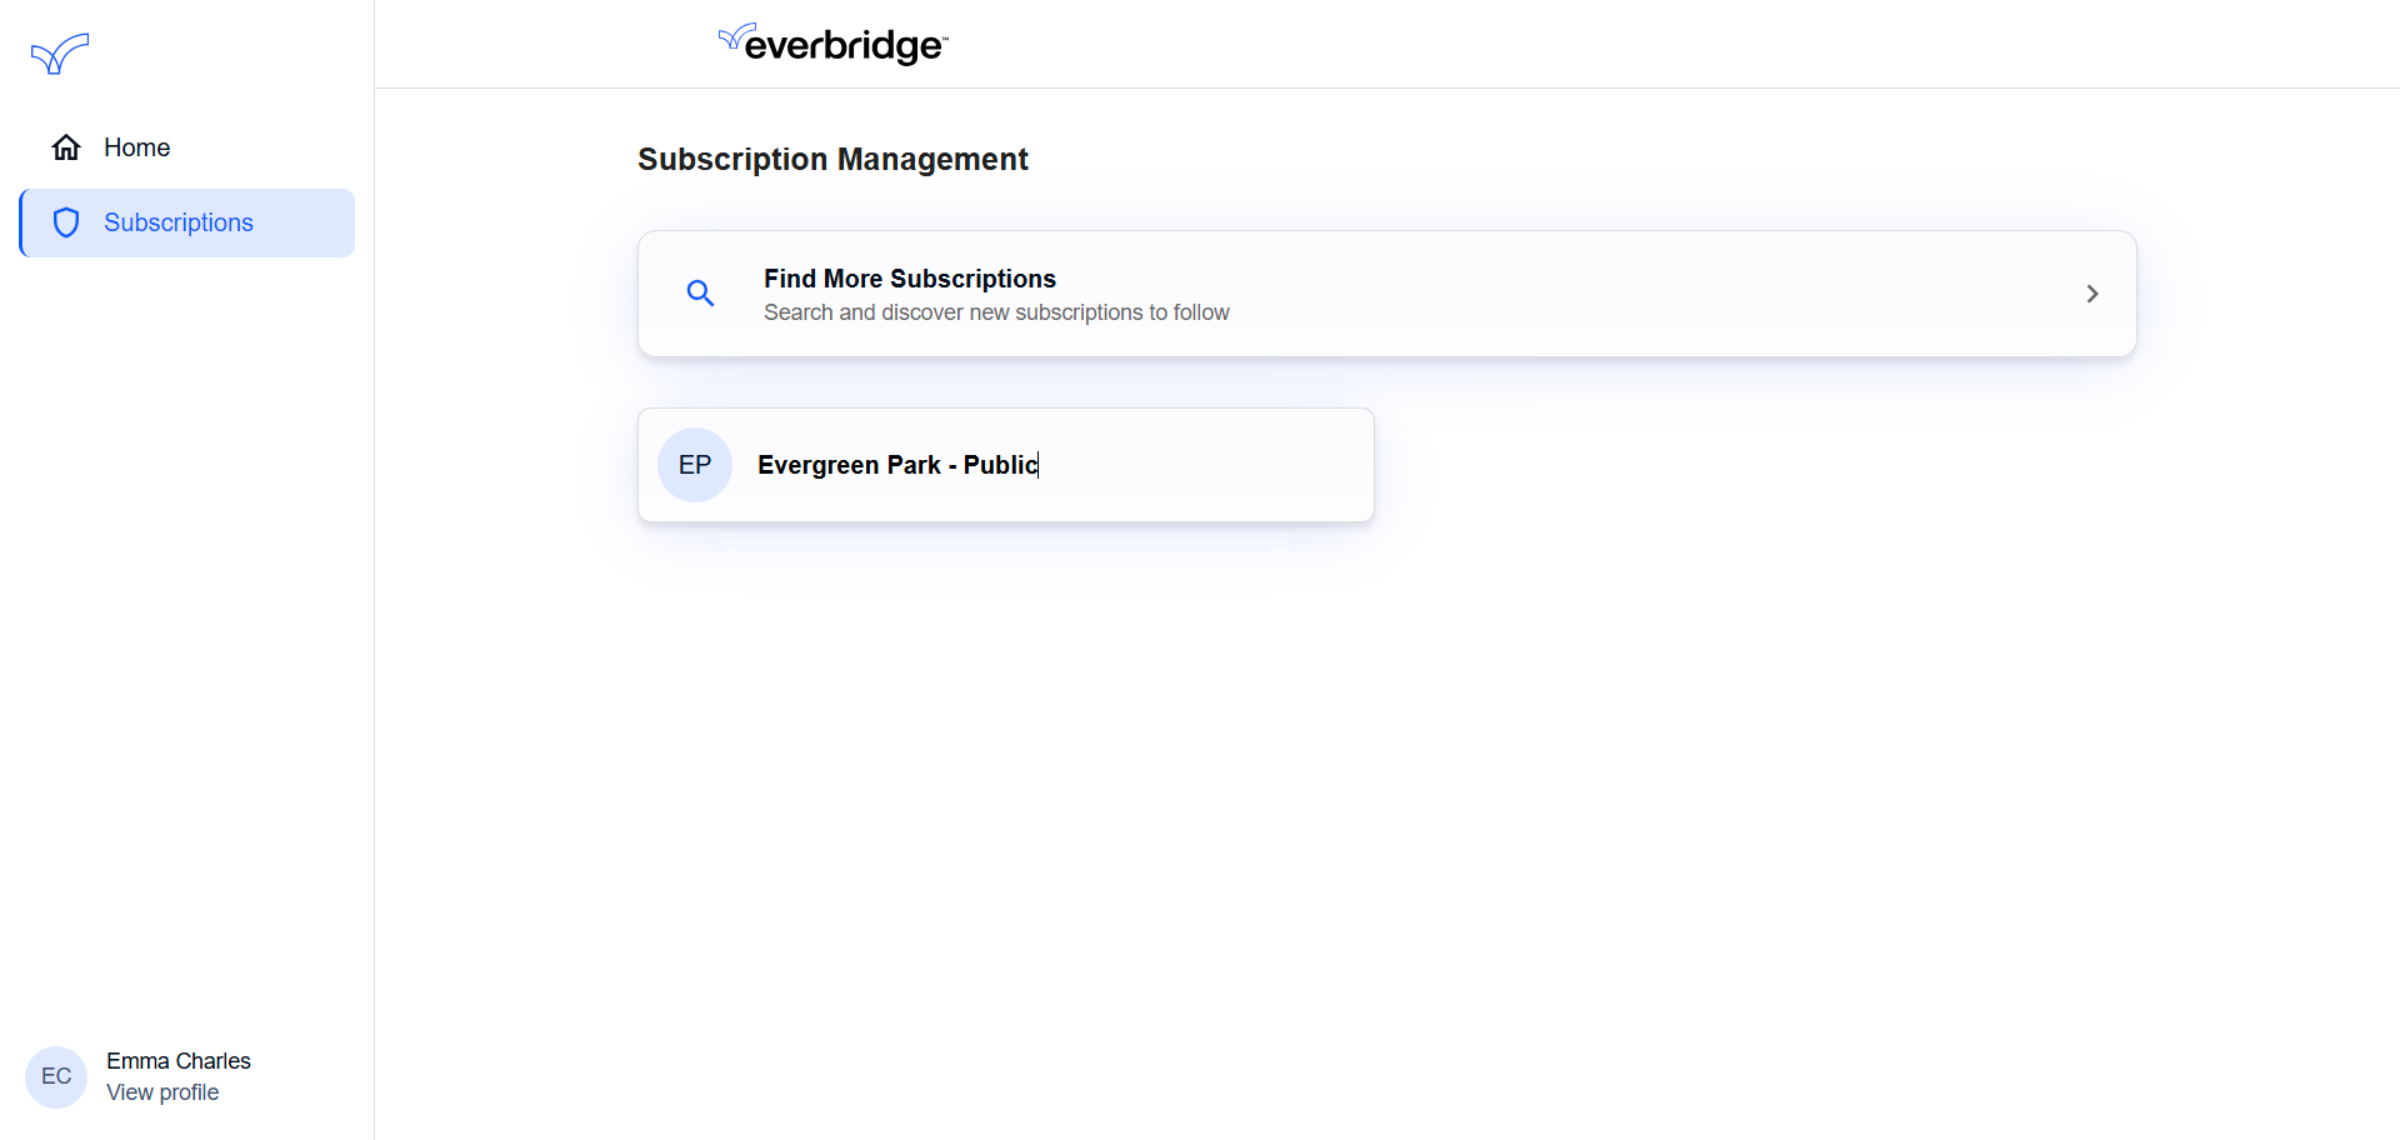
15. My Subscriptions
Your new subscription will be visible on your Everbridge Community page.
16. Deleting Subscriptions
In this section, you will discover the steps to remove subscriptions from your Everbridge Community.

17. Select Subscription
Begin by selecting the subscription you wish to cancel.
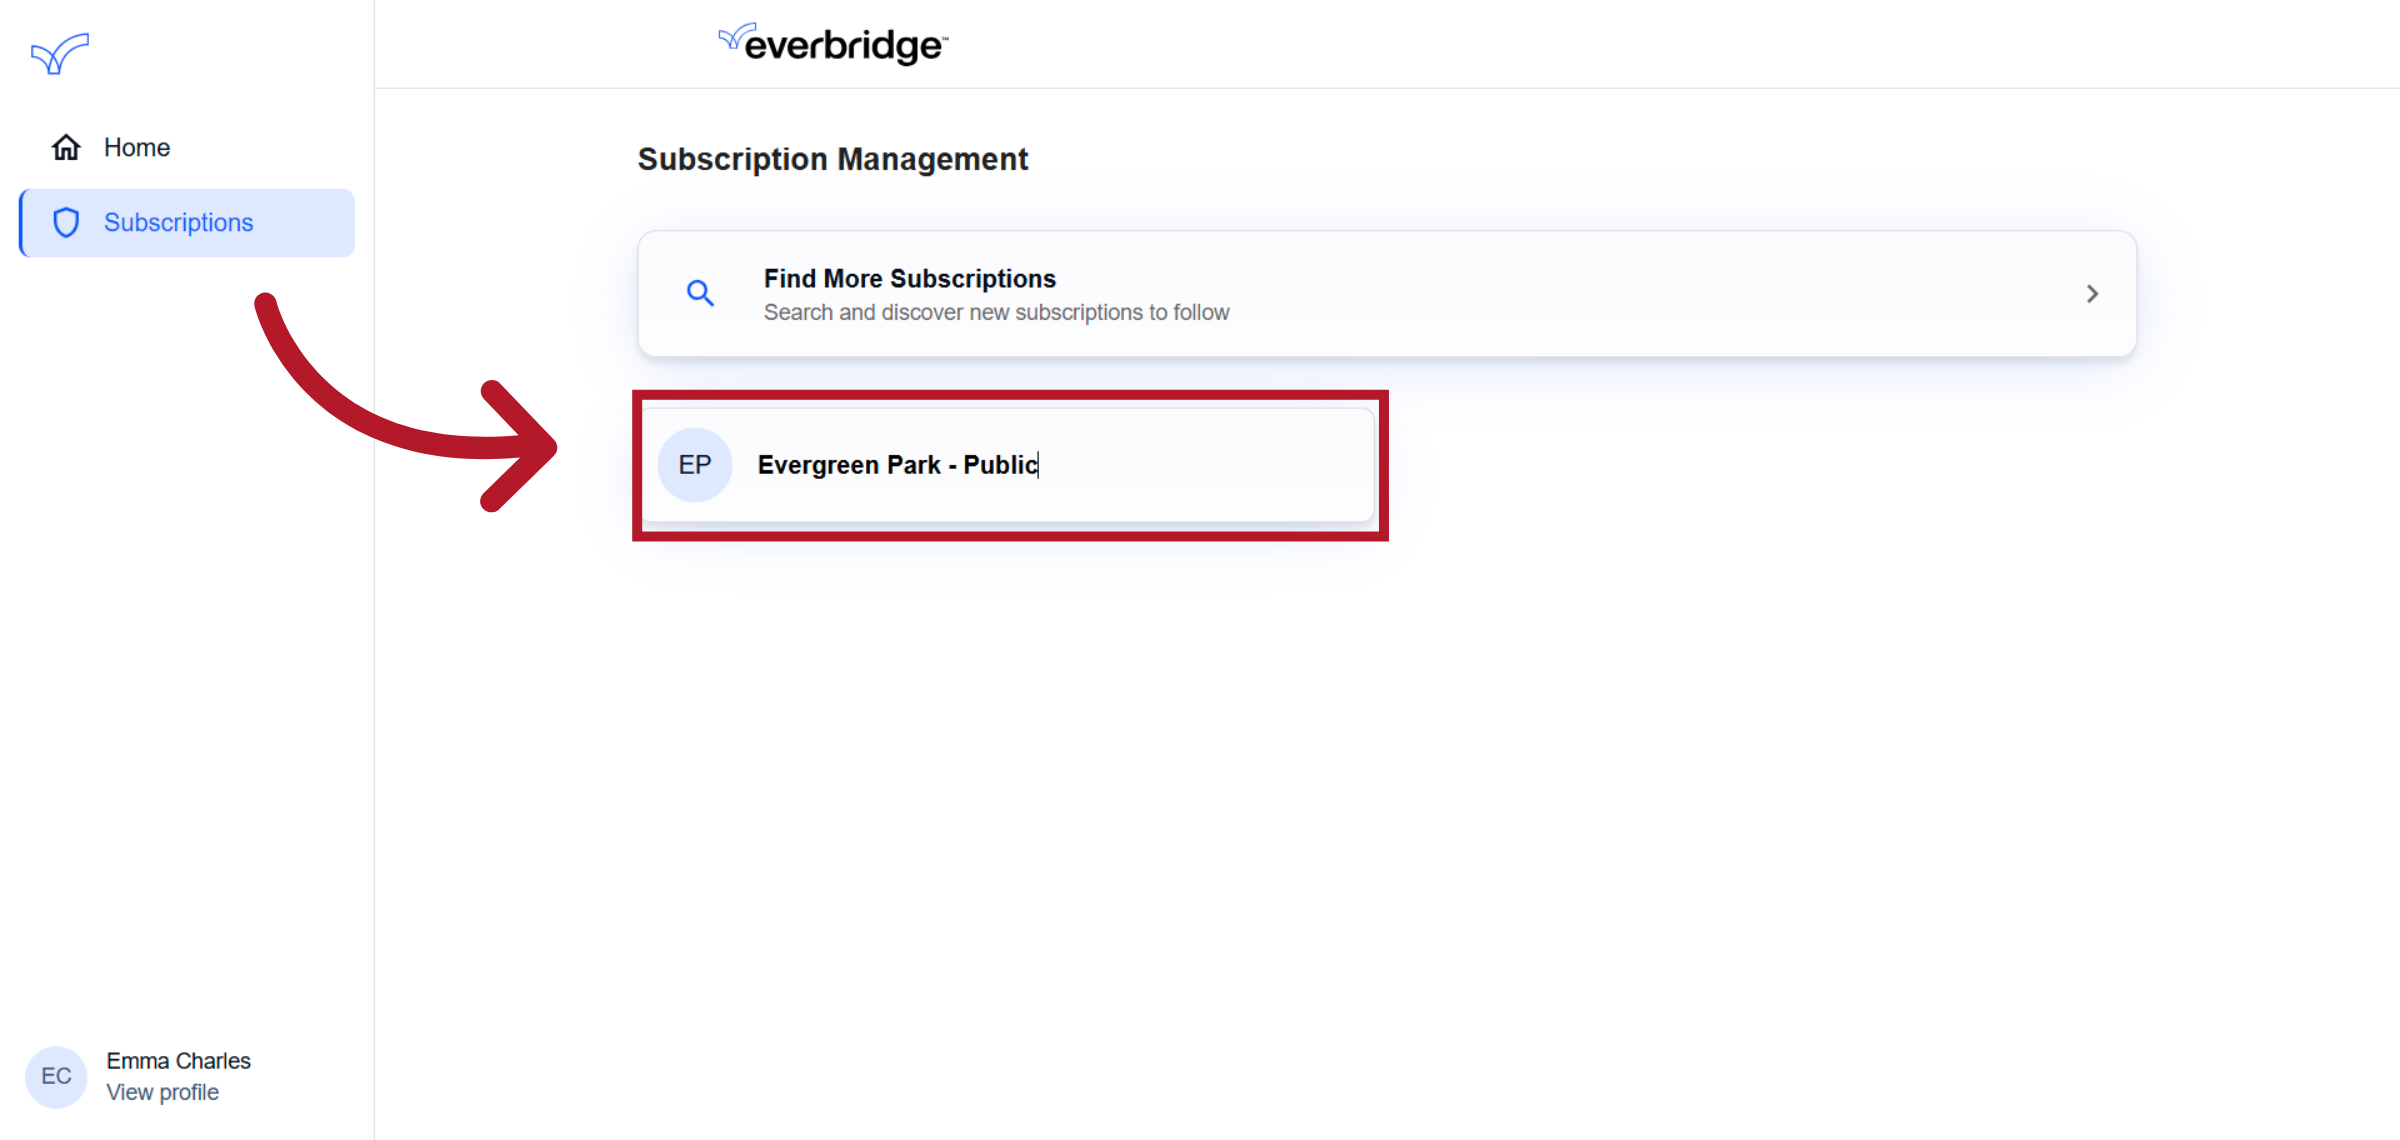
18. Switch to Member Home
This will then automatically redirect you to the member portal of the Organization.
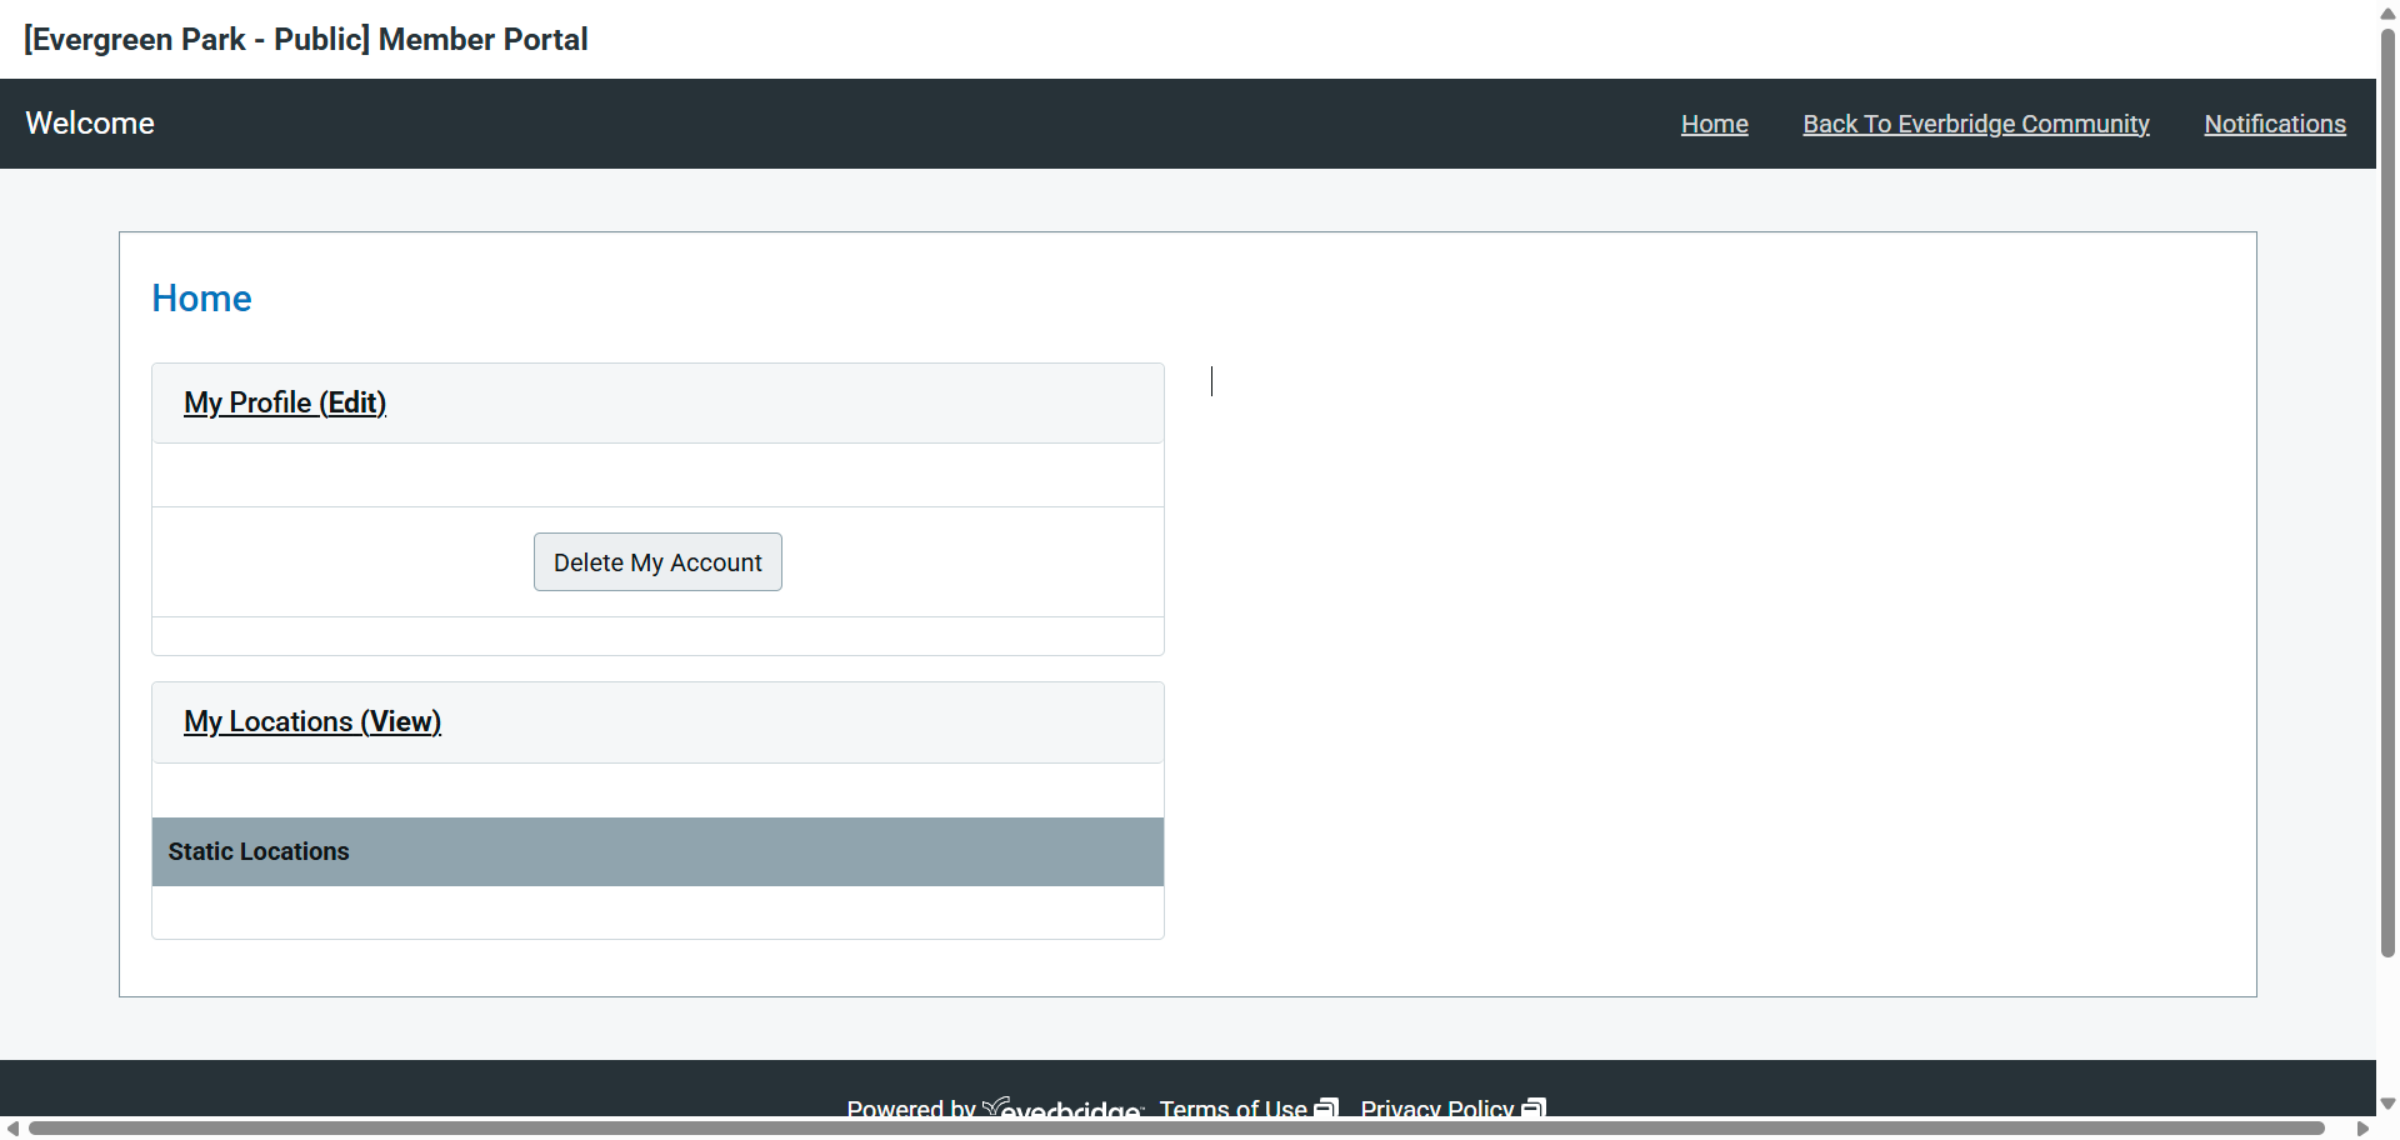
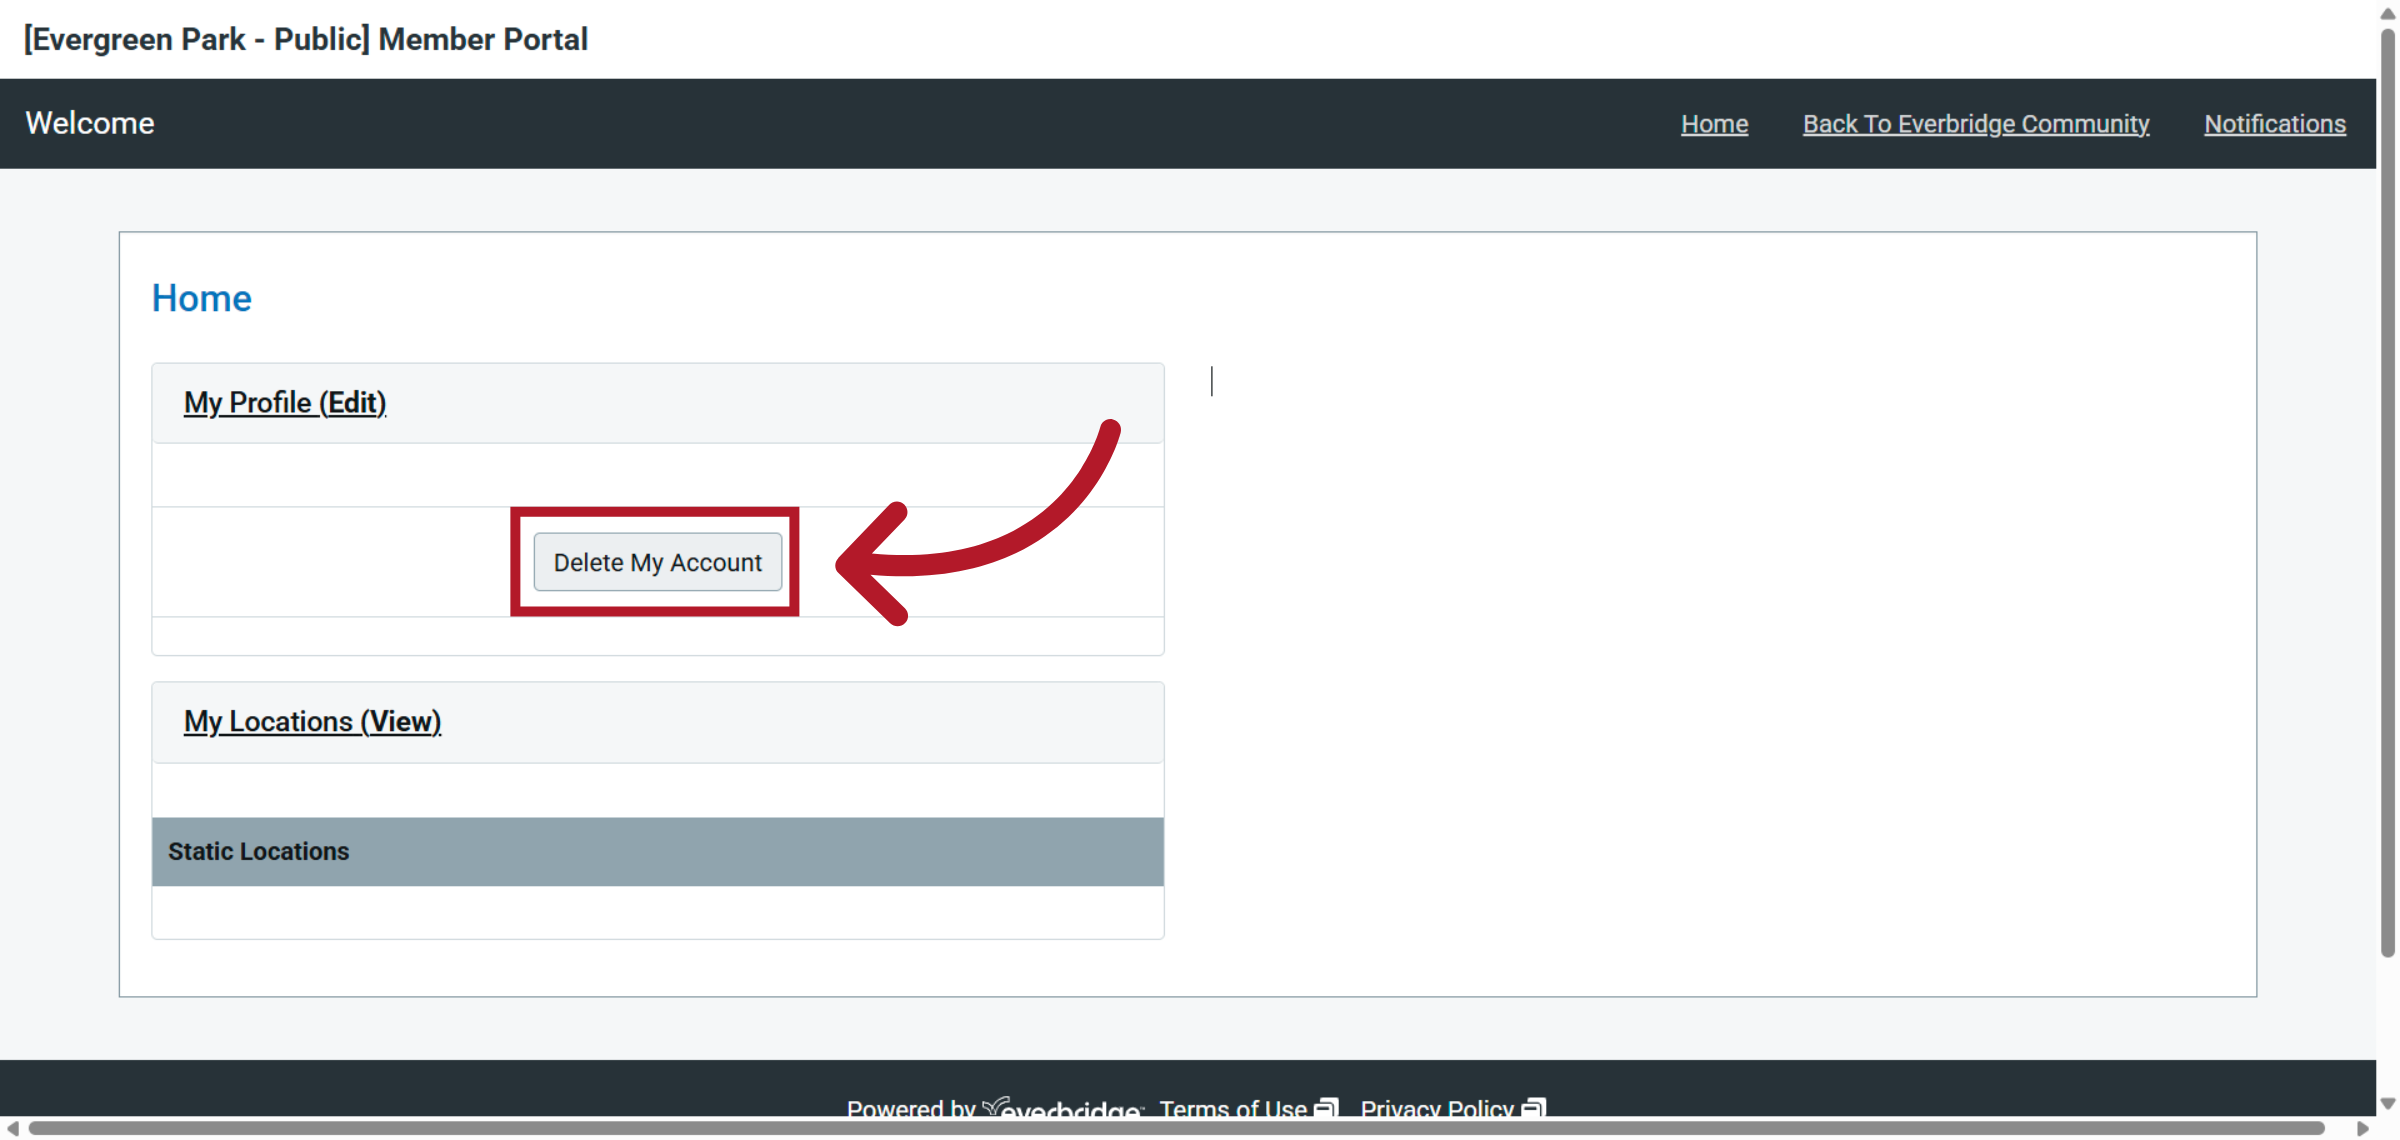
19. Click "Delete My Account"
Select the "Delete My Account" option.
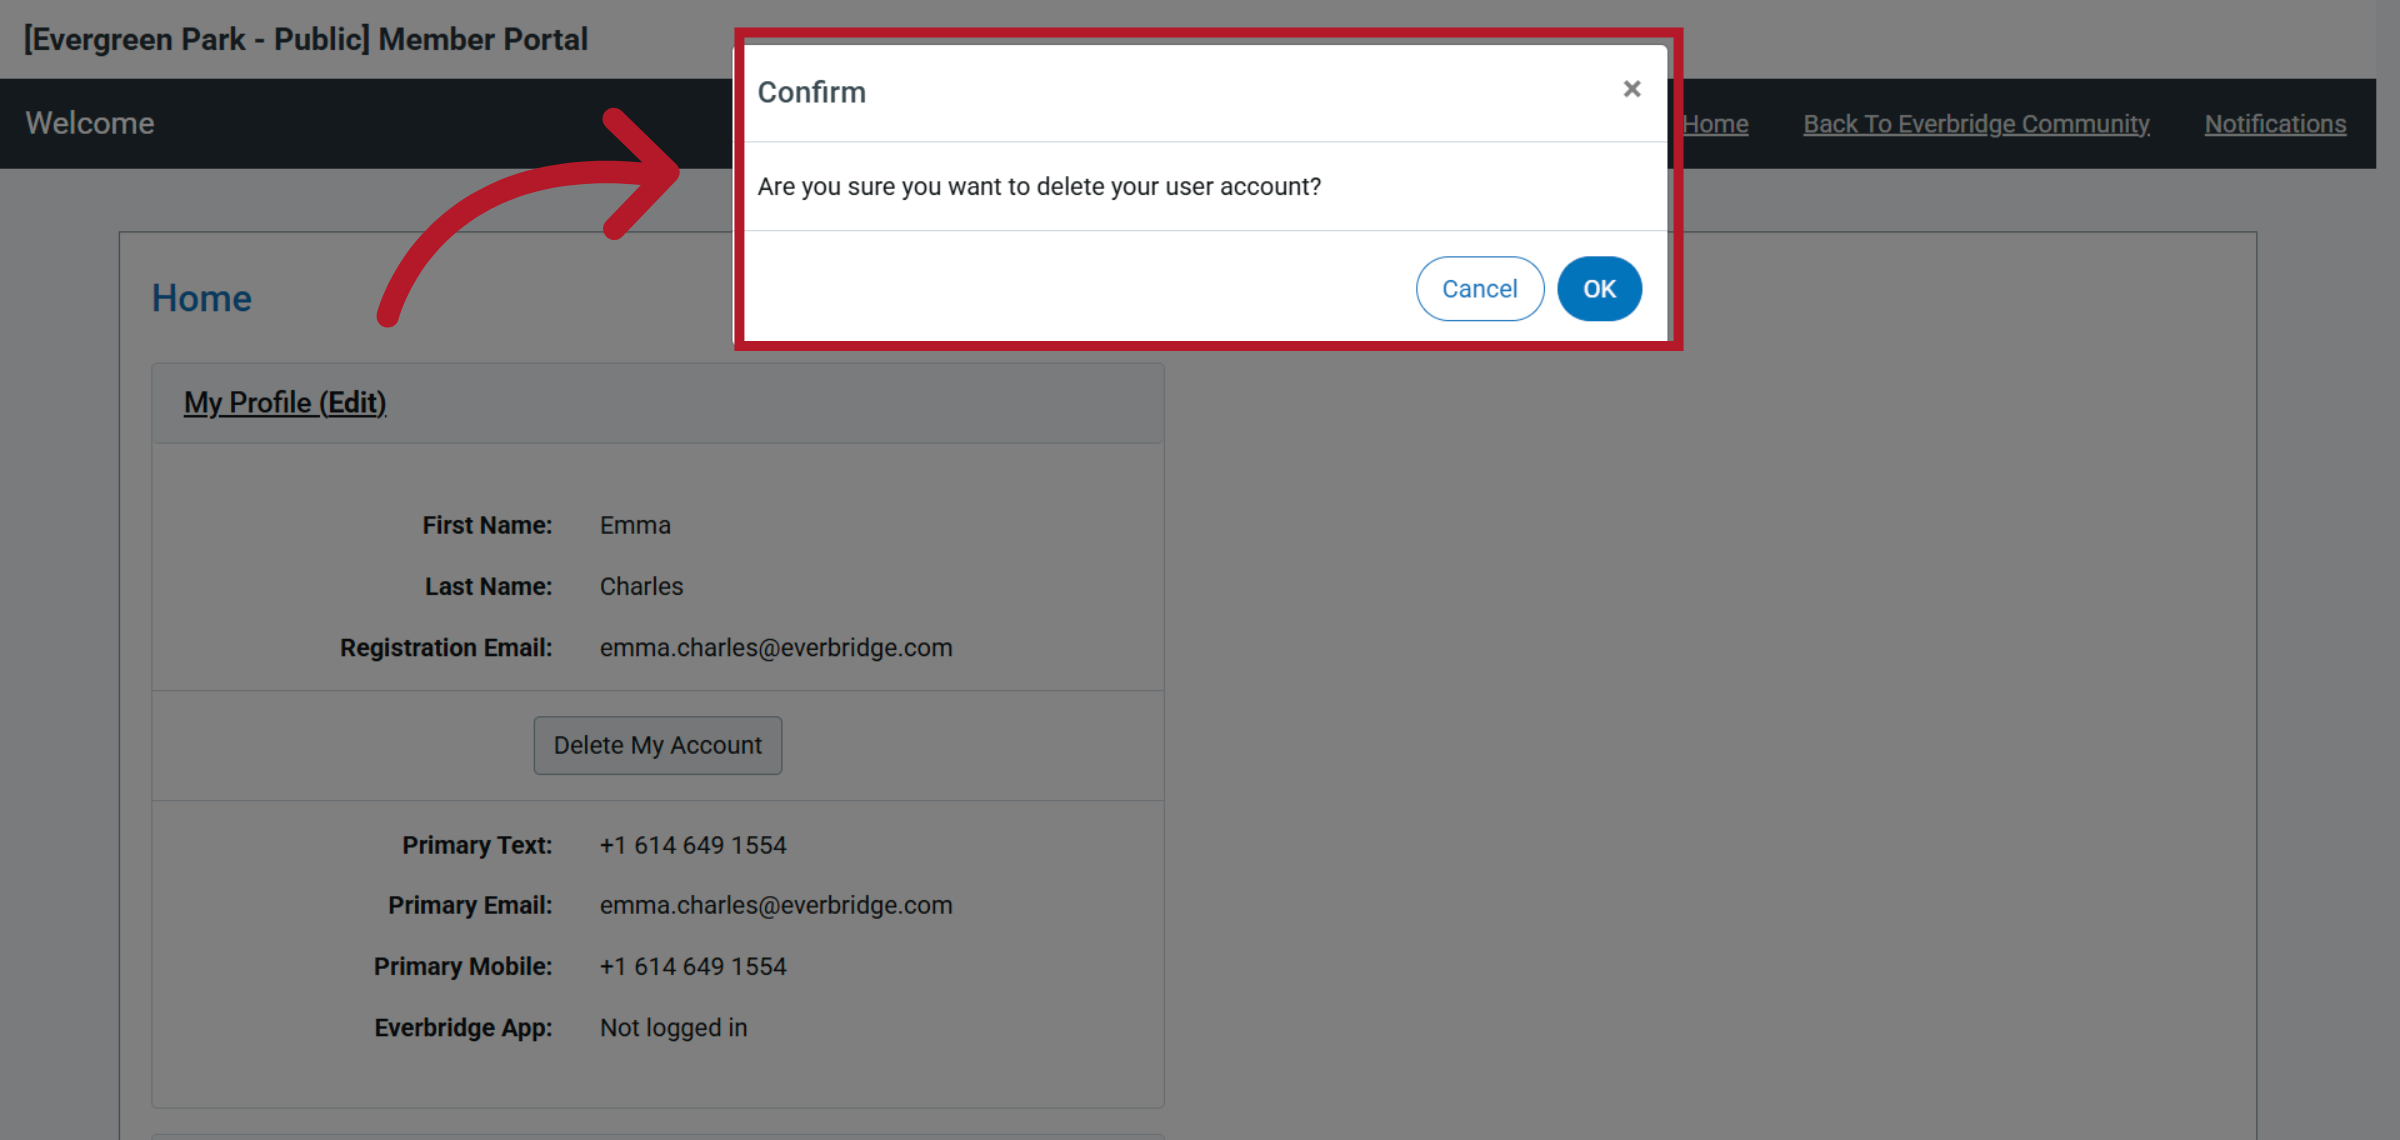
20. Acknowledge Deletion Warning
Choose the "Cancel OK" option.
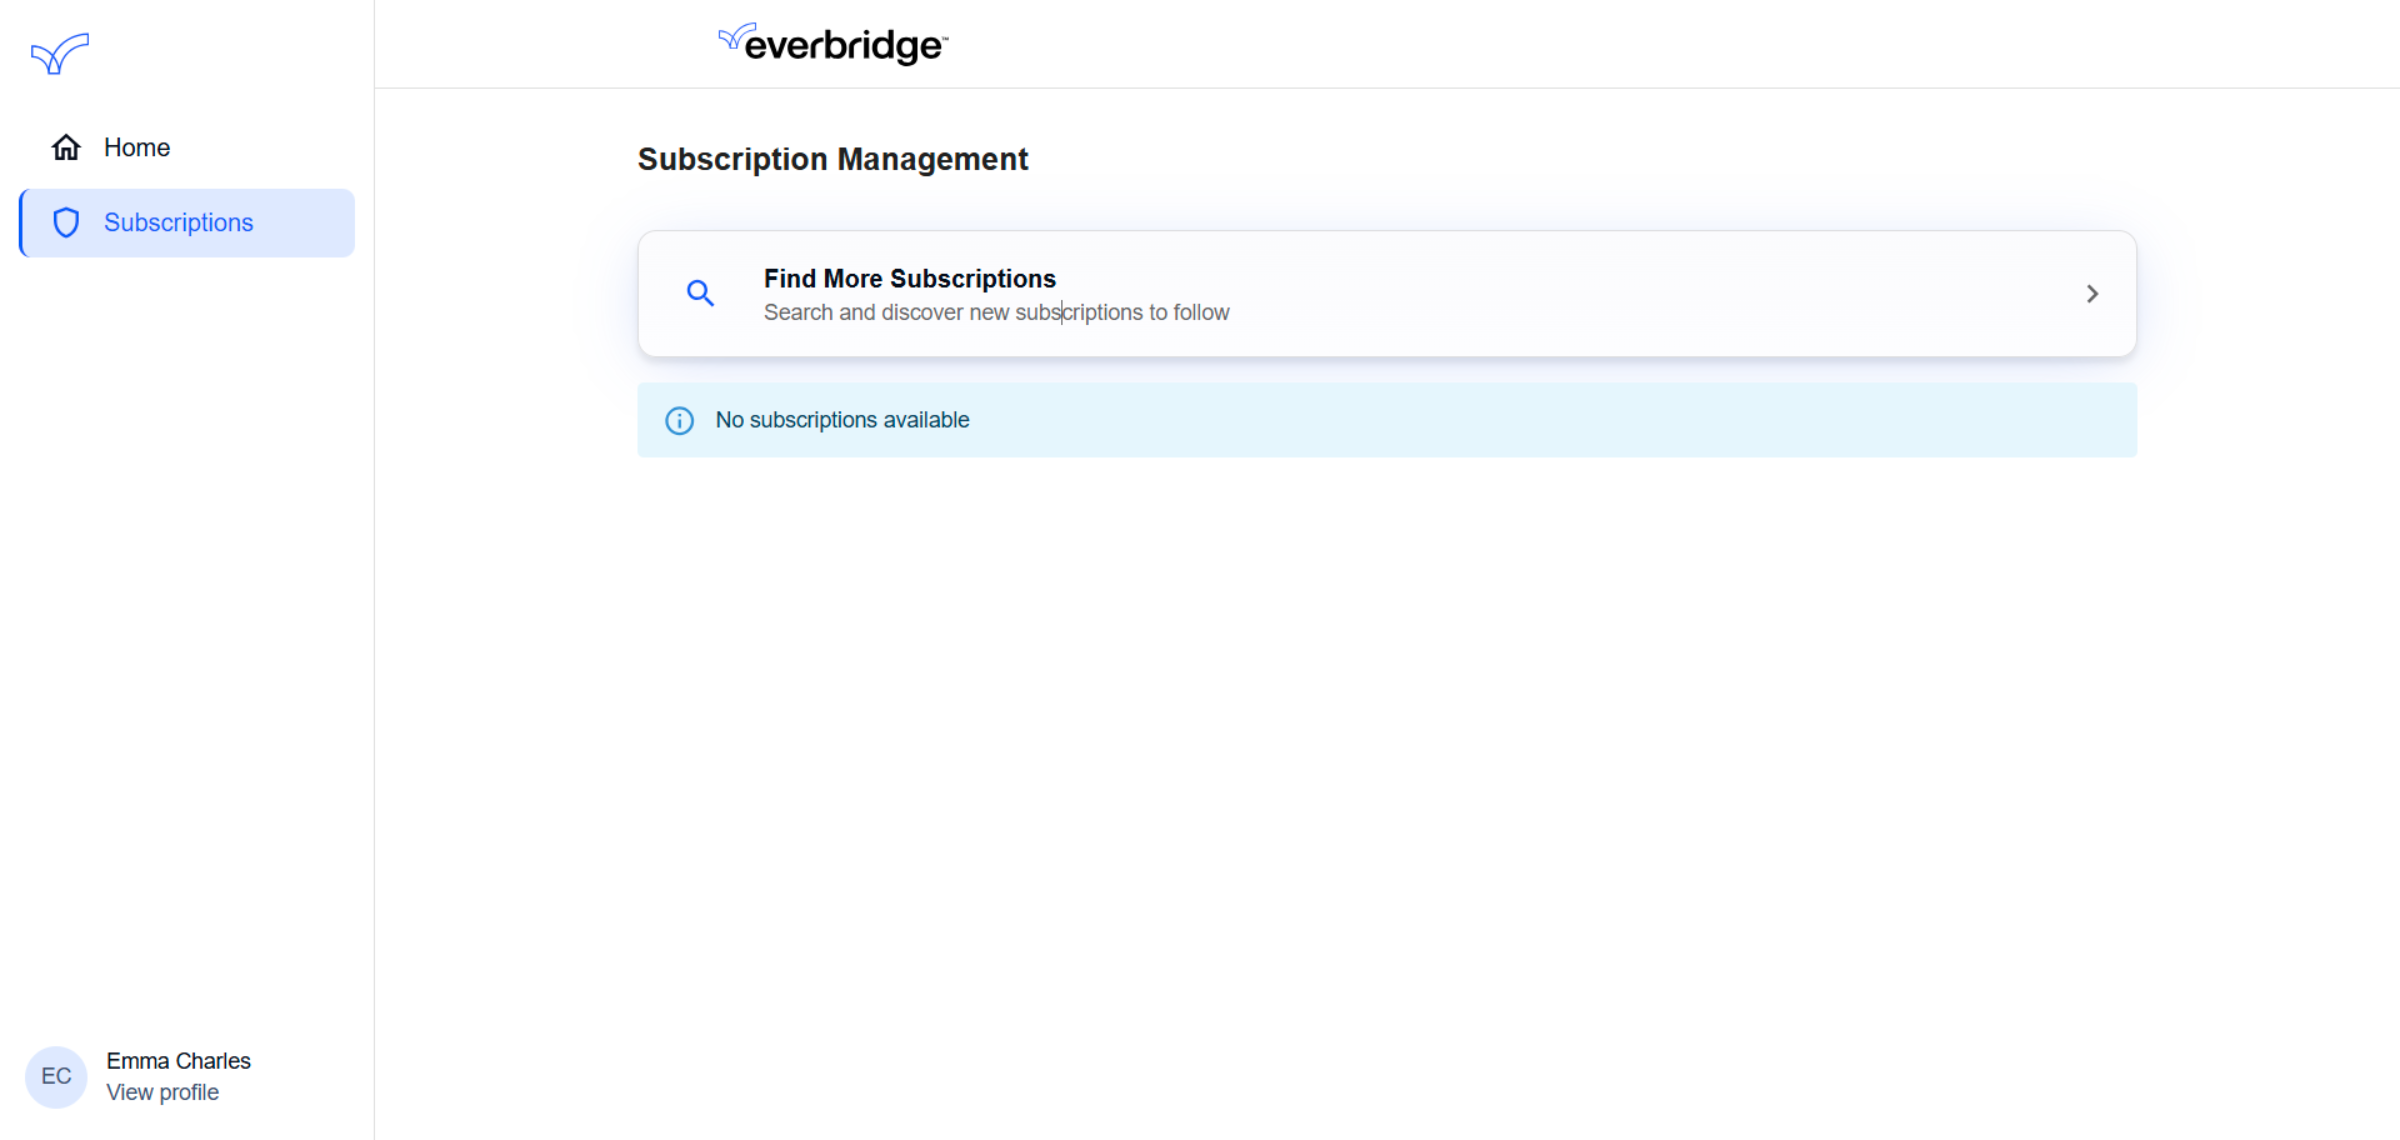
21. Start Subscription Search
The subscription will then be removed from your community subscriptions.
This guide covered the steps required to Adding Subscriptions To Everbridge Community in Everbridge.