Topic
Launching a Communication From an Alert Using a Template
Description
With Everbridge 360™ Communications, you can quickly send messages to respond to events impacting your organization. In this tutorial we will demonstrate how to launch a message from an Alert using a template configured by your organization for a specific purpose, with prefilled values, settings, and messages. In this demonstration we will be using the Visual Command Center interface, but the steps covered here would be the same when using the Everbridge 360™ Alert Management interface.
Go to vcc.everbridge.net
1. Select
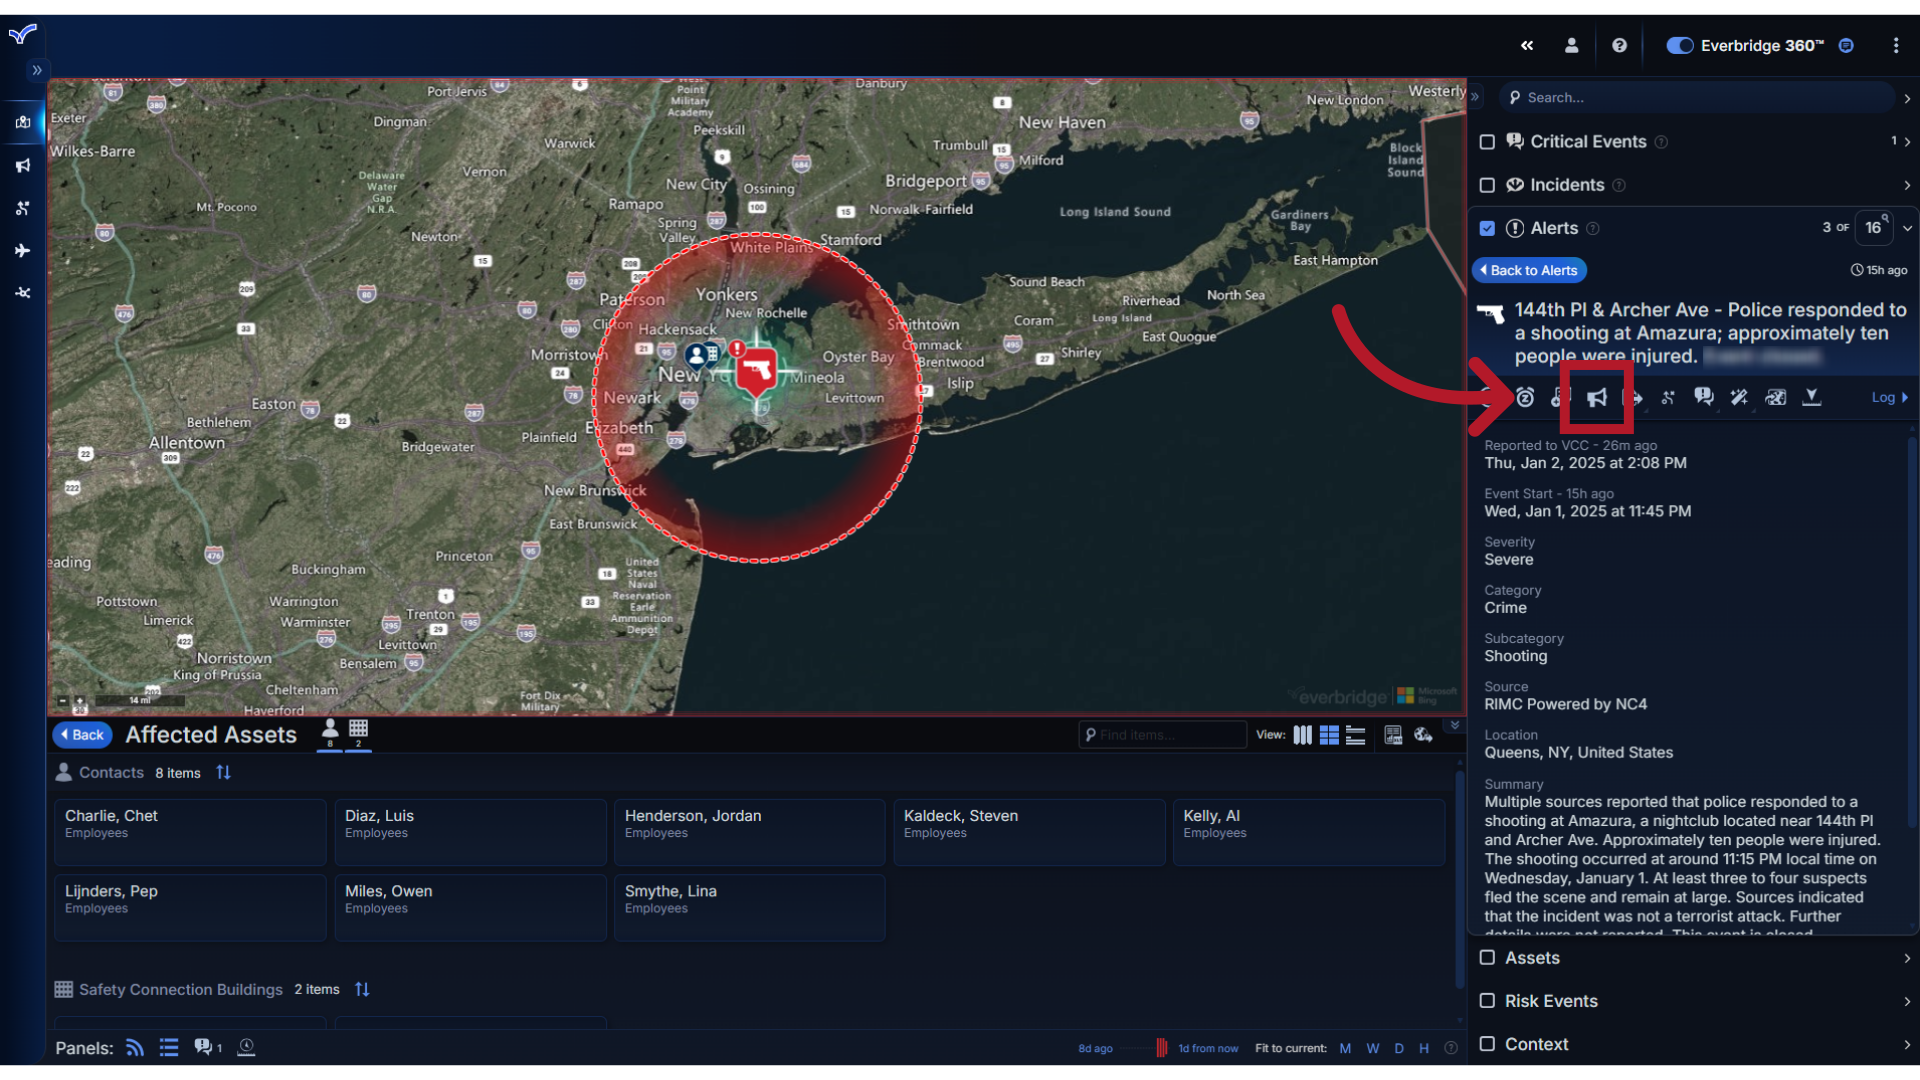
In this example, we have already assessed an alert and know we need to send a communication out to our employees. The next step will be to select the Communications action within the alert's Action Toolbar.
2. Event Type
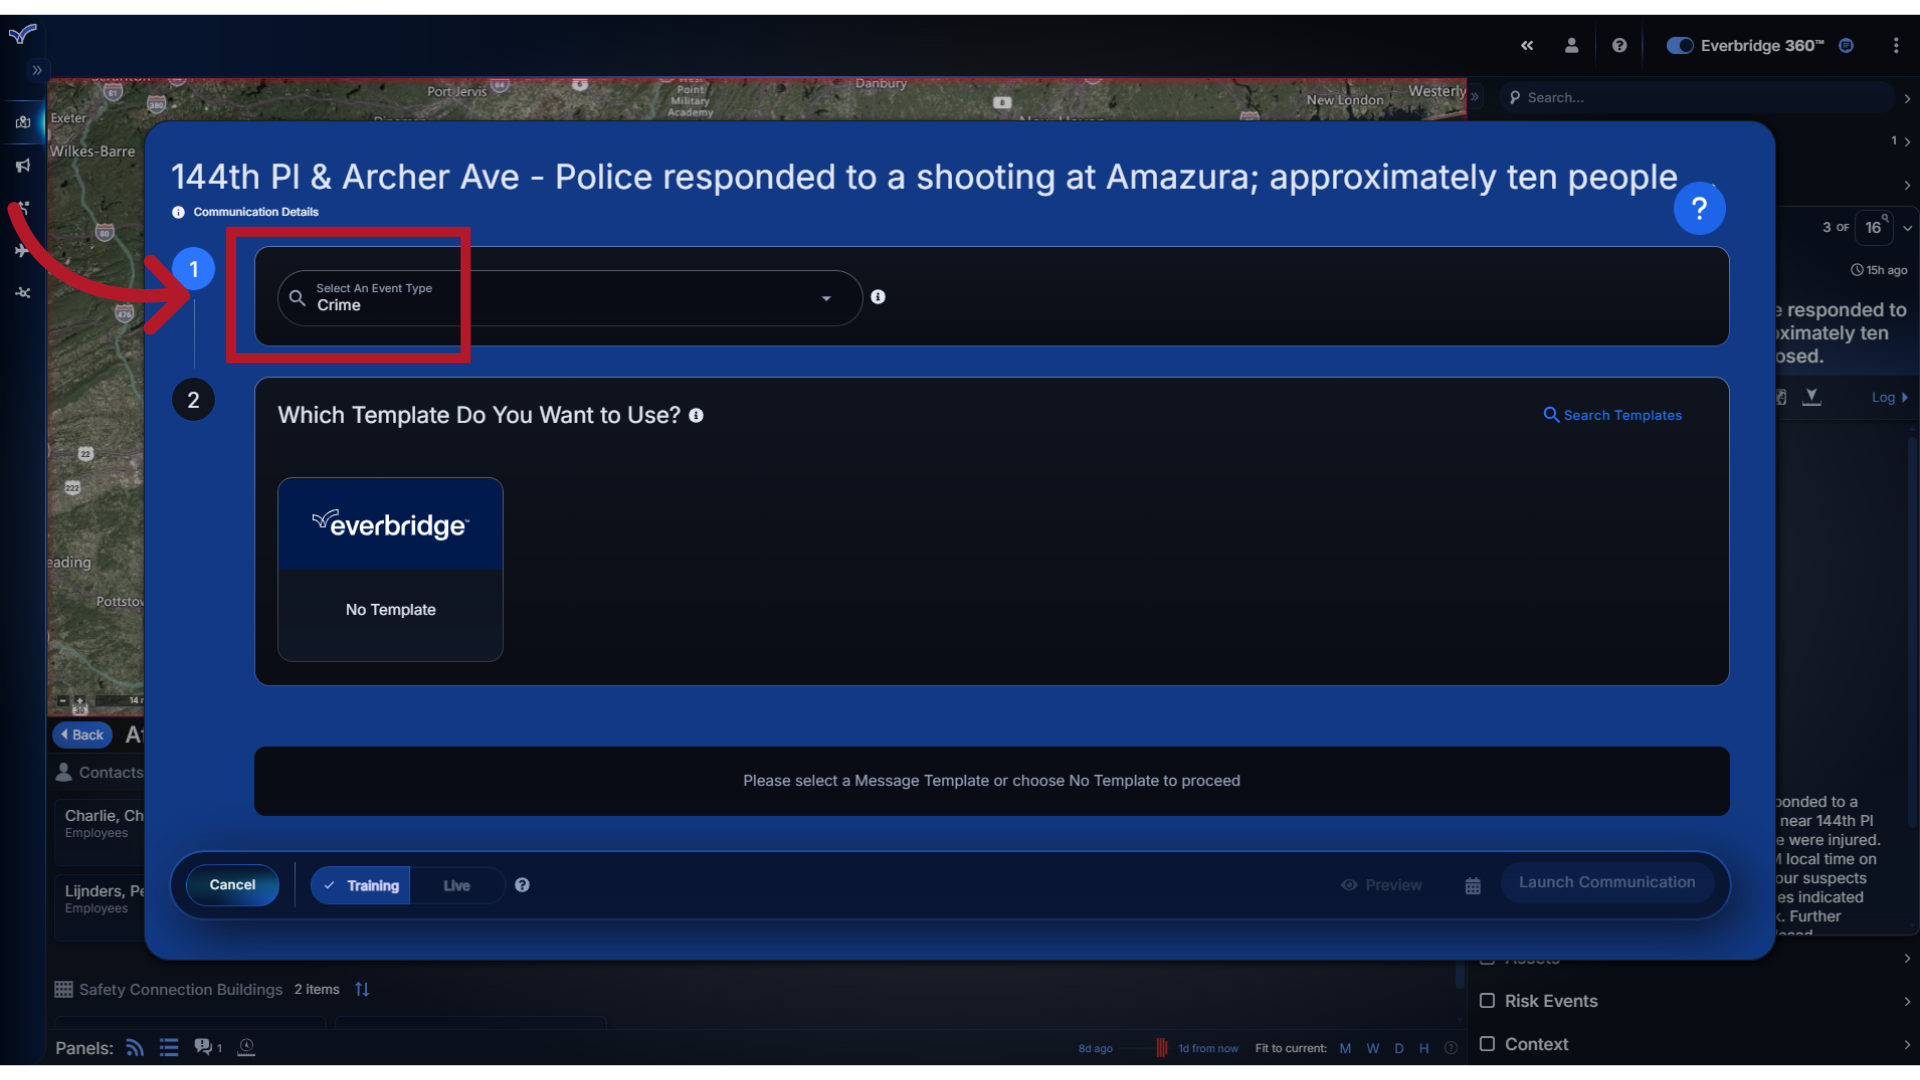
This will open the Communications form, where the Event Type has been automatically populated based on the risk event Category of the alert.
3. Search
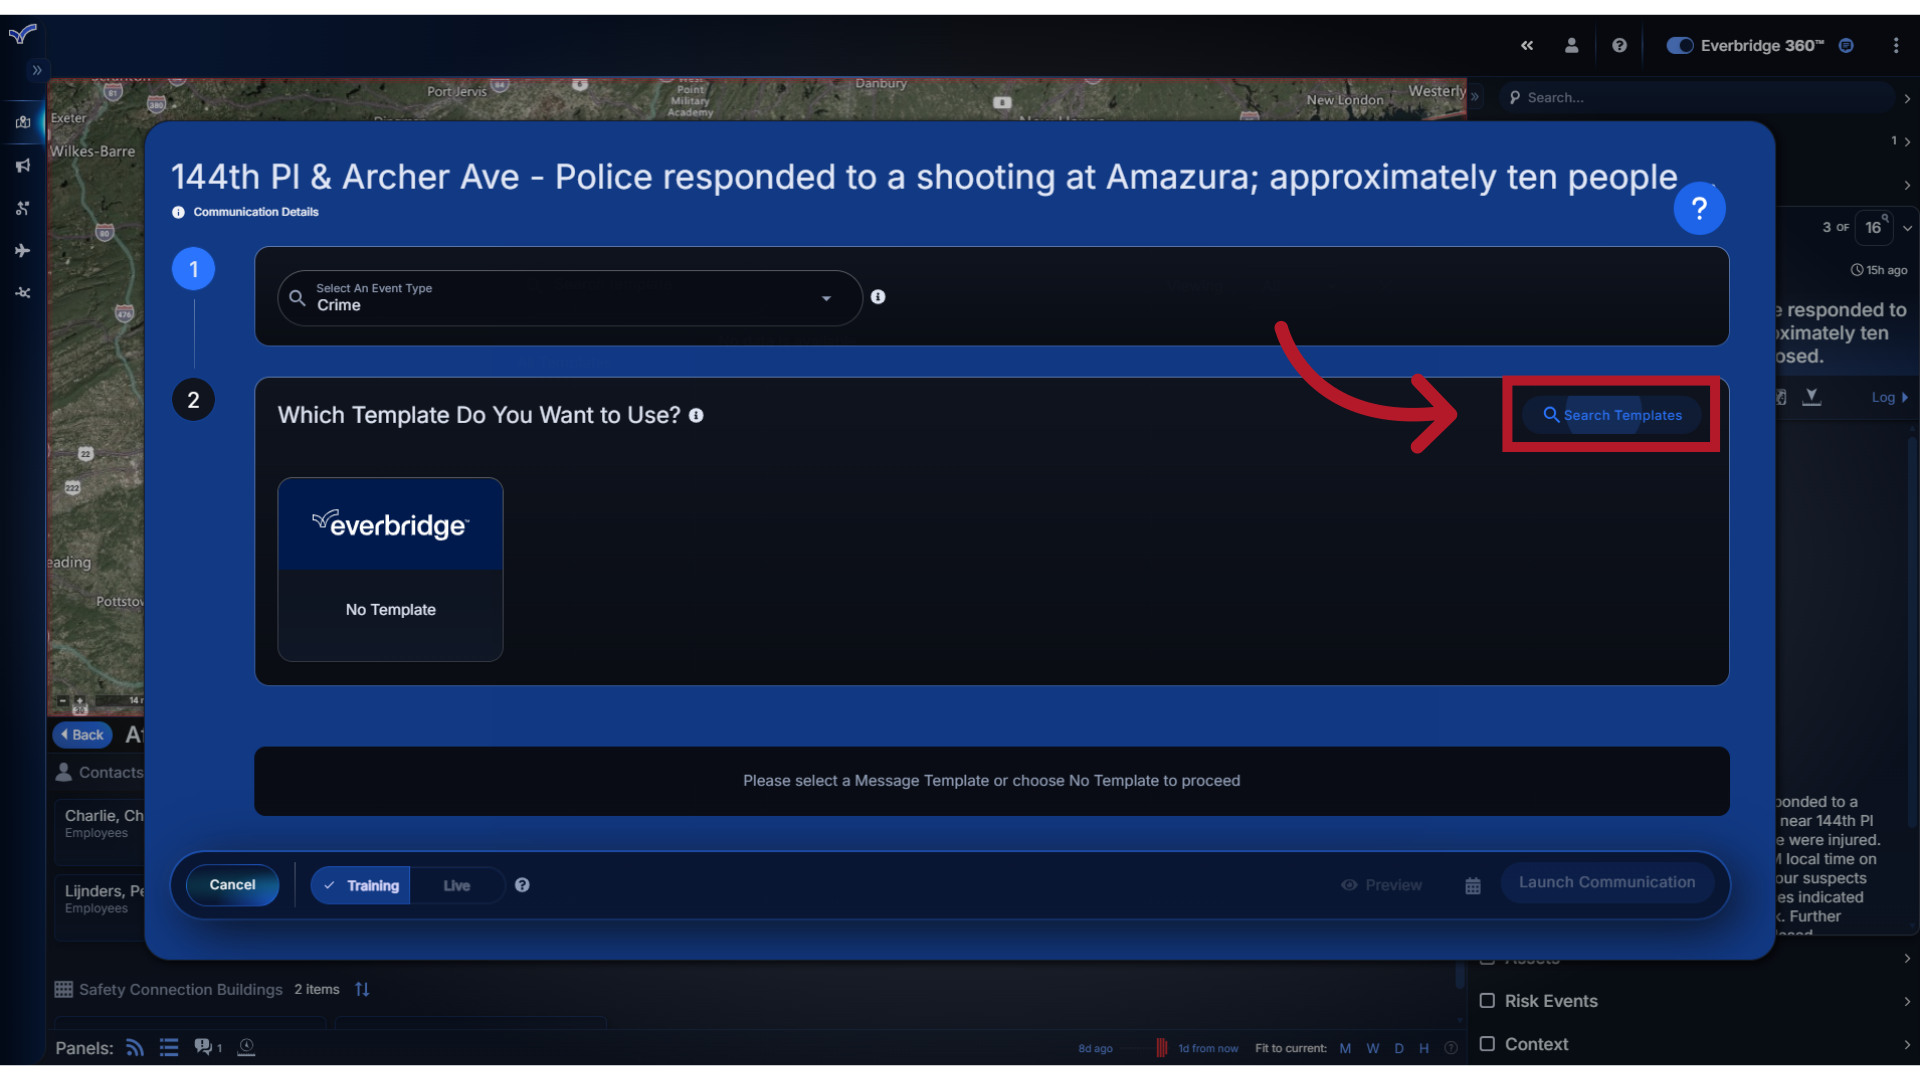
Since we want to use a preconfigured template, click the Search Templates option to access the library of templates you have access to launch.
4. Select
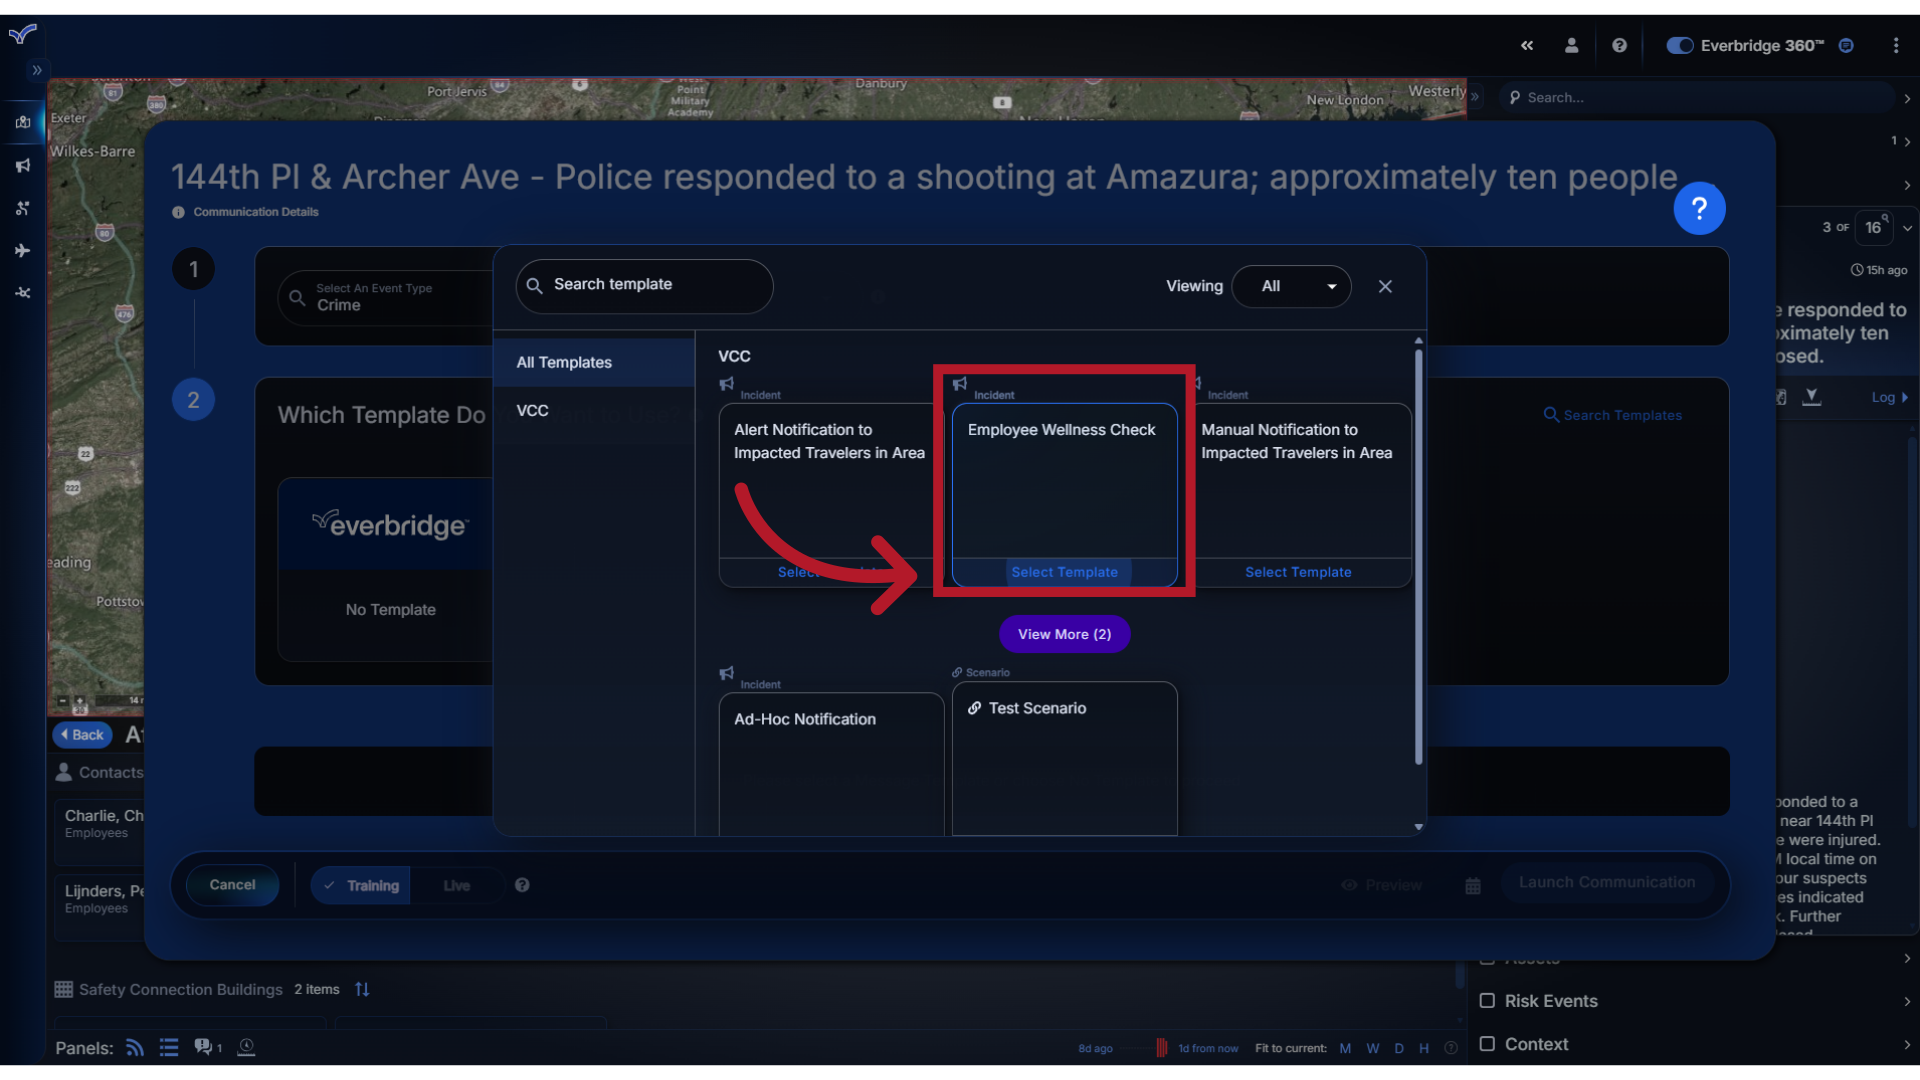
Search for and select the template you want from the available options. For this example, we will select a template that is preconfigured for conducting a wellness check on employees who are potentially impacted by this event.
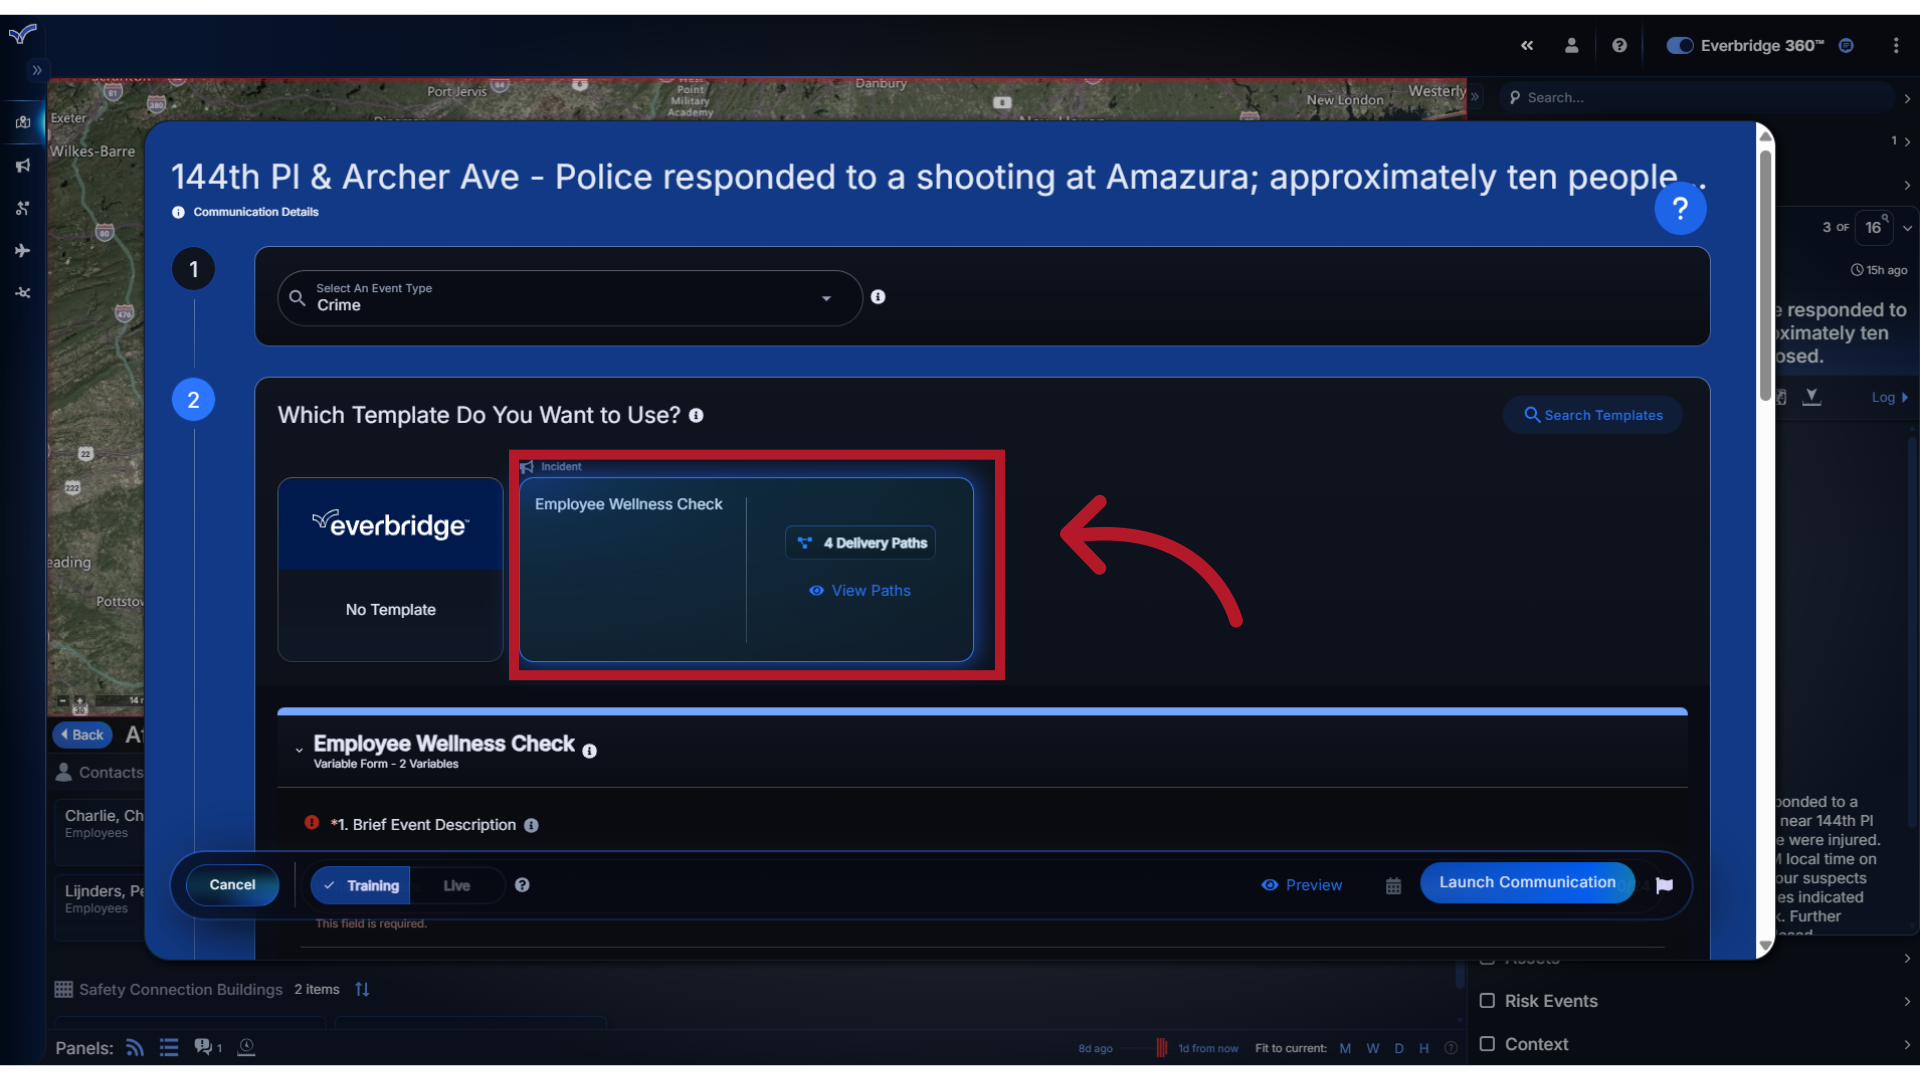
5. Delivery Paths
Once selected, the template and number of Delivery Paths included will display. Depending on the template's settings, you may or may not be able to modify them.
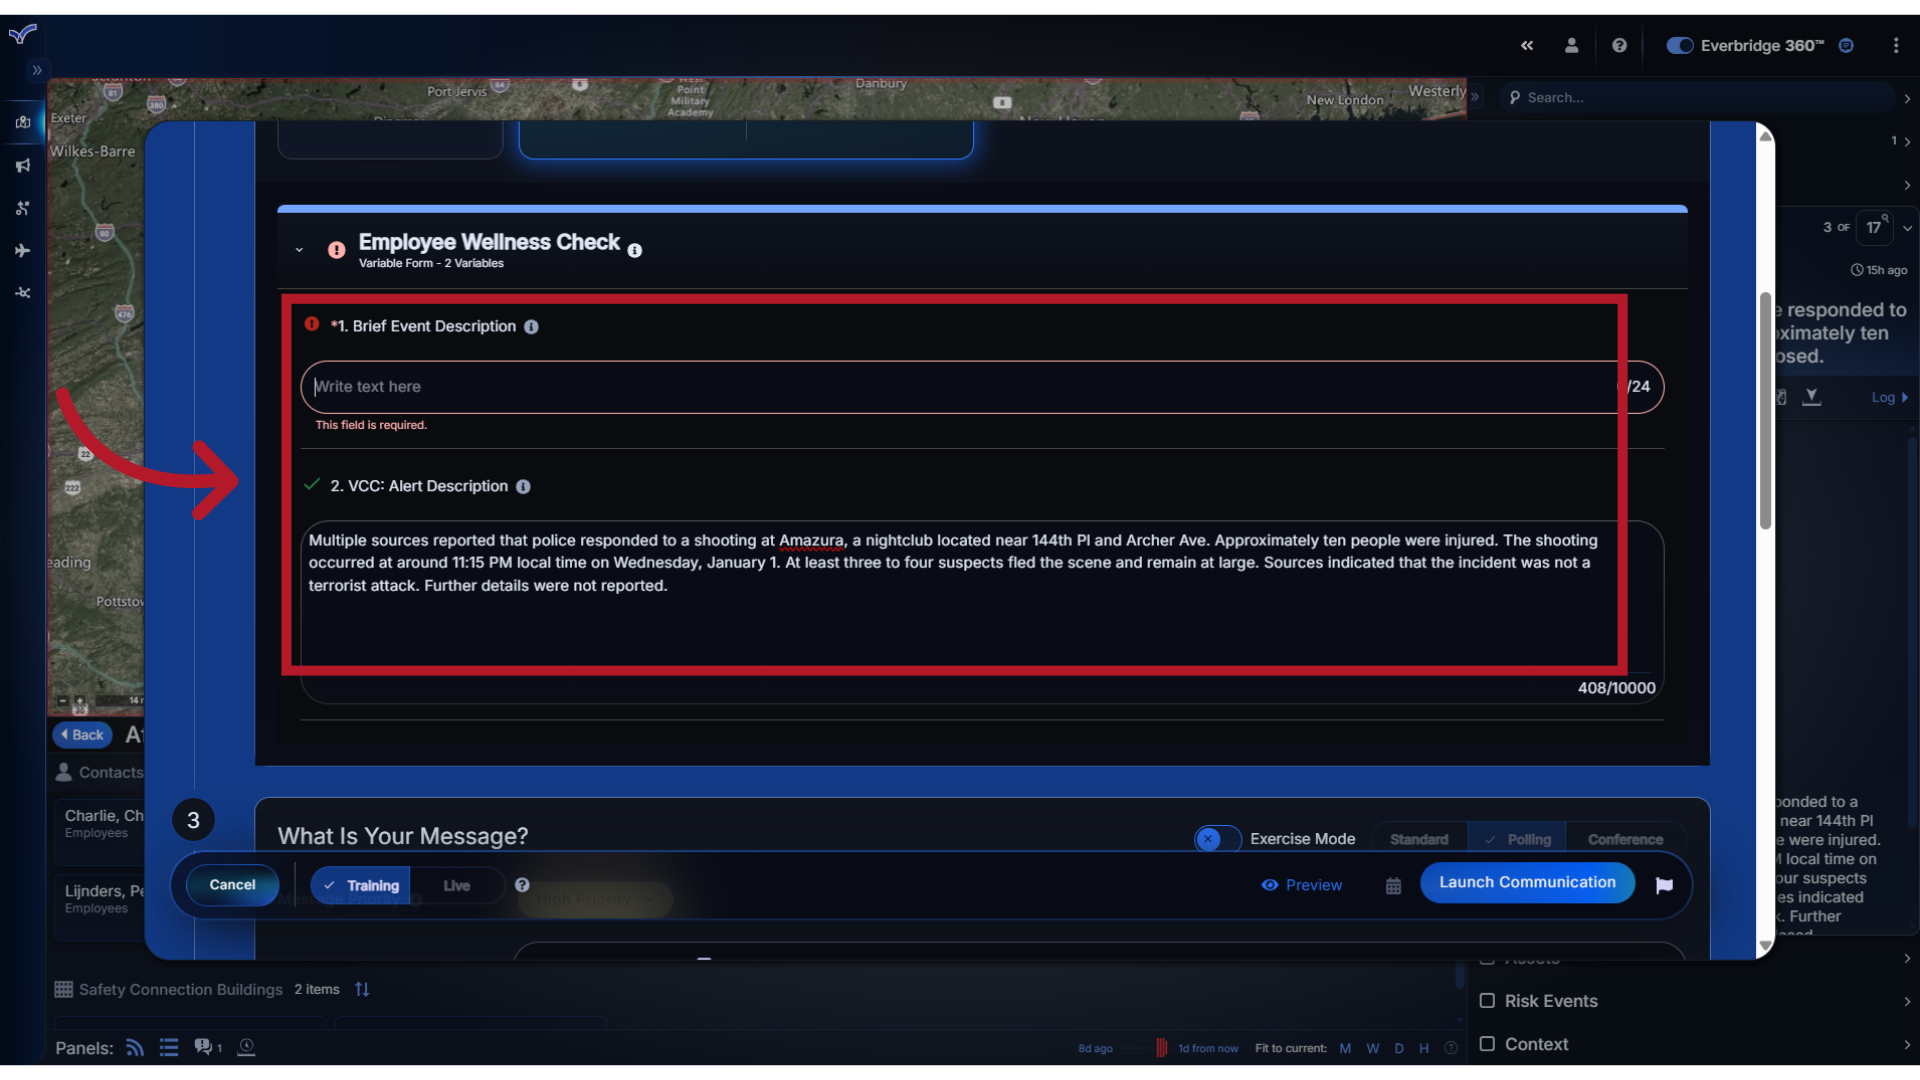
6. Variable Form
The Variable Form is where you will add content for the variables in the template or confirm any preconfigured or auto-filled values. Required variables are noted with a red asterisk.
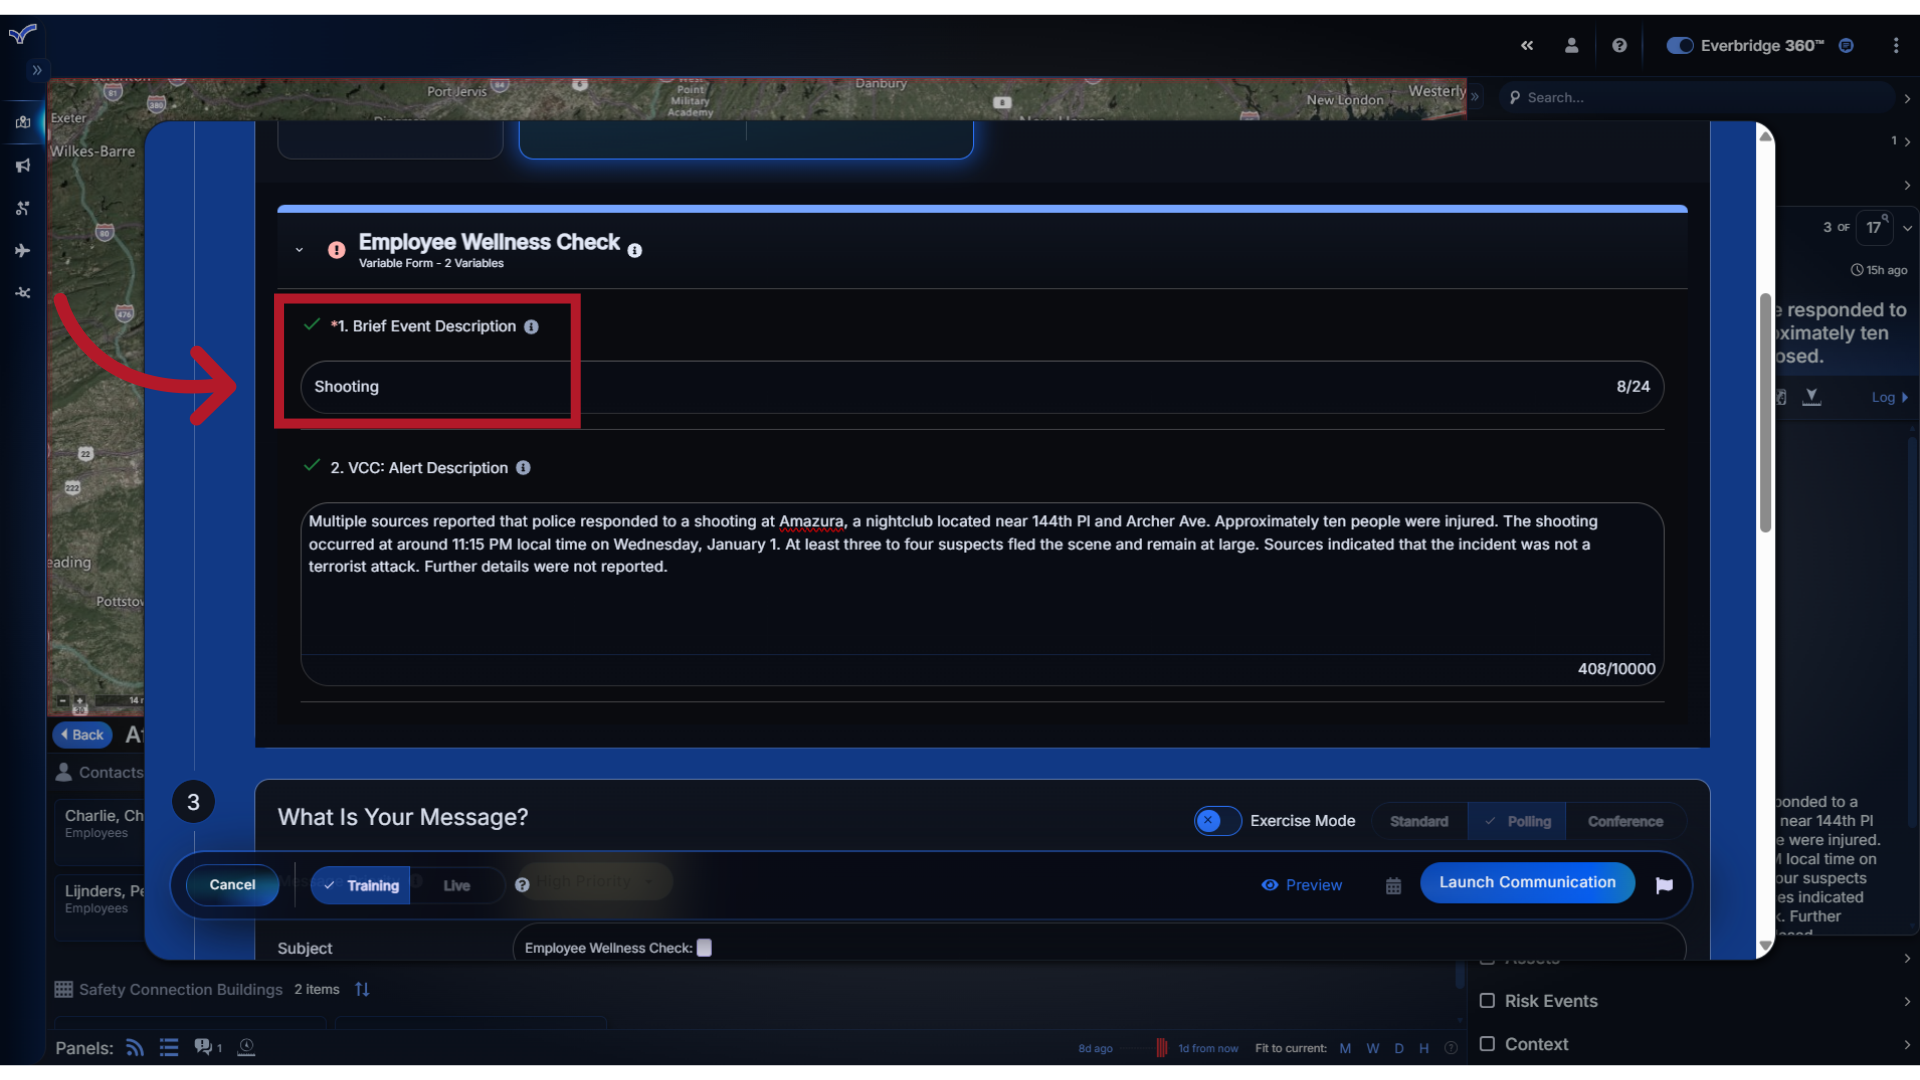
7. Add
Add content for the included variables as needed.
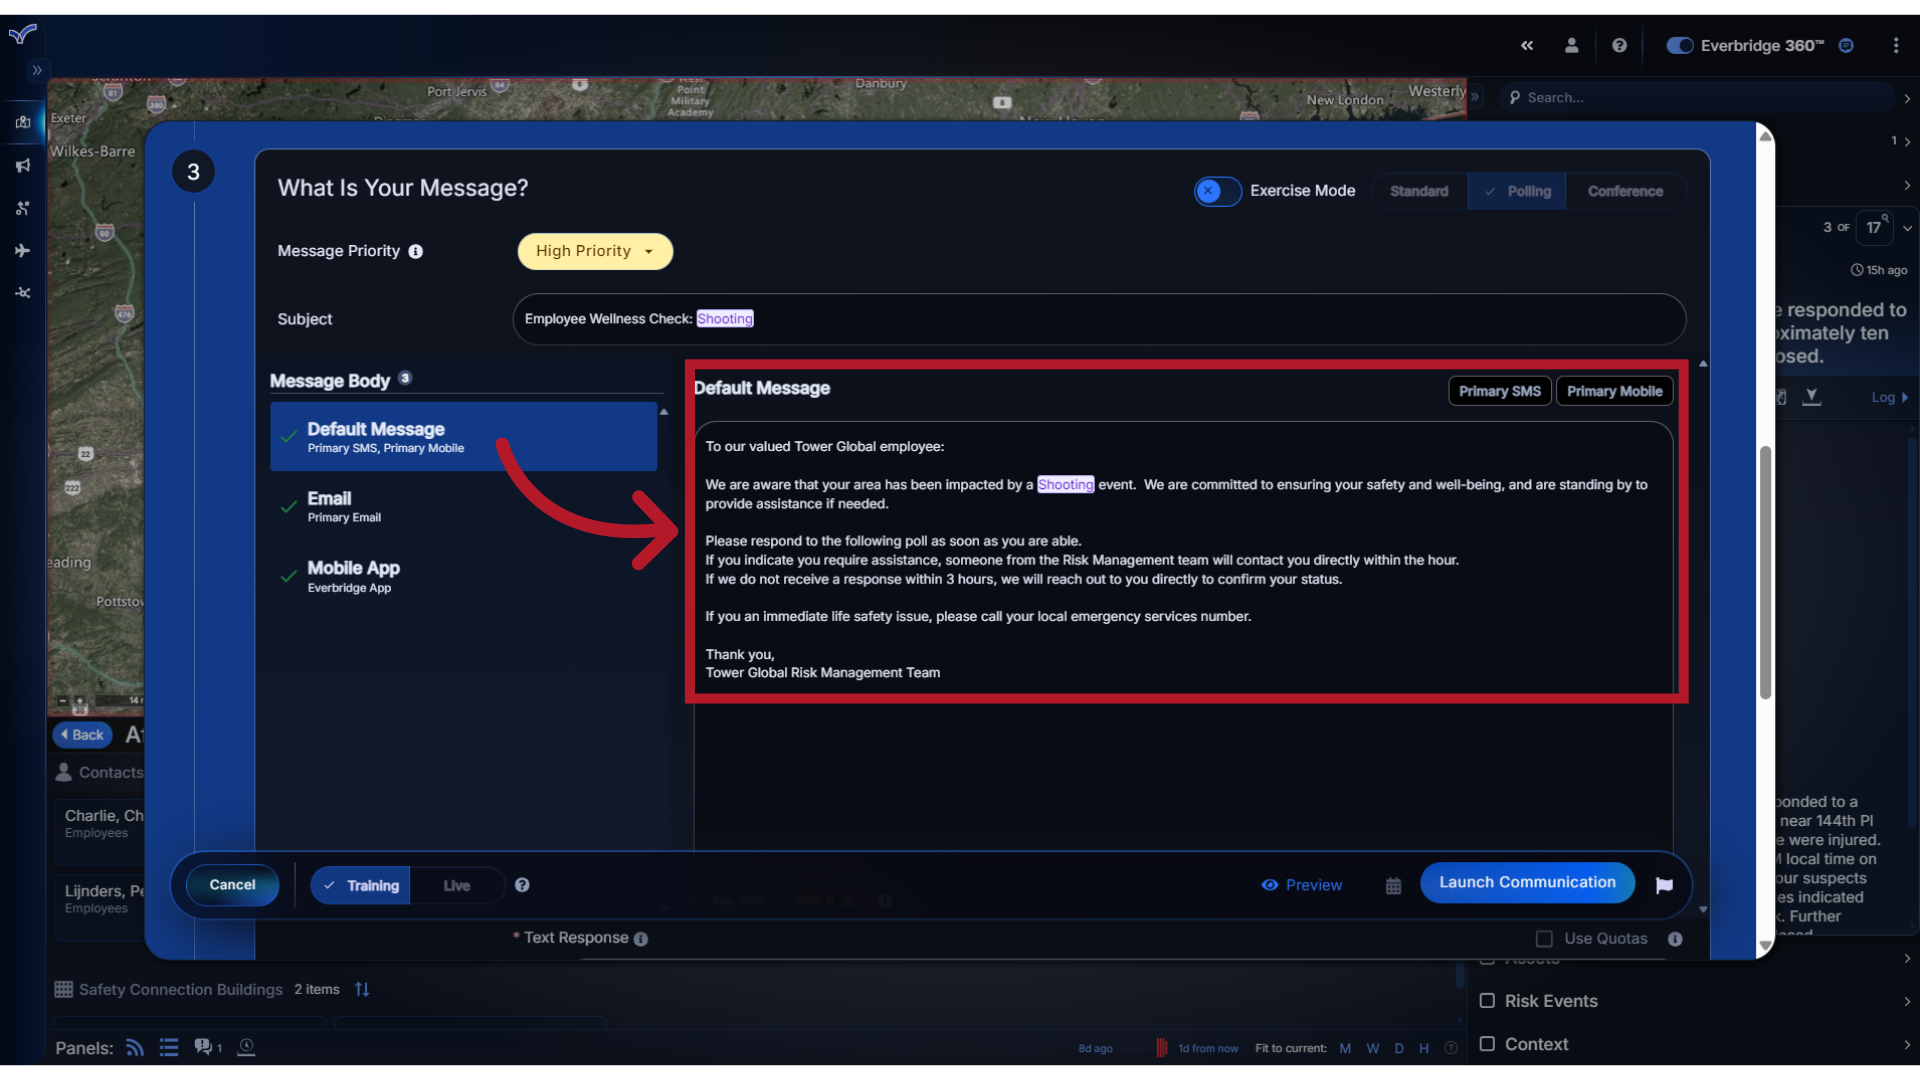
8. Default Message
Now that the Variable Form has been completed, you can review how the content will appear within the templated message.
9. Custom Content
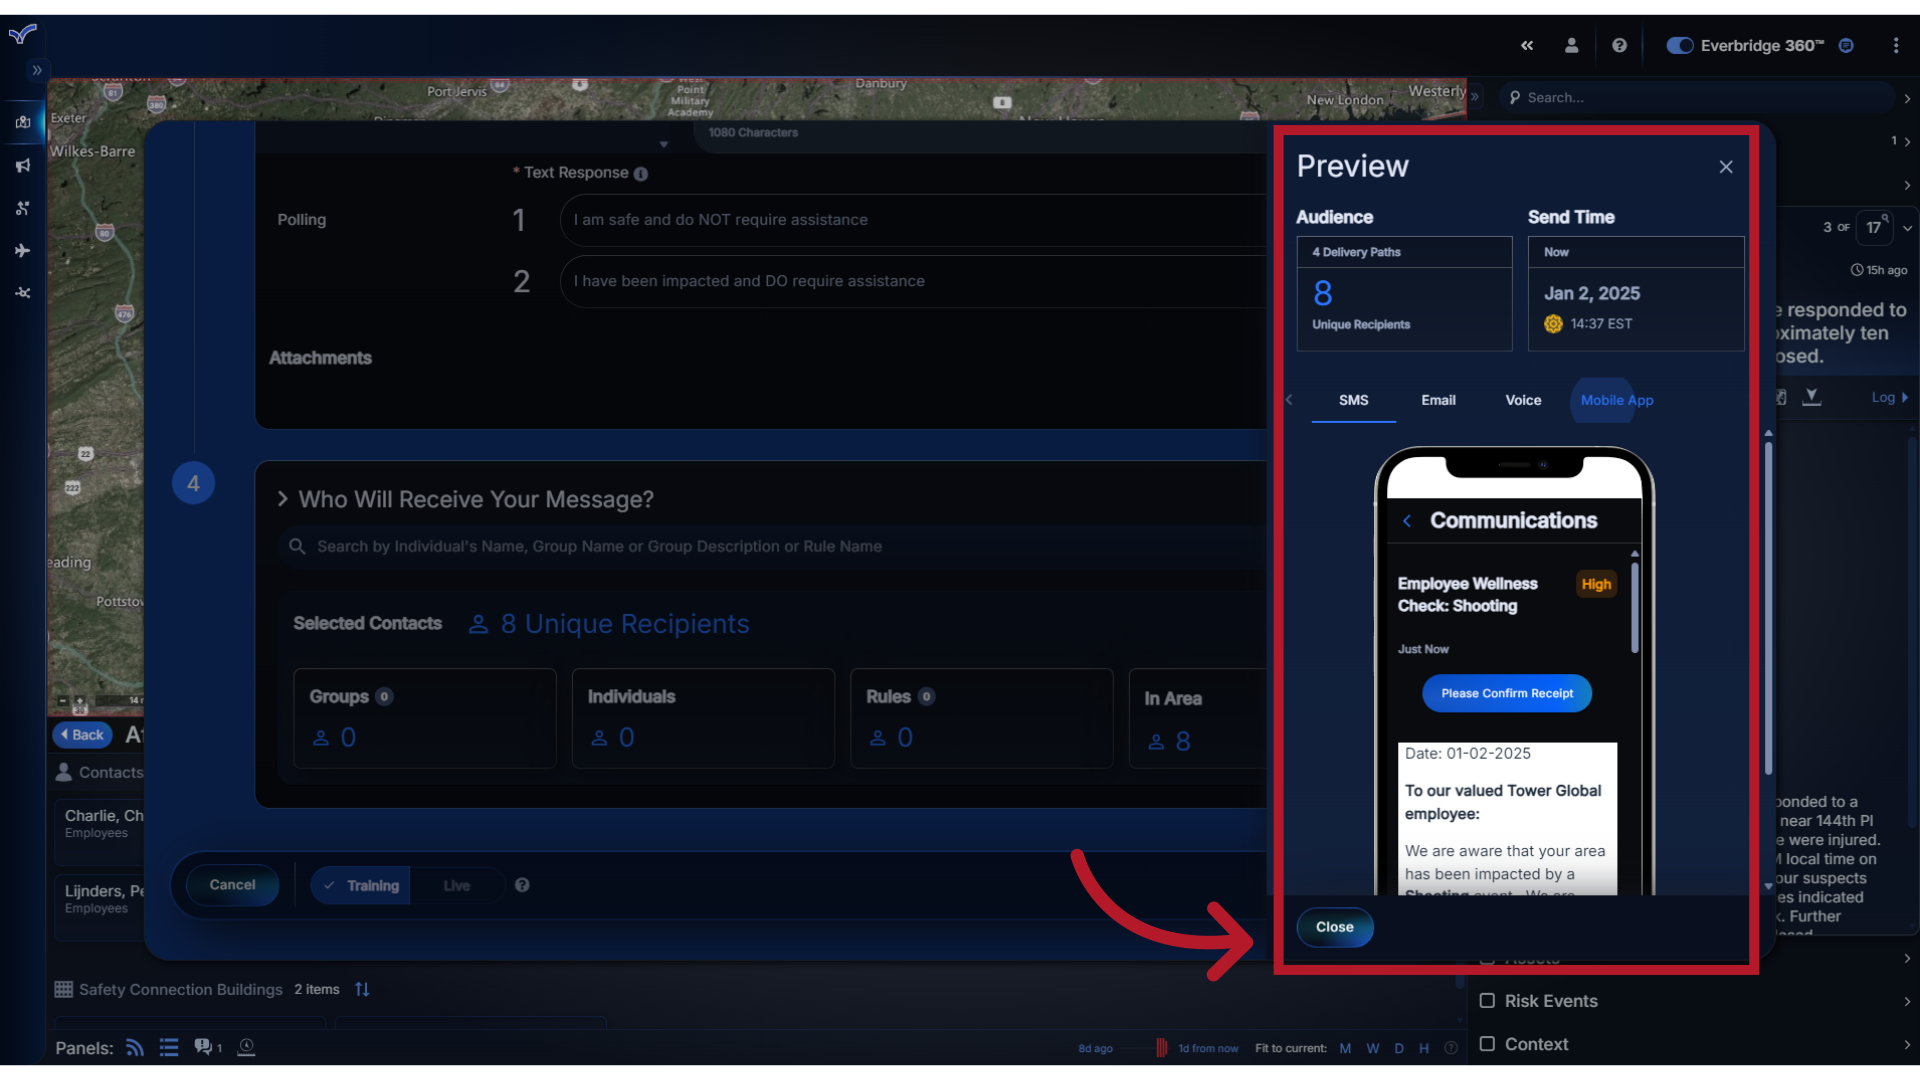
If the template contains custom content for other delivery paths, you can select the path name to view the message. System variables such as "Today's Date" can be validated when using the Preview option prior to launching.
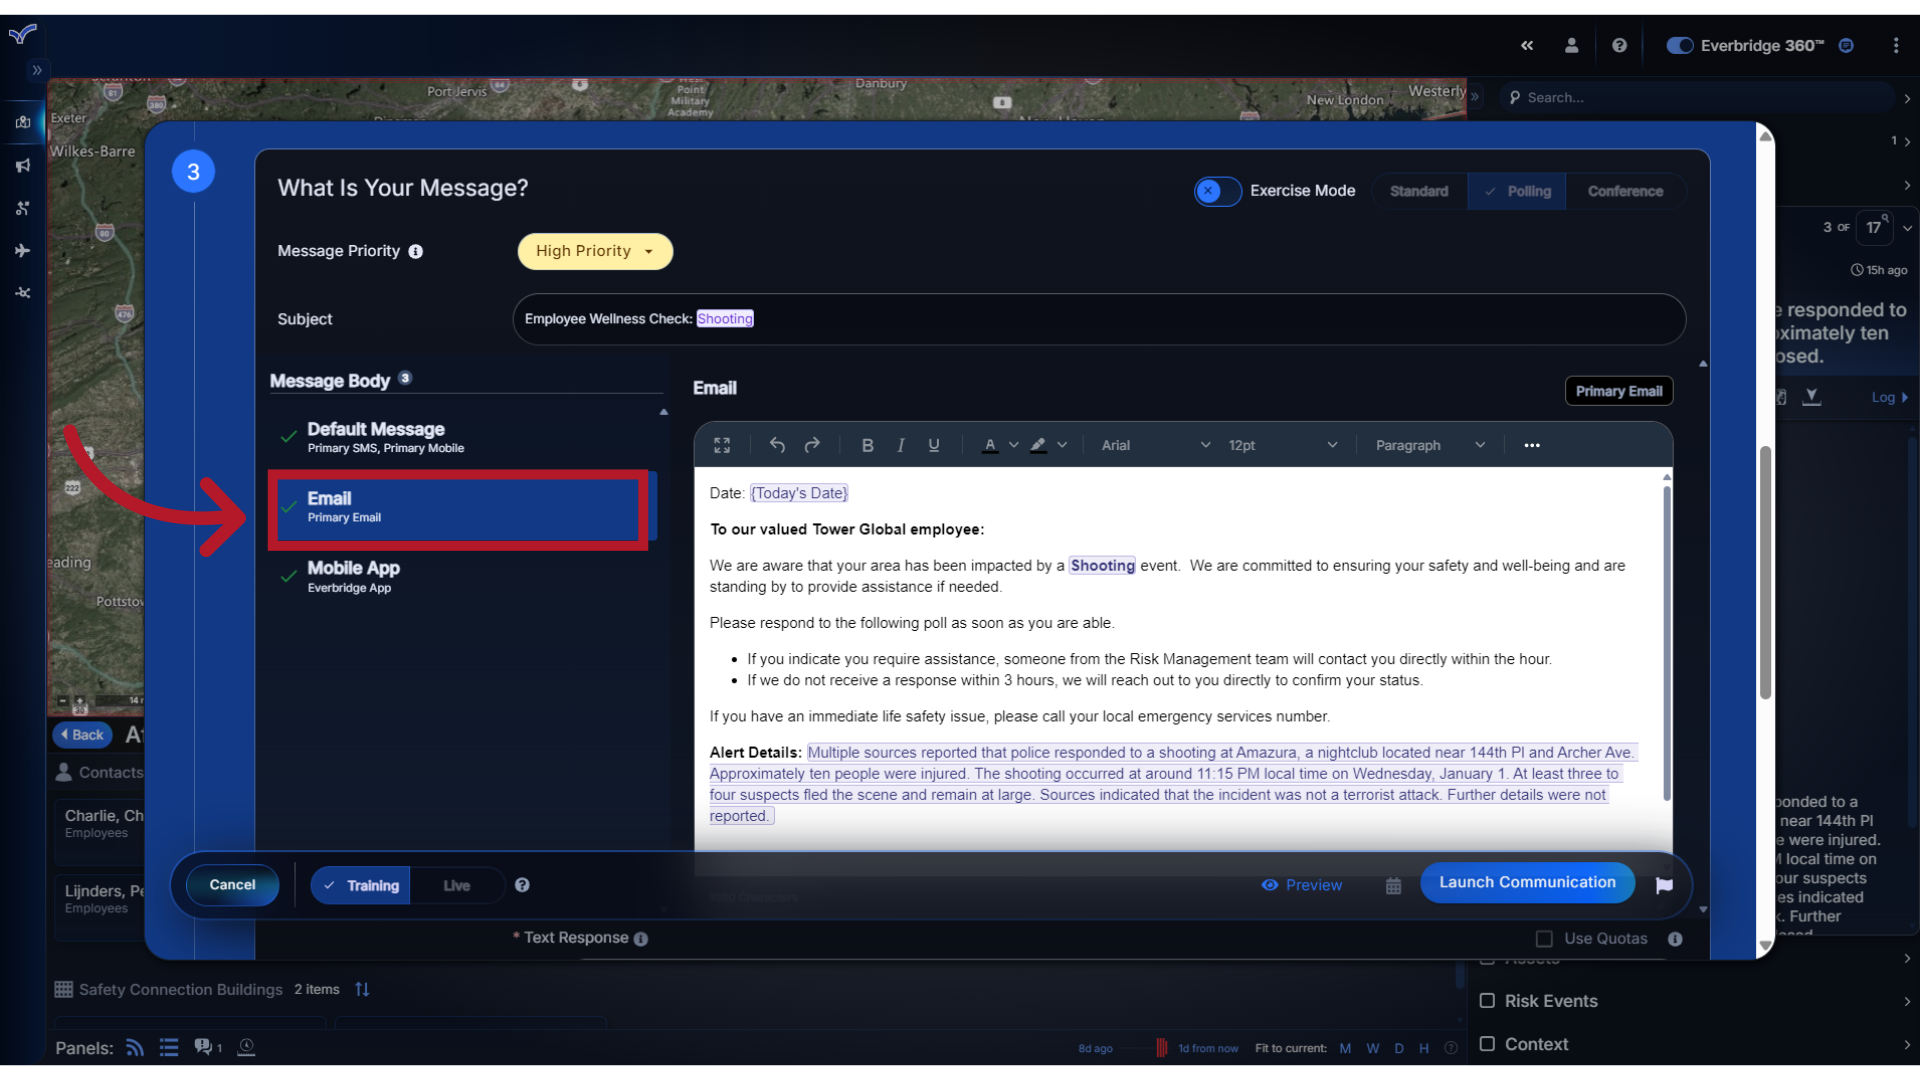
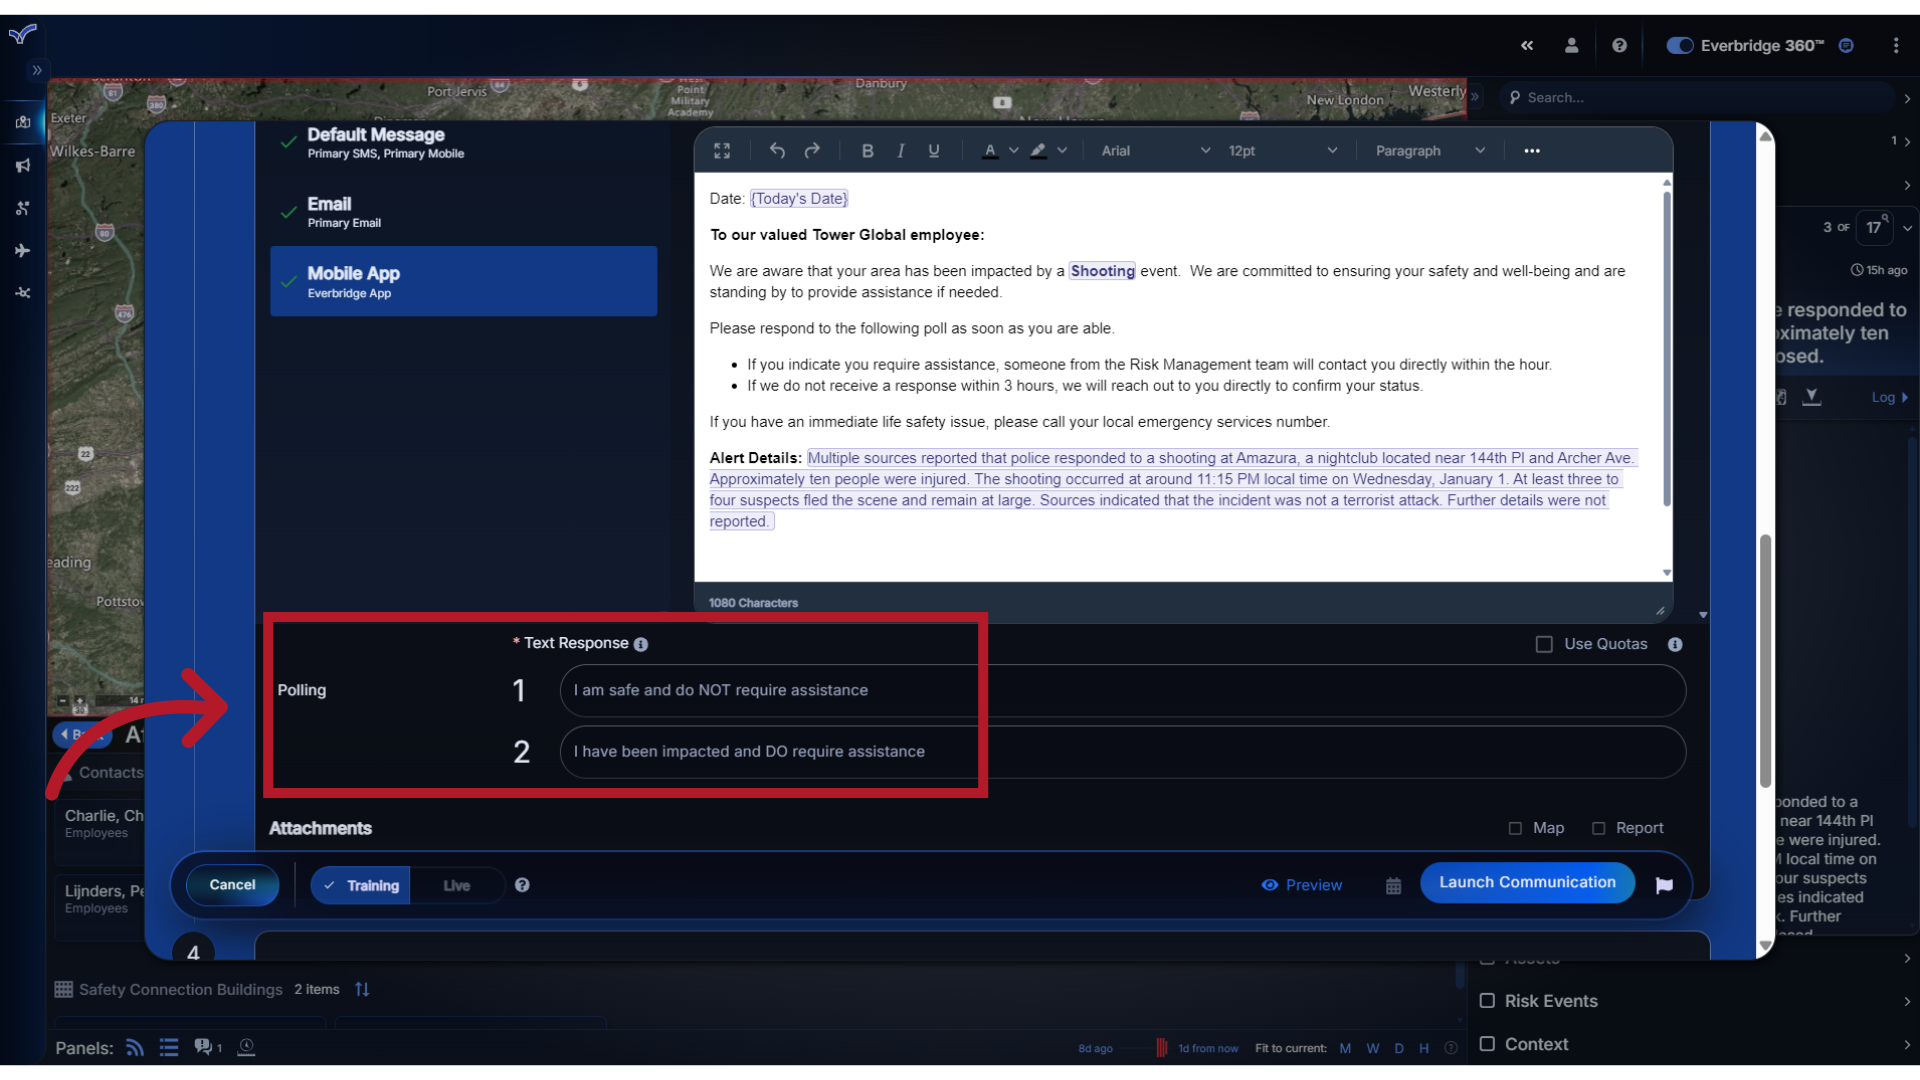
10. Message Type
You can also see the Message Type that has been configured for the template. In this example, the template contains Polling options where the message recipients will choose a response. Depending on the template's permission settings, you may or may not be able to modify the Message Type.
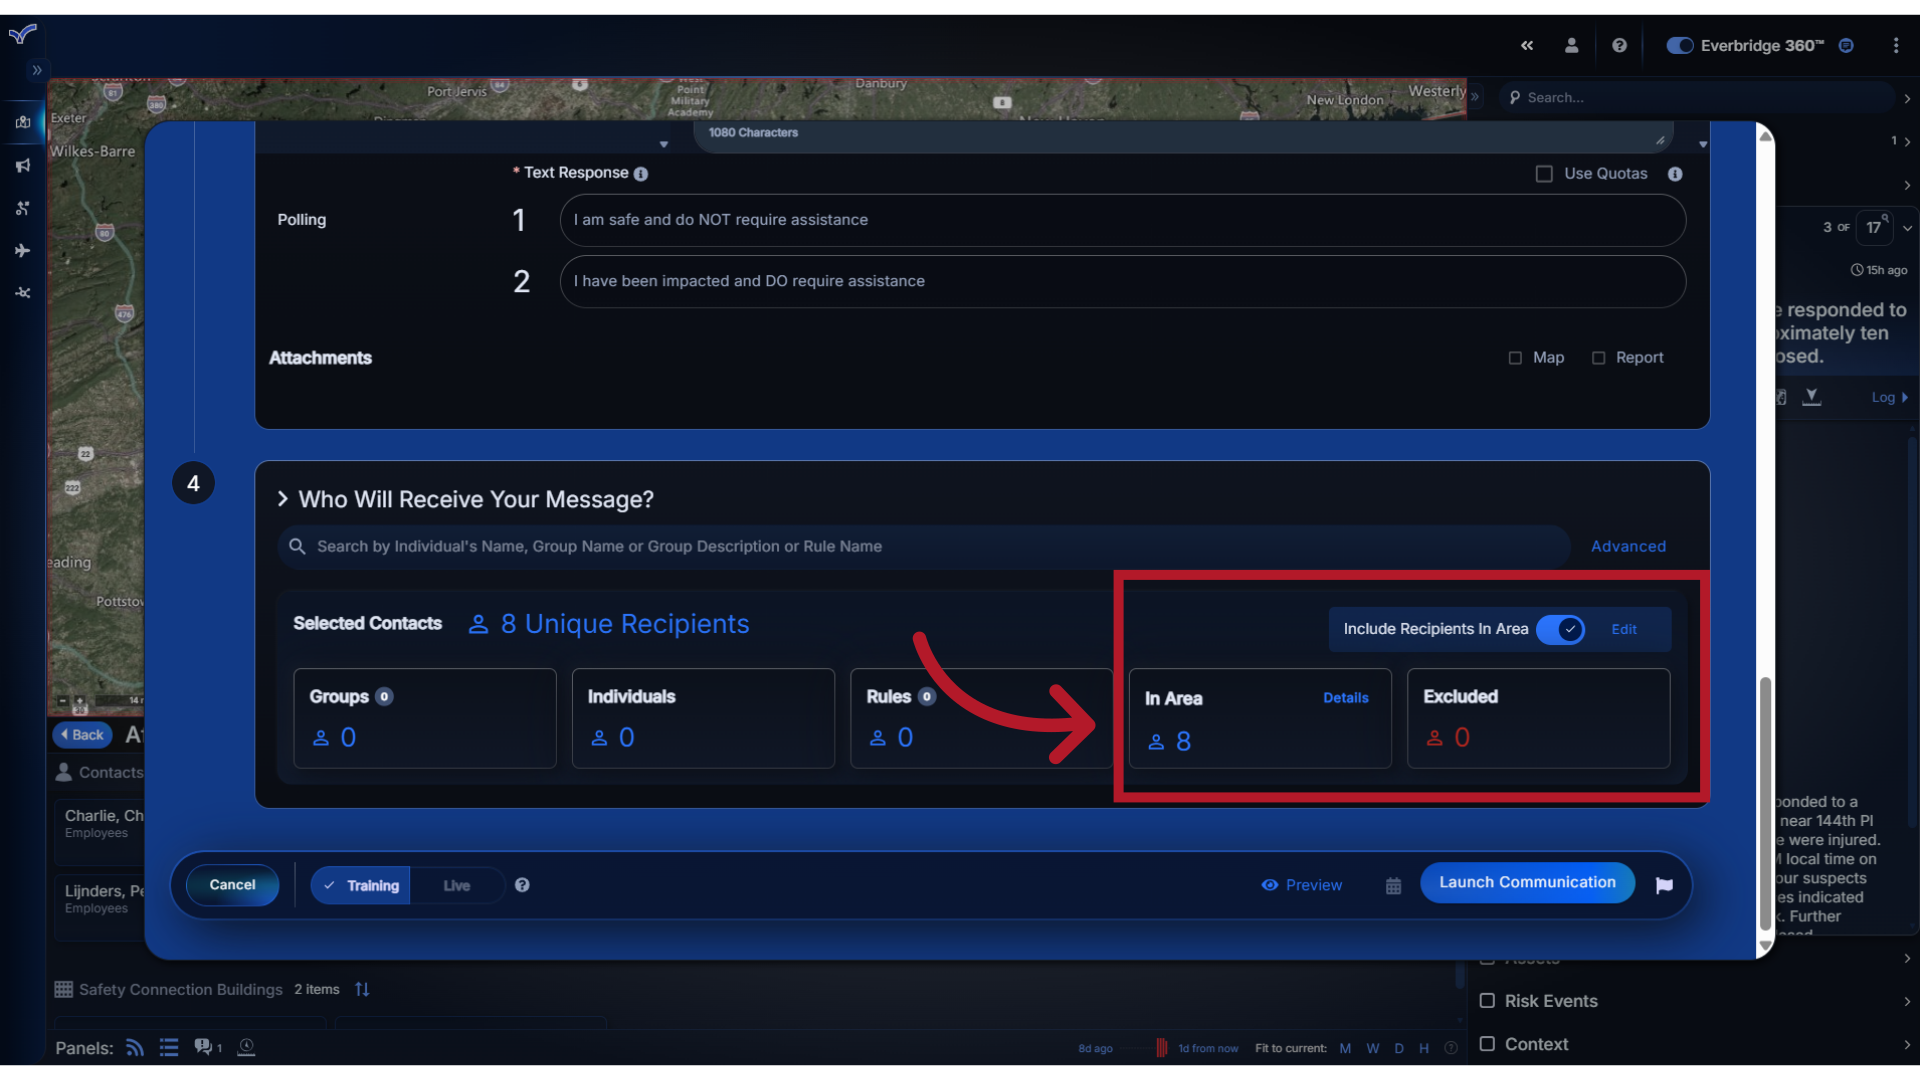
11. Recipients
This template is preconfigured to Include Recipients in Area, which means all contacts who have a location within the Alert radius or polygon will automatically be selected.
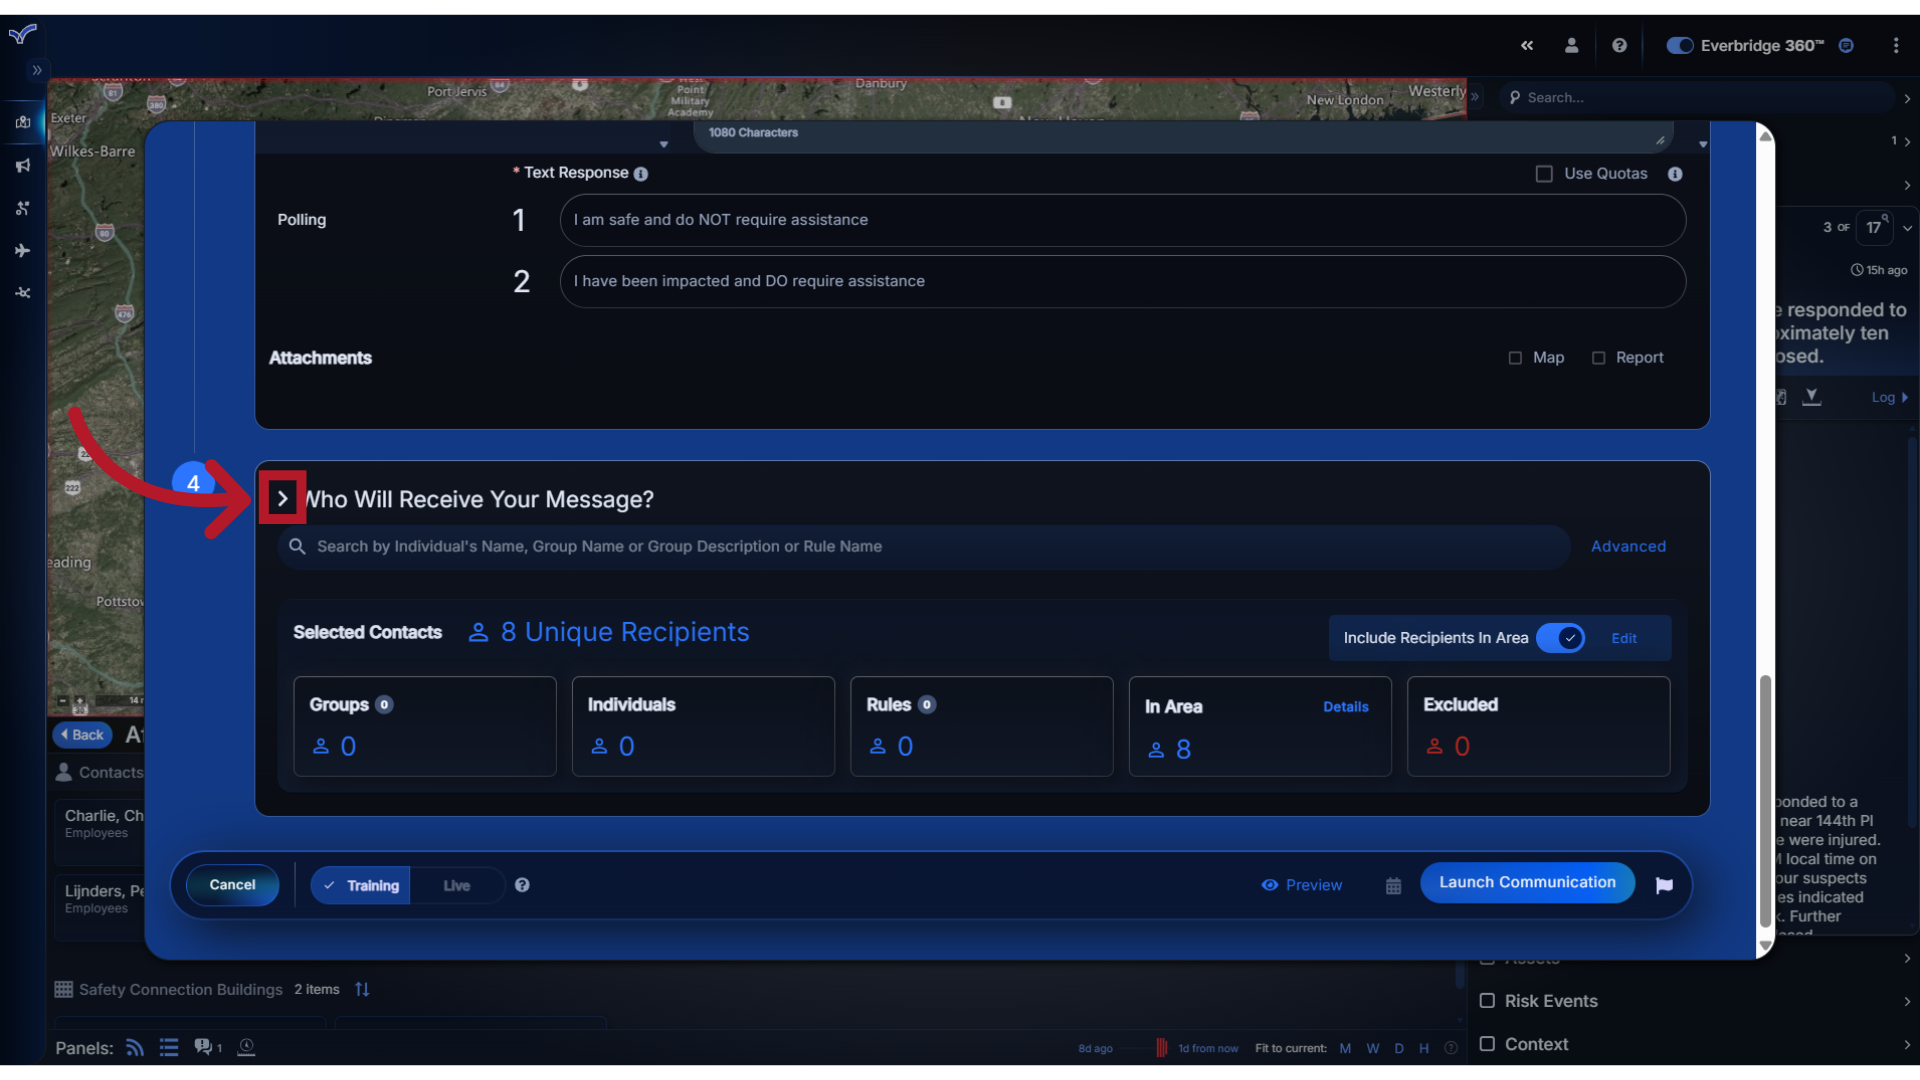
12. Additional Recipients
If needed, and depending on the template permissions, you may be able to add additional recipients. Click the menu next to the "Who Will Receive Your Message" prompt to access the selection options.
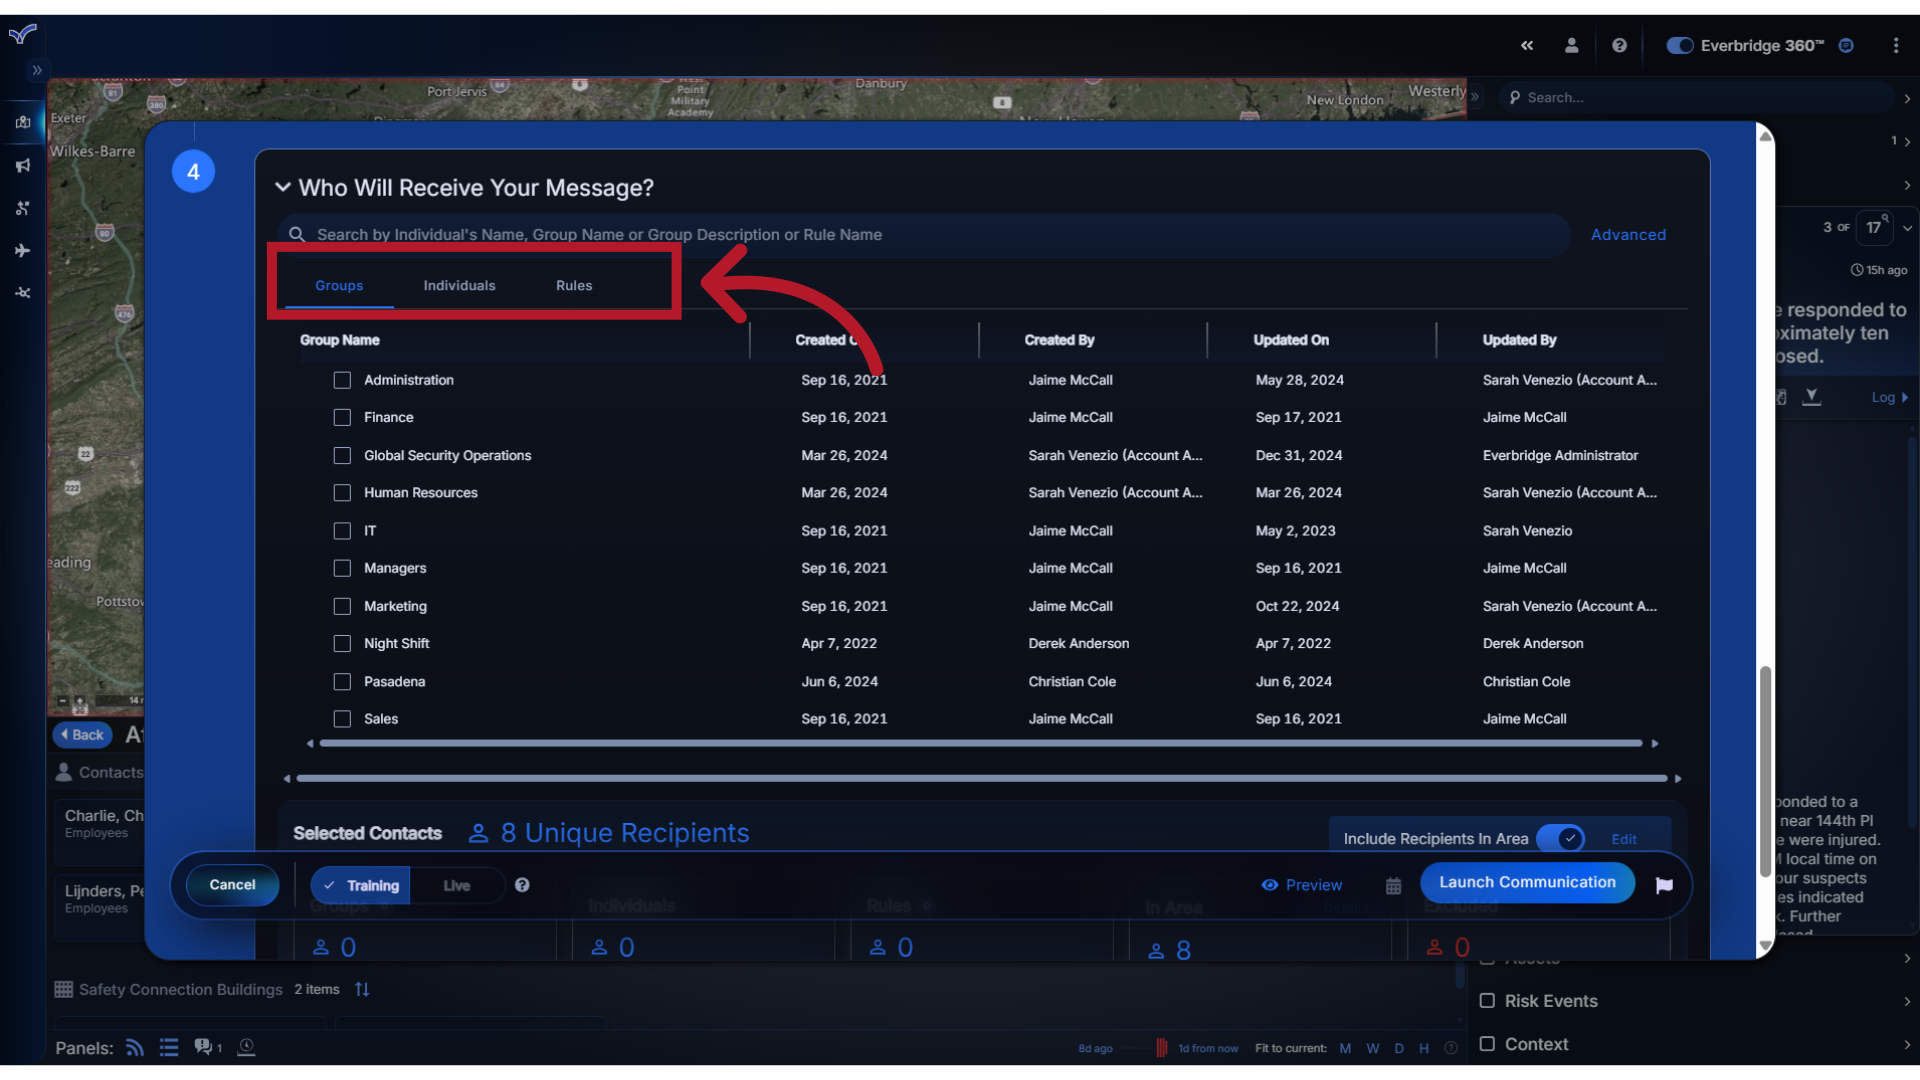
13. Select
This is where you can manually select message recipients by selecting from the Groups, Individuals or Rules your Role has access to.
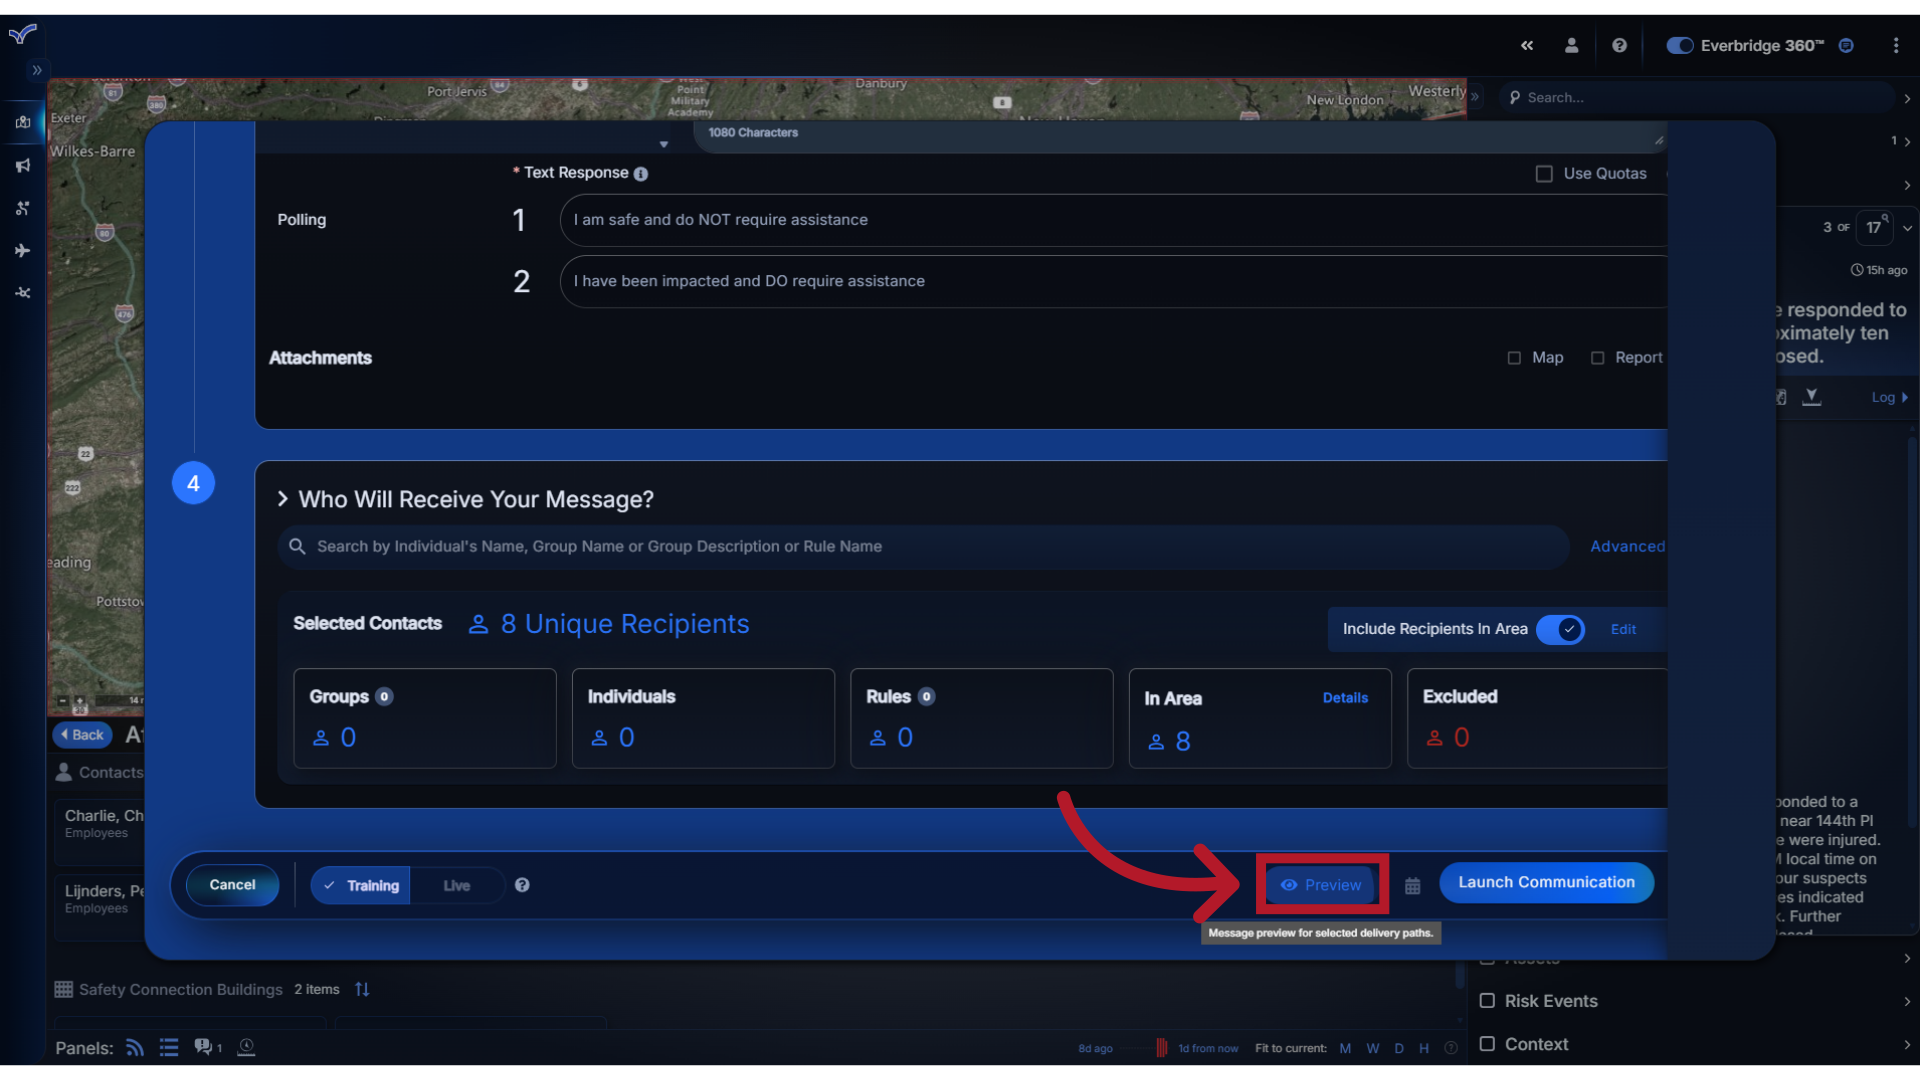
14. Preview
If needed, select Preview to review your Communication details prior to launching.
15. Close
When done reviewing, click Close to return to the form.
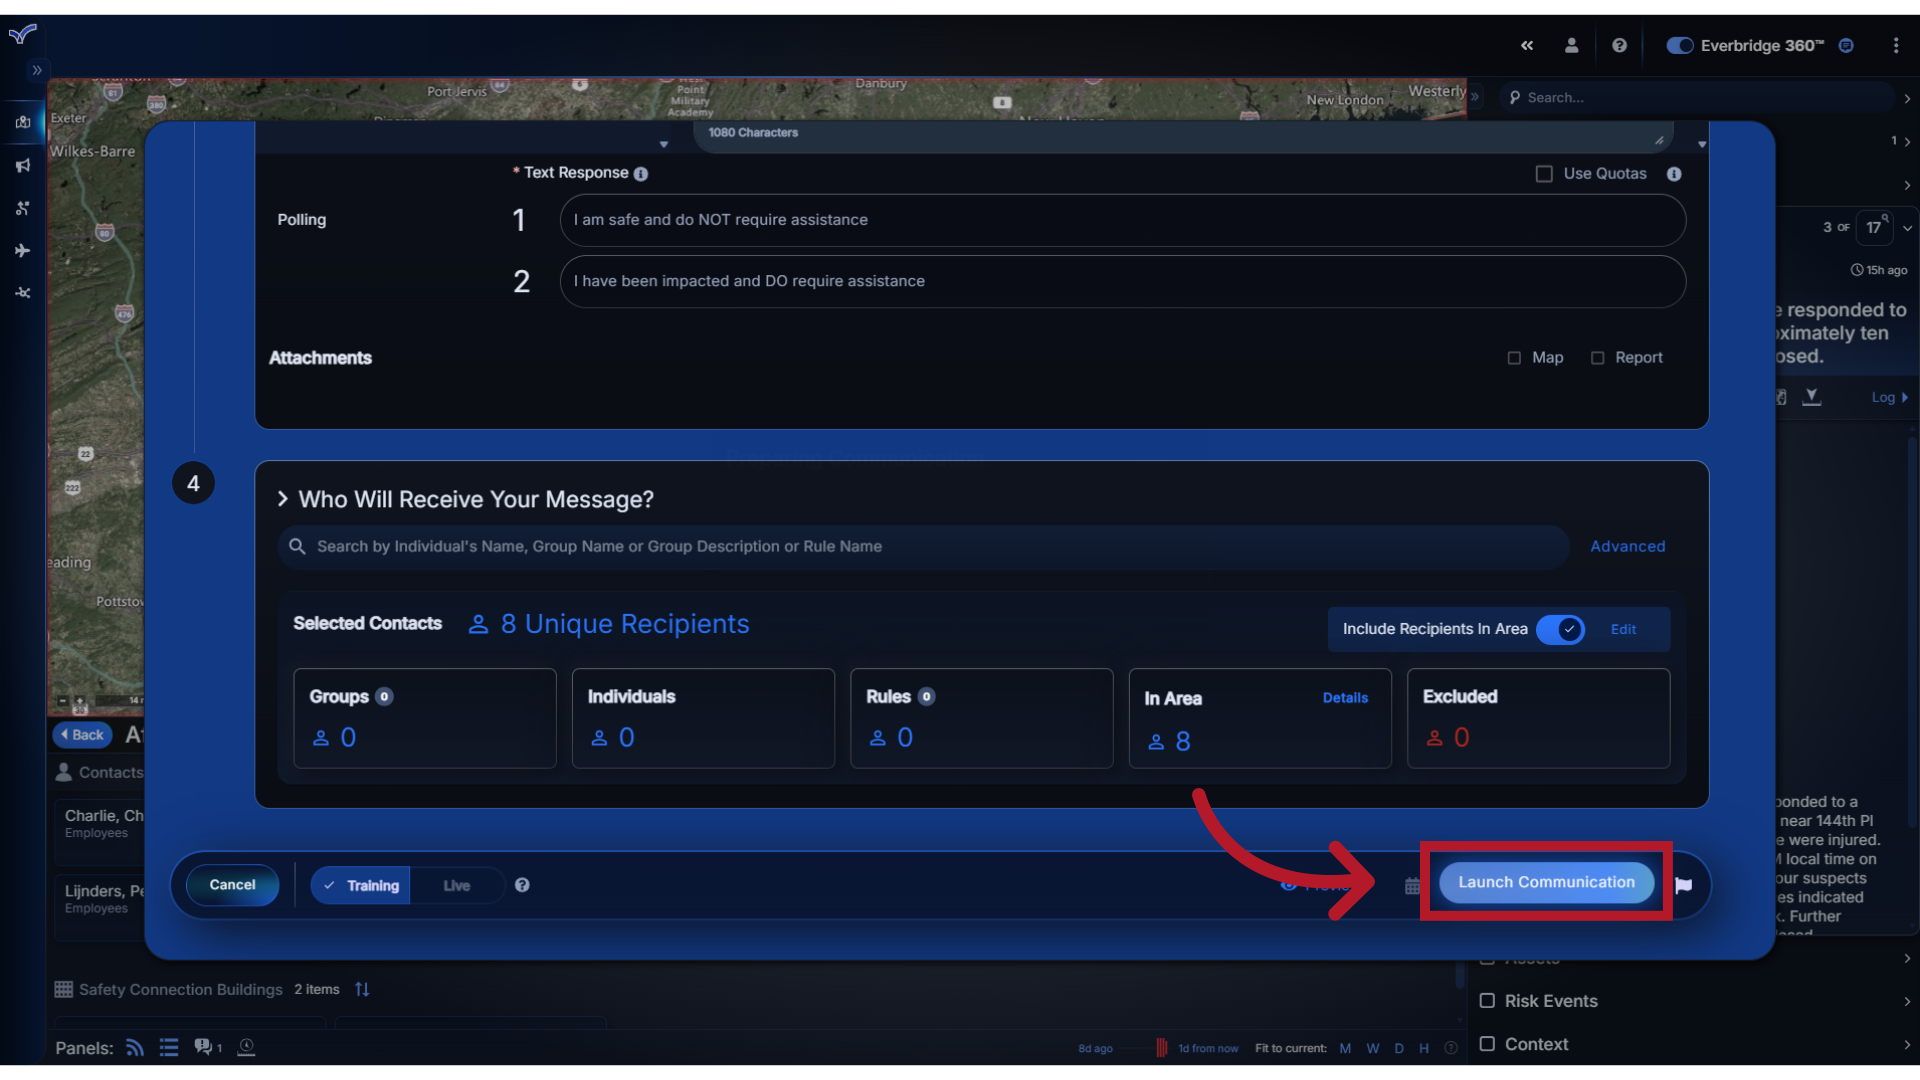
16. Launch
Then click "Launch Communication" to initiate the communication launch.
17. Launch
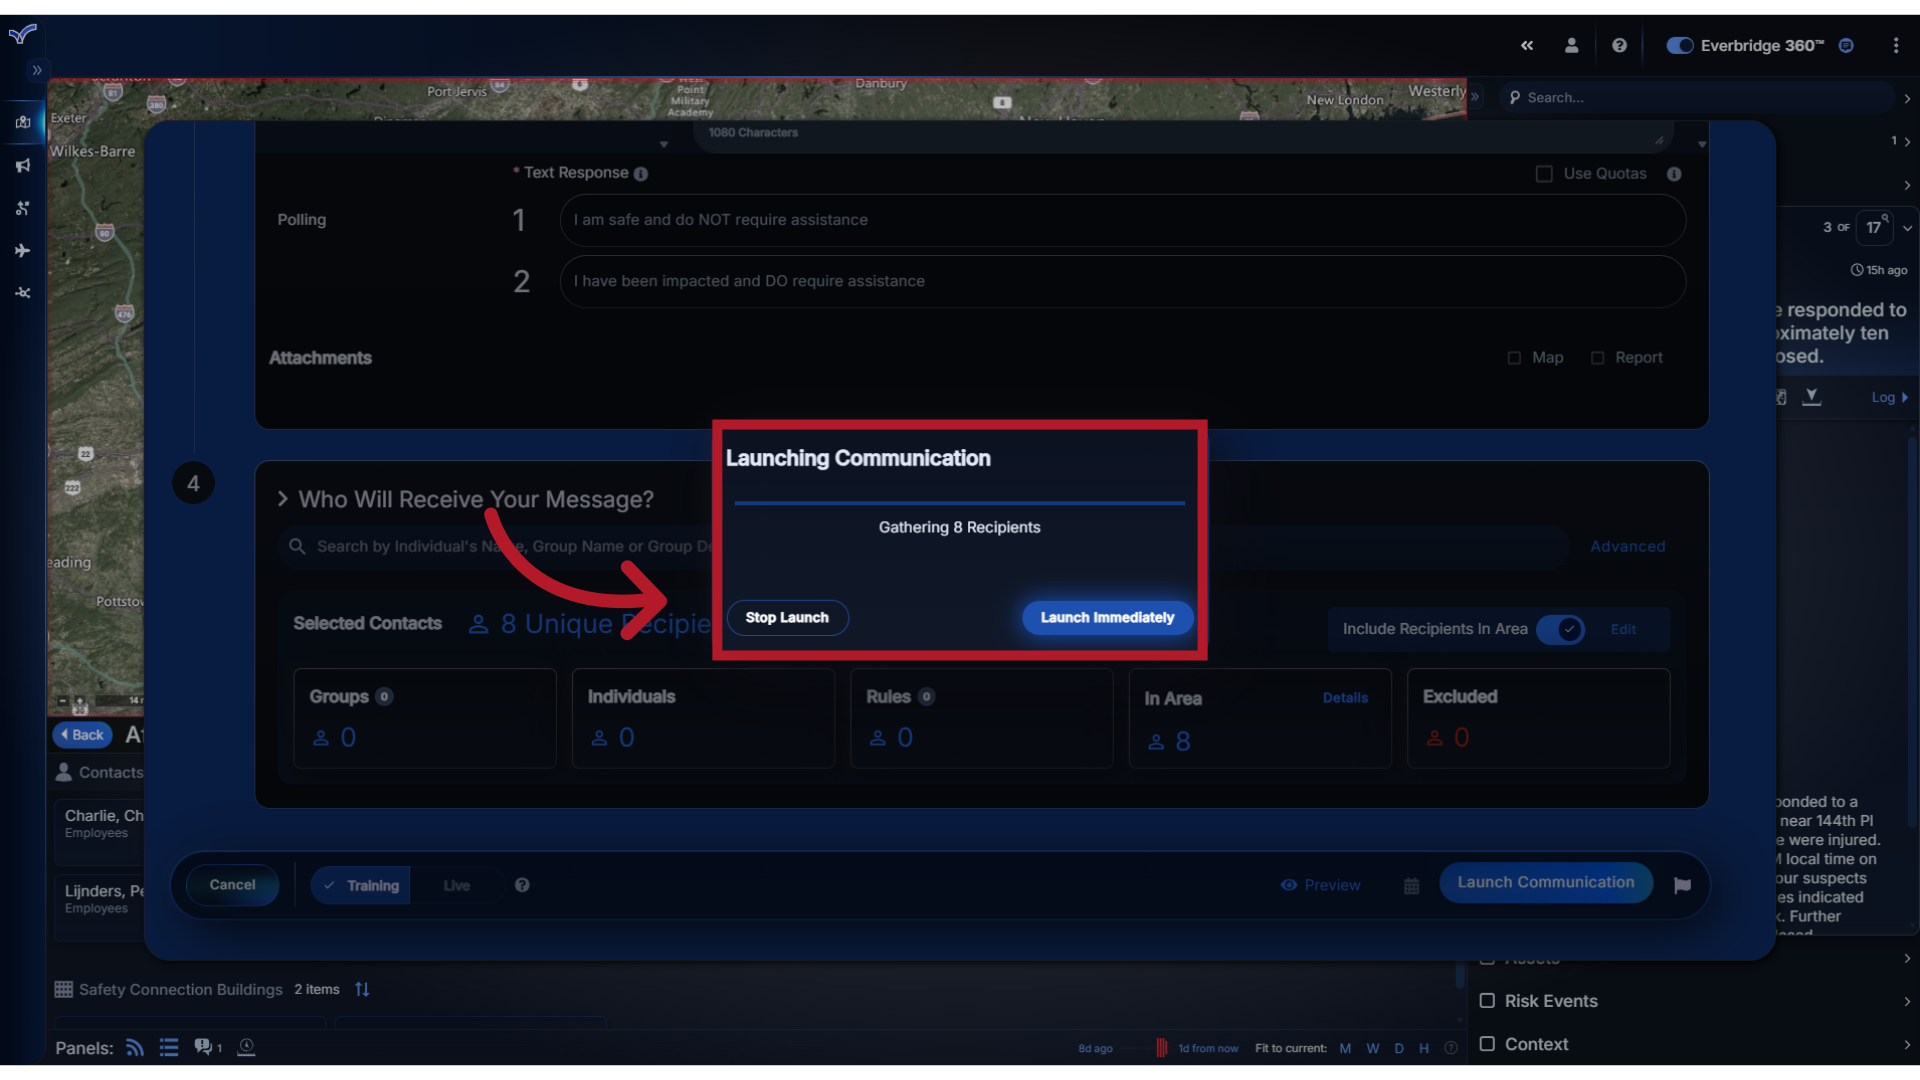
You can choose to Launch Immediately or allow the system to automatically launch after 10 seconds.
18. Success
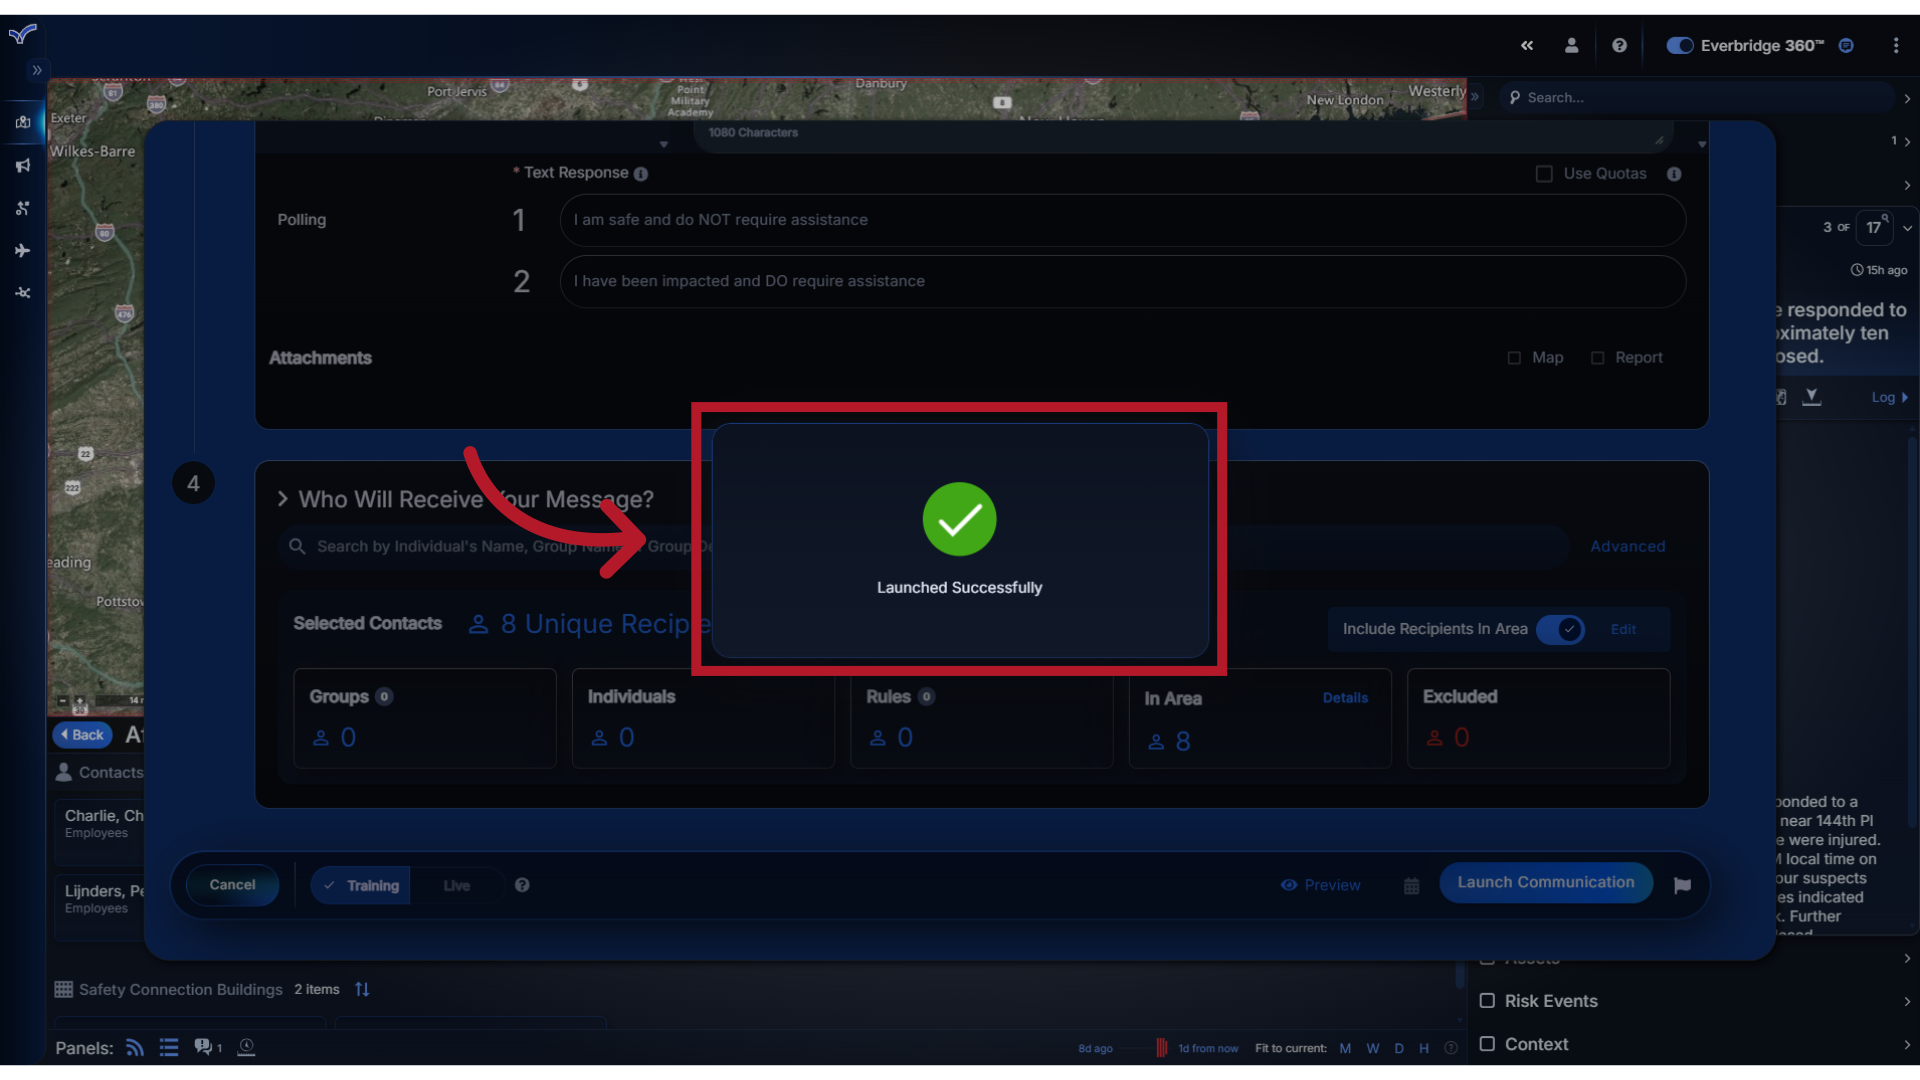
Once your message has been sent, you will see the confirmation that the Communication has Launched Successfully.
Through this guide, you have learned the basics of how to launch a Communication from an alert in Visual Command Center using a preconfigured template. Thank you for watching!