Topic
Alert actions in Visual Command Center (VCC).
Description
Once you have assessed an Alert in Visual Command Center, you need to decide how to respond to it and choose the action that represents the best way to handle the situation. This tutorial will review the actions that are available from an alert in the VCC Operator Console. Depending on your organization's features and your permissions, you may not see all the actions reviewed here.
Go to vcc.everbridge.net
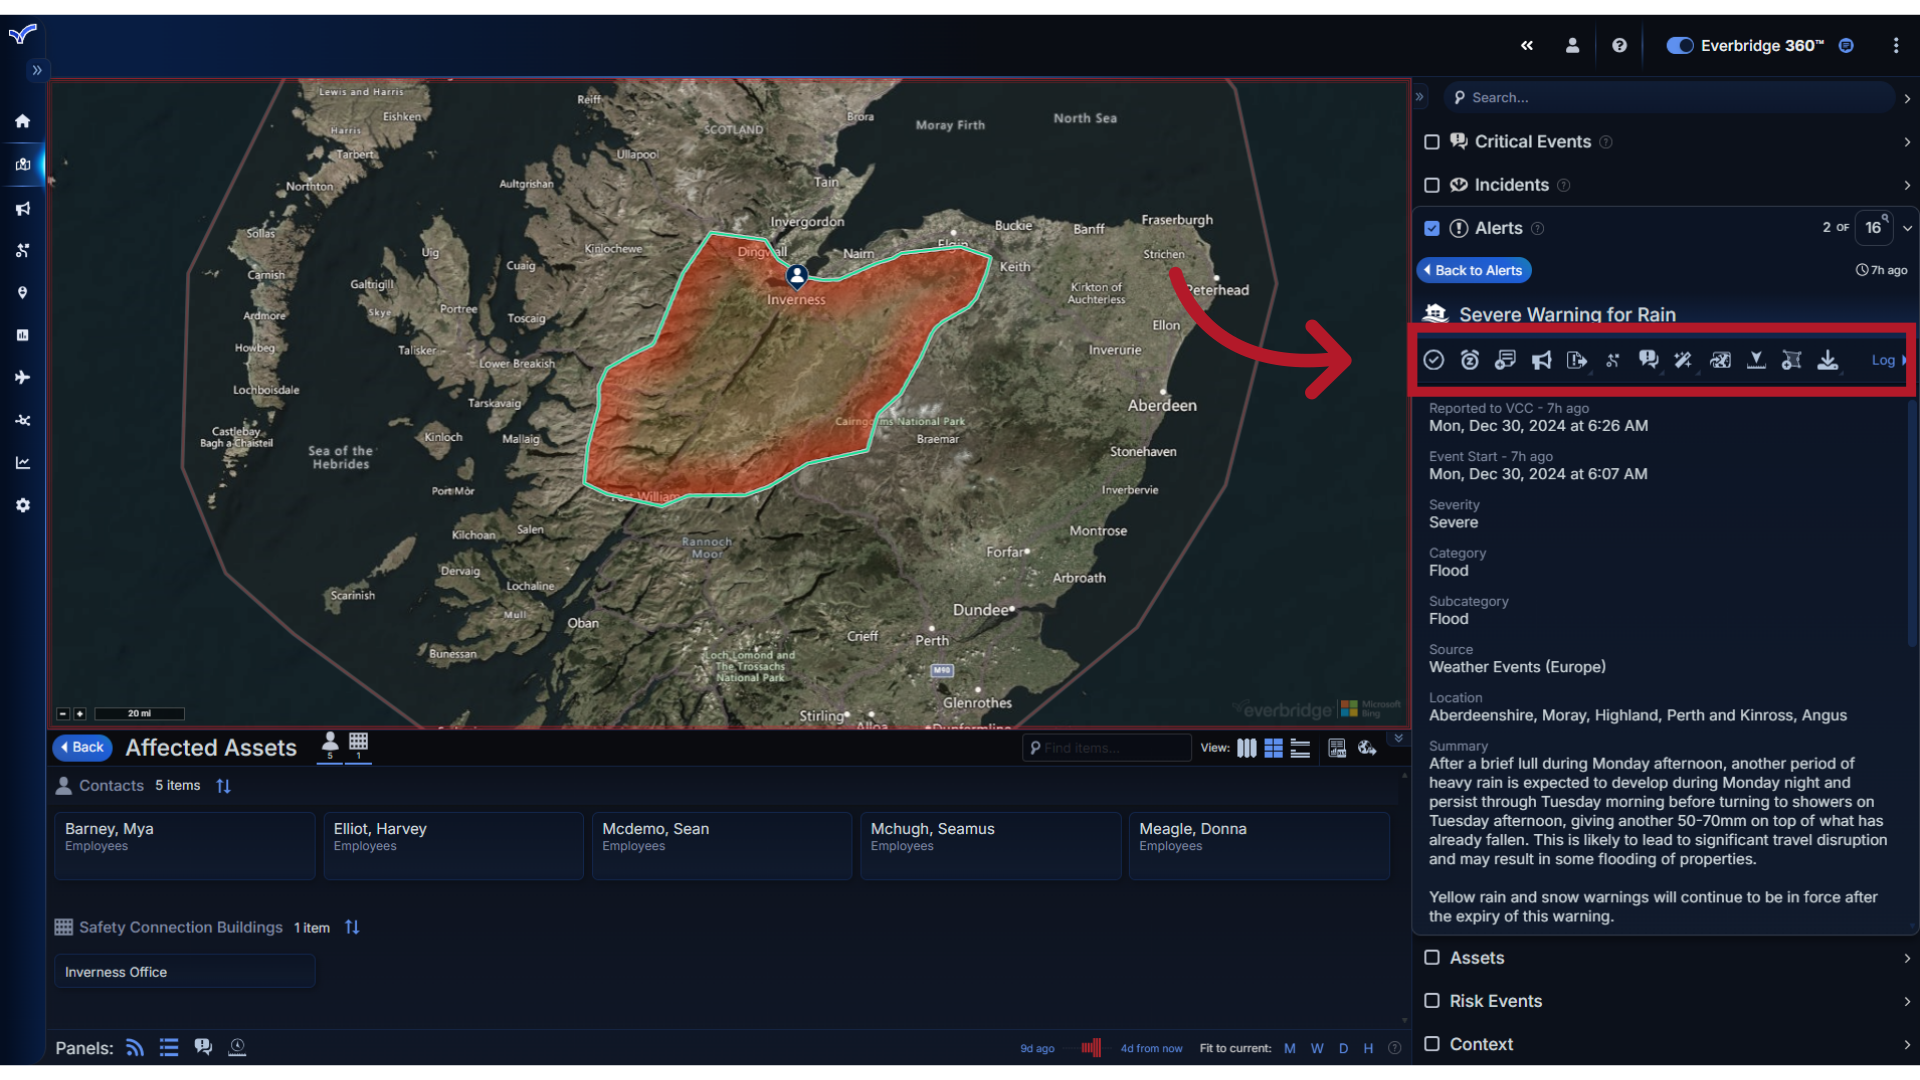
1. Alert Toolbar
Once you have selected an Alert in VCC, you will see an Alert Toolbar at the top of the Alert Details pane. The toolbar provides quick access to the actions you can take from the alert. Let's review each of these actions.
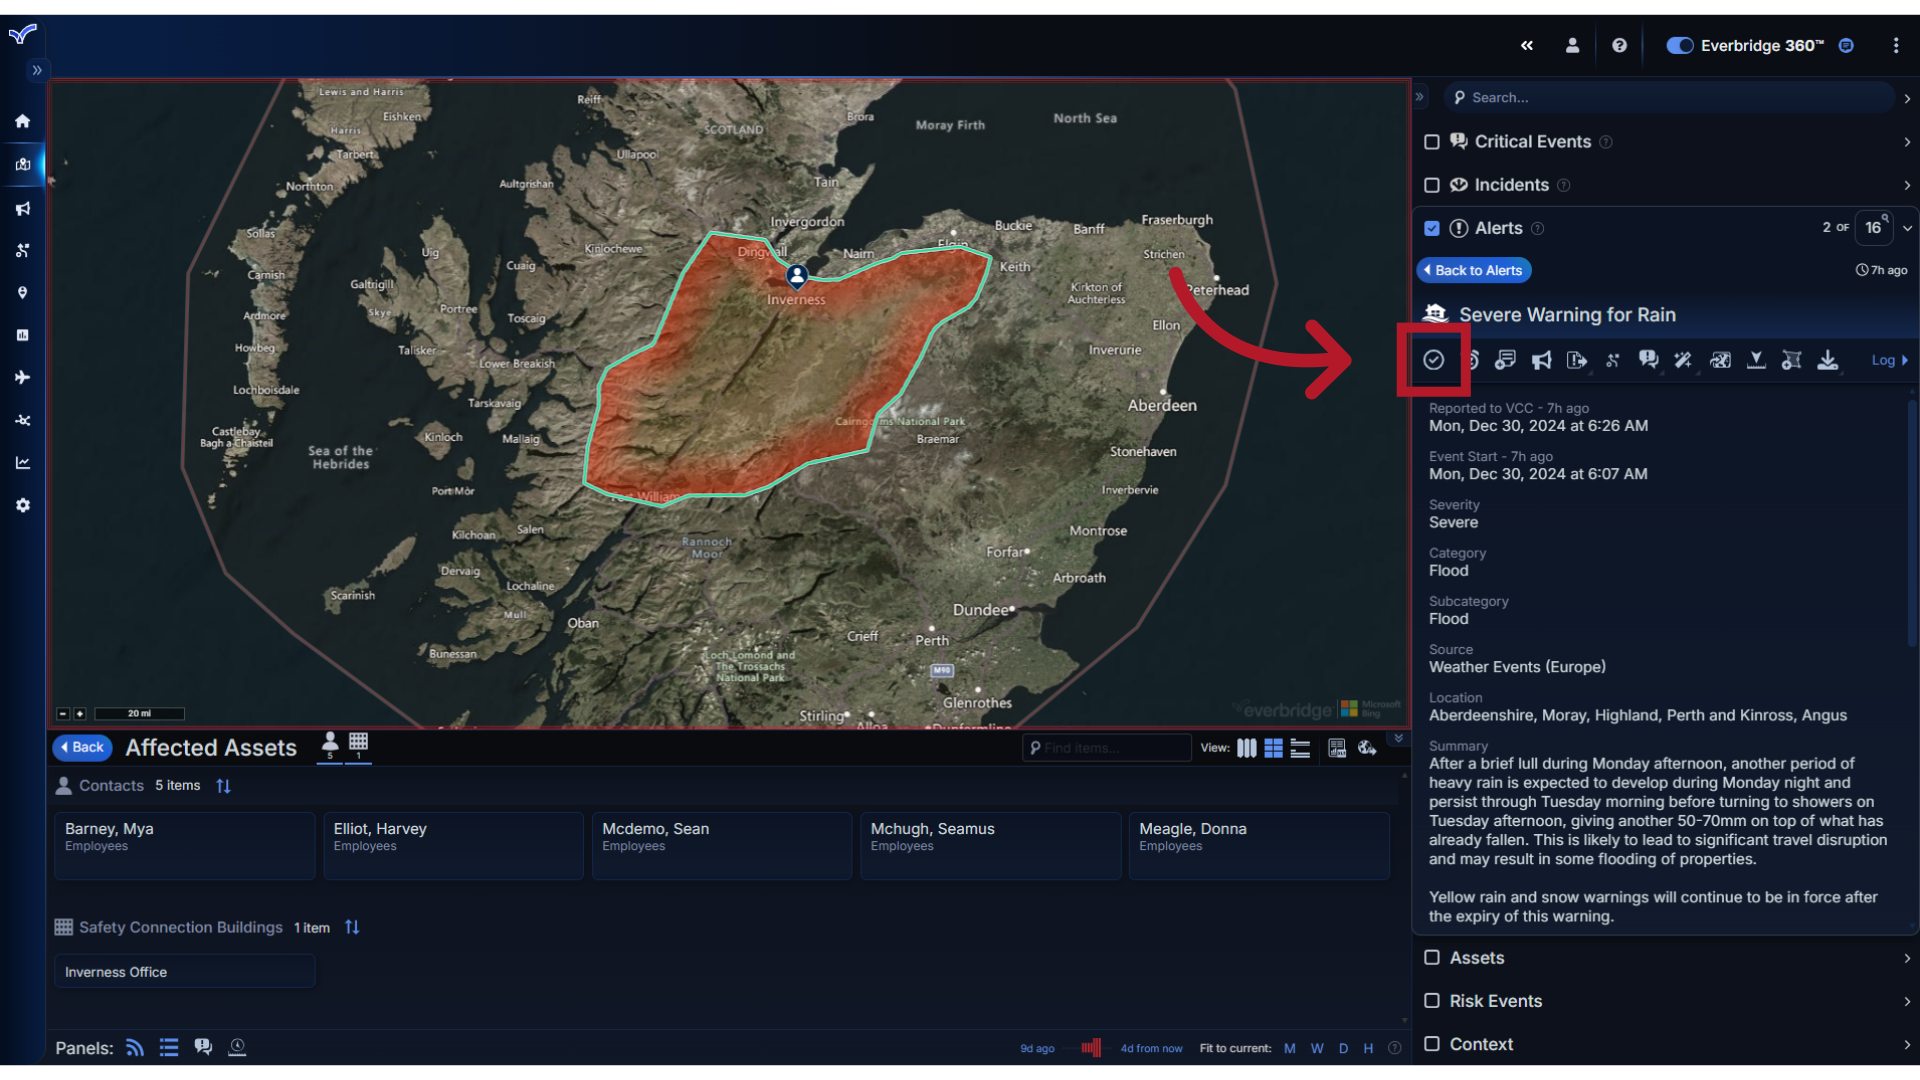
2. Acknowledge
If you have assessed the Alert and decided that it is not relevant or has no impact, you can Acknowledge it.
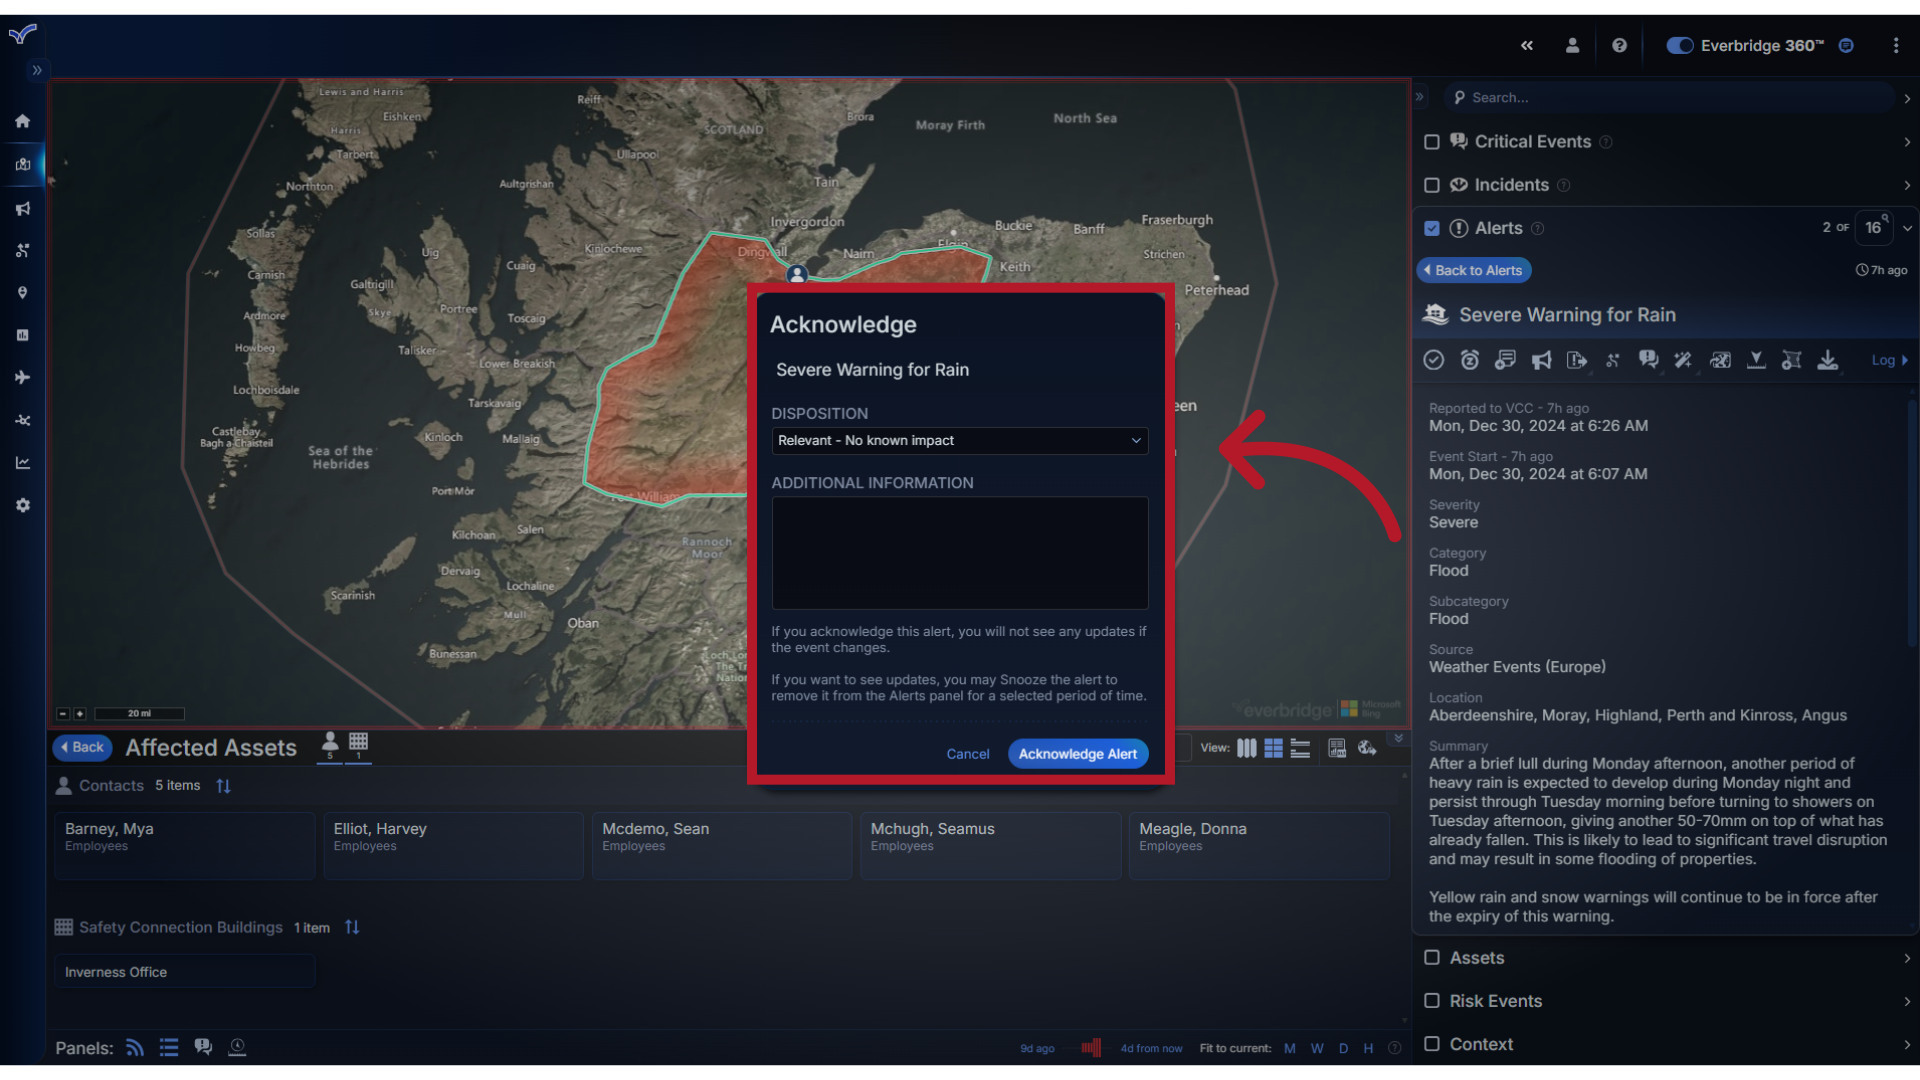
3. Add
Selecting this action will open the Acknowledge window where you can add a note with Additional Information about your assessment,
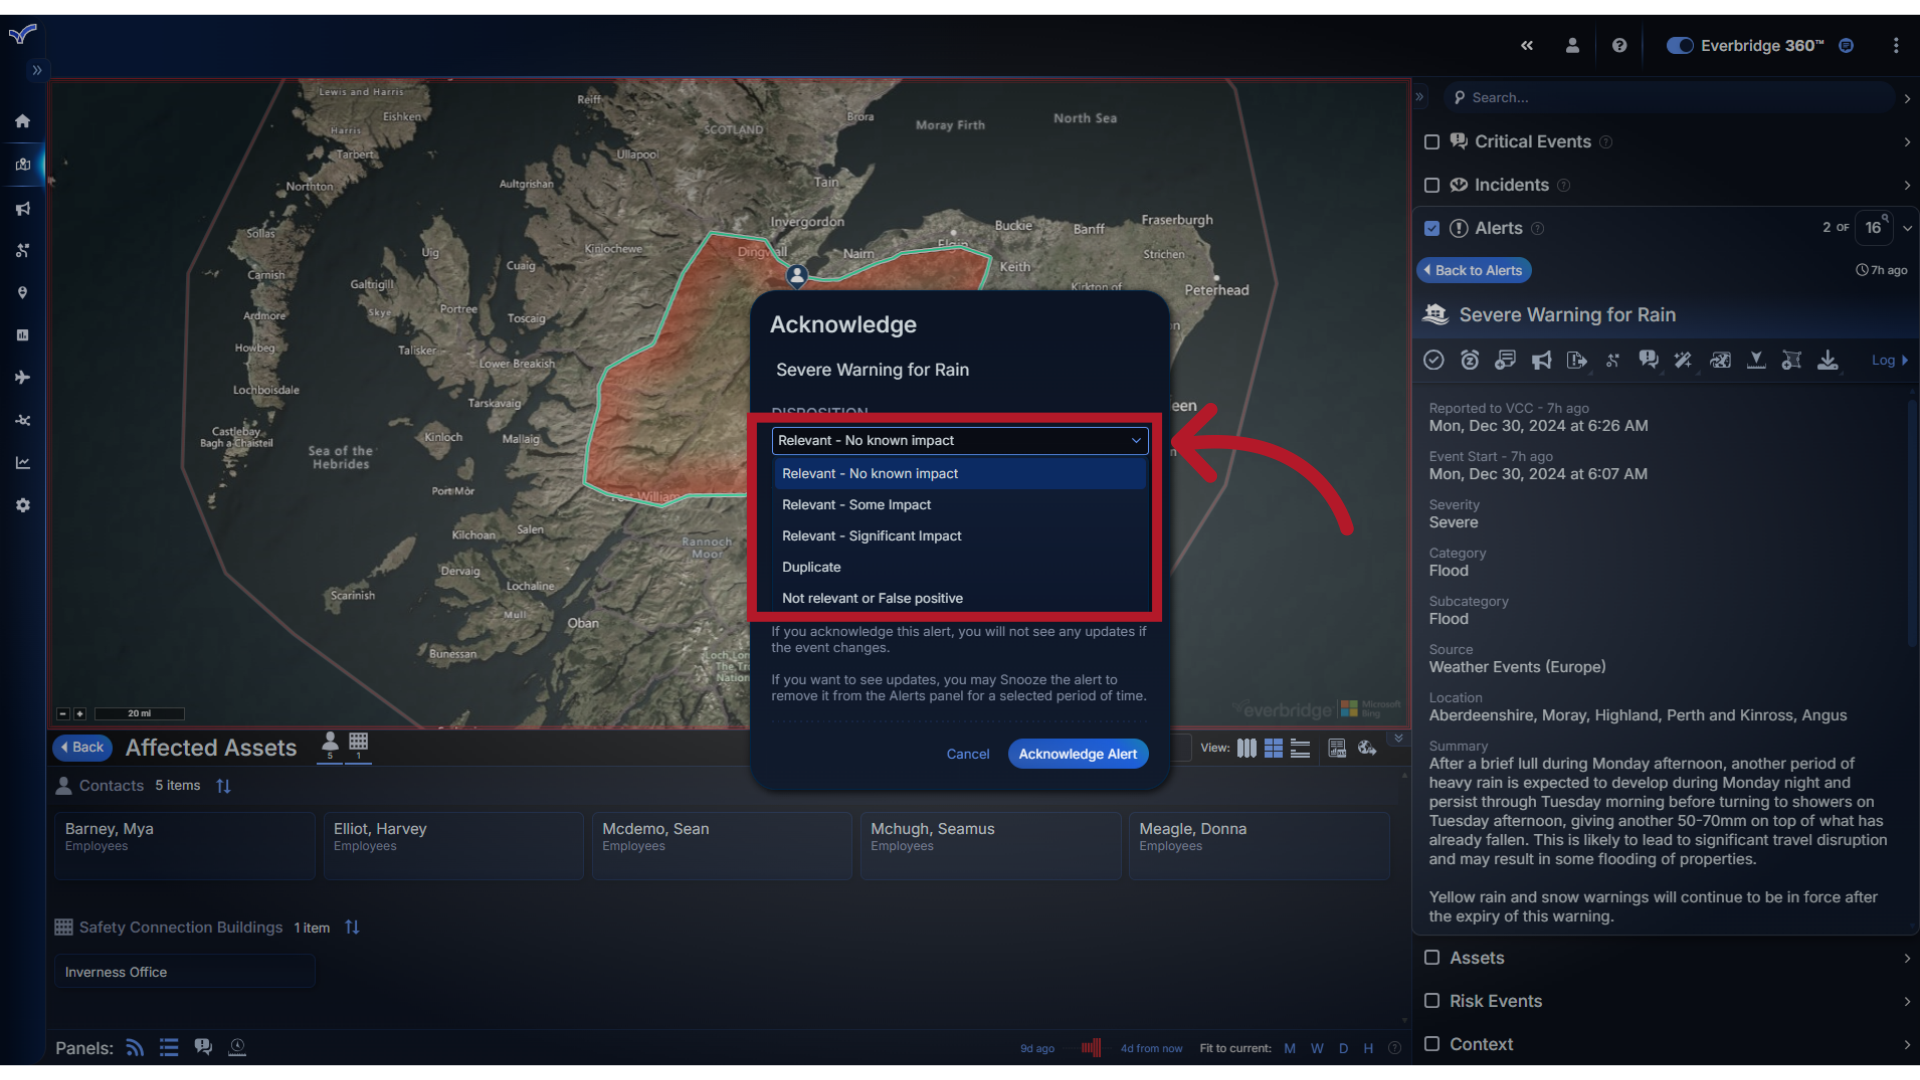
4. Select
and select an appropriate Disposition from the drop-down list. If the Acknowledge Alert button is clicked, the alert will be removed from the Alerts feed, map, and timeline.
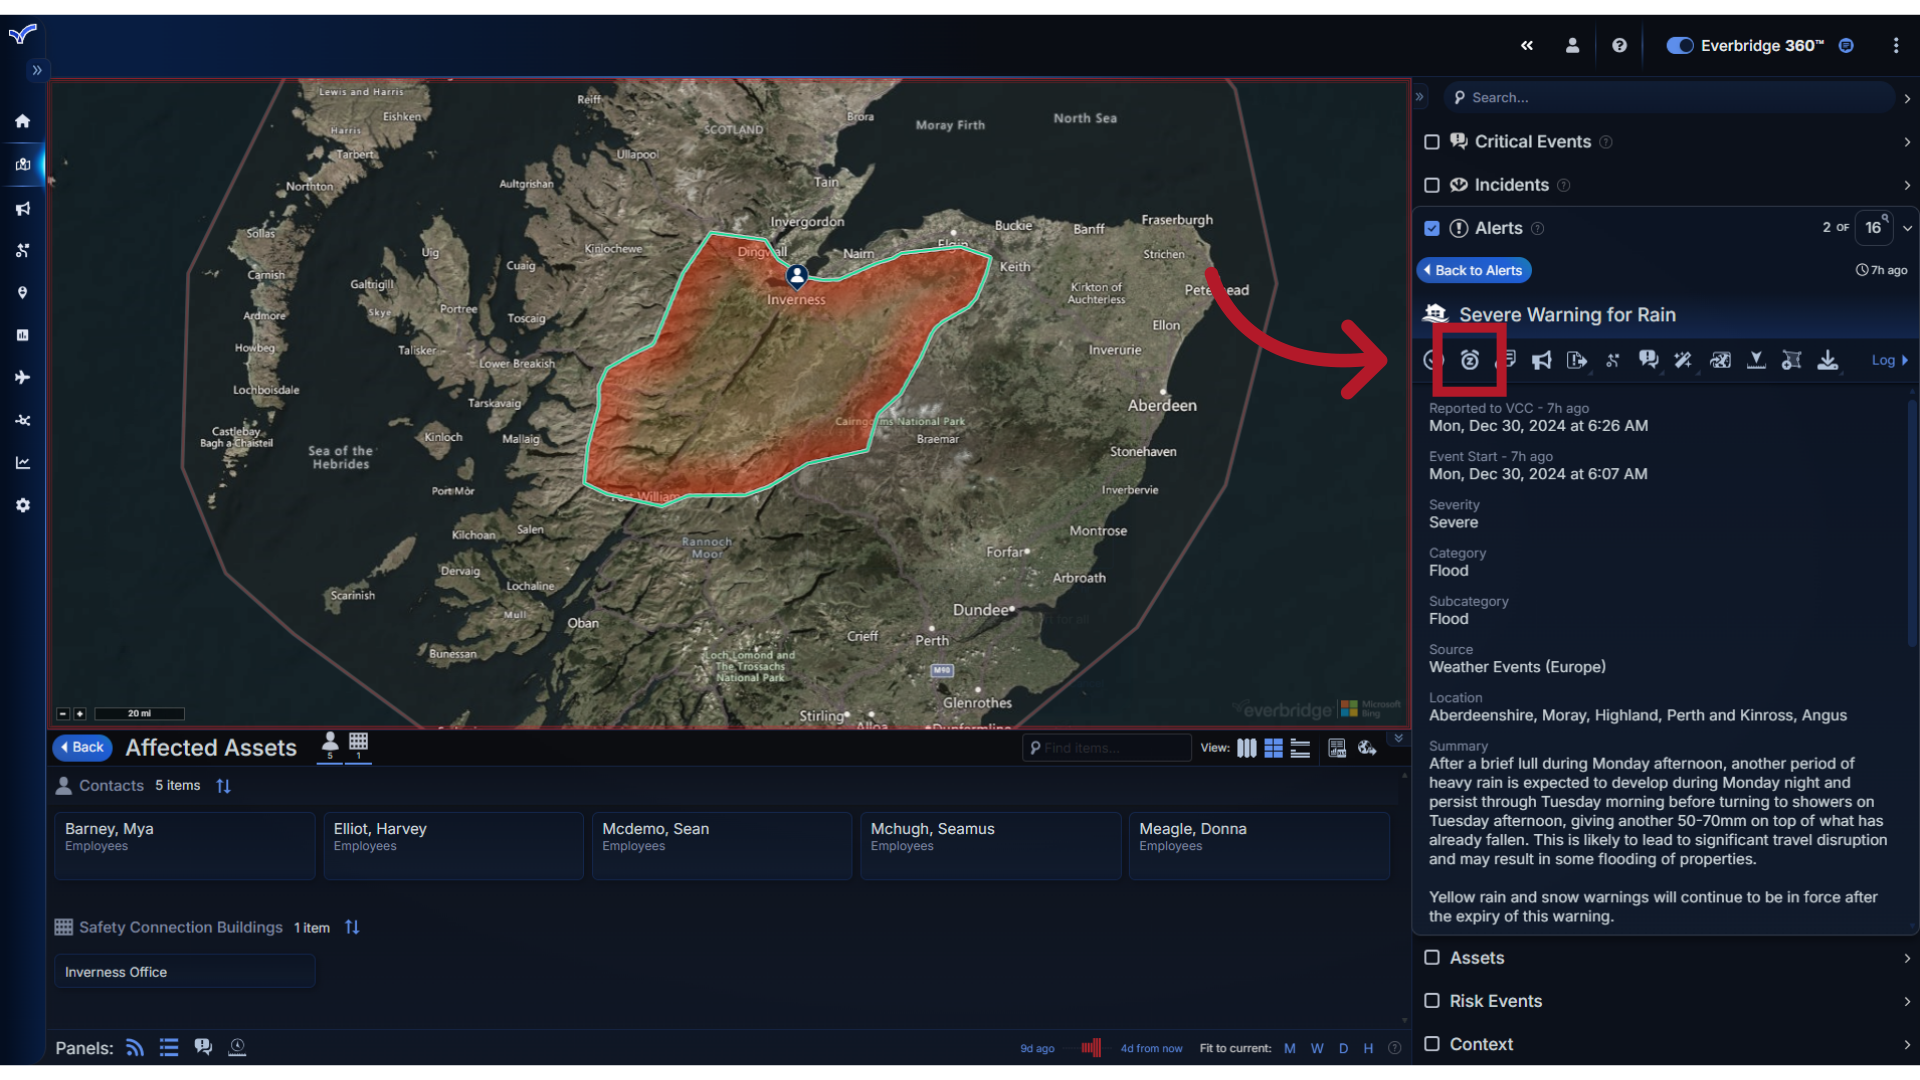
5. Snooze
The next action is Snooze, which will hide the alert temporarily. For example, you may decide that although there is no impact from this Alert at the moment, it has the potential to impact your business at a later time.
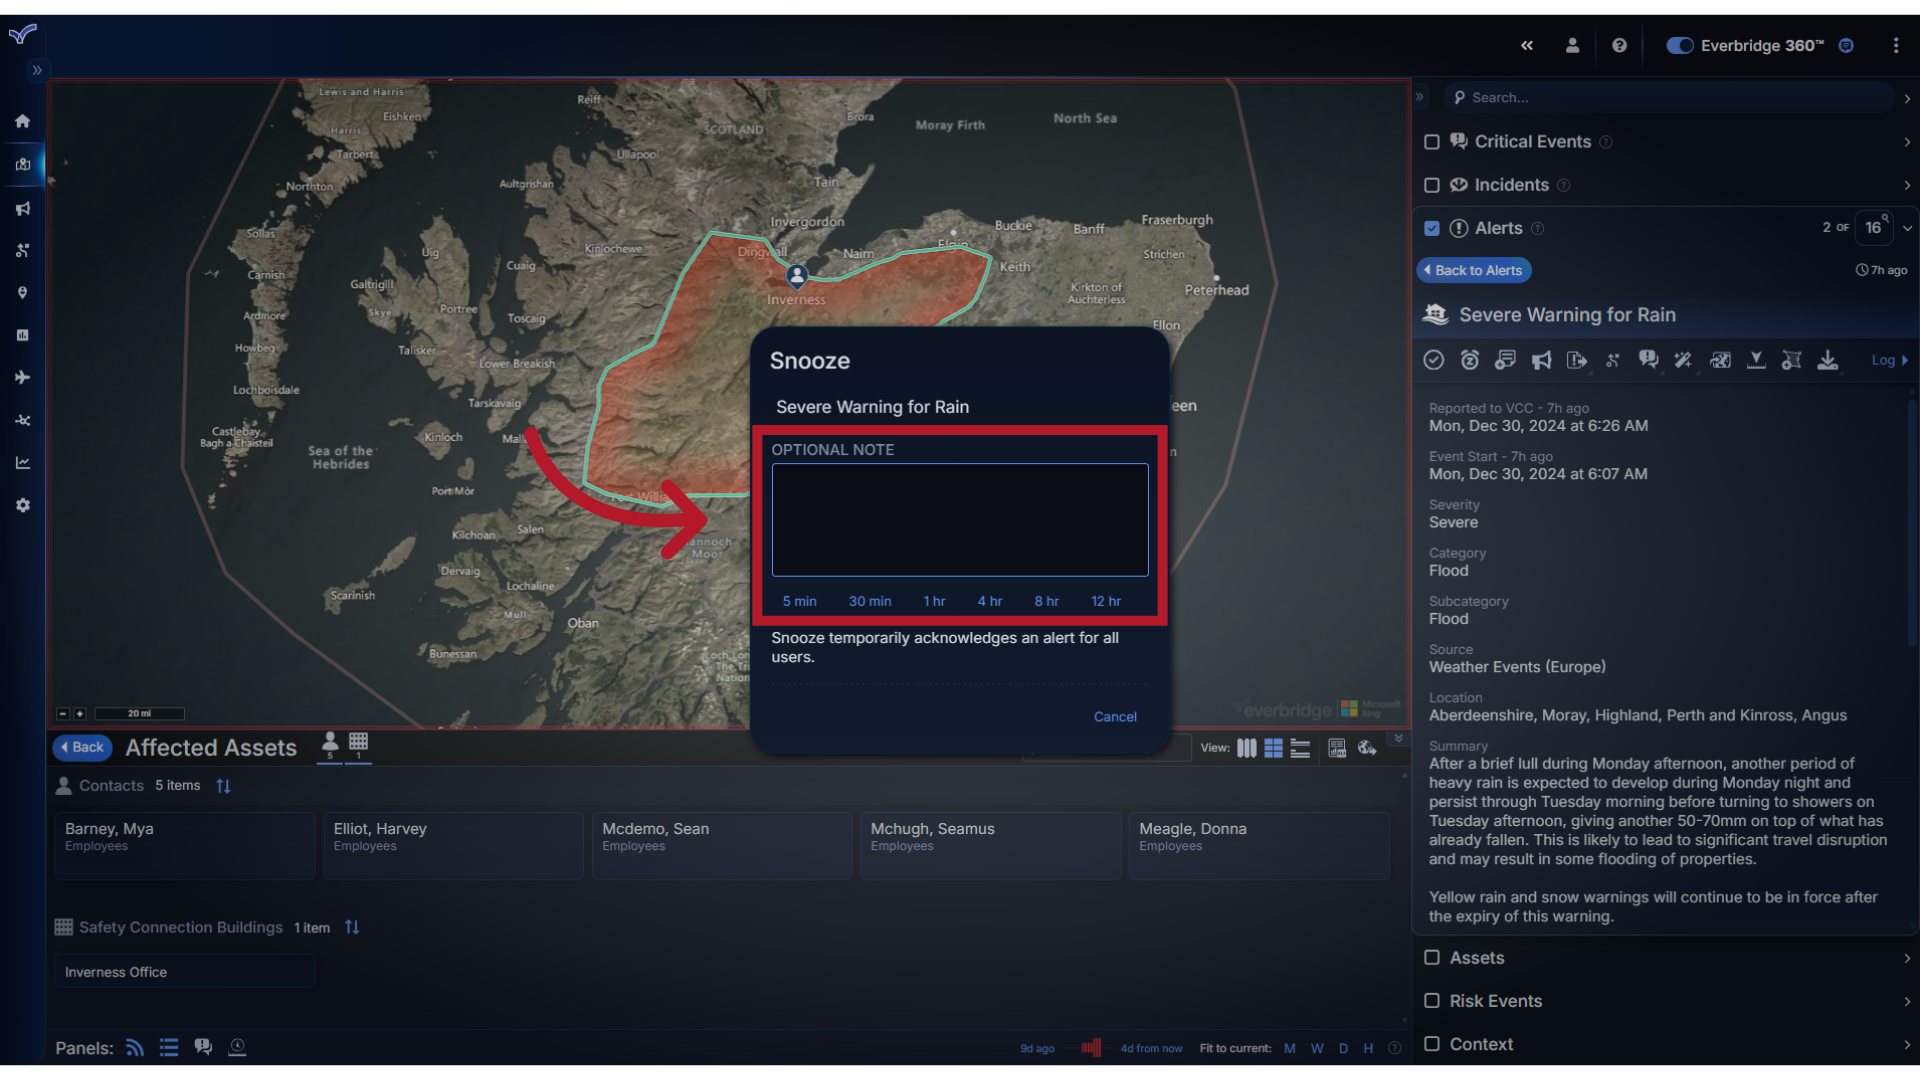
6. Time Frame
From the Snooze window, select the time frame for when you want to be reminded about the alert. You can optionally add a comment about why you are snoozing it. The Alert will return to the Alerts feed when the snooze period is up, or when an update is received for the event.
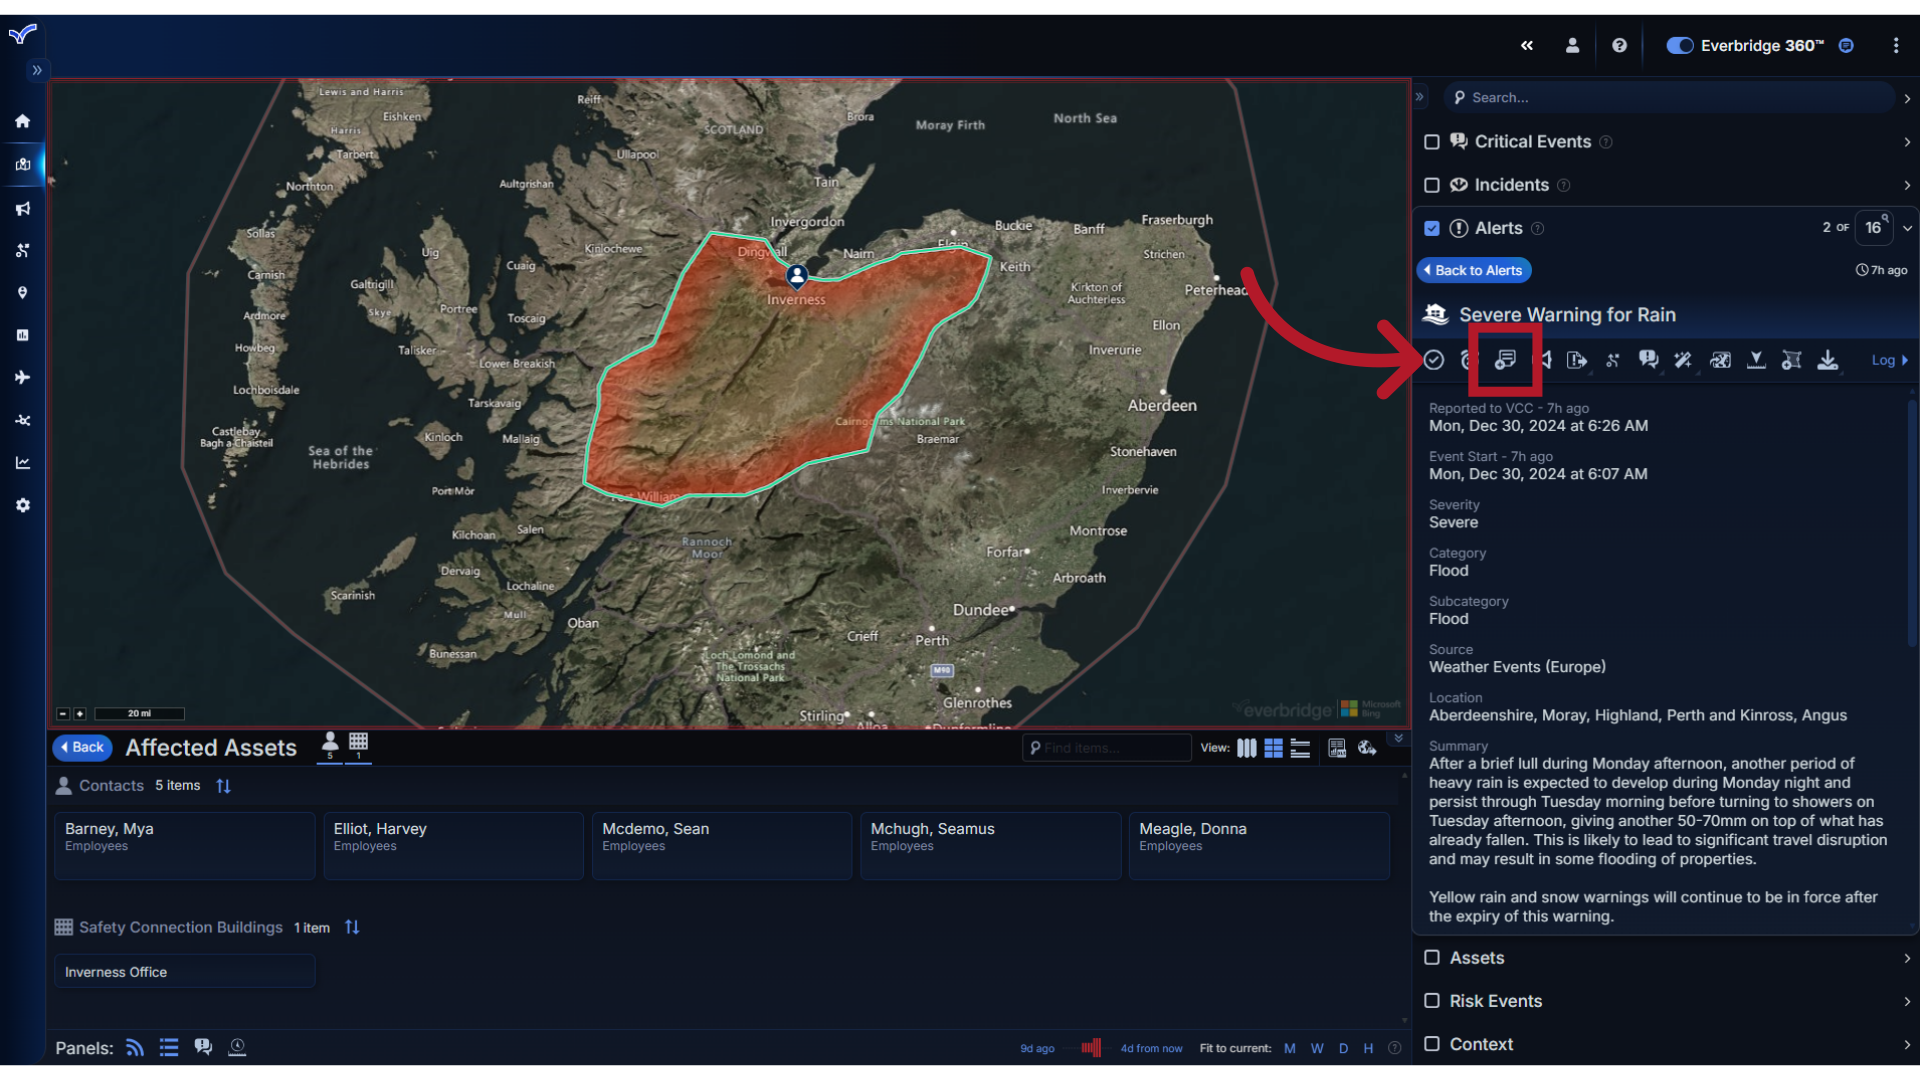
7. Note
The Notes action provides the option to add comments to the alert log.
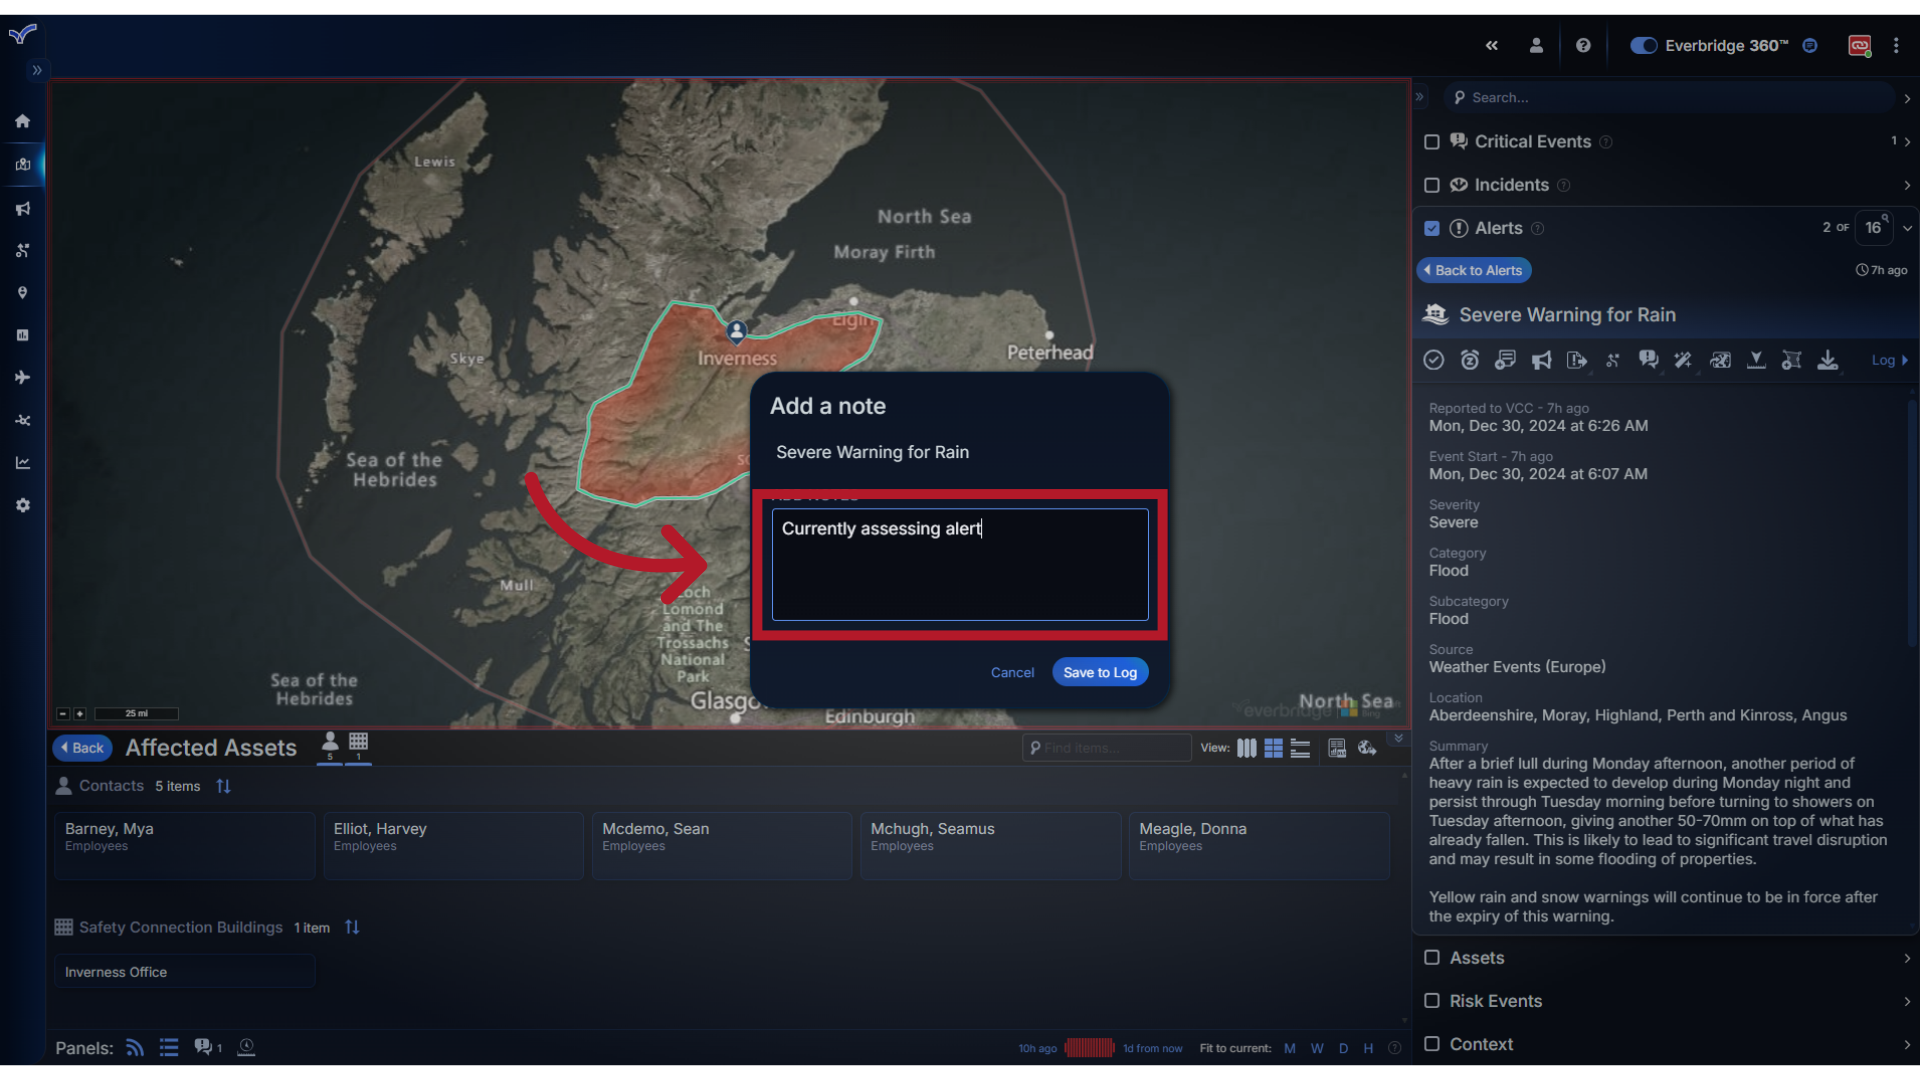
8. Add
For example, you may want to add a note about who is assessing the alert, or what assessment has been done thus far. The notes saved to the Log will be visible to all VCC operators, providing valuable information and continuity.
9. Communication
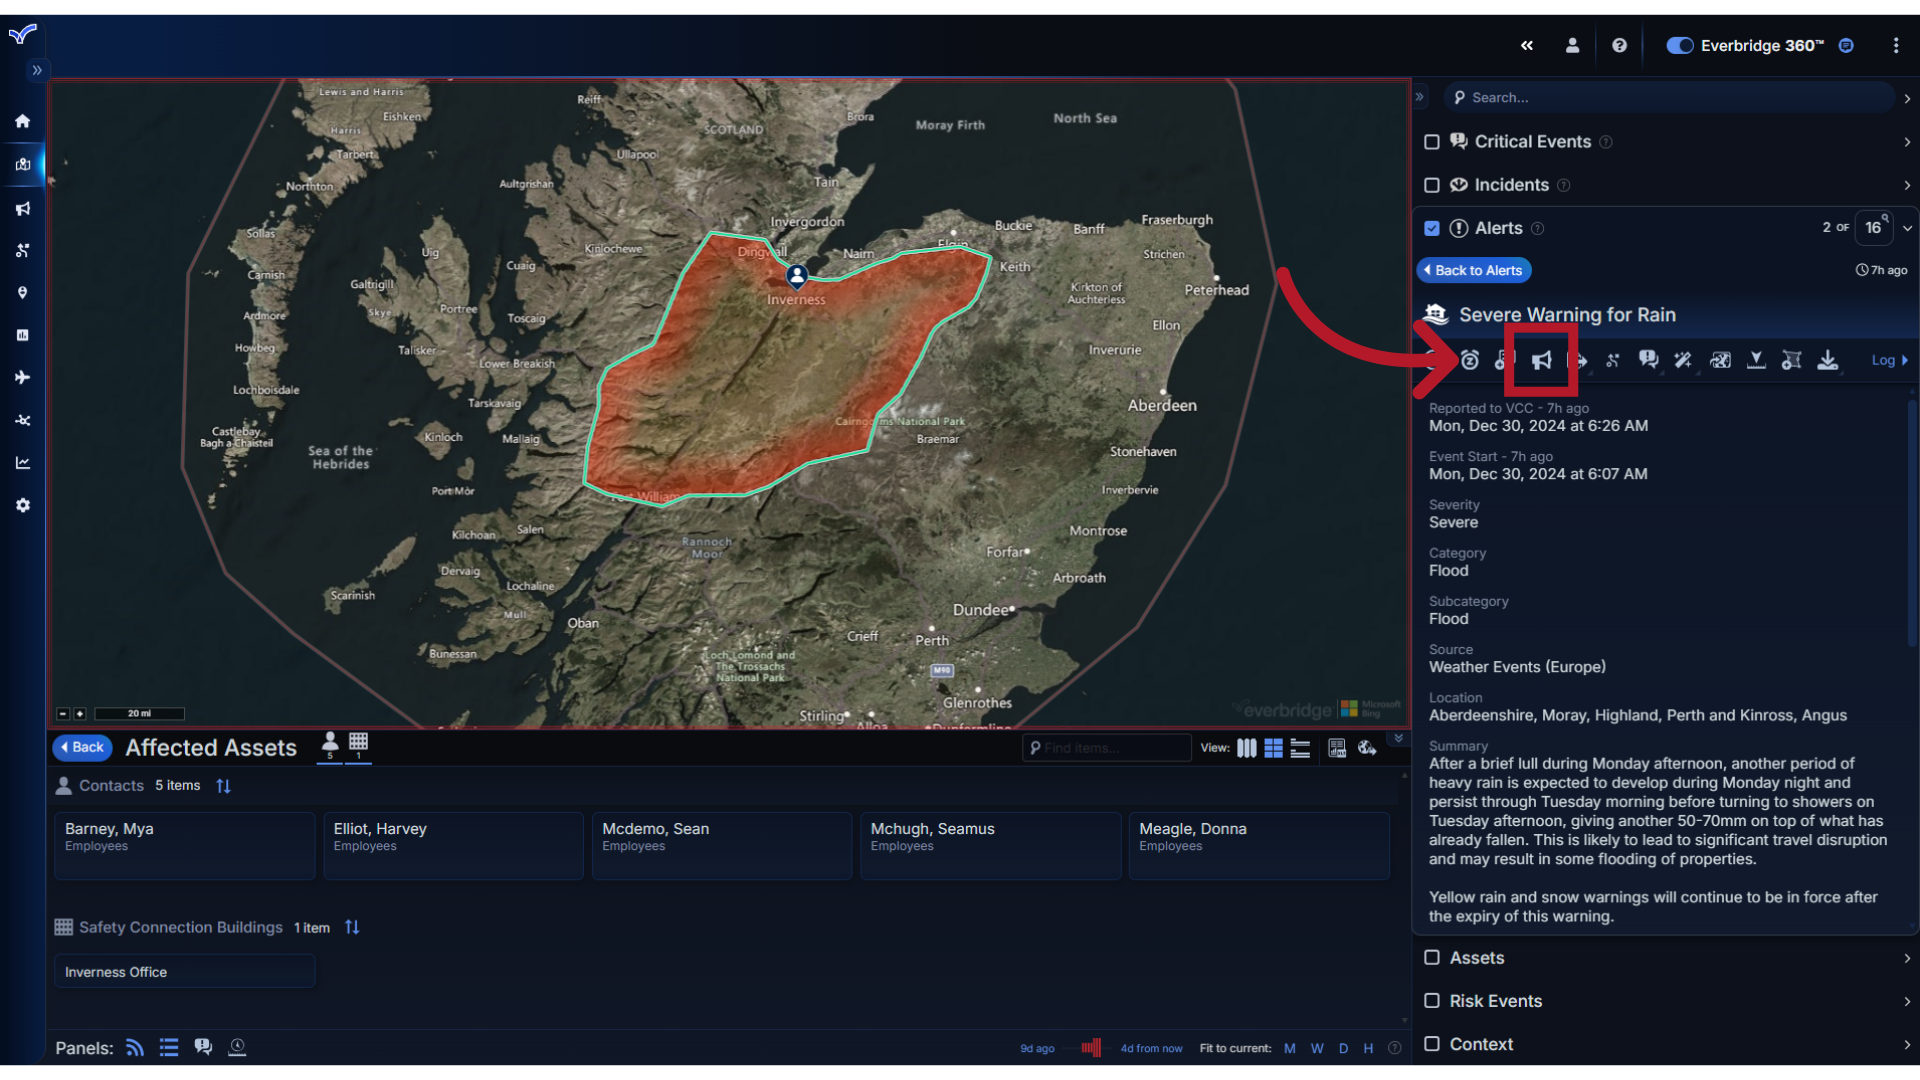
Through the Communications action, you can send a message about the alert.
10. Launch
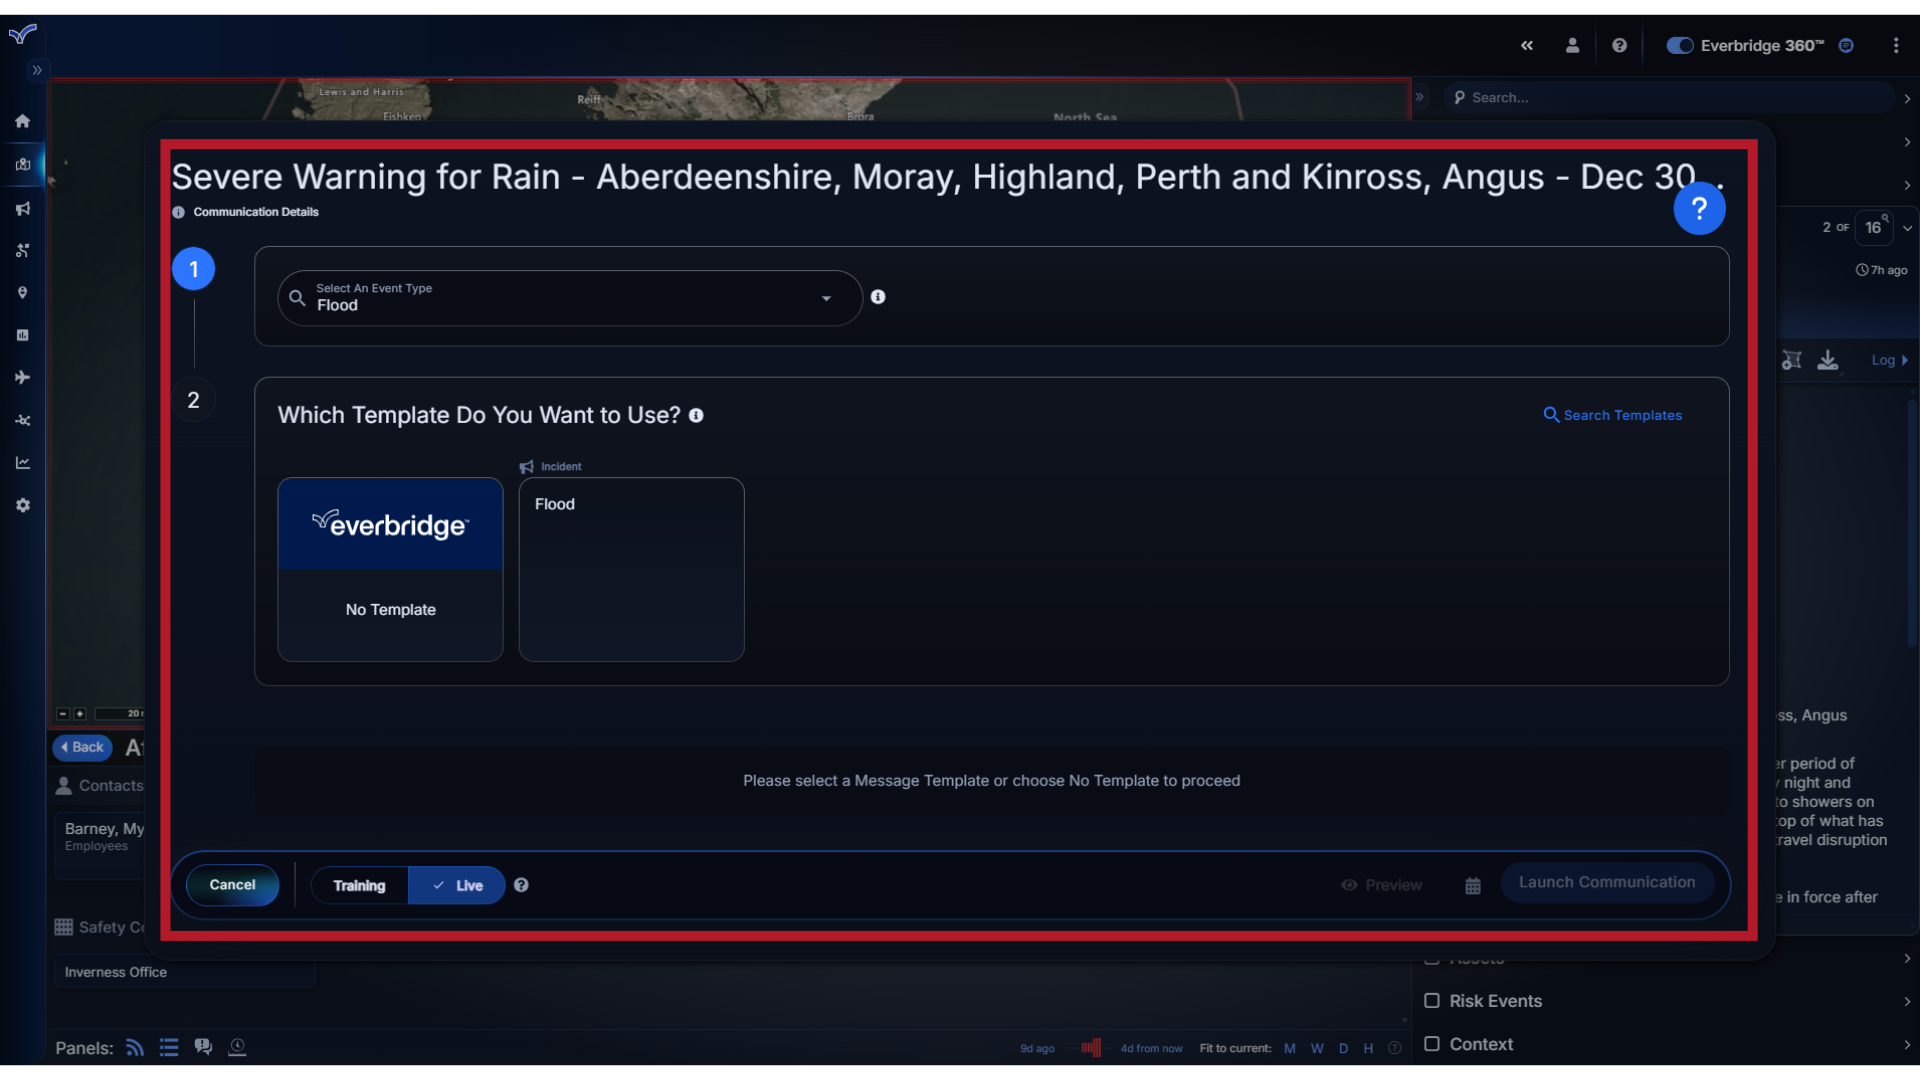
Selecting this action will open the Communications workflow, where you can Launch a Communication, with or without a template, to the impacted contacts in the area or to other important stakeholders.
11. Incident
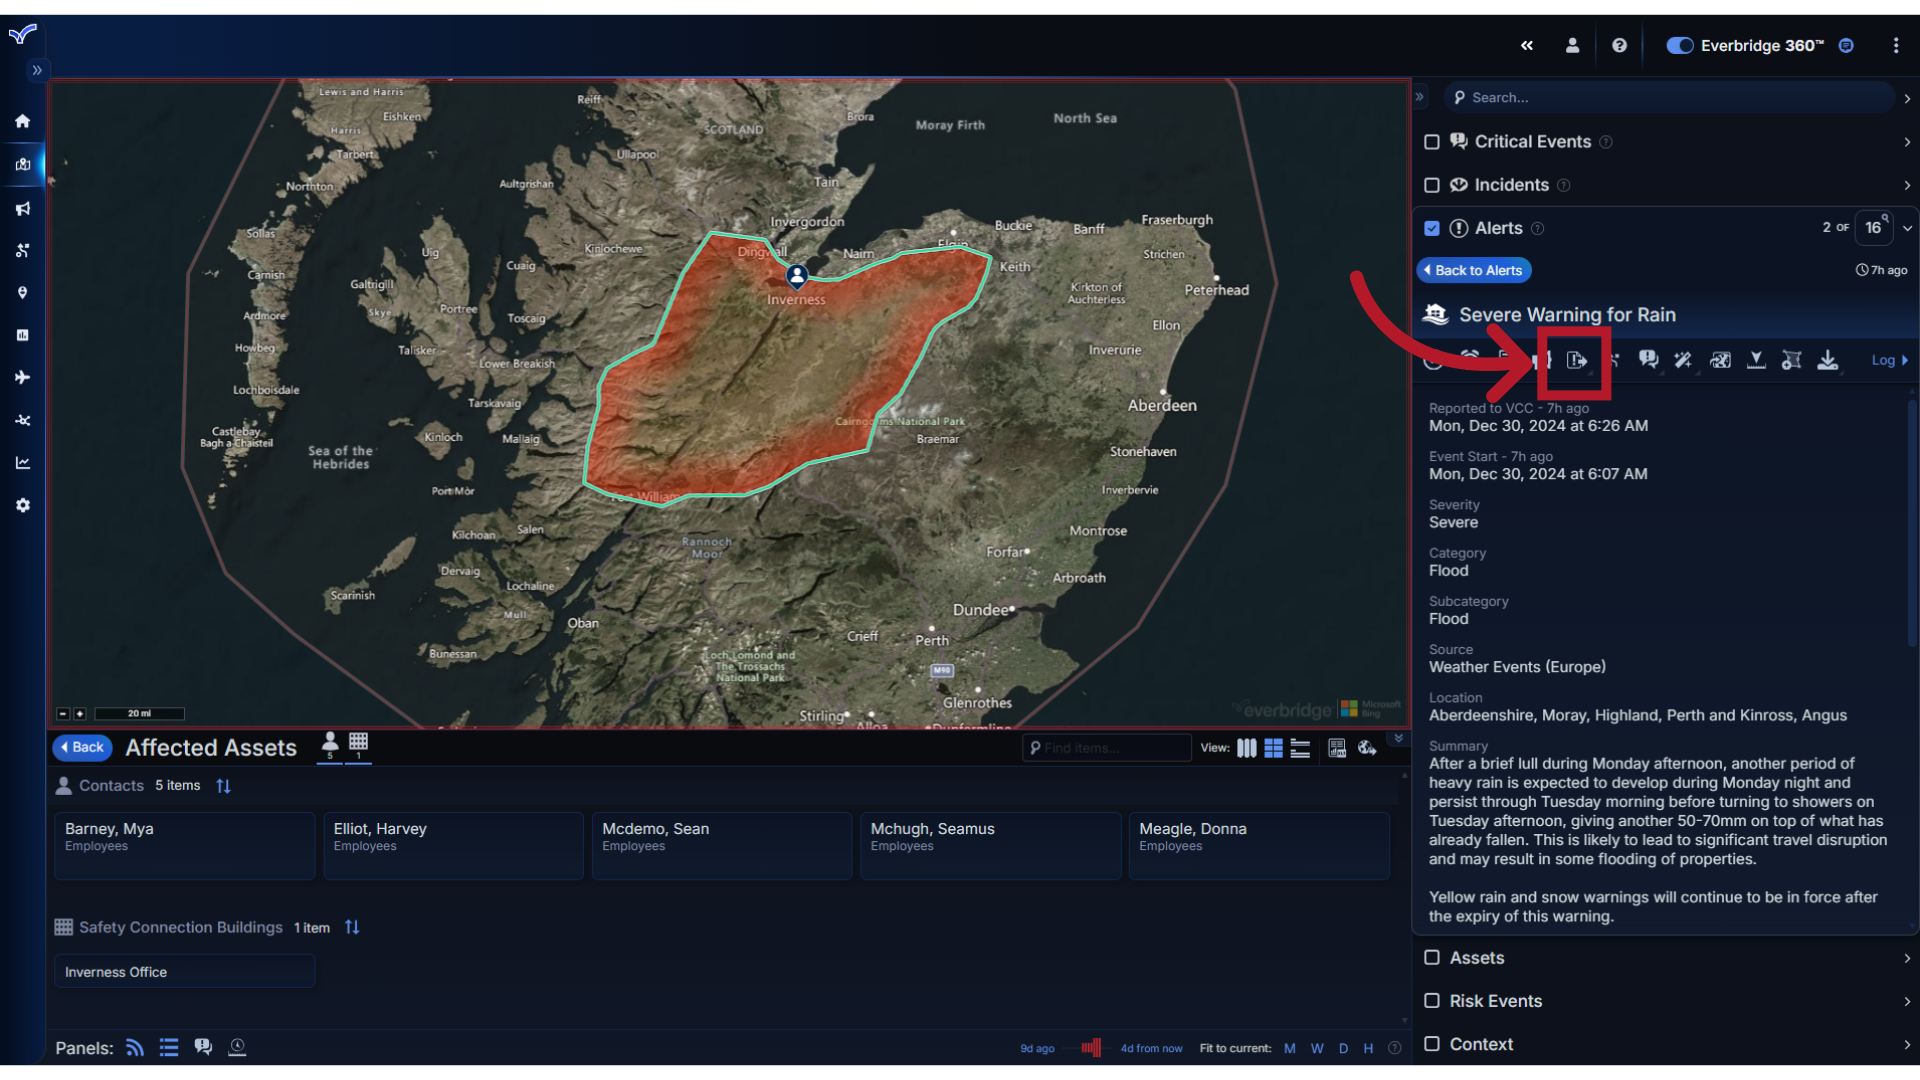
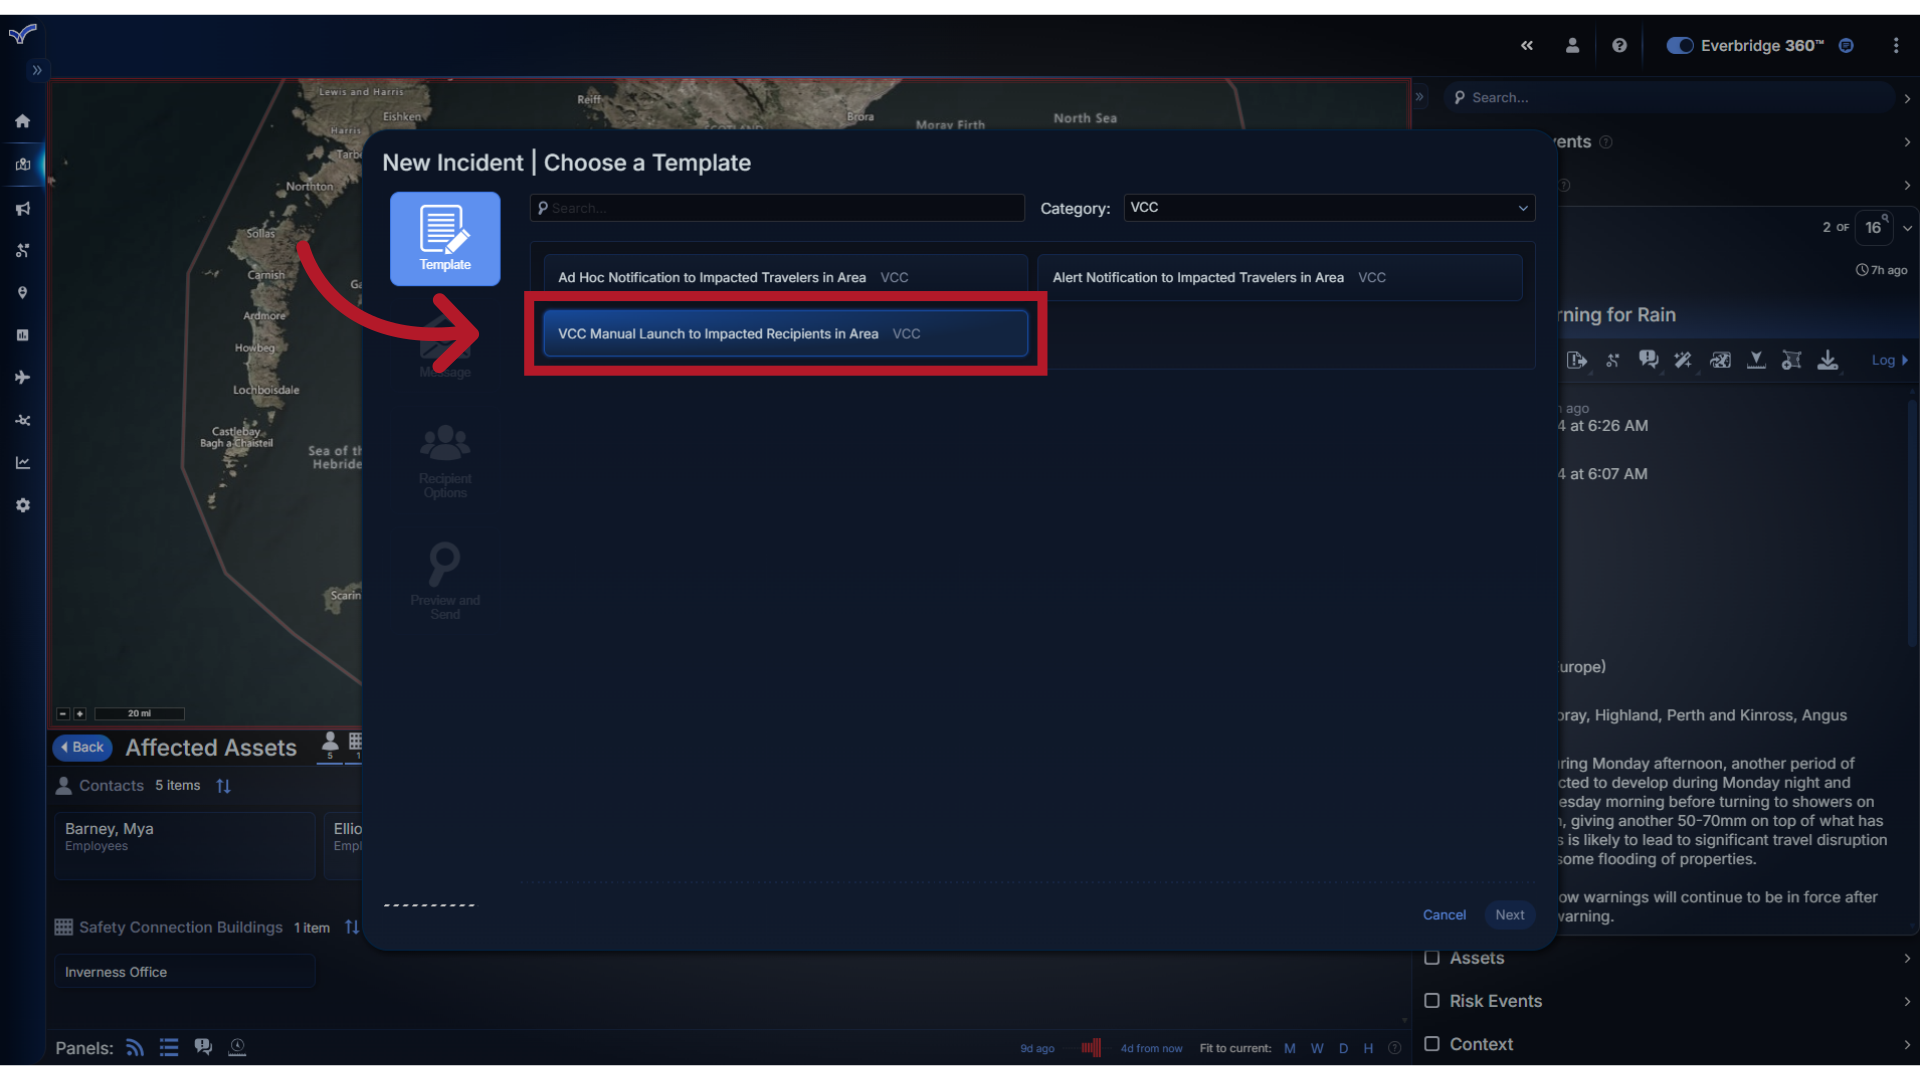
If your organization has not yet adopted the Communications workflow, you can use the Incident action to launch a preconfigured Incident template.
12. Scenario
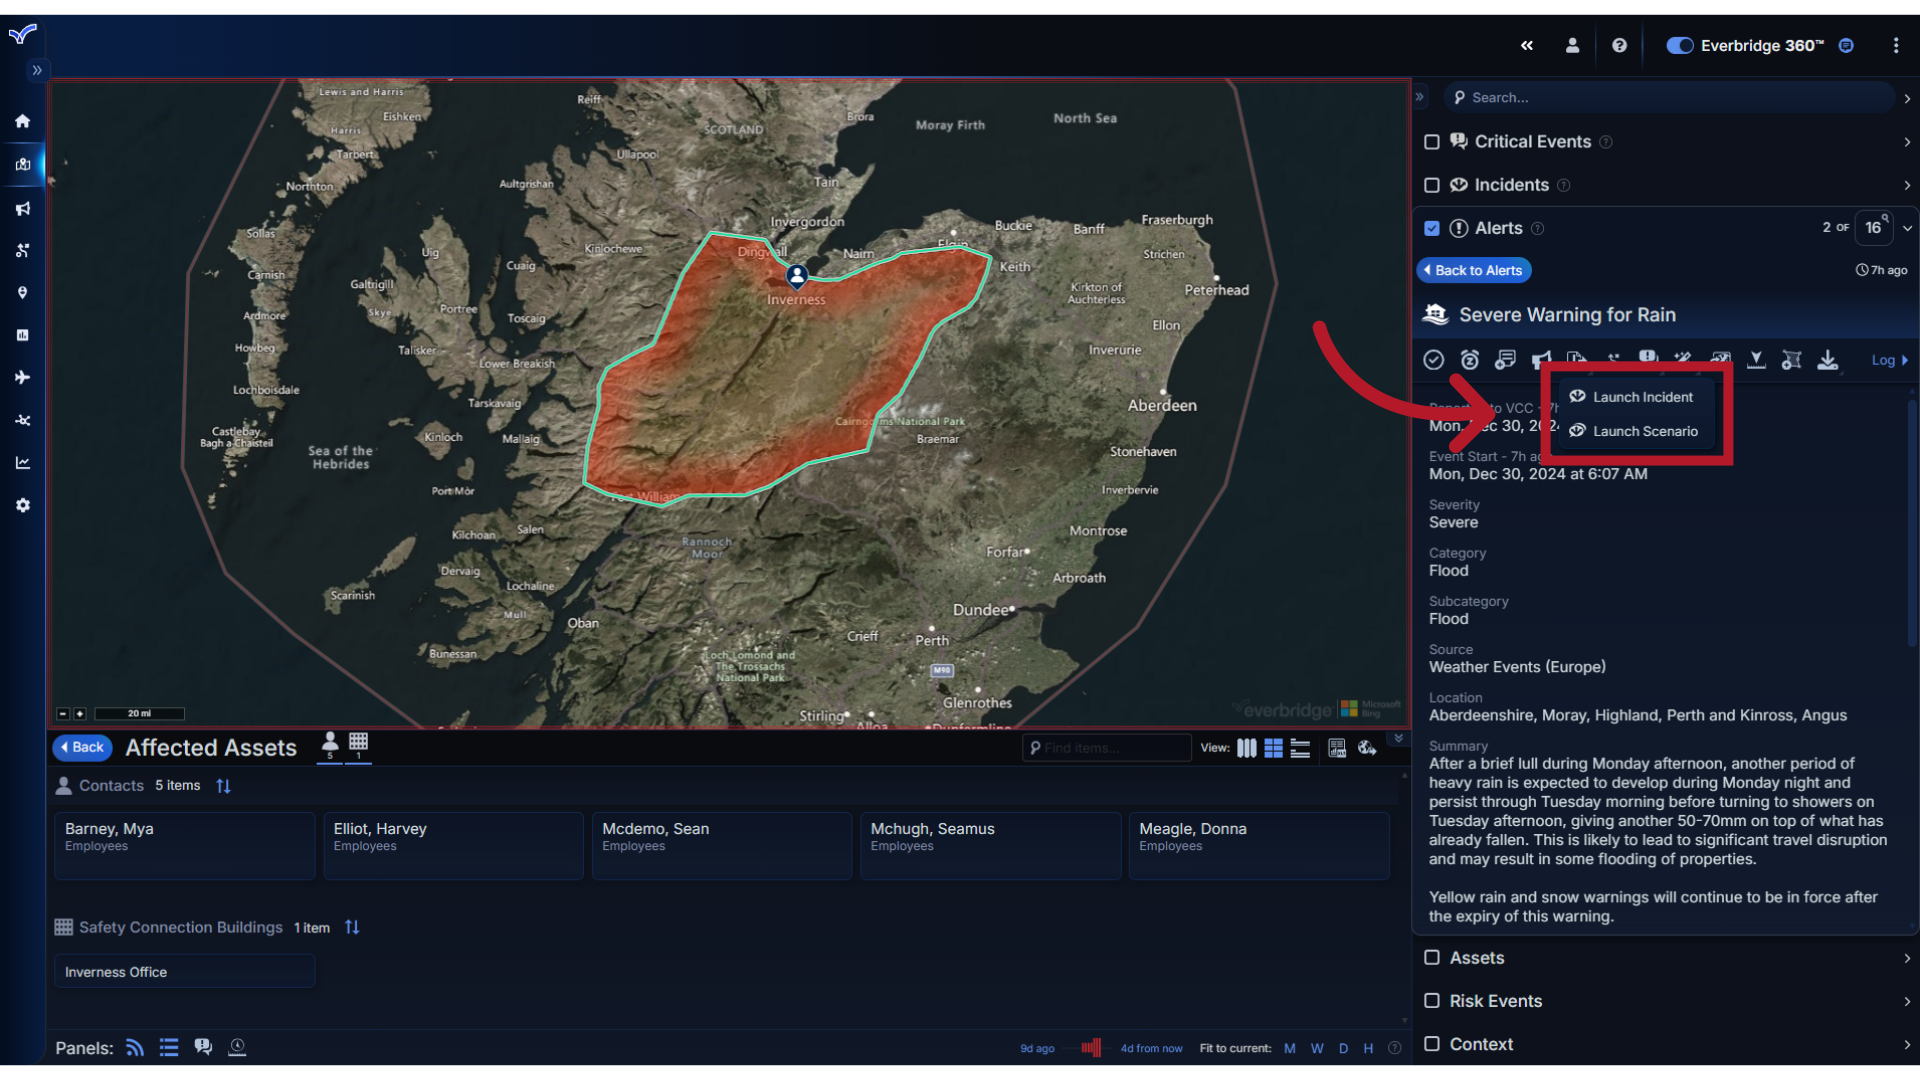
If configured for your organization, you will also see the option to launch a Scenario.
13. Select
When selecting the Incident option, the Incident workflow will open where you will select and send the appropriate template from your library.
14. Critical Events
If your organization has the Critical Events module, and the Alert meets your criteria to launch a coordinated response to the event, you can select the action to launch a Critical Event.
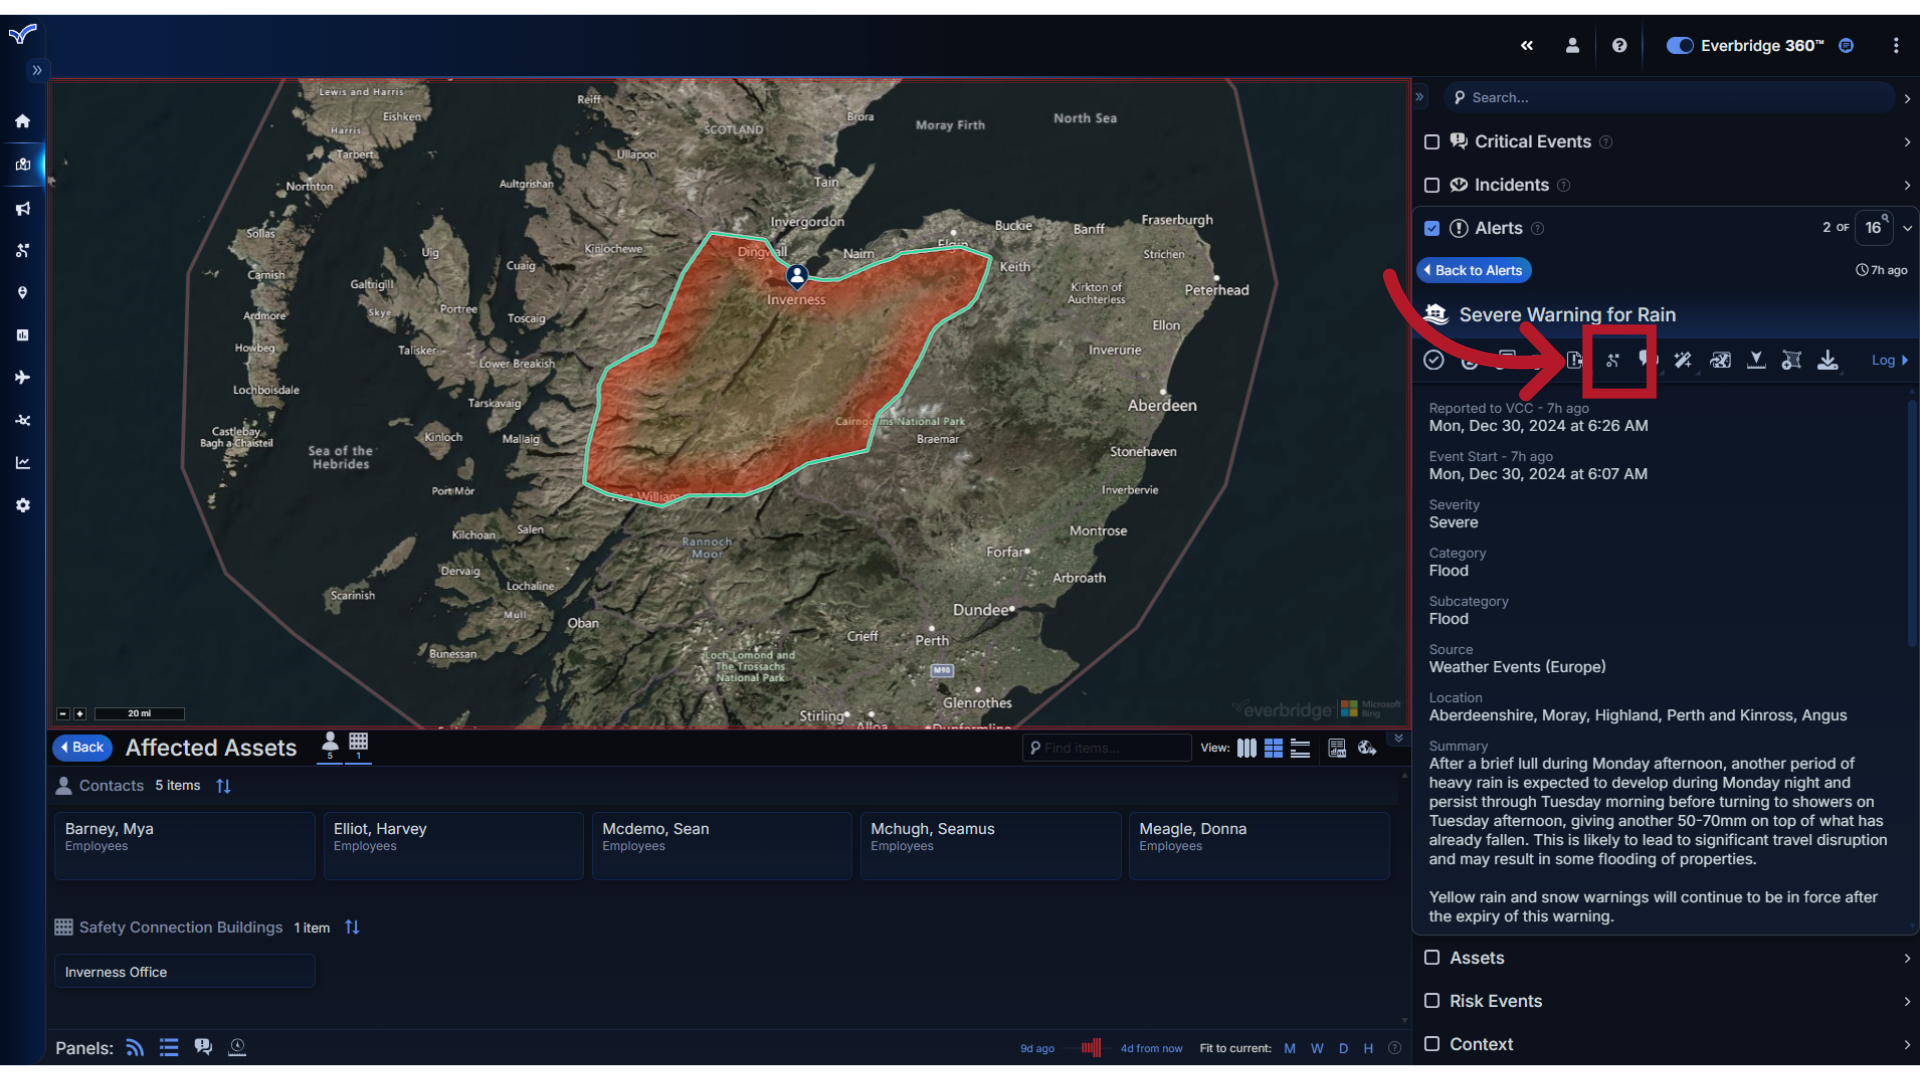
15. Form
This action will open the Critical Event form, where you can launch an event with or without a preconfigured template.
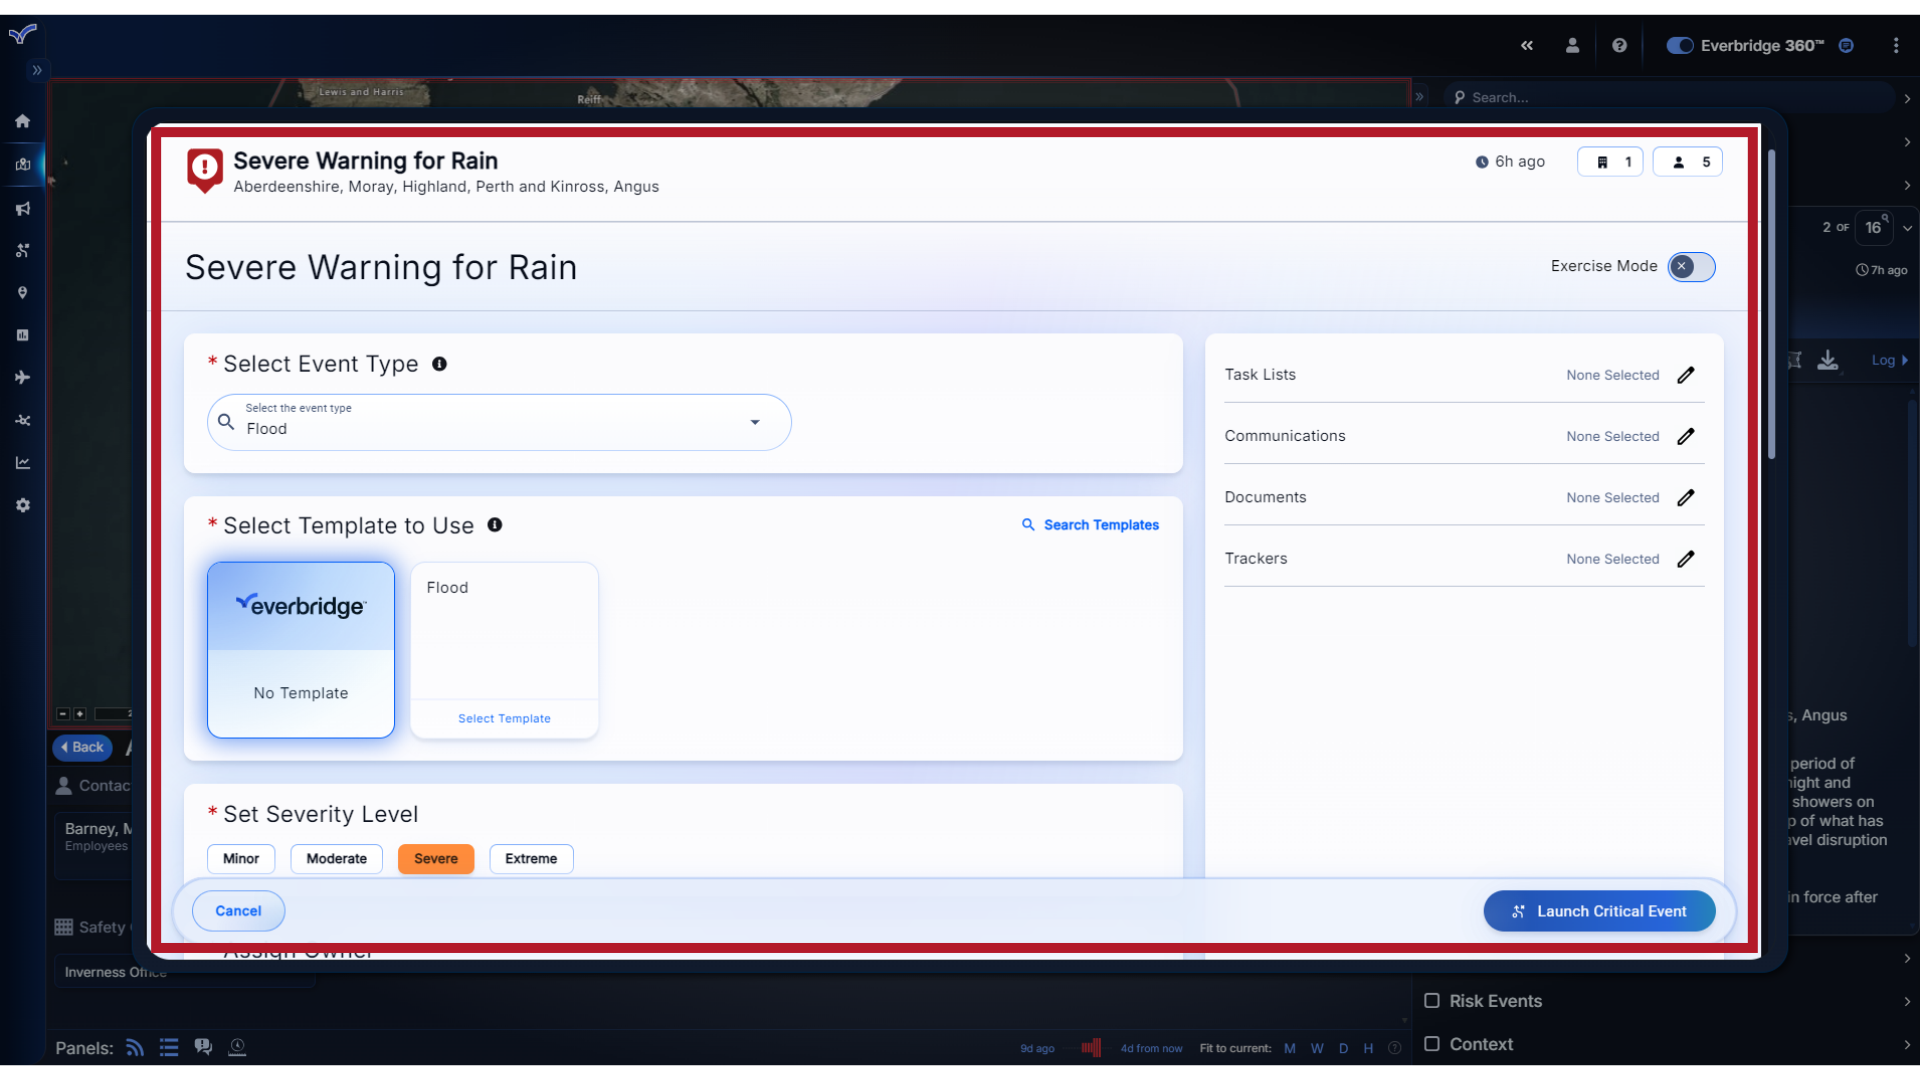
16. Custom Action
If your role has permission to launch Custom Actions, this button provides access to any webhooks that have been preconfigured for delivering Alert and Affected Asset data to an external system.
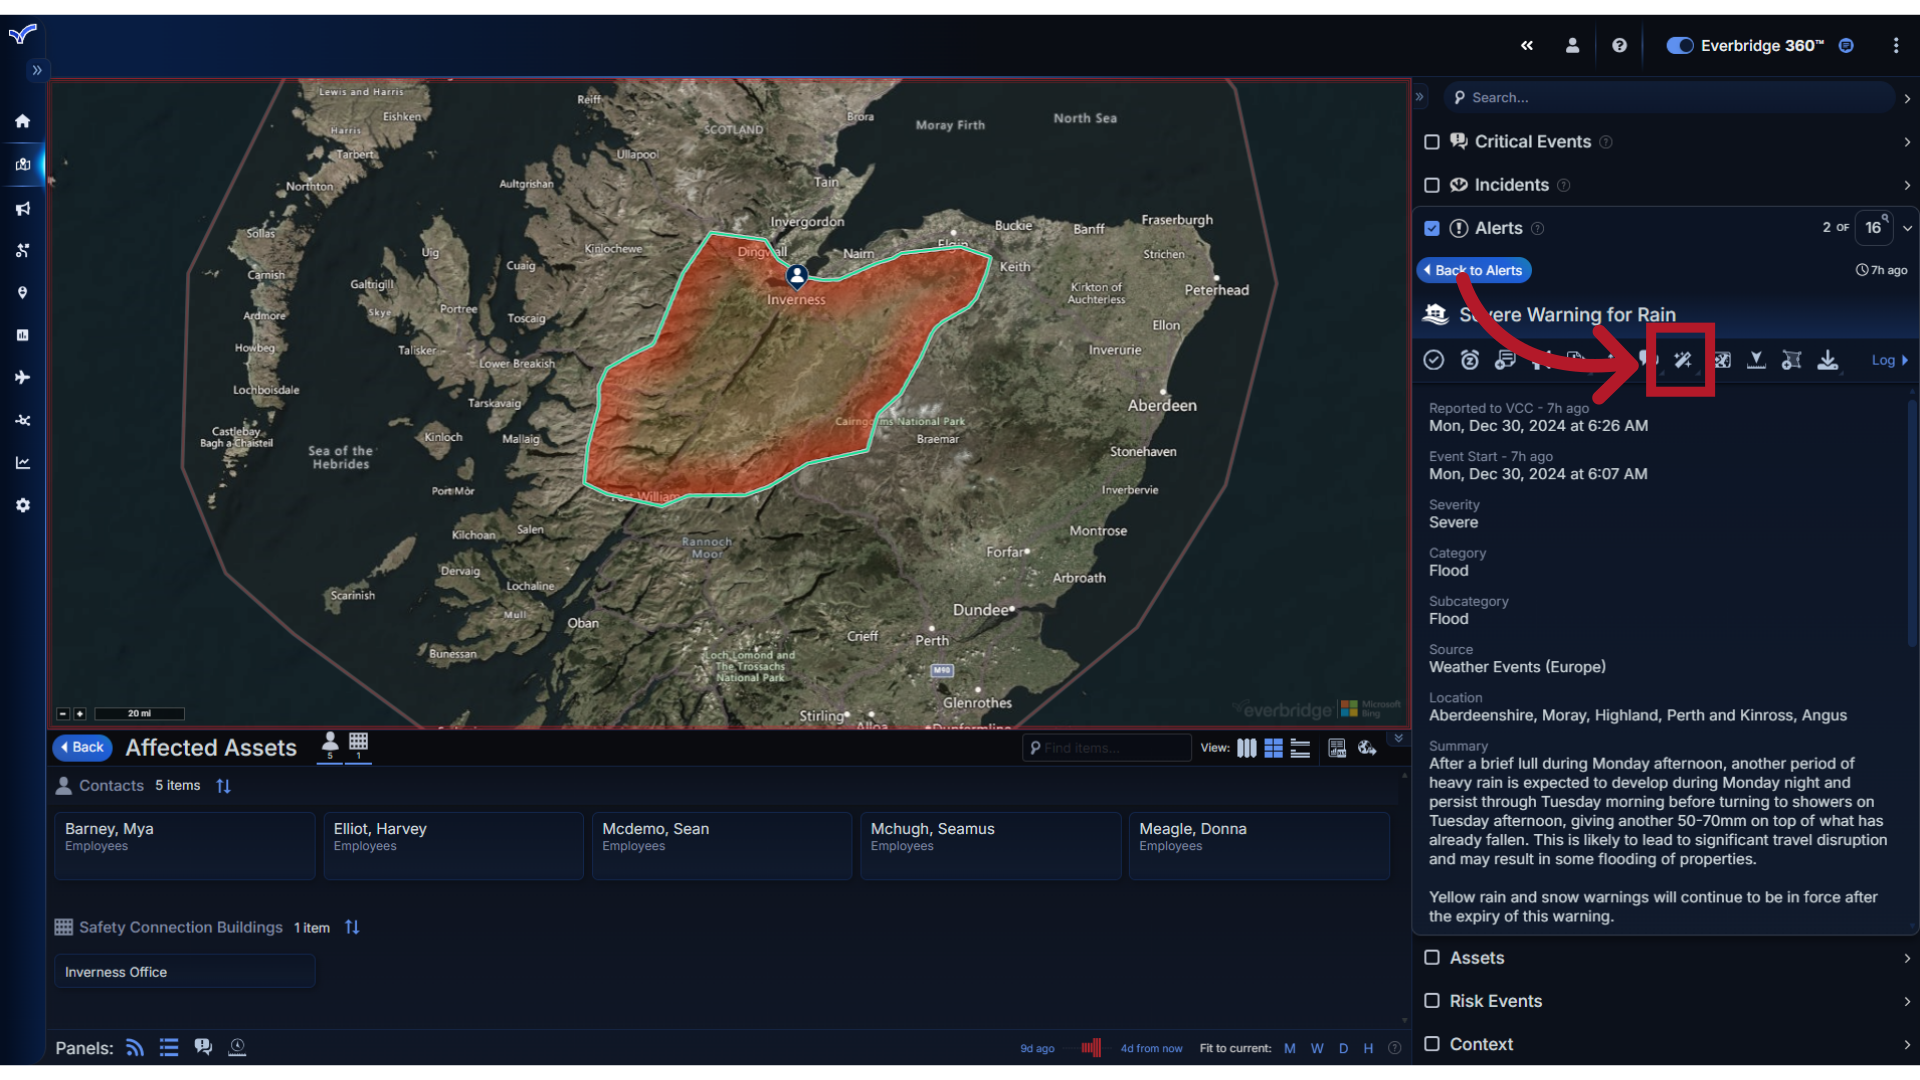
17. Select
When this action is selected, the list of webhooks you have configured will appear for selection.
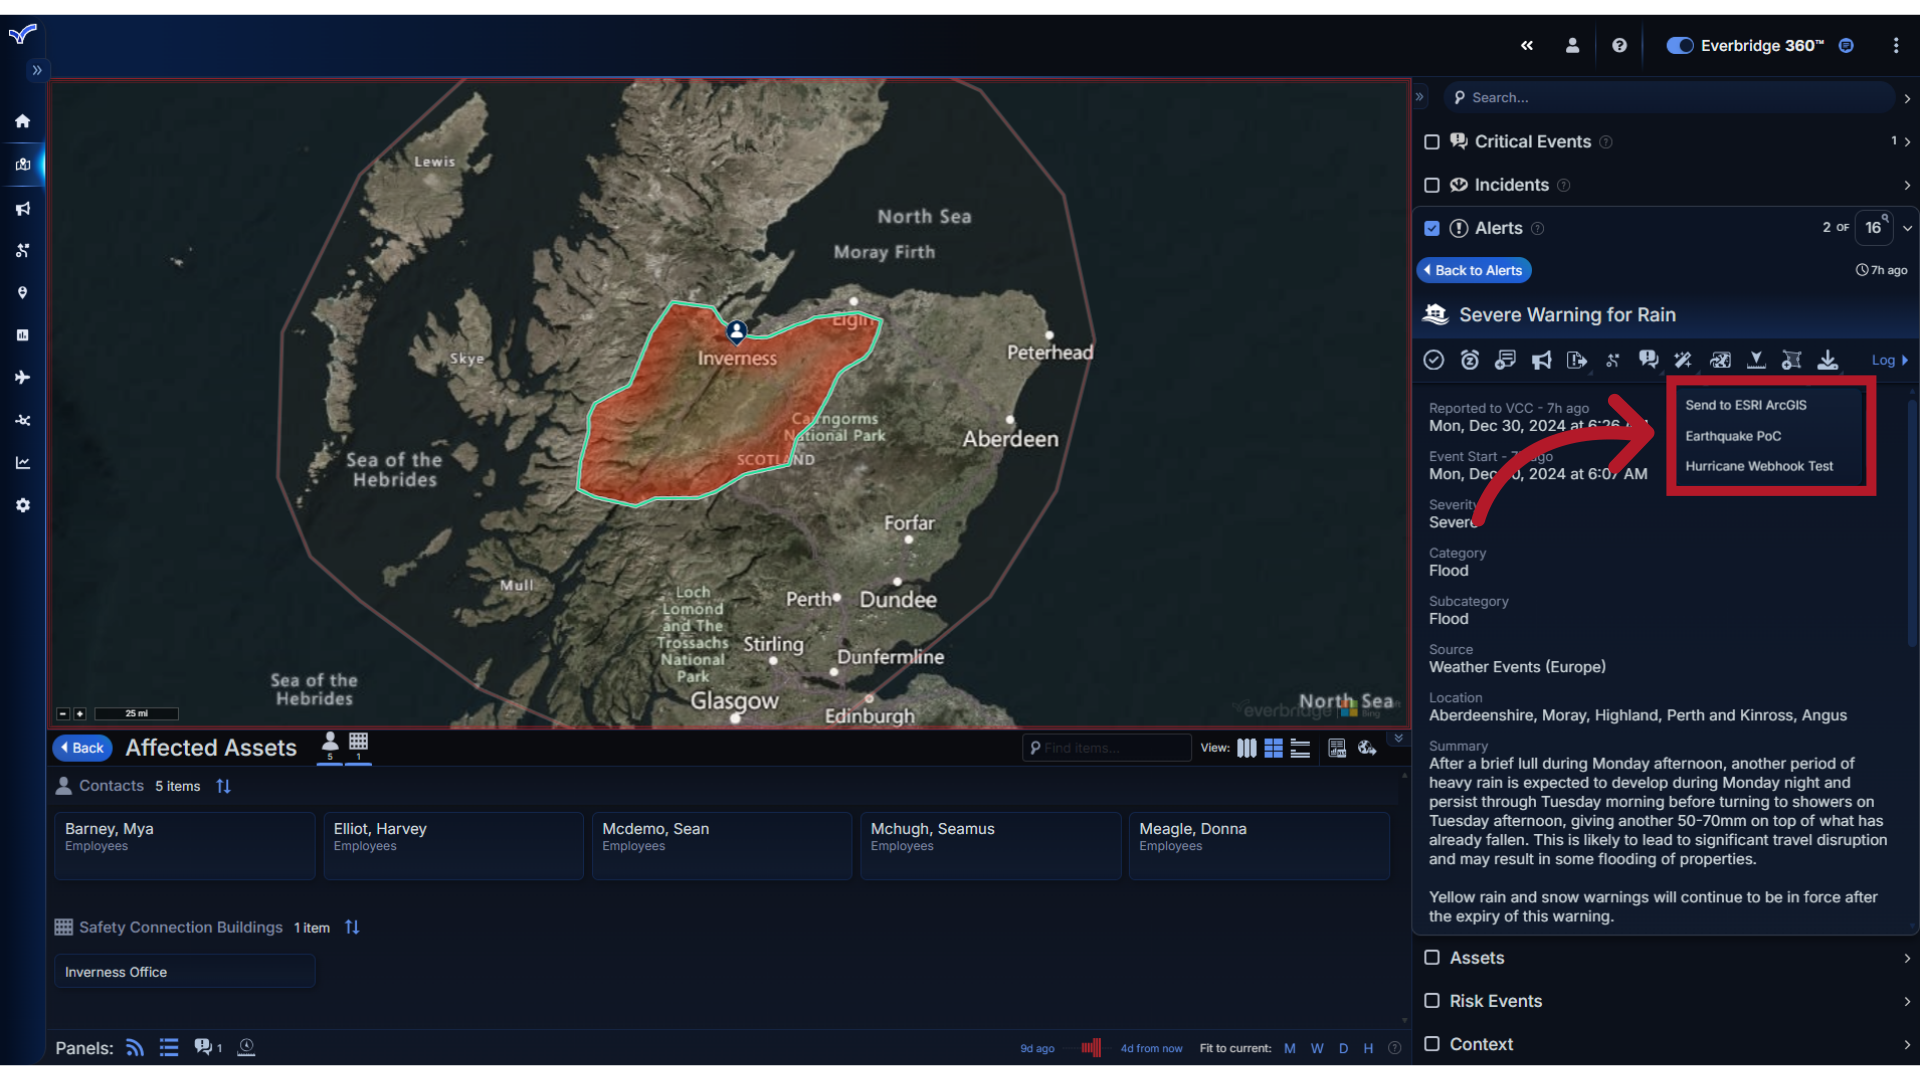
Note: If Custom Actions stop working unexpectedly, try switching from 'Classic' view to 'Modern' view in VCC, which often resolves the issue. If problems persist, contact technical support with details about the specific custom action, including its intended function, when the failure began, and any error messages you've encountered.
18. Command View
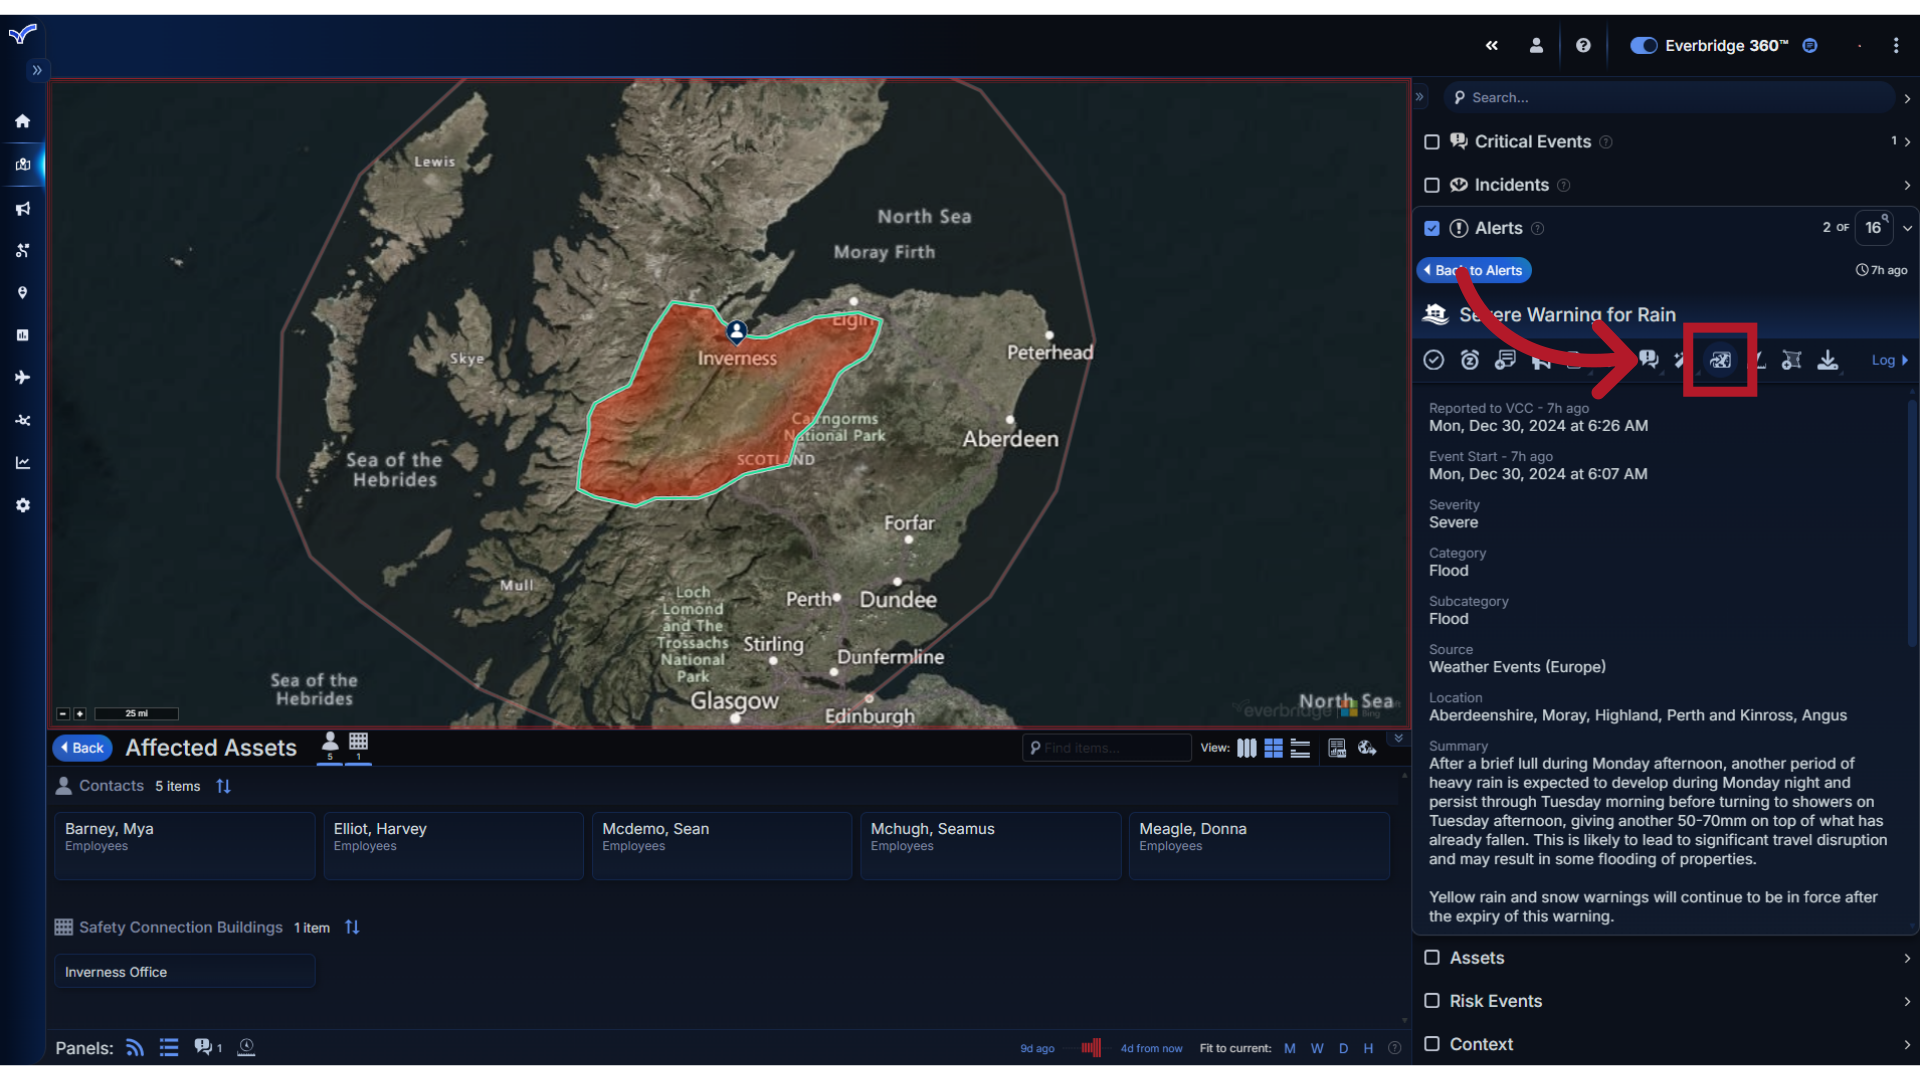
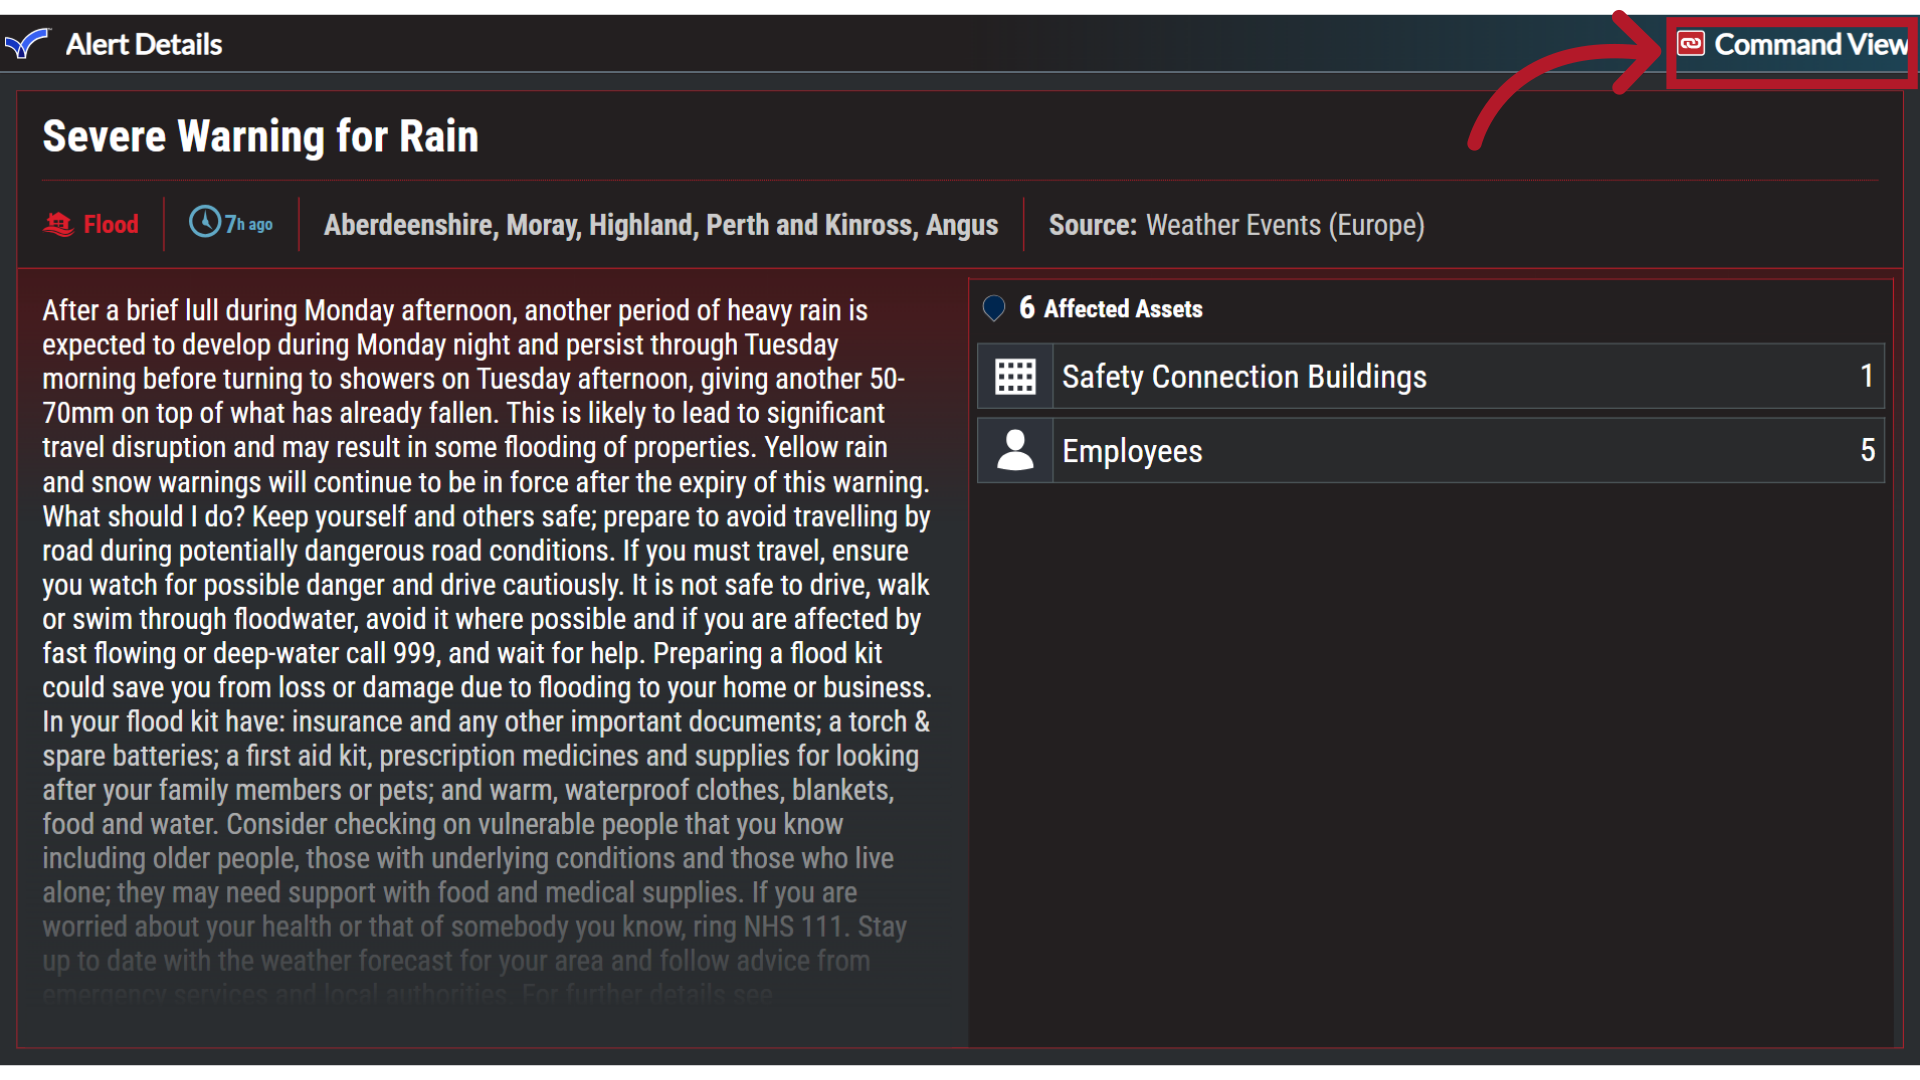
If your Everbridge solution includes the Channels module, and a screen has been configured with the Alert Details channel, the Send to Command View action takes over the channel screen to display the details of this alert.
19. Channel
The alert details will be locked to the channel so that it may be prominently viewed in your GSOC.
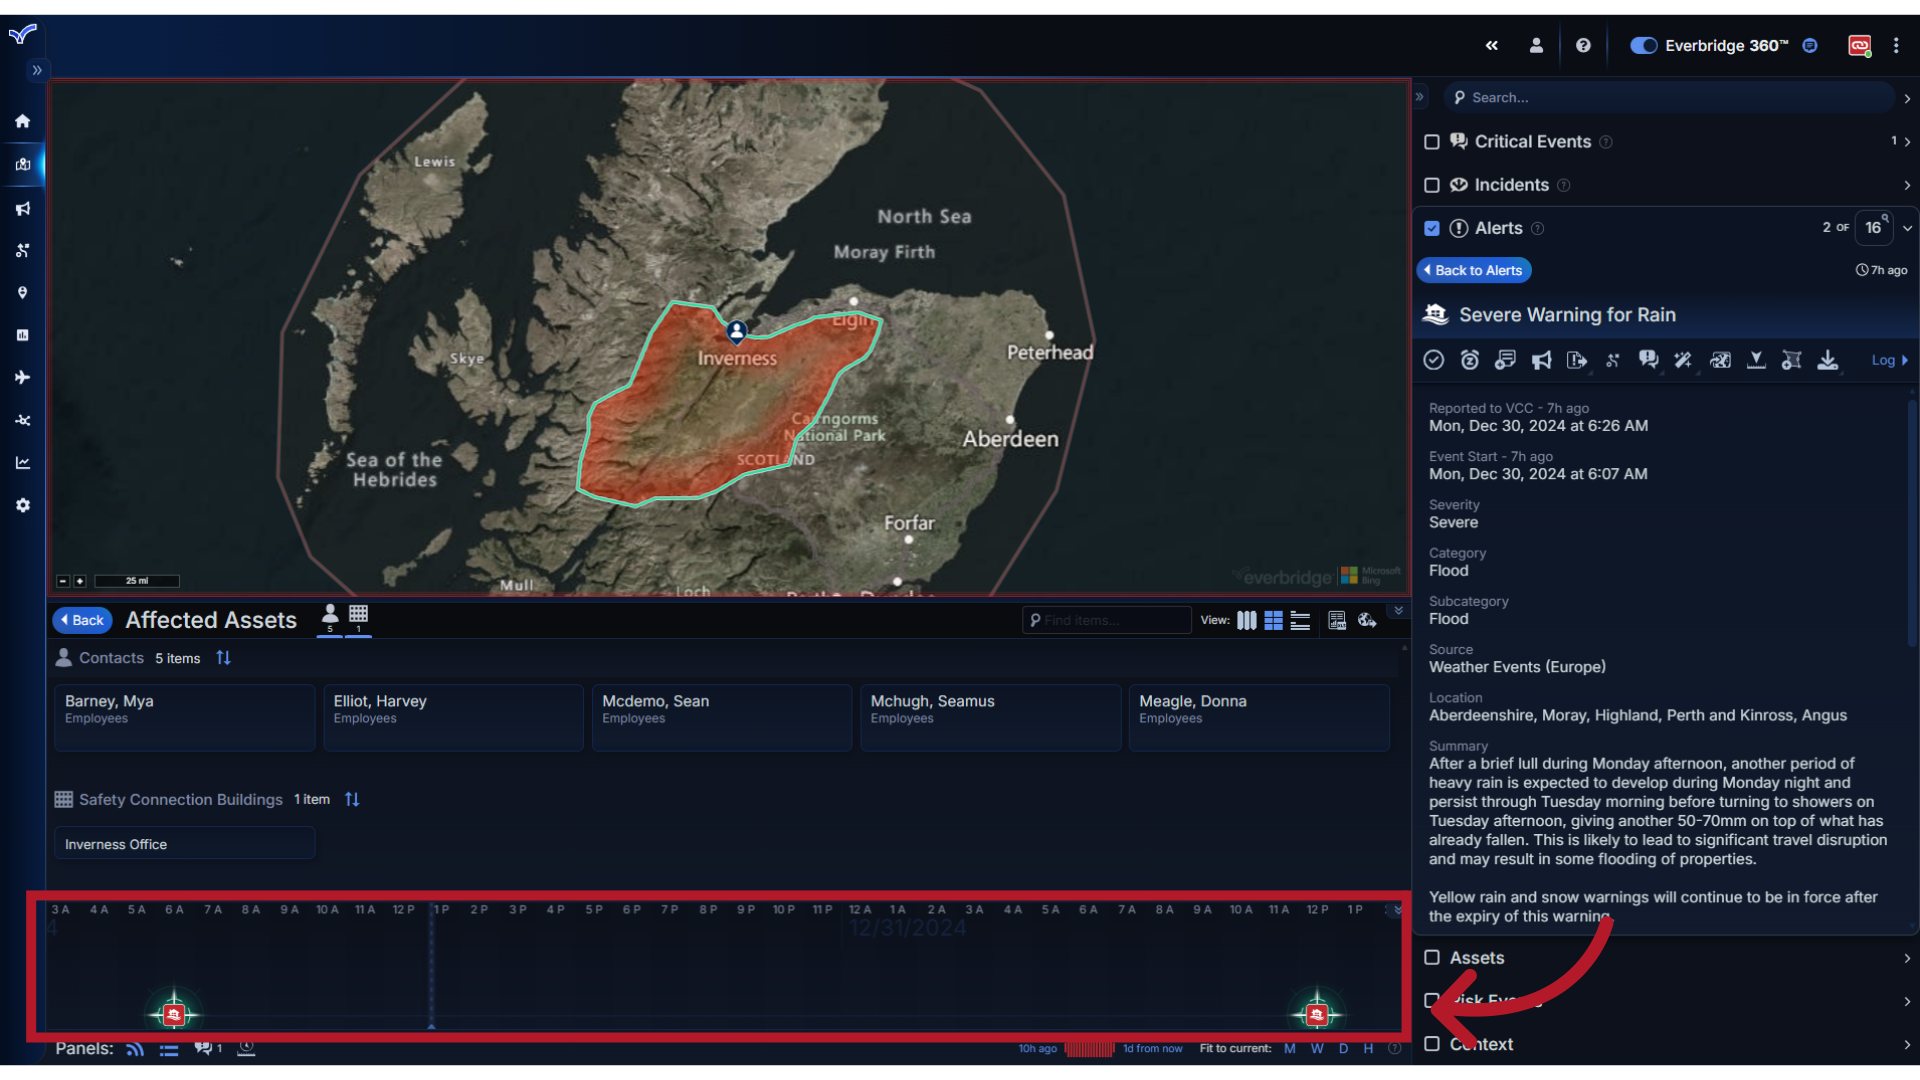
20. Timeline
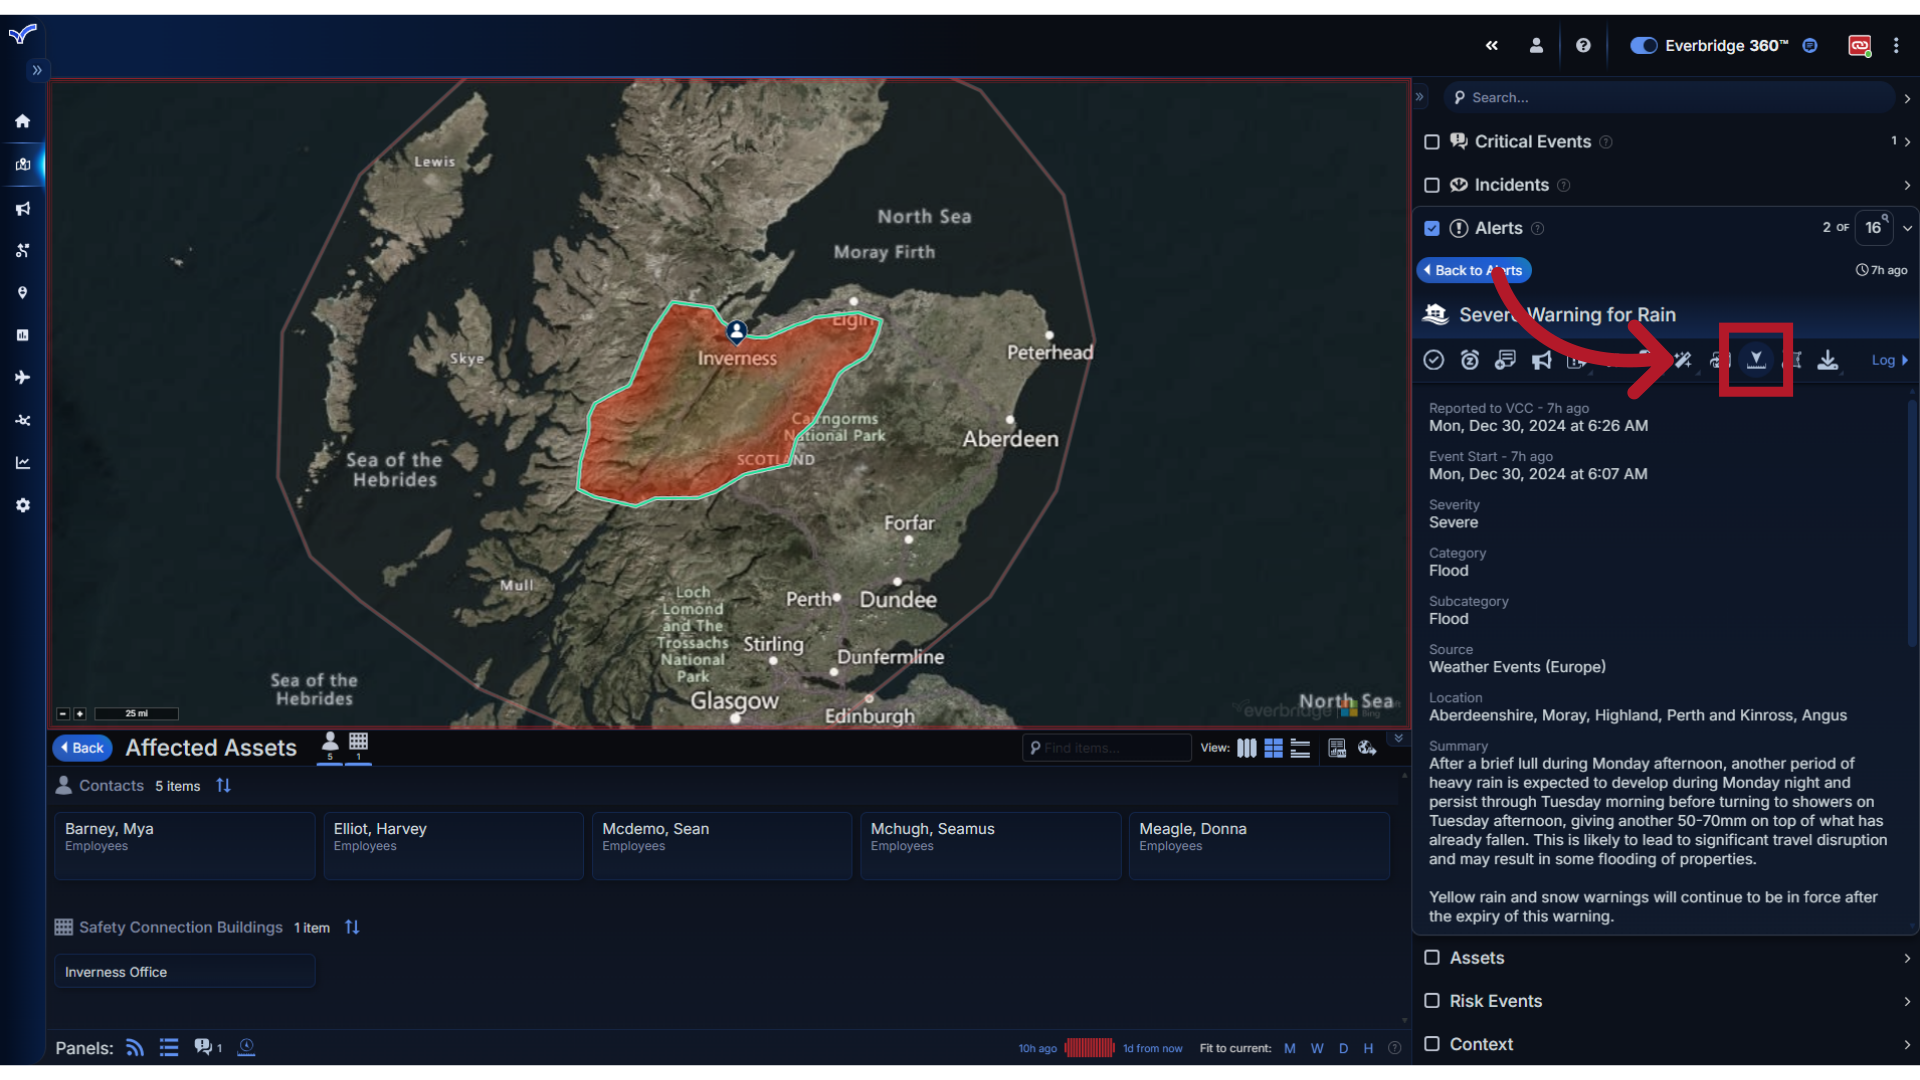
Select the Timeline action to show the alert in the Timeline Viewer.
21. Timeline Viewer
This will open the Timeline viewer to show the alert duration.
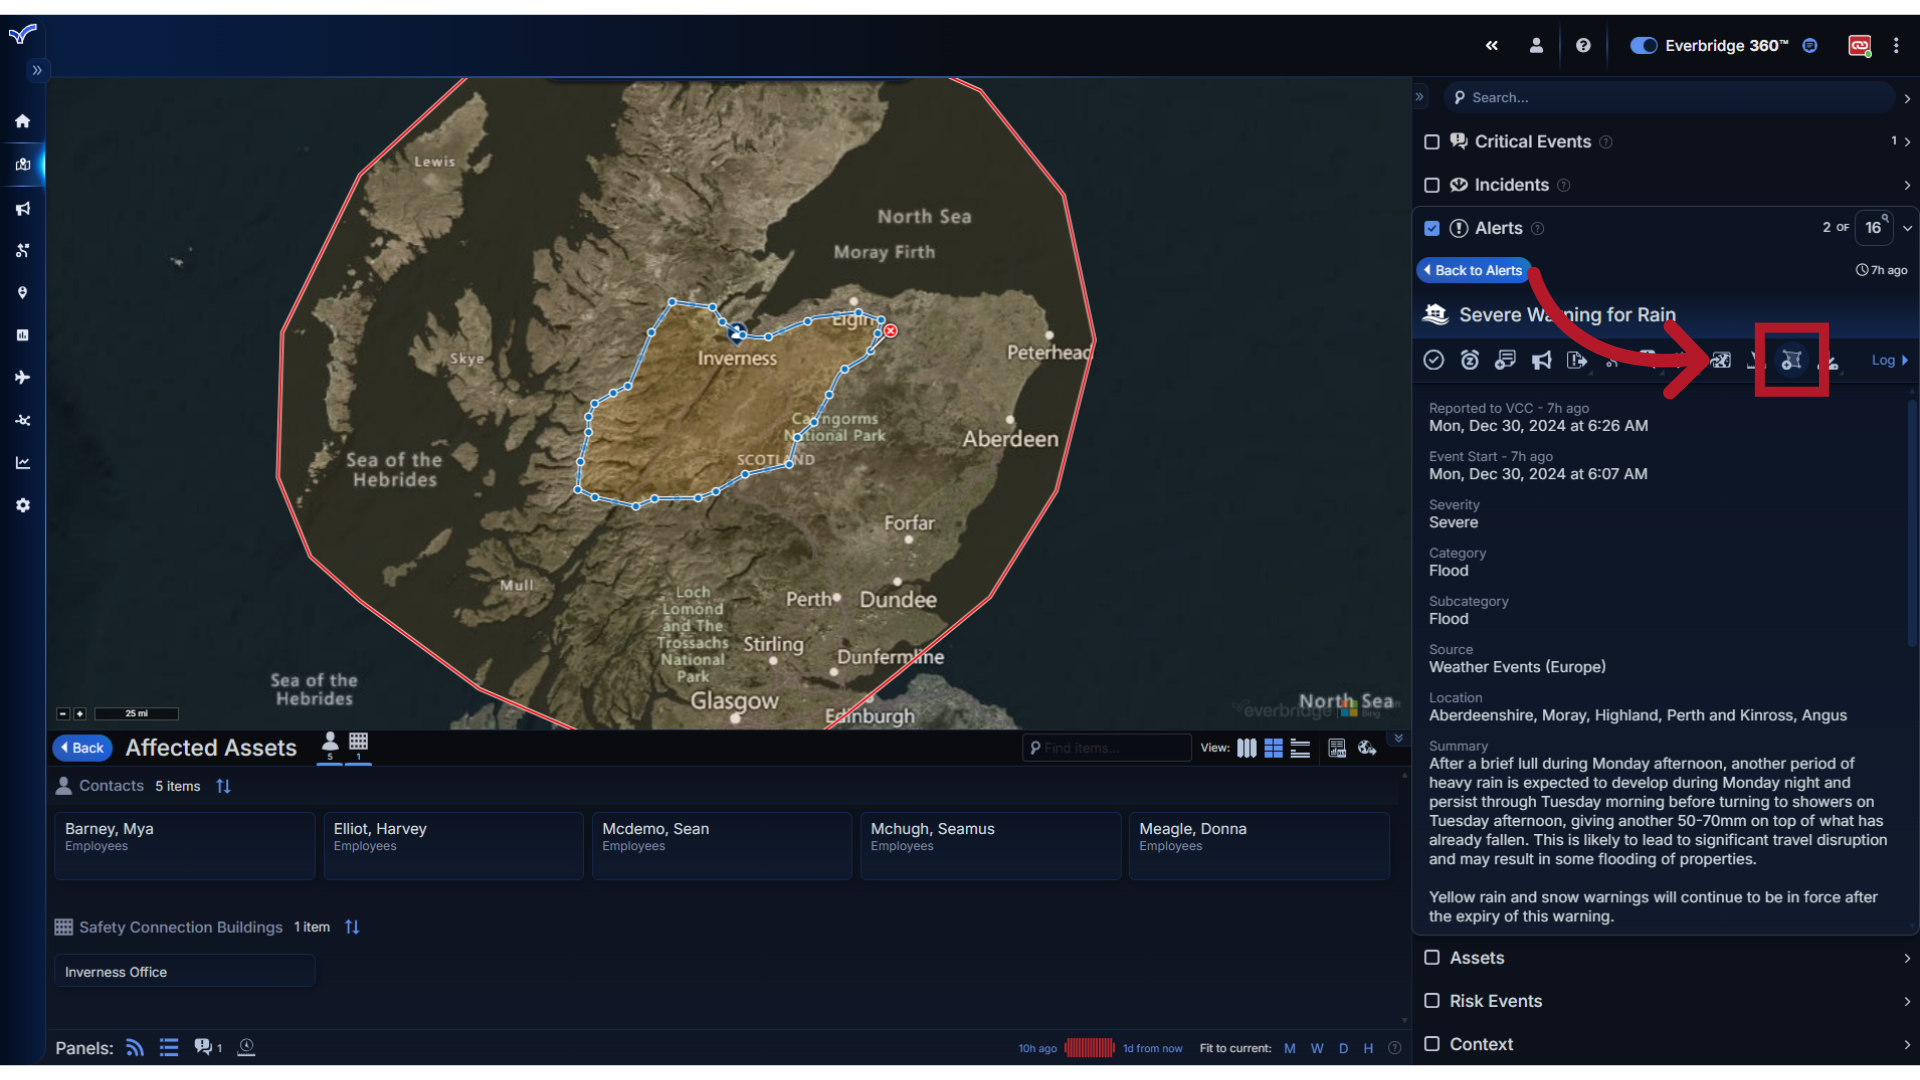
22. Area Filter
For alerts that are issued as polygon shapes, you will see the action for Add as an Area Filter.
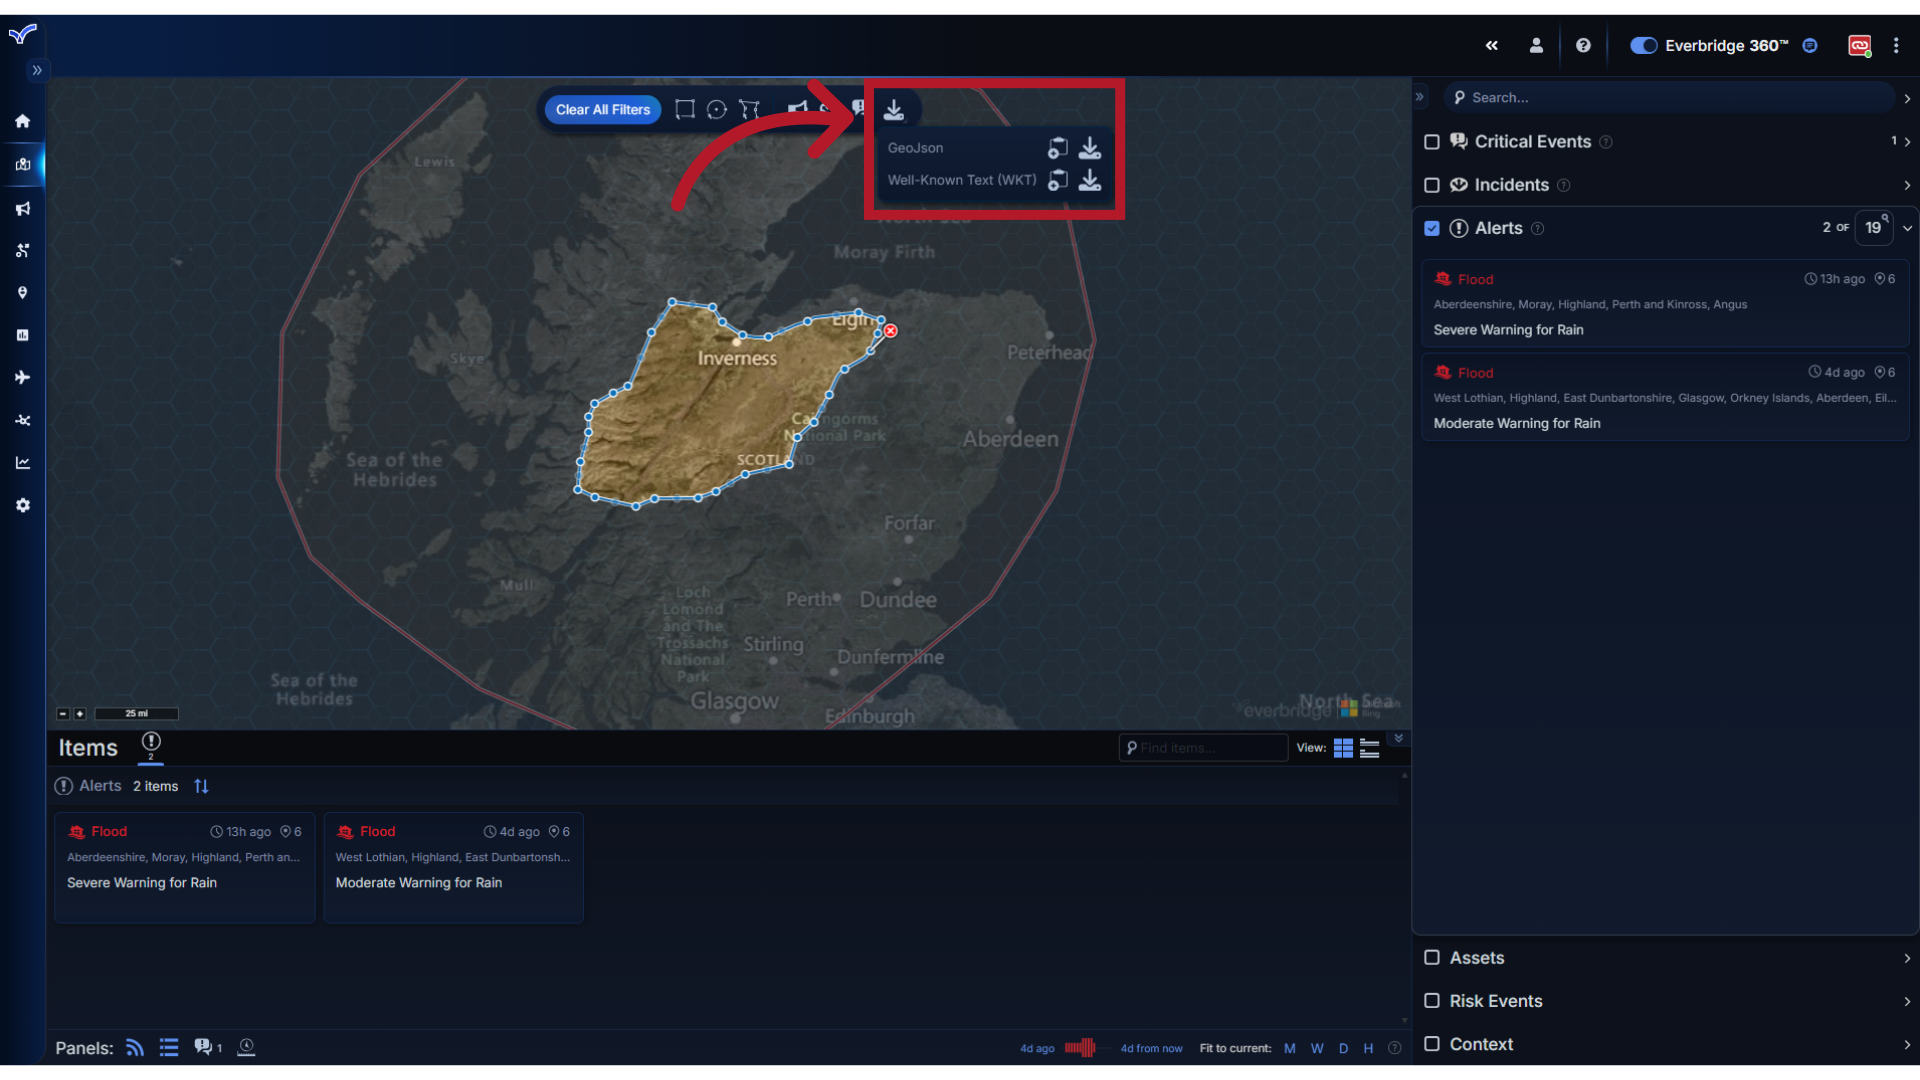
23. Toolbar
When a polygon is added as an Area Filter, it opens the Area Filter toolbar overlay on the map. From here, you can select options such as copying or exporting the shape file coordinates, should you want to use them in another application or add them to a custom asset.
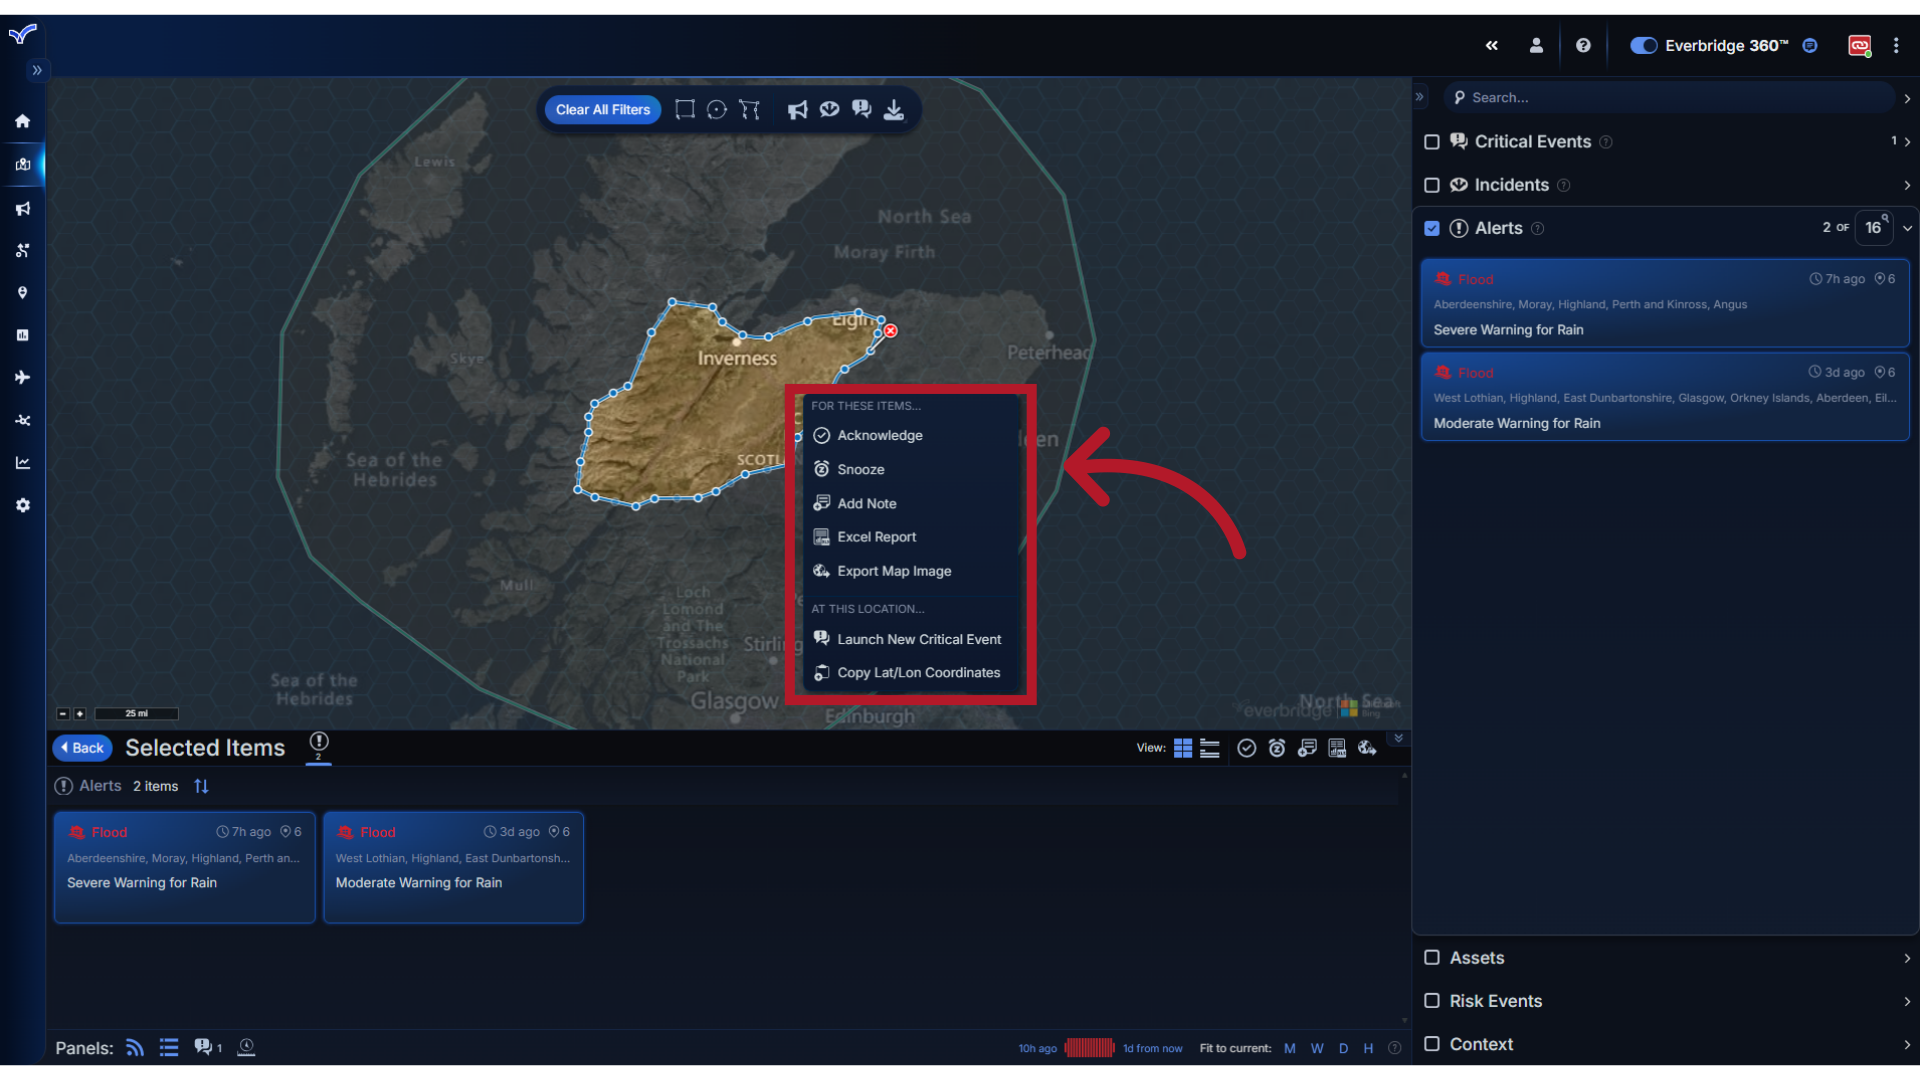
24. Menu
You can also right click on the Area Filter to display a menu of the actions you can take directly from the map.
25. Copy Shape
For alerts that are issued as polygon shapes, the Copy Shape action also provides the ability to download the alert's polygon coordinates.
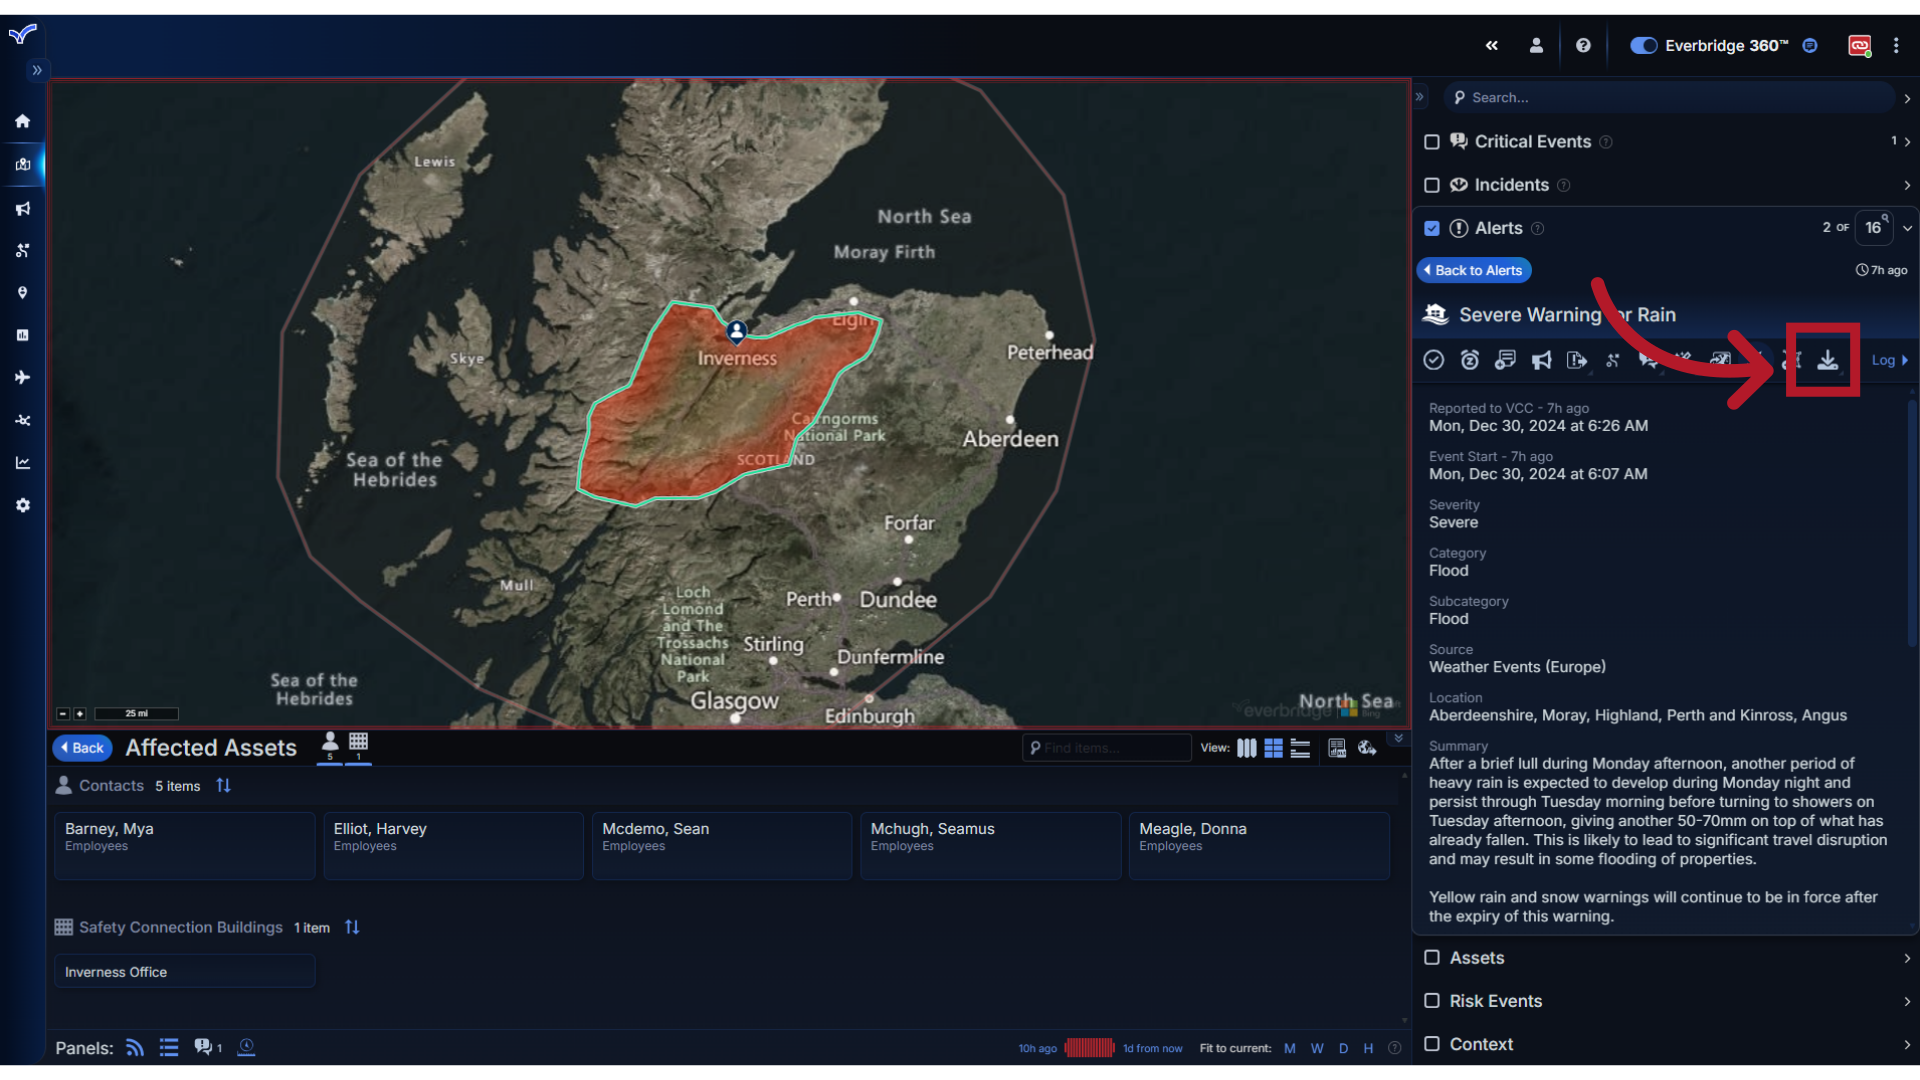
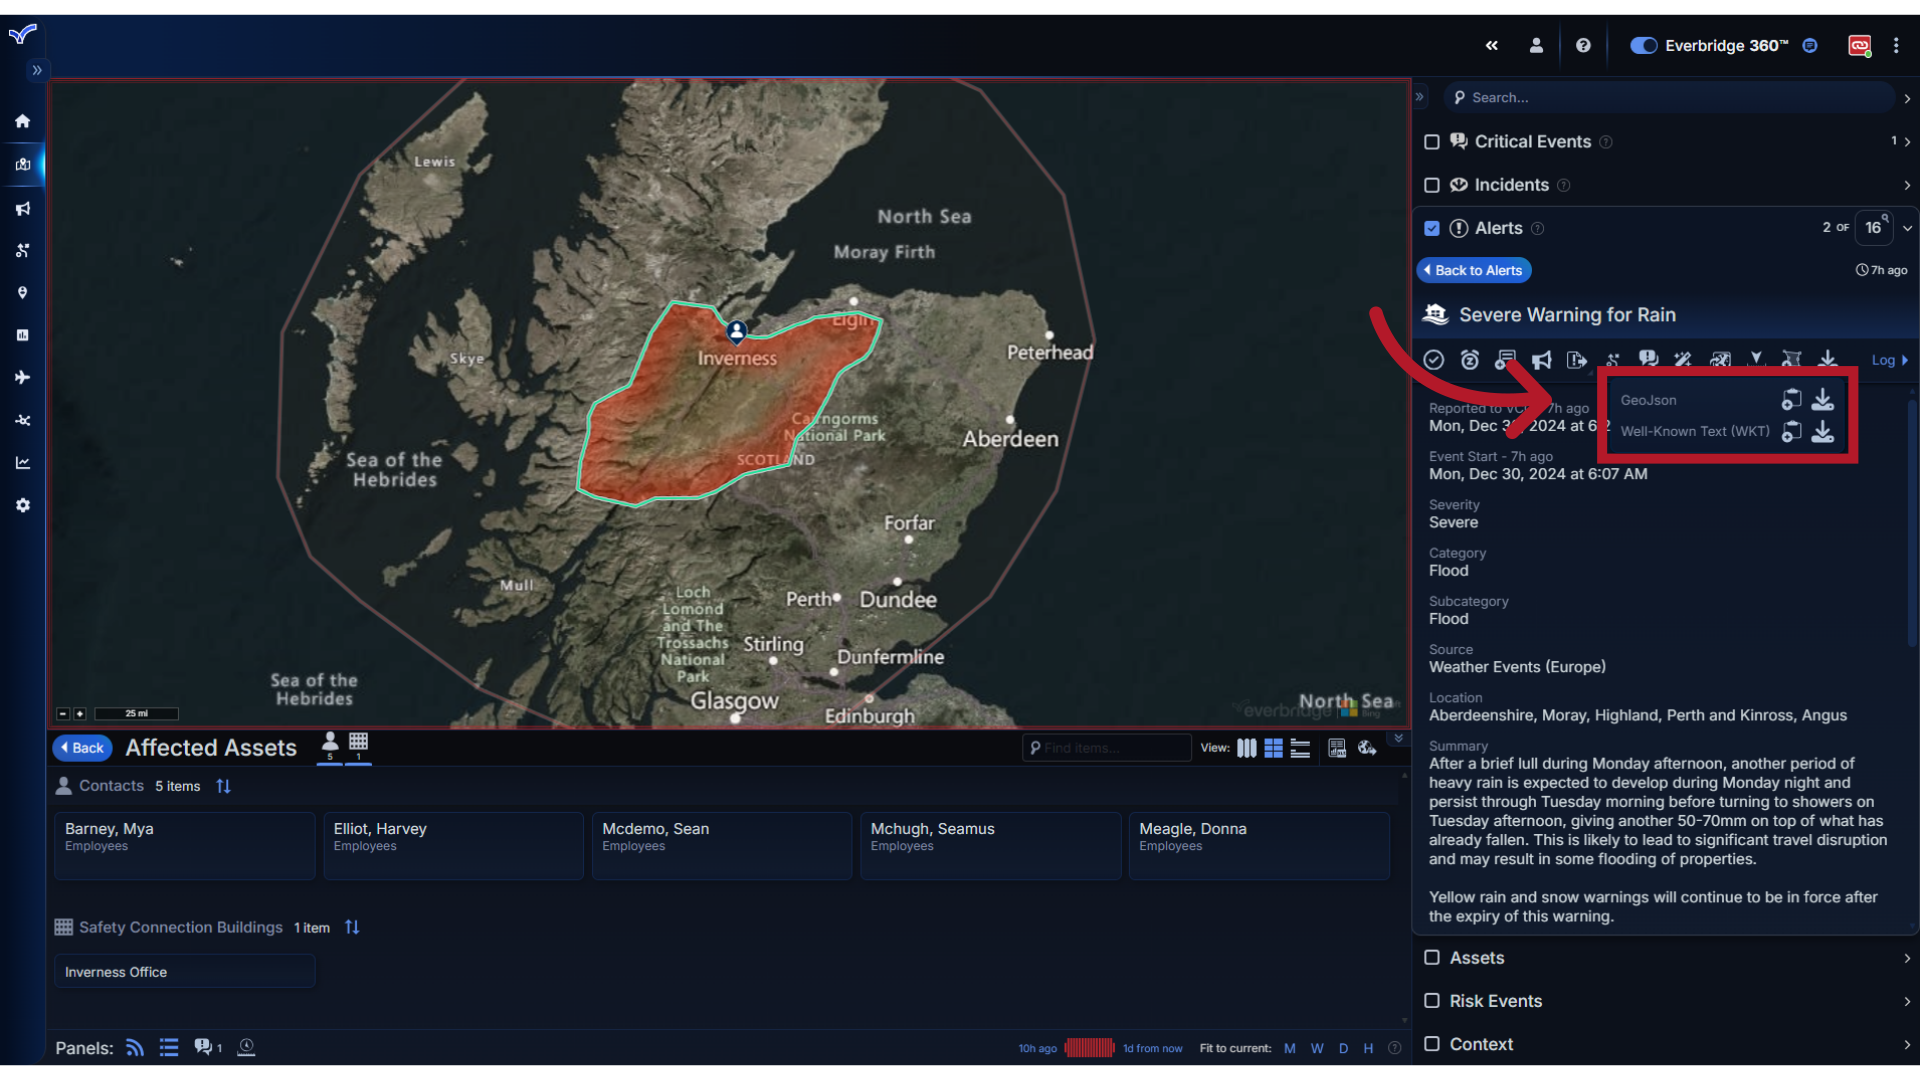
26. Export
You will see the same options as the Area Filter for exporting the shape file in GeoJson or Well Known Text format.
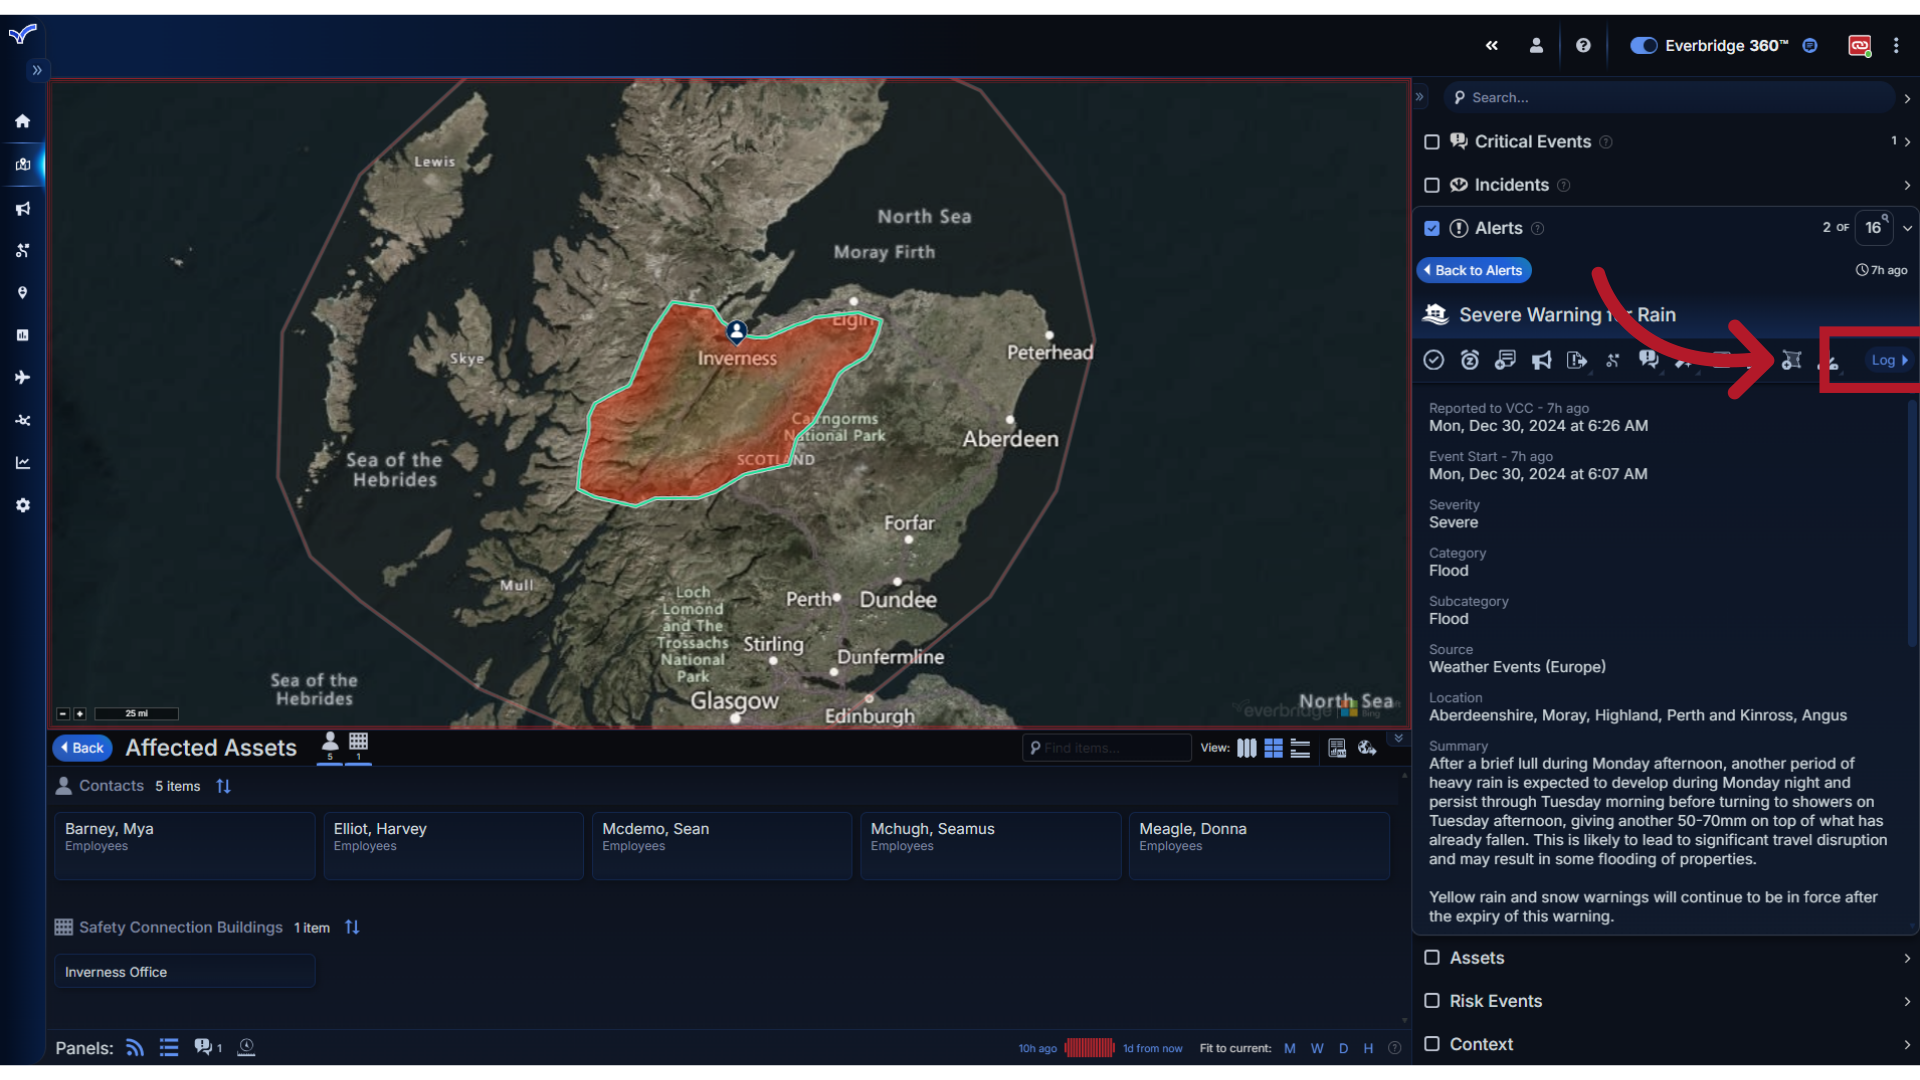
27. Log
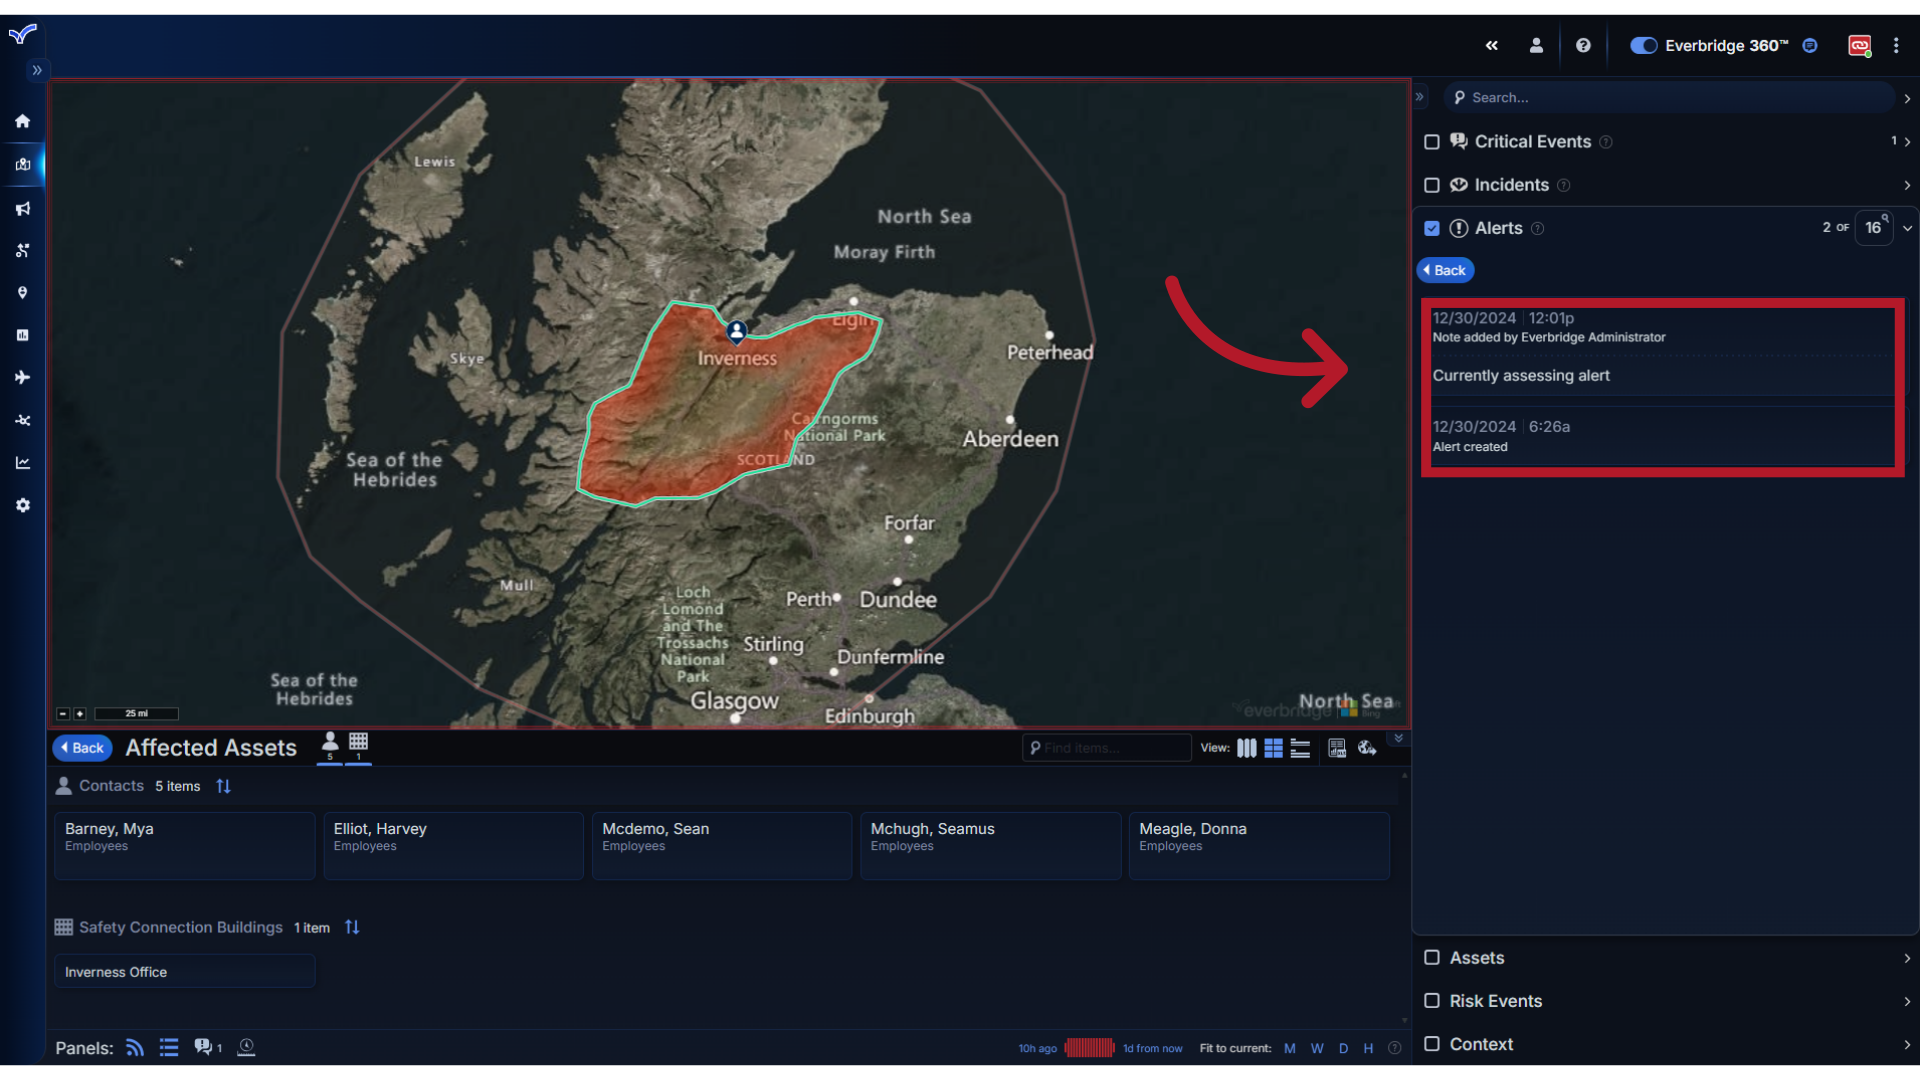
The last action within the toolbar provides access to the alert's Log information.
28. View
When selected, you will see timestamped information about the alert such as when it was created, if any communications were launched, or the notes that an operator has added.
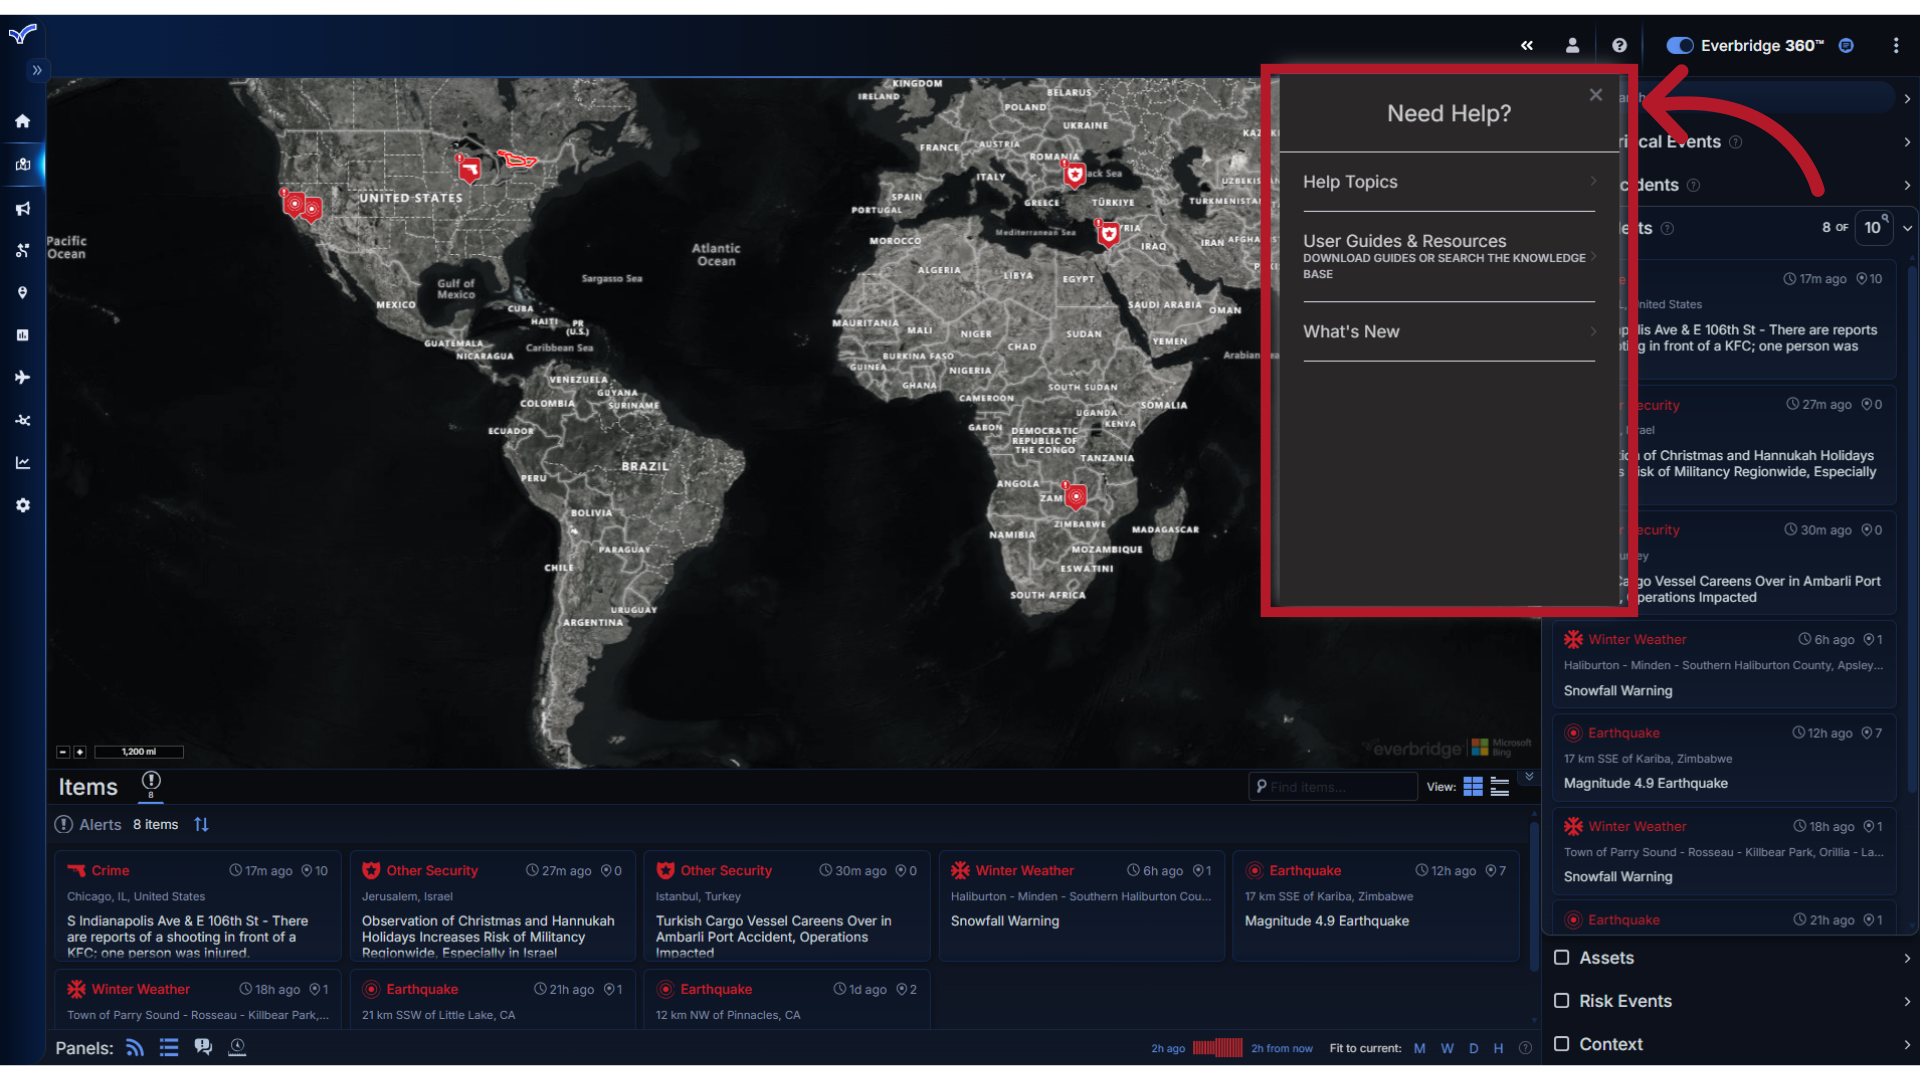
29. Help
For more information about any of the Alert Actions reviewed here, click the main Help icon to access the online support library.
This guide provided an overview of the Alert Actions available in the Visual Command Center Alerts Toolbar, providing you with an understanding of how you can best respond to an event or situation impacting your contacts and assets. Thank you for watching!