This tutorial demonstrates how to update the SSO User ID for user records within Everbridge. You will learn the steps to access user settings and modify the SSO User I.D's.
Go to manager.everbridge.net
1. Log in to Manager Portal
To begin log into the Manager Portal as an Account Administrator.
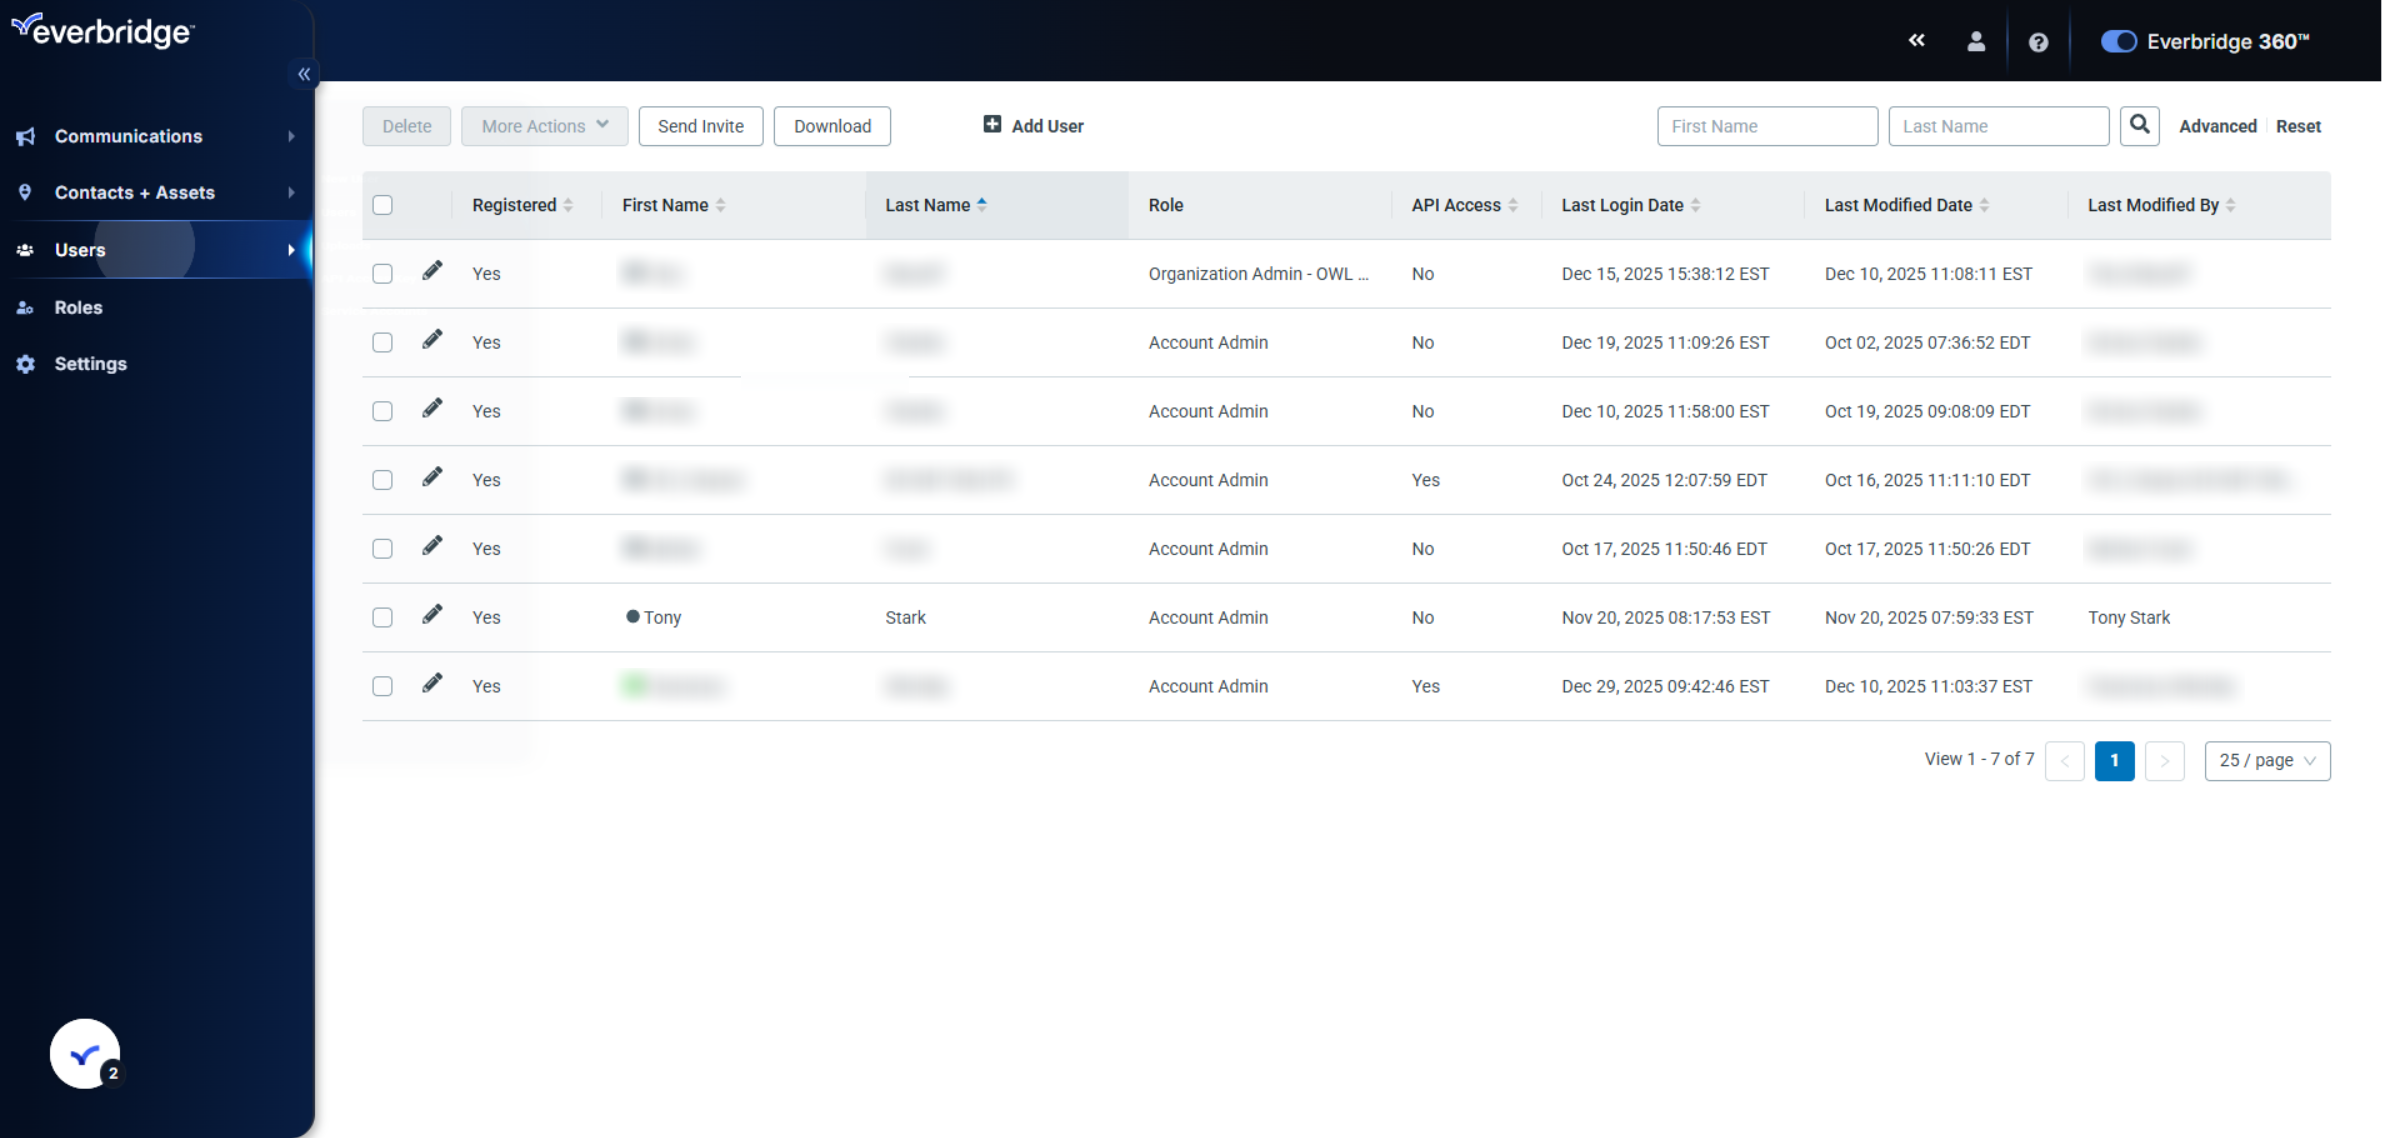
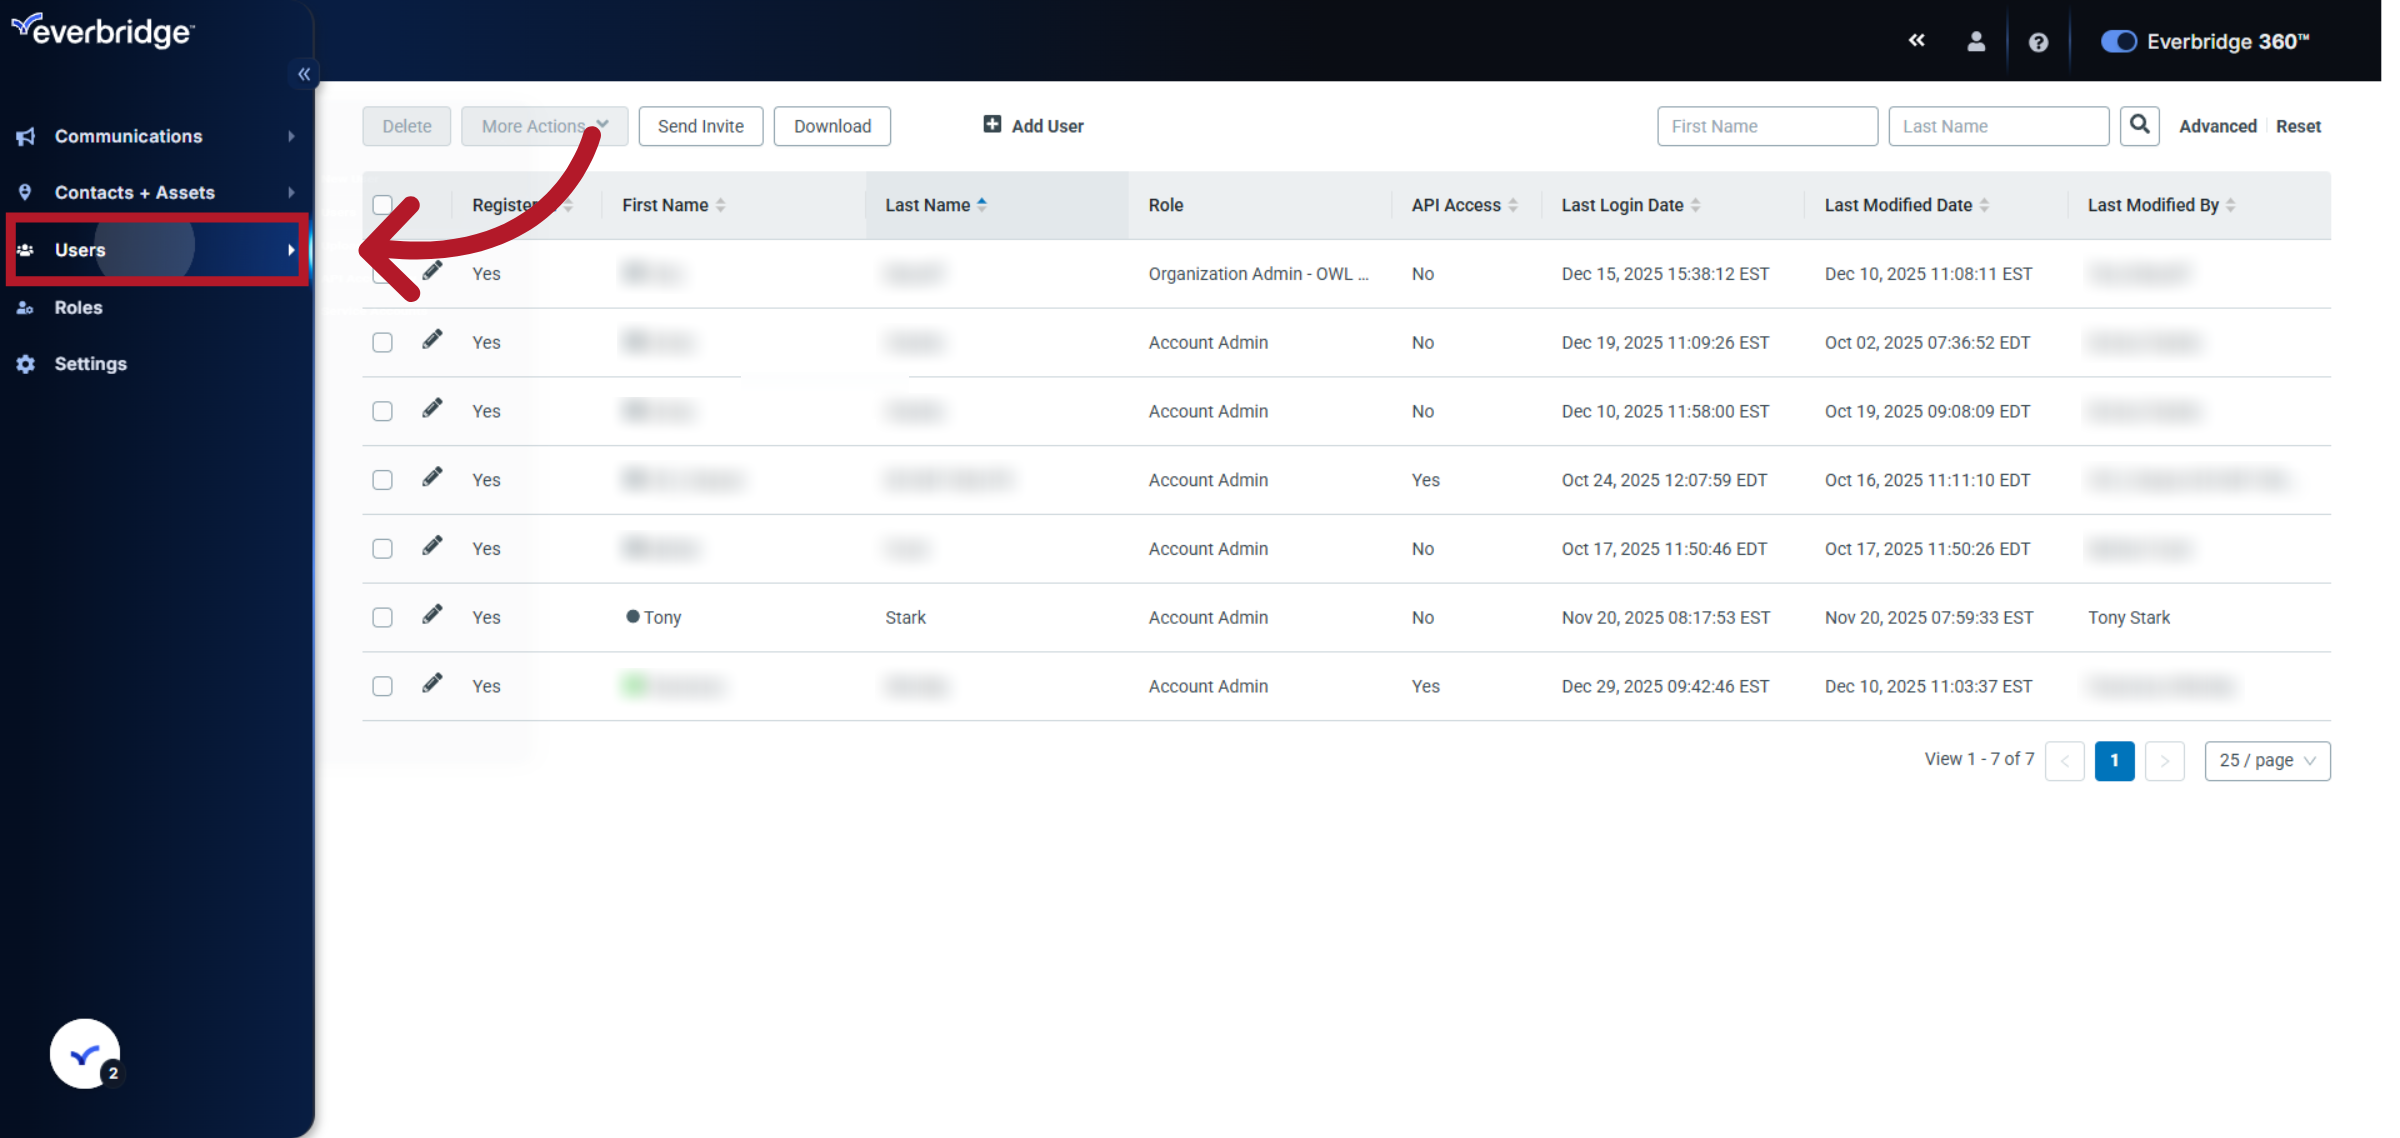
2. Select Users Menu
Click the Users menu to view and manage the list of user accounts.
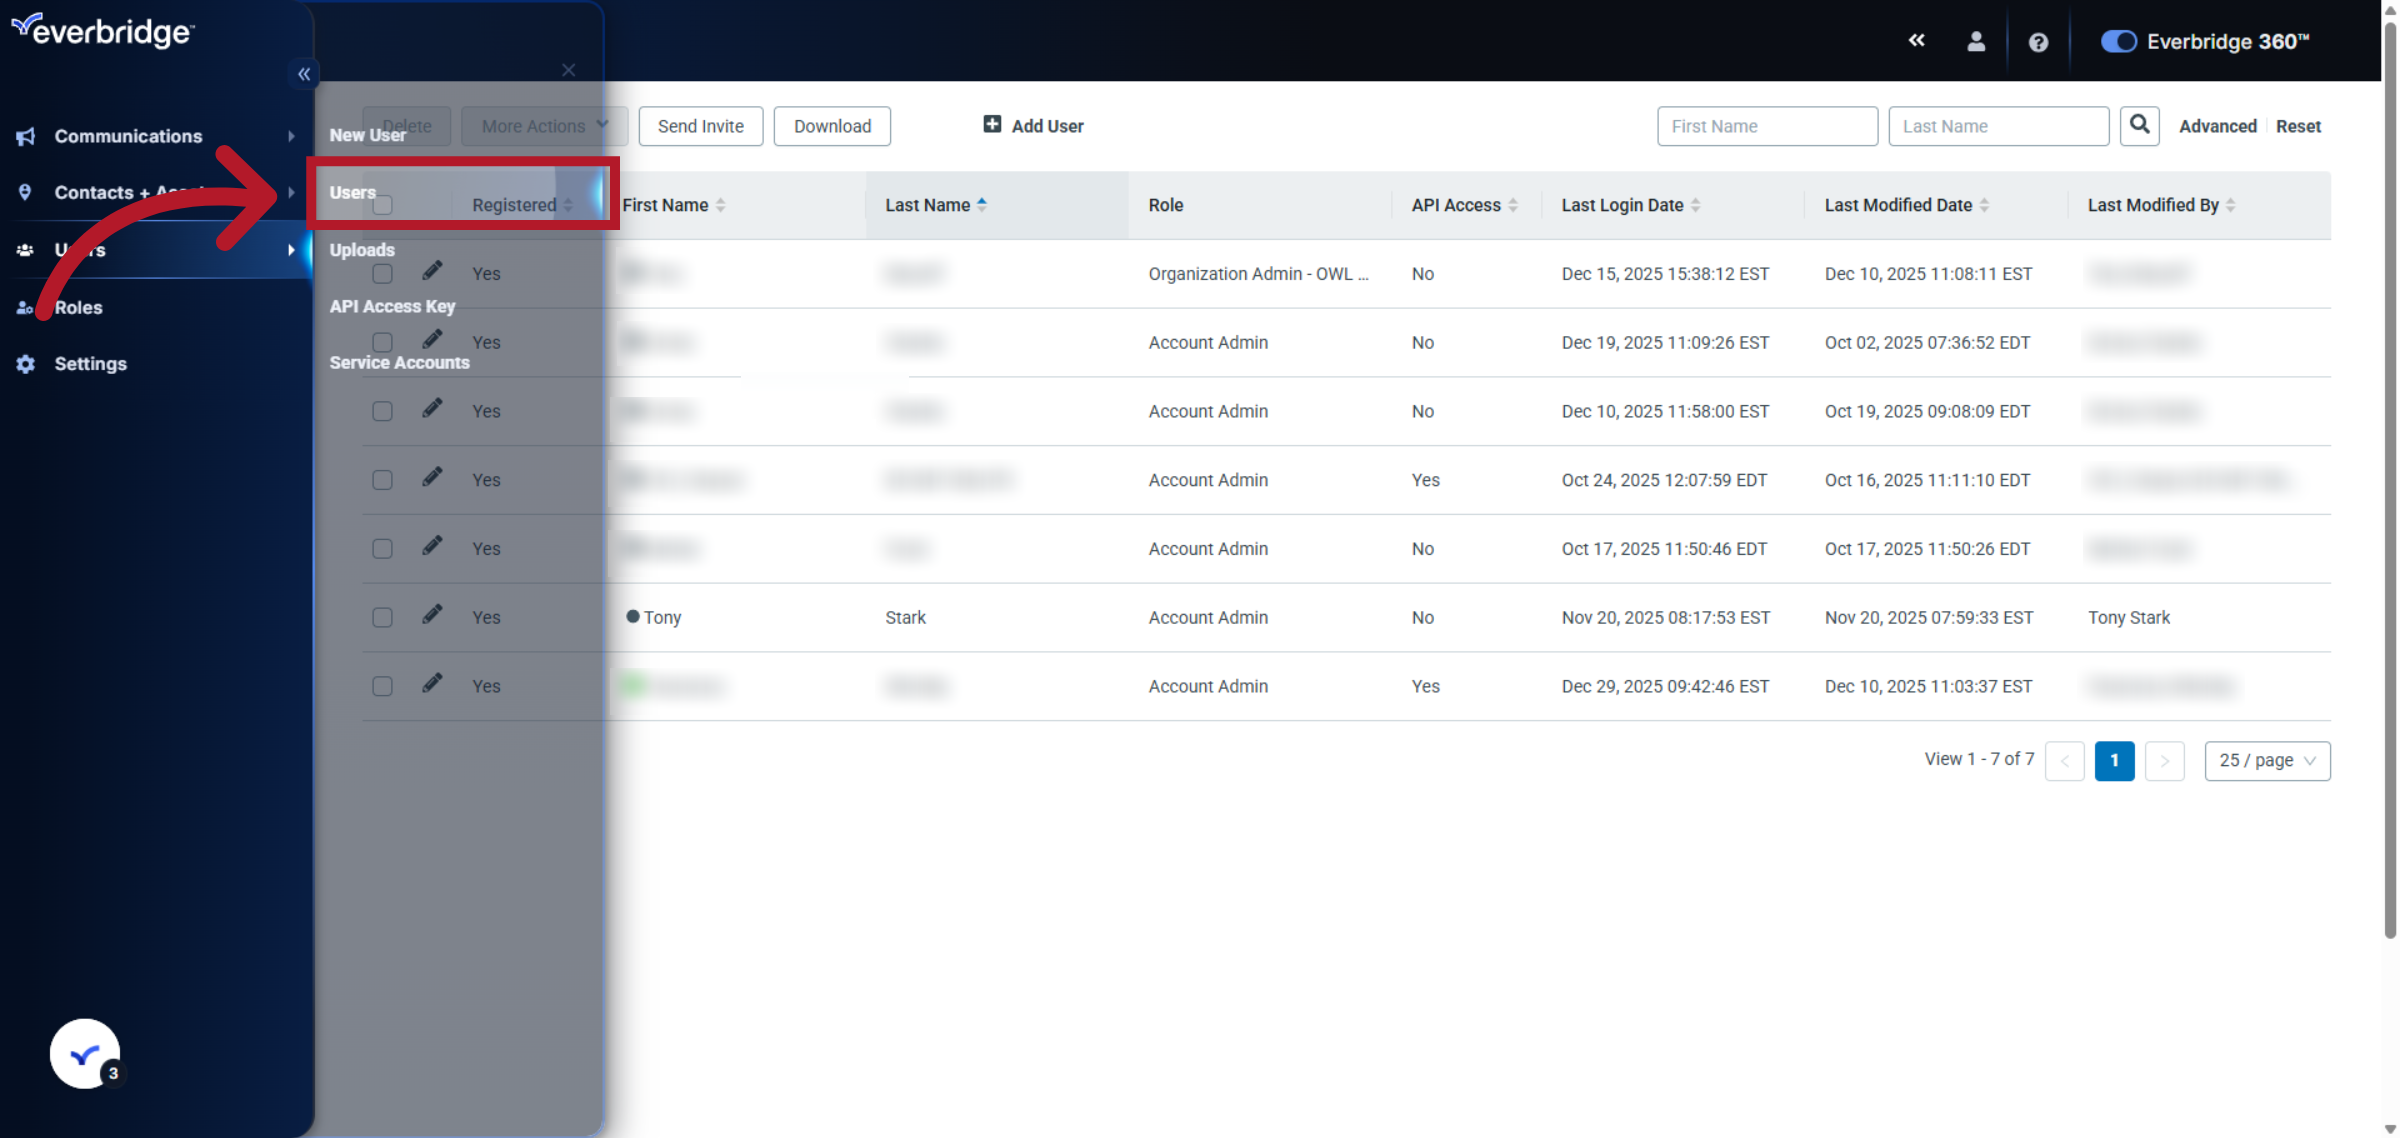
3. Open Users Submenu
Click the Users submenu to ensure you are in the correct user management interface.
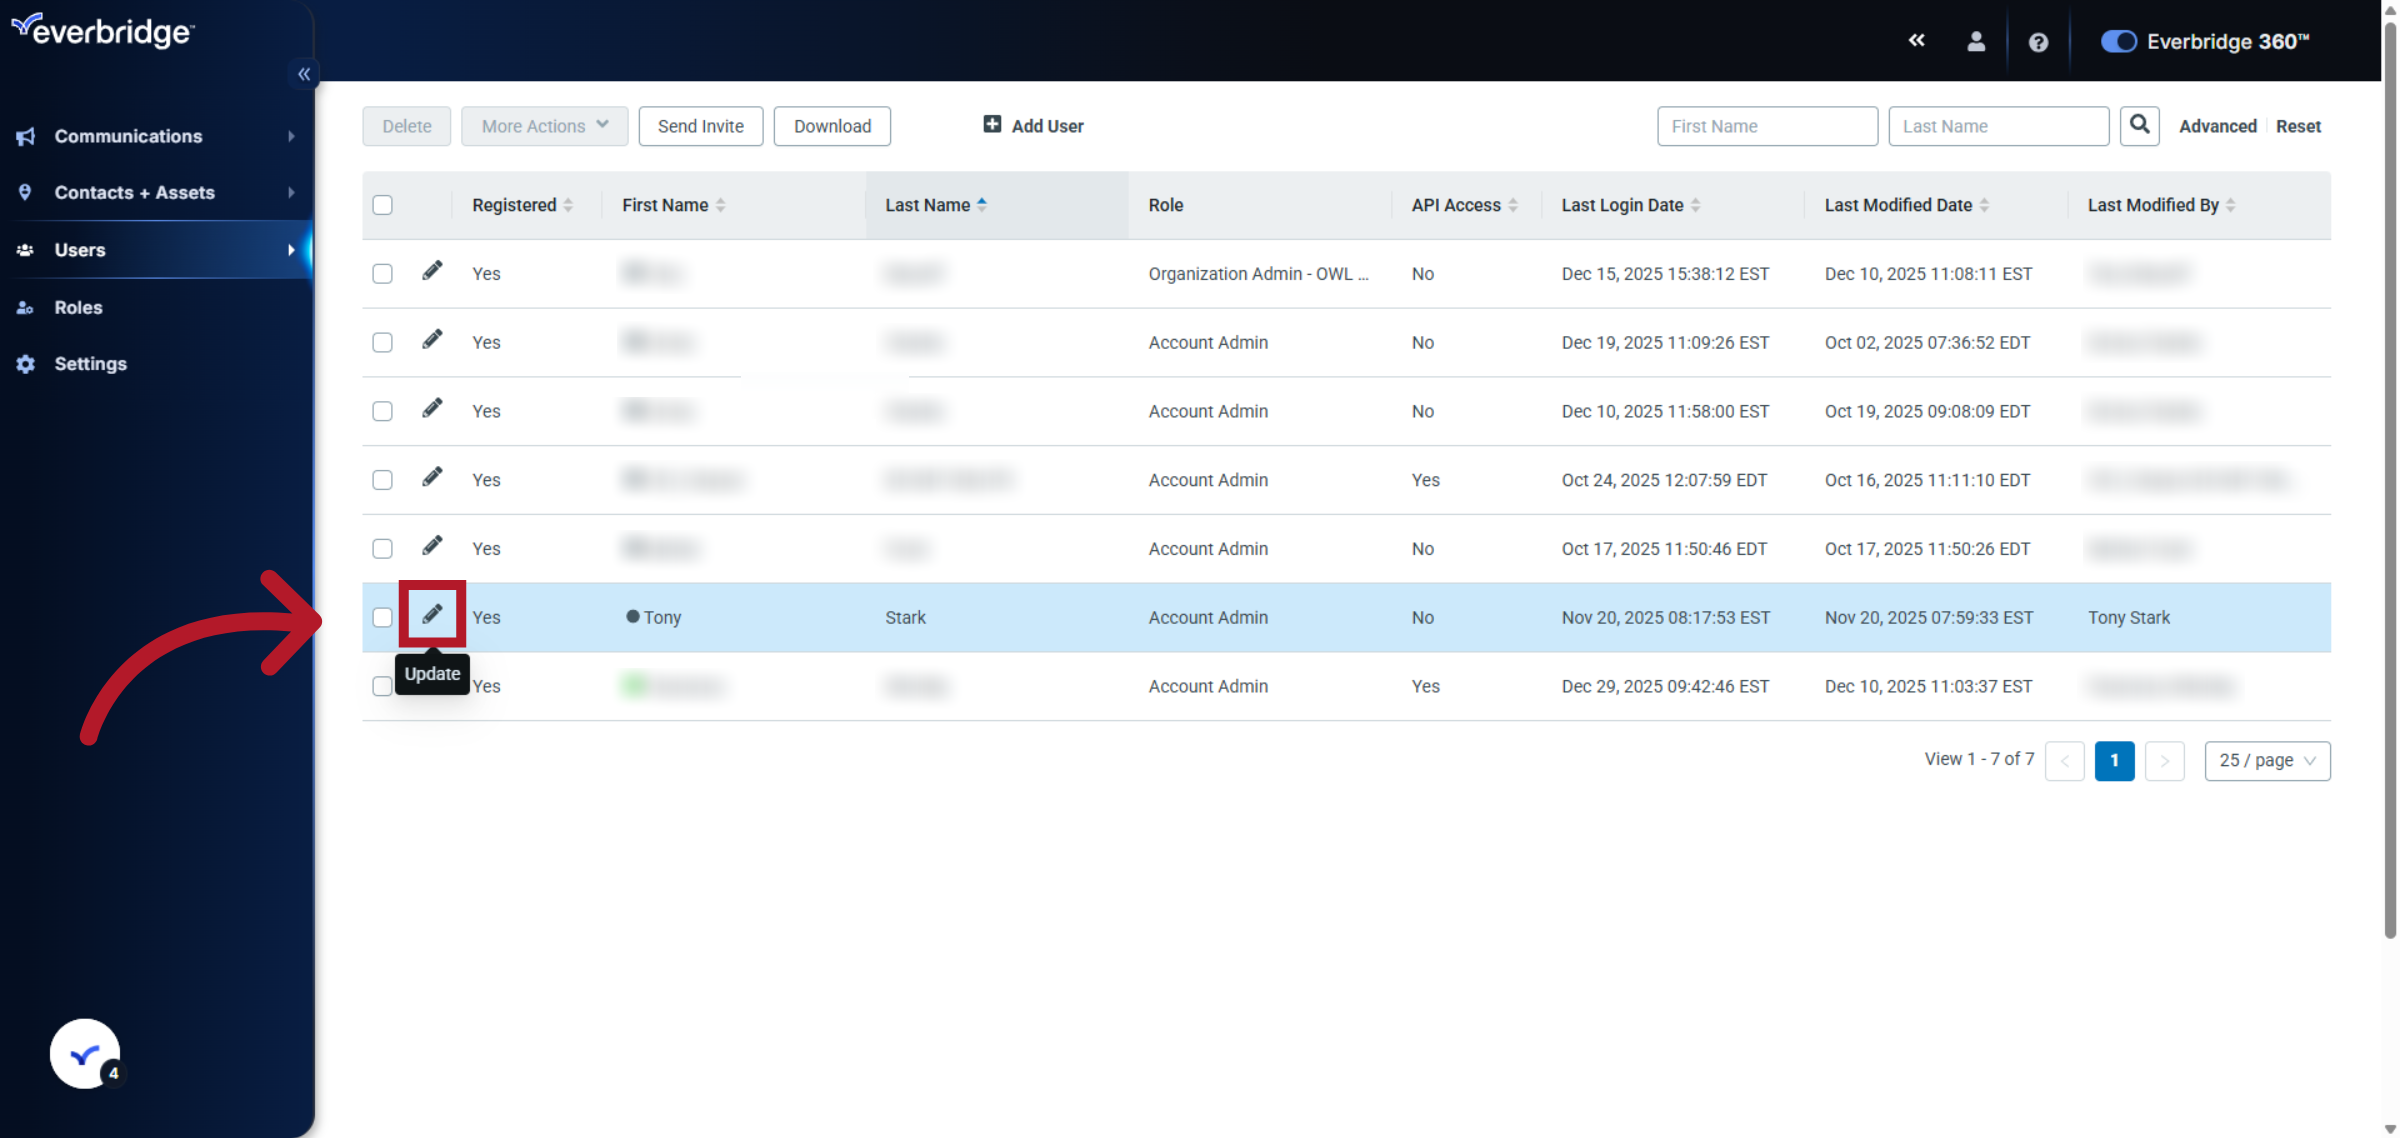
4. Access User Details
Click the pencil to the left of the user whose SSO User ID you want to update.
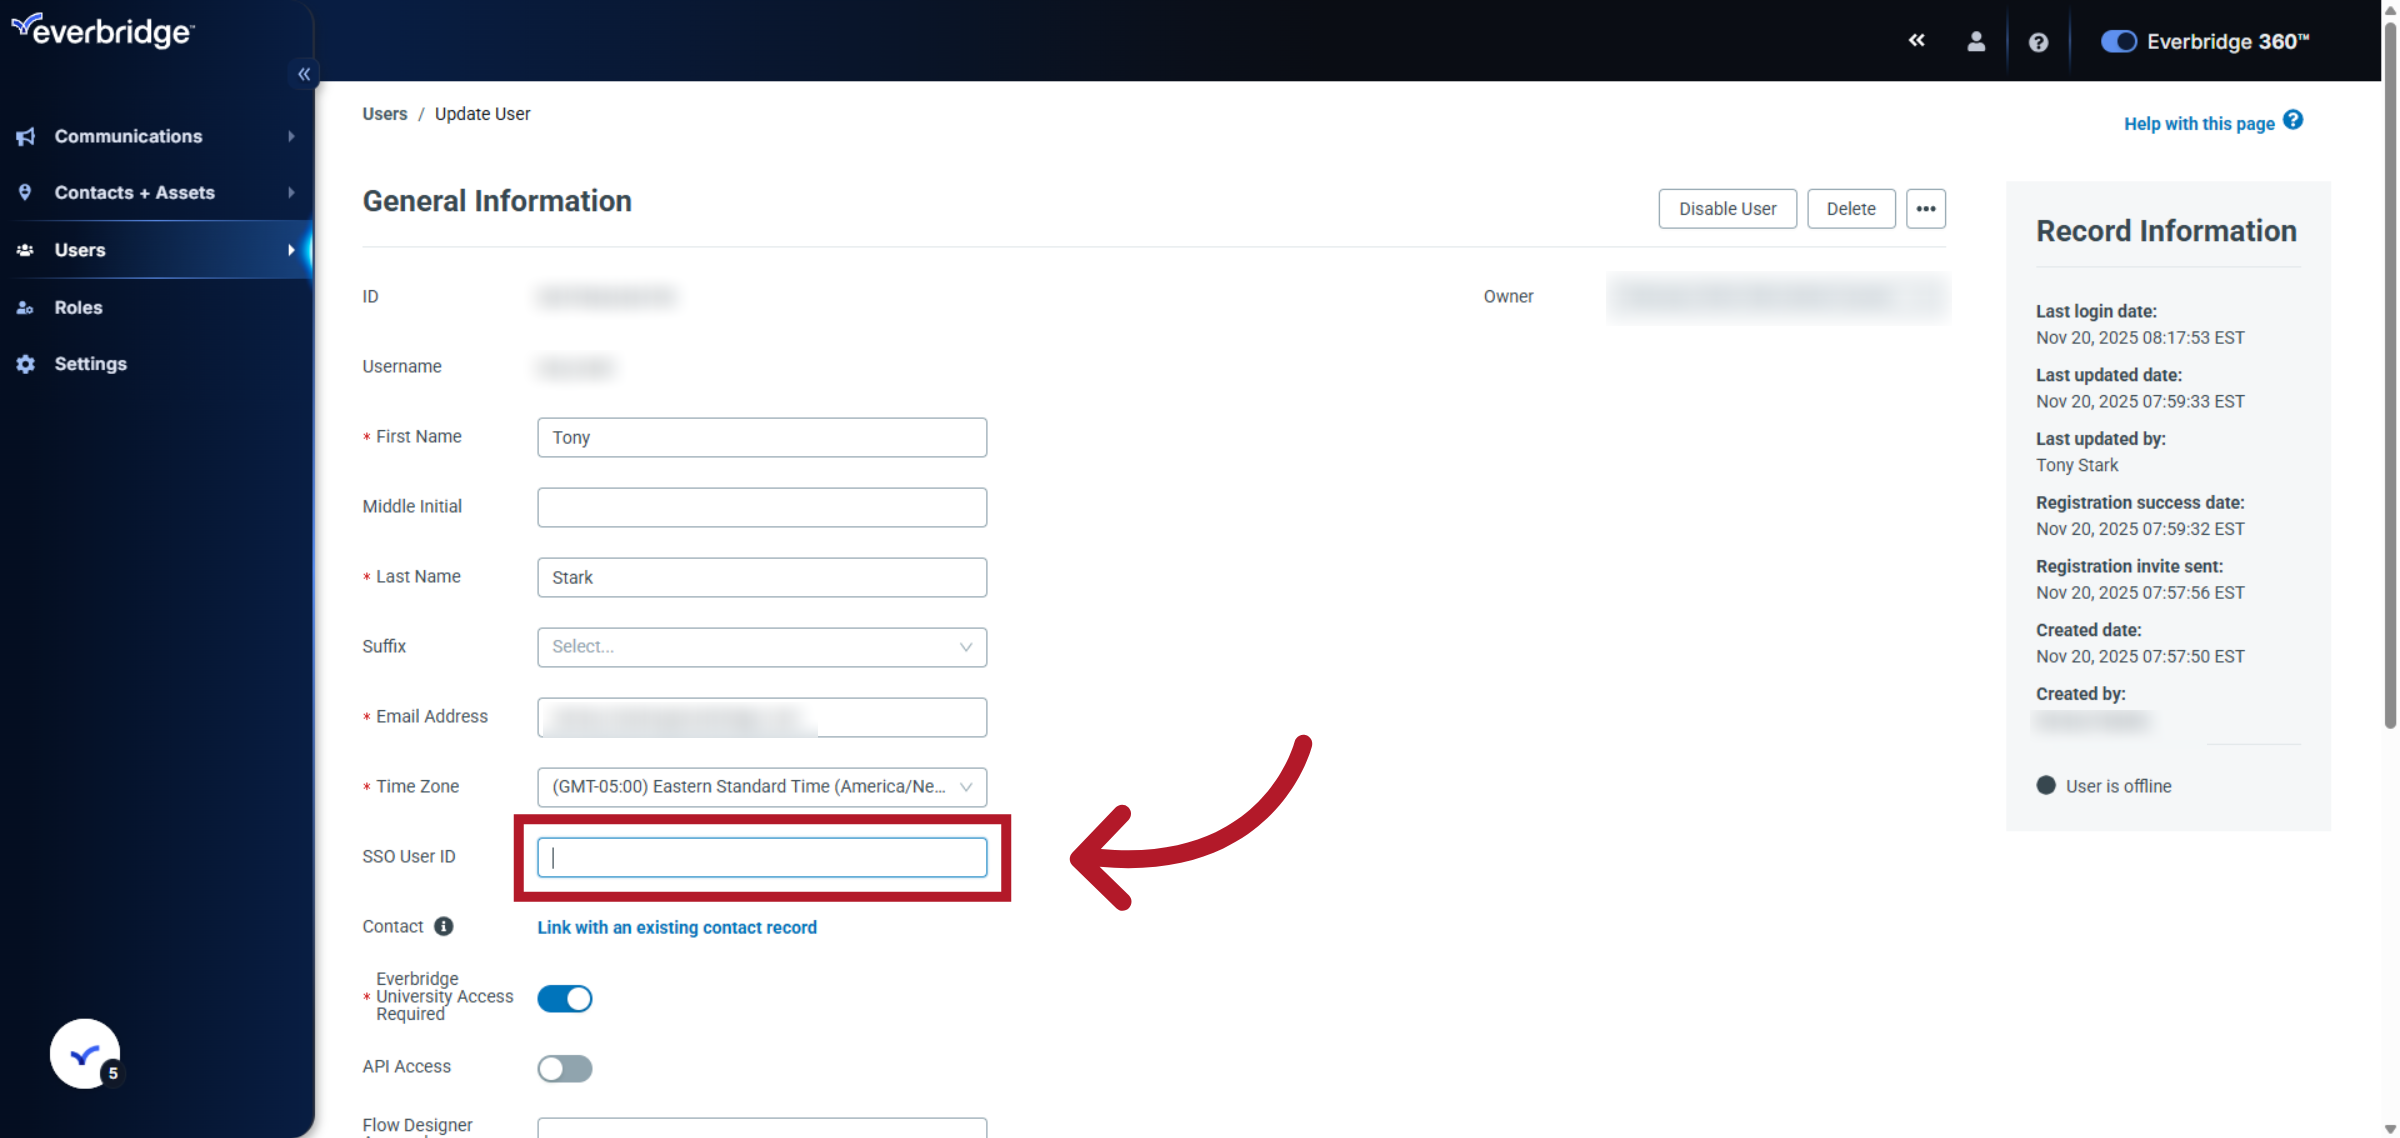
5. Select SSO User ID Field
Click the SSO User ID field to prepare for editing the user's single sign-on attribute.
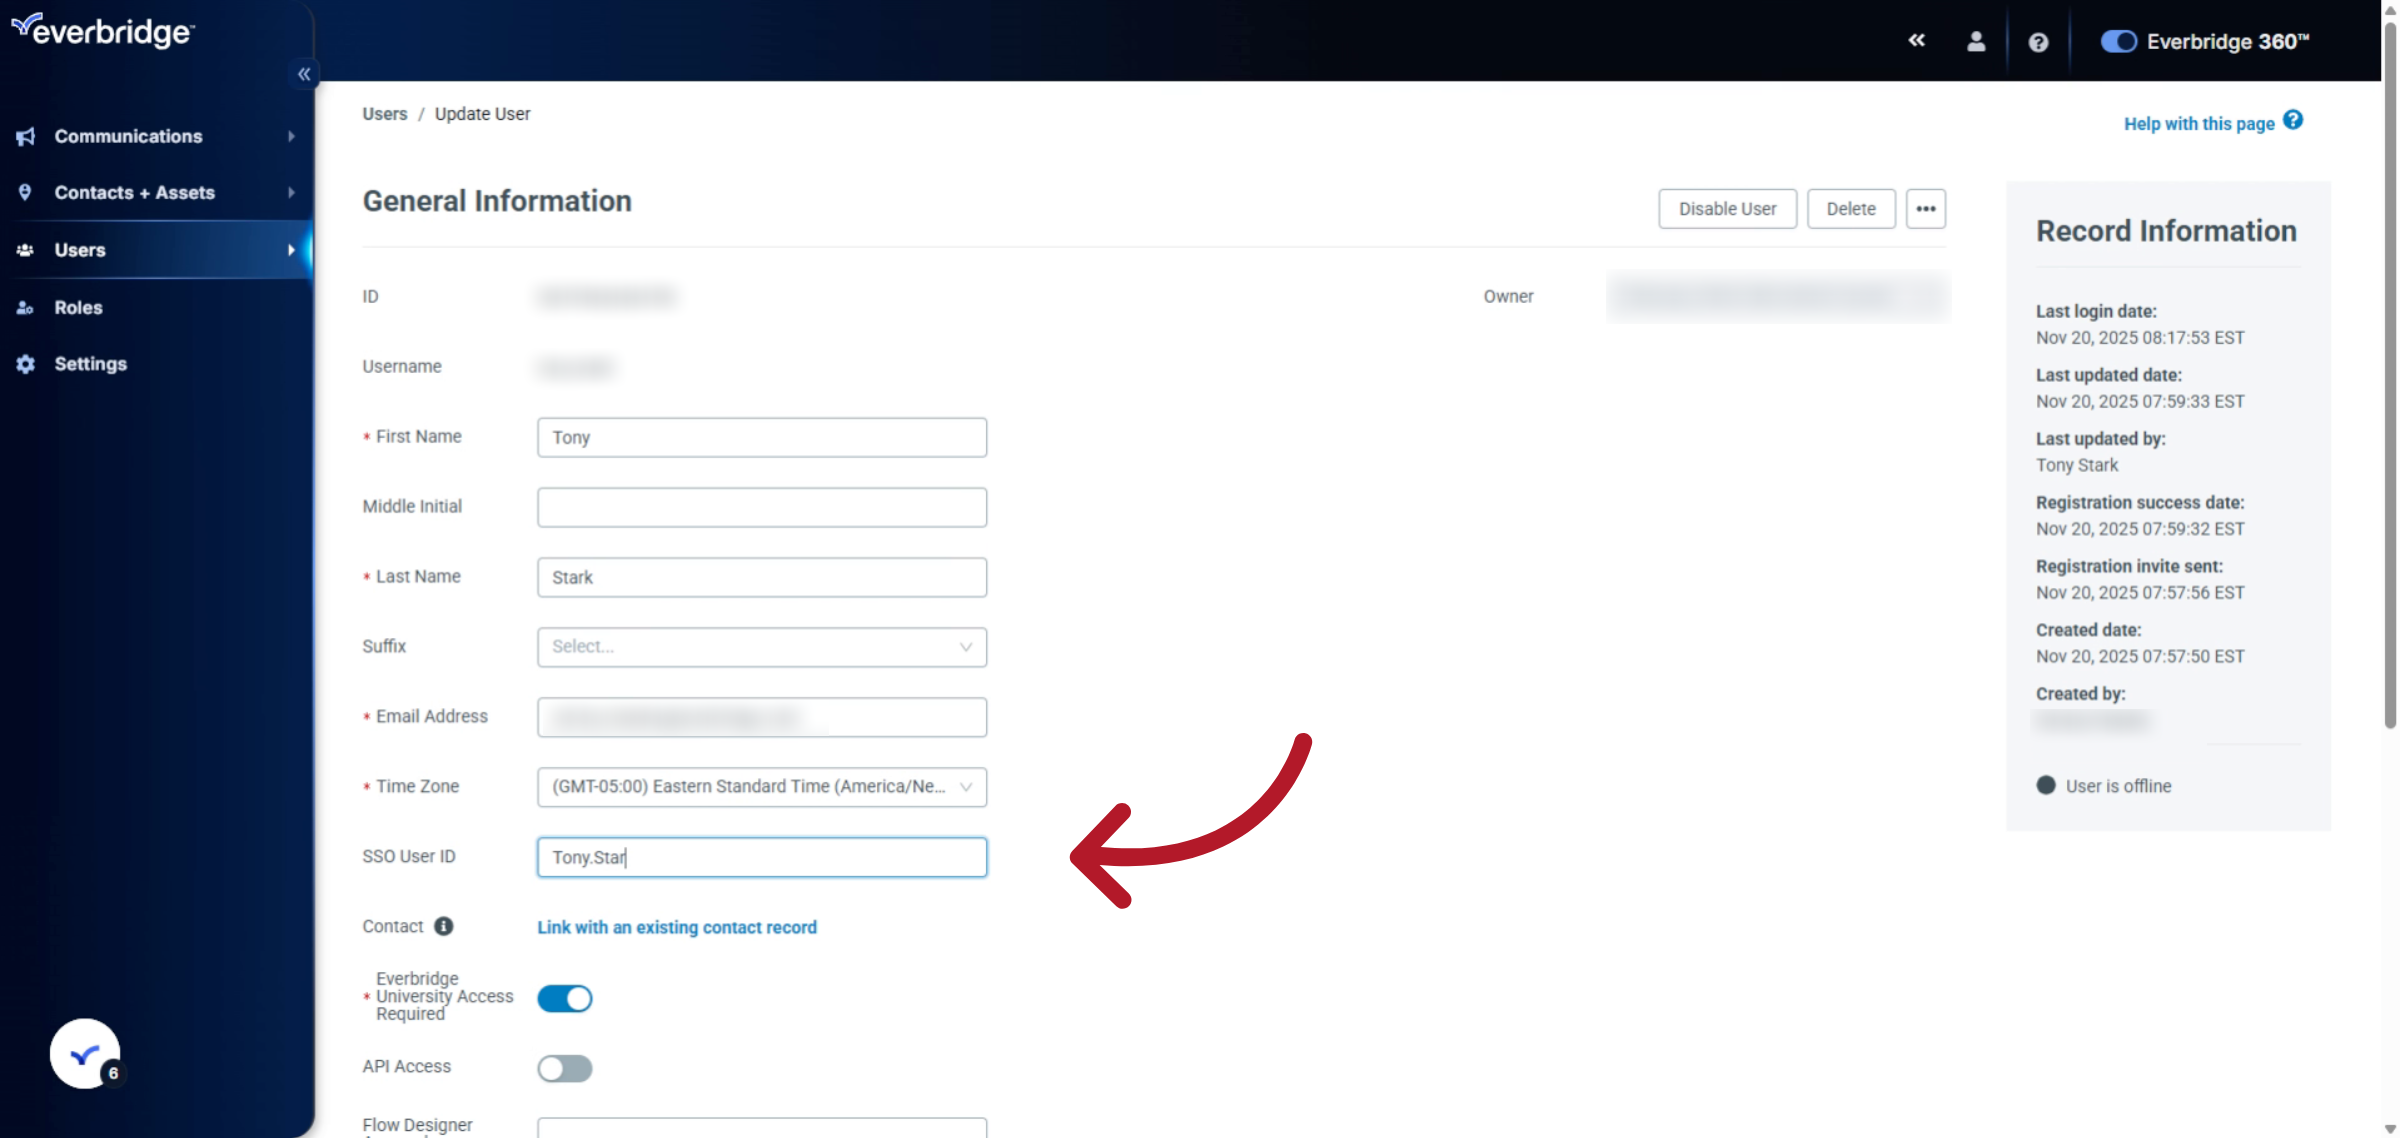
6. Enter New SSO User ID
Enter the new SSO User ID by typing the user's attribute configured on their Identity Provider side of the configuration.
7. Click Save Button
Click the Save button to apply the changes and update the user's SSO User ID in the system.

You have successfully updated the SSO User ID for a user record in Everbridge by following the step-by-step process. This ensures the user's single sign-on credentials are current and properly configured for access.
Important SSO User ID Information
If your organization changes User Principal Names (UPNs) or SSO identifiers (for example, from
example.comtoexample.govduring a domain migration), you must also update the corresponding SSO User IDs on the Everbridge side so users can continue to authenticate.If you change which Azure AD attribute is used as the SSO identifier (for example, switching from
userPrincipalNameto email), update the Azure configuration to send the new attribute and make sure each Everbridge user's SSO User ID value matches that same attribute.For standard Users in Everbridge, SSO User IDs are maintained per user and cannot be bulk-uploaded via CSV; you must update them manually in the UI or by using the Everbridge API for programmatic updates.
For Member Portal contacts, SSO IDs can be bulk-populated using the contact upload process. This is separate from user account SSO configuration.
If your organization uses SFTP/contact uploads, be aware that deleted or changed SSO User IDs on contact records might be overwritten or re-added by subsequent synchronizations based on the upload data.
SSO User IDs must be unique and can only be associated with one profile
While multiple profiles can exist, only one profile can have SSO enabled
It is recommended to have the non-Account Admin profile configured with SSO to ensure administrative access is maintained
To Unlink an SSO User ID
Navigate to the User Account or Contact Record
Locate the SSO User ID field
Remove/delete the existing SSO User ID information
Save the changes
NOTE: If you use SFTP uploads, deleted SSO User IDs might be automatically re-added during subsequent synchronization.