Topic
Digging Deeper with Communications (Toolbar Features).
Description
With Everbridge 360™ Communications, you can quickly send messages to respond to events impacting your organization. In this tutorial we will provide an in-depth look at how to use the features in the Communications Toolbar.
Go to manager.everbridge.net
1. Communications Toolbar
Now that your message is complete and you have selected your recipients, you can send your Communication. There are a few options to consider prior to launching, so let's take a look at those first.
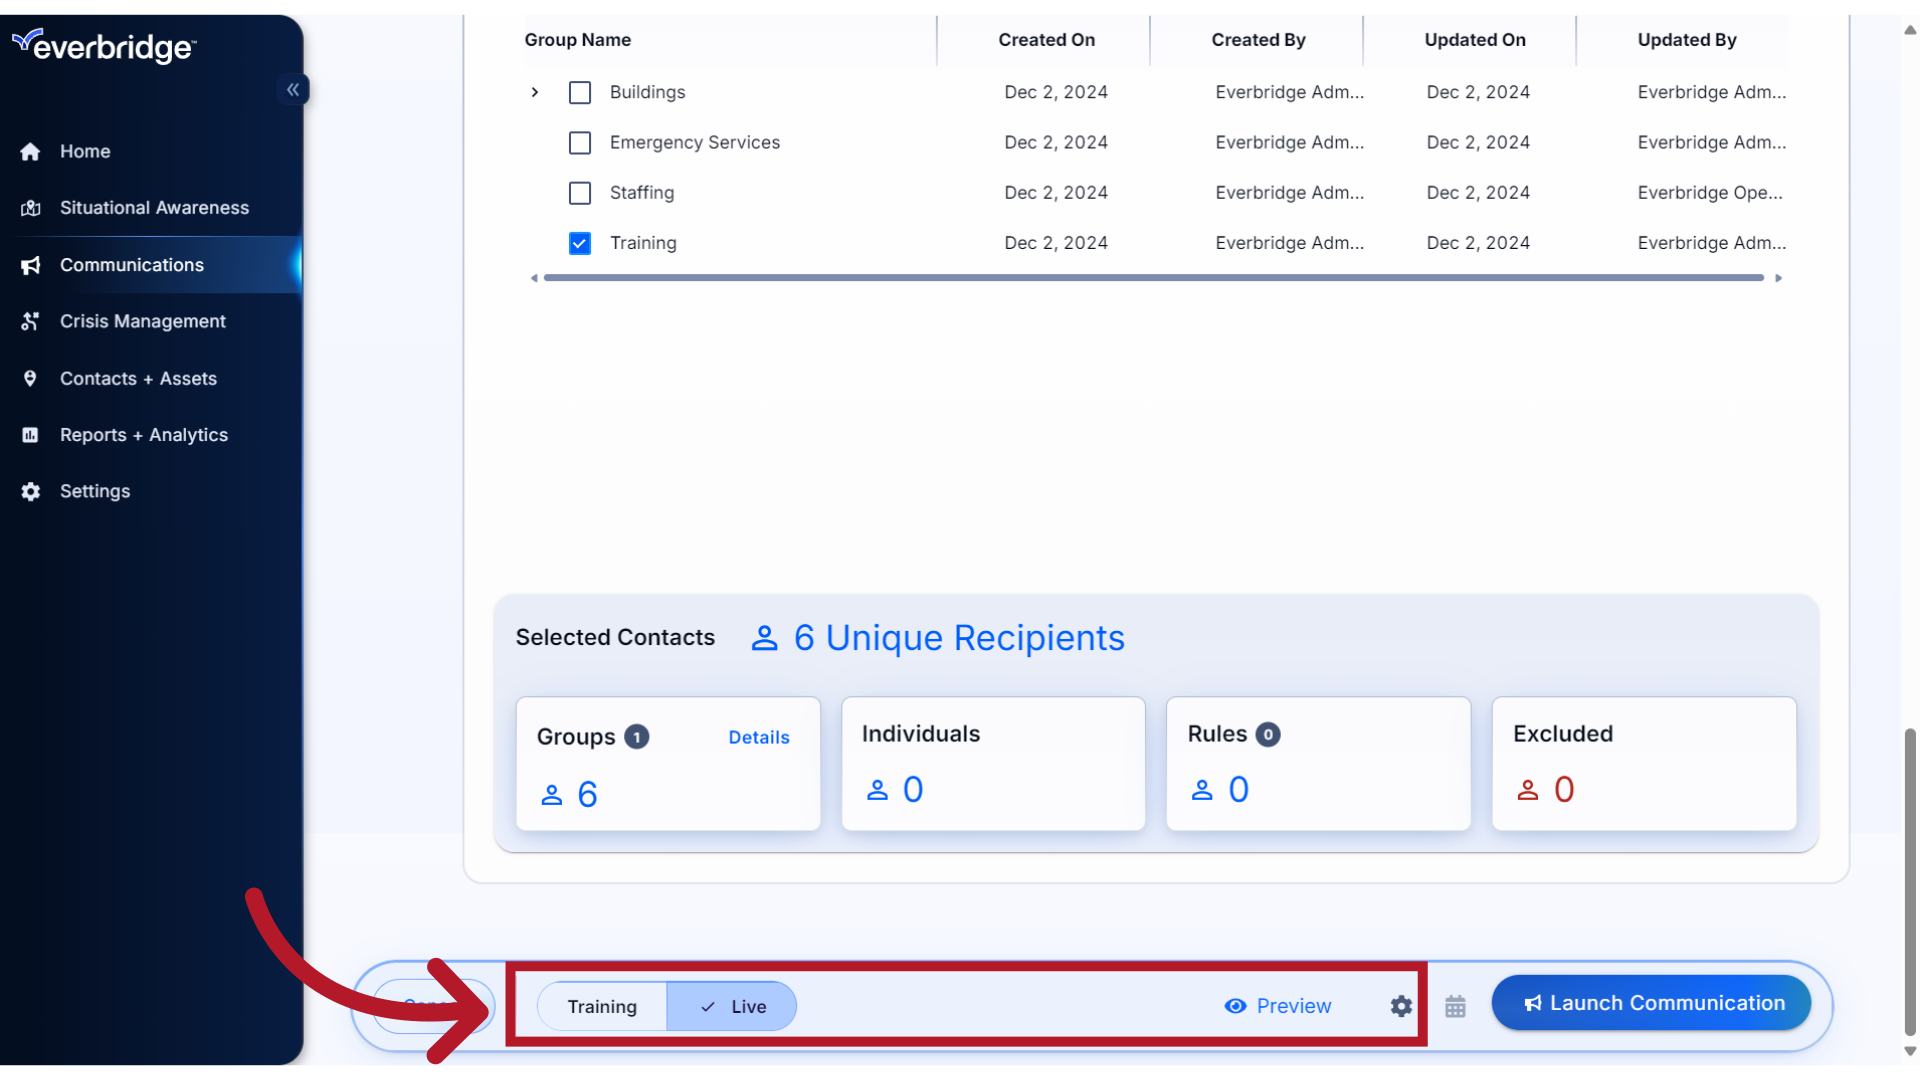
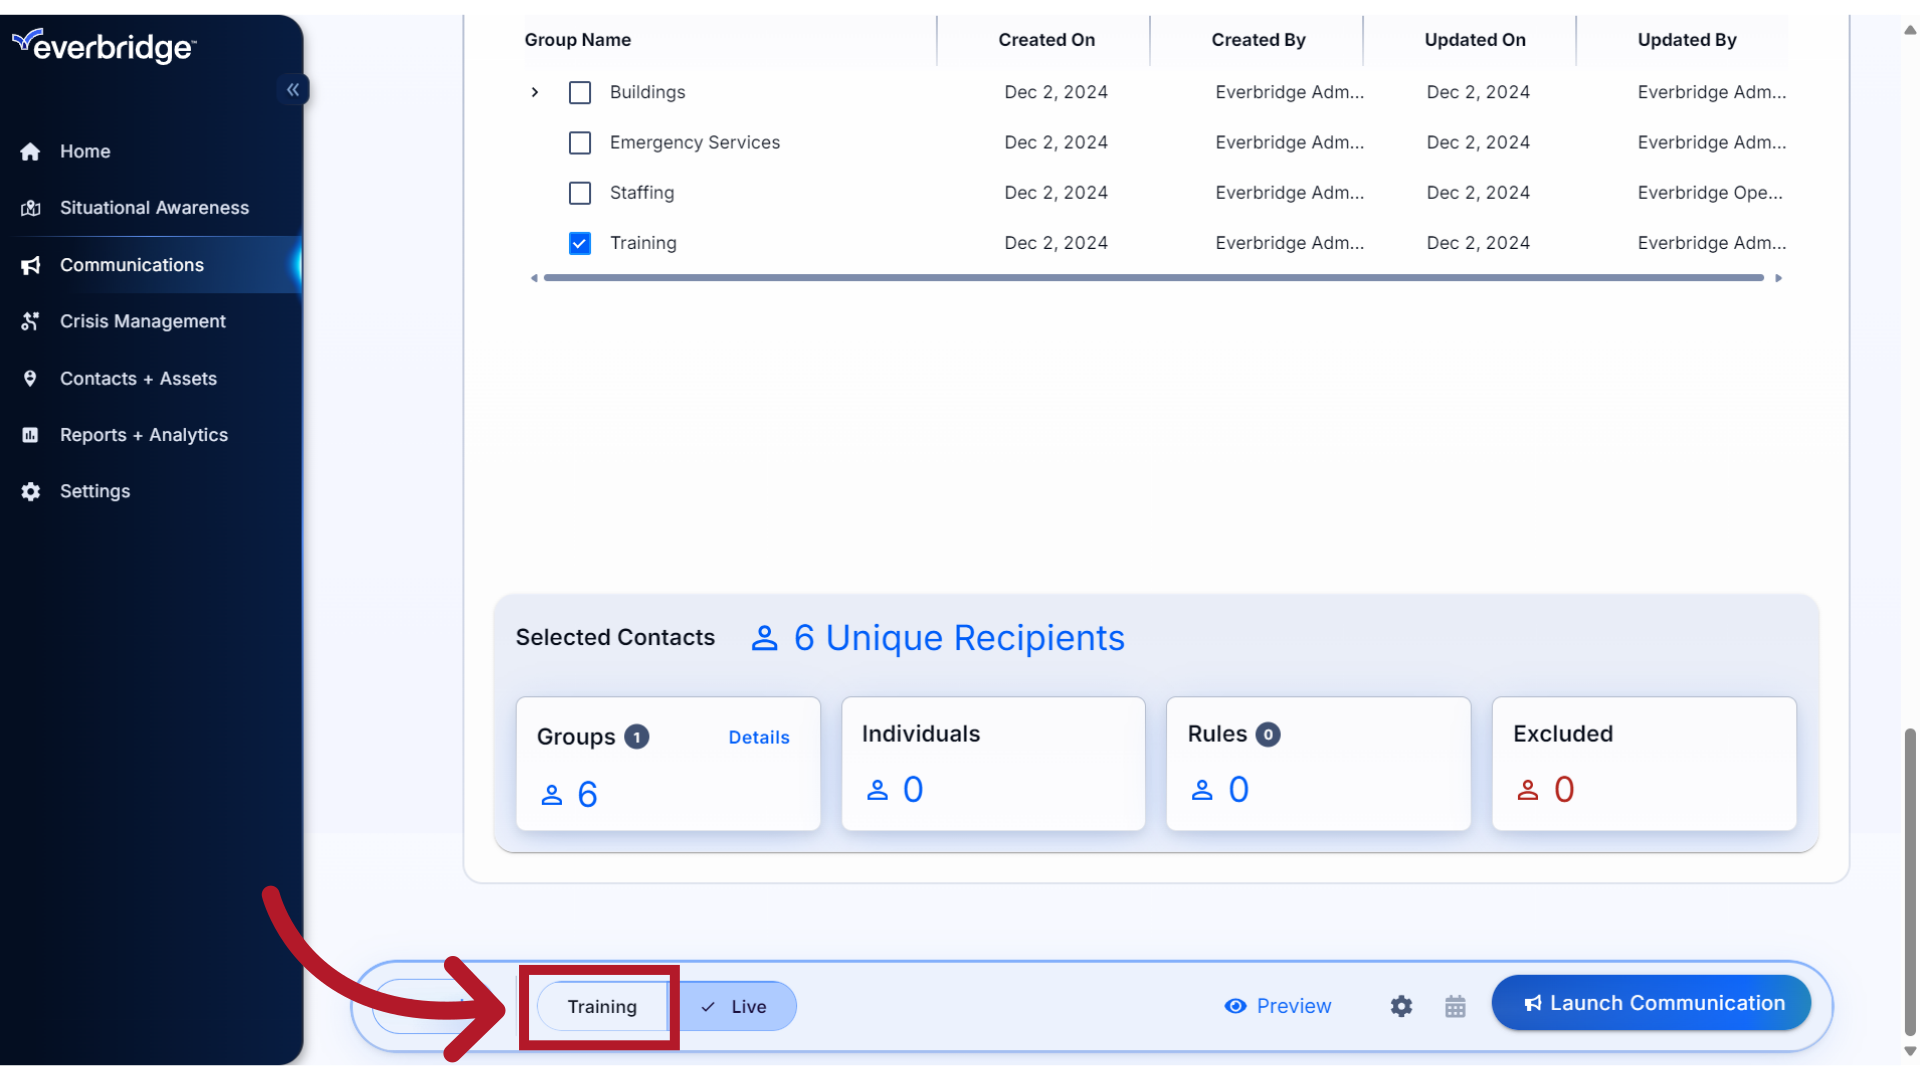
2. Training Mode
If enabled for your role, you have the ability to switch from Live to Training mode.
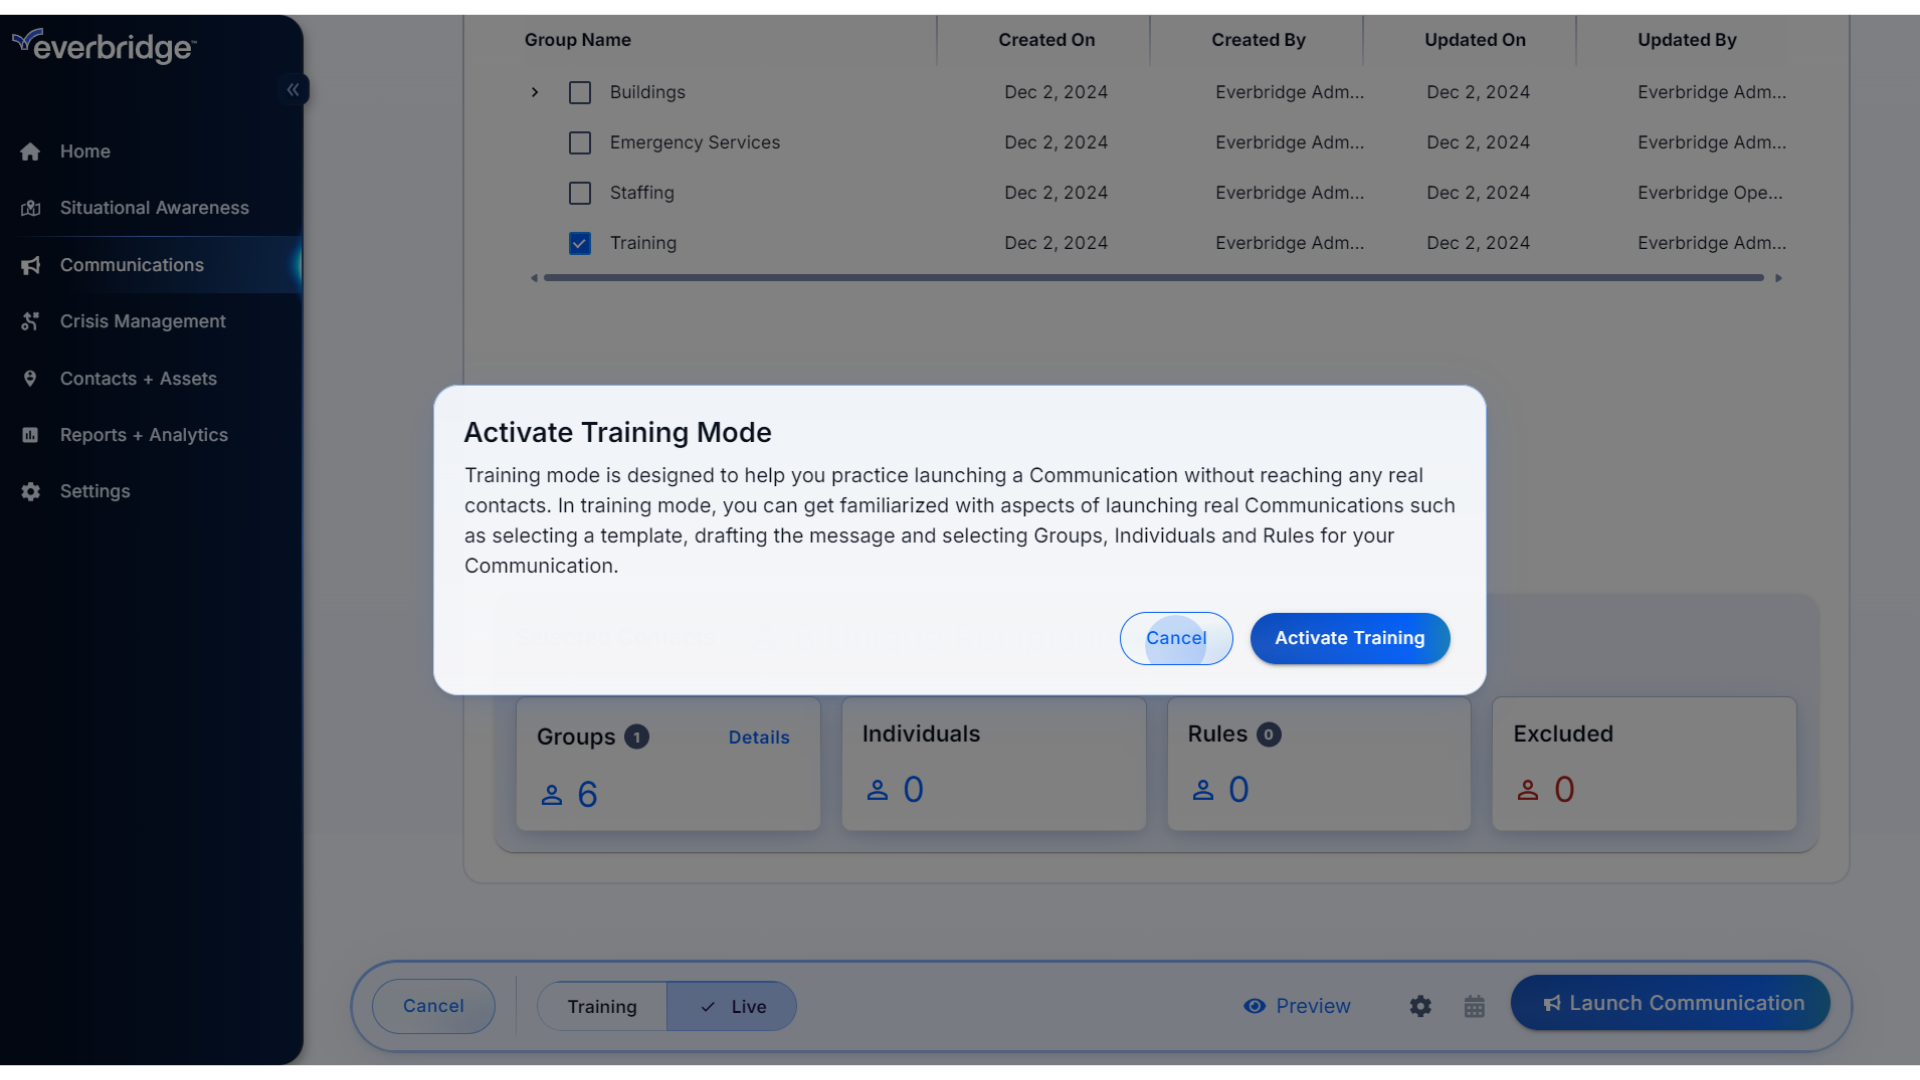
3. Activate
When activated, you can launch the message as a simulation, without reaching any real contacts. Select Activate Training to enable, or Cancel to return.
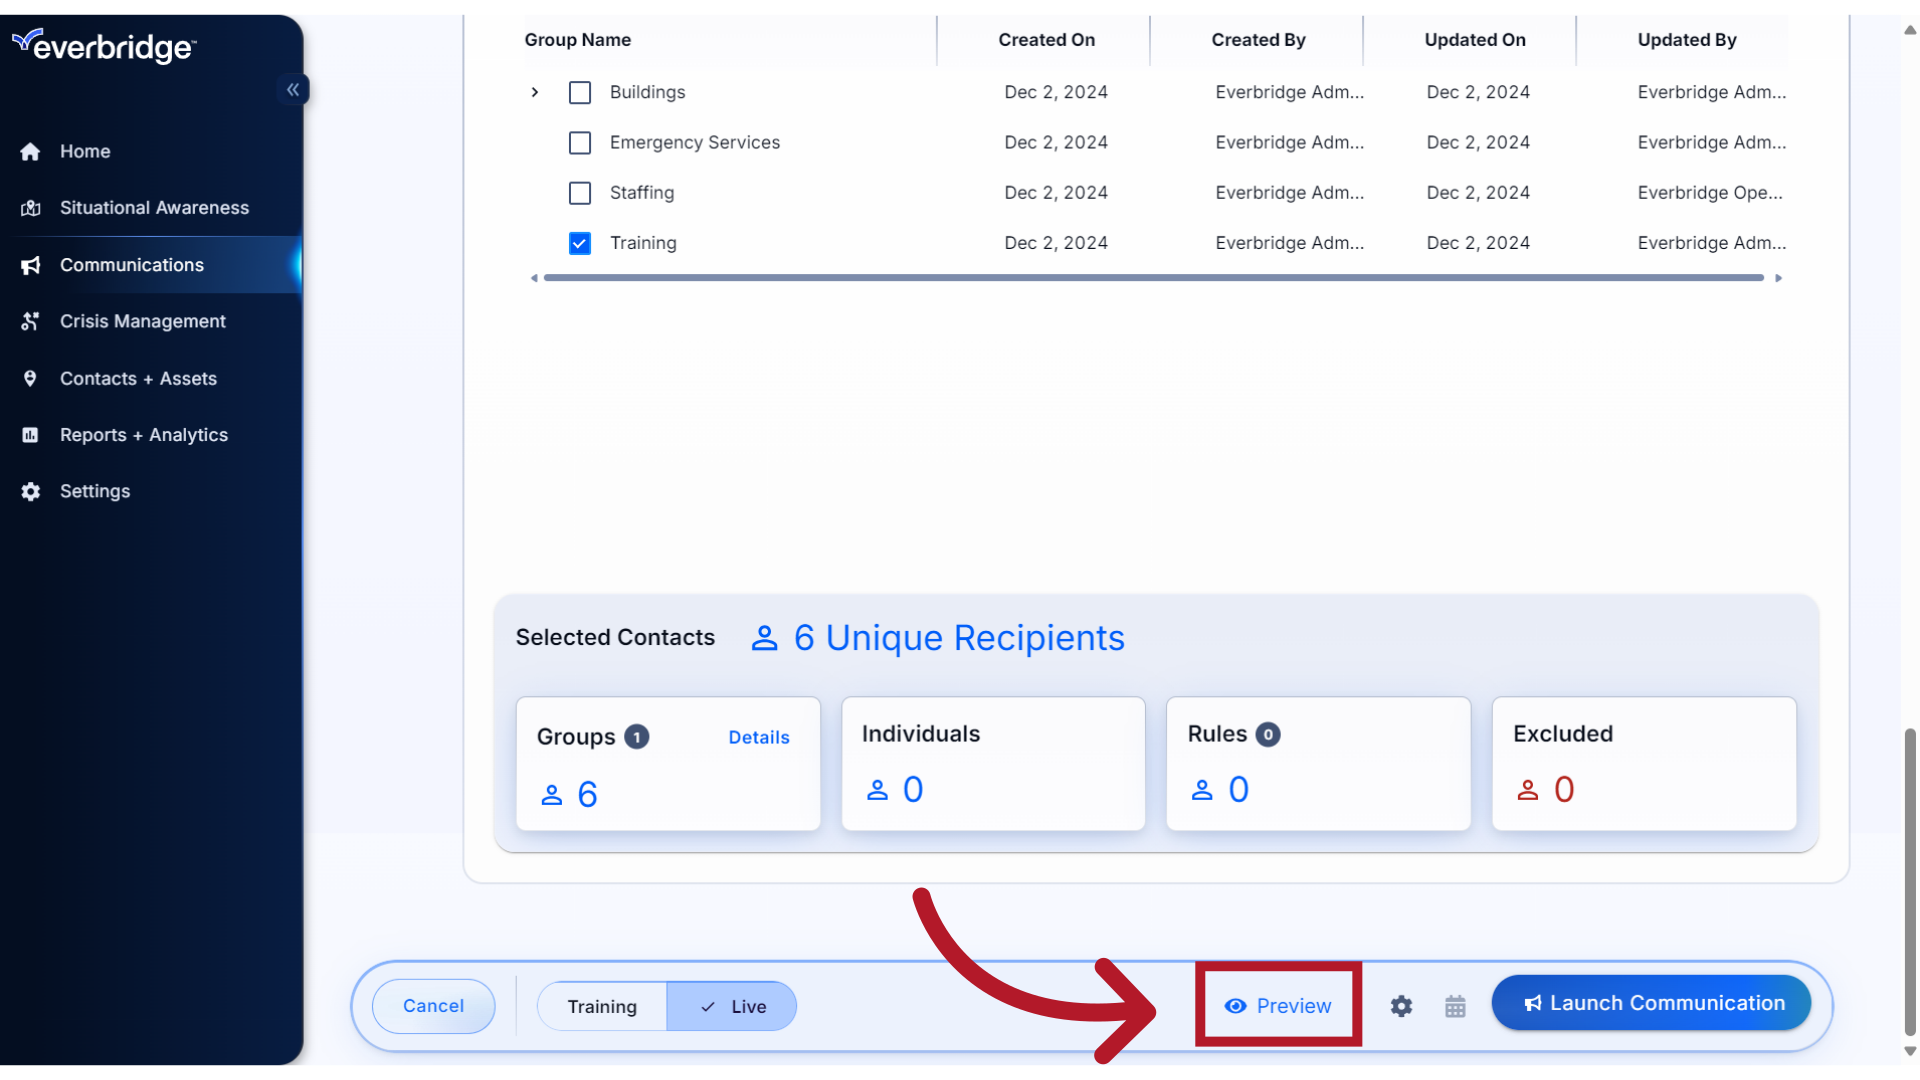
4. Preview
If you would like to see how the message will appear to recipients on the selected delivery paths, click Preview.
5. Preview
This will open a window
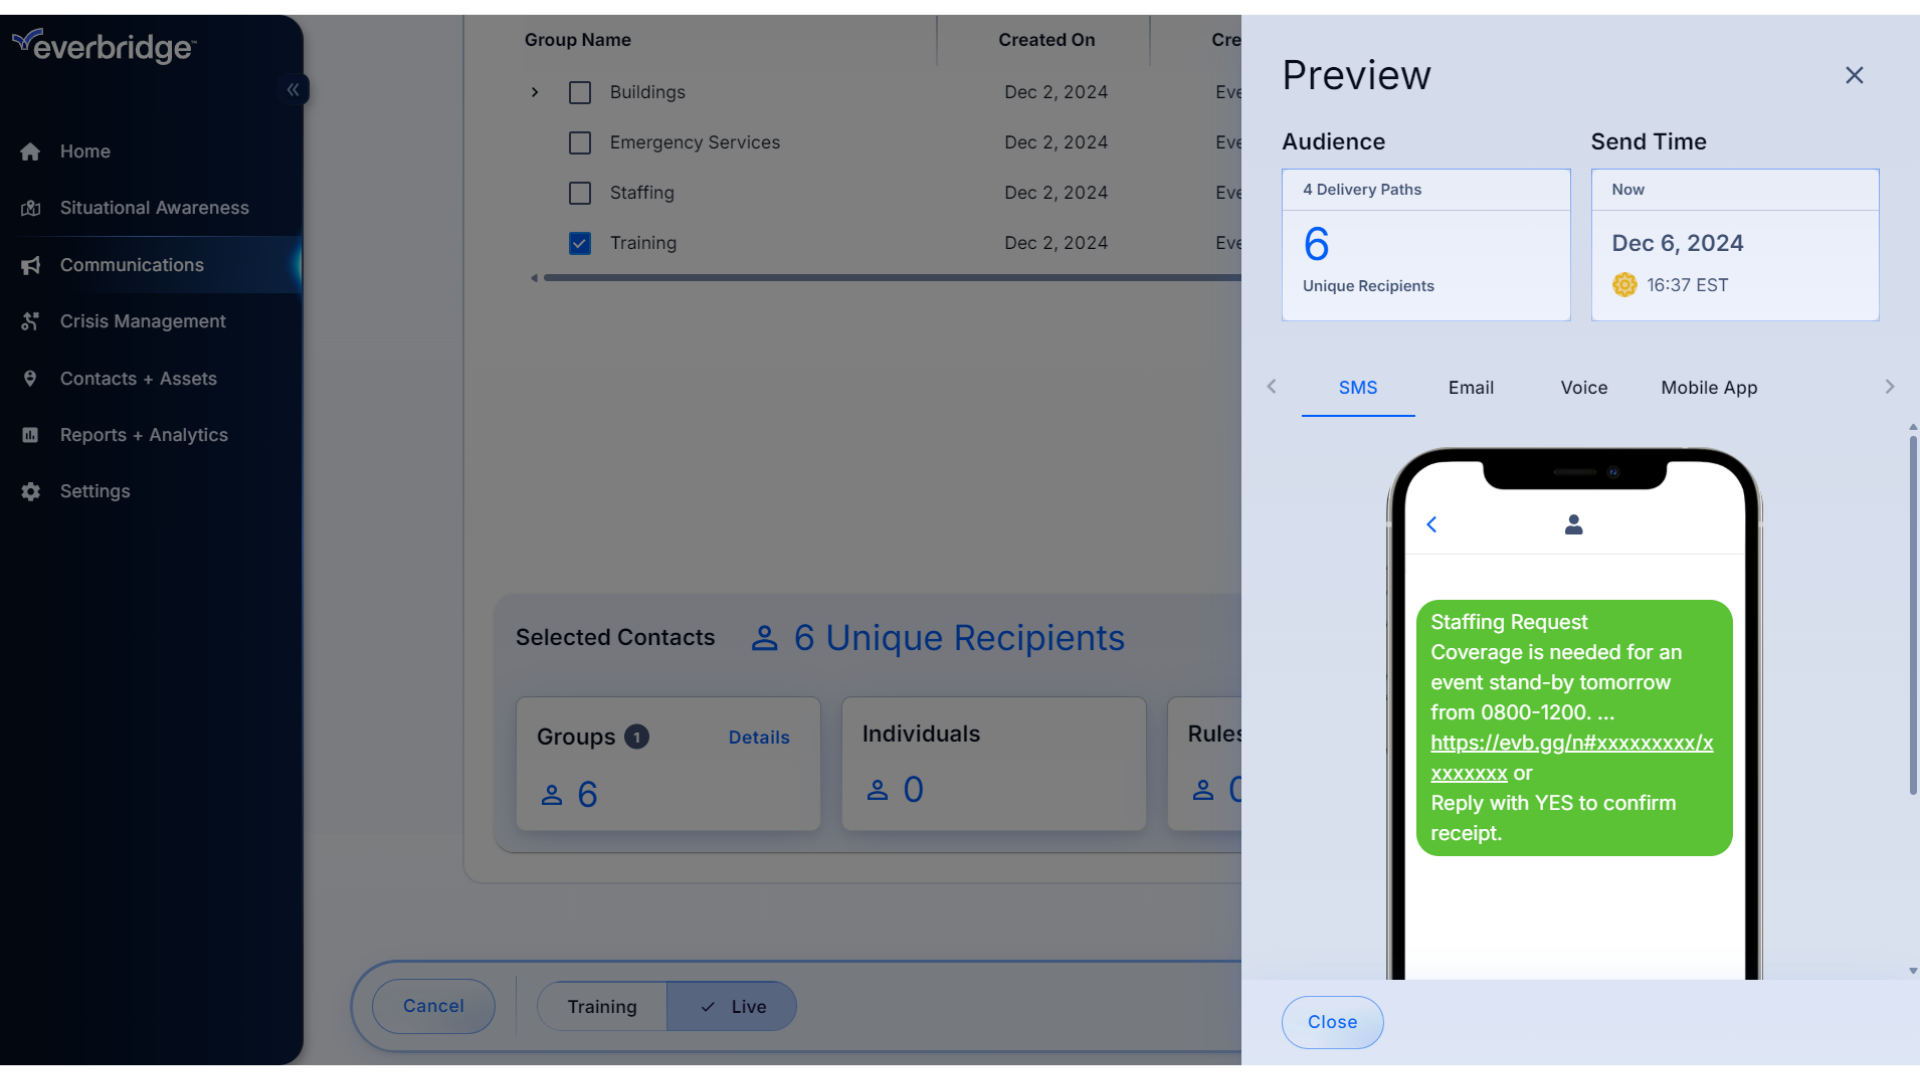
6. Audience
where you can confirm the Audience and number of delivery paths,
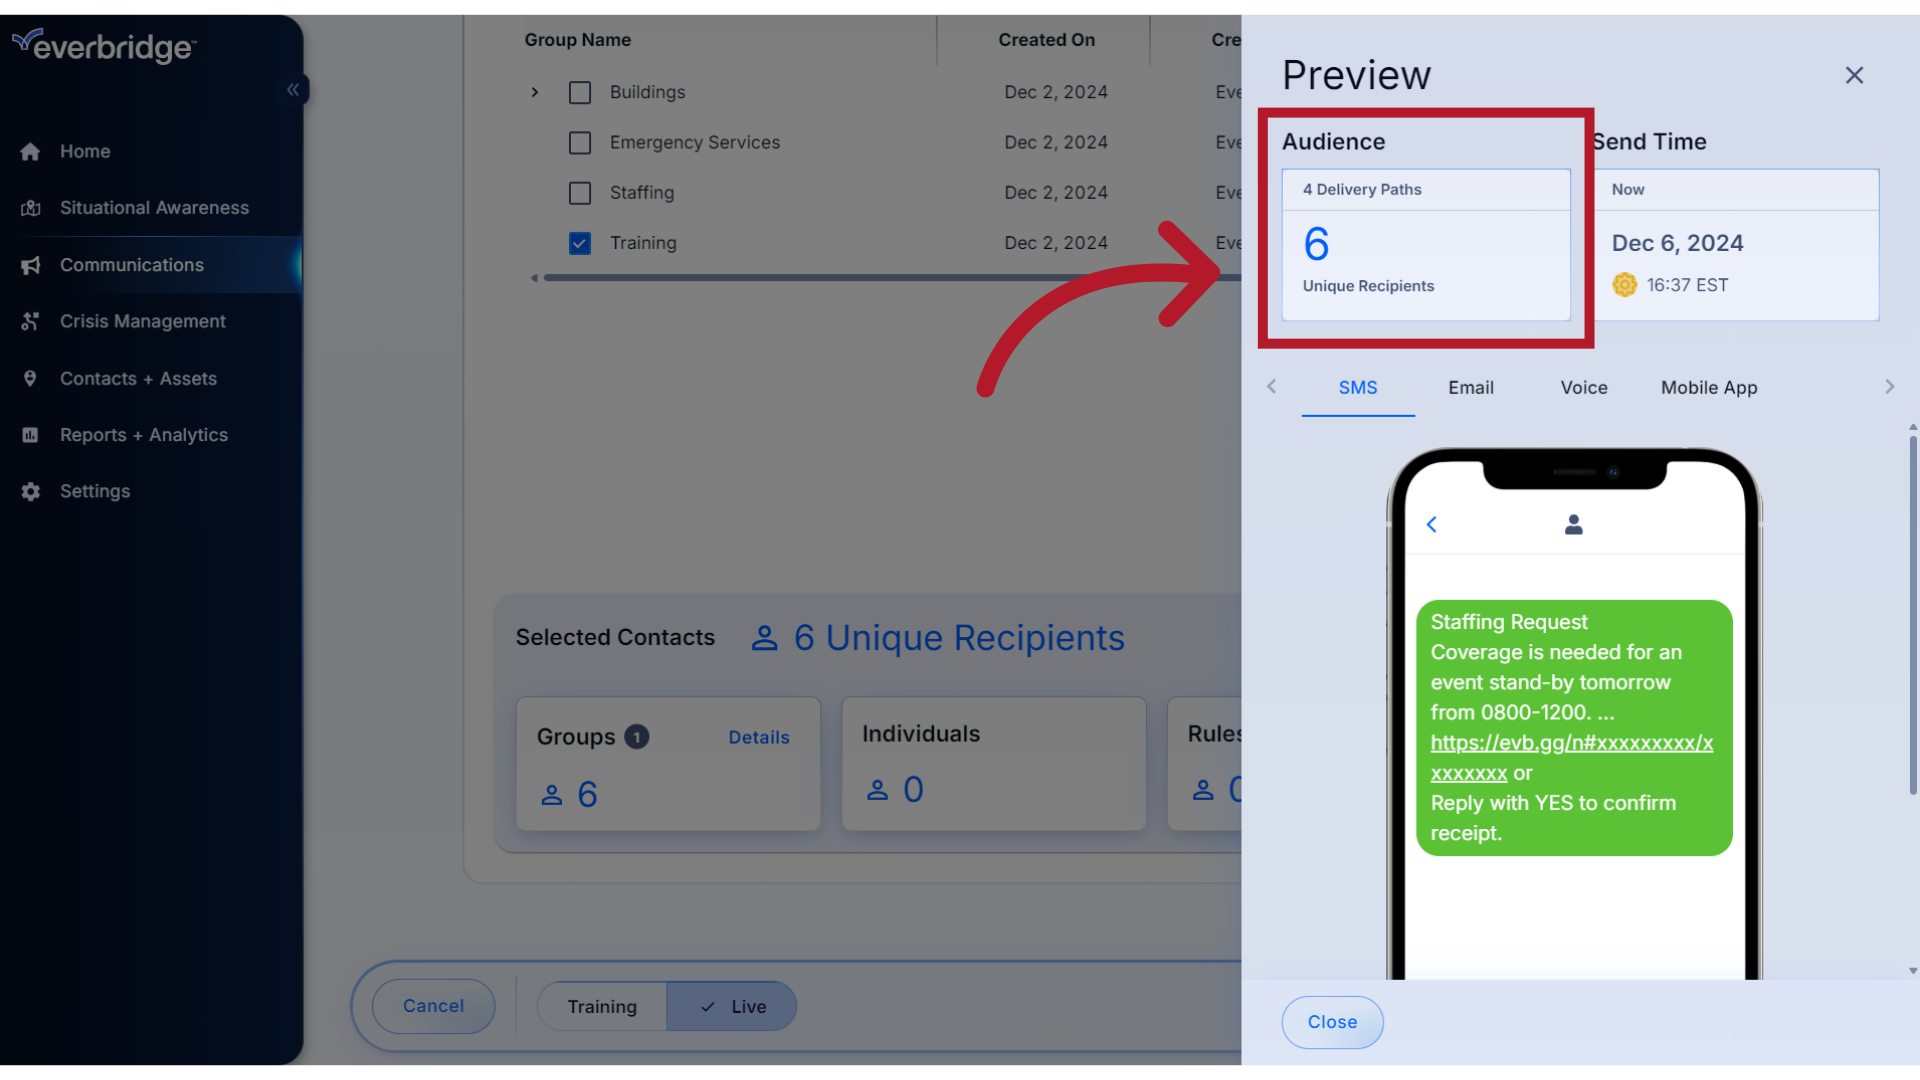
7. Send Time
the current date and time, and how the message will appear for each path.
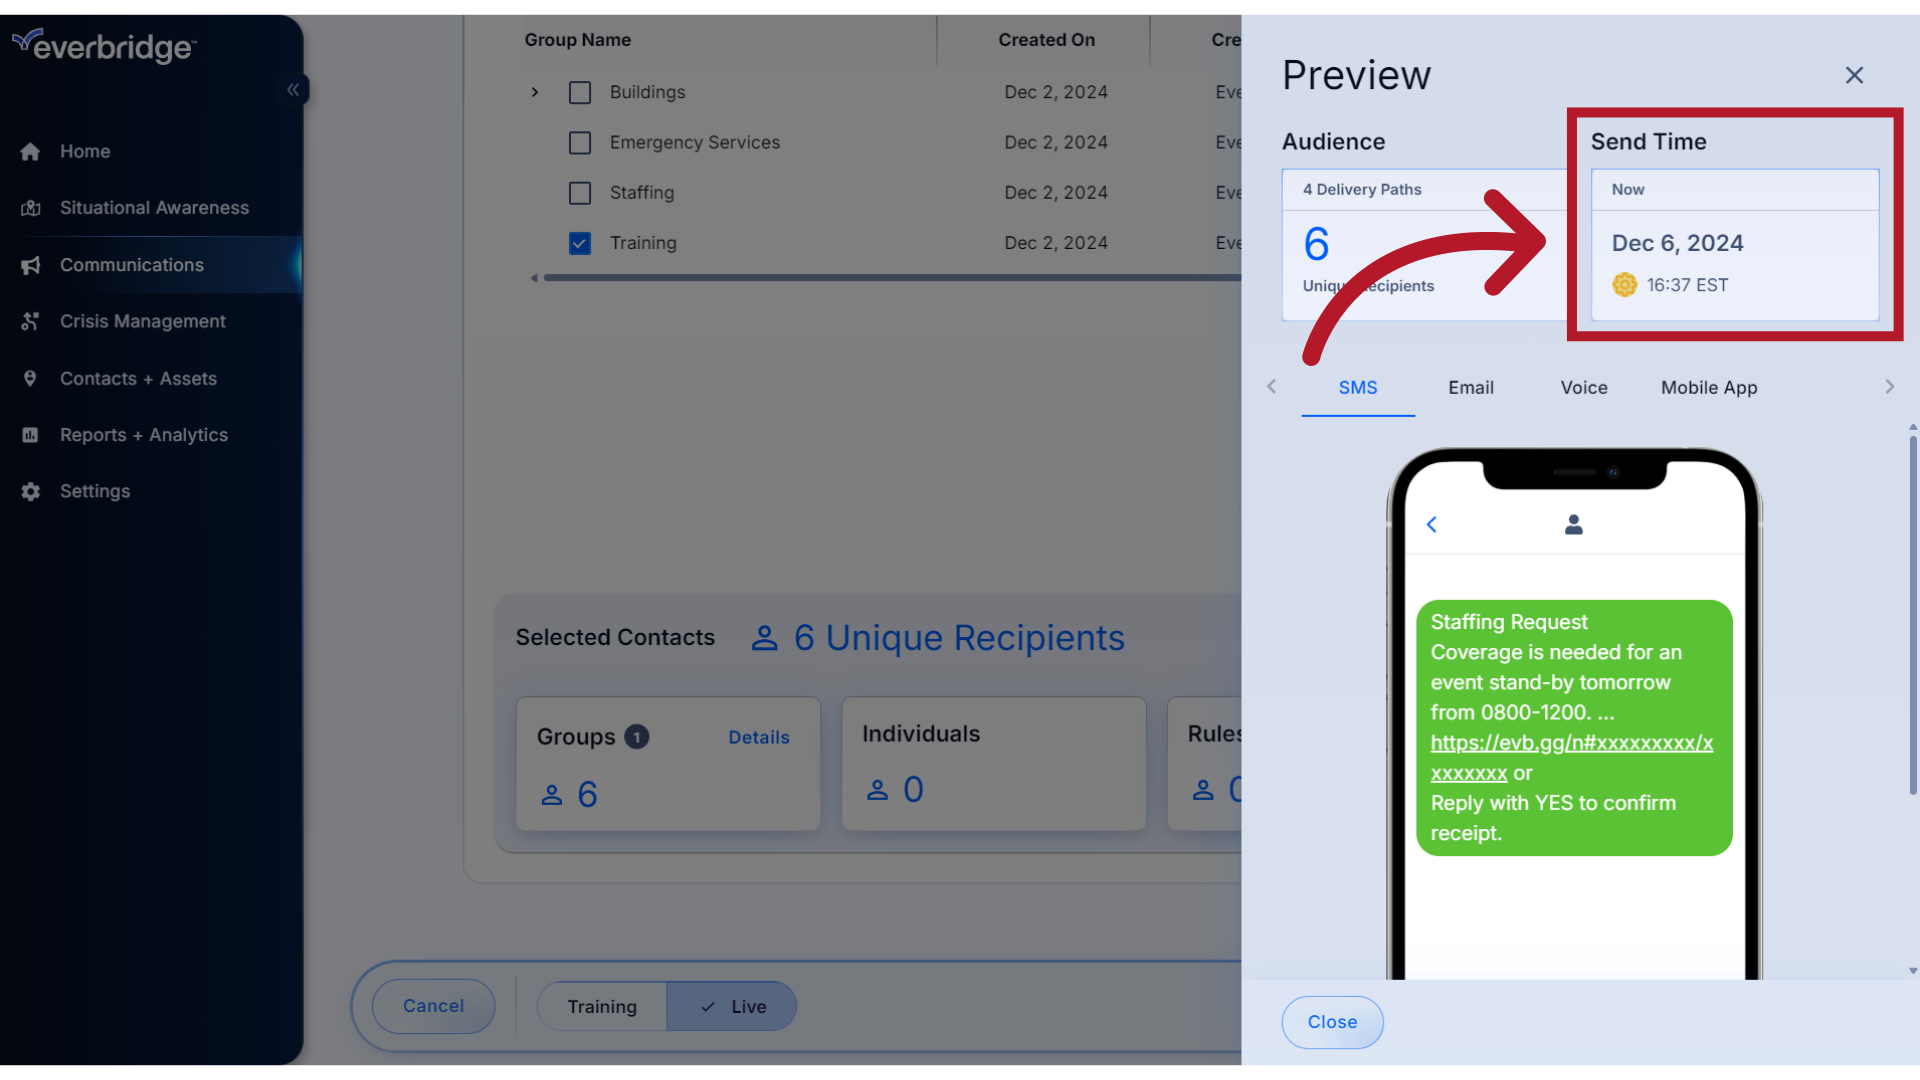
8. SMS
For this Communication, that includes SMS,
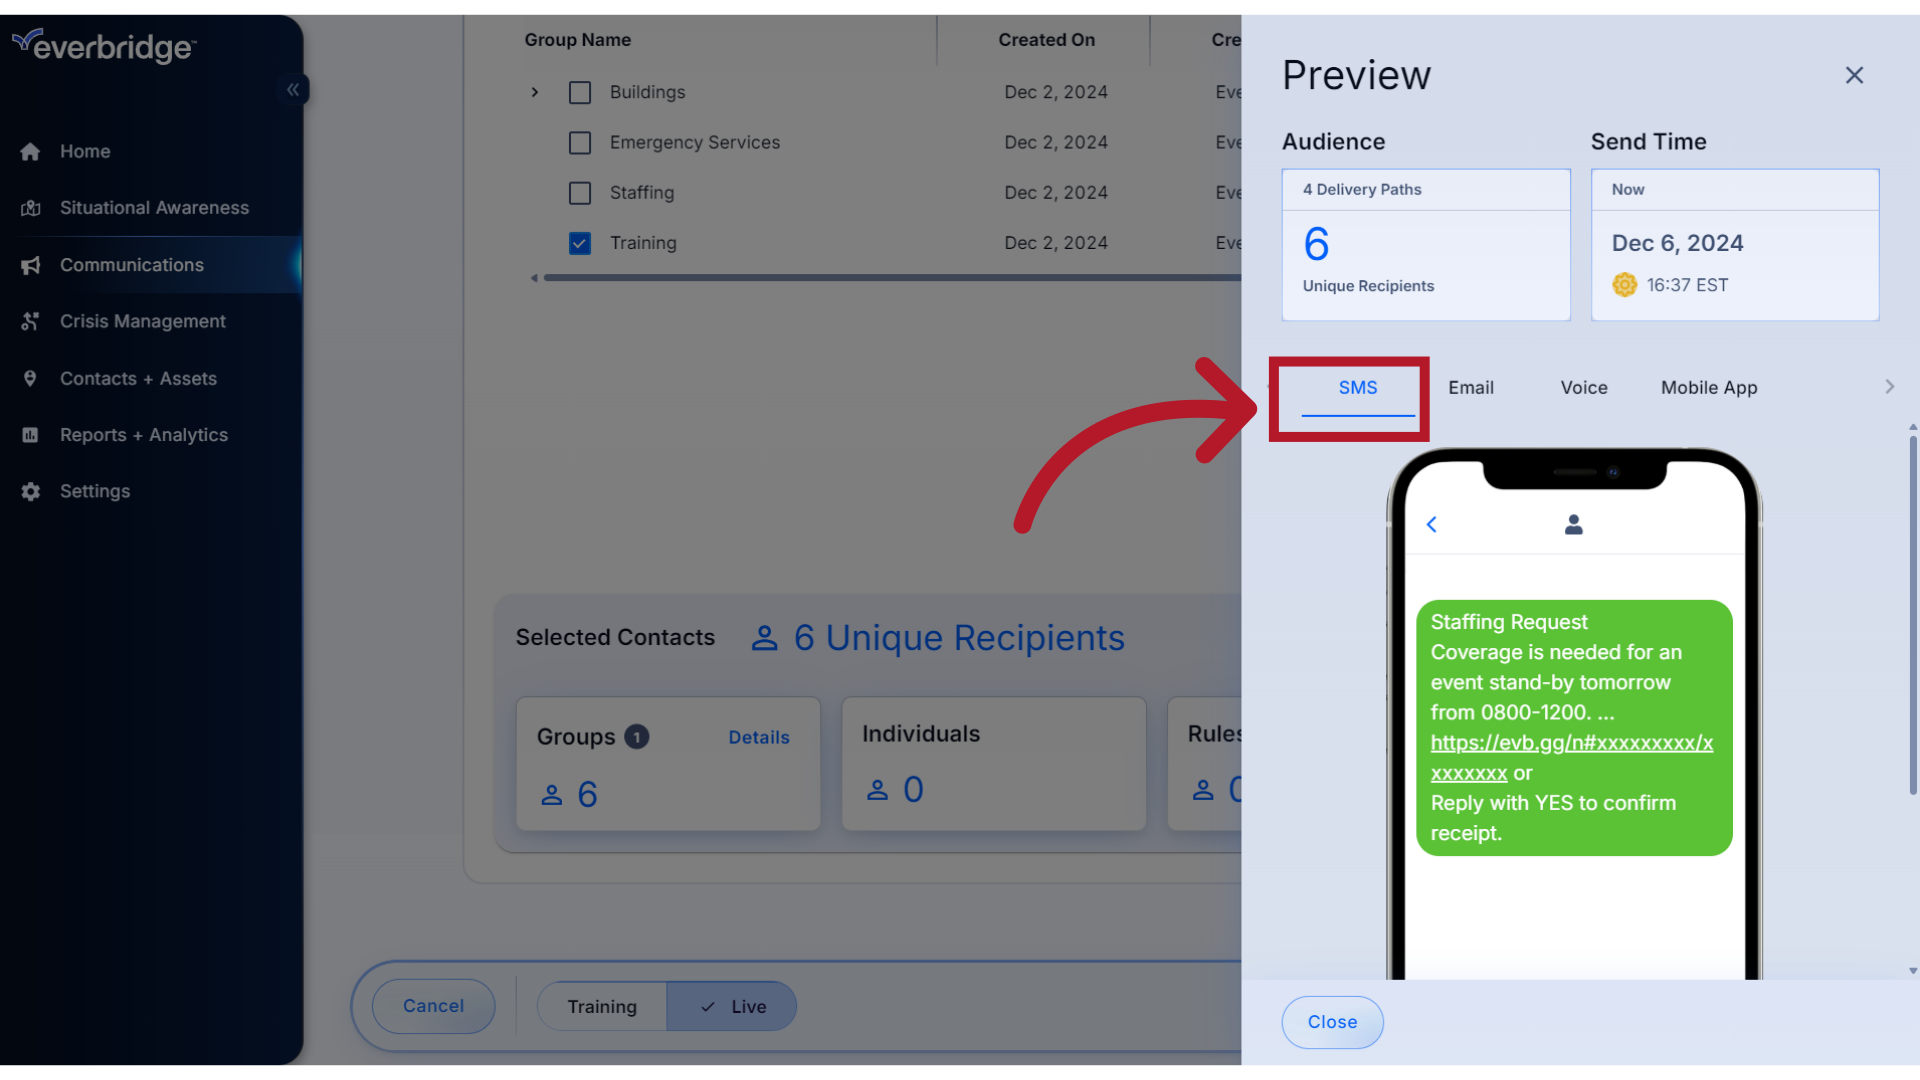
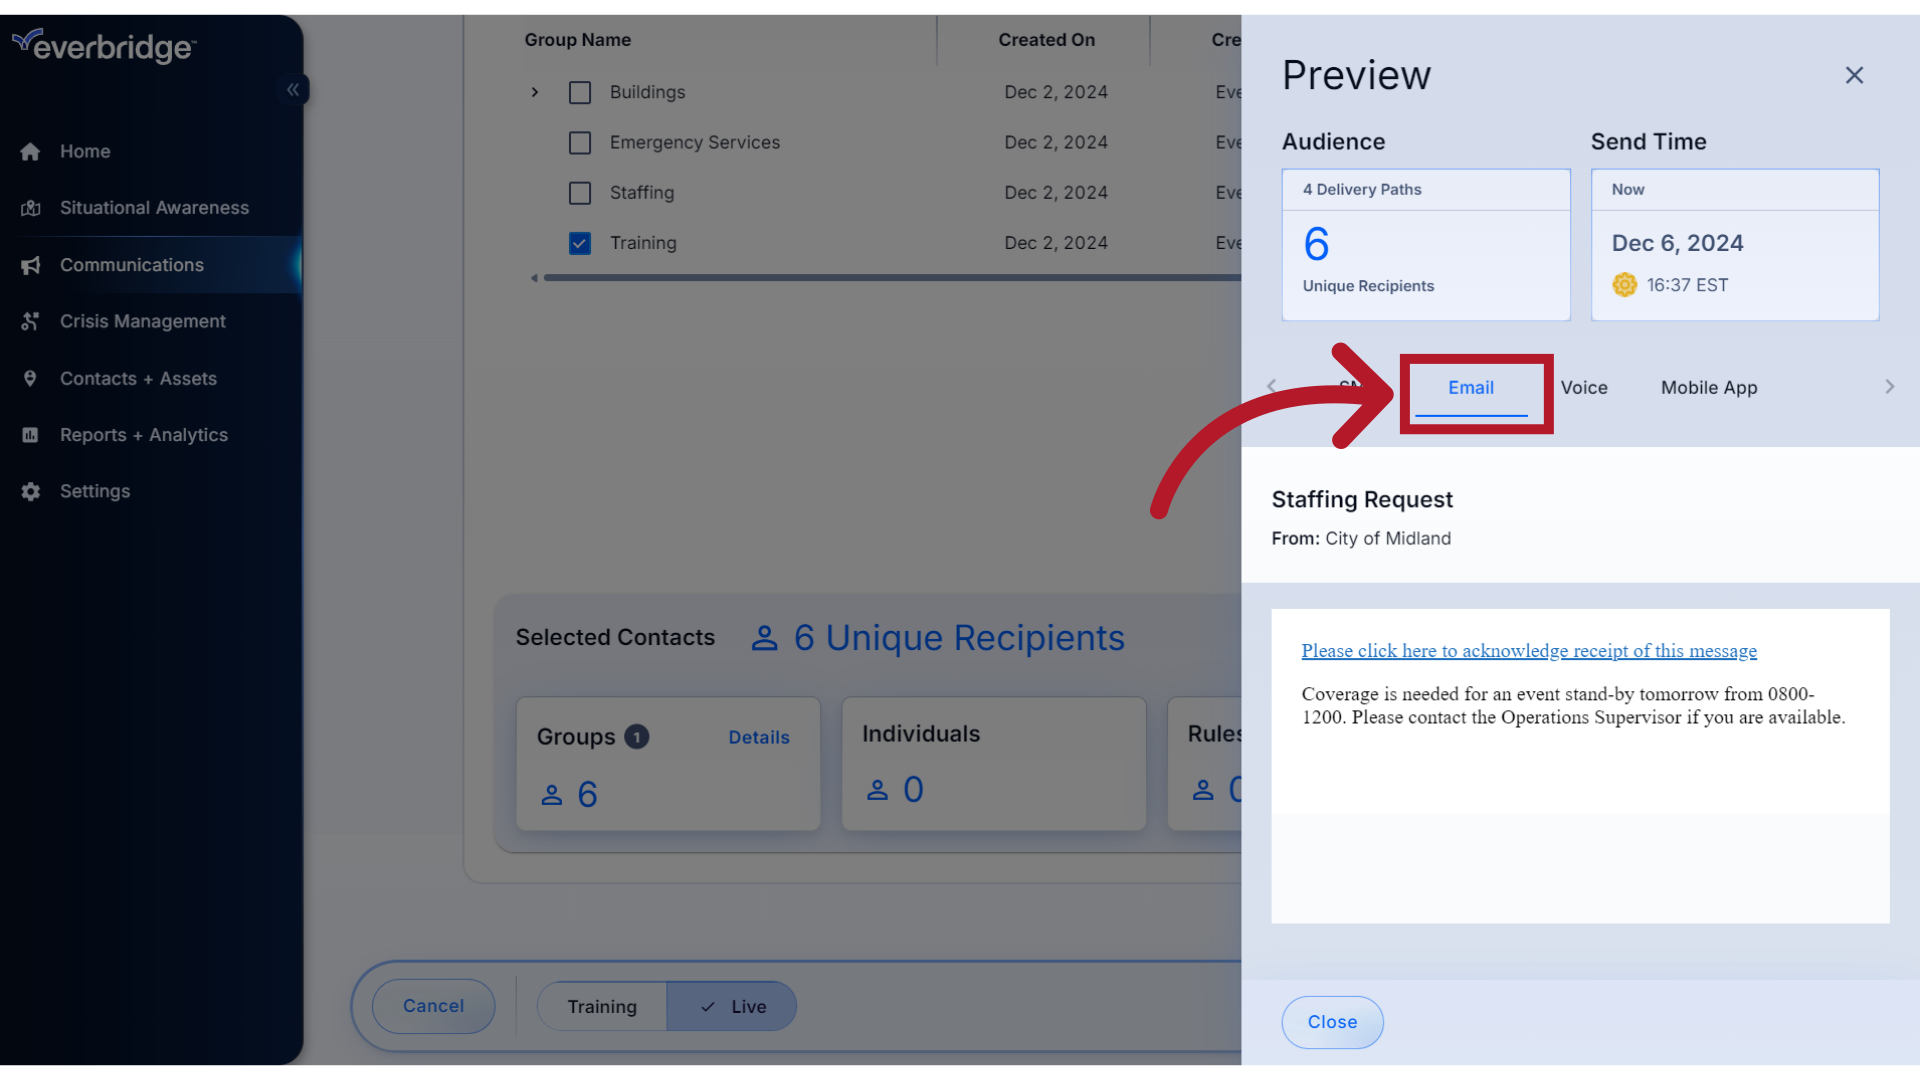
9. Email
Email,
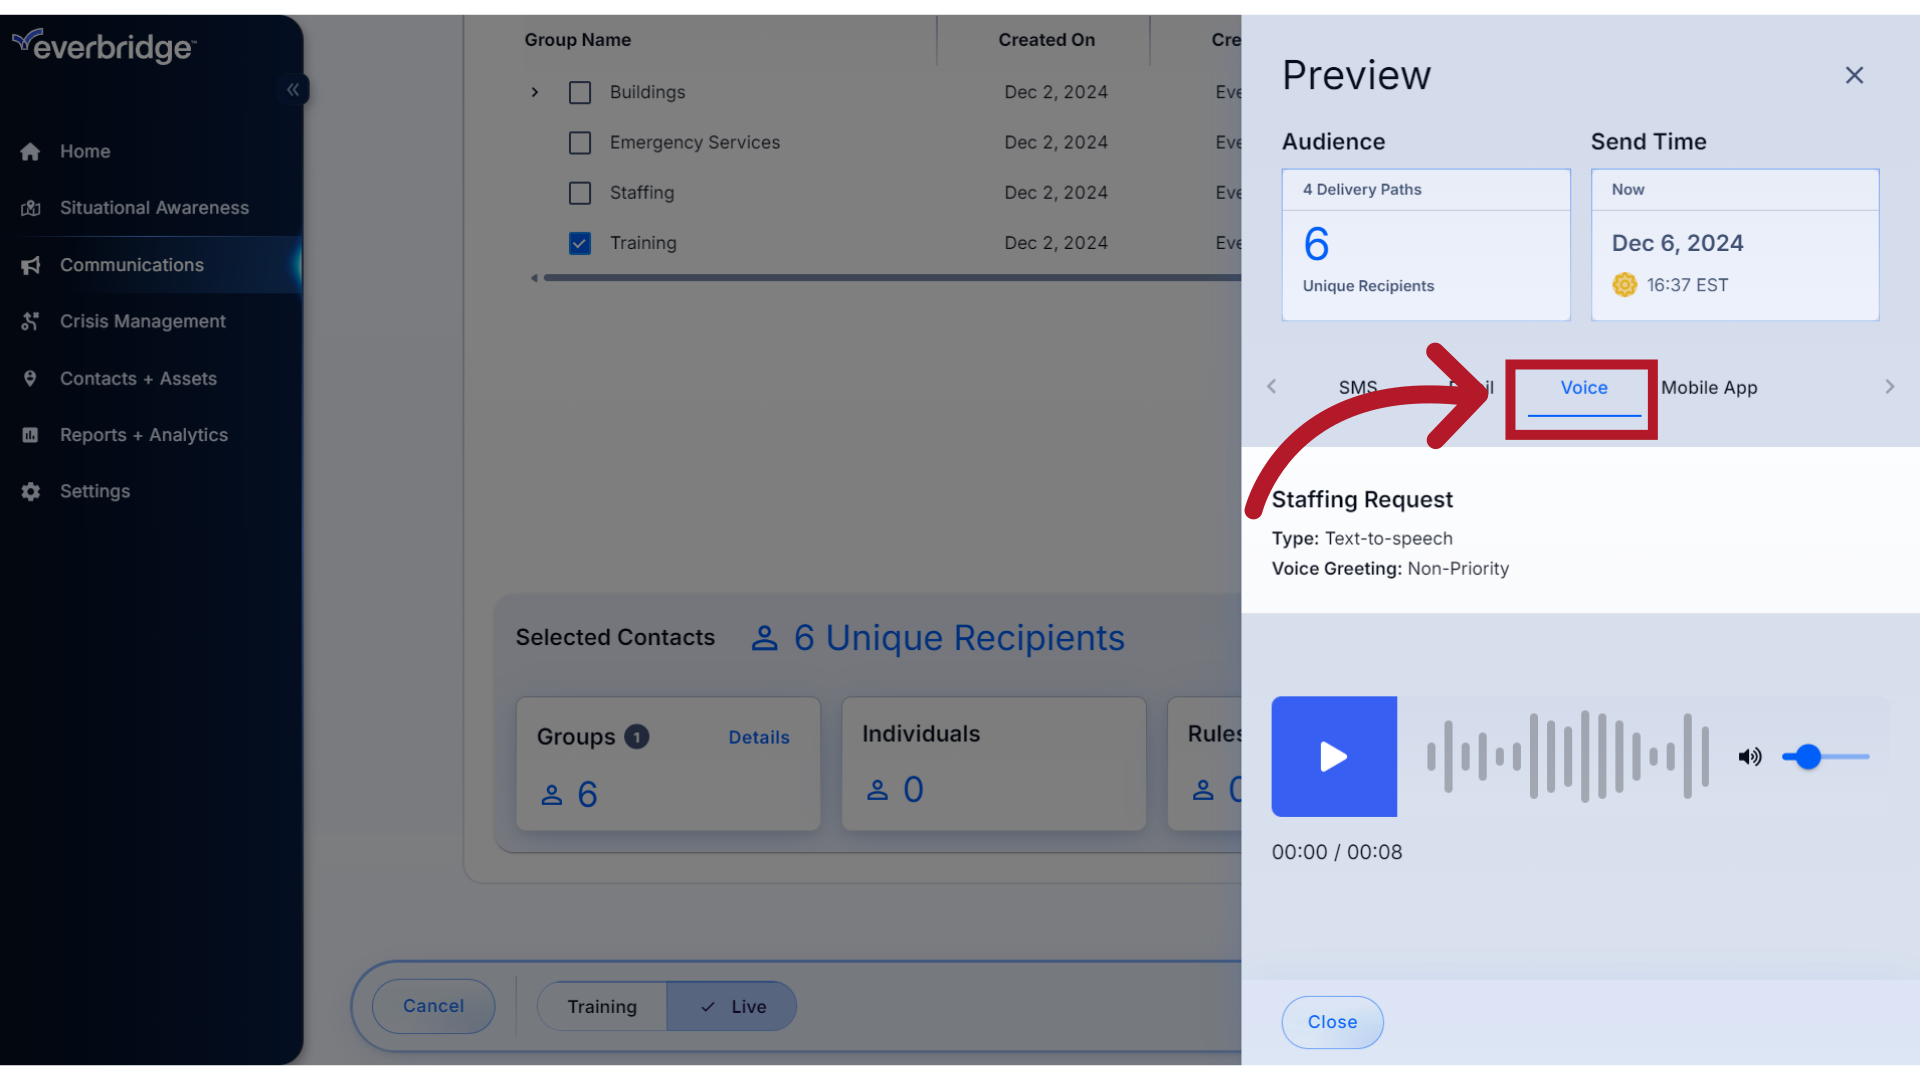
10. Voice
Voice, where you can listen to the text to speech recording,
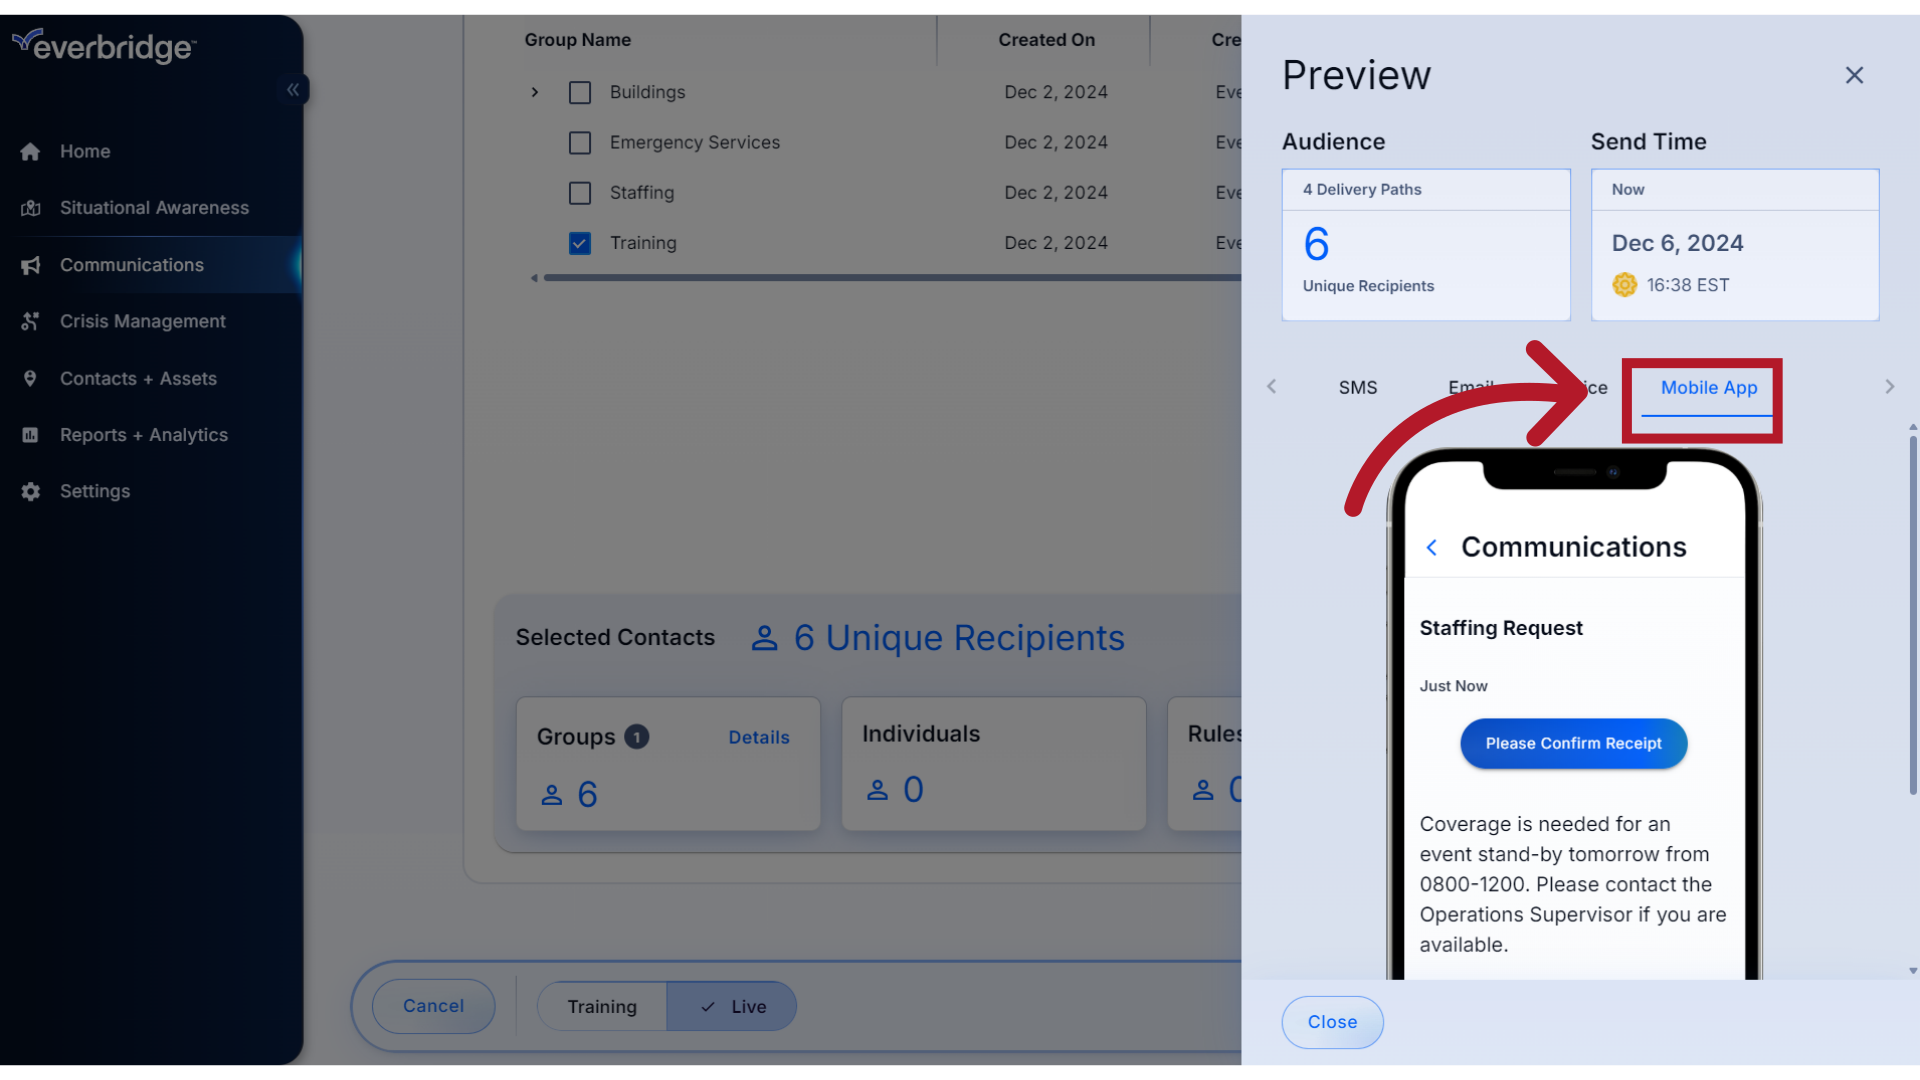
11. Mobile App
and the Mobile App.
12. Close
Click Close to return to the Communication form.

13. Settings
If you need to view or override any of the organization's default notification settings for this Communication, click the Settings wheel.

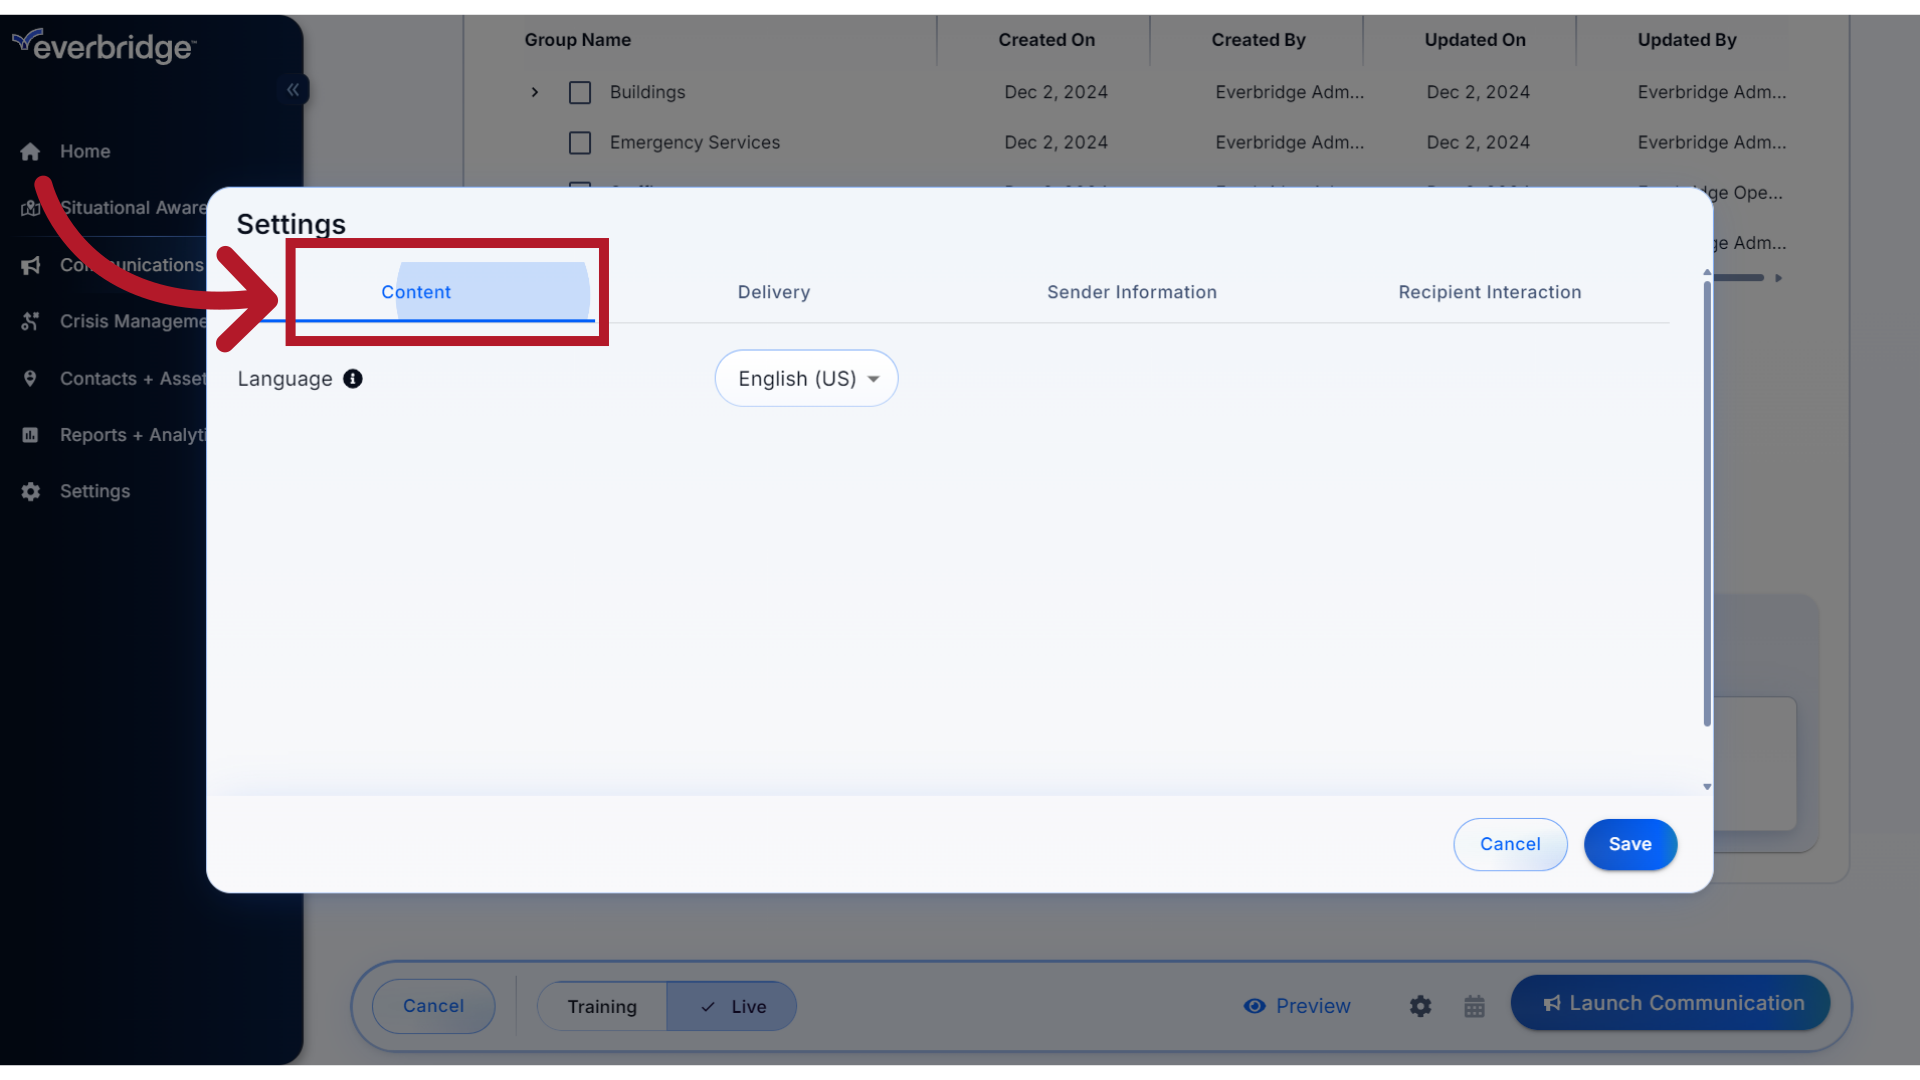
14. Content
For Content, you can change the Communication's default Language setting. This should be used if you have created a message in a language other than the Default language. It does not translate your message to another language but controls the system voice and email prompts, and the accent applied to the text-to-speech content.
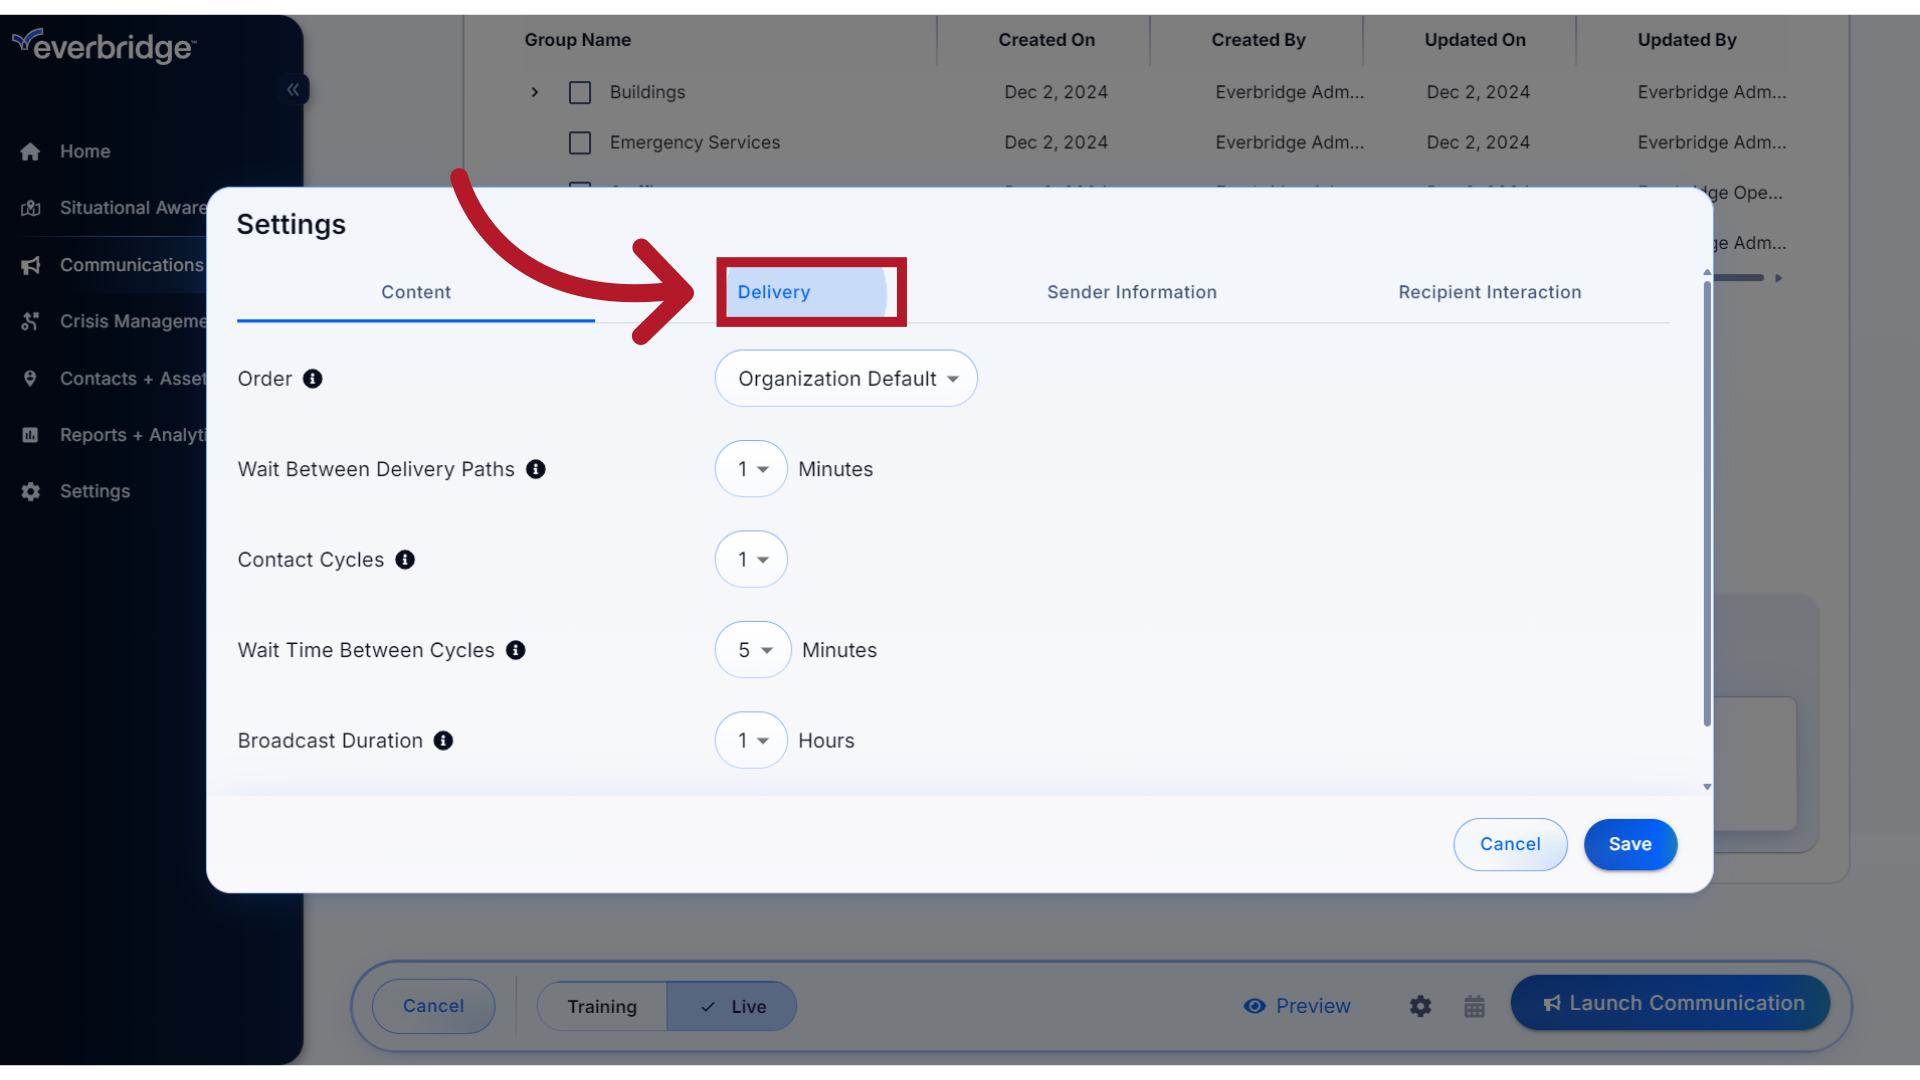
15. Delivery
For Delivery settings, consider the intent of your message and if the defaults should be modified to align with that. For example, for an urgent message you may want to change the "Wait Between Delivery Paths" from 1 minute to zero minutes. Or, increase the "Broadcast Duration" when you want to capture your recipients' responses for a longer period than the default duration.
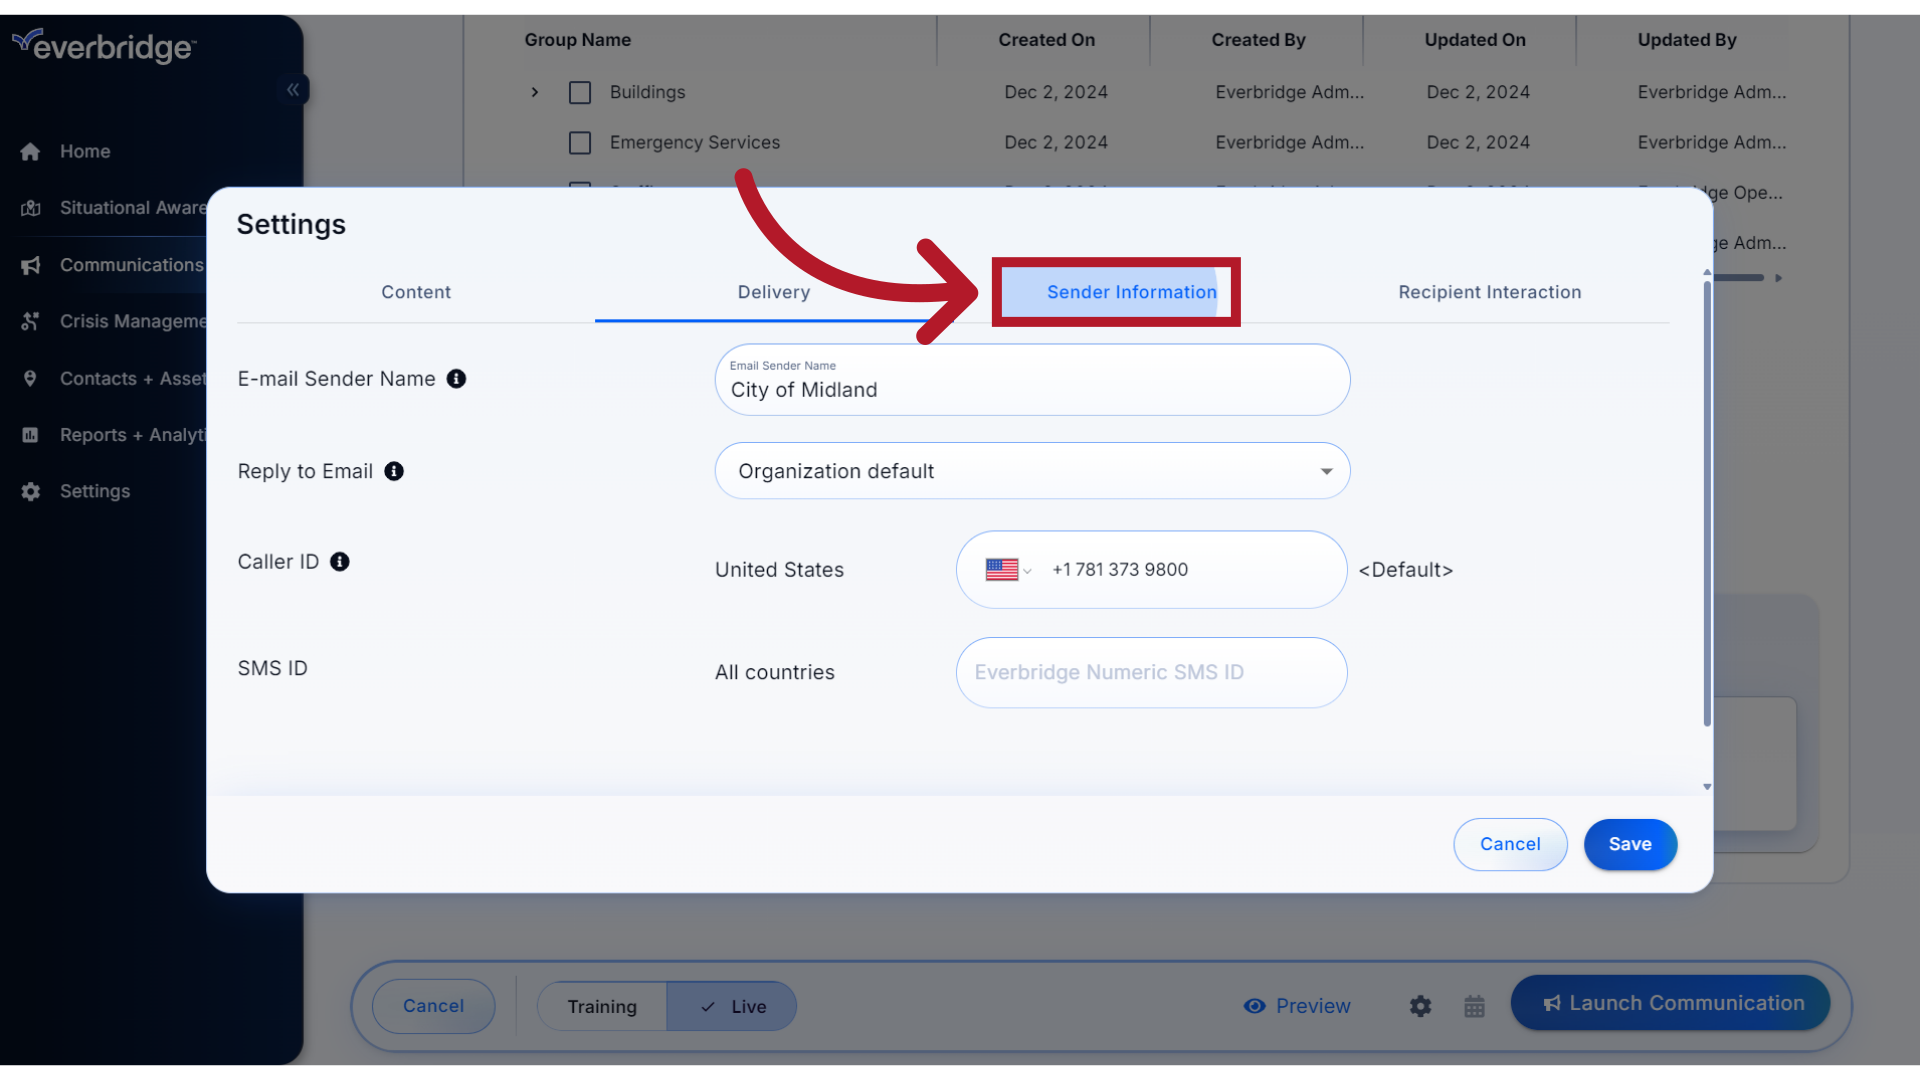
16. Sender Information
If your organization settings permit it, you can modify the Sender Information. This may be appropriate for a targeted message. For example, you may want to override the organization's E-Mail Sender Name to indicate that message is being sent from a specific department, or change the Caller ID number to that department's specific call-back number.
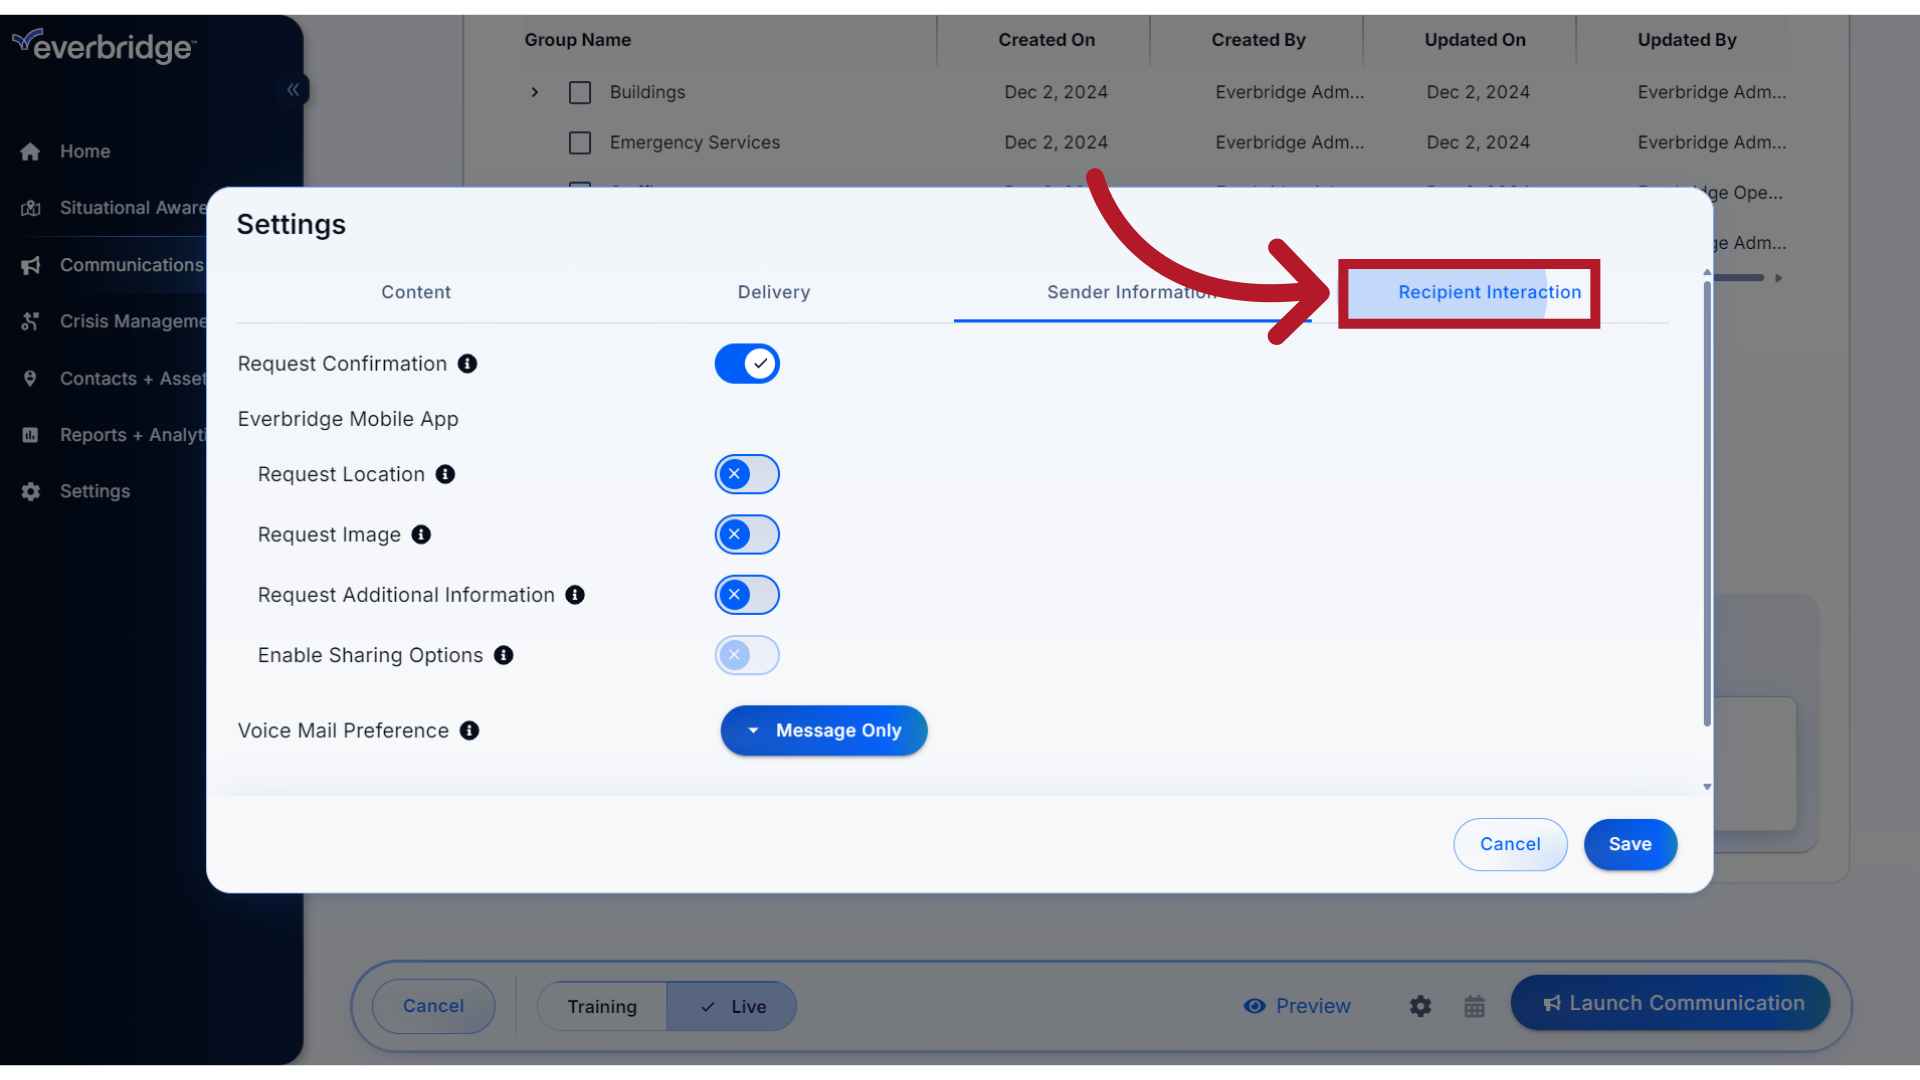
17. Recipient Interaction
You can also view and manage Recipient Interactions for the Communication. For example, you could turn off Confirmation if your message is informational only and you do not need to track a response from the recipients.
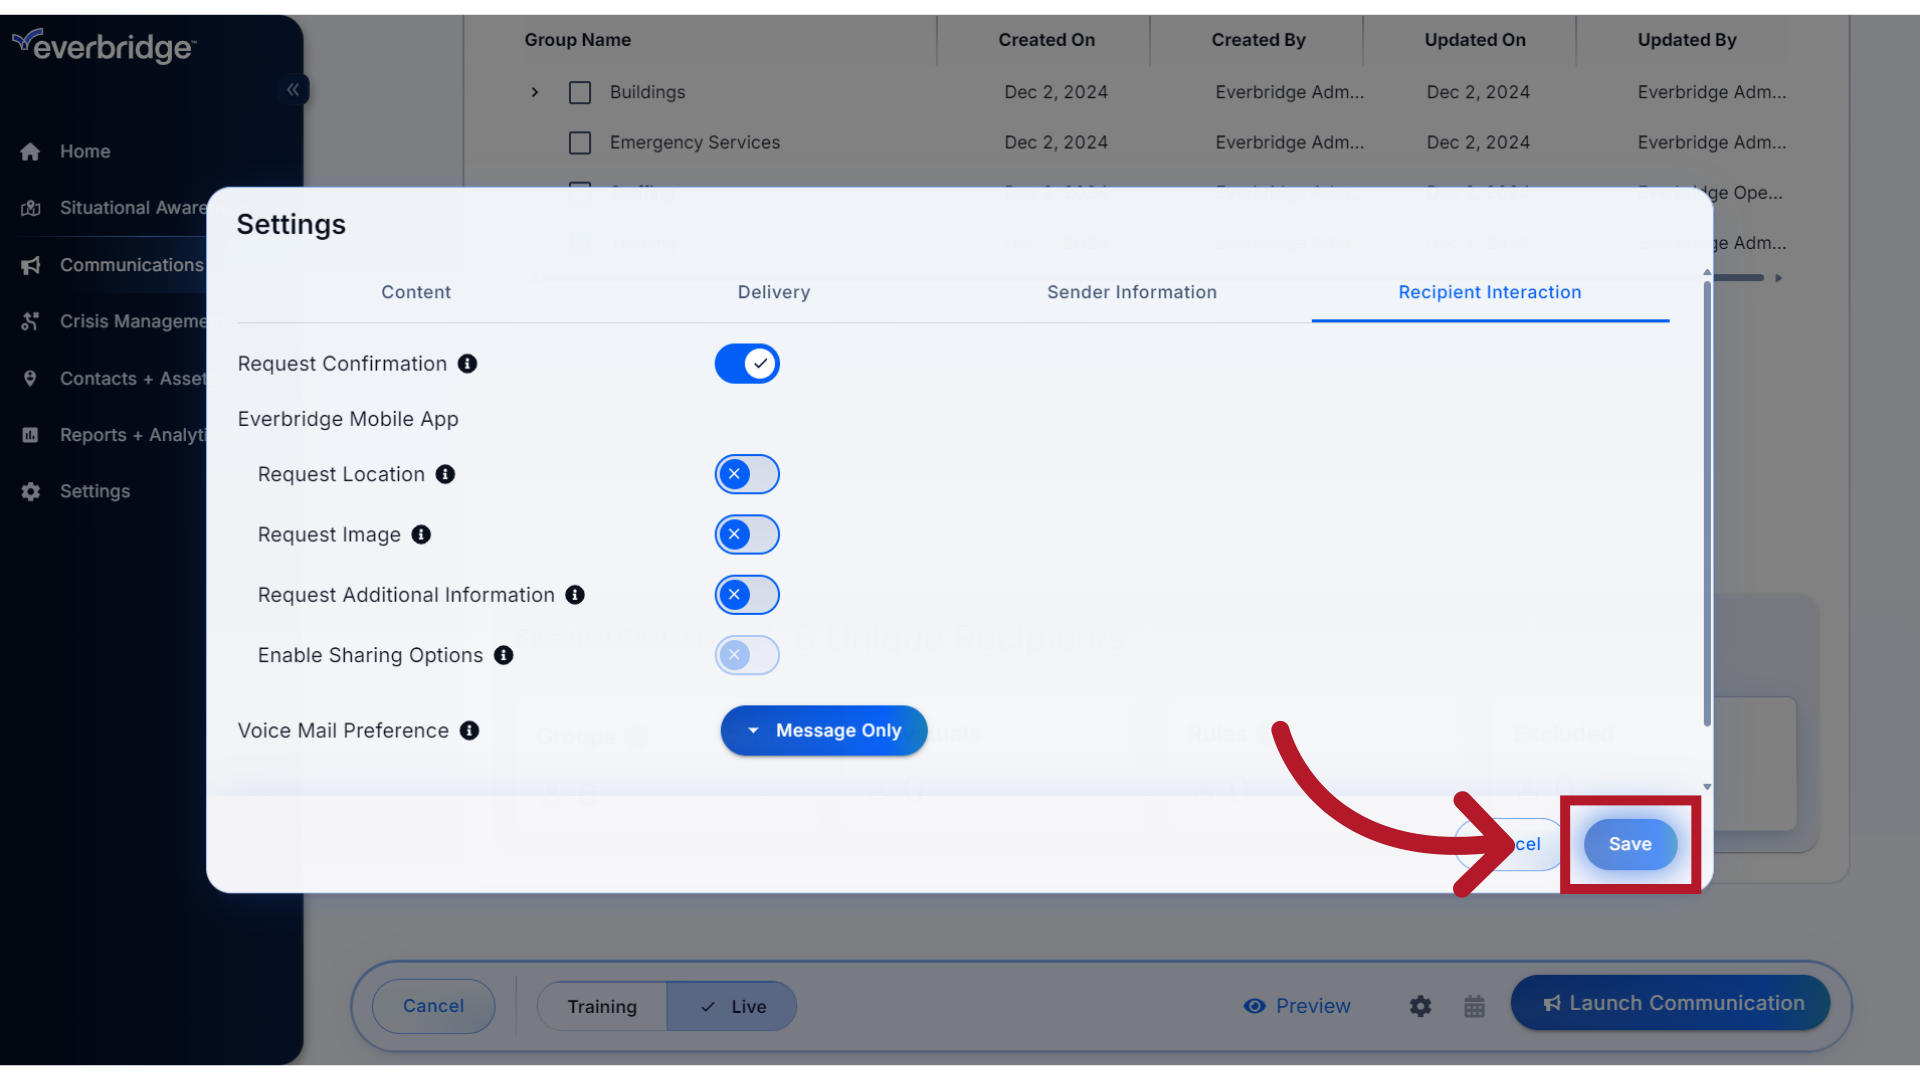
18. Save
If any changes were made to the Settings, click Save.
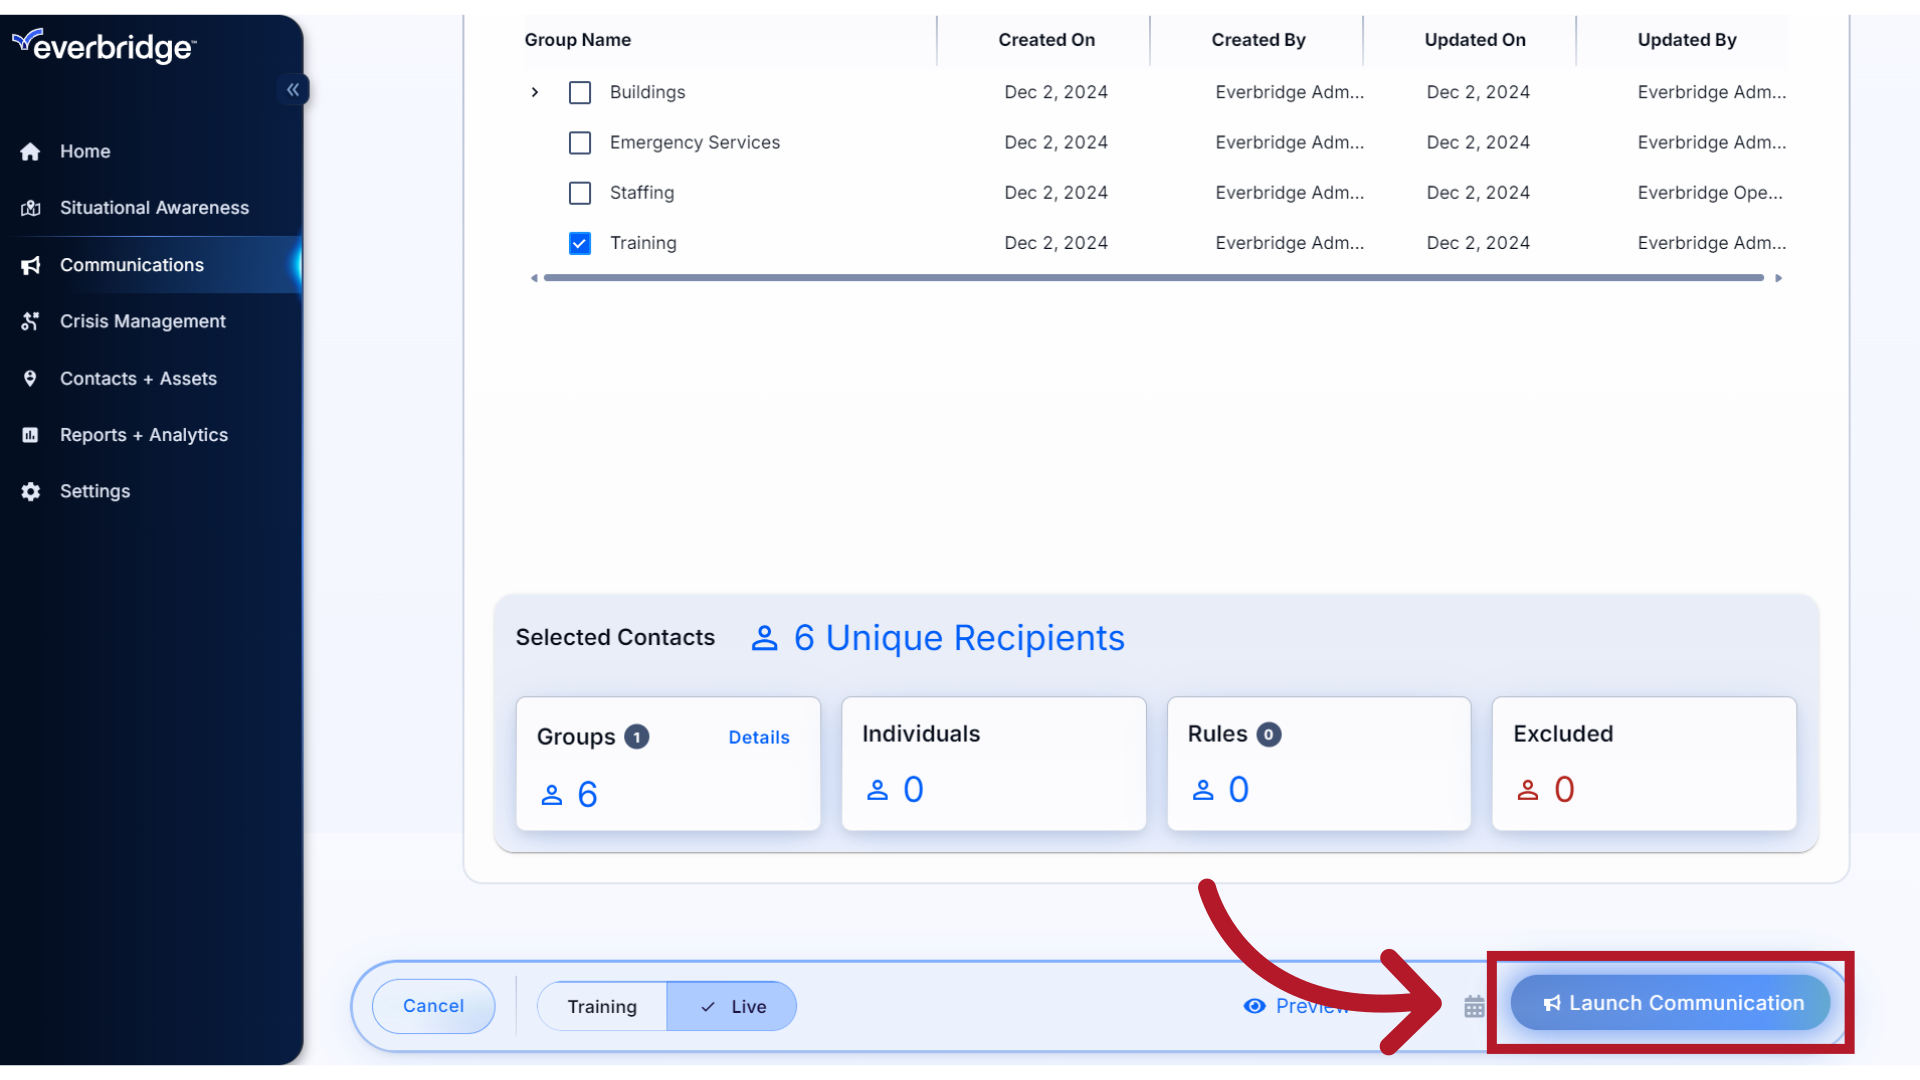
19. Launch Communication
Finally, click Launch Communication to initiate the message with your updated settings. If there are any errors or missing fields, Everbridge will highlight them so you can correct the issue(s) to continue with the launch.
20. Launch Options
As a precaution, there will be a ten second window where you can choose the option to Launch Immediately
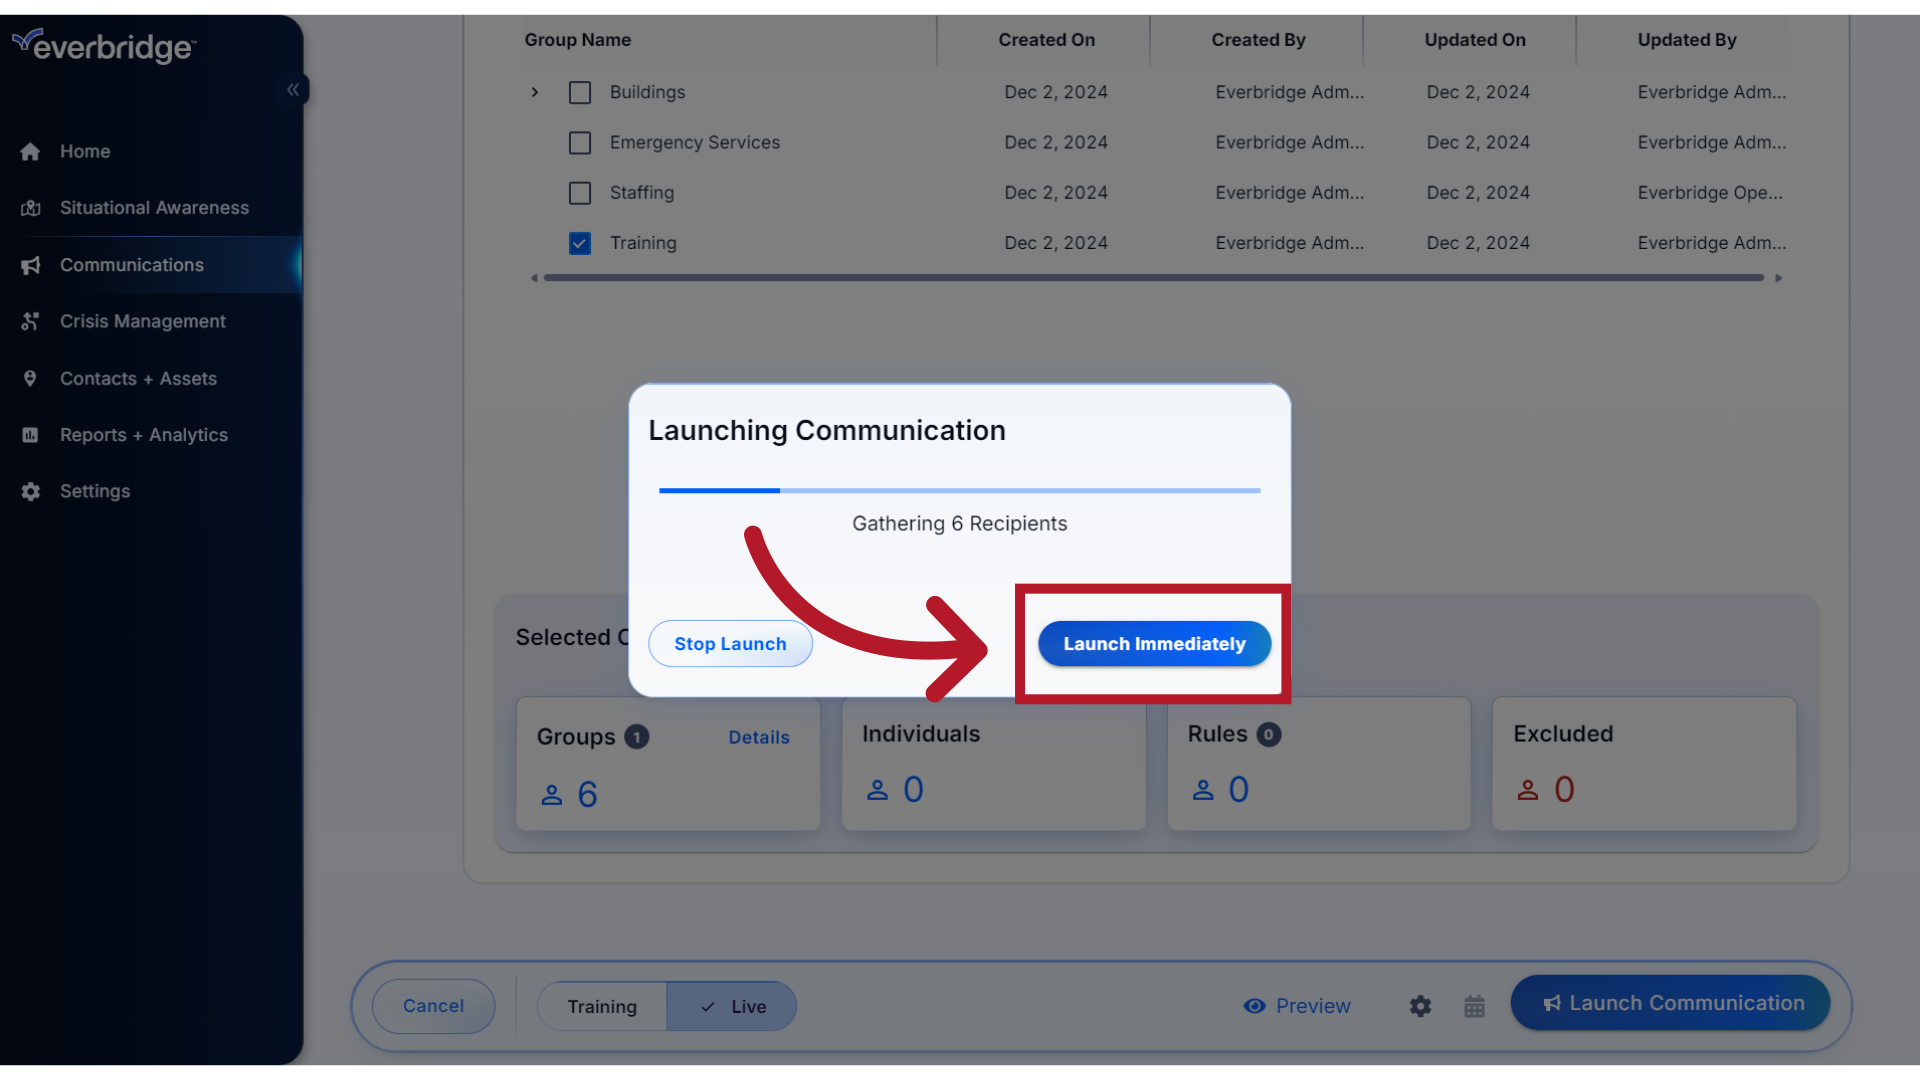
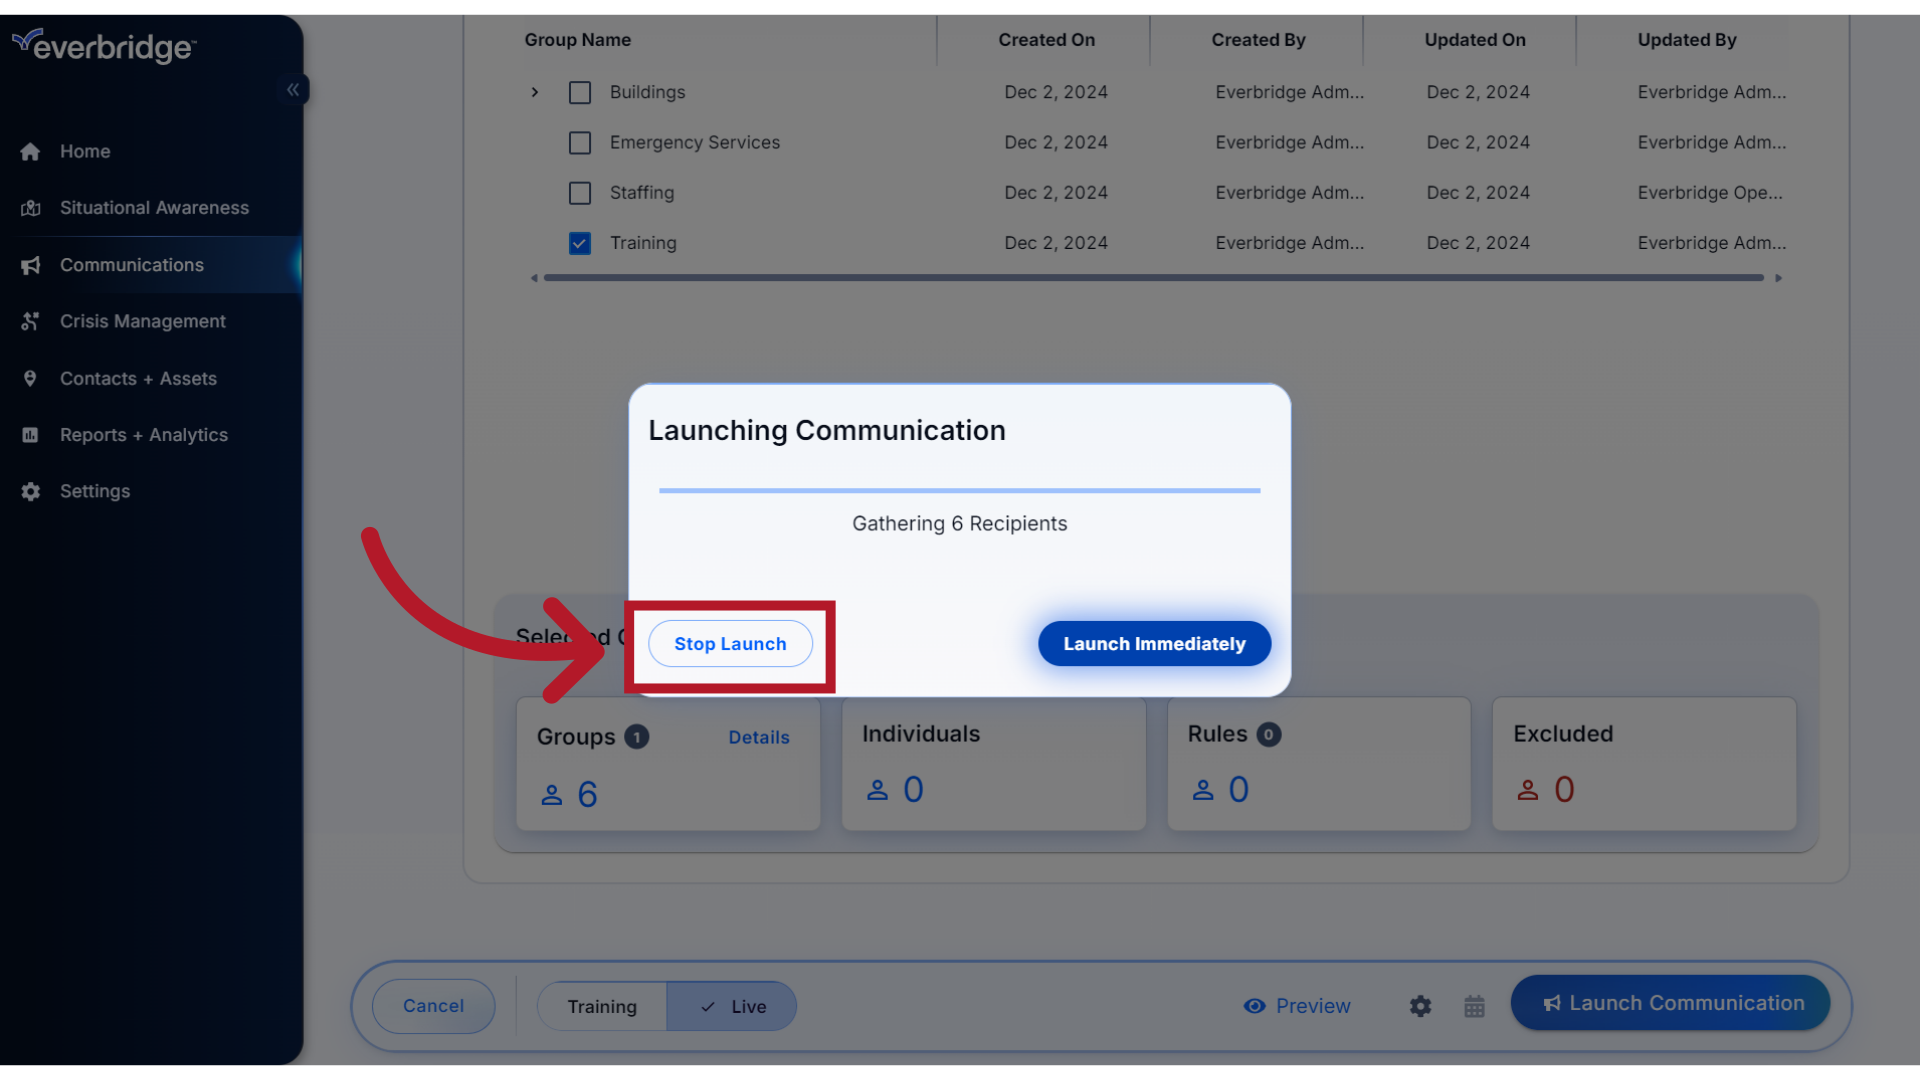
21. Launch Options
or Stop the Launch if you need to cancel or make any final changes. If no action is taken within the ten seconds, the message will launch automatically.
22. Success
Once the message has been successfully sent,
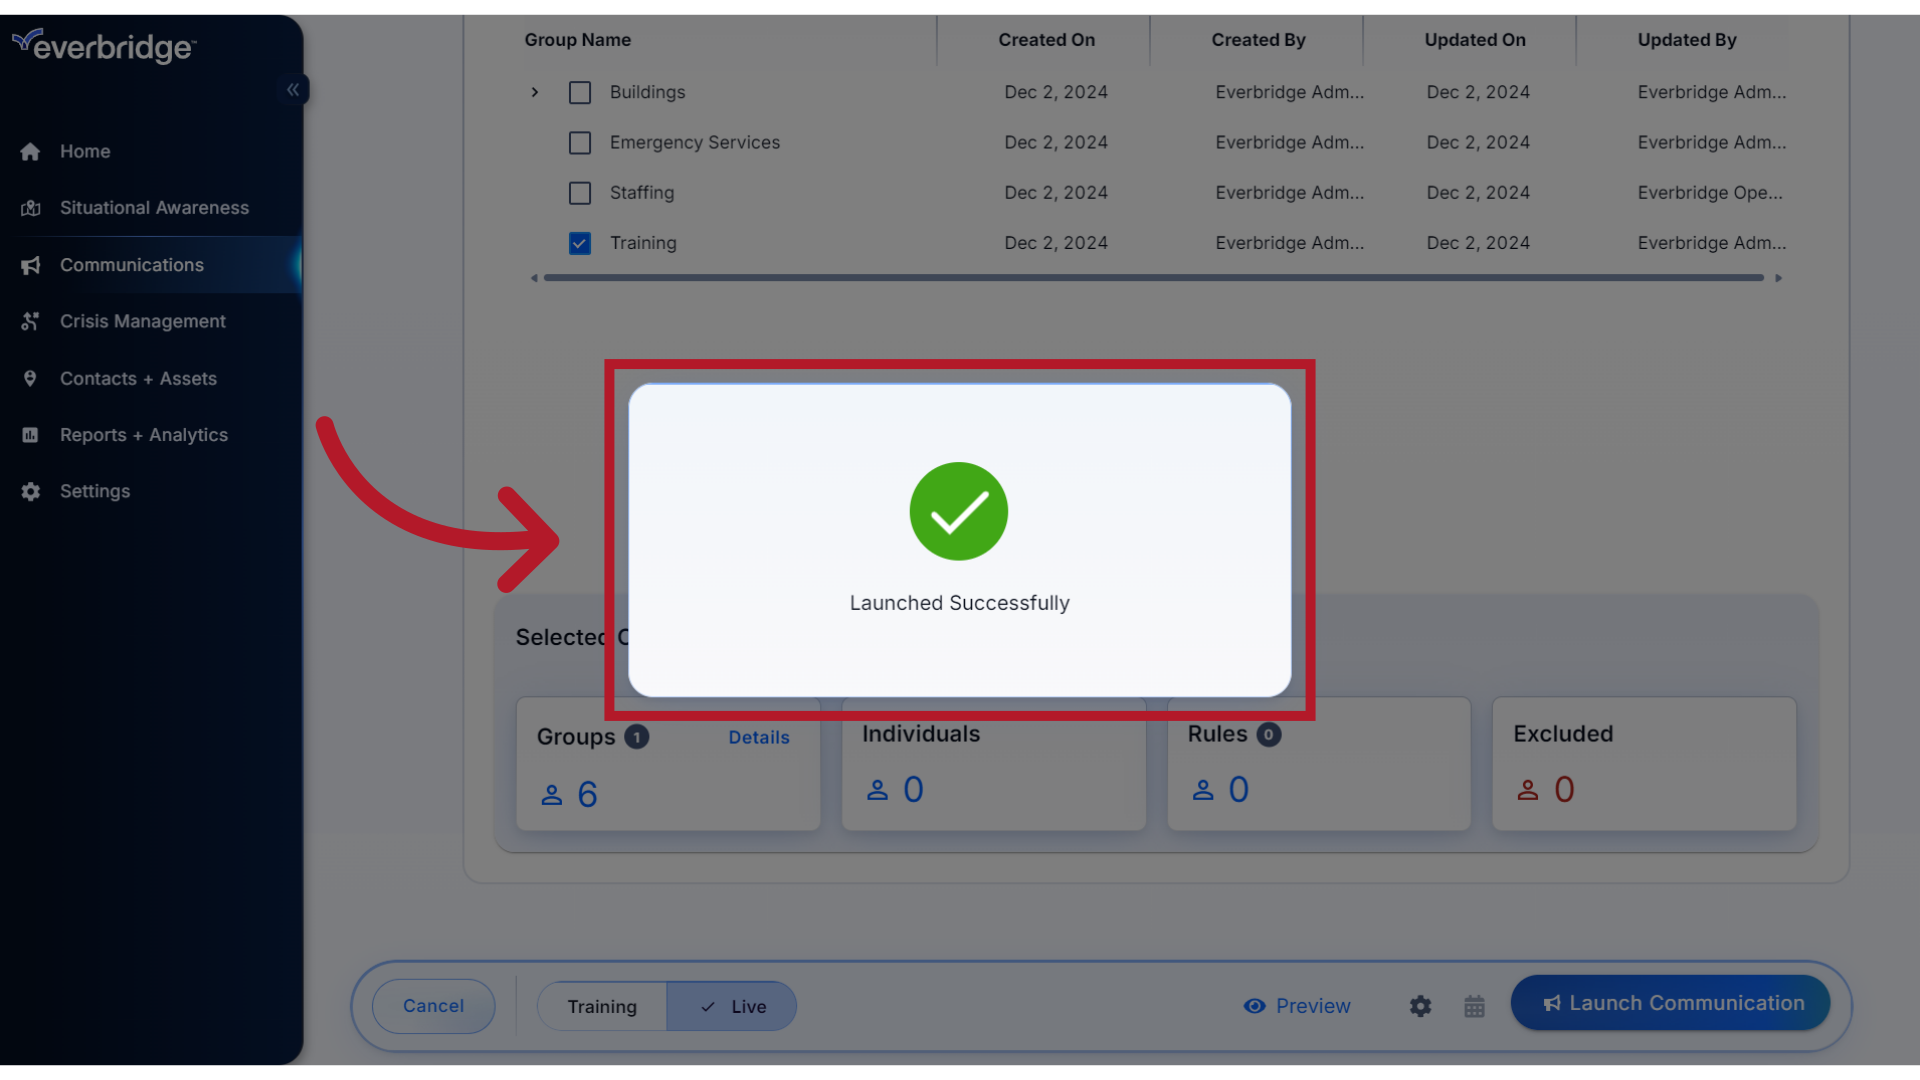
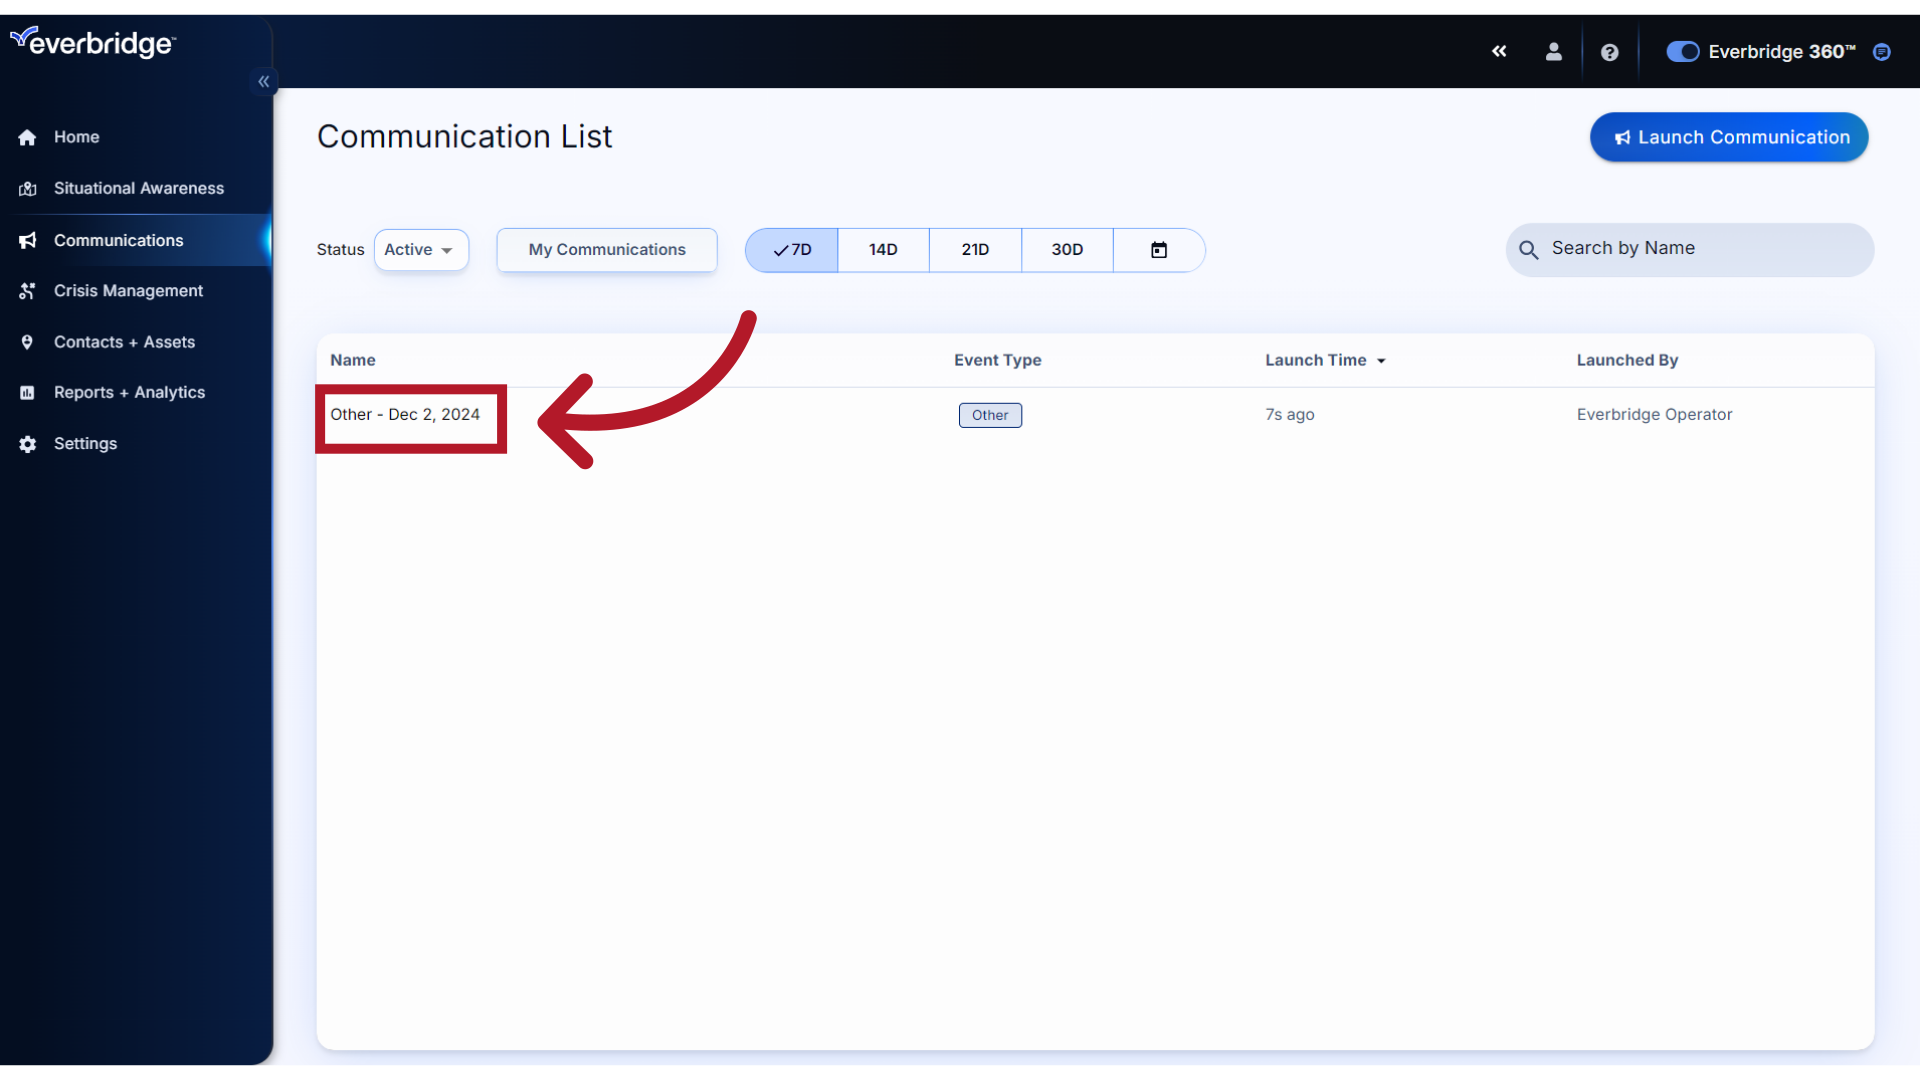
23. Communicaton List
the system will automatically bring you to the Communication List menu, where you can either view the Communication details by clicking on its title
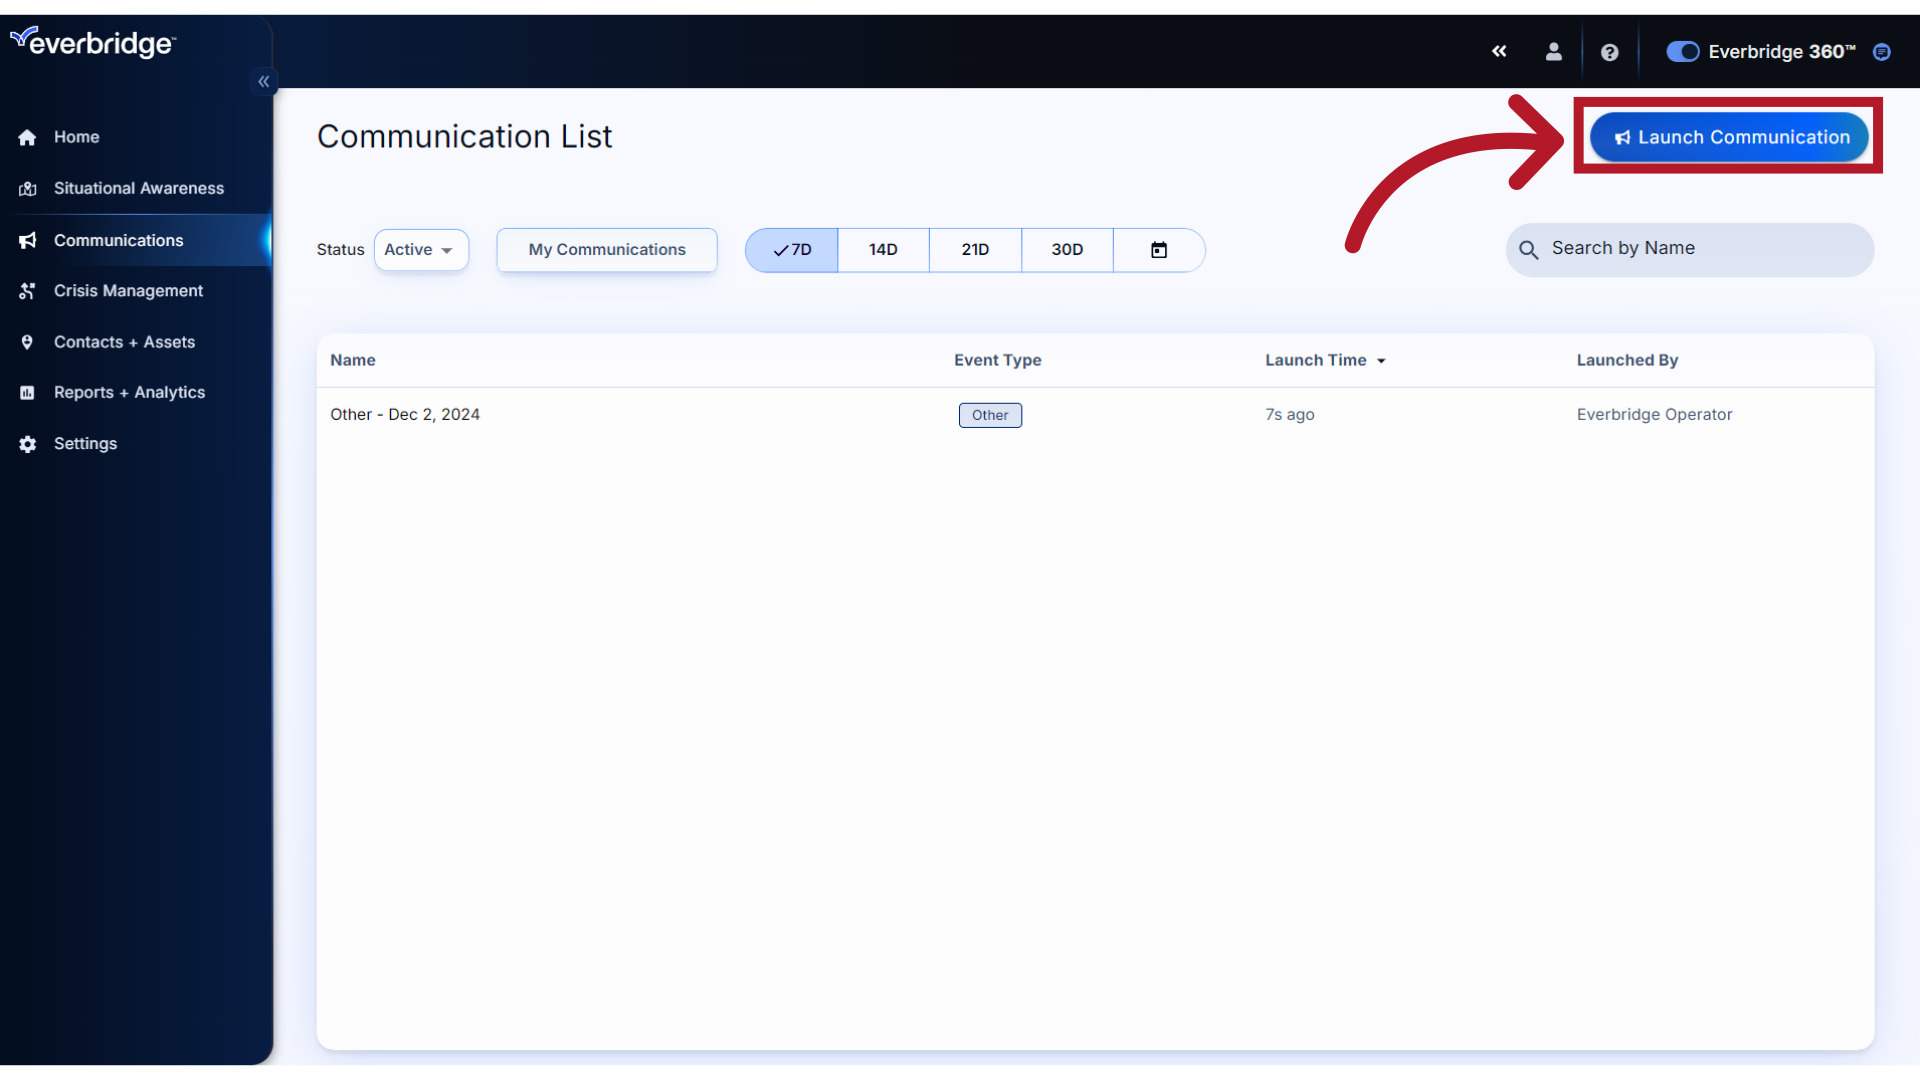
24. Launch
or launch another Communication.
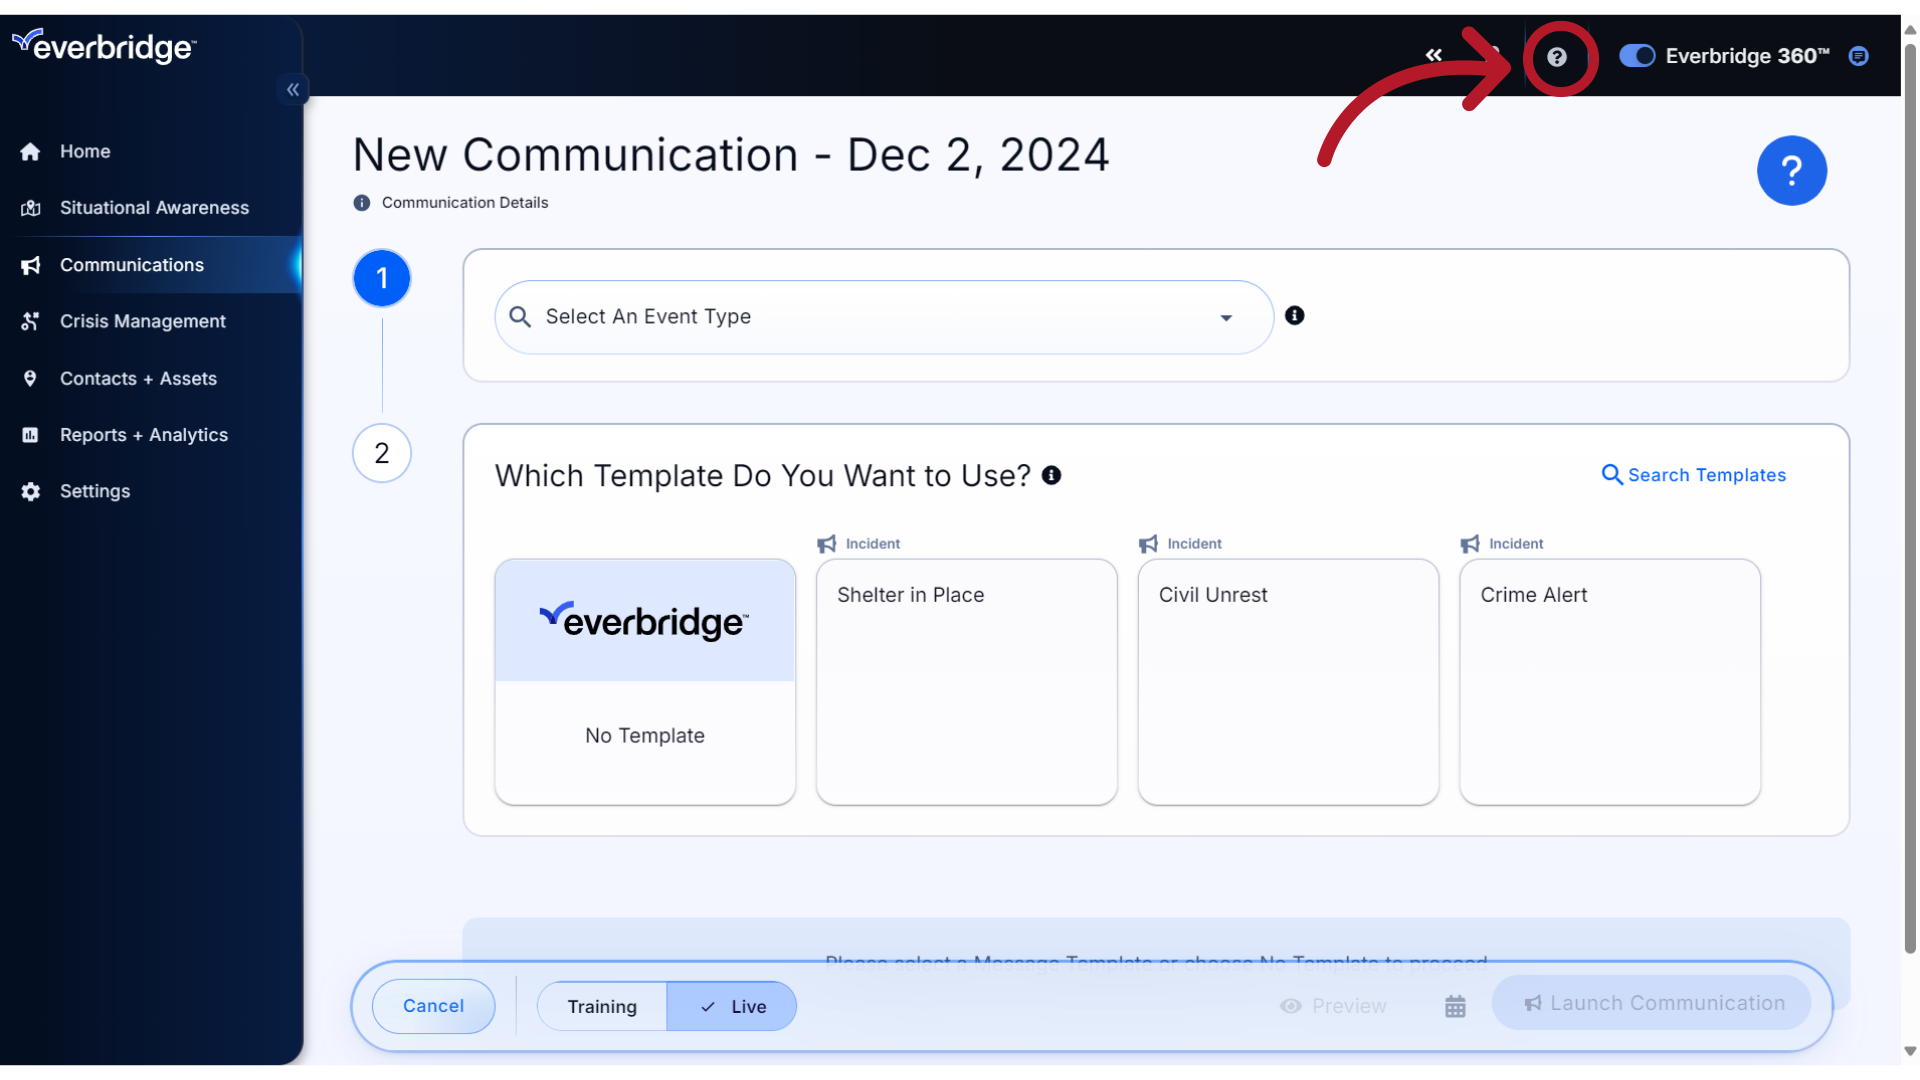
25. Help
For more information about any of the fields or selections shown in the Communications form, click the icon to access Online Support.
Through this guide, you have learned how to incorporate the options that are available in the Communication Toolbar prior to launching your message. Thank you for watching!