Topic
Digging Deeper with Communications (Message Recipients).
Description
With Everbridge 360™ Communications, you can quickly send messages to respond to events impacting your organization. In this tutorial we will provide an in-depth look at how to use the features to search for and select message recipients.
Go to manager.everbridge.net
1. Step 4
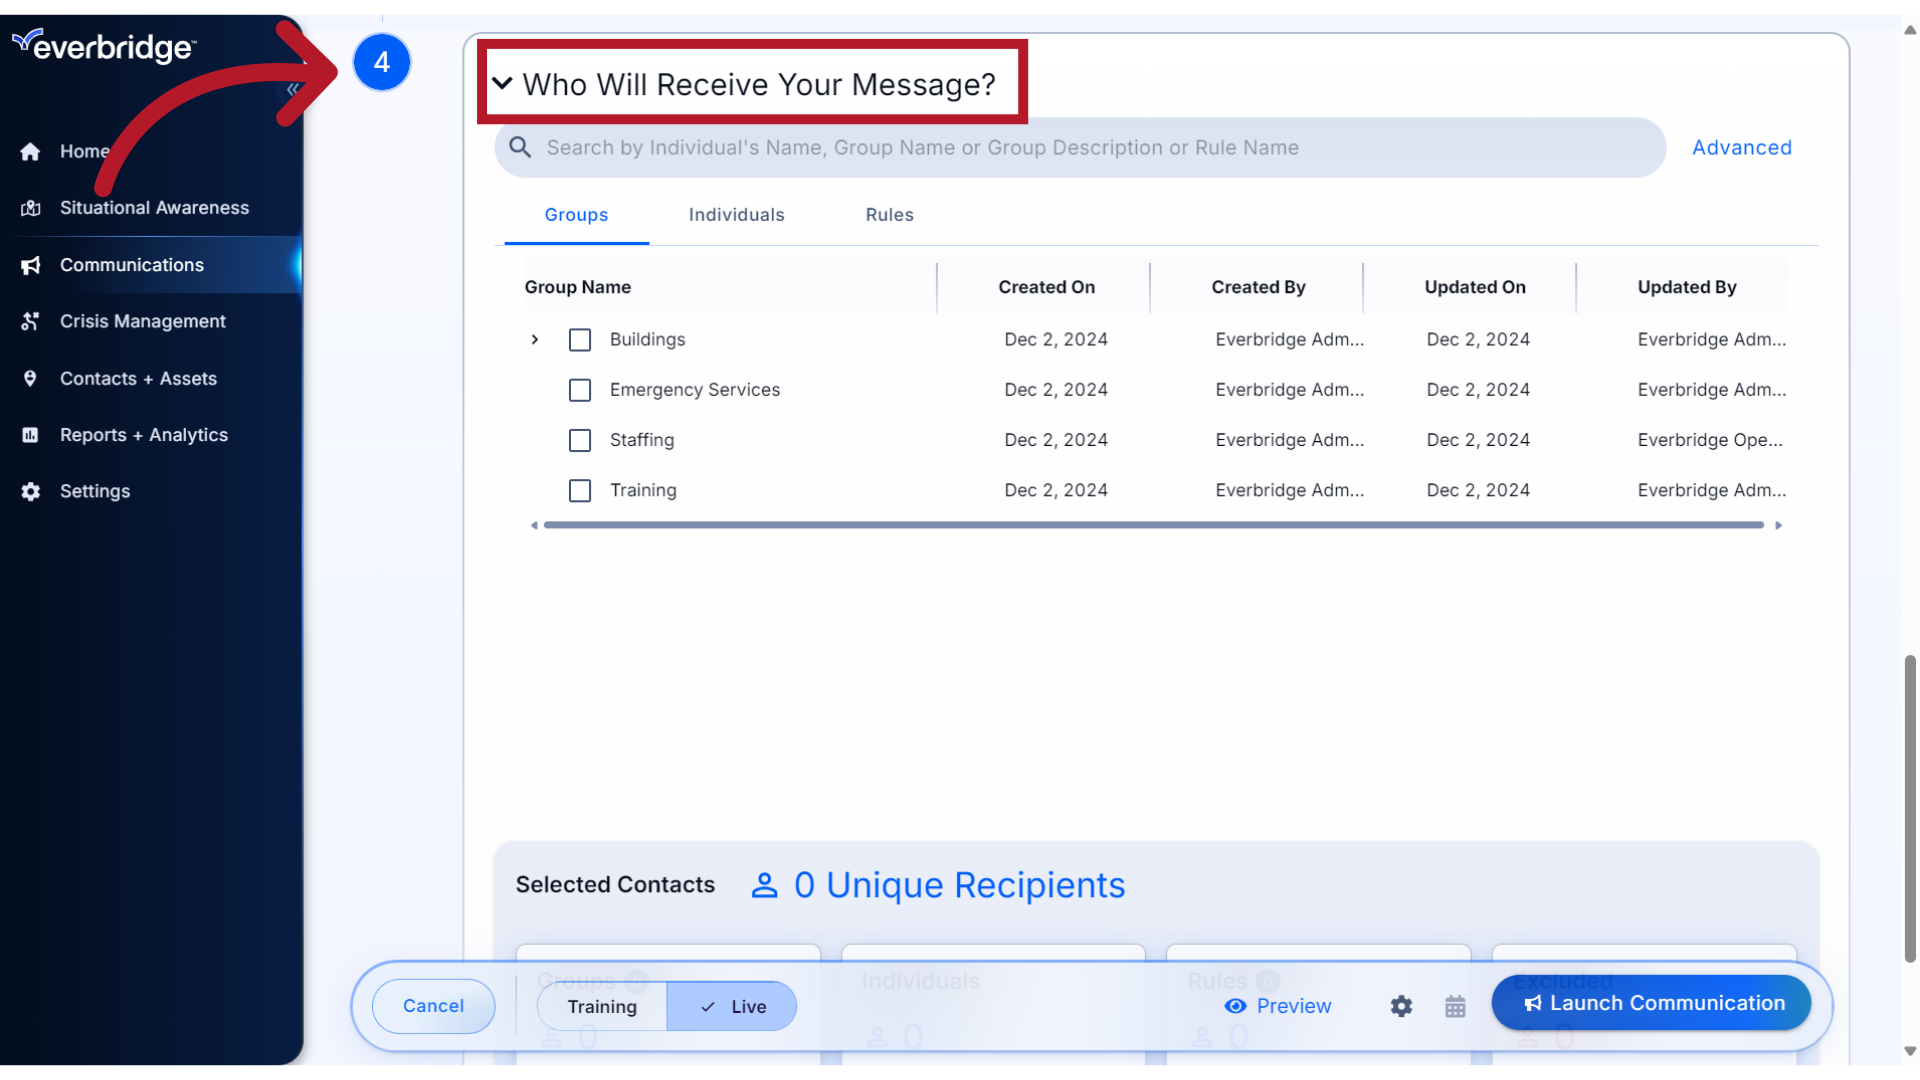
Let's take a deeper dive into Step 4 of the Communication, where you are selecting who will receive your message.
2. Search
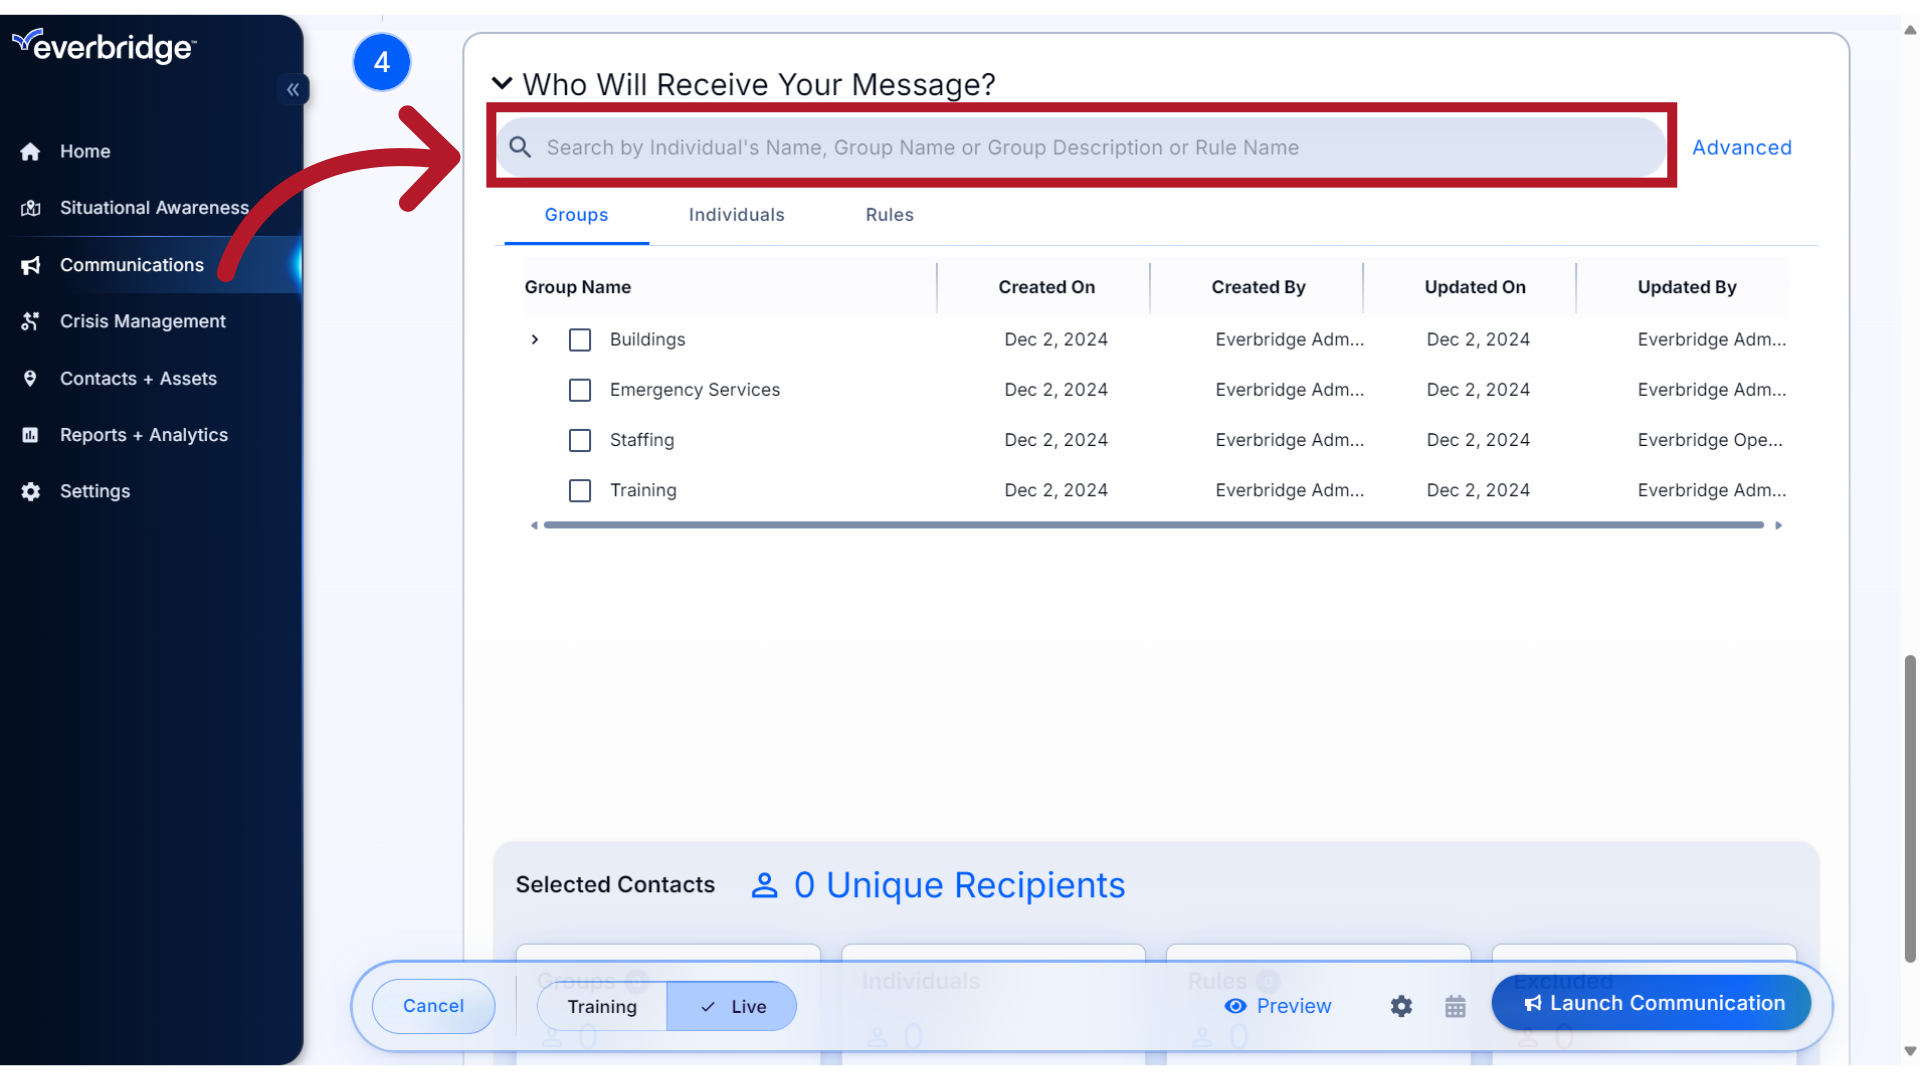
You can use the Search feature to find and make selections from the contact data your role permits you to access. You can search by an individual's name, Group name, Group description or Rule name. Rules are contact filters that have been saved in advance.
3. Search Results
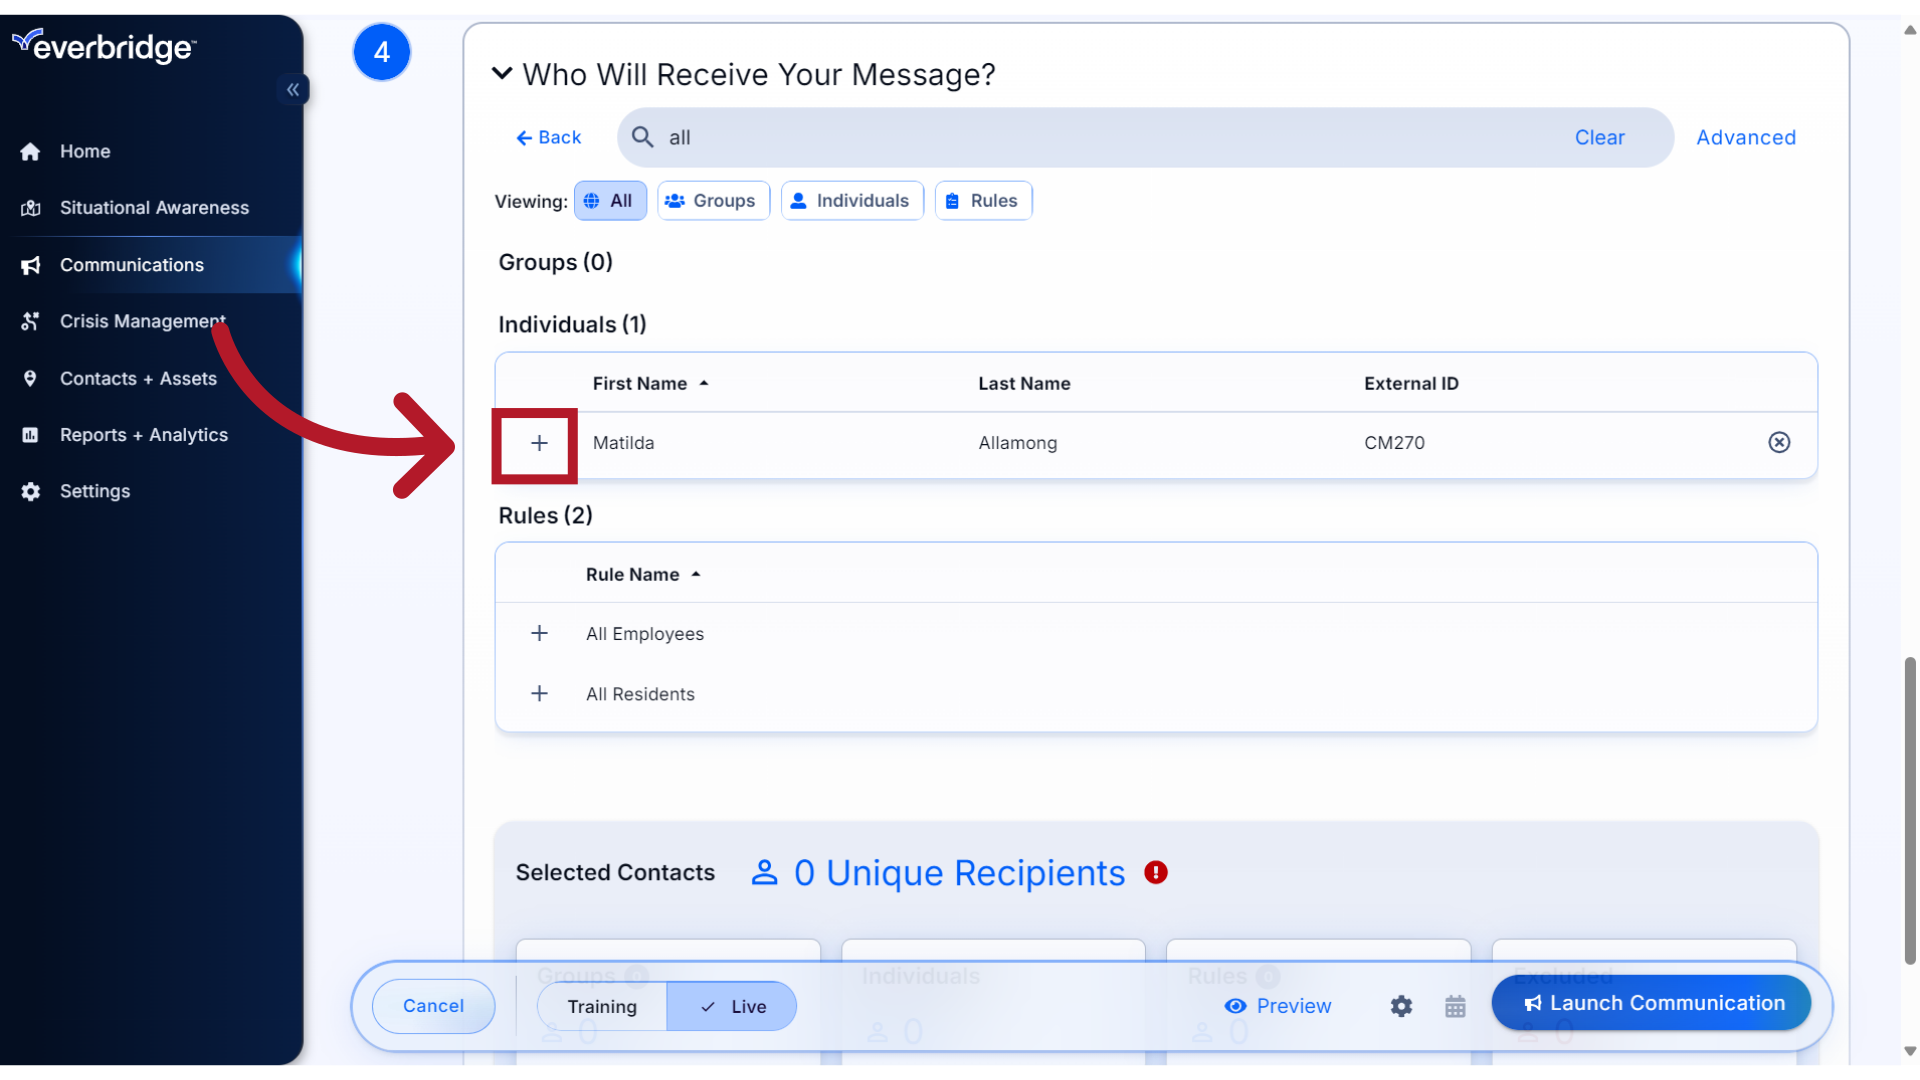
Using the Search feature will return all the options from Individuals, Groups and Rules that match your entry. Simply click the + symbol to make your selection(s).
4. Advanced Search
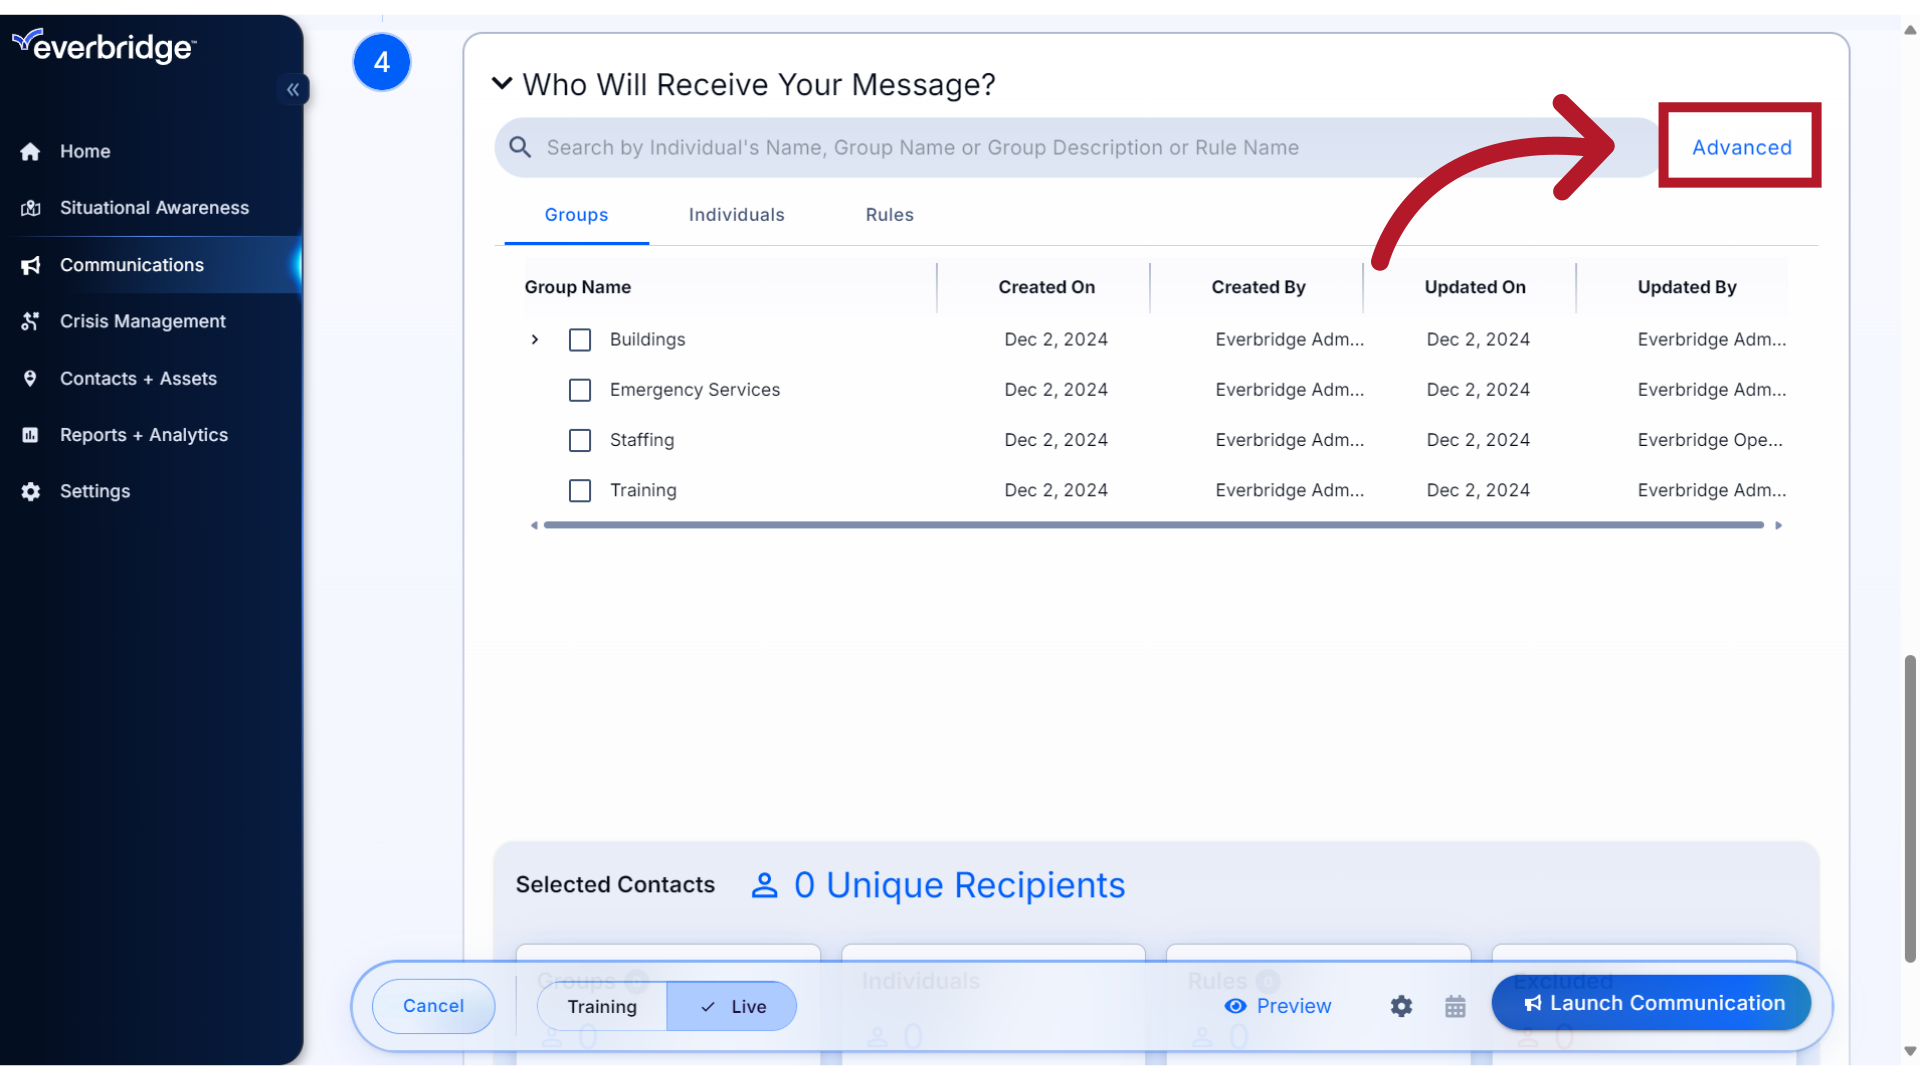
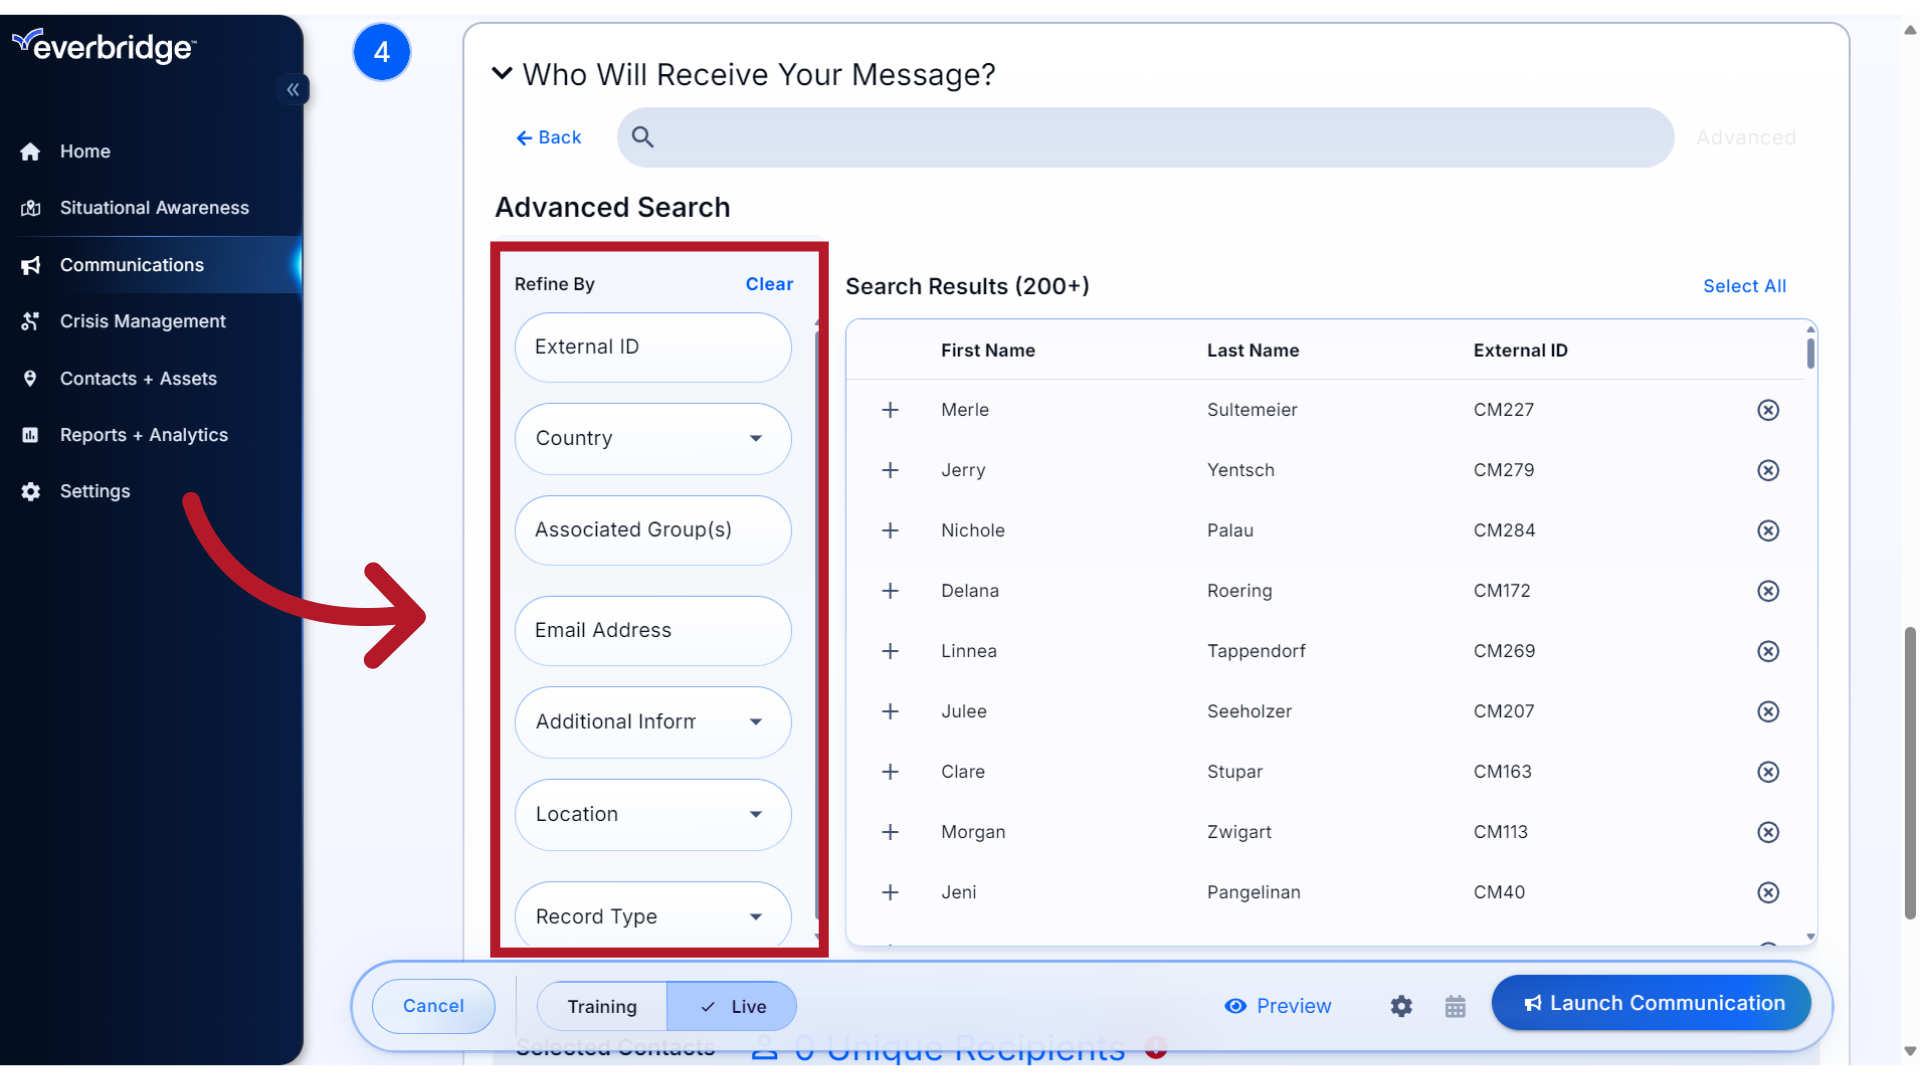
You can also use the Advanced Search feature to find your message recipients by specific attributes in their contact record.
5. Search Options
The options for how you can refine your search appear on the left. Combining multiple fields will return results where the contact meets all of the selected criteria.
6. Refine Search
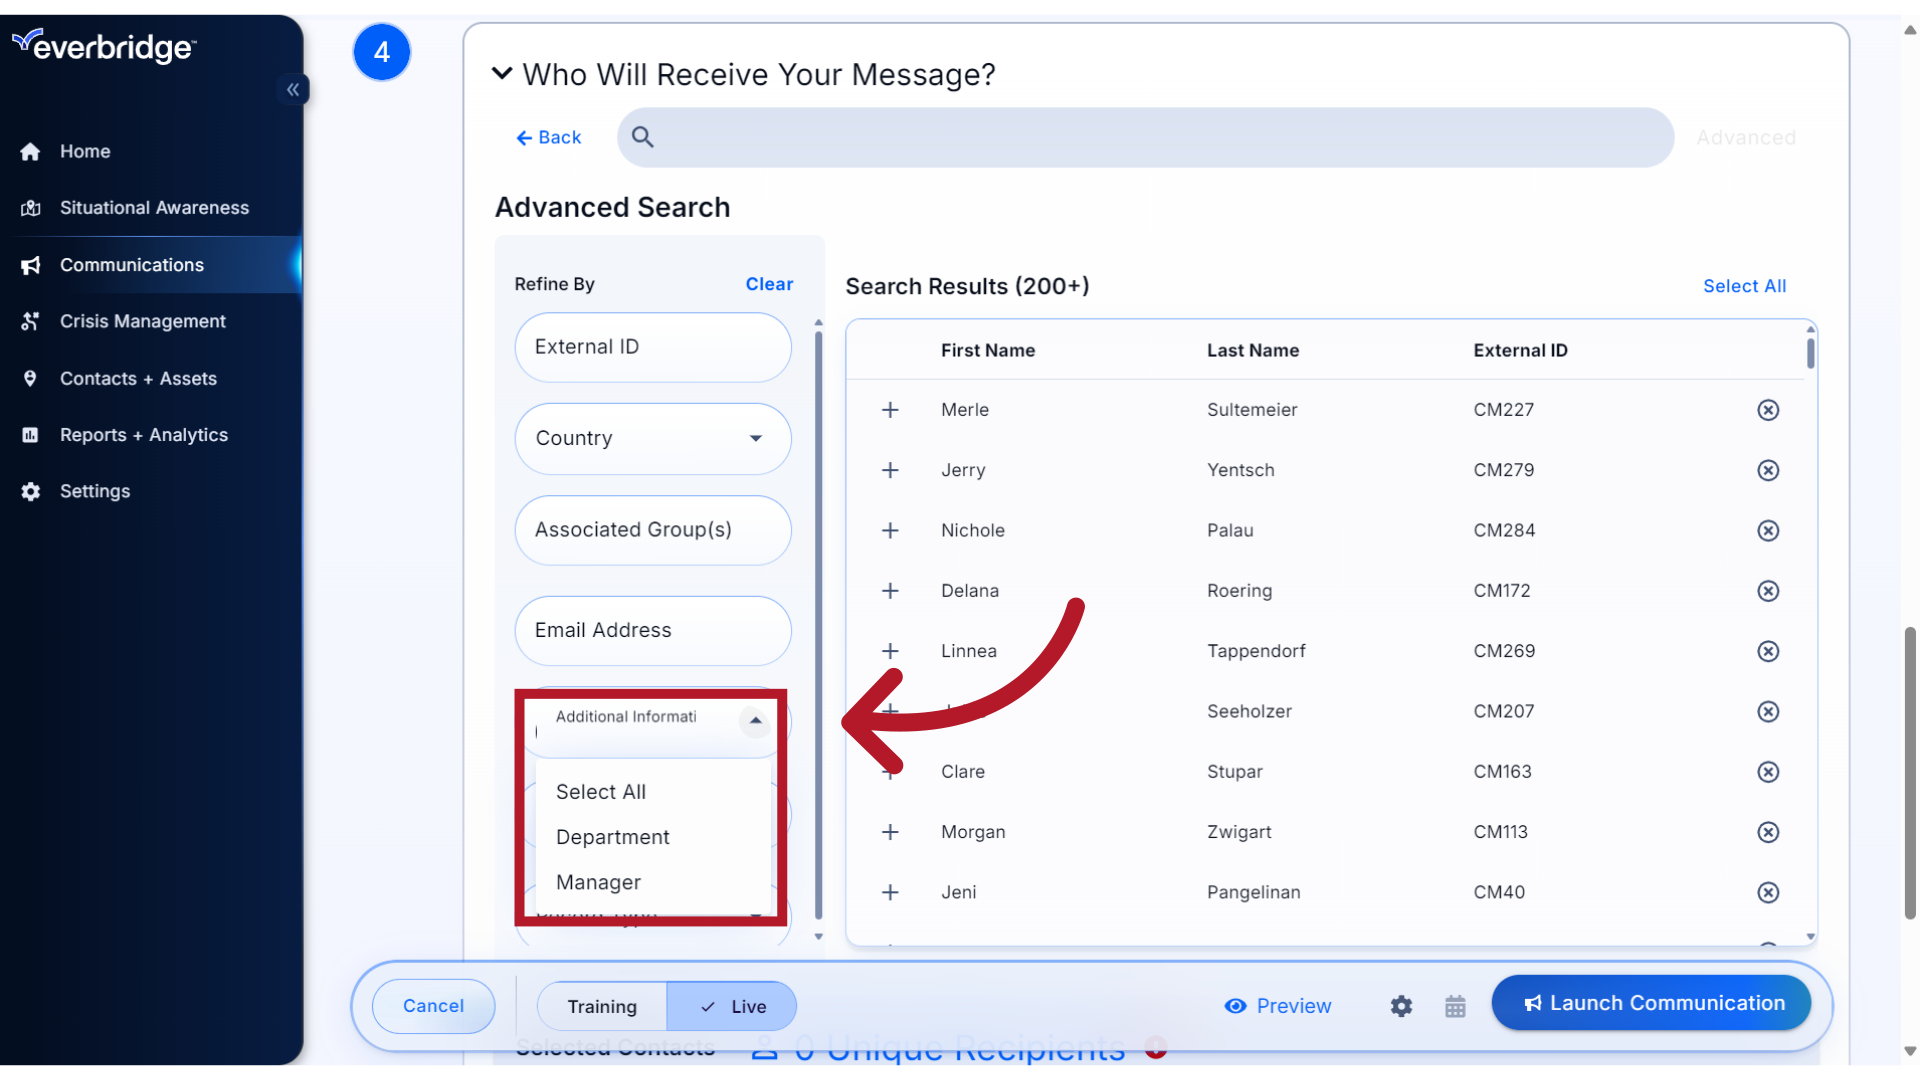
For example, you may want to refine your search by an Additional Information field configured for your organization.
7. Filter
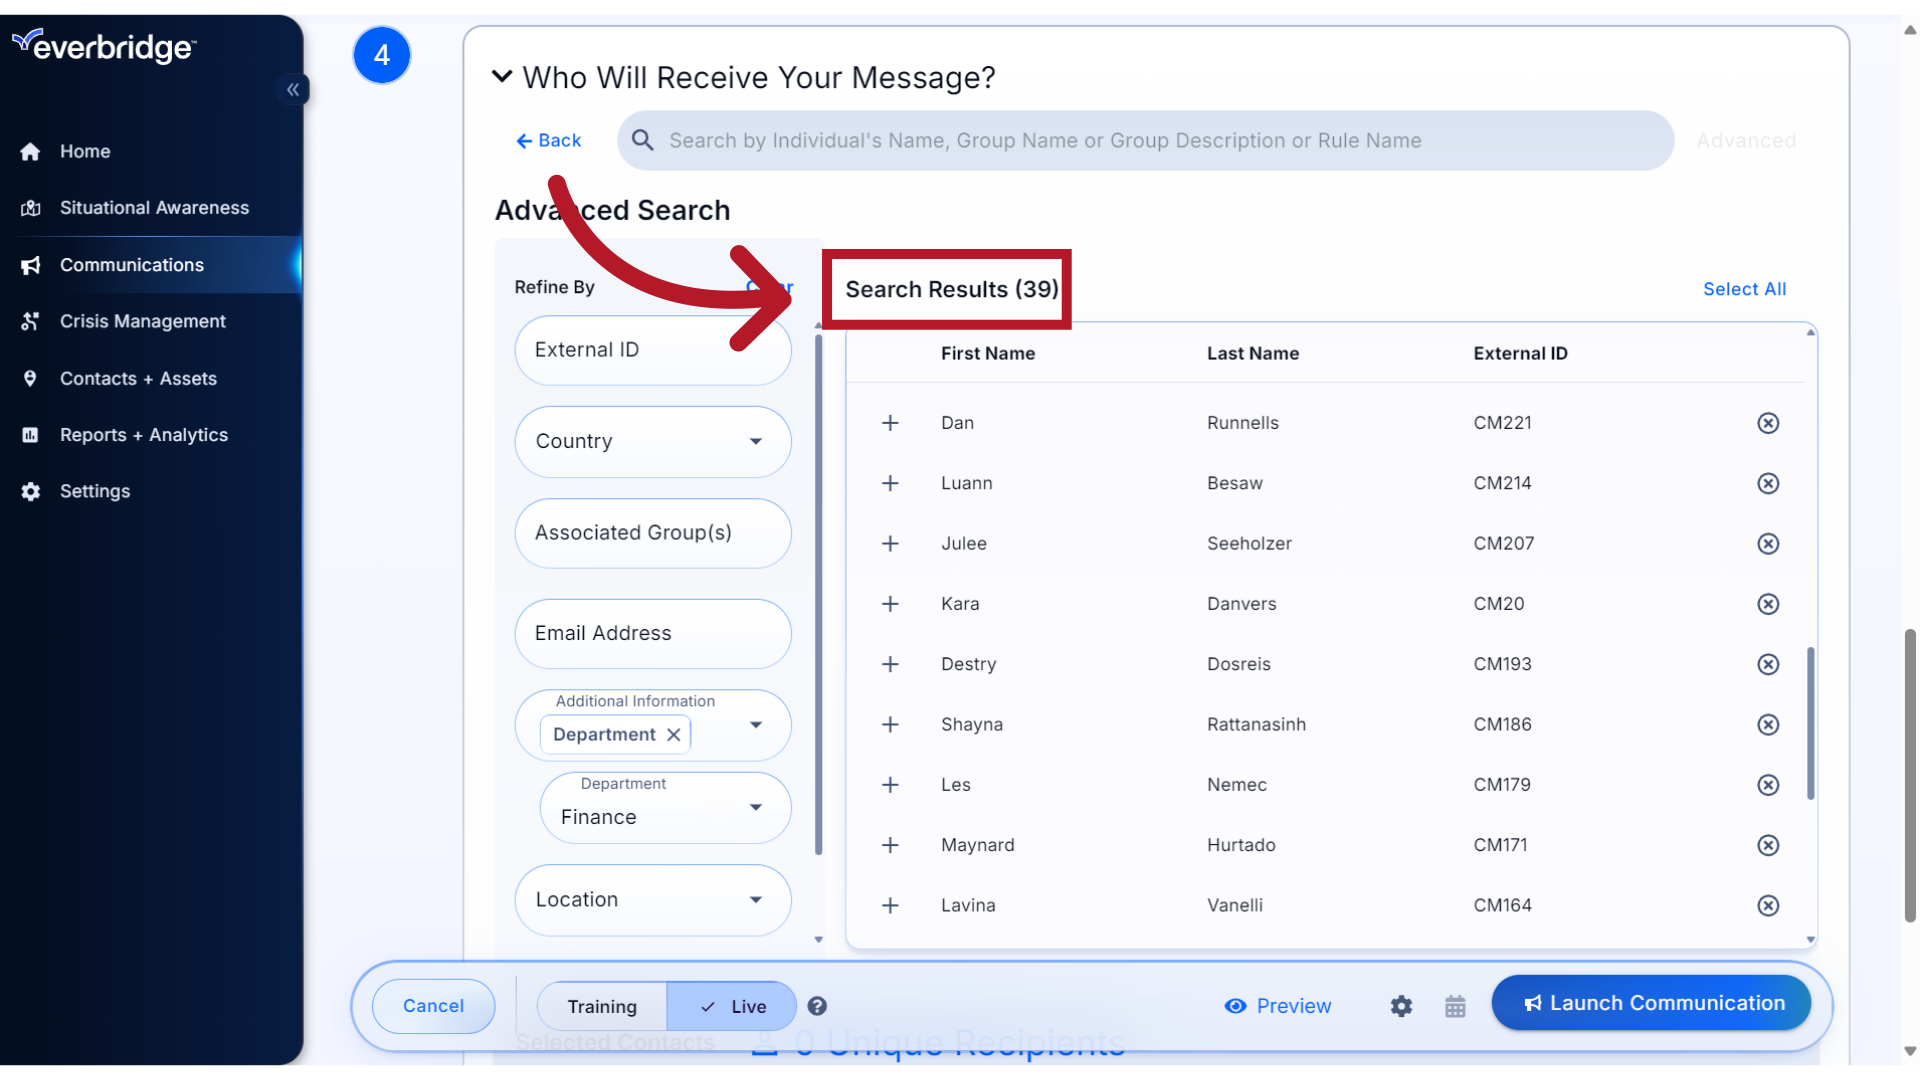
Here, we have refined our list by selecting the organization's Additional Information field for "Department" and used a filter of "Finance."

8. Search Results
The number of contacts matching your filter criteria is displayed.
9. Select
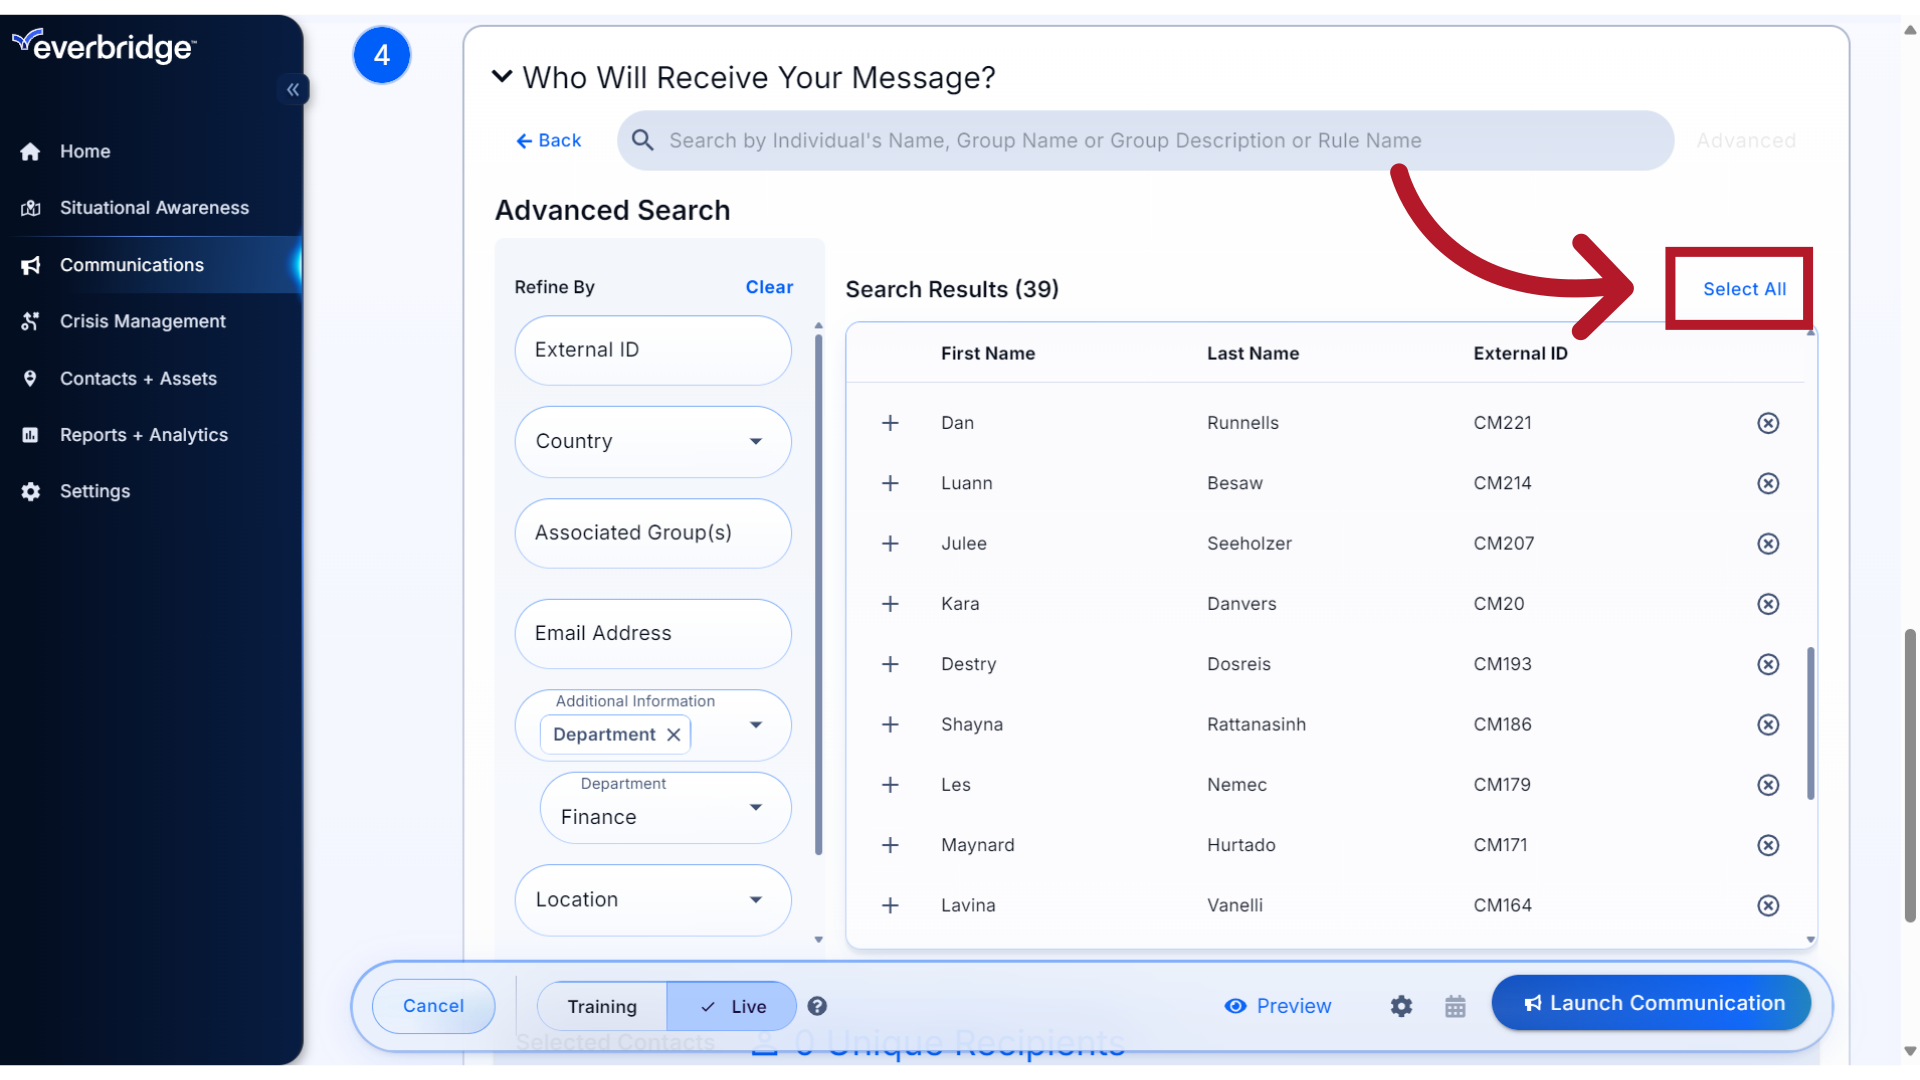
To select all contacts who were returned in the search, click Select All. Up to 200 contacts can be selected at a time.
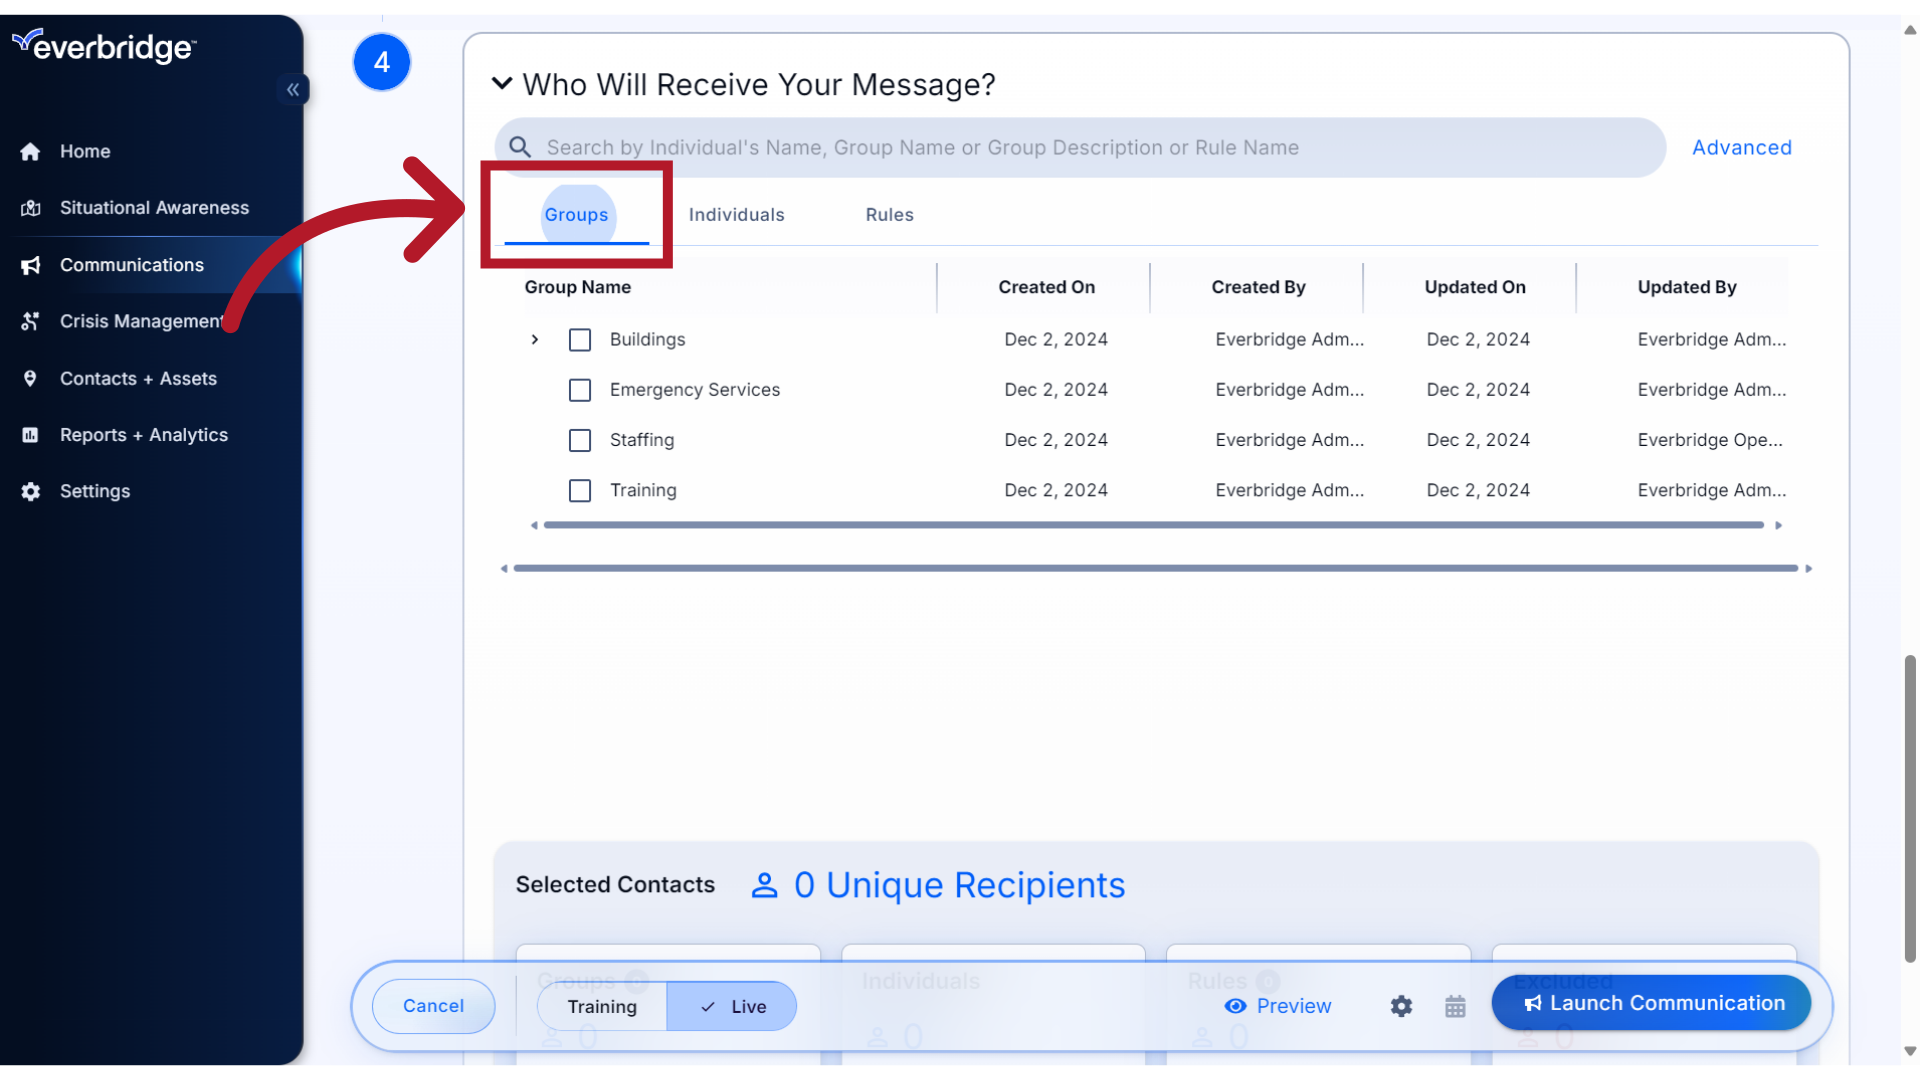
10. Groups
You can also select directly from your organization's Groups,
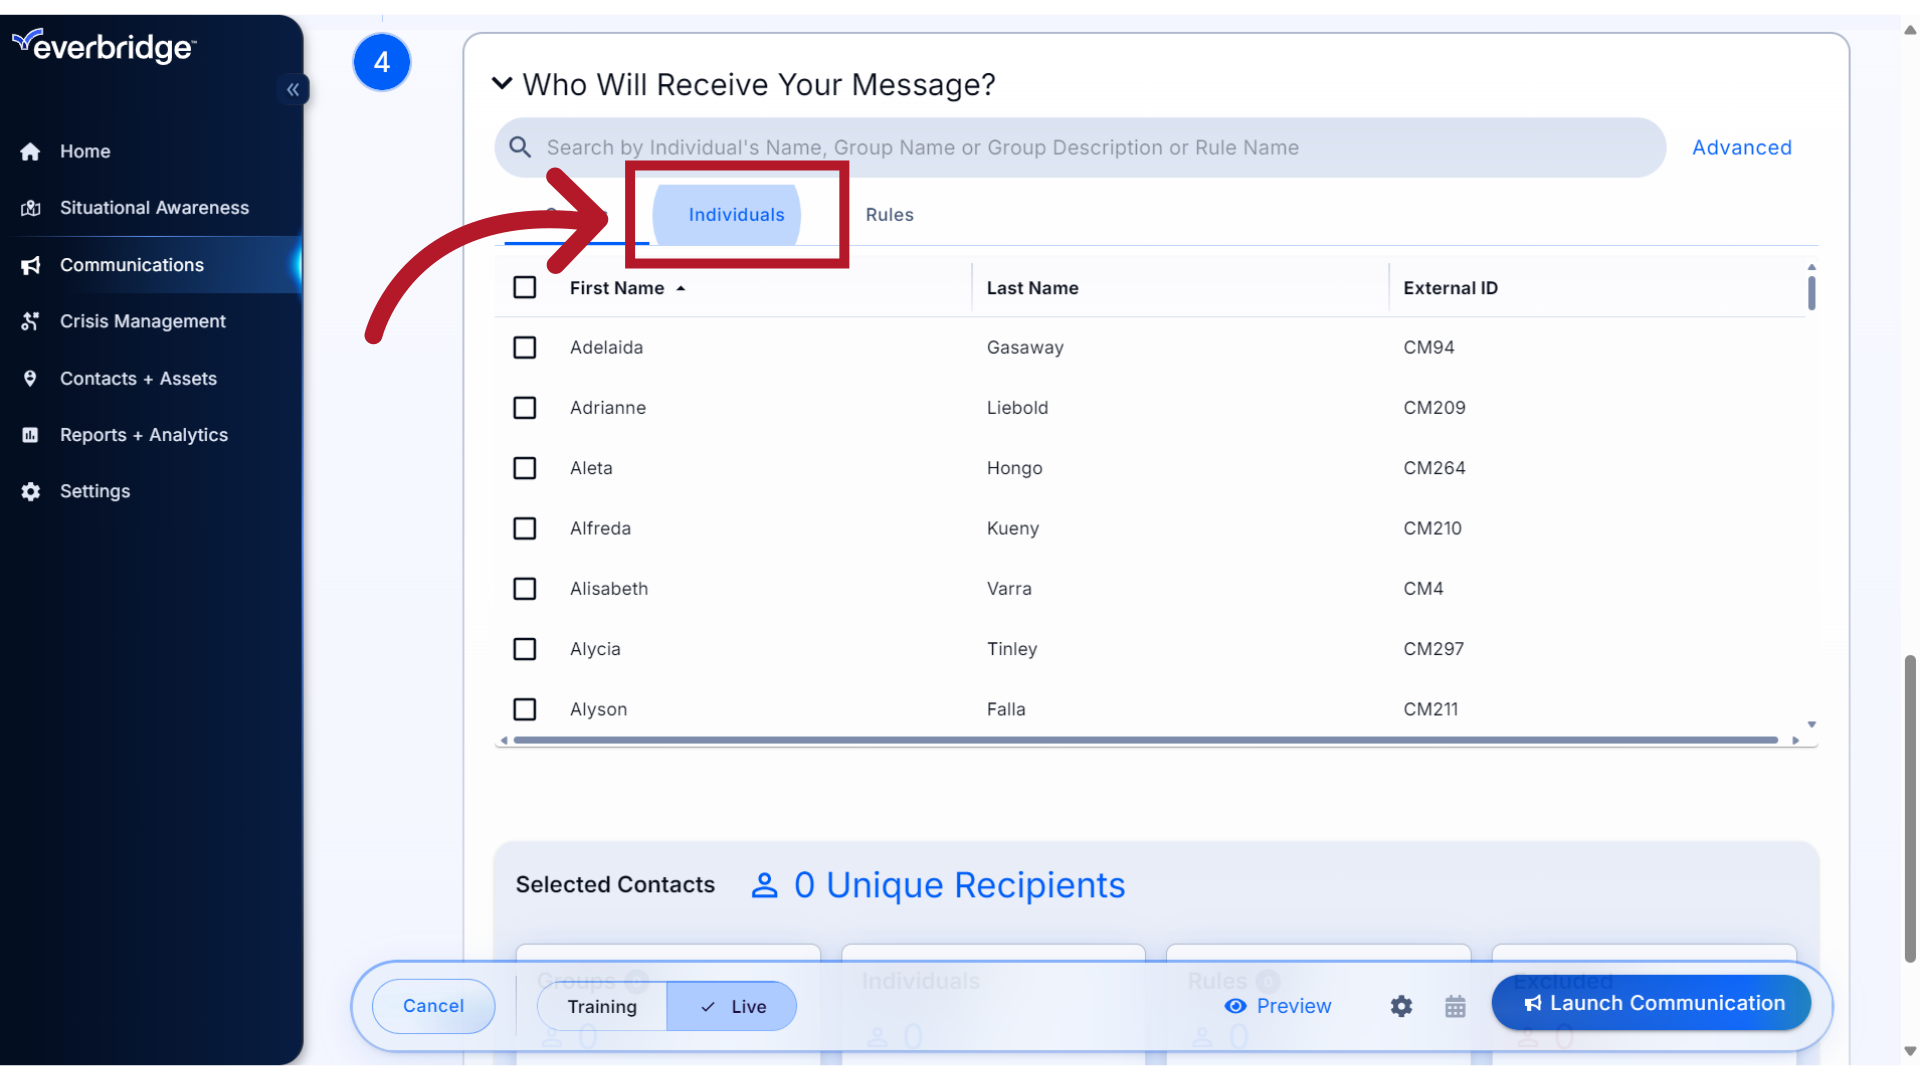
11. Individuals
Individual contacts,
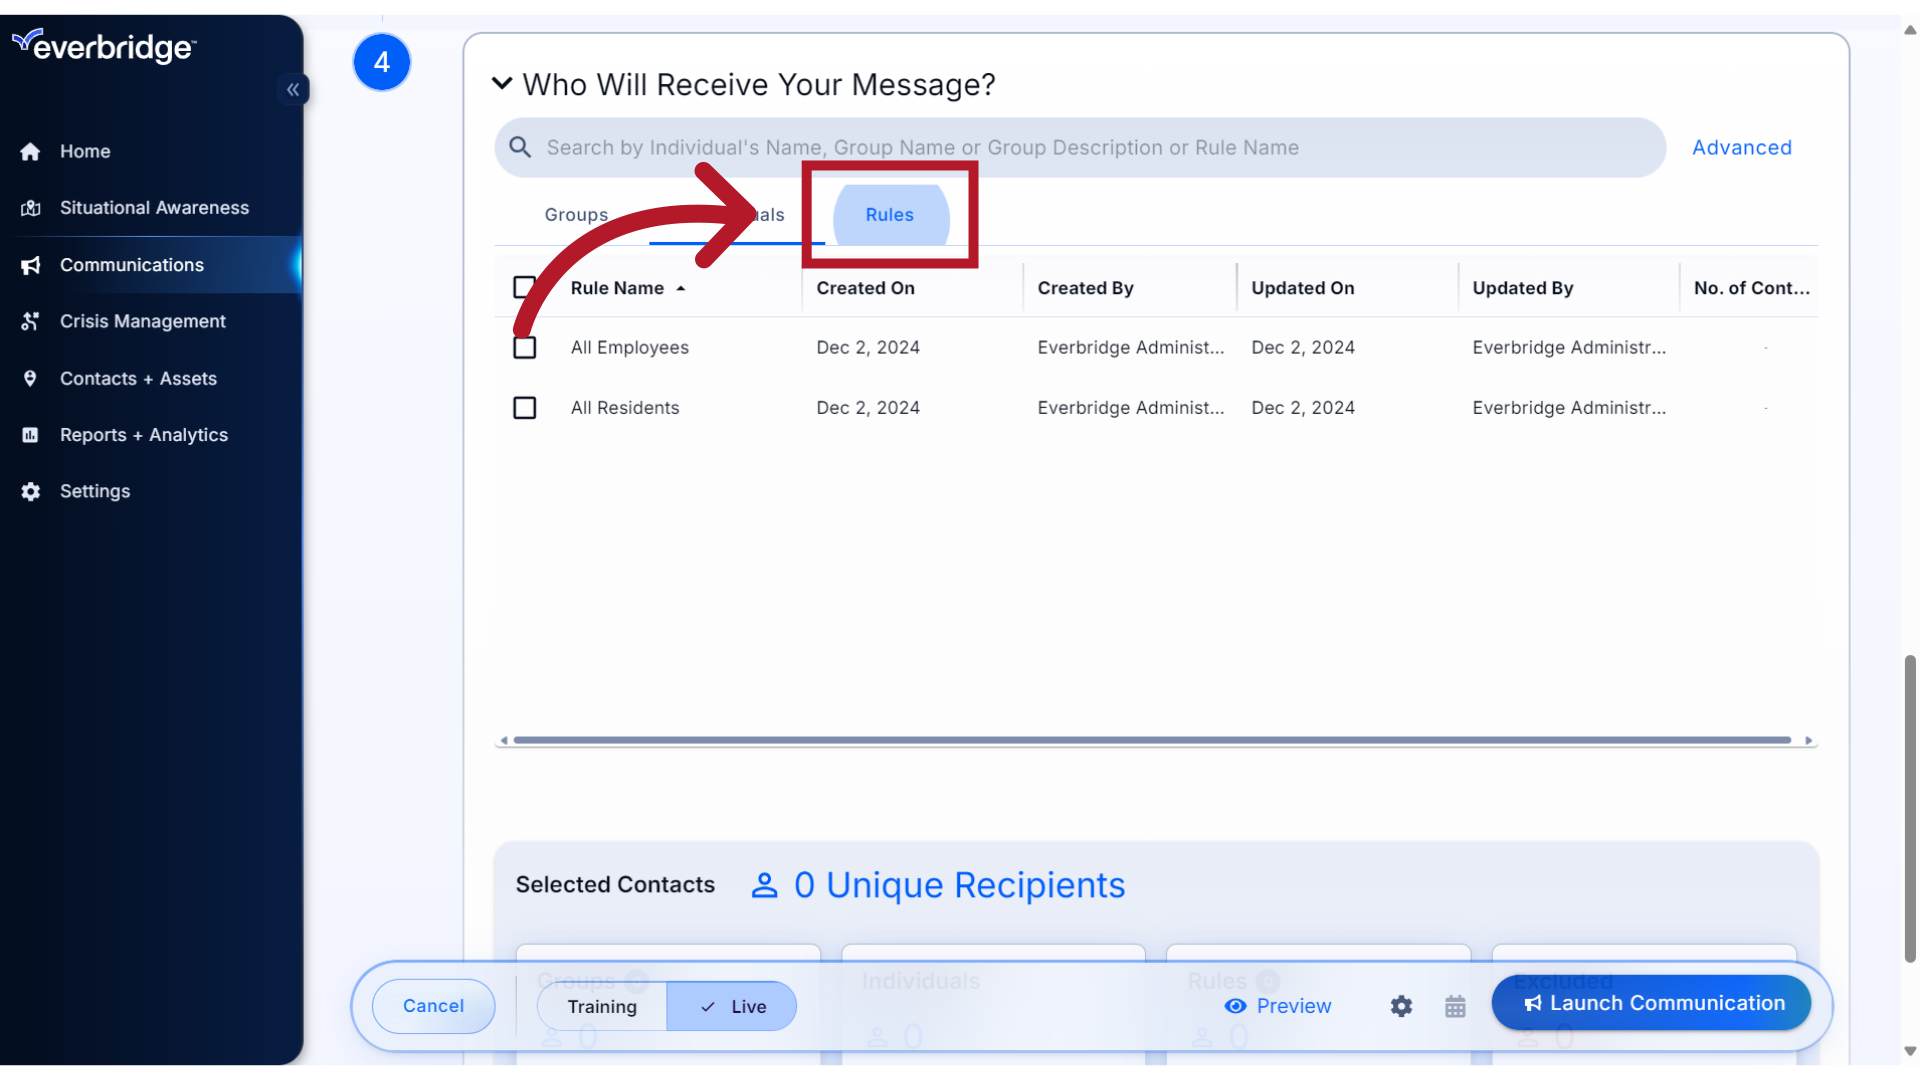
12. Rules
and Rules.
13. Select
For this example, we will select the Training group.
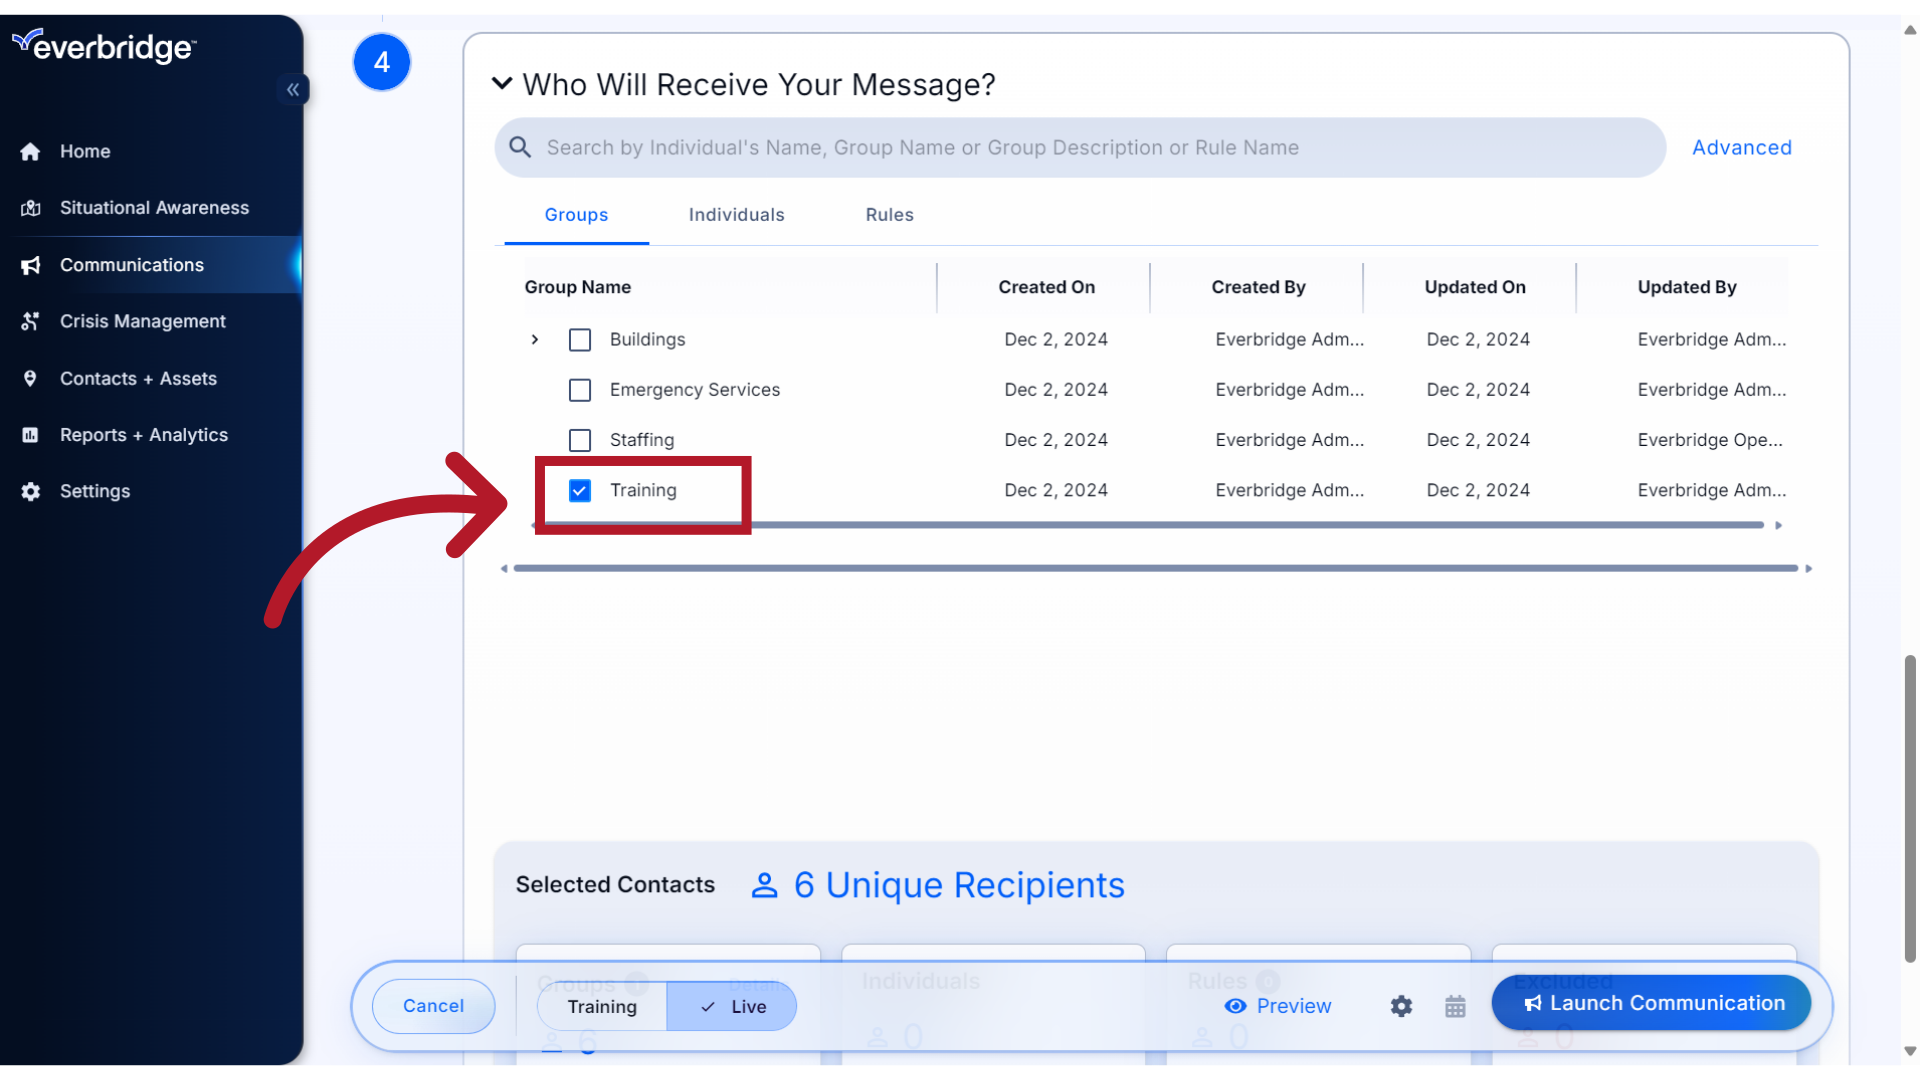
14. Selected Contacts
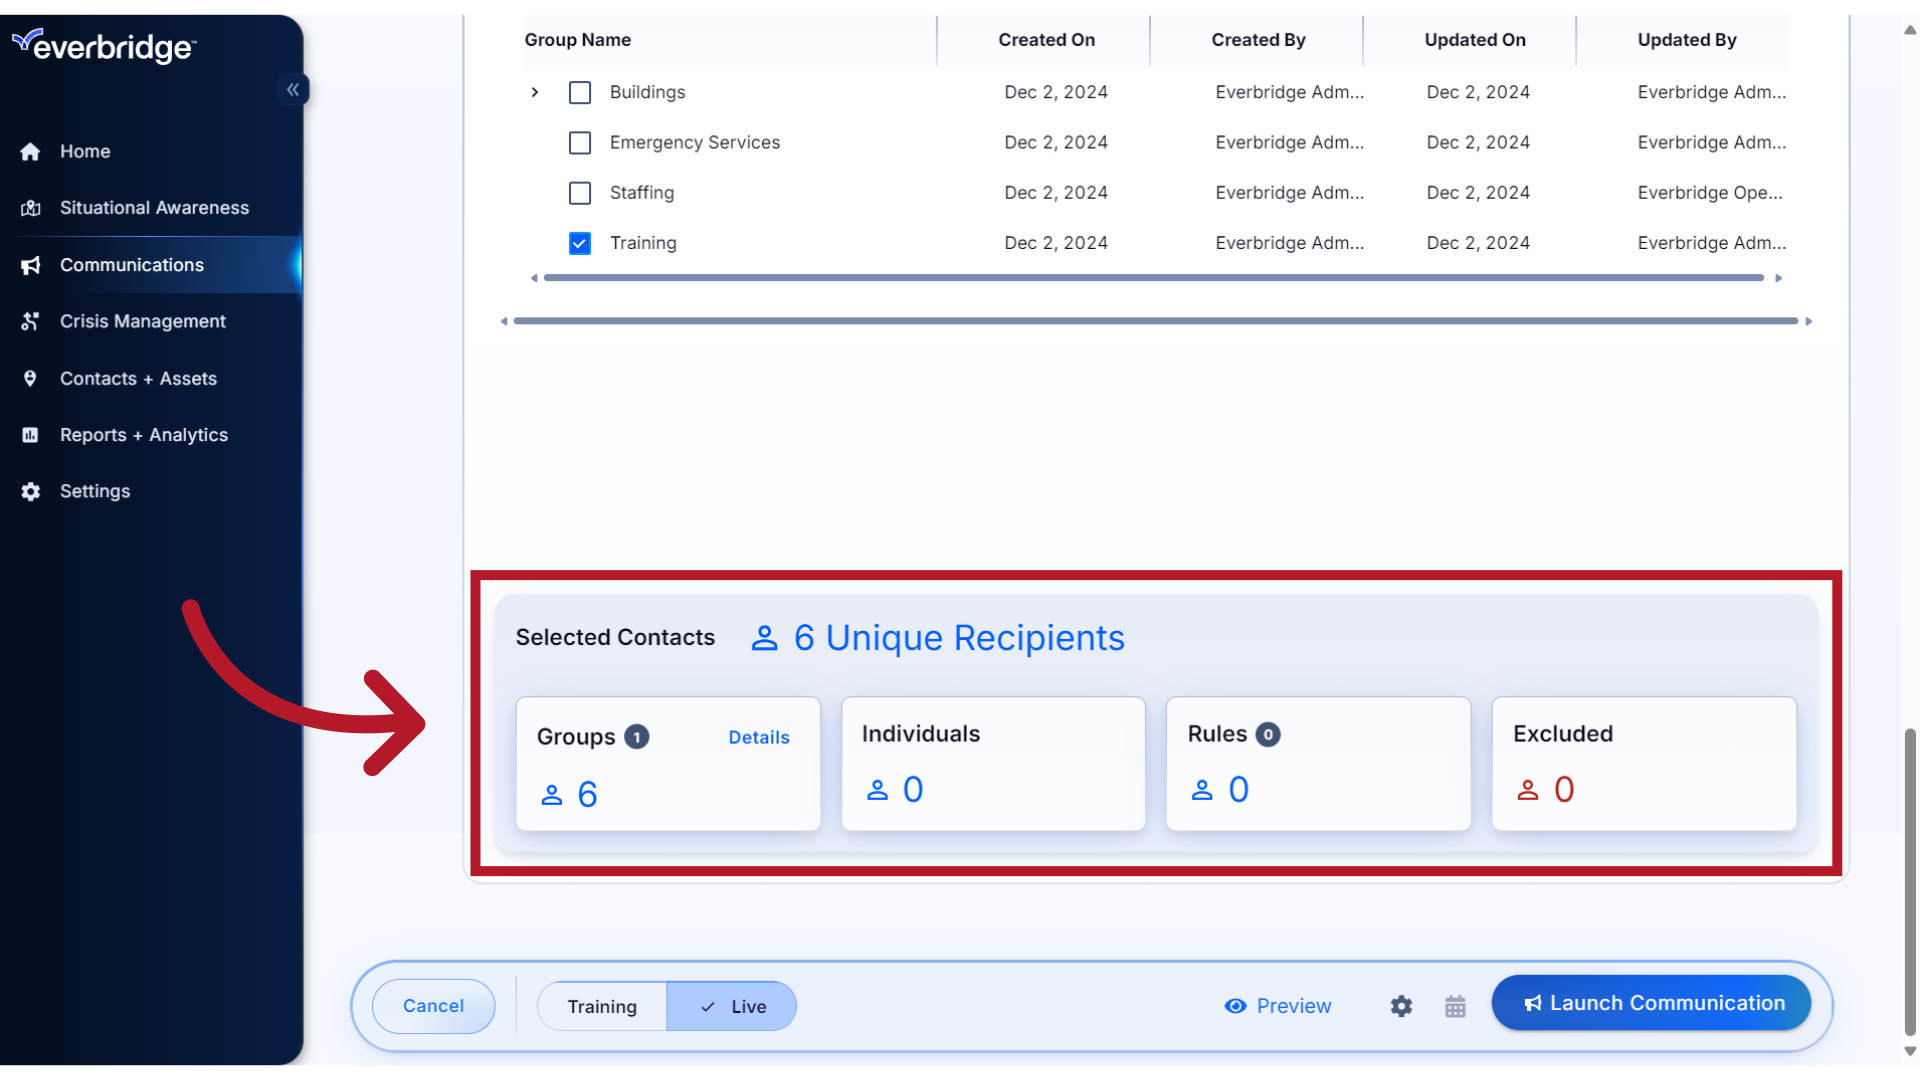
One you have made your selection, the count of Selected Contacts will display.
15. Details
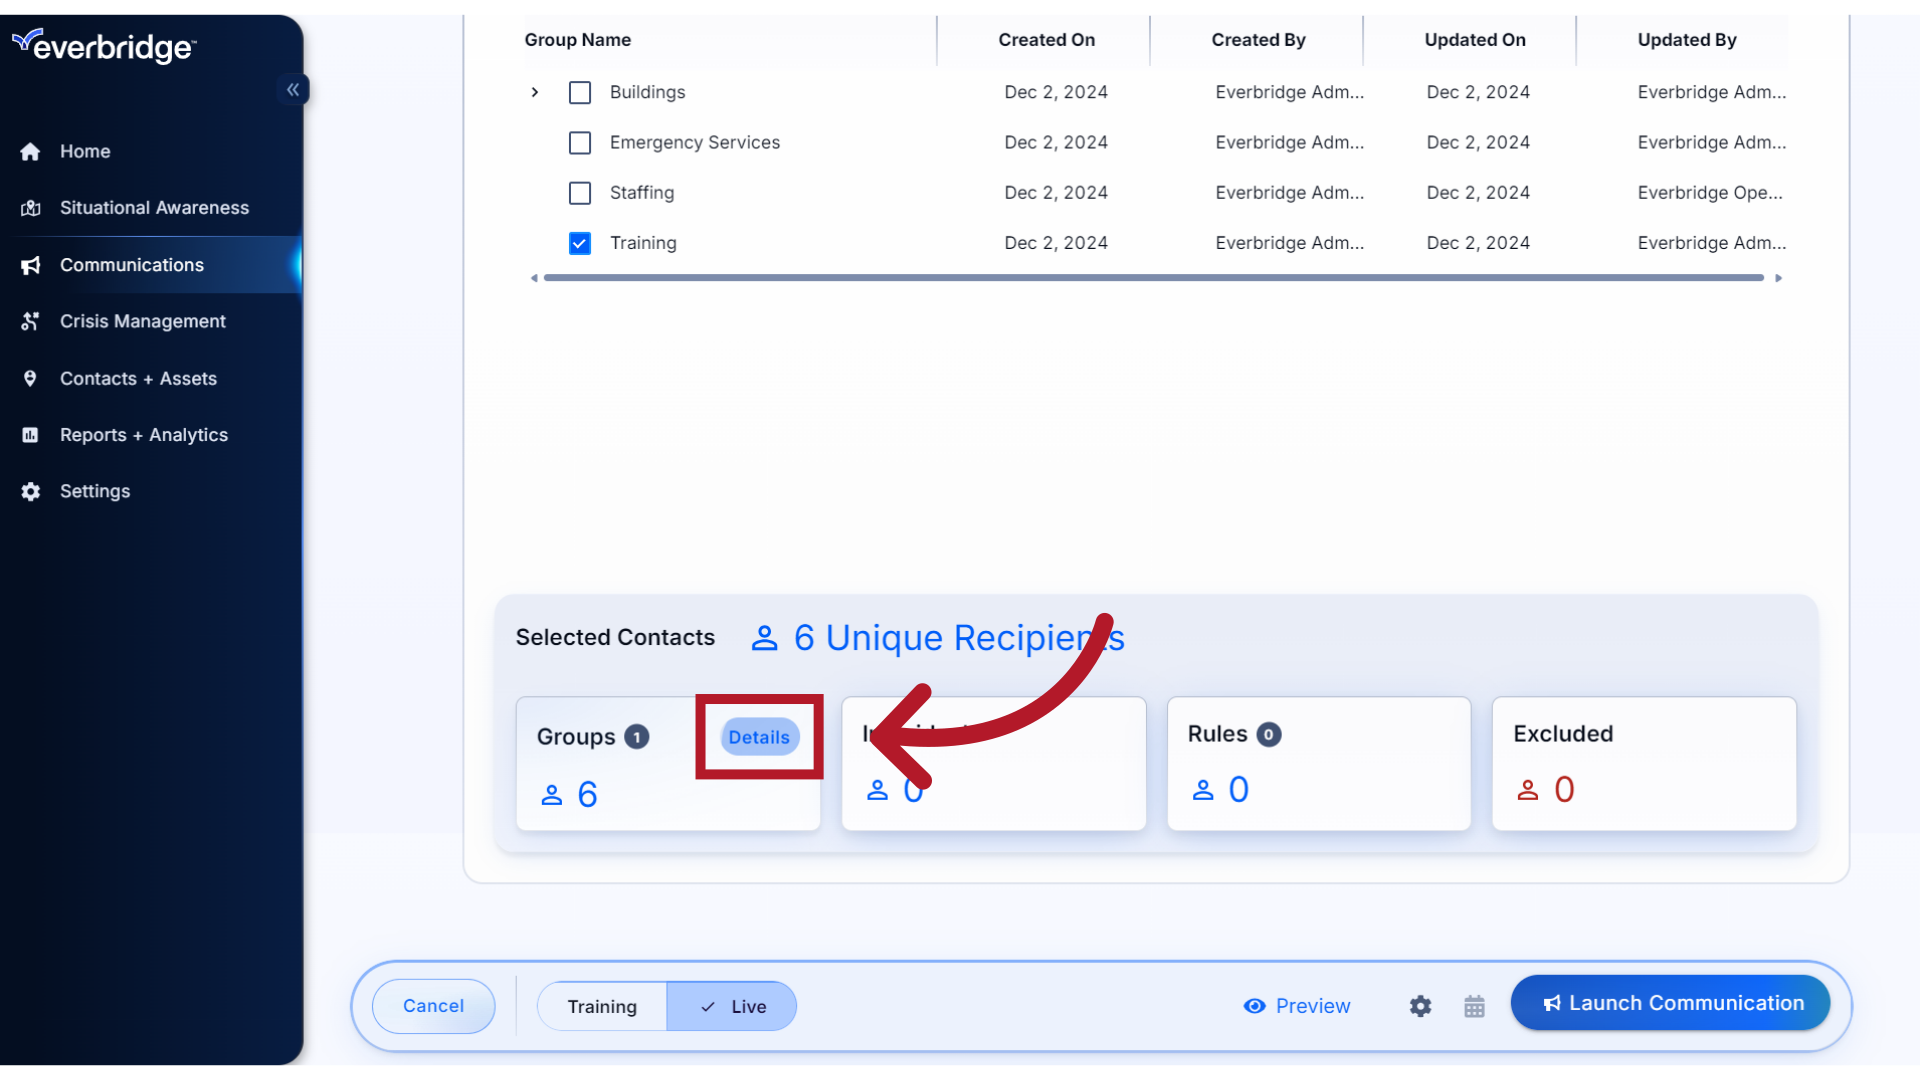
If you wish to view who the unique recipients are, click Details.
16. View
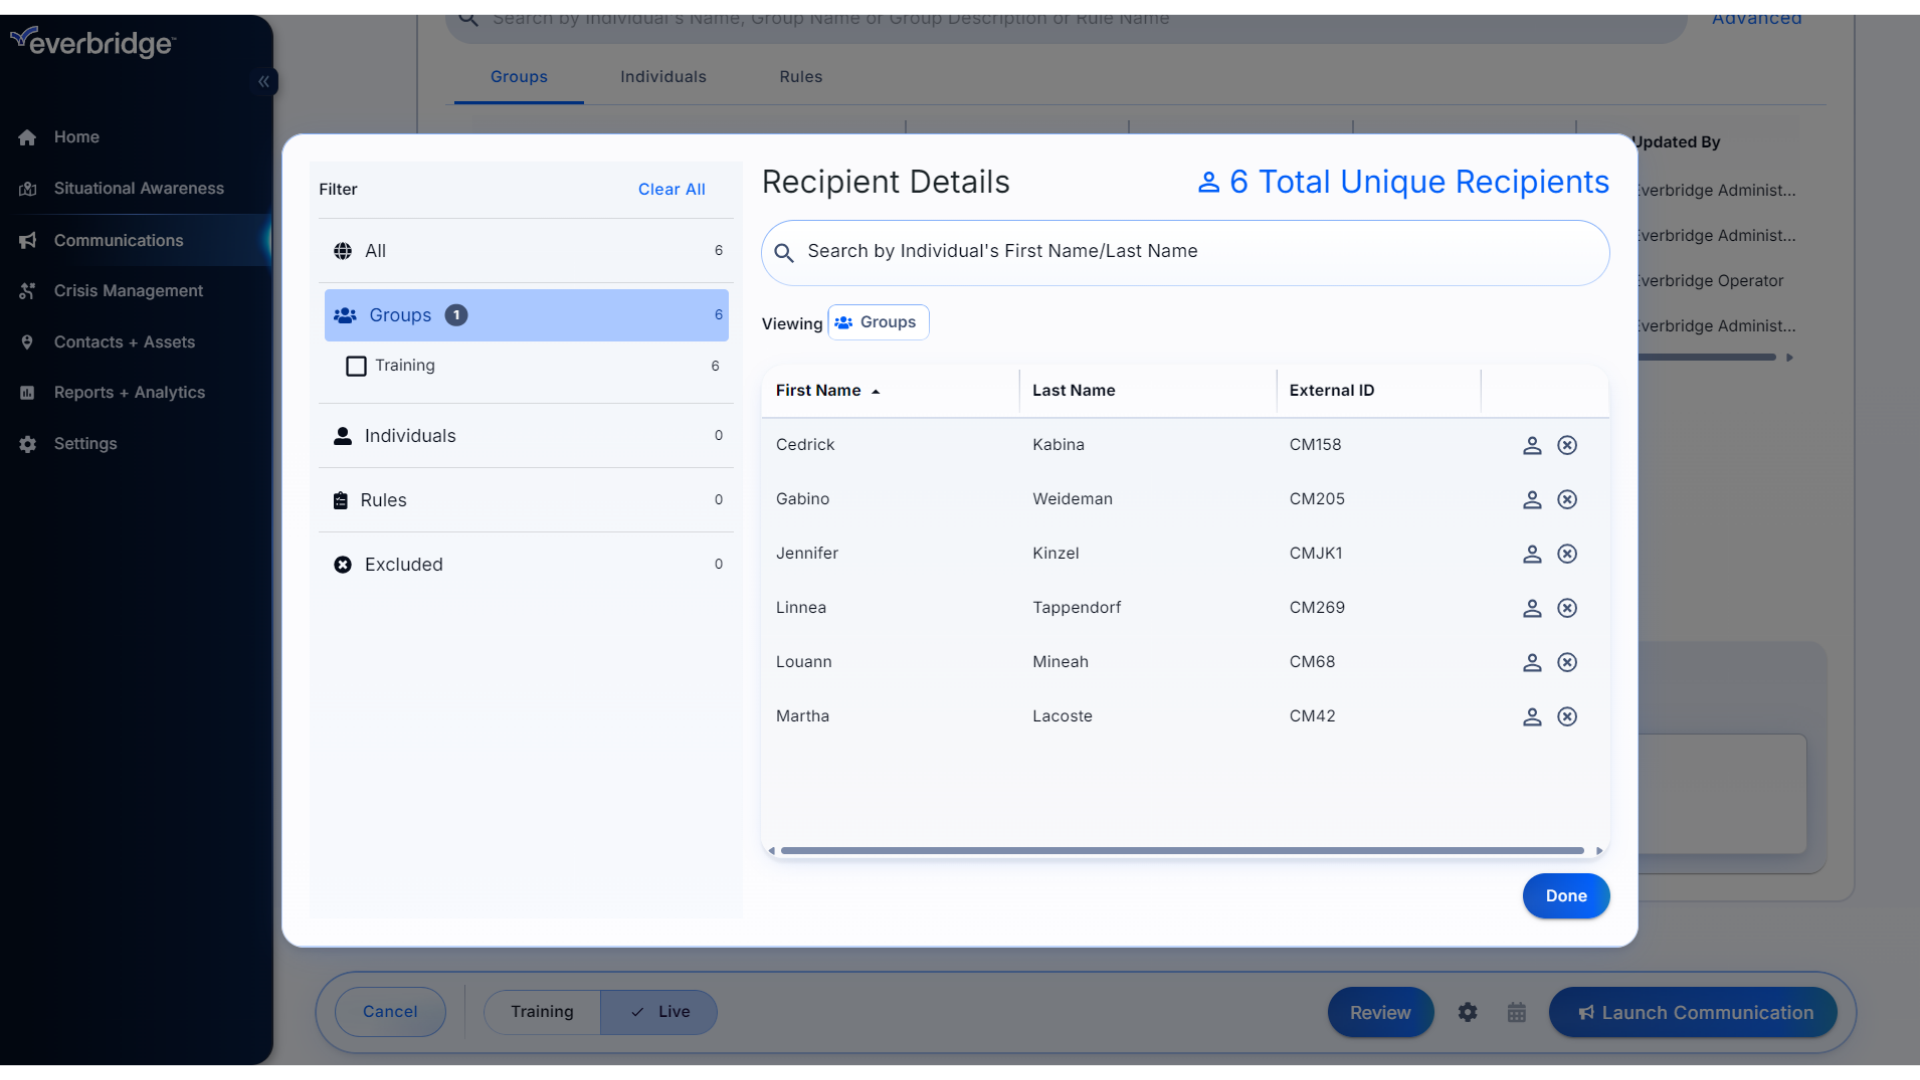
This will open a window where you can view the details of your selection.
17. Exclude
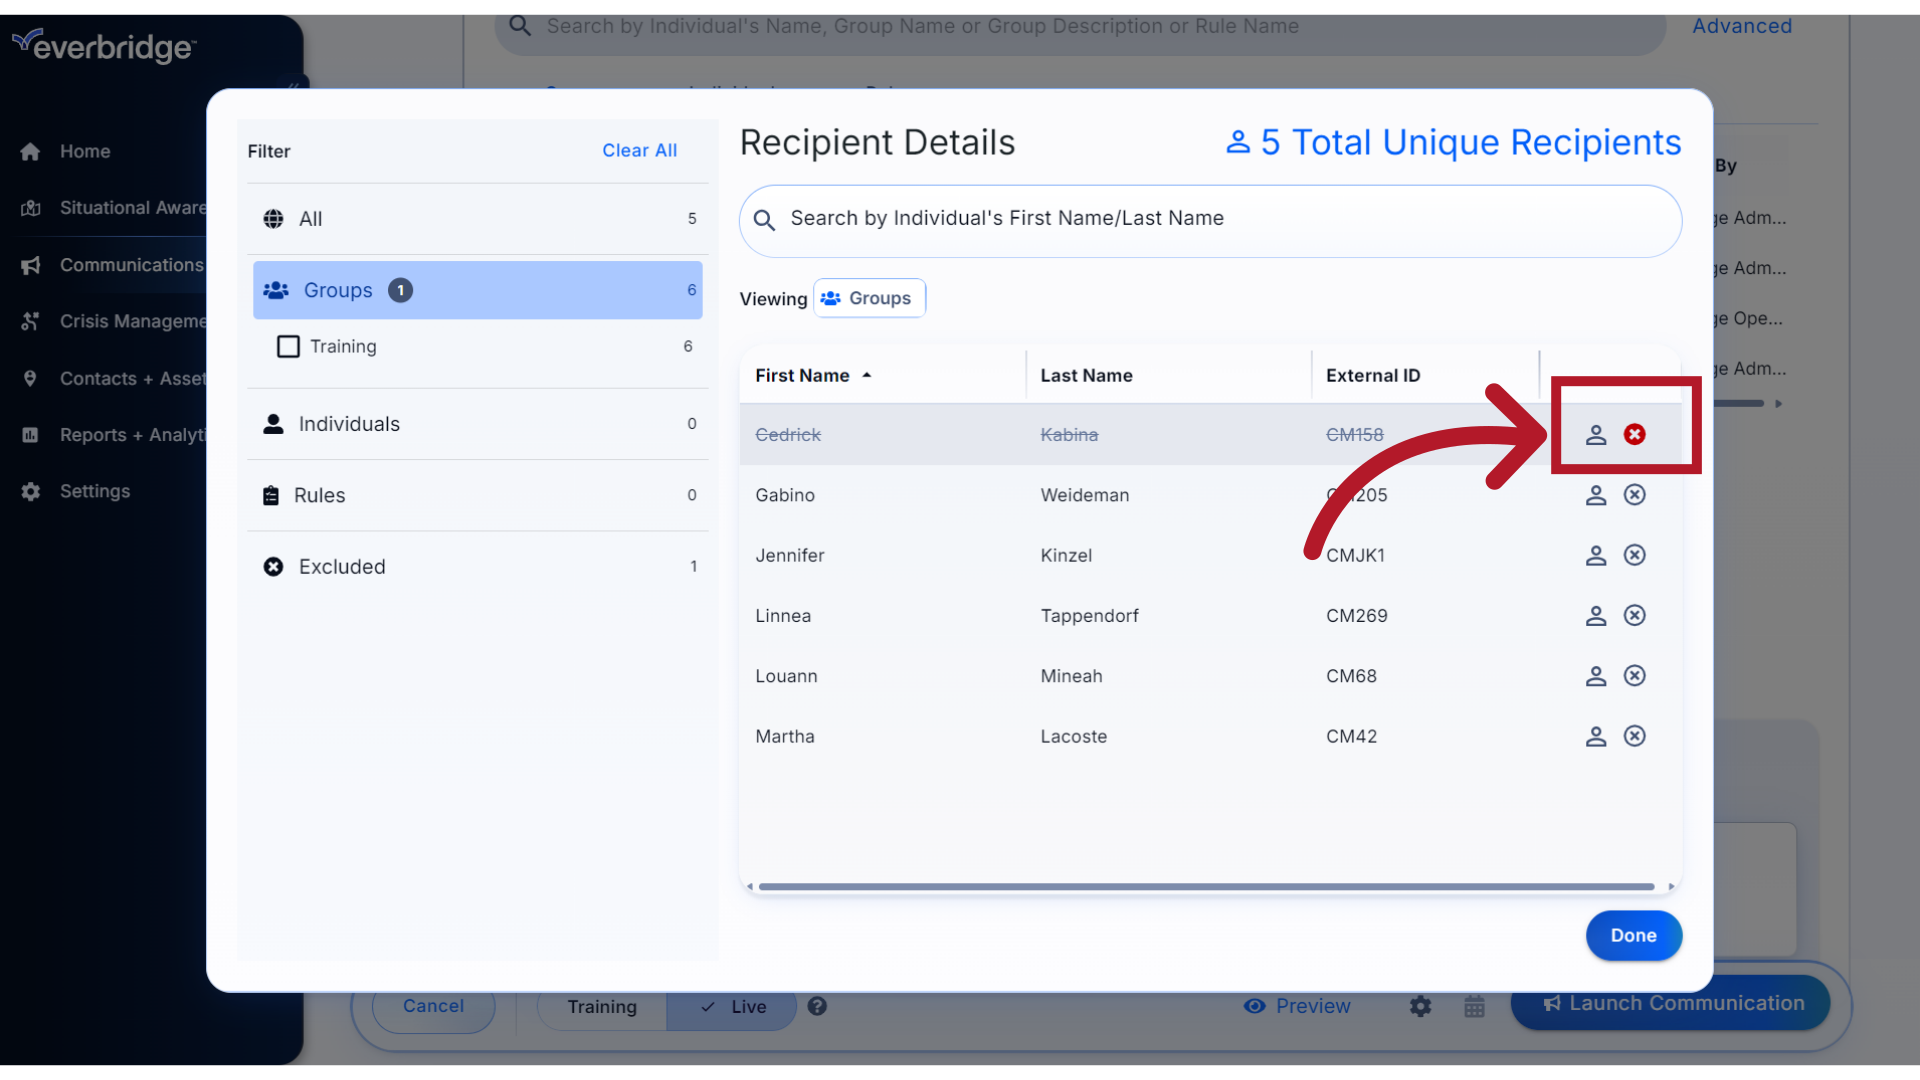
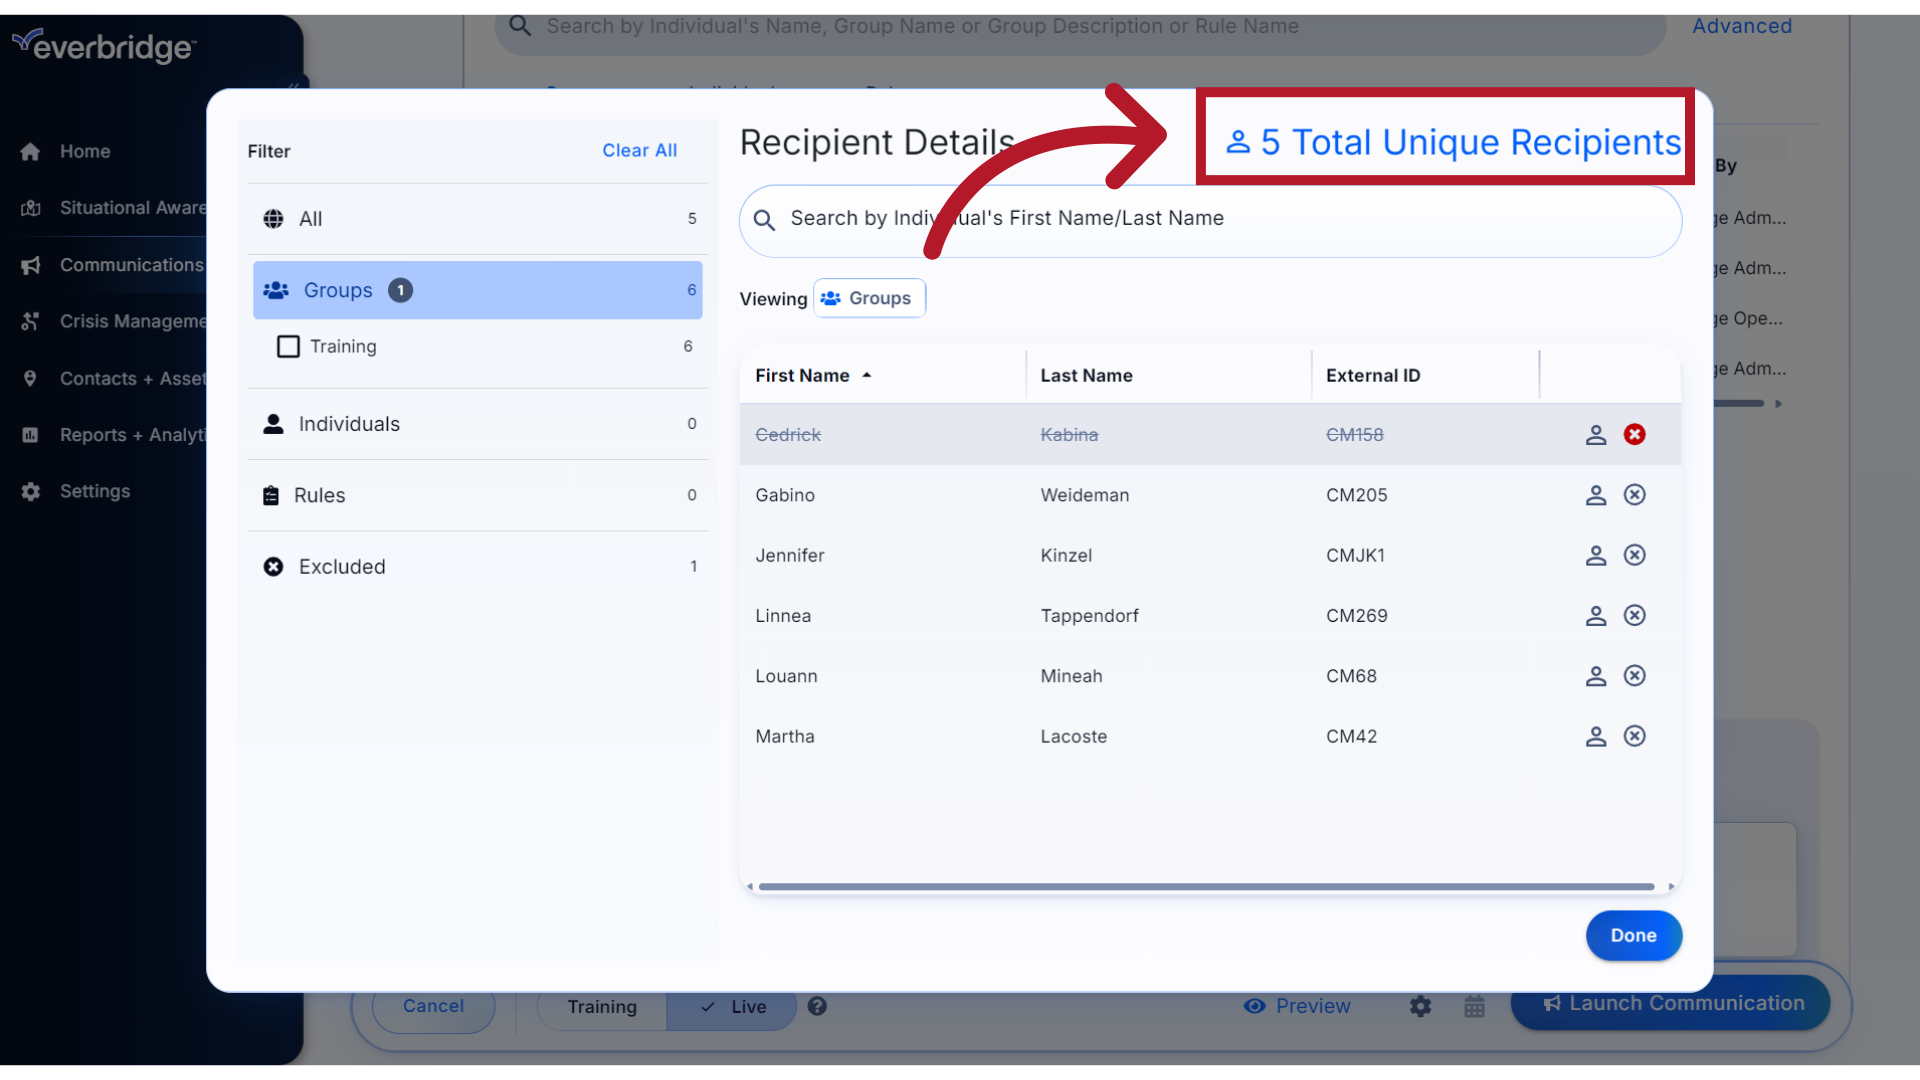
Communications provides the option to Exclude one or more individual recipients from your selection. For example, if you have selected a Group but are aware that someone in the Group is out on leave and does not need to receive the message, simply click the "X" to the right of their record to exclude them. This does not remove them from the Group; it just prevents them from receiving this specific message.
18. Total
The number of Total Unique Recipients for this Communication will update to reflect the exclusion.
19. Done
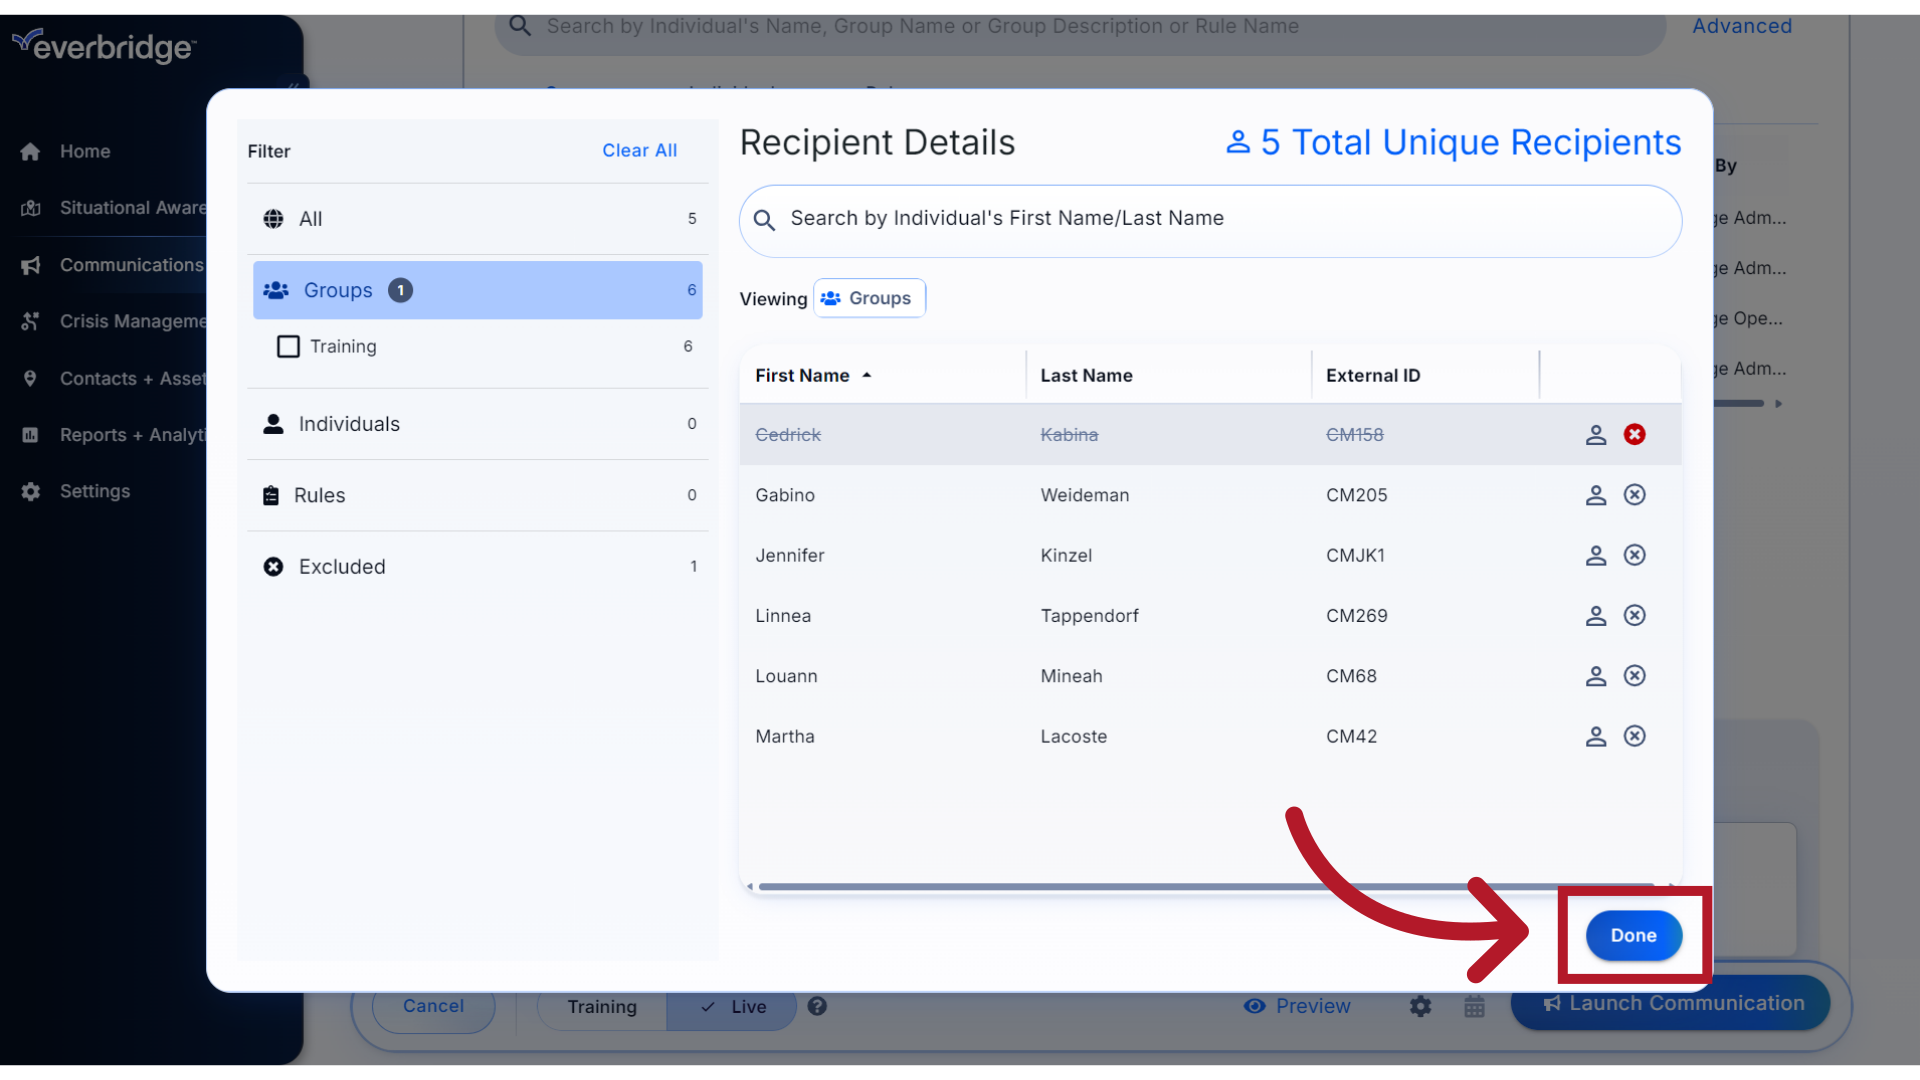
Click Done to return to the form.
20. Count
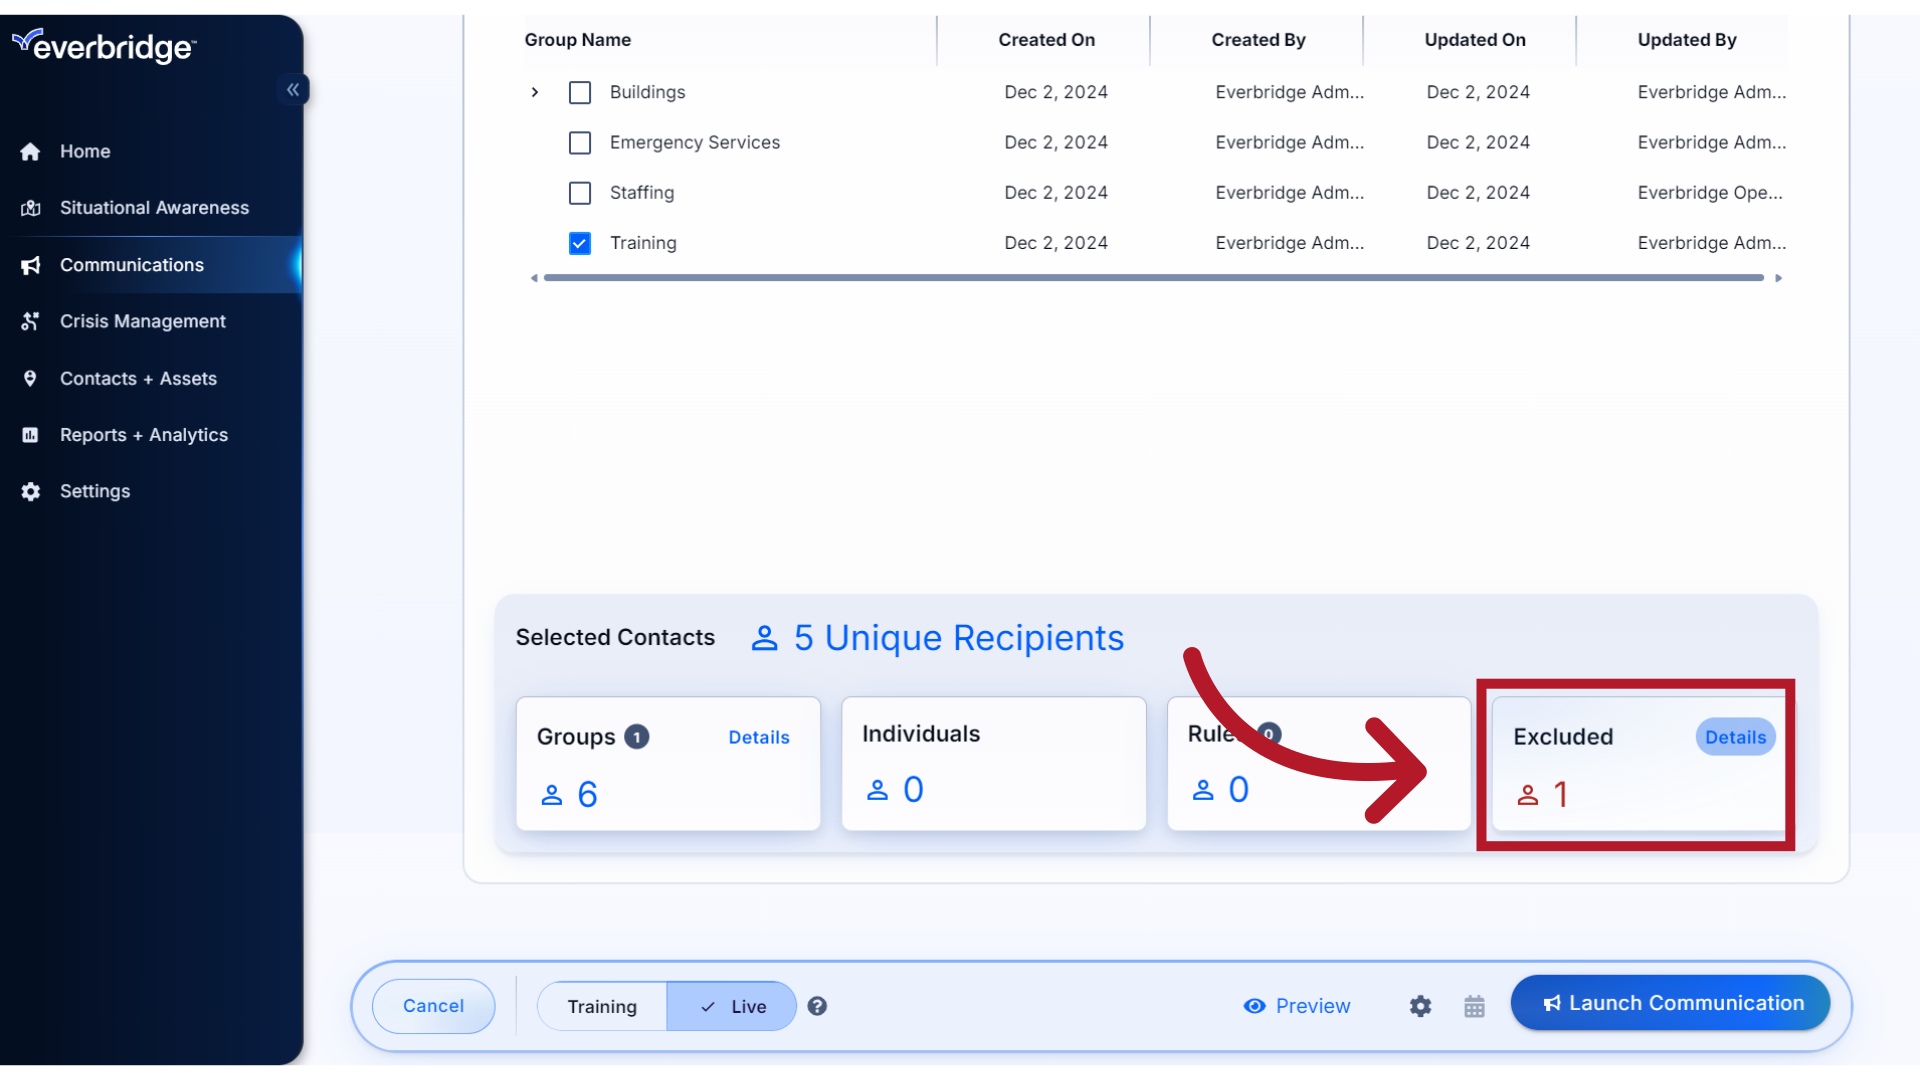
When any recipients have been excluded, you will also see the count within the Selected Contacts window when you return to the form.
21. Launch
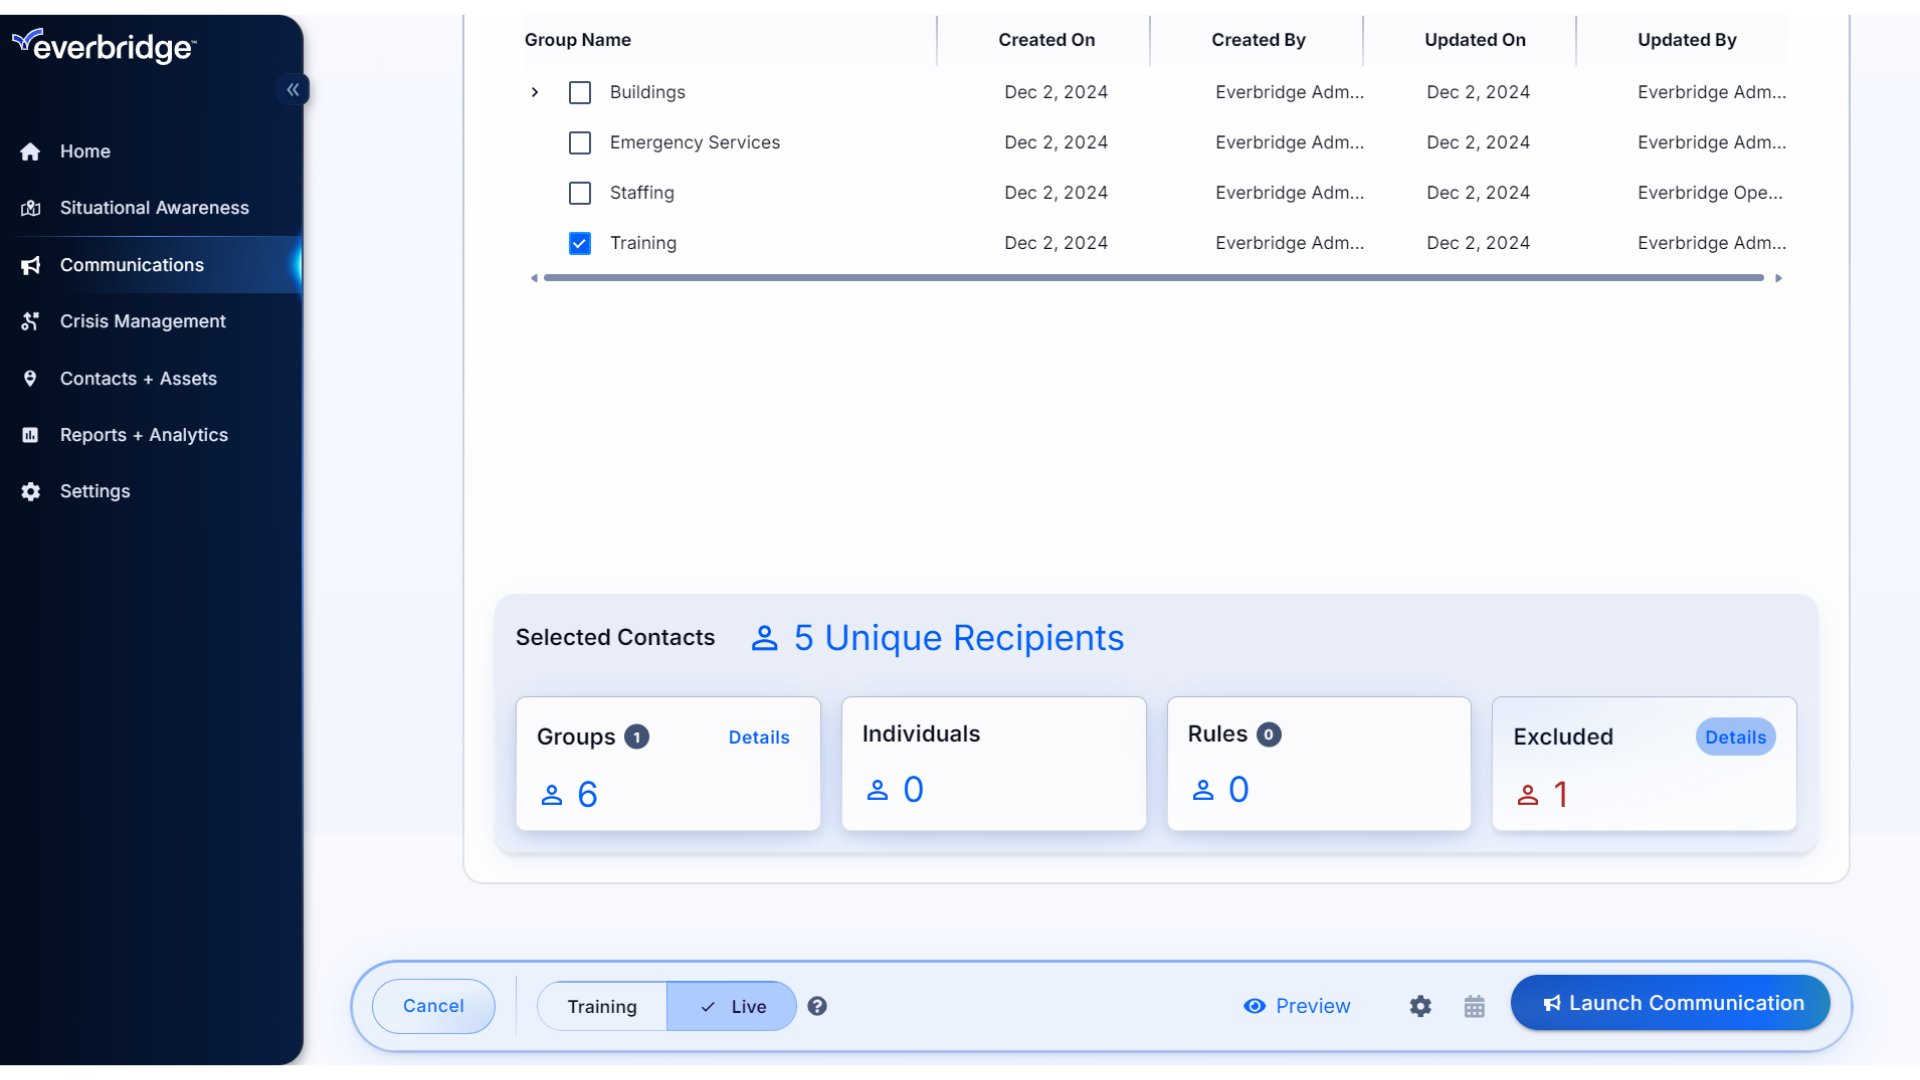
You are now ready to Preview and Launch your Communication.
22. Help
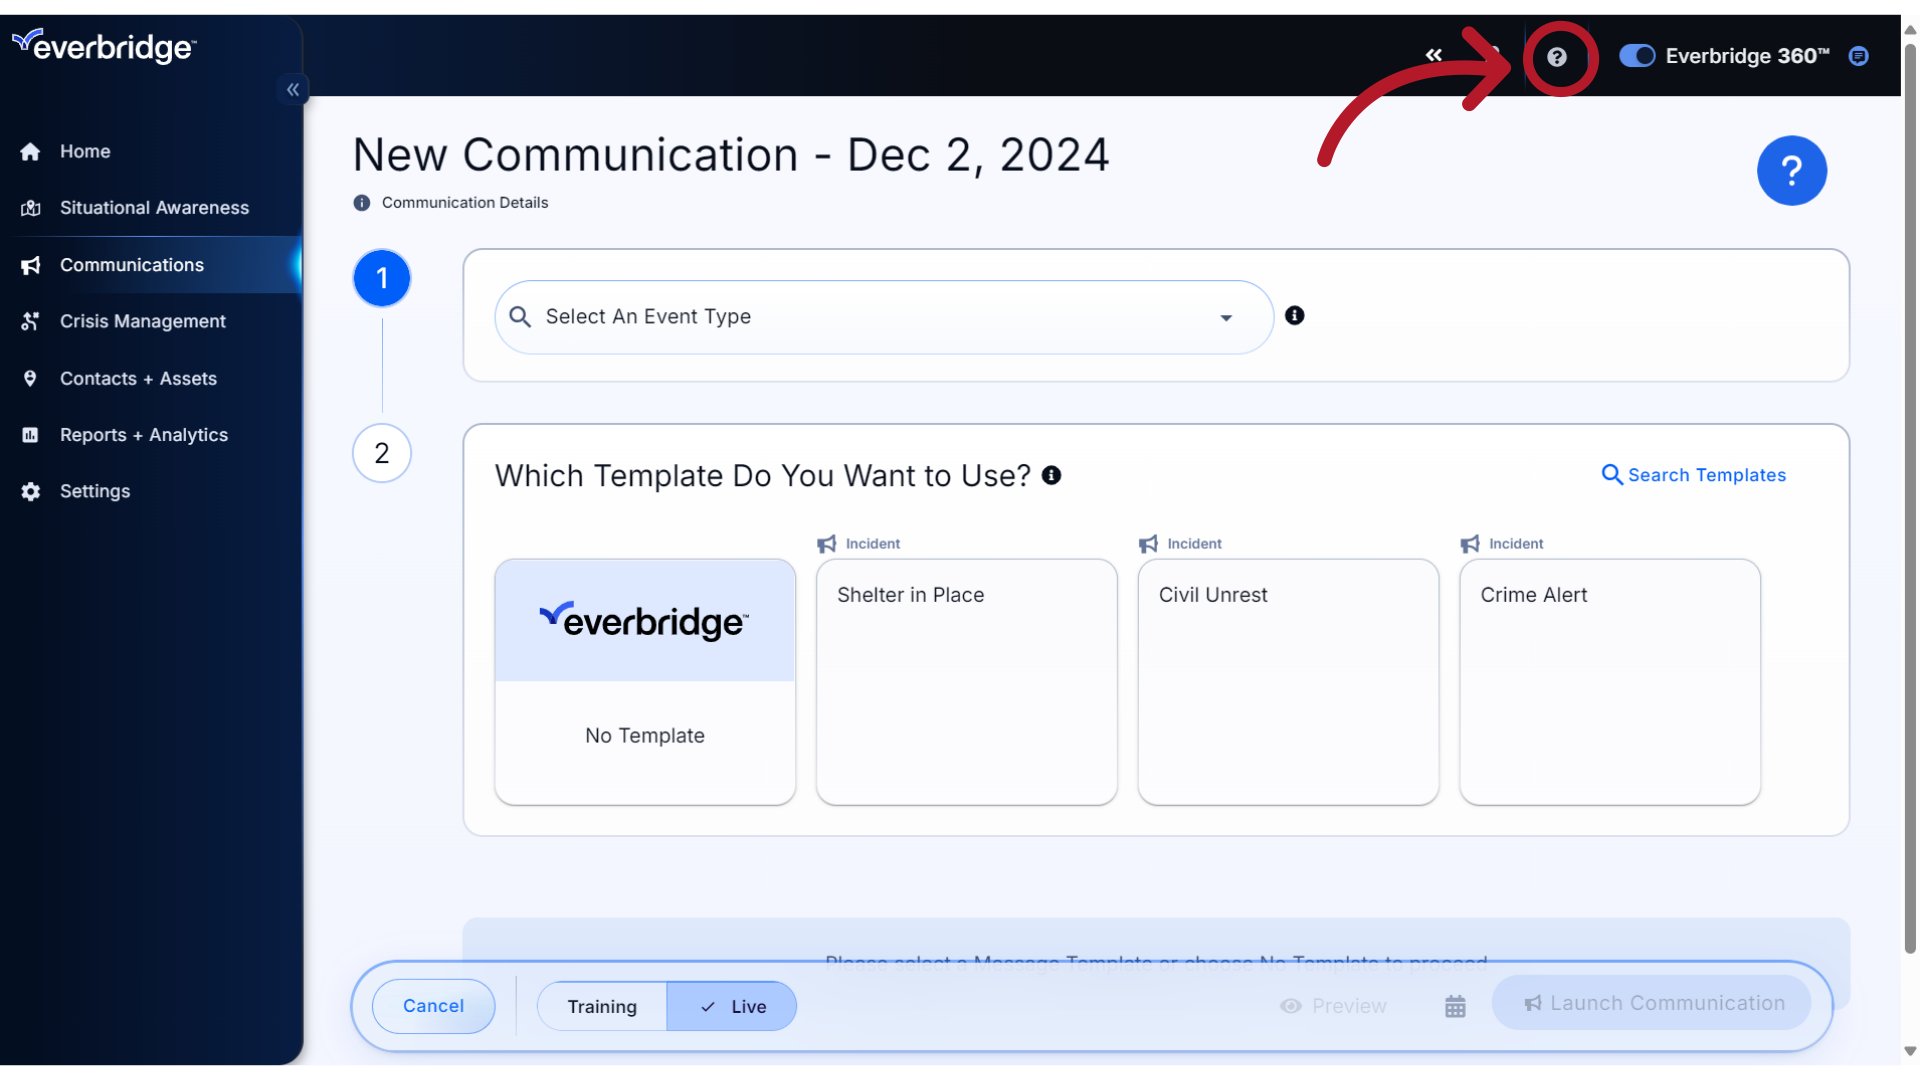
For more information about any of the fields or selections shown in the Communications form, click the icon to access Online Support.
Through this guide, you have learned how to incorporate the options that are available for selecting recipients for your Communication. Thank you for watching!