Topic
Inviting Contacts to register for a Private Member Portal in Everbridge Suite.
Description
Once you have configured your Private Member Portal, you are ready to invite Contacts to register for the portal. See knowledge article EBS: Configuring Private Member Portal Settings in Everbridge Suite for more information on configuring Private Member Portal settings.
Note: If you have the Everbridge Mobile App (EMA) exposed as a delivery method in the Private Member Portal, the user interface for inviting Contacts will differ slightly. Screenshots for both are illustrated below.
This guidde walks you through the steps of inviting contacts to register for the Private Member Portal once it has been configured.
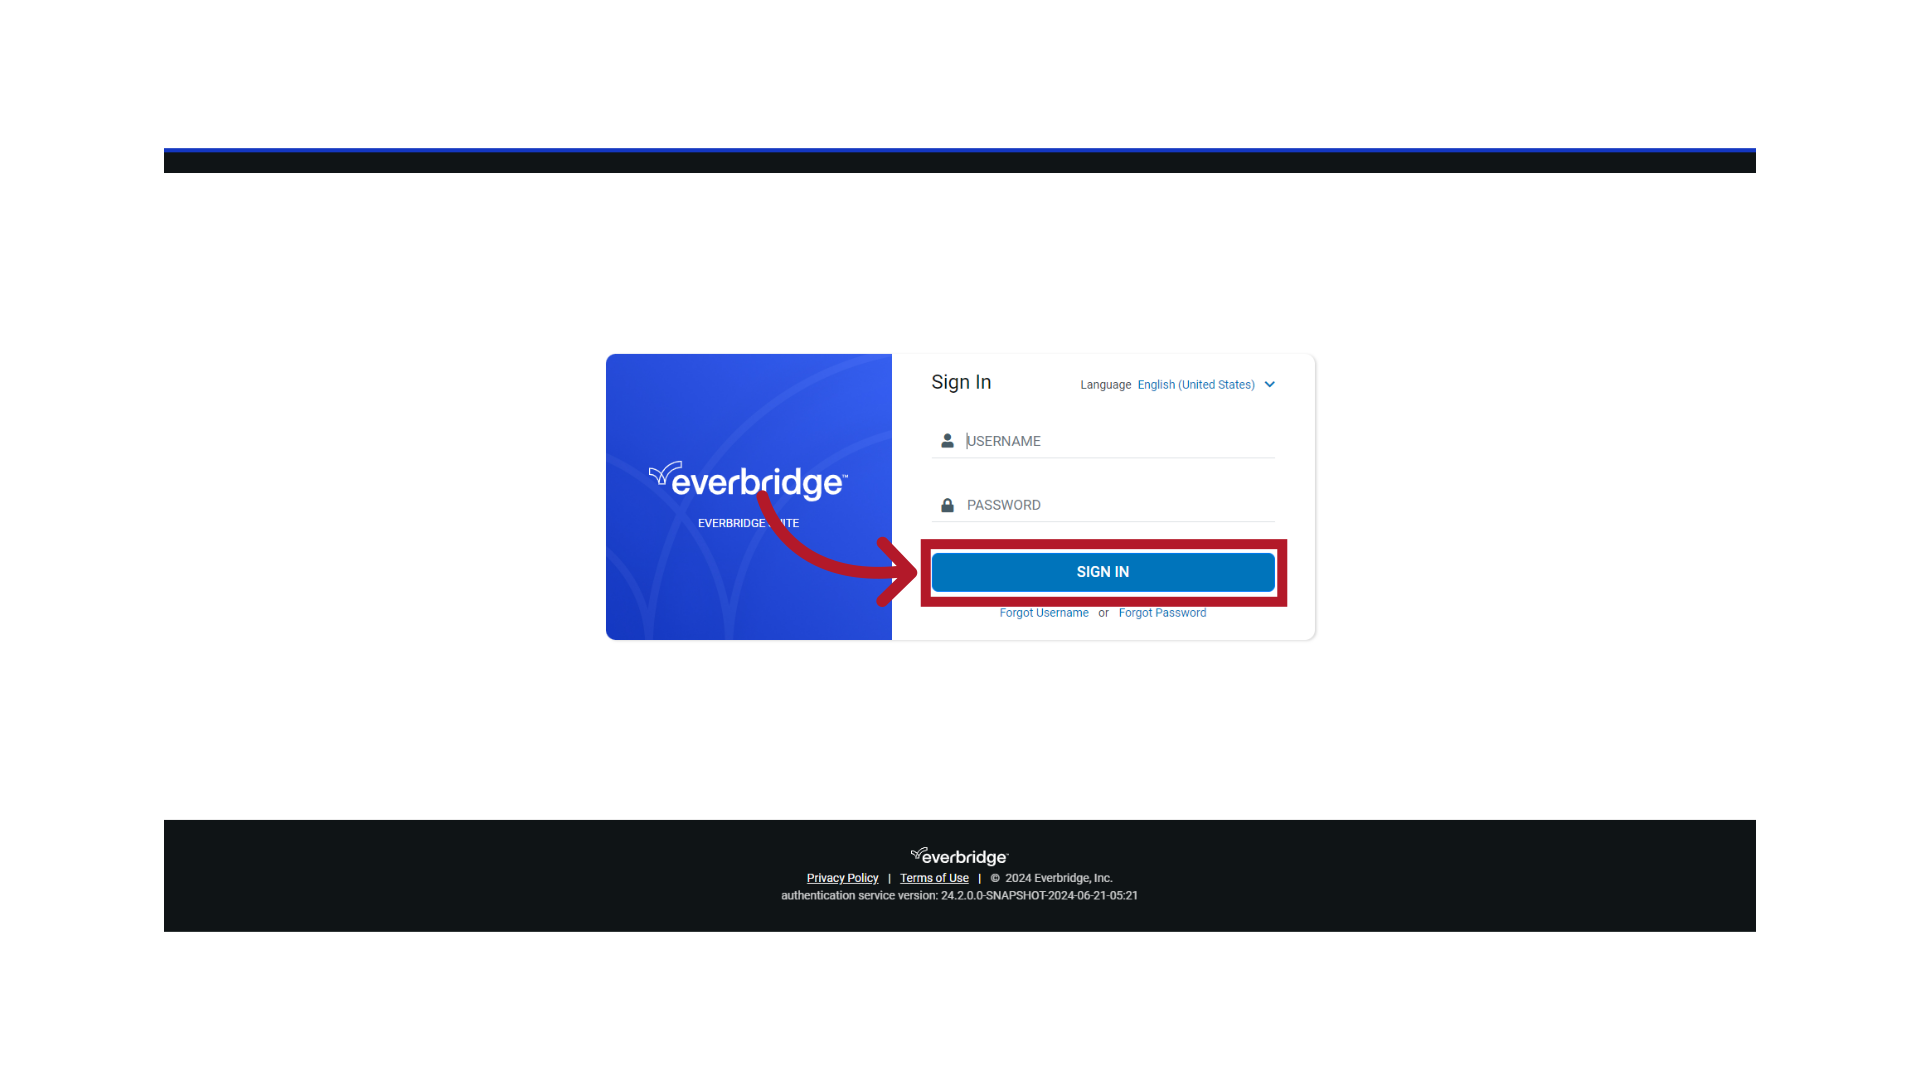
1. Login Page
Sign in to the Manager Portal and select your Organization.
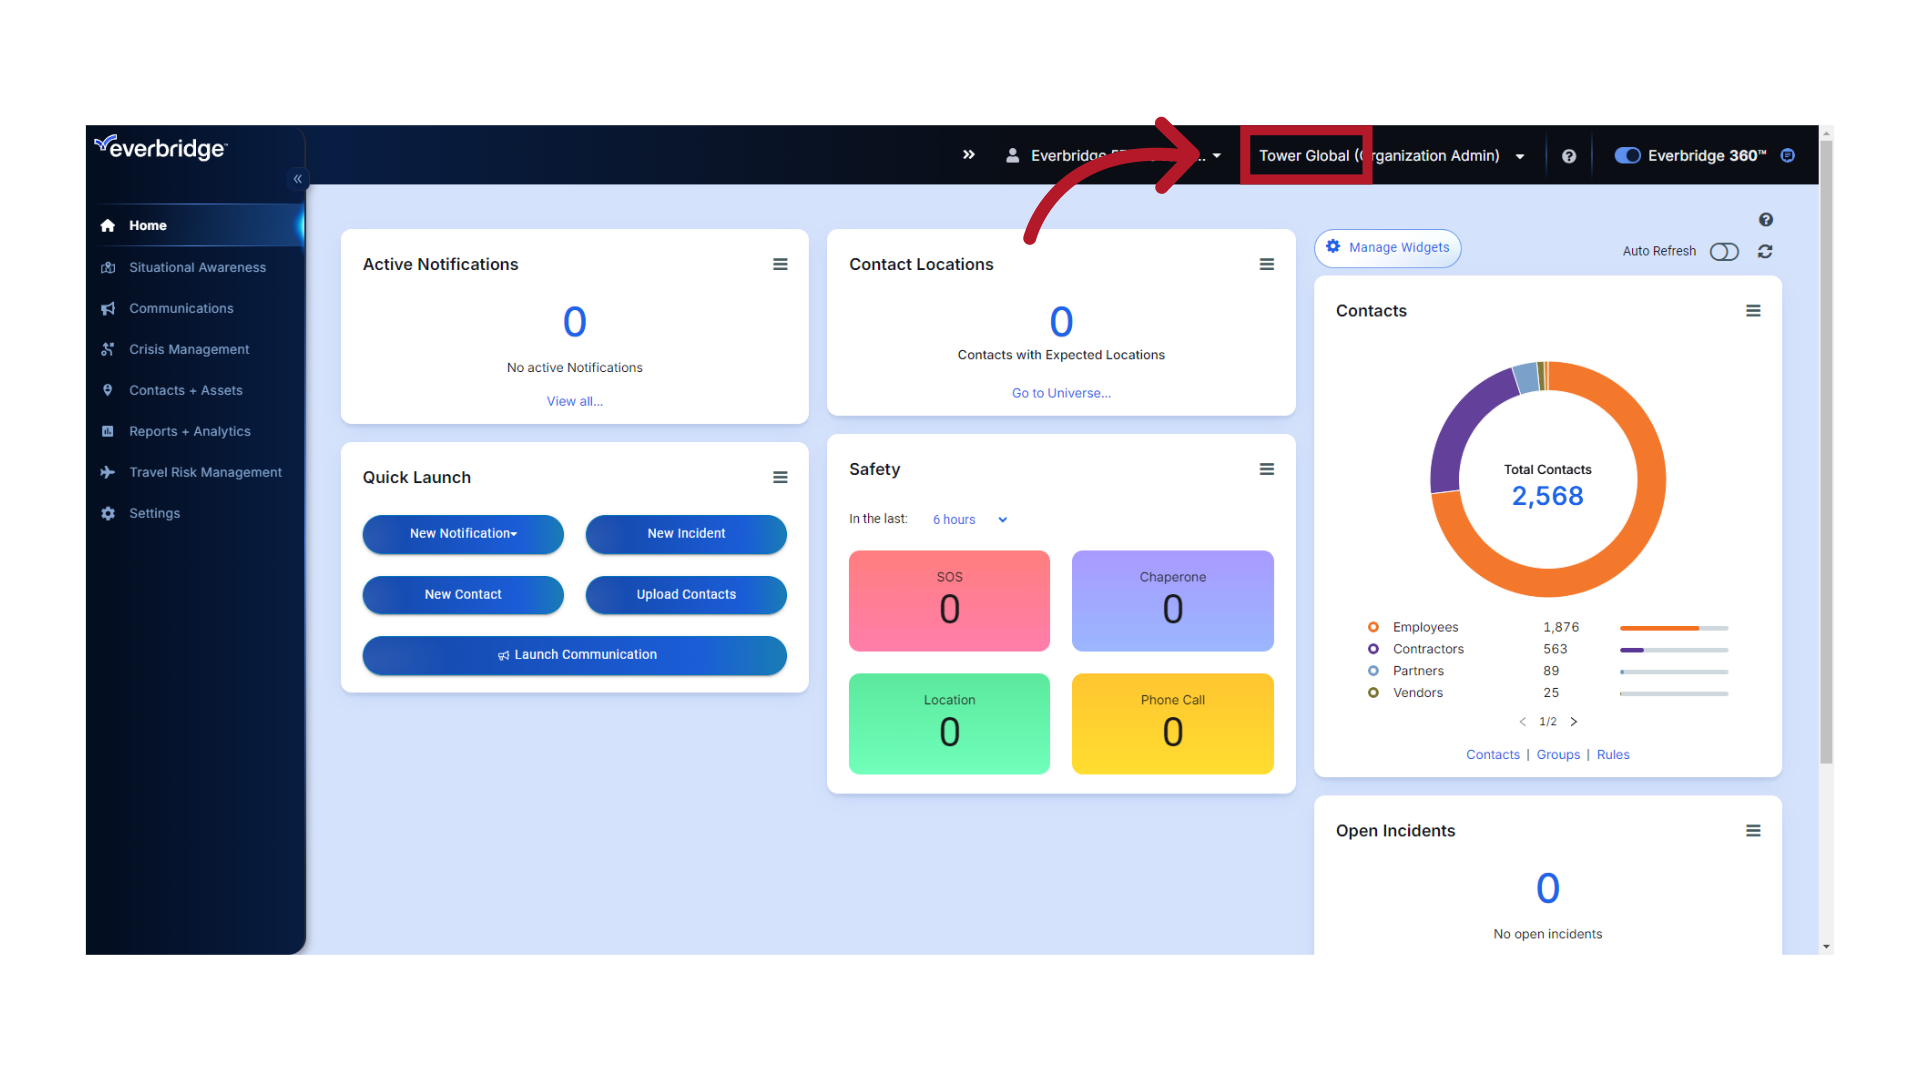
2. Manager Portal
Ensure you are at the Organization level.
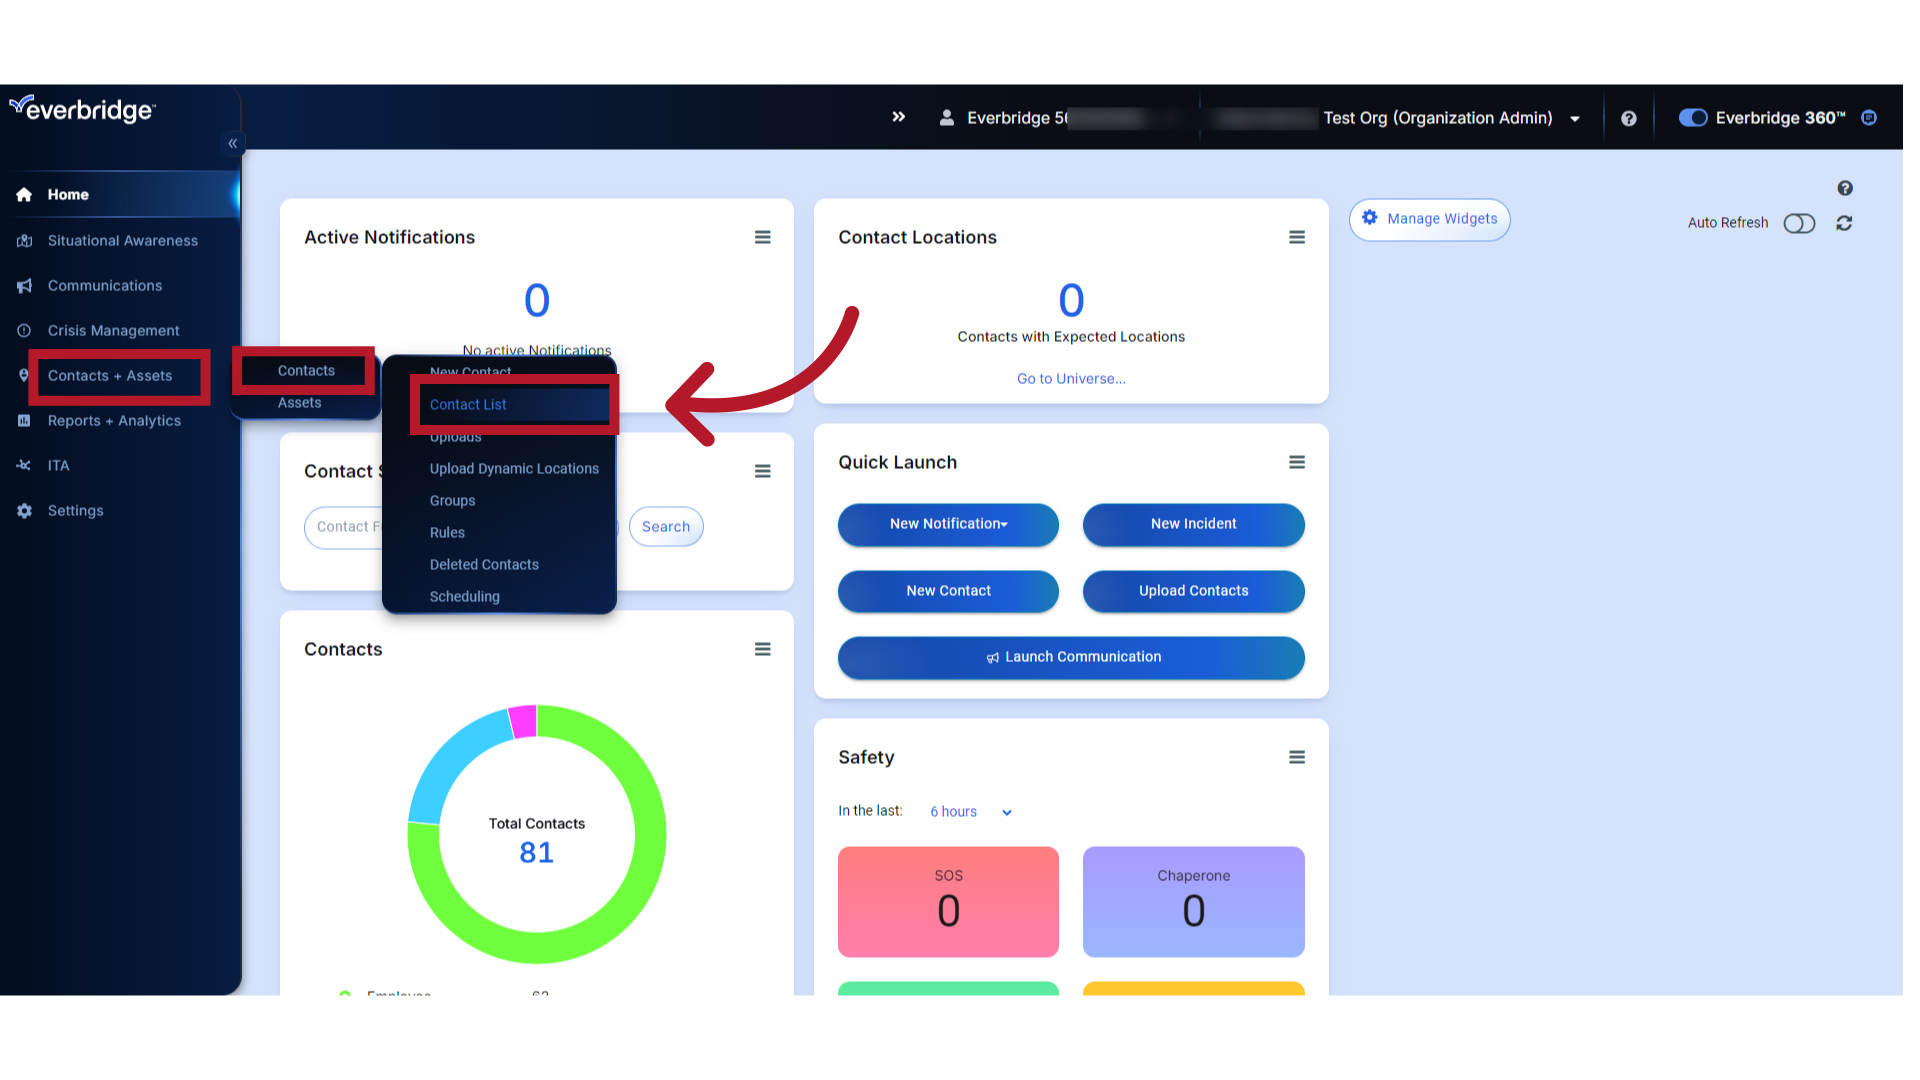
3. Contacts
Select "Contacts & Assets", followed by "Contacts" and "Contact List".
4. Contact List
When inviting Contacts, the user interface is slightly different if you have the Everbridge Mobile App exposed in the Member Portal. In this case, the EMA icon displays next to each Contact. The following steps illustrate the process both with and without the mobile app enabled.
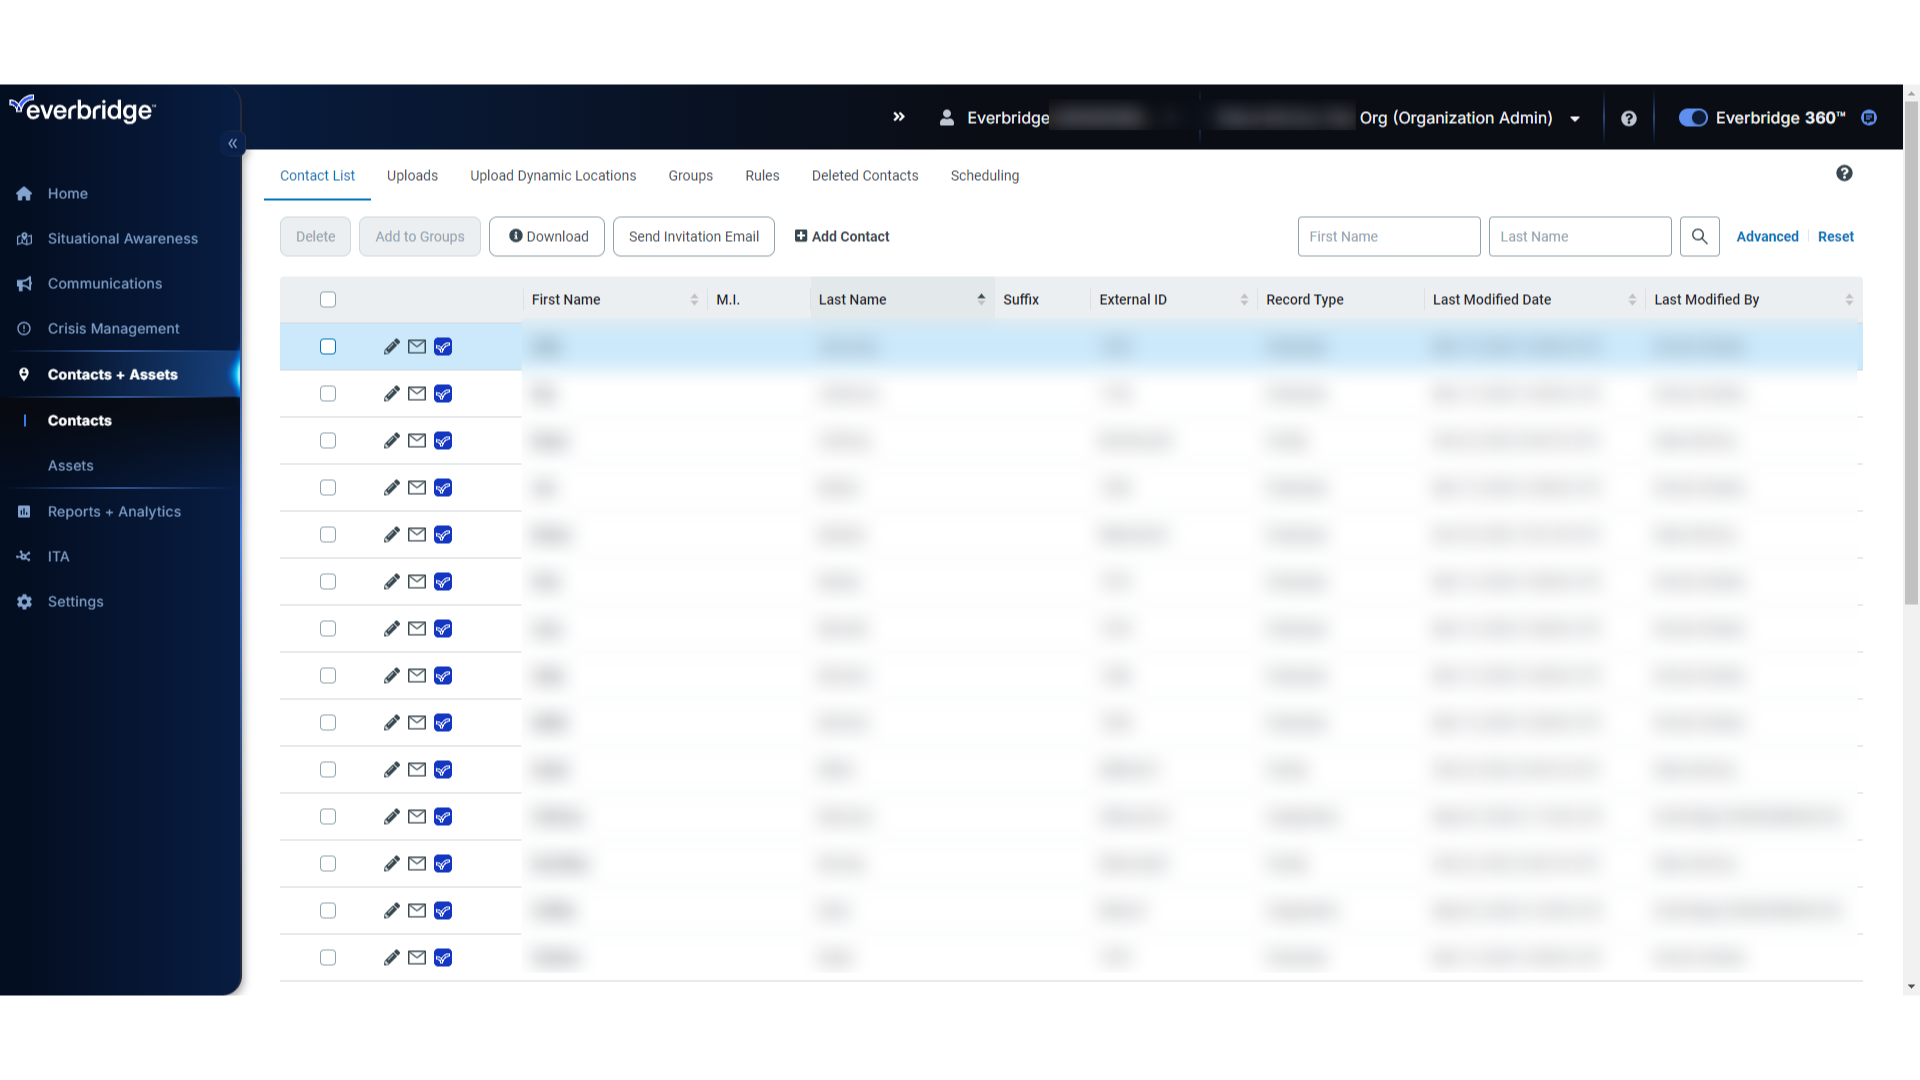
5. EMA Exposed - Contact Selection
This is what the user interface looks like with EMA exposed. To invite all non-registered Contacts, leave the boxes next to each Contact blank. Note the Everbridge Mobile App logo next to each Contact.
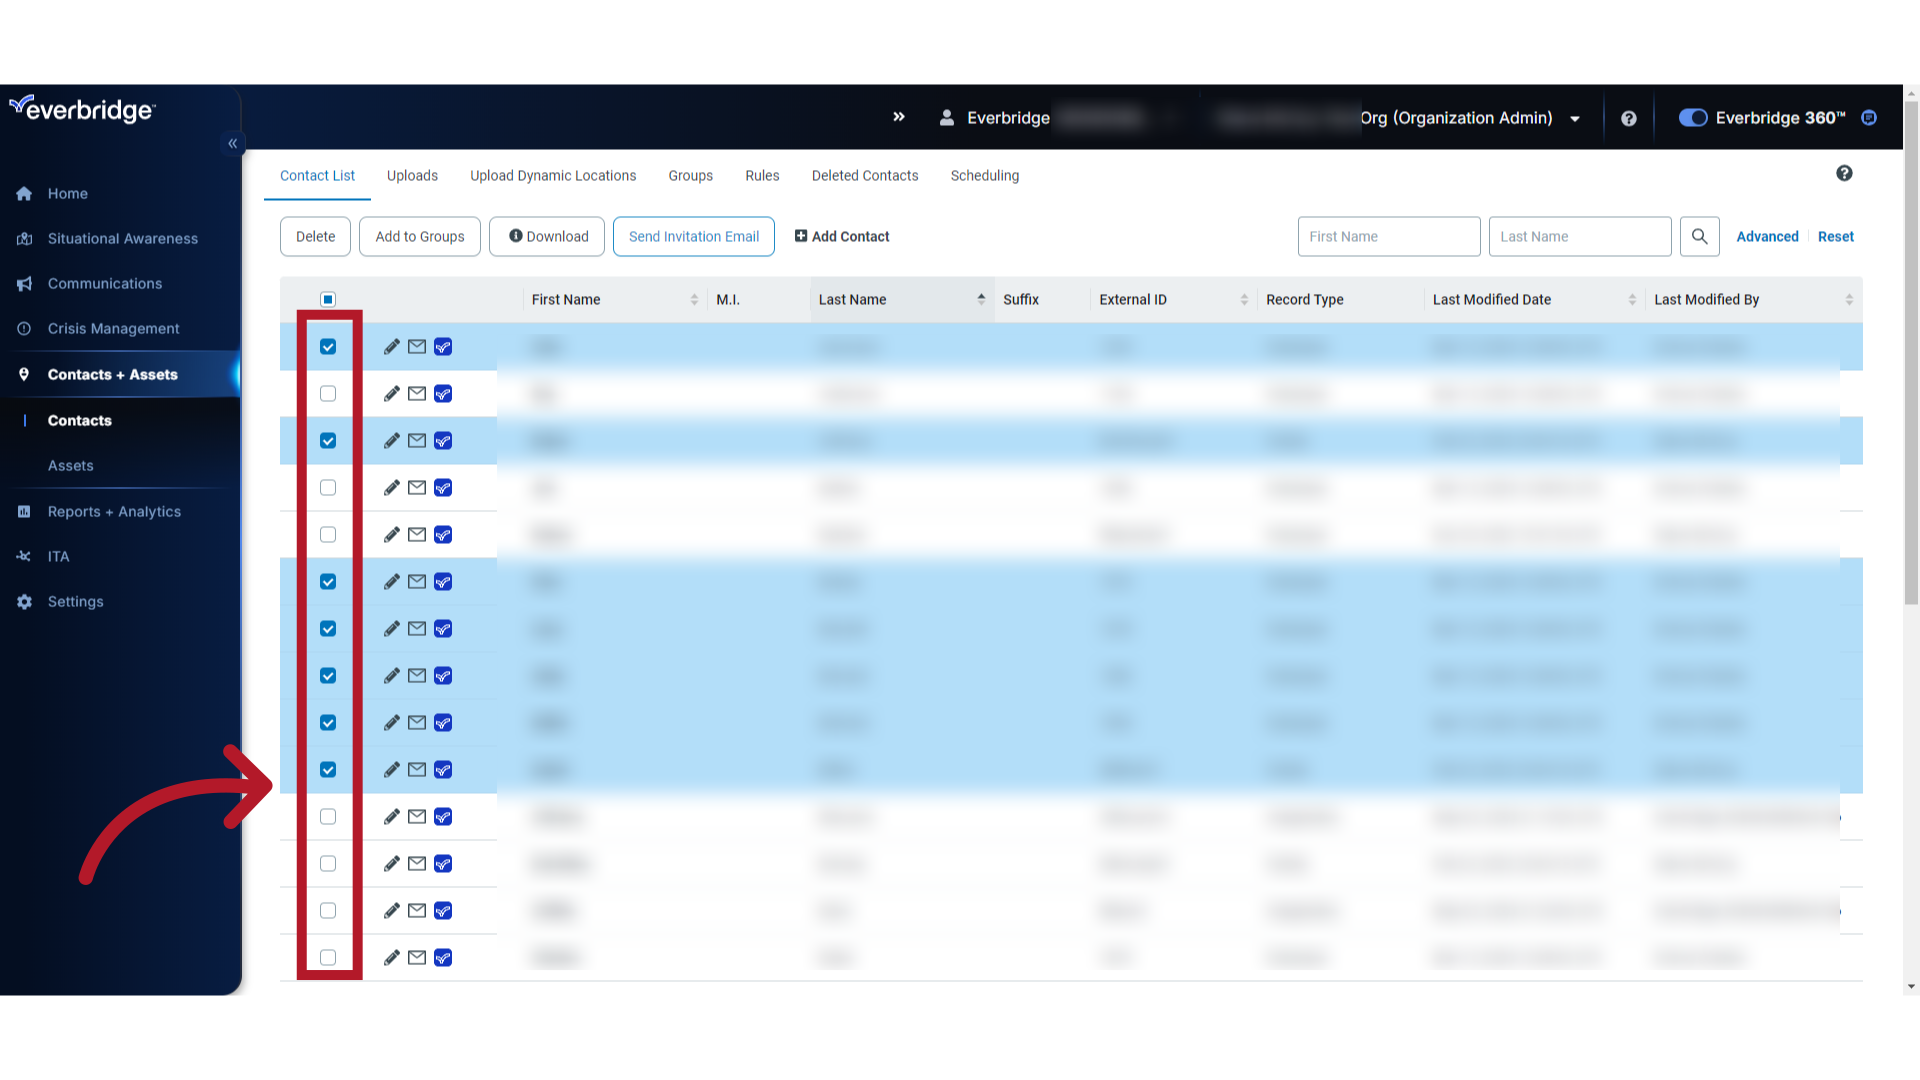
6. EMA Exposed - Contact Selection Continued
Select individual Contacts if you do not want to invite all Contacts.
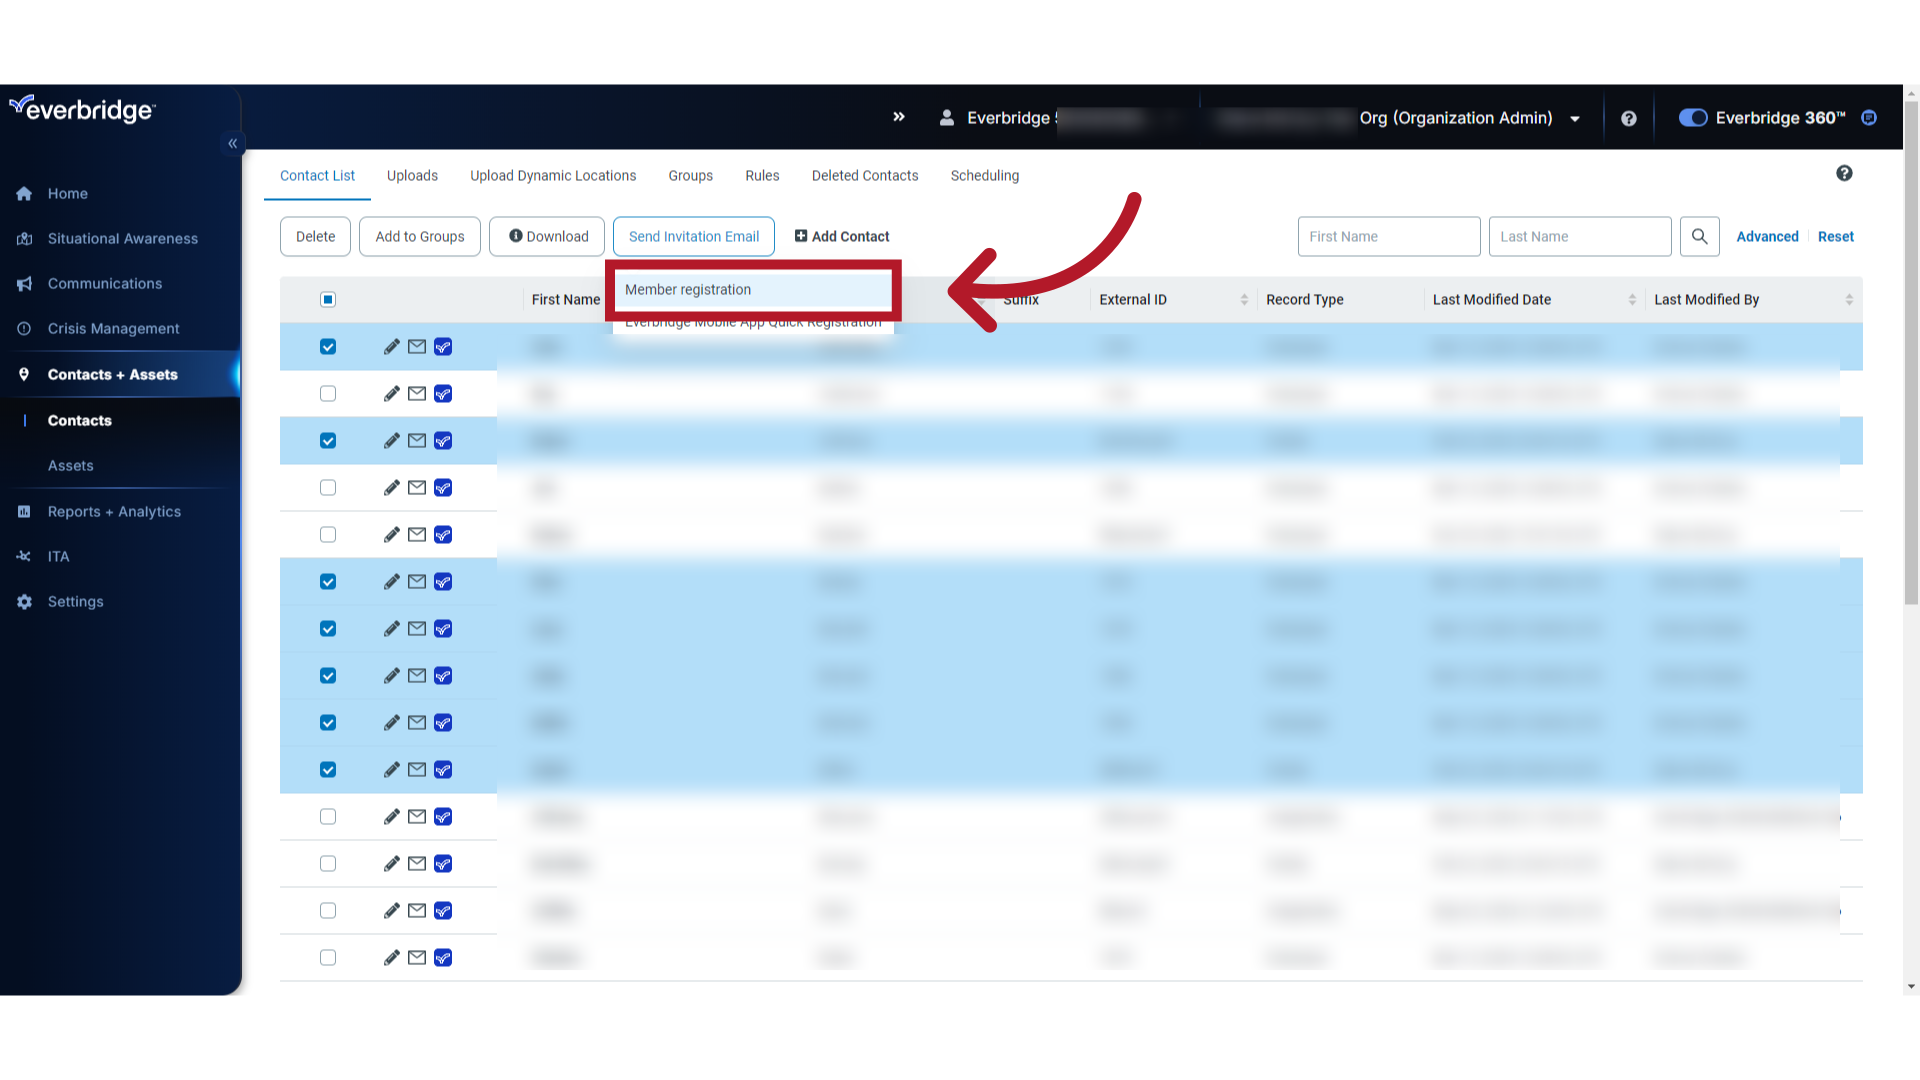
7. Click "Send Invitation Email"
Click "Send Invitation Email".

8. Click "Member registration"
Select "Member registration."
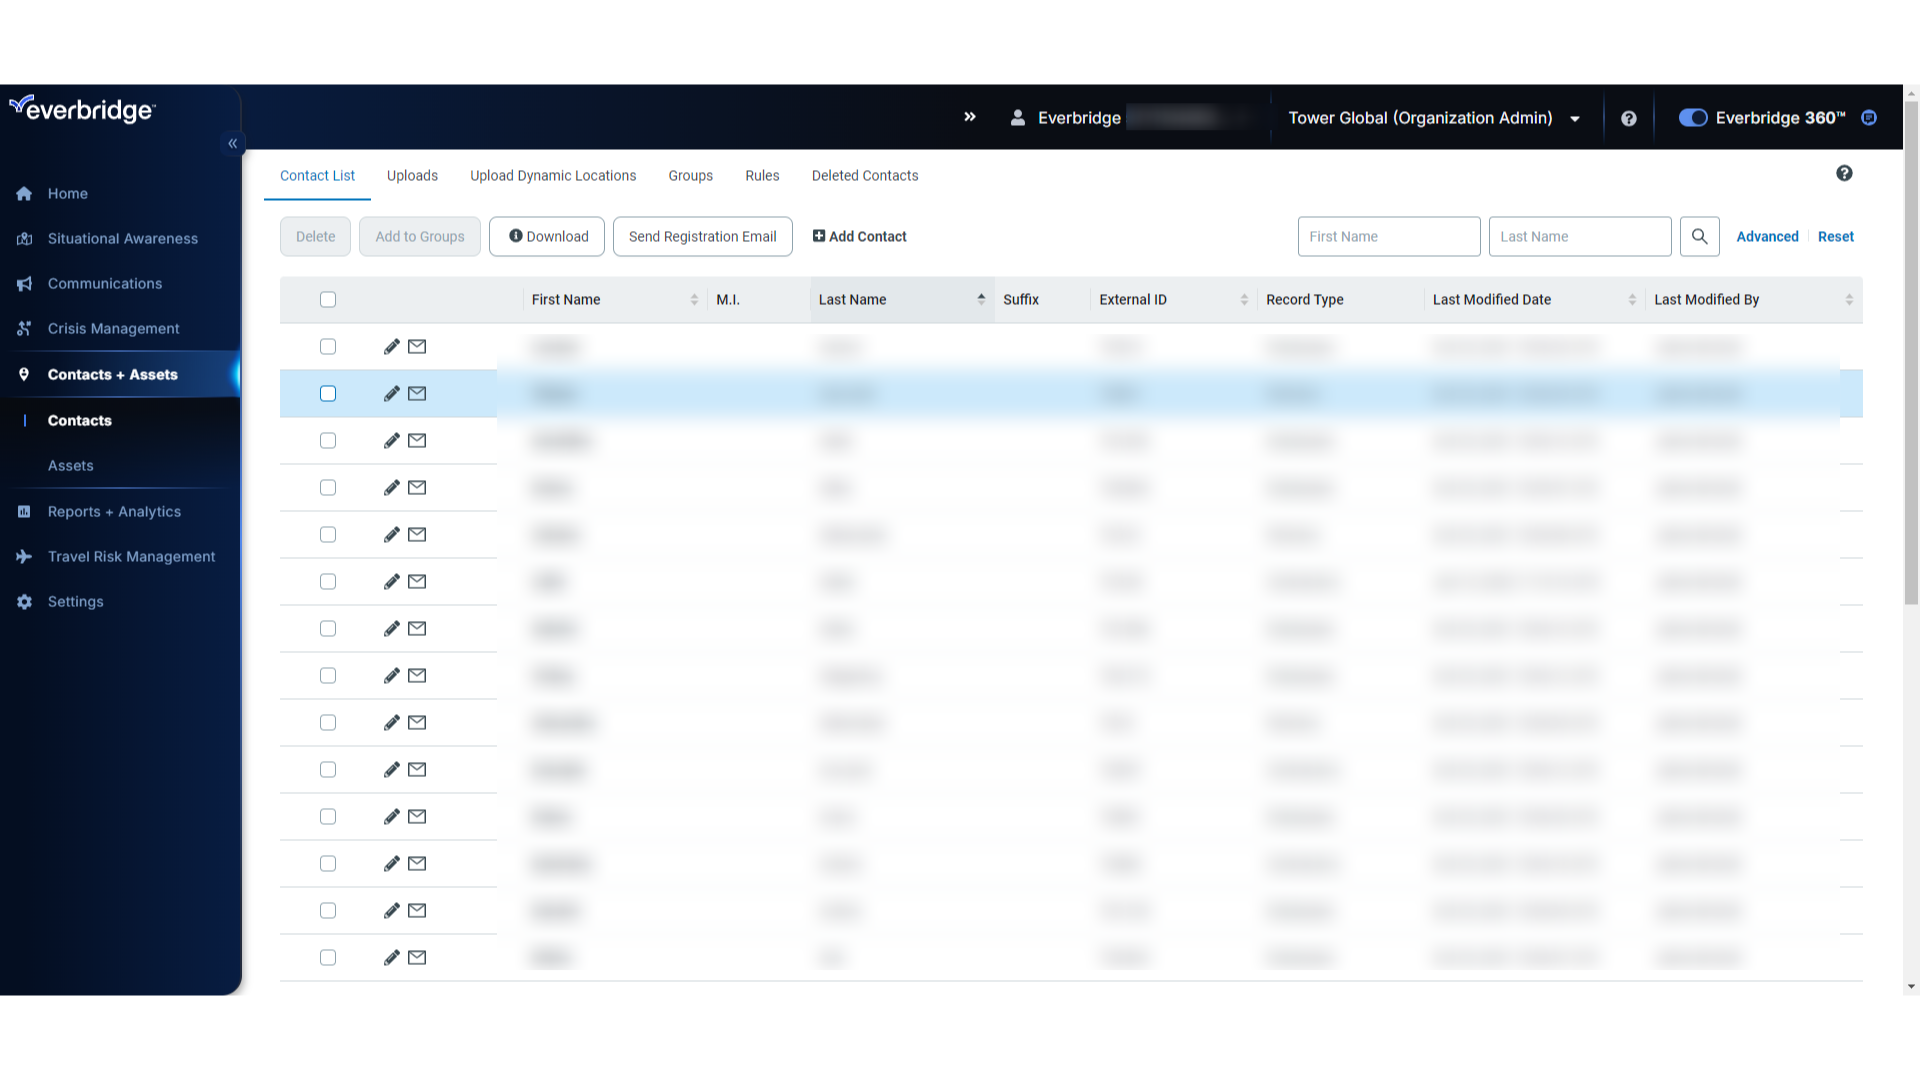
9. EMA Not Exposed - Contact Selection
This is what the user interface looks like when EMA is not exposed. To invite all non-registered Contacts, leave the boxes next to each Contact blank.
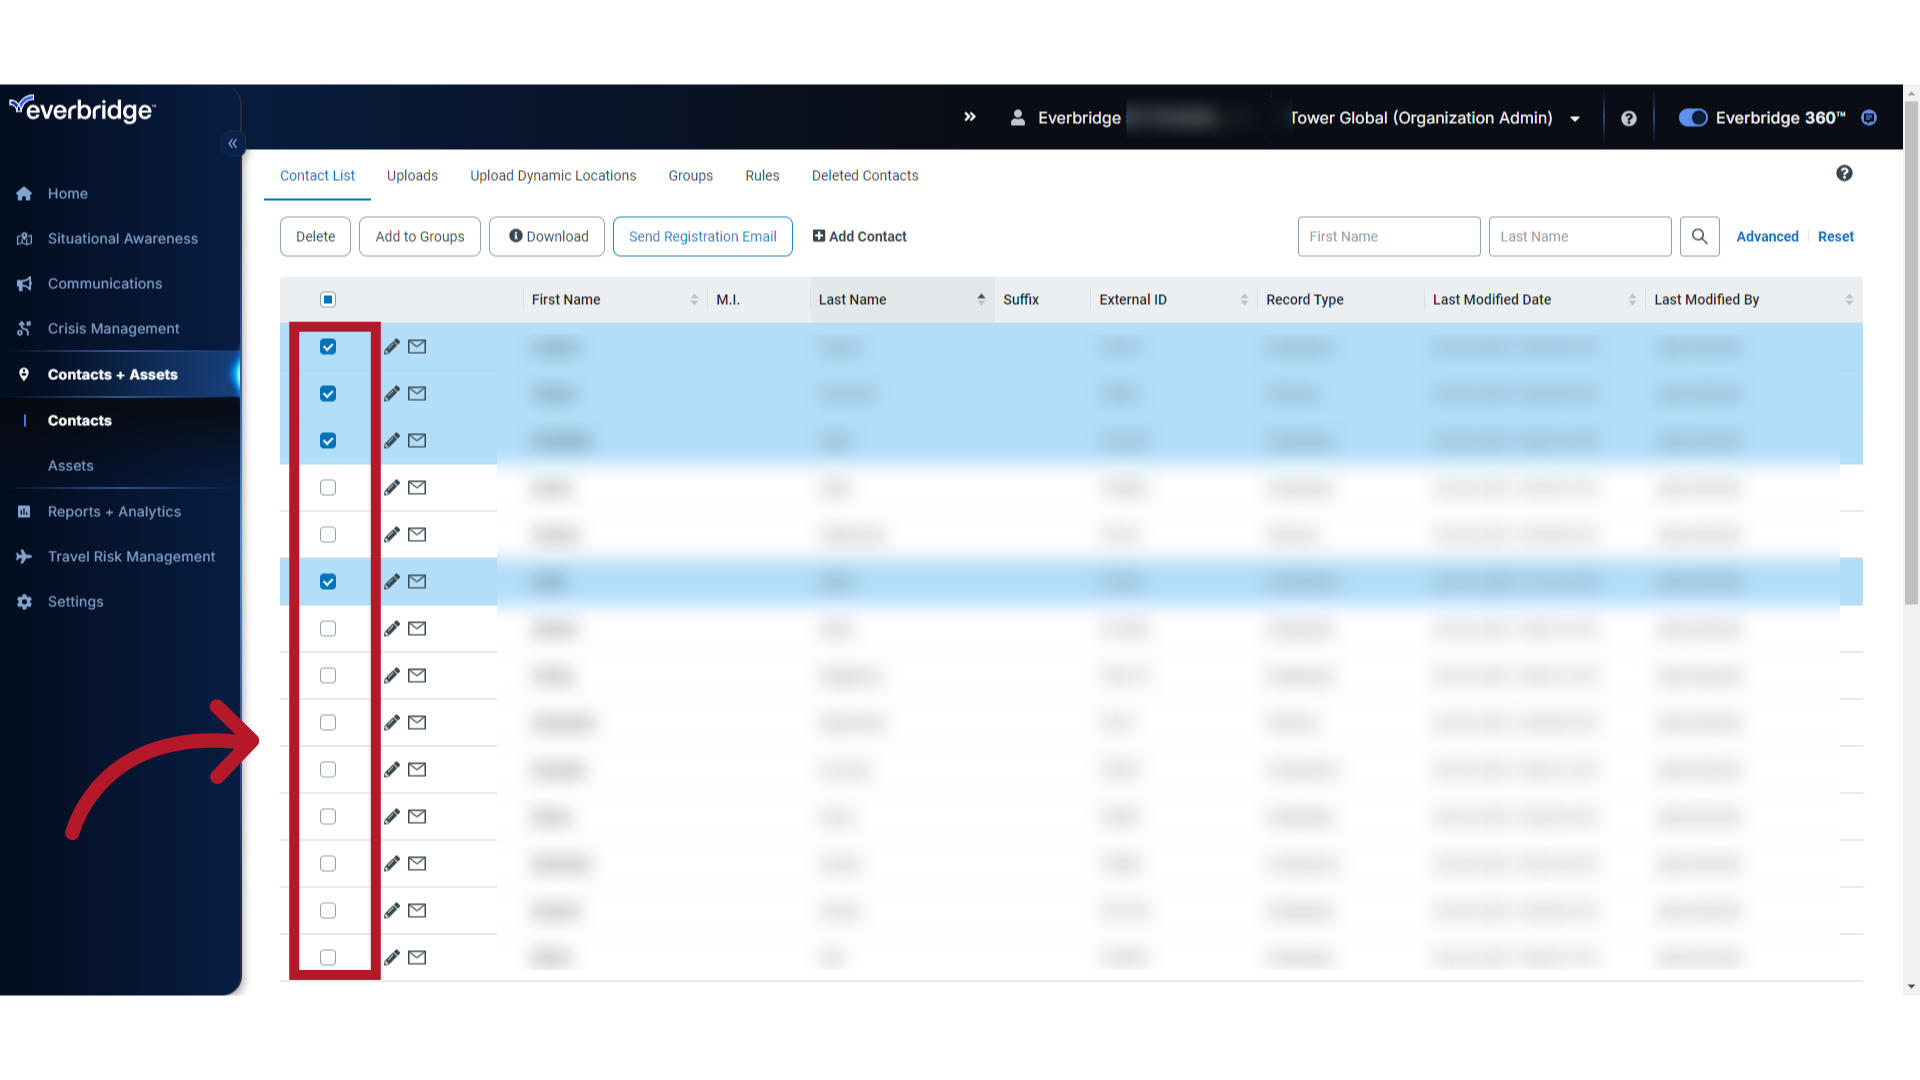
10. EMA Not Exposed - Contact Selection Continued
Select individual Contacts if you do not want to invite all Contacts.
11. Click "Send Registration Email"
Send the registration email.

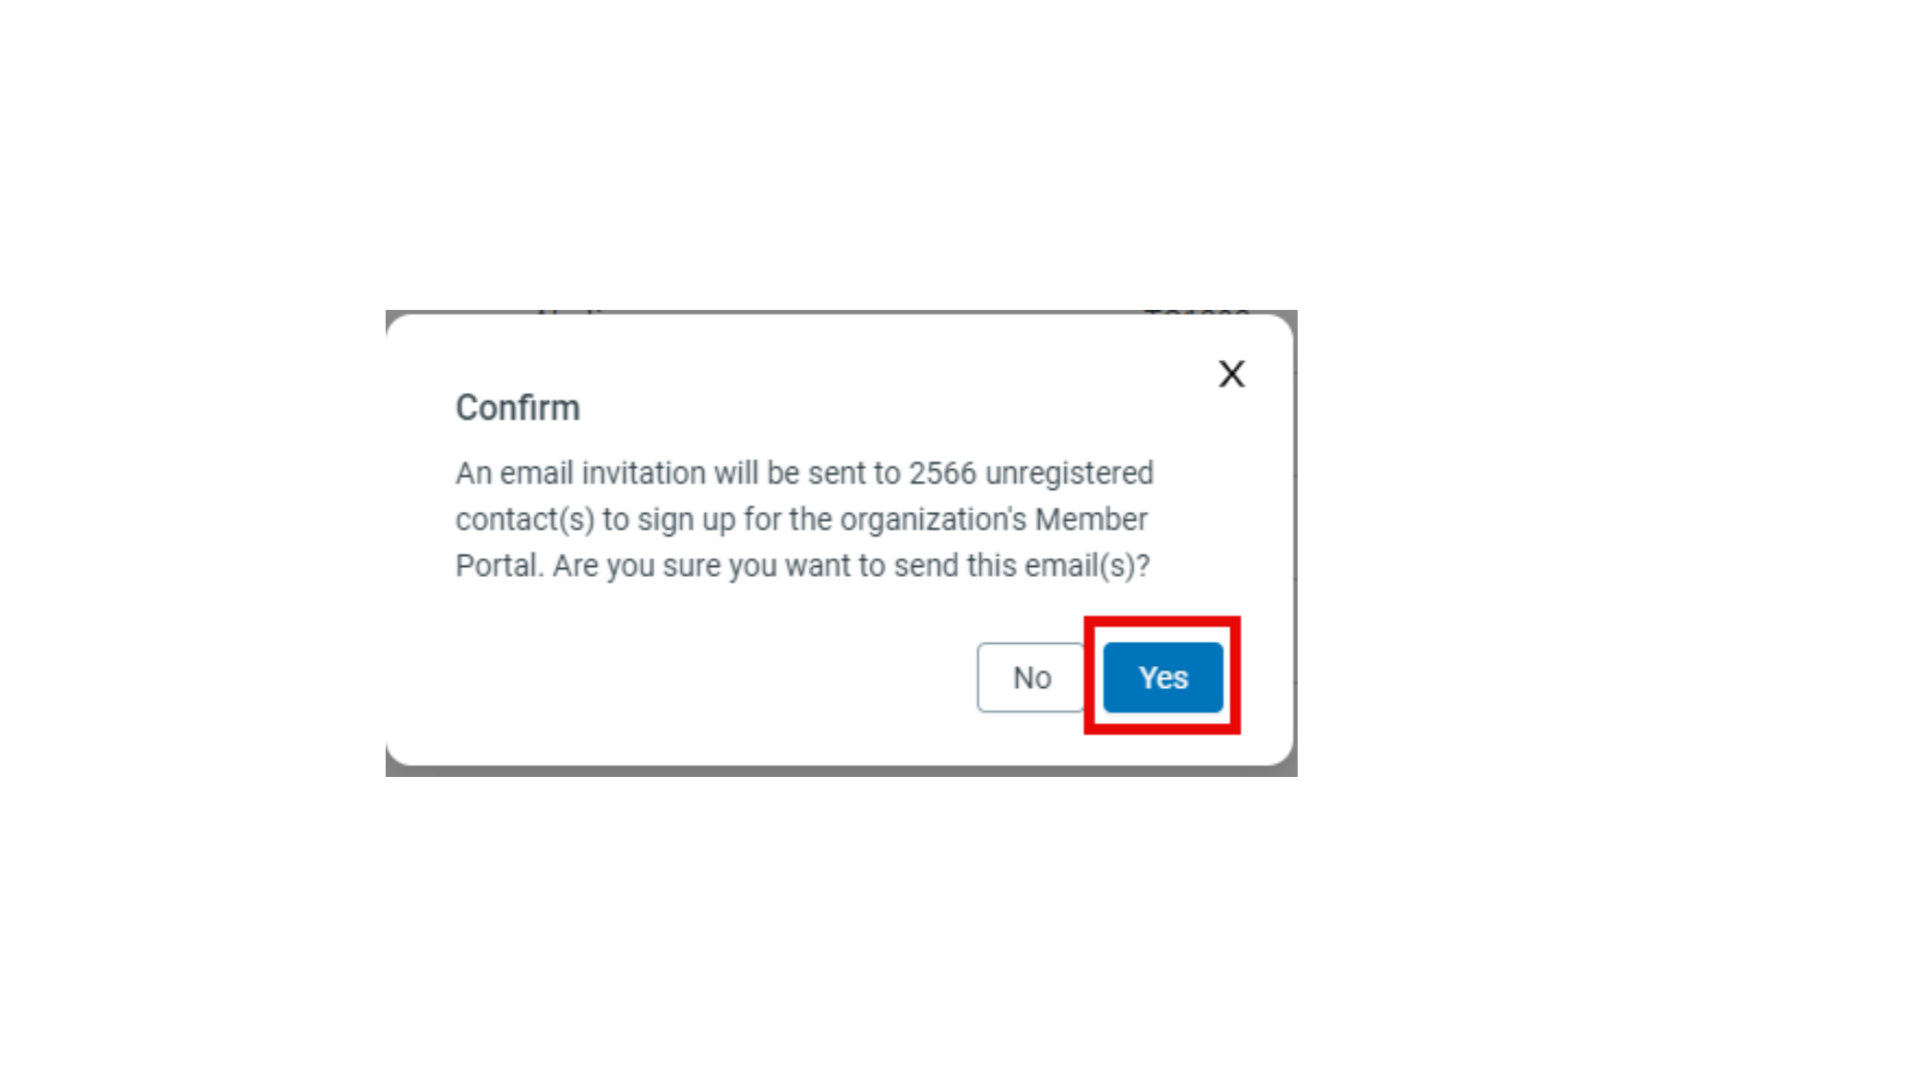
12. Confirm
Cleck "Yes" to send the invitation(s). The confirmation pop-up includes the number of invitations that will be sent.