Topic
How to send Incident updates in Everbridge Suite.
Description
Certain events require you to update your contacts after you've initially sent a message. For example, a wildfire could change duration with strong winds, completely changing your emergency response. Your contacts will need to be notified, you can send additional messages for any open incident by sending an update notification. An update notification sends another incident notification to your contacts to keep them safe and informed.
Go to manager.everbridge.net
1. Dashboard
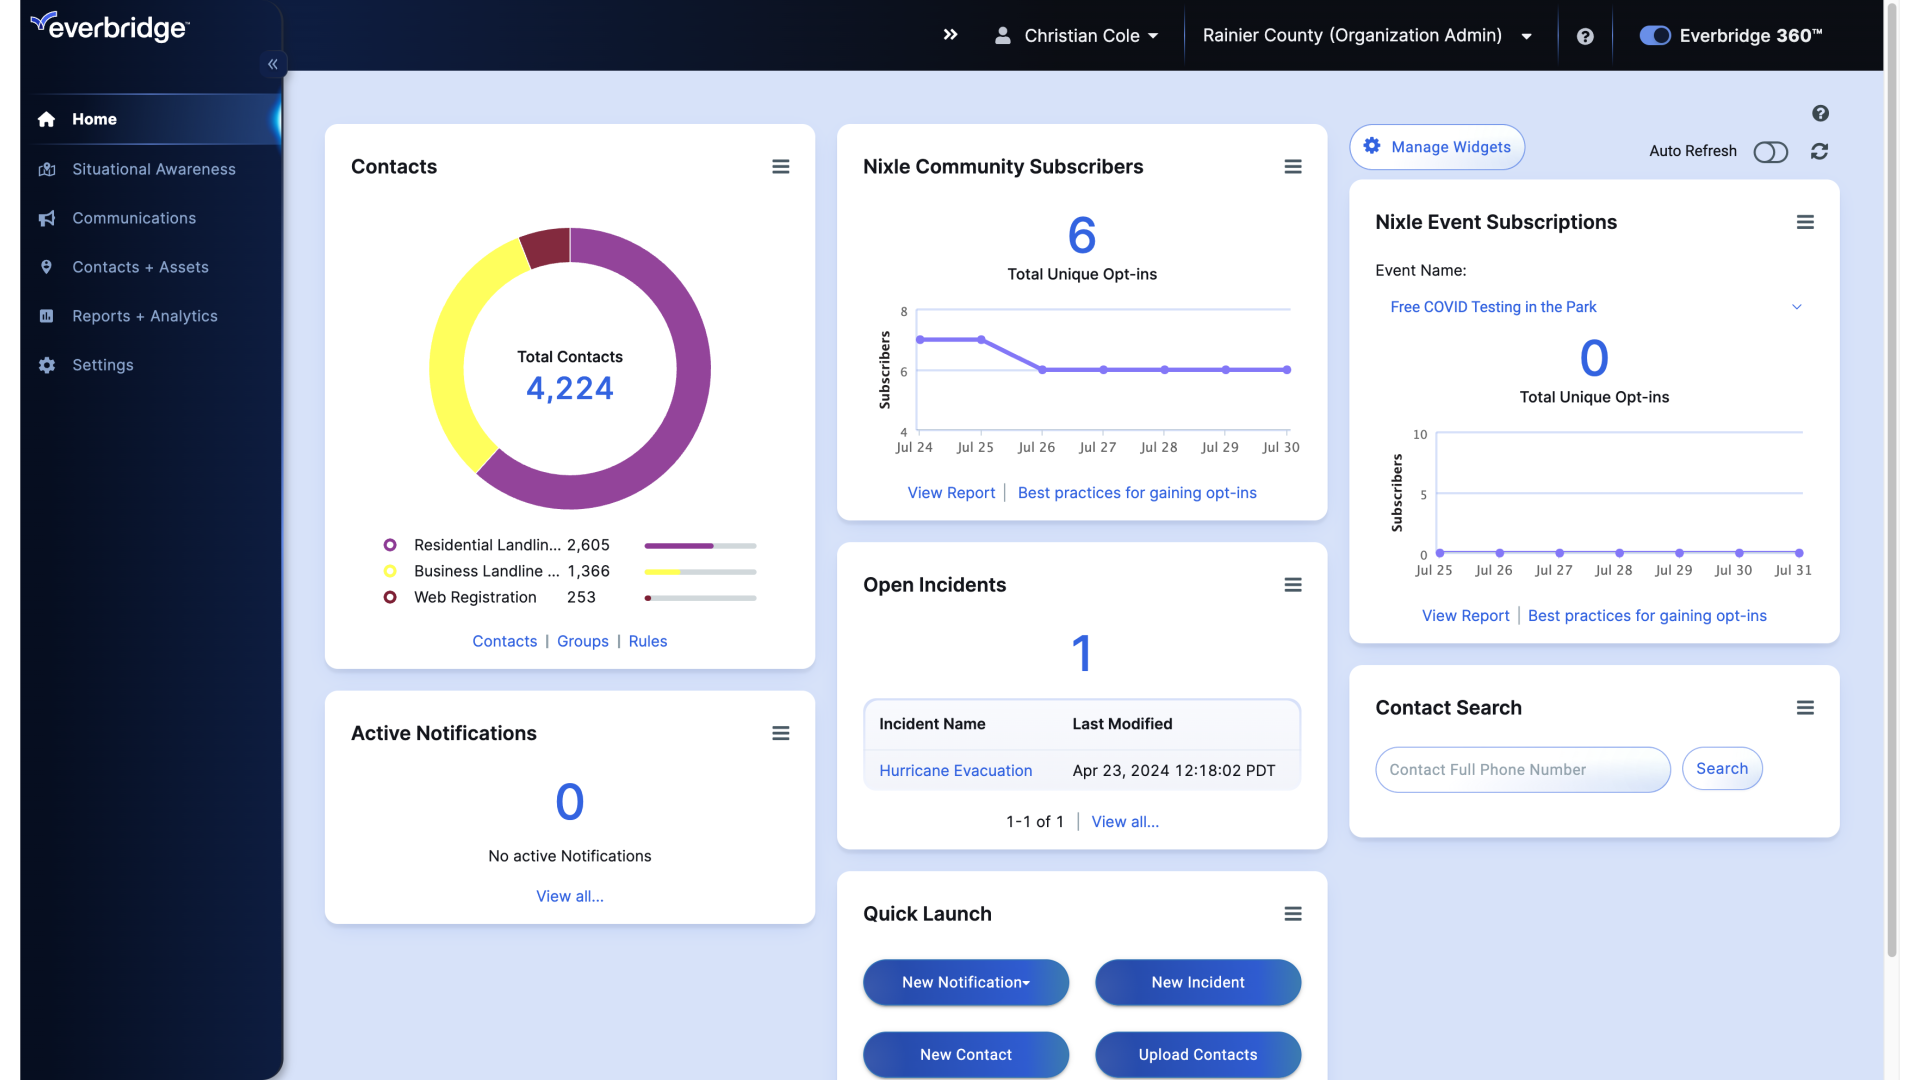
To send an Update to your Incident, start on the Everbridge 360 Dashboard.
2. Dashboard
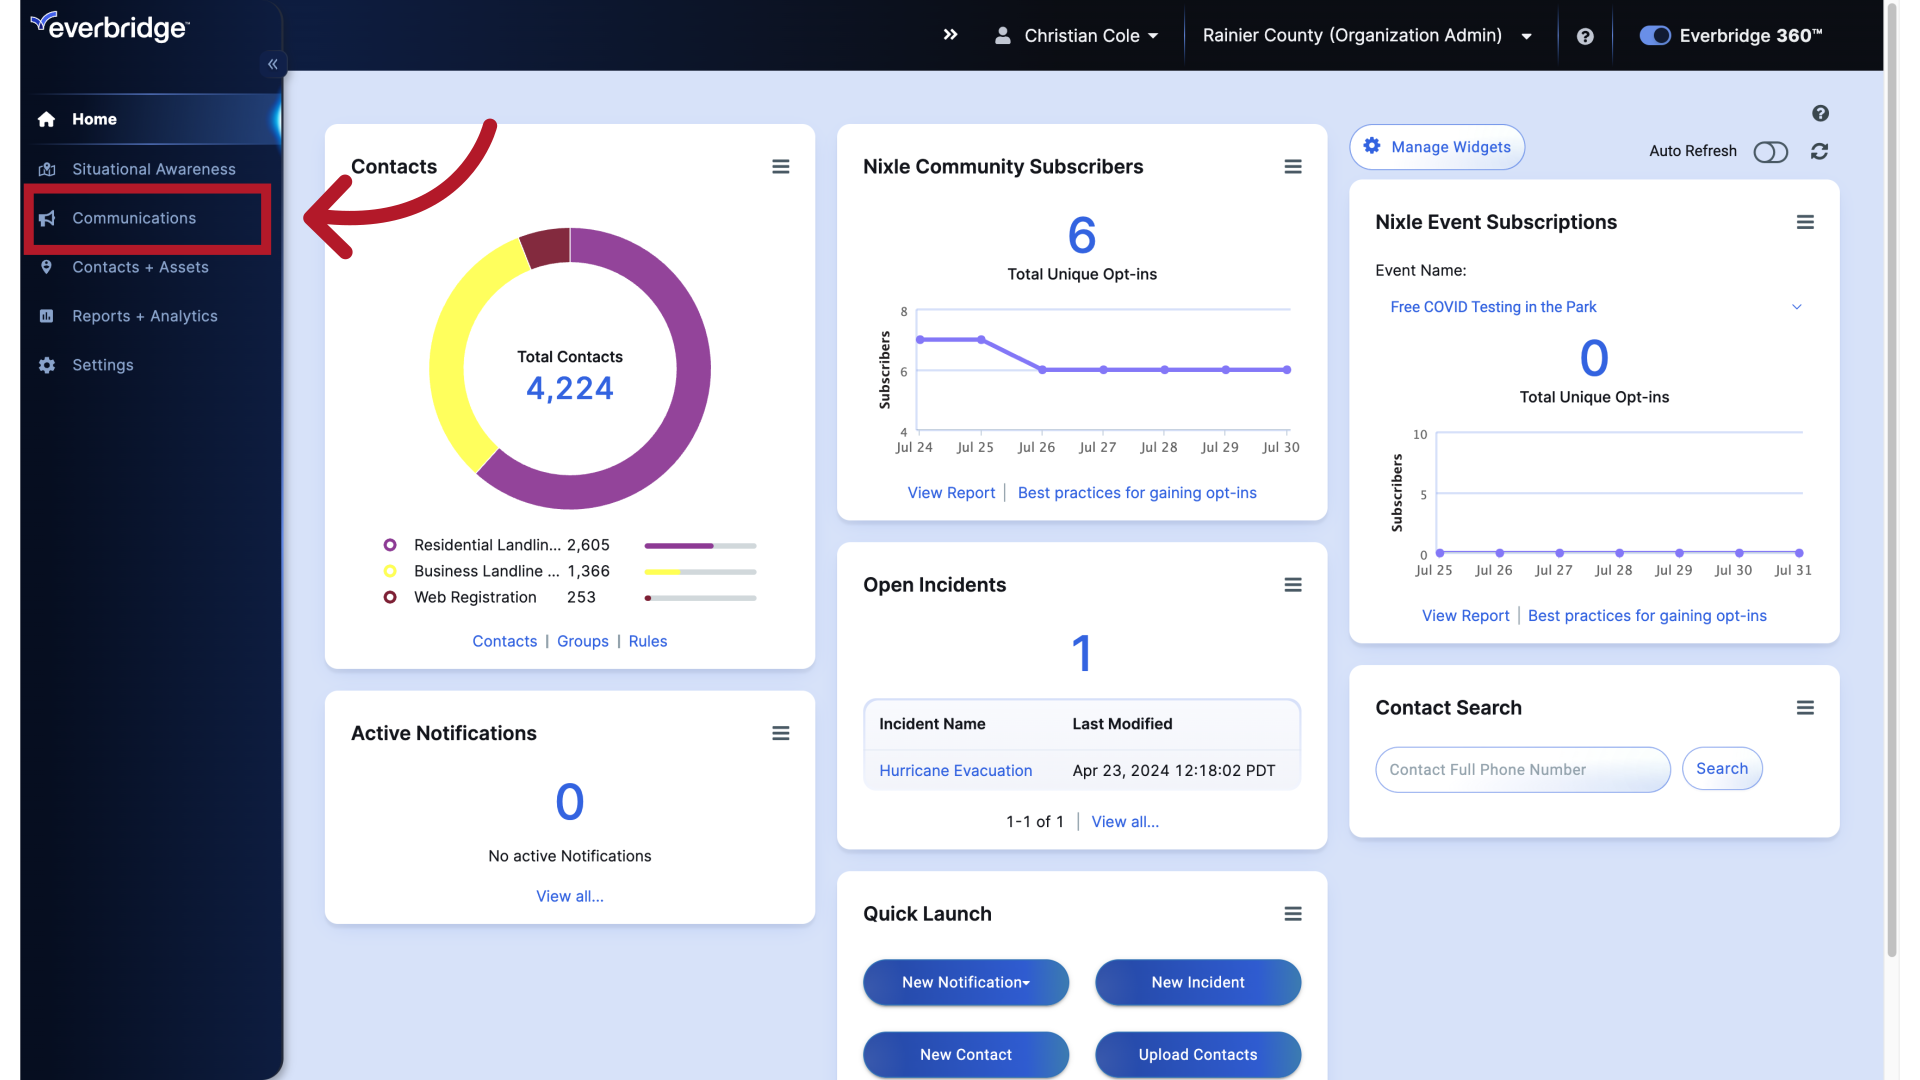
Hover over the Communications tab.
3. Dashboard
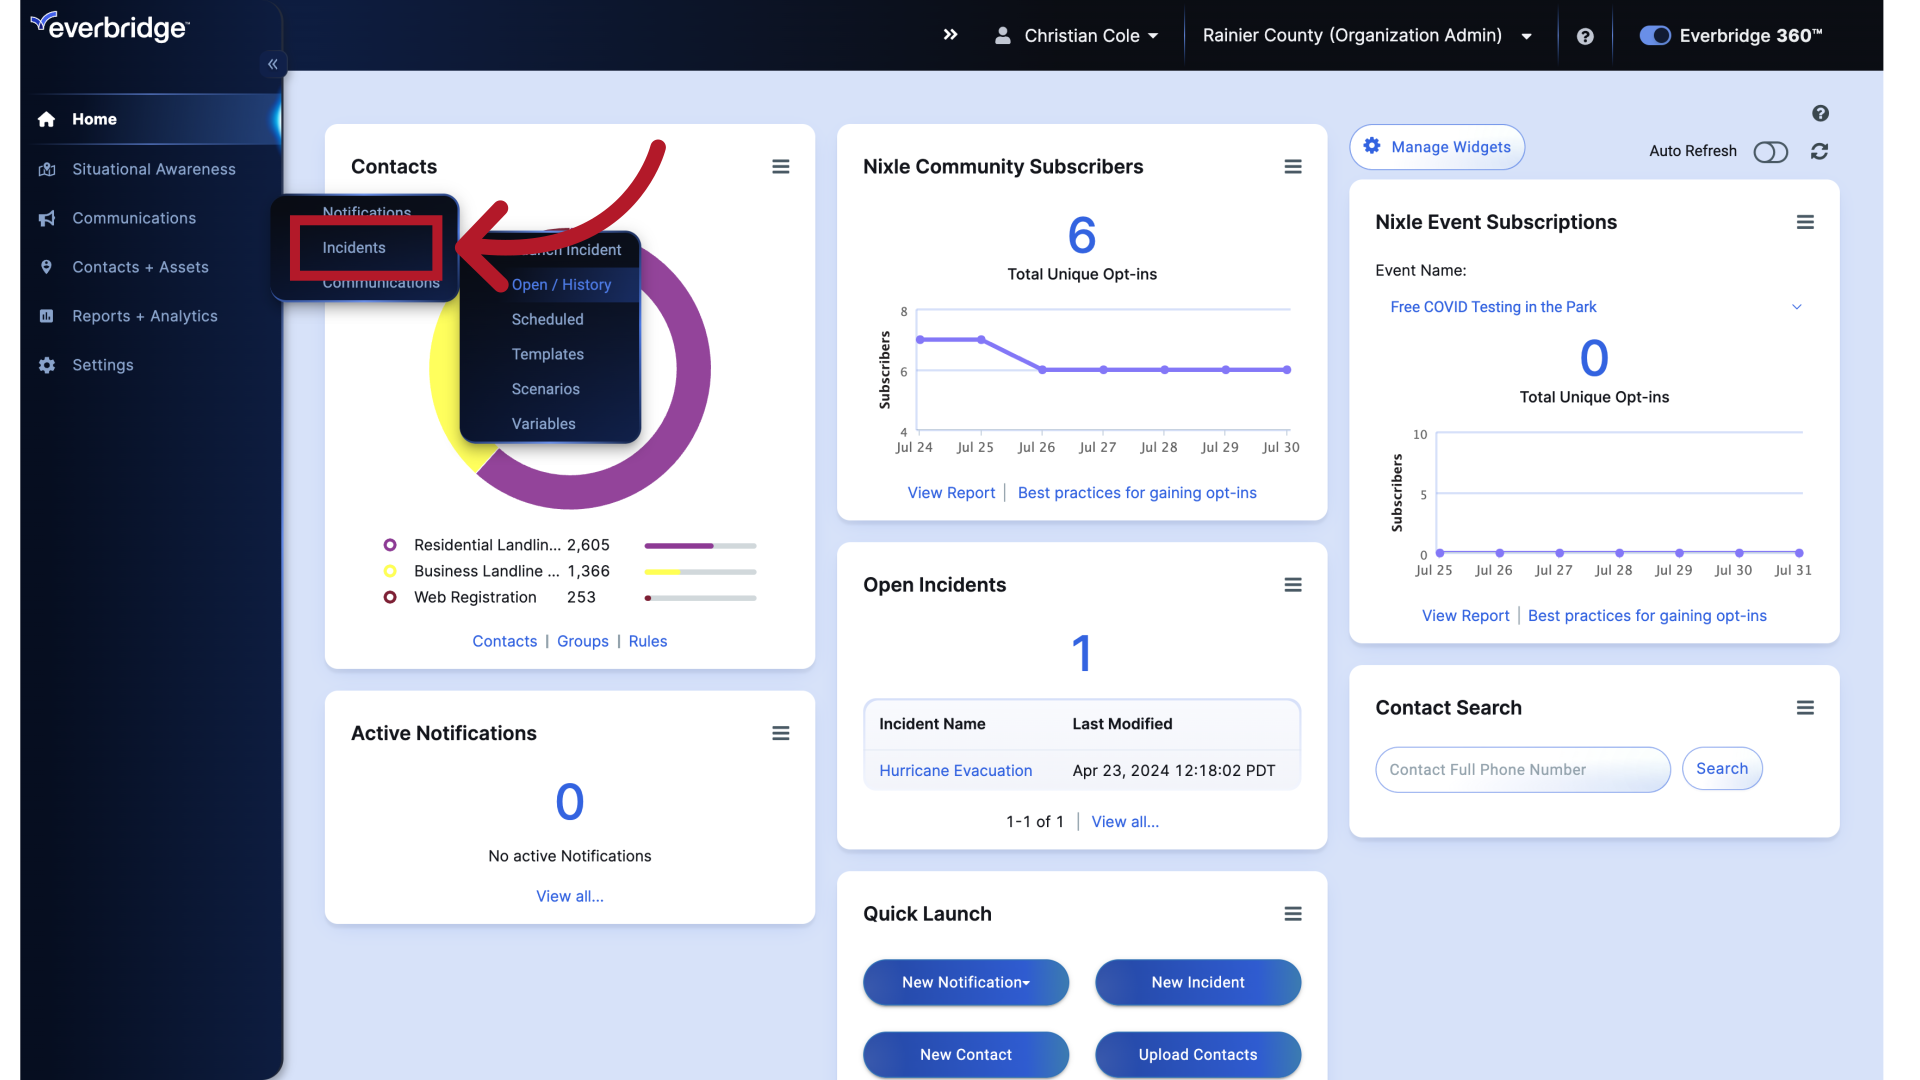
Then, hover over Incidents.
4. Dashboard
And select Open/History.
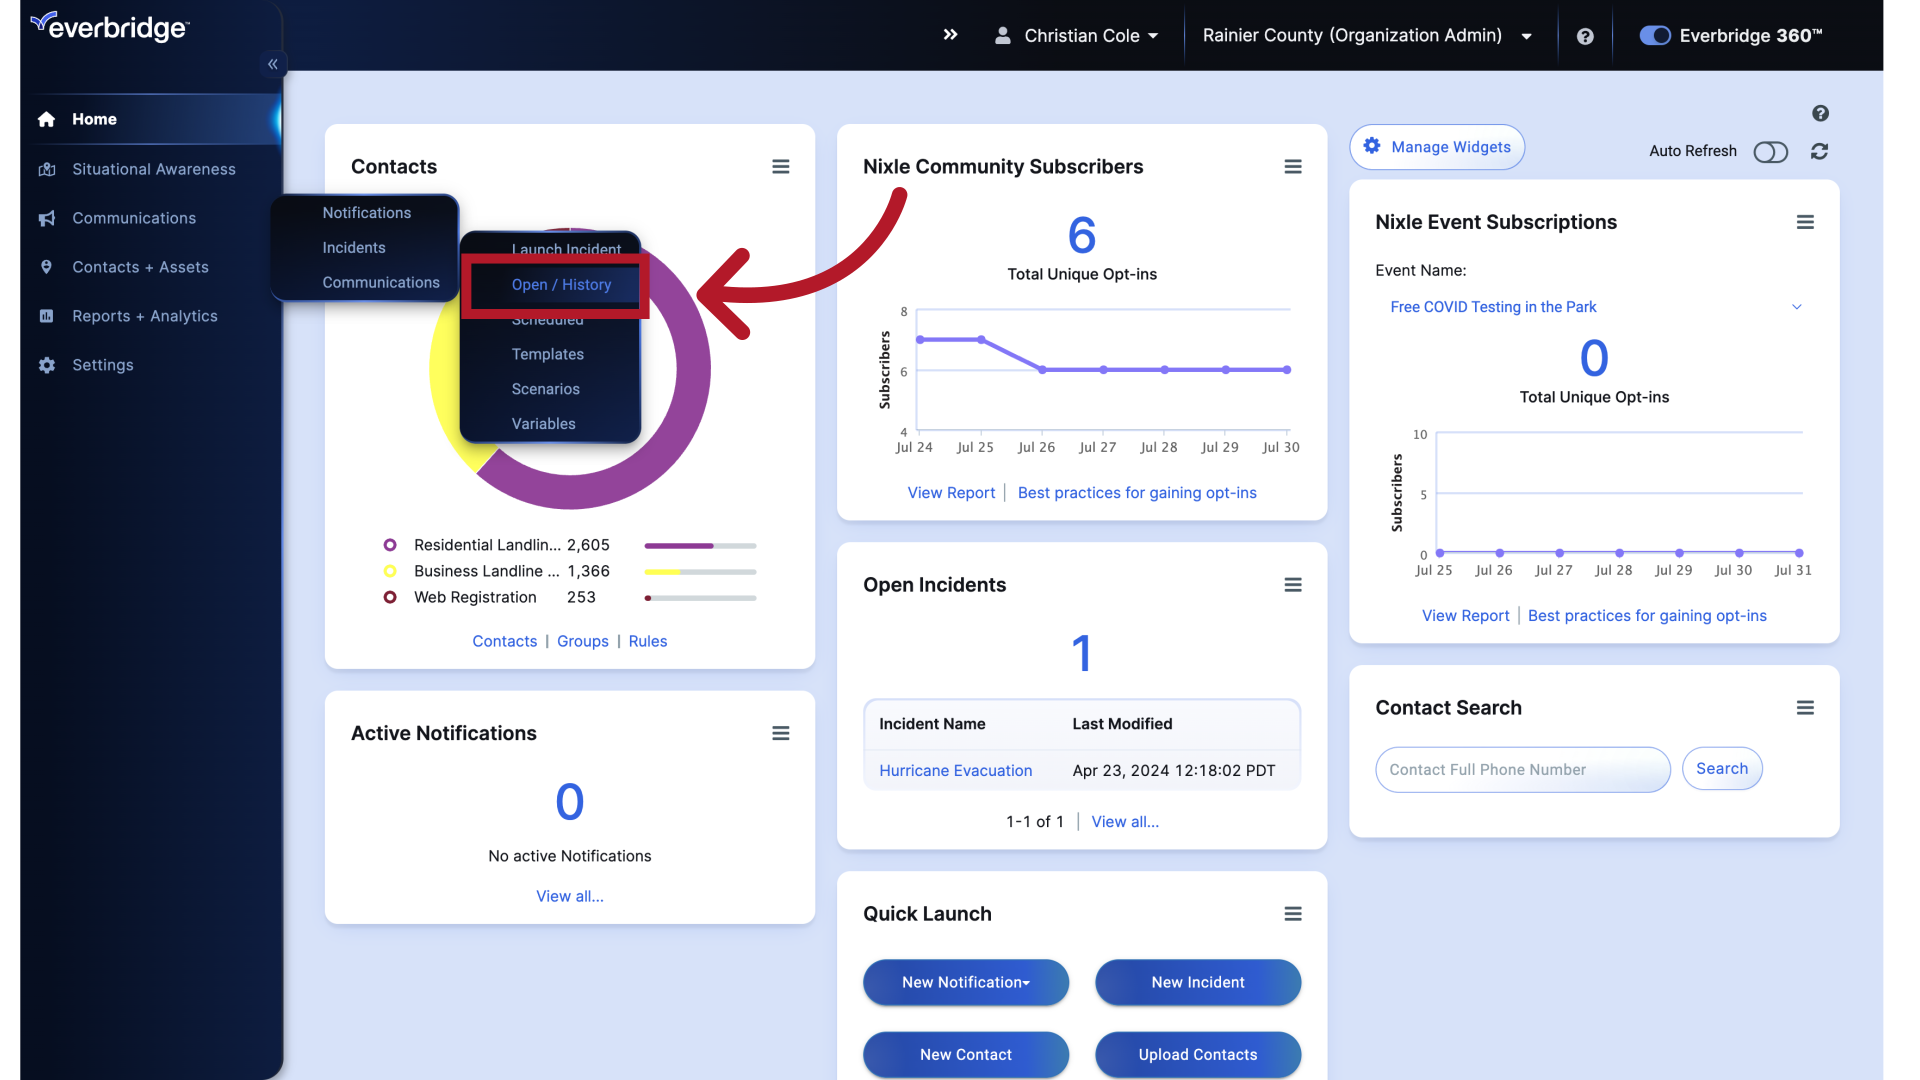
5. Open / History
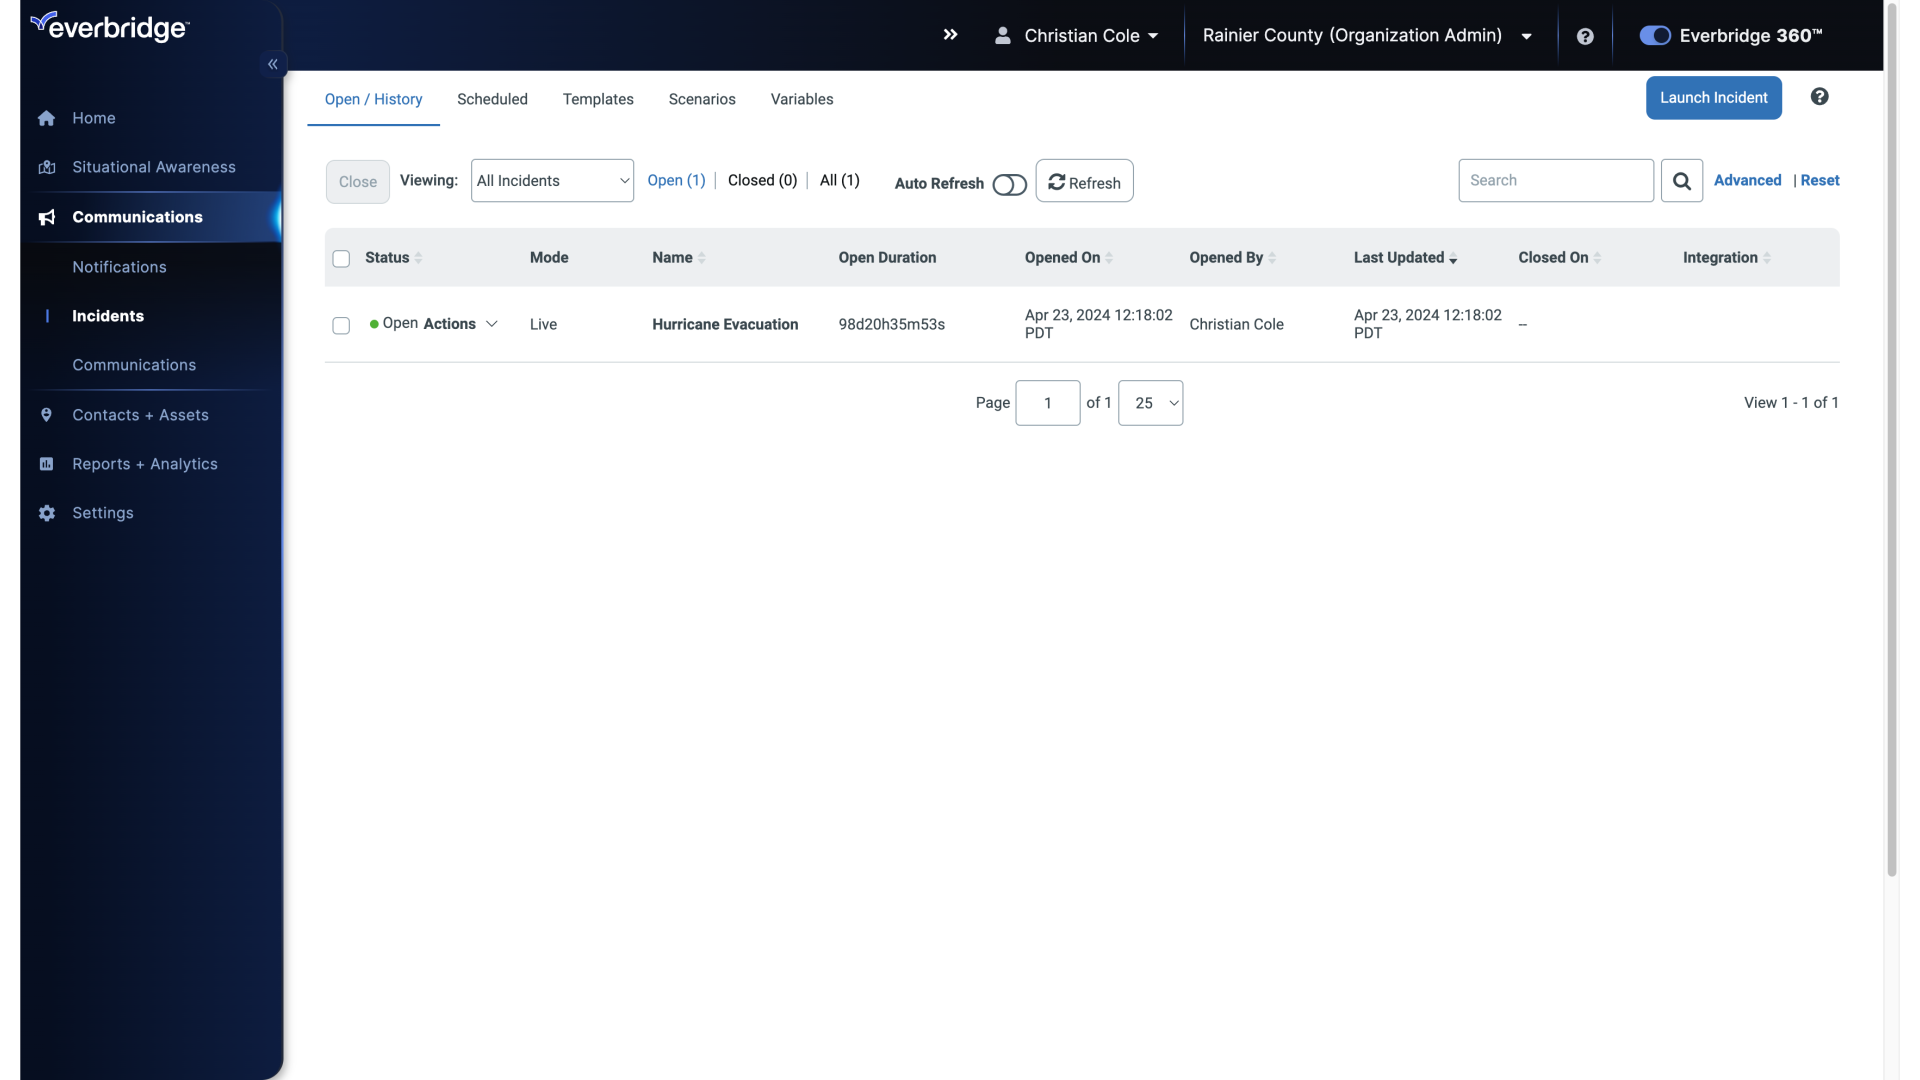
6. Most Recent Incident
The Incident most recently launched is located at the top of the all Incidents table.
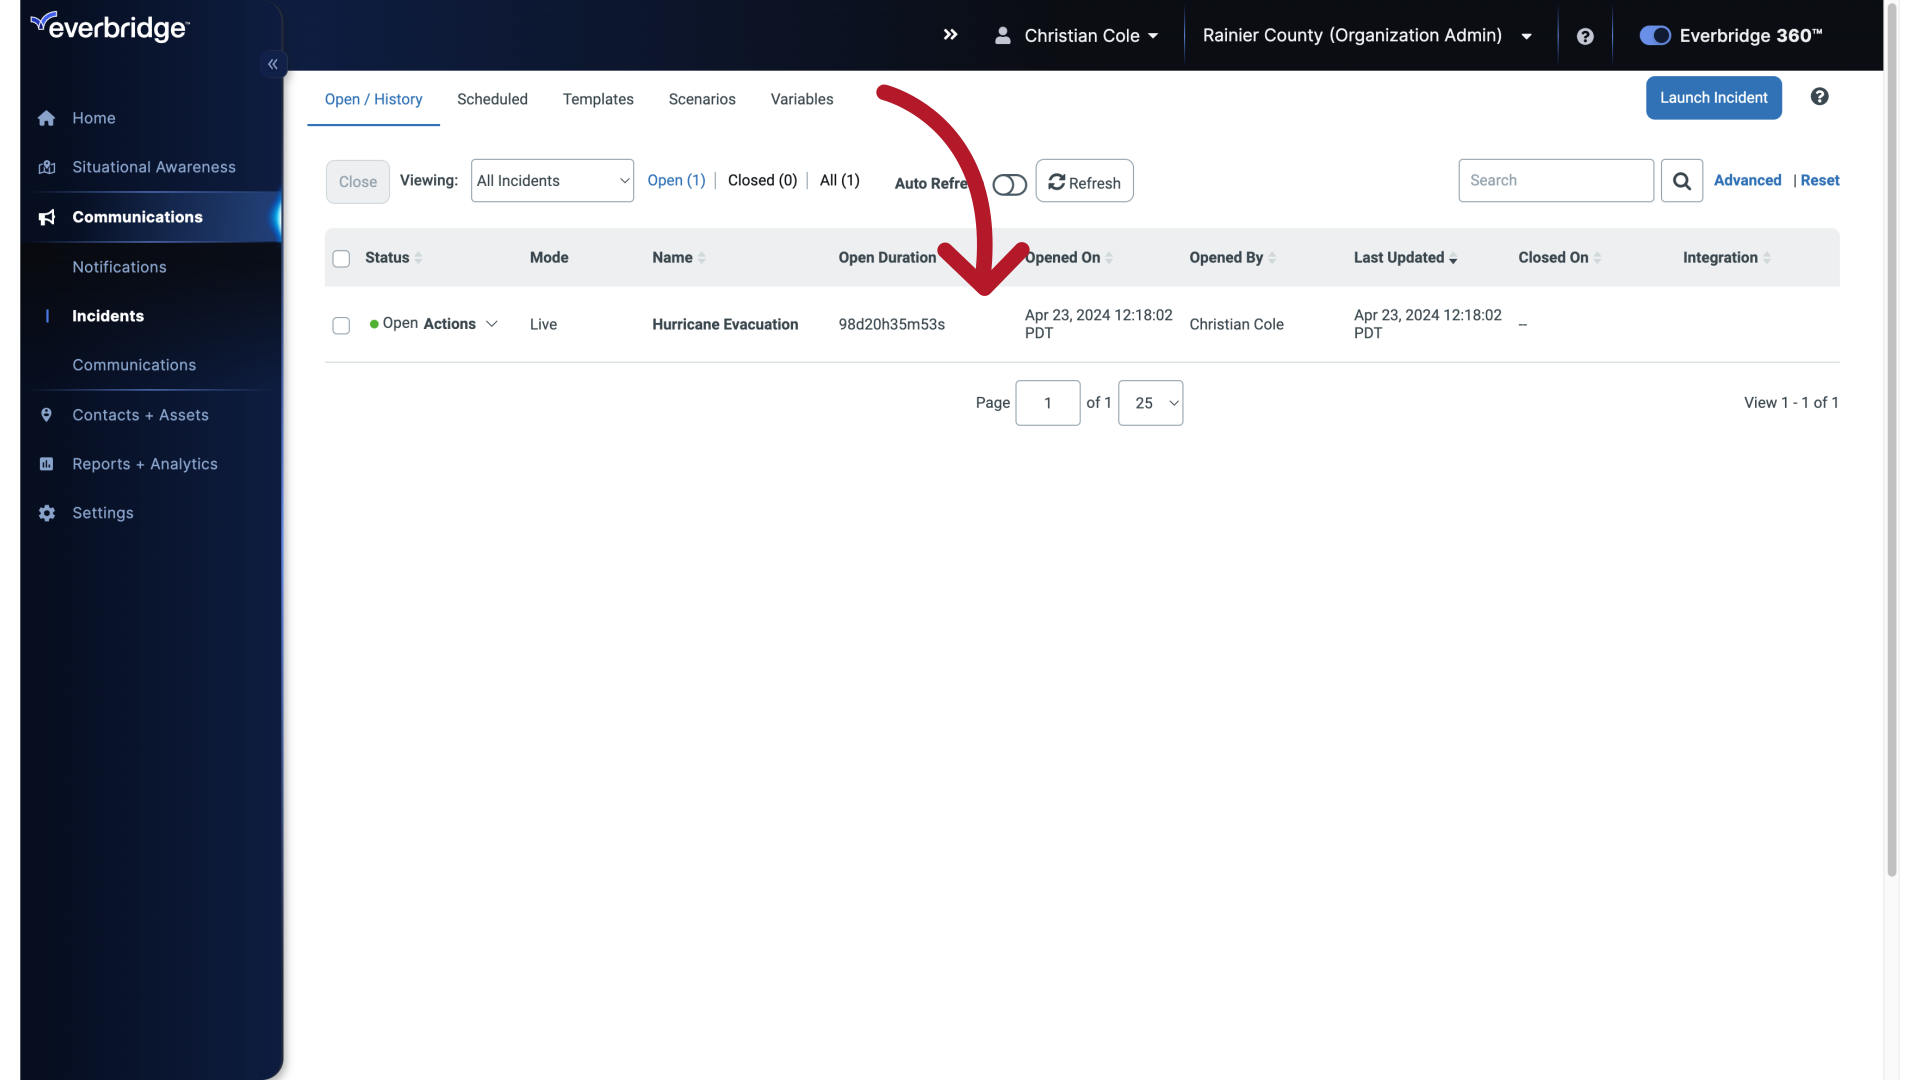
7. Open / History
While an Incident is Open, you can send Update messages.
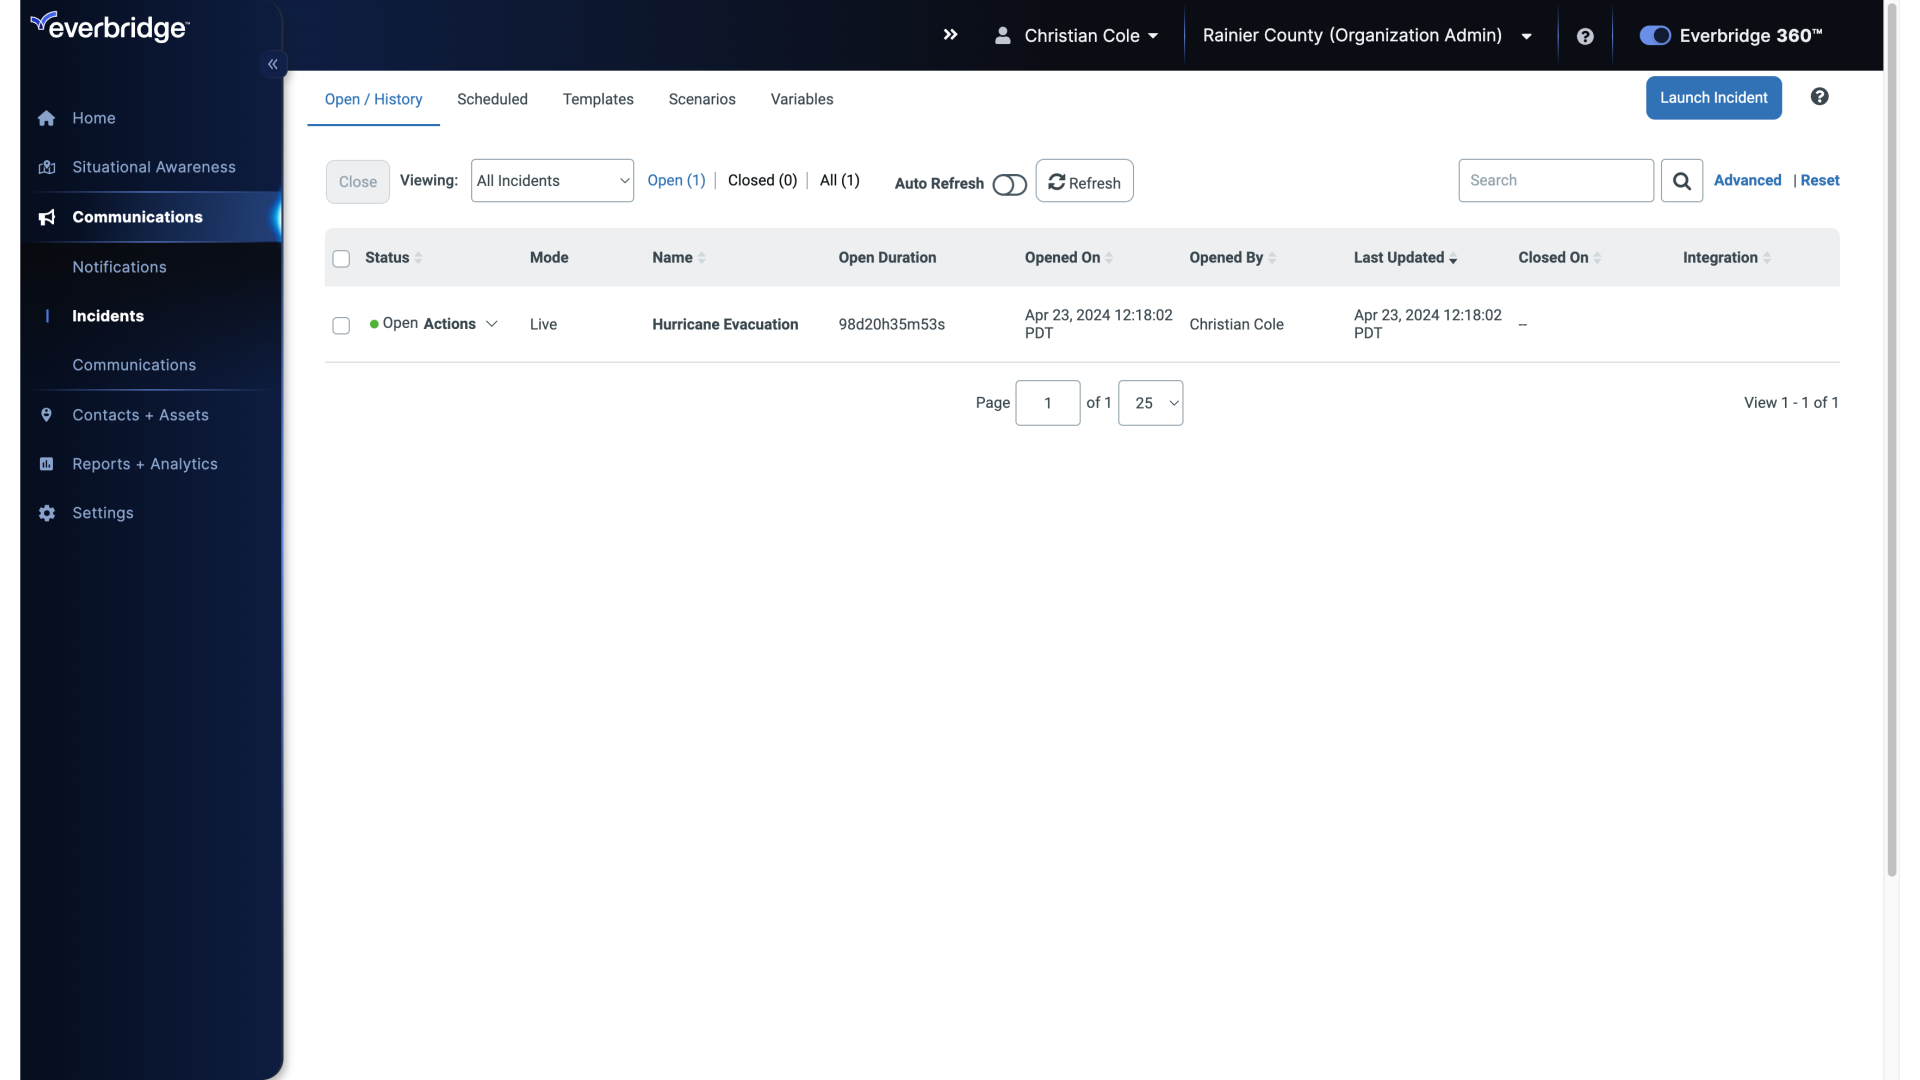
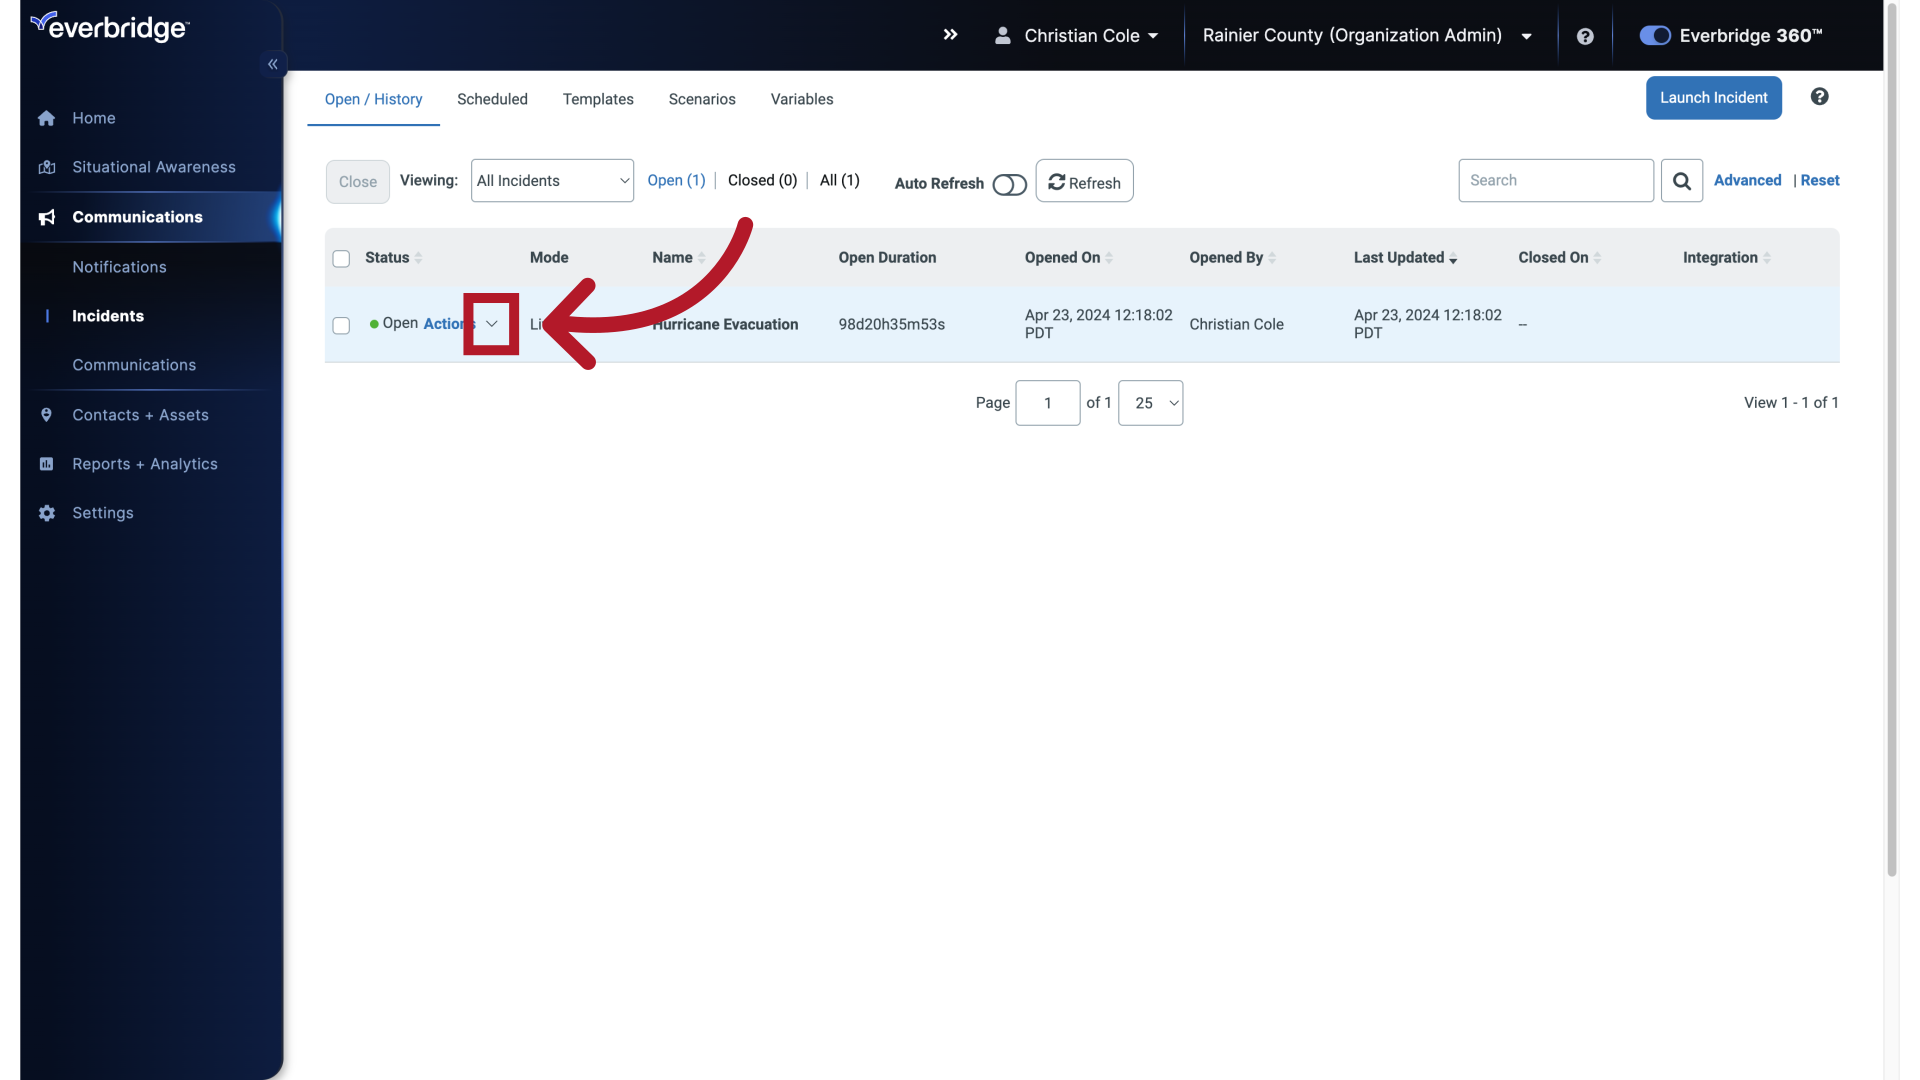
8. Actions Drop-Down
Next to your Incident, click the Actions drop-down menu.
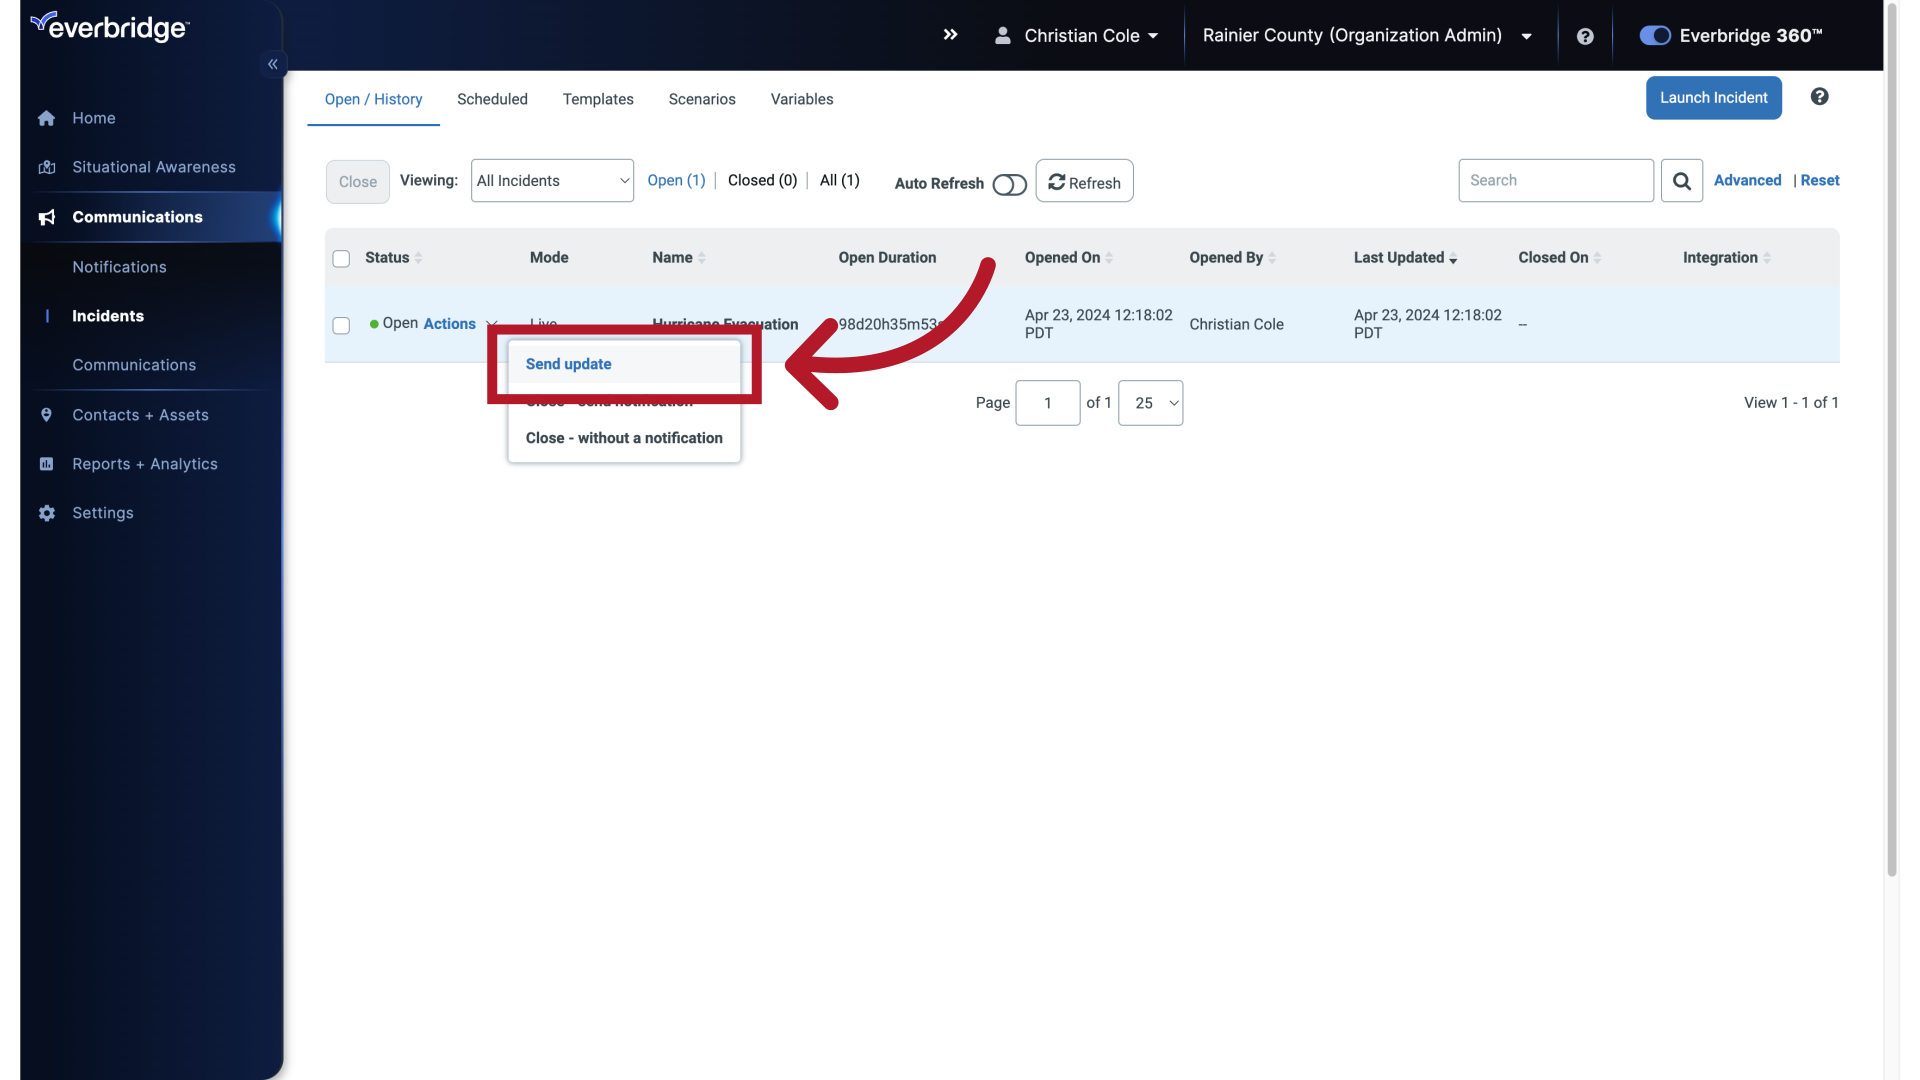
9. Send Update
Then click, Send Update.
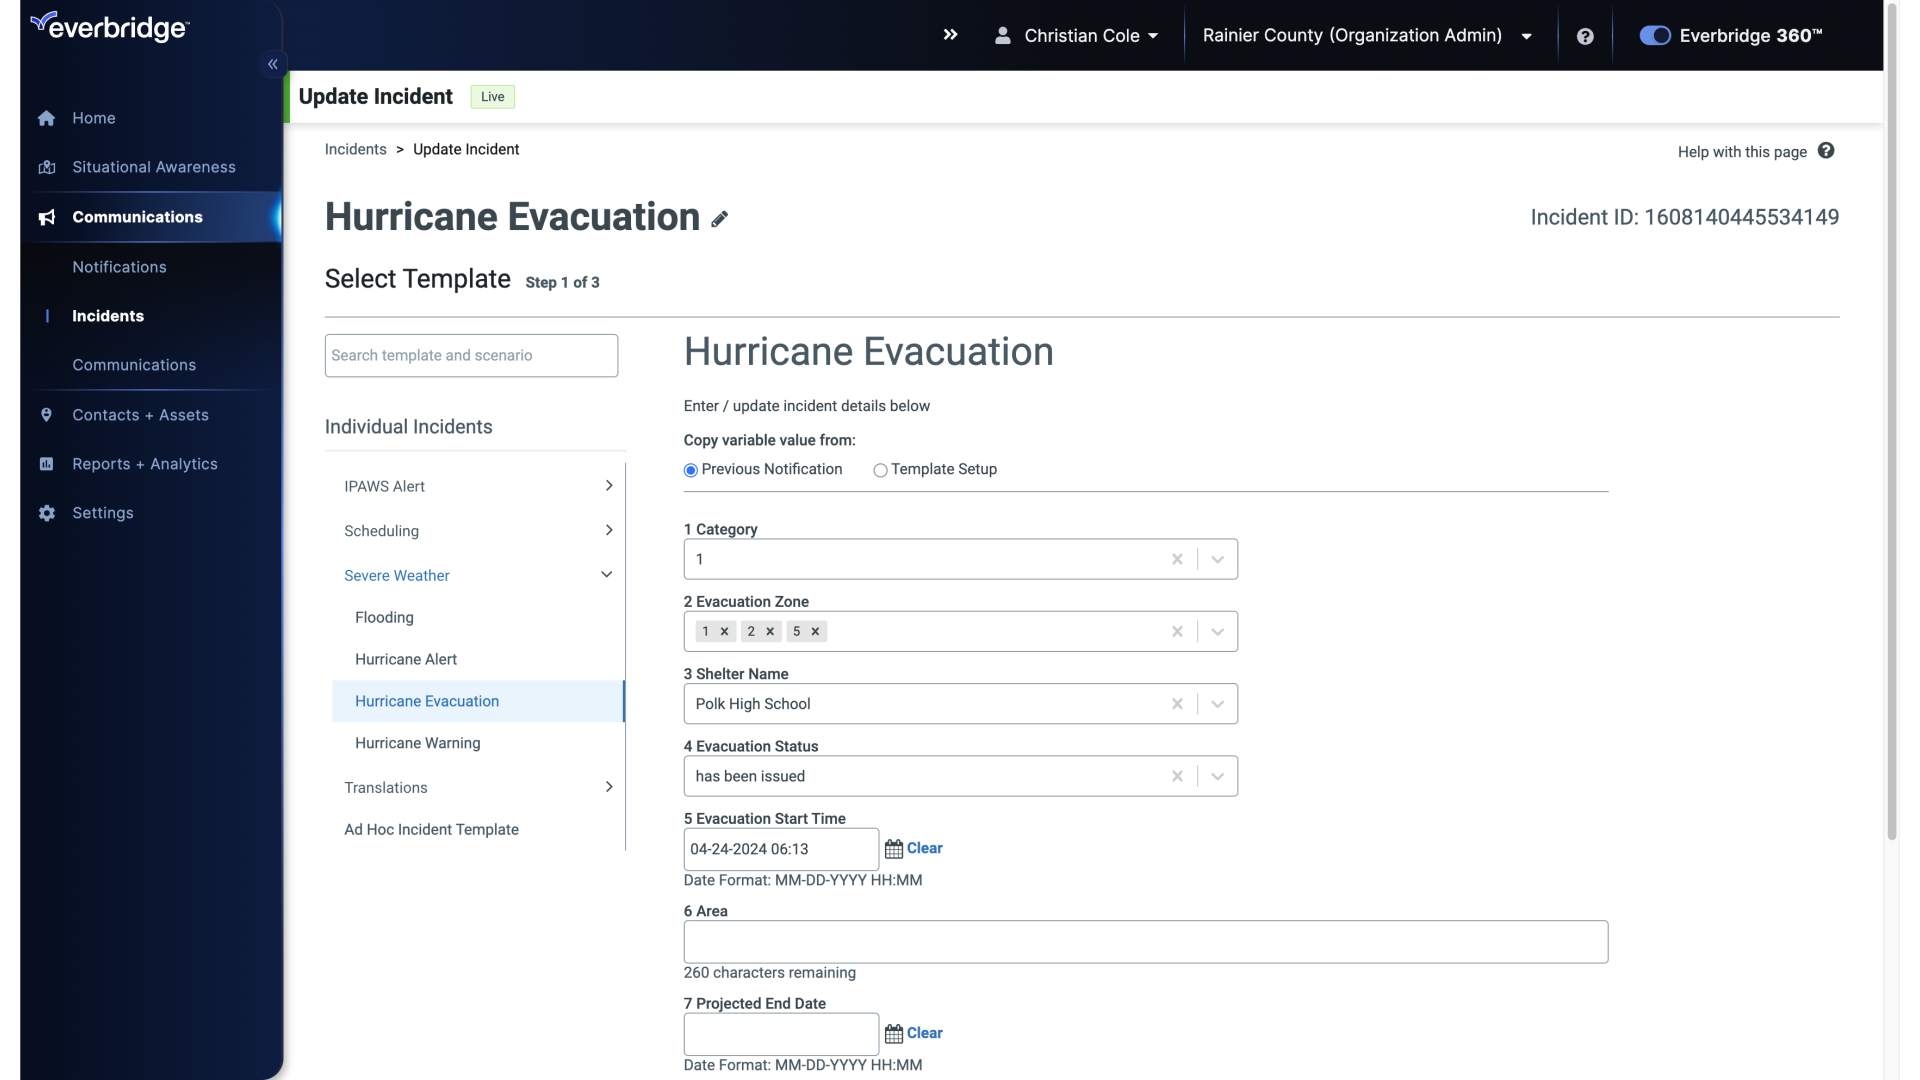
10. Update Incident
This opens the Update Incident page where you can see your previously entered Message and Information.
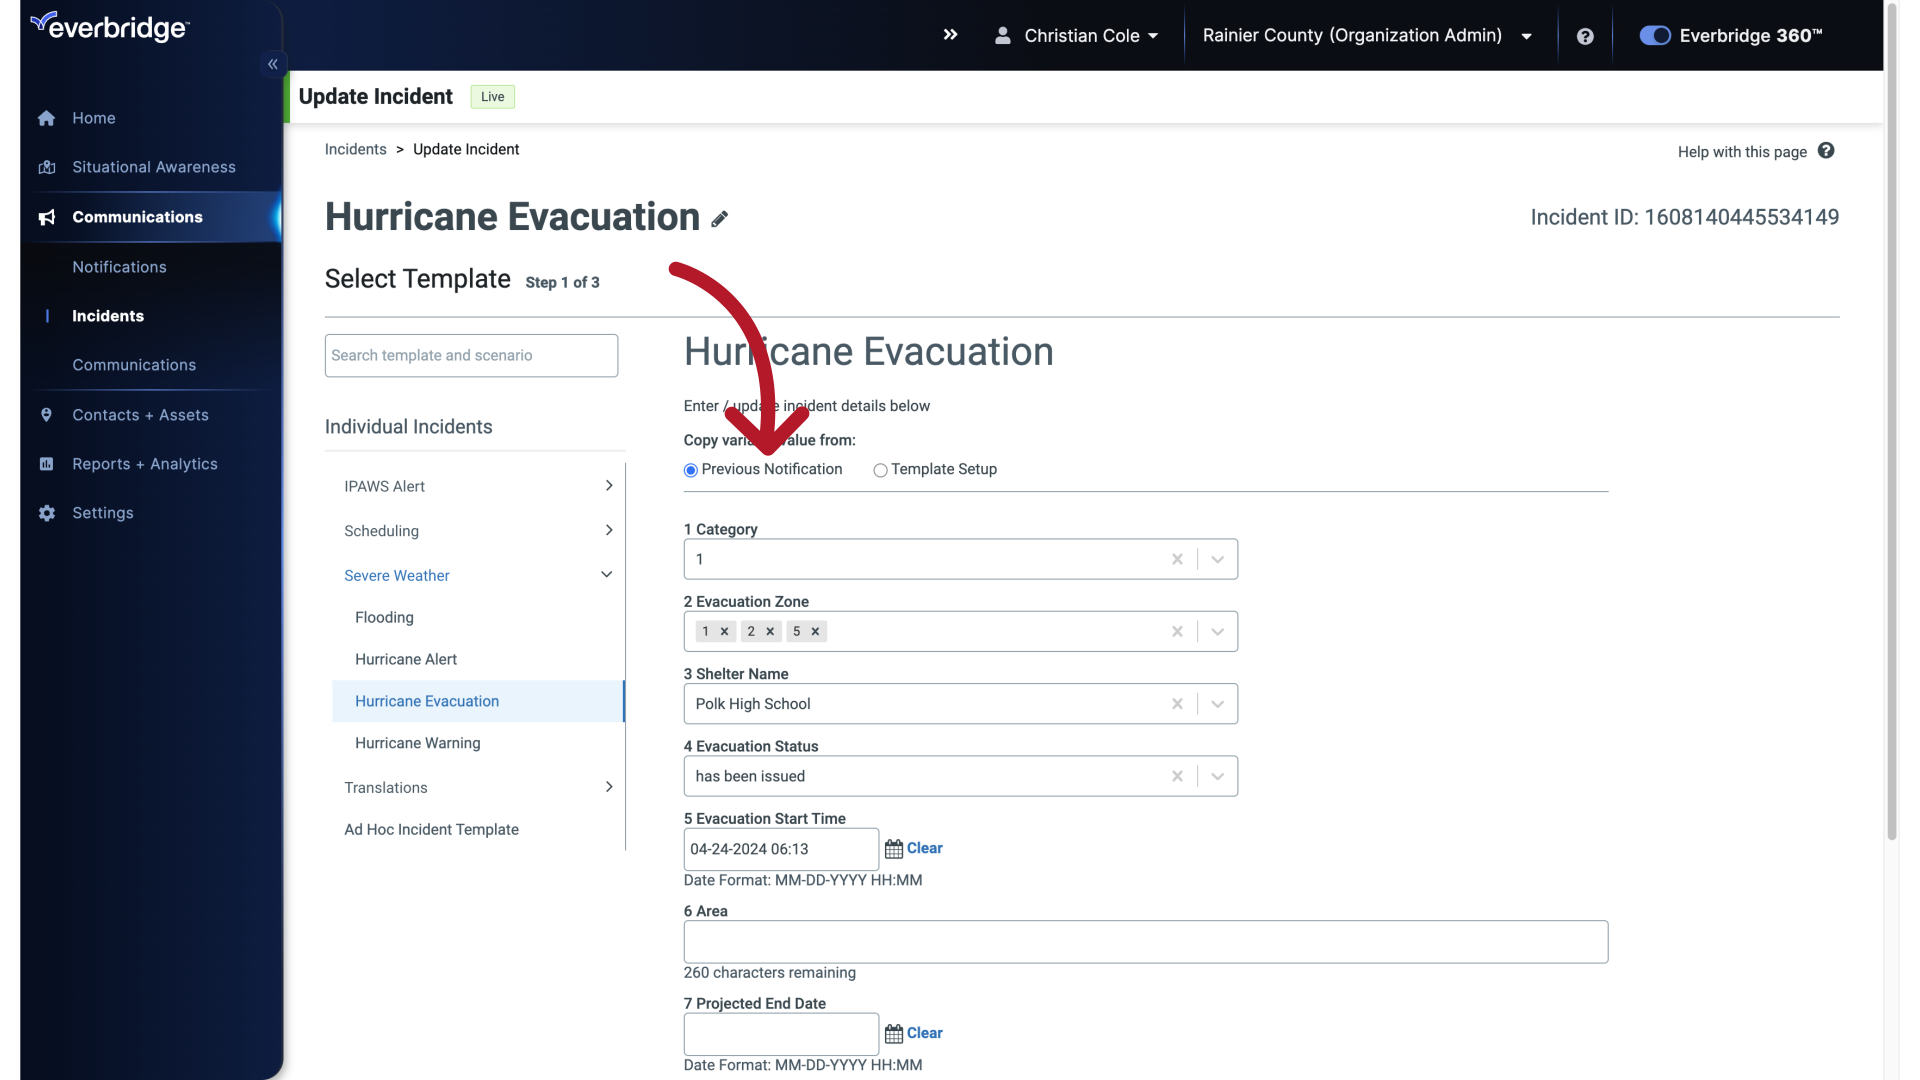
11. Copy Variable Value
Select either Template Setup.
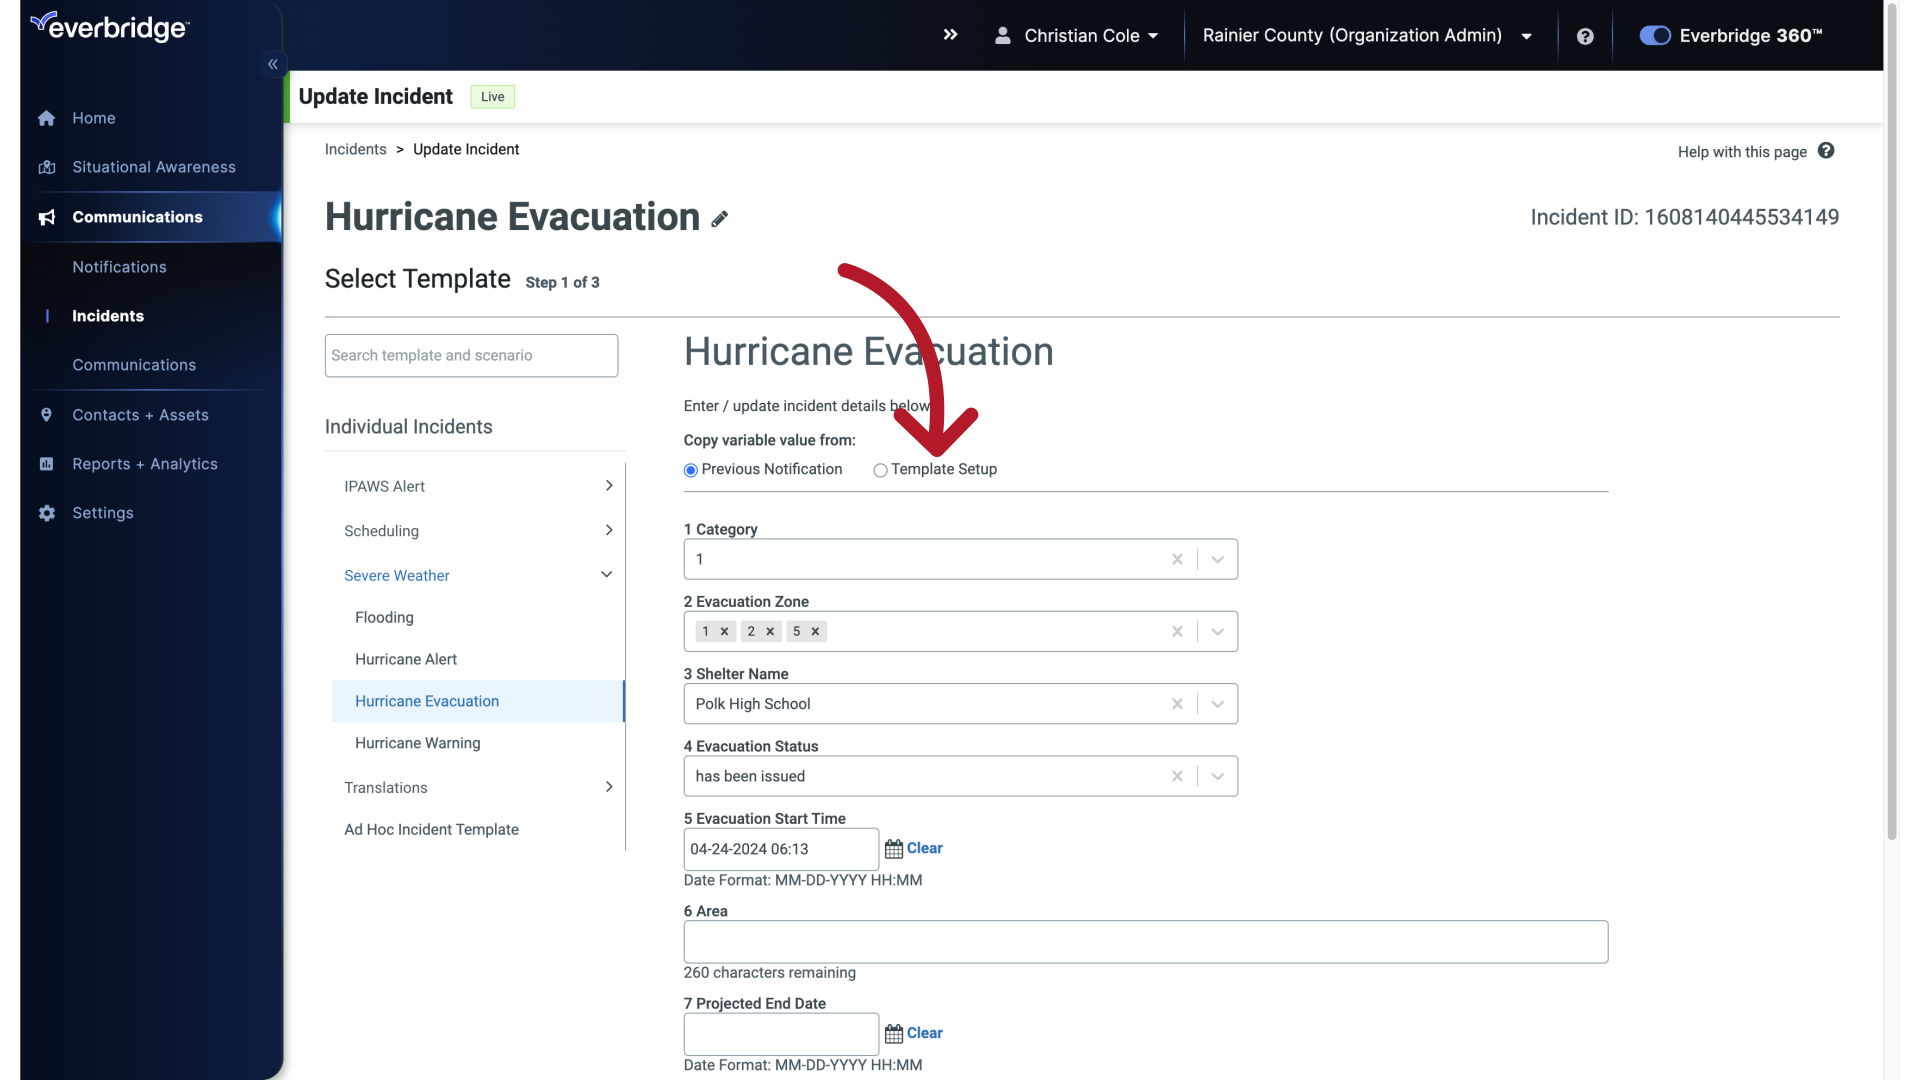
12. Copy Variable Value
Or Previous Notification on the Operator Form.
13. Template Setup
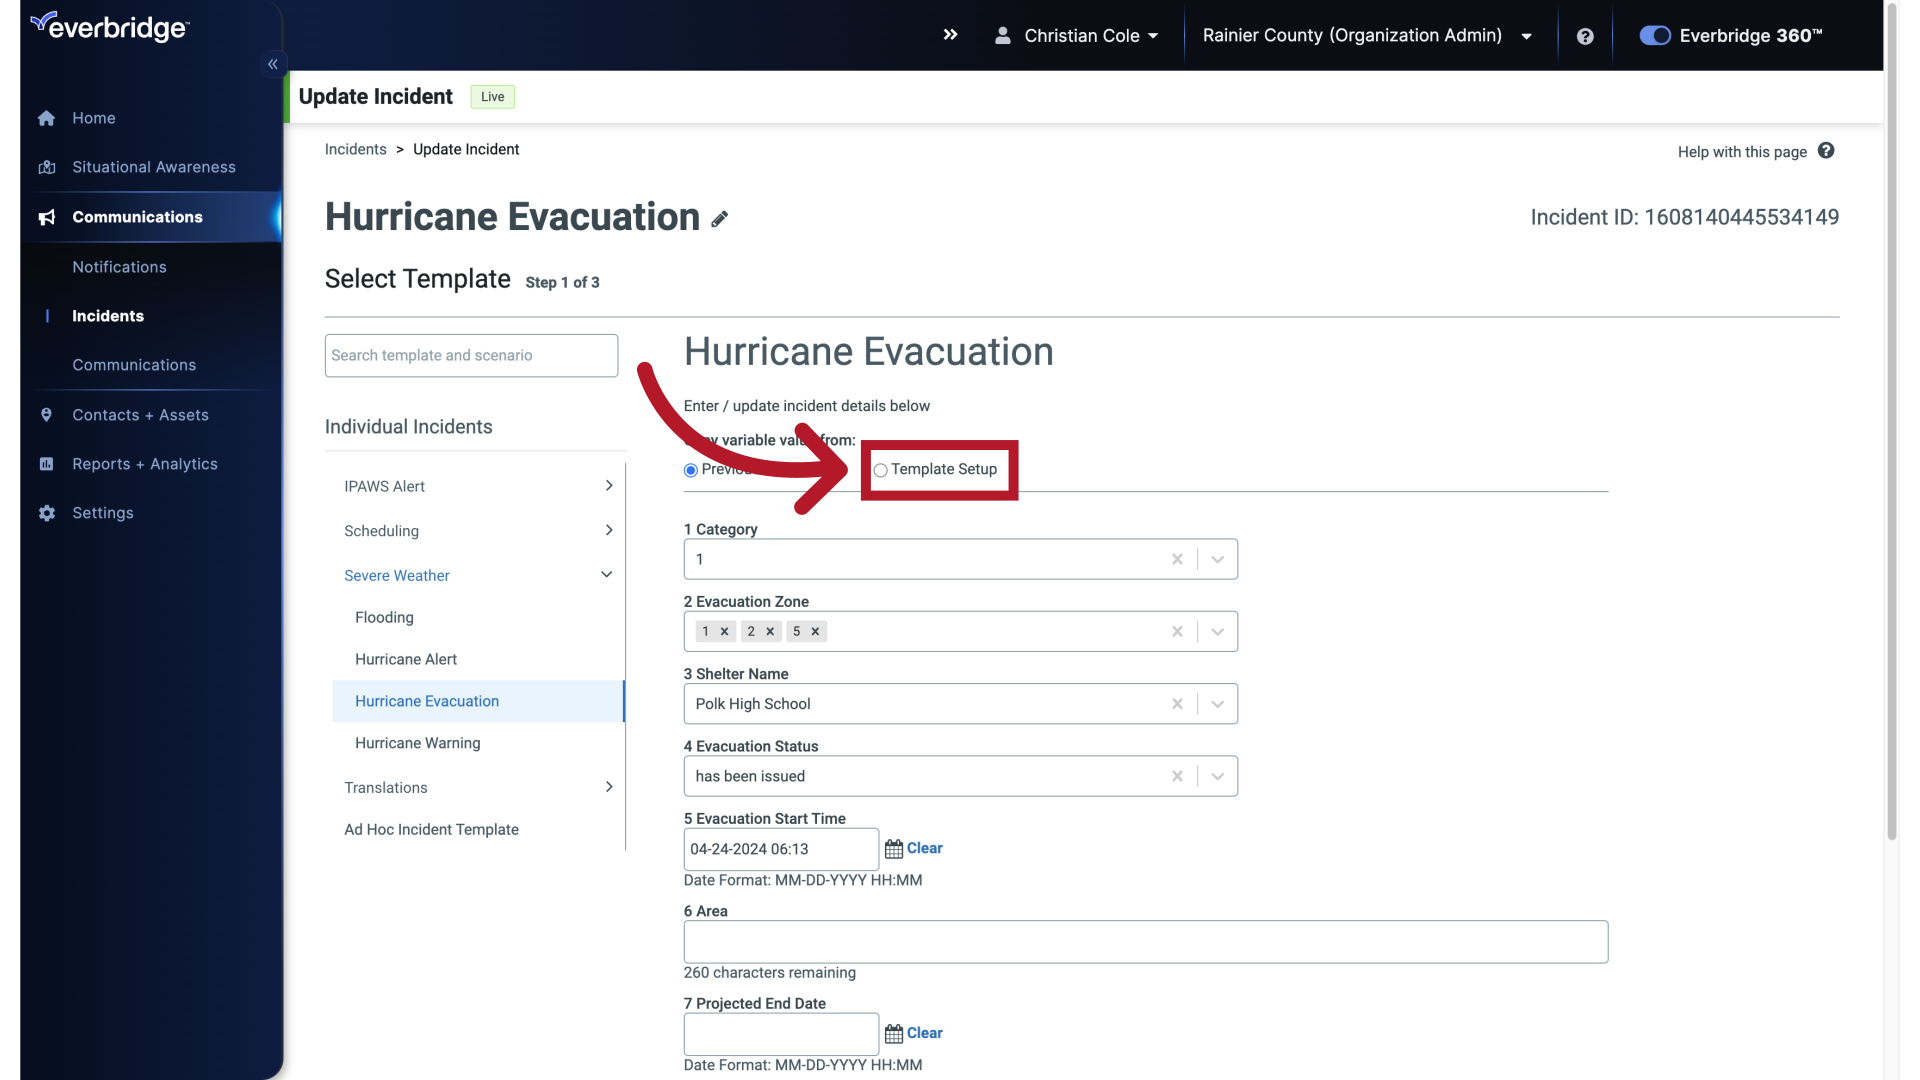
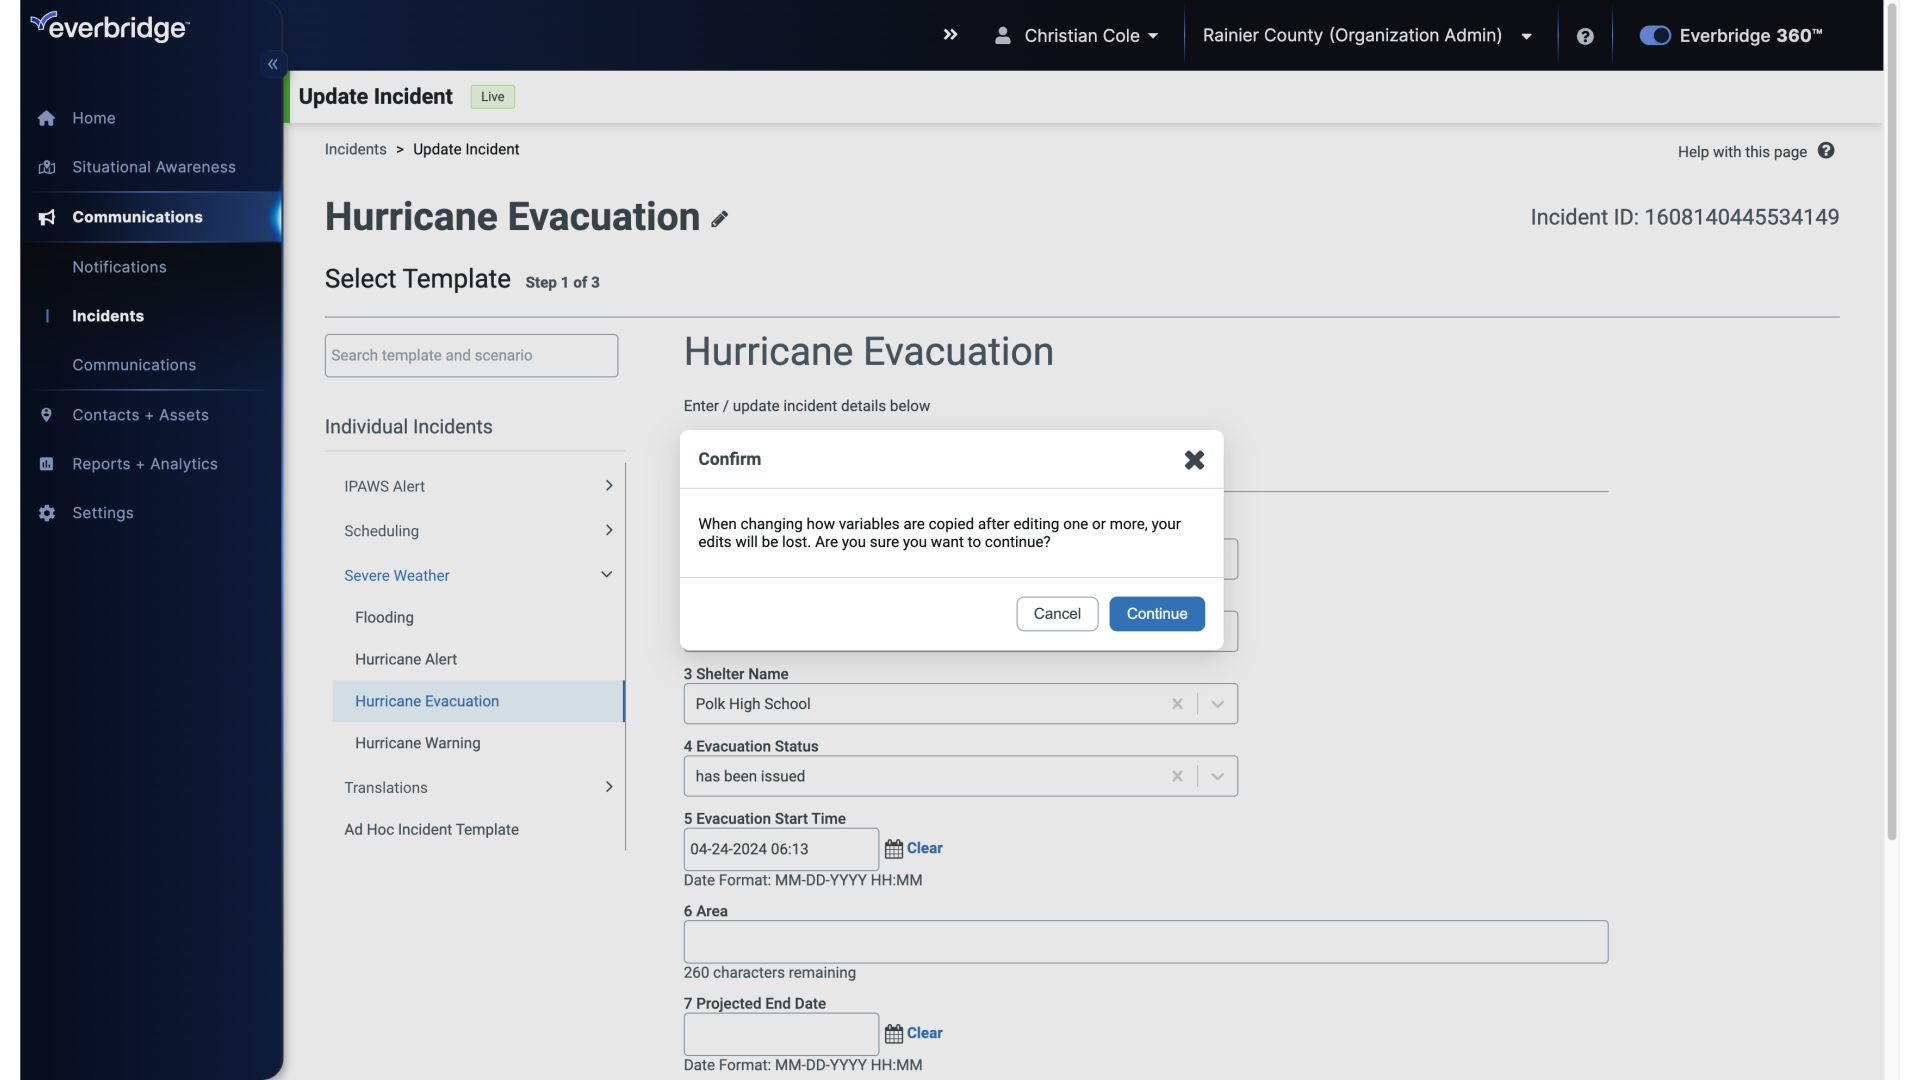
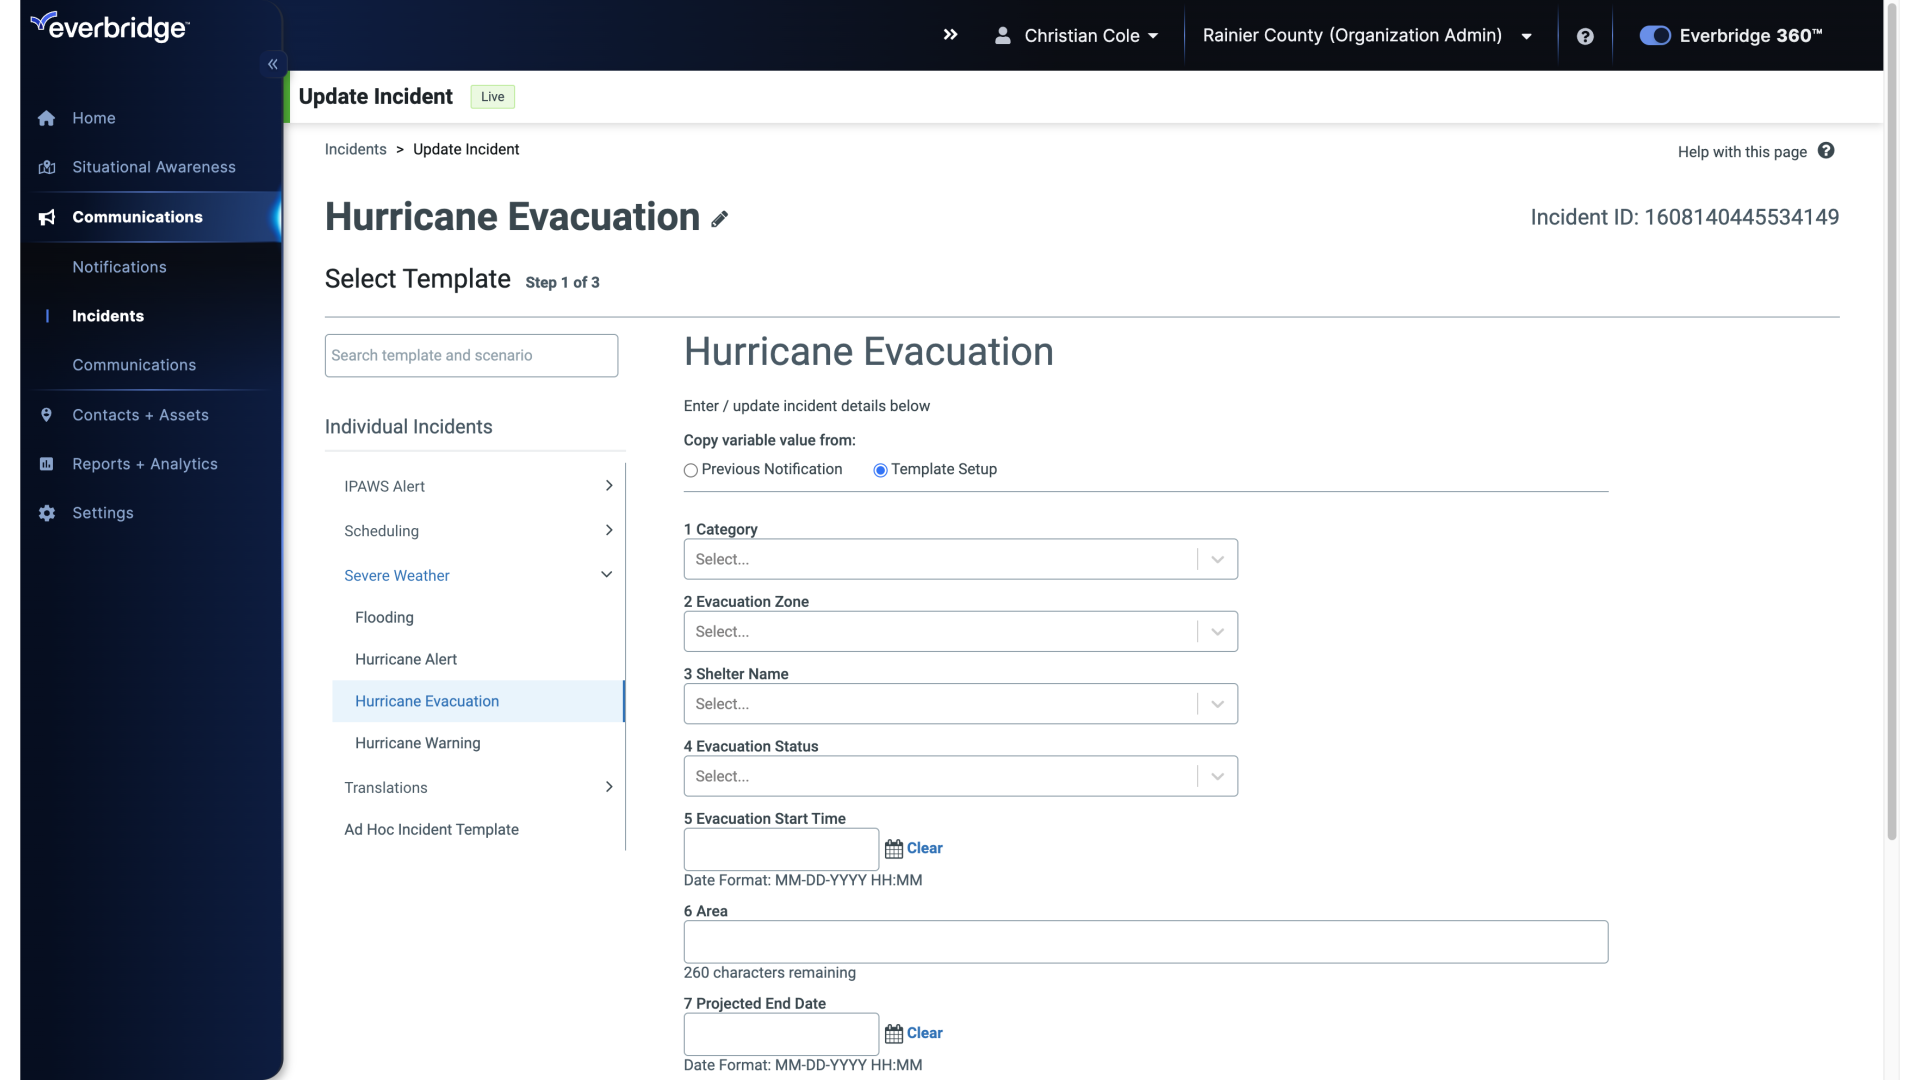
The Template Setup option uses the values from the Original Incident Template.
14. Template Setup
This selection overrides any changes you've made on your Form and starts you from scratch.
15. Template Setup
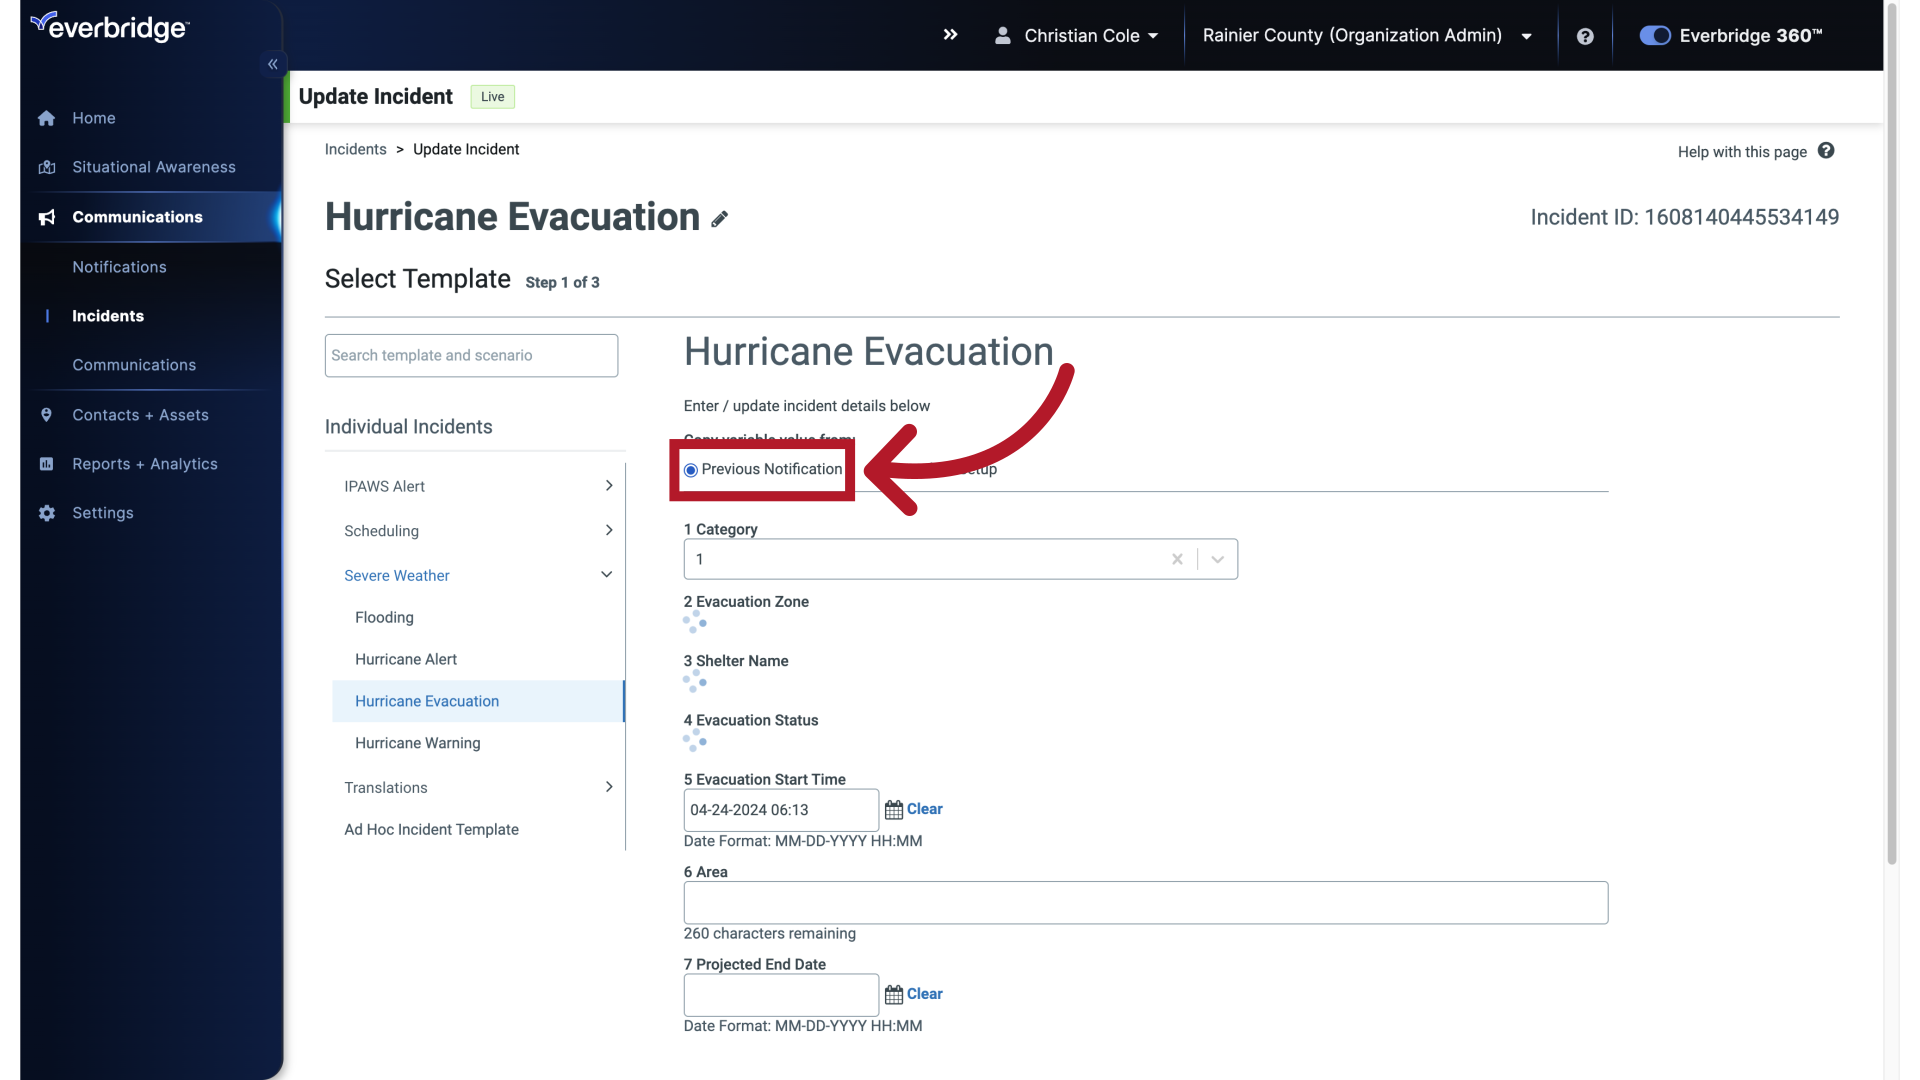
16. Previous Notification
Previous Notification uses the information and Variables selected and written in the previous Notification of the Incident.
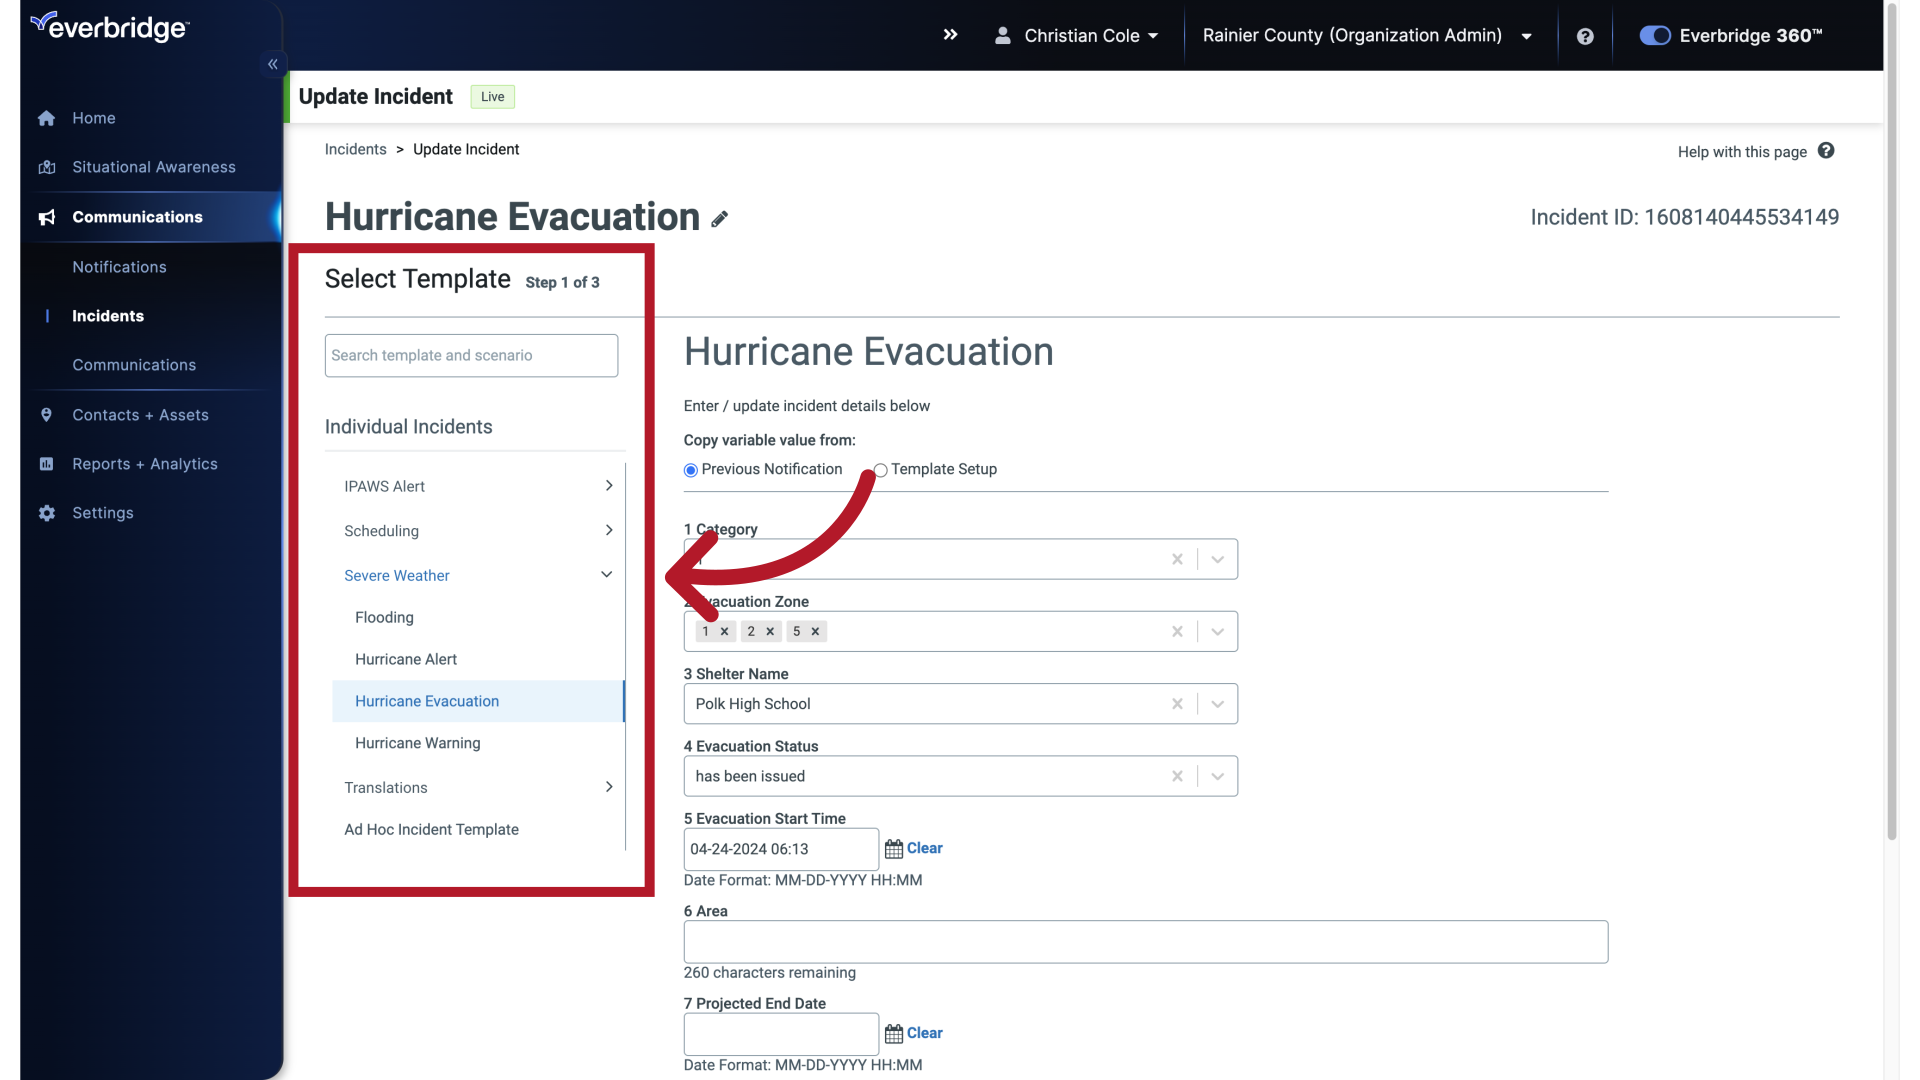
17. Individual Template Selection
If you need to use another Template, click the desired Template from the Individual Incidents column.
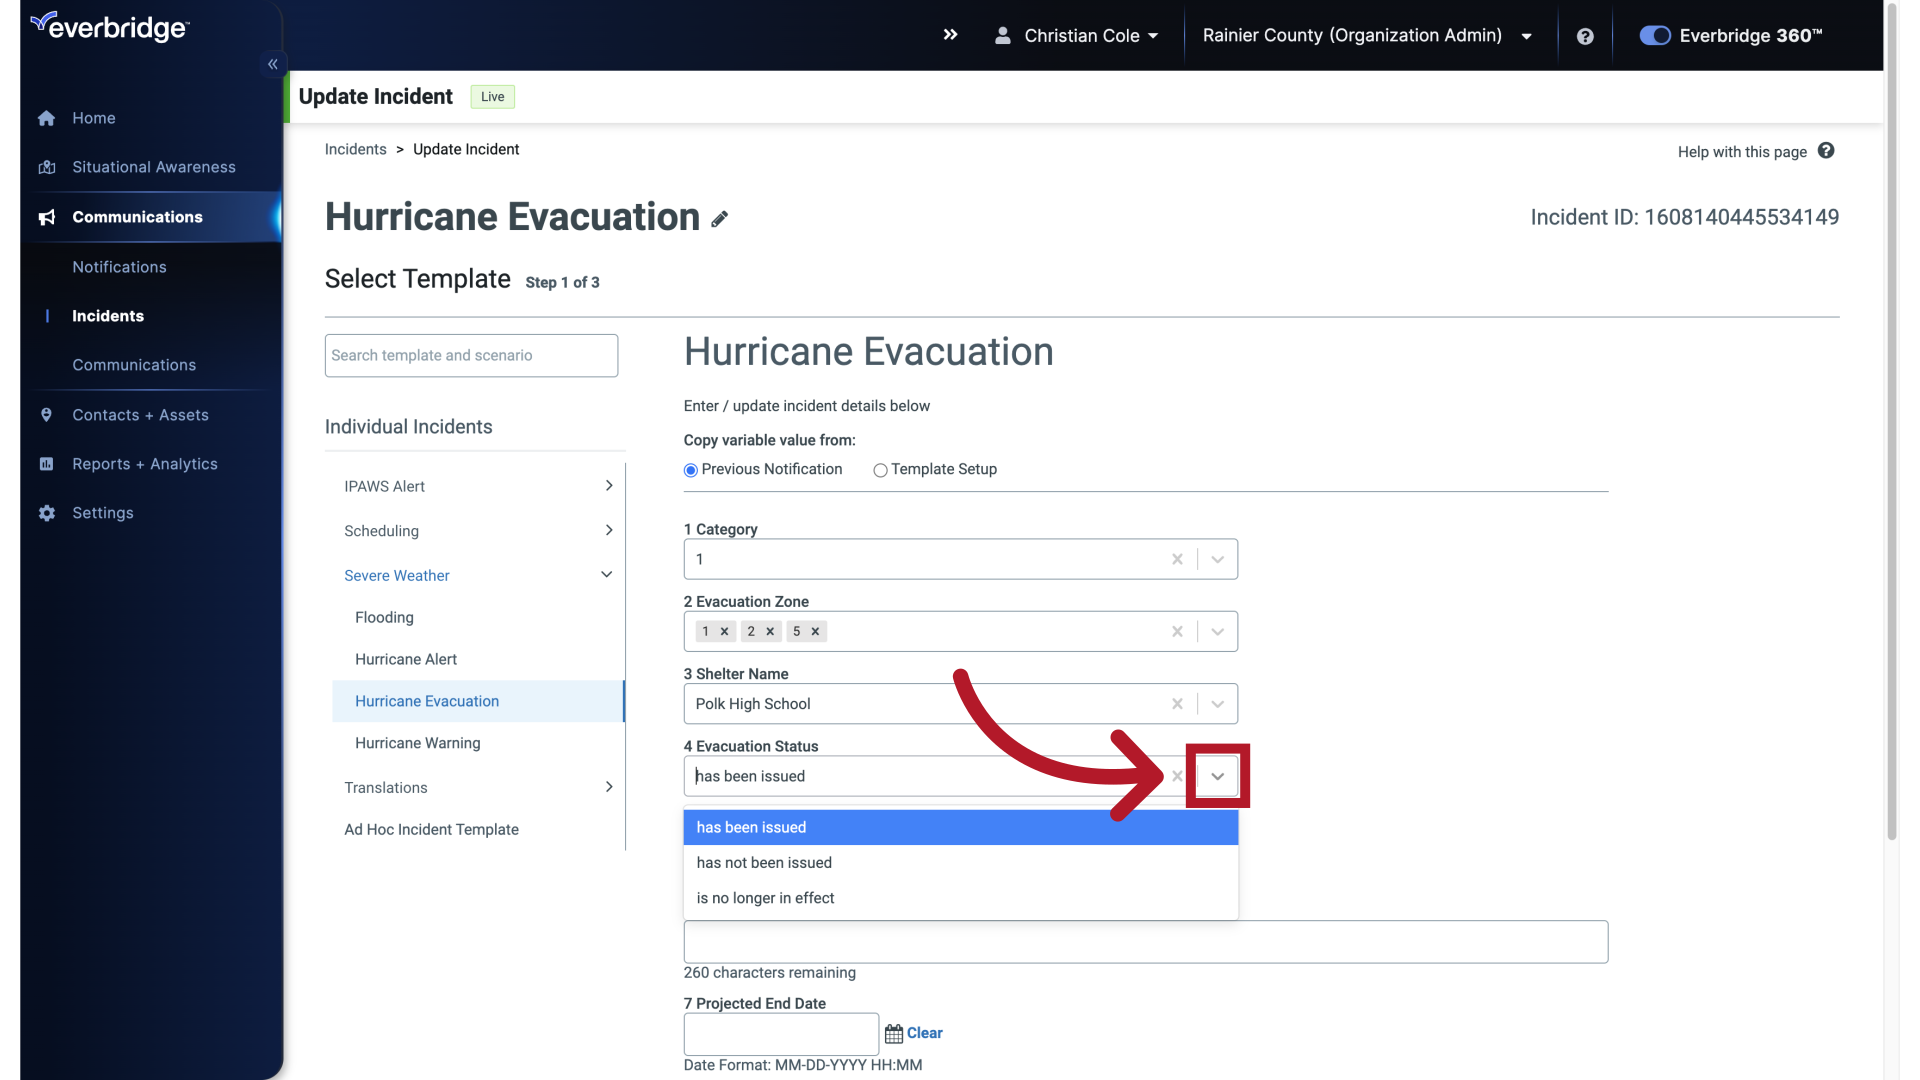
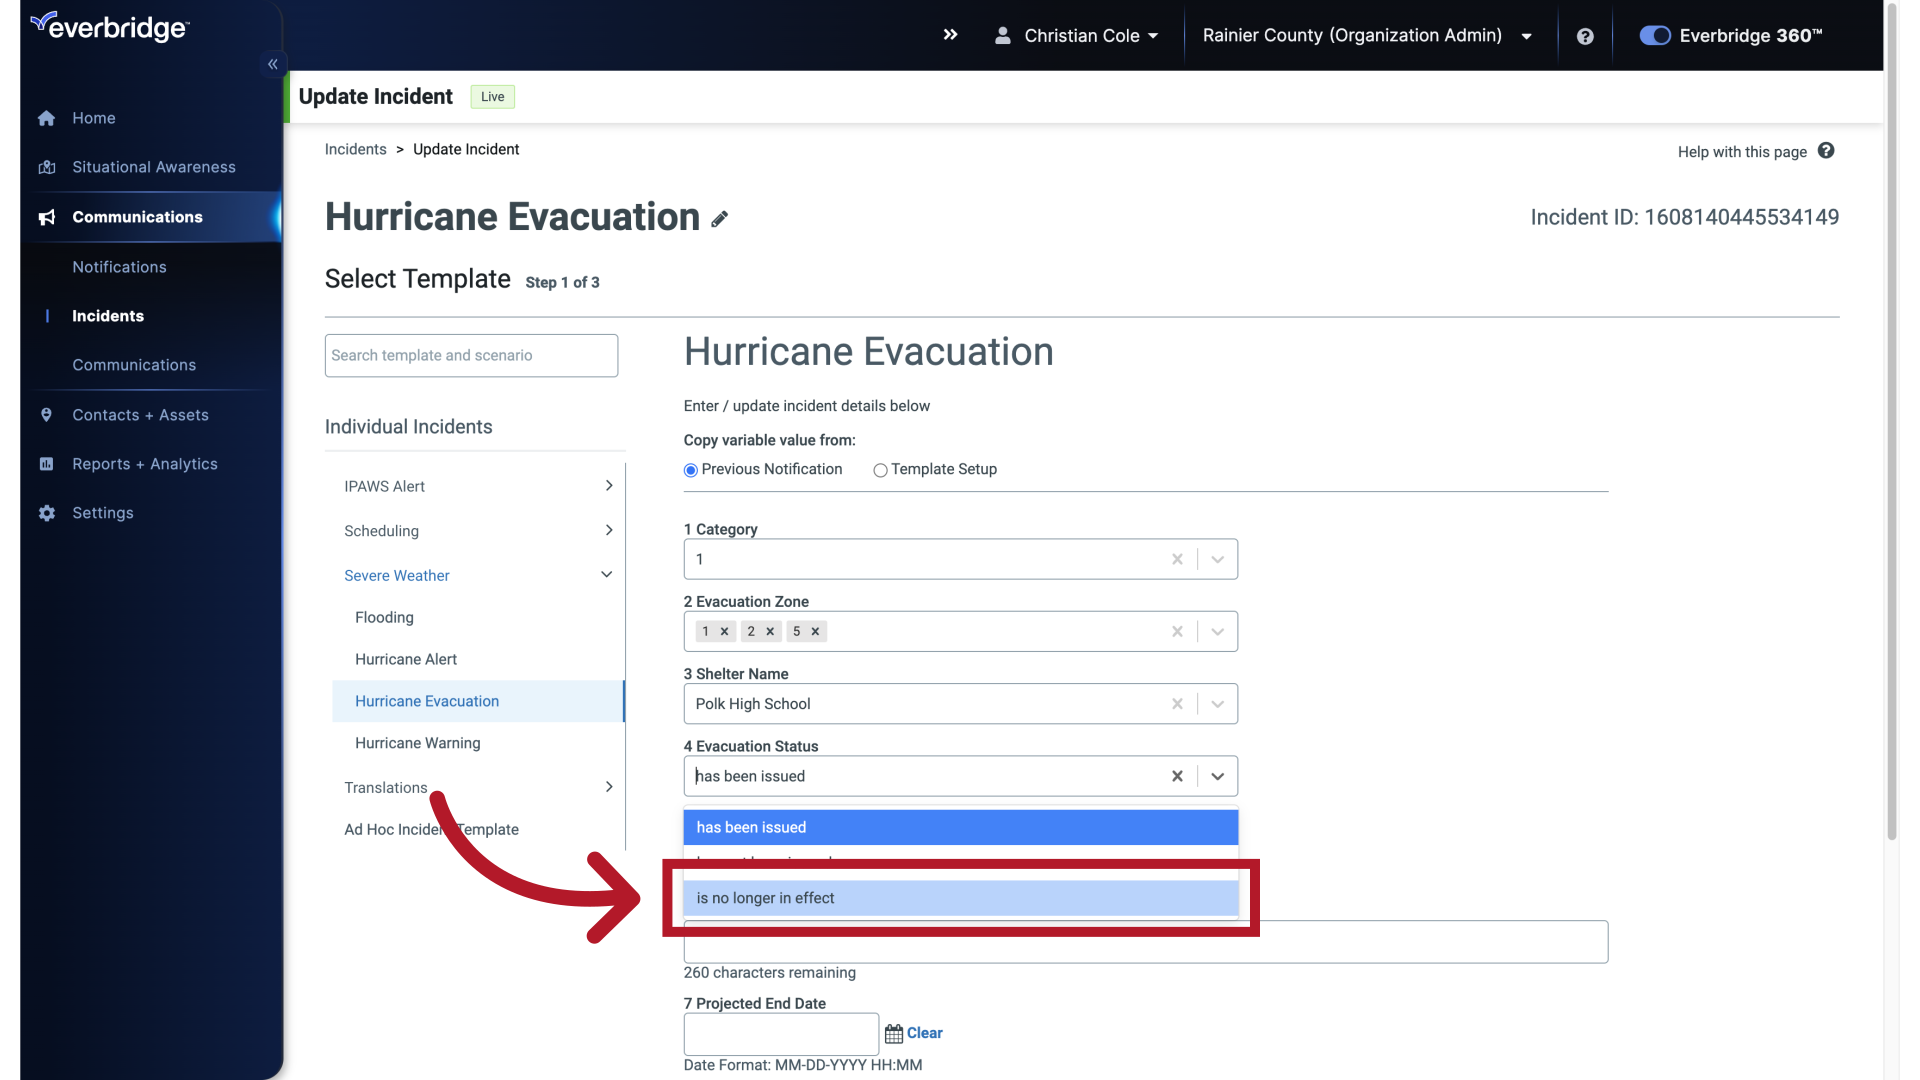
18. Update Variables
Enter your new, or updated information and fill out the Incident Variables just as you would if it were new.
19. Update Variables
20. Update Variables
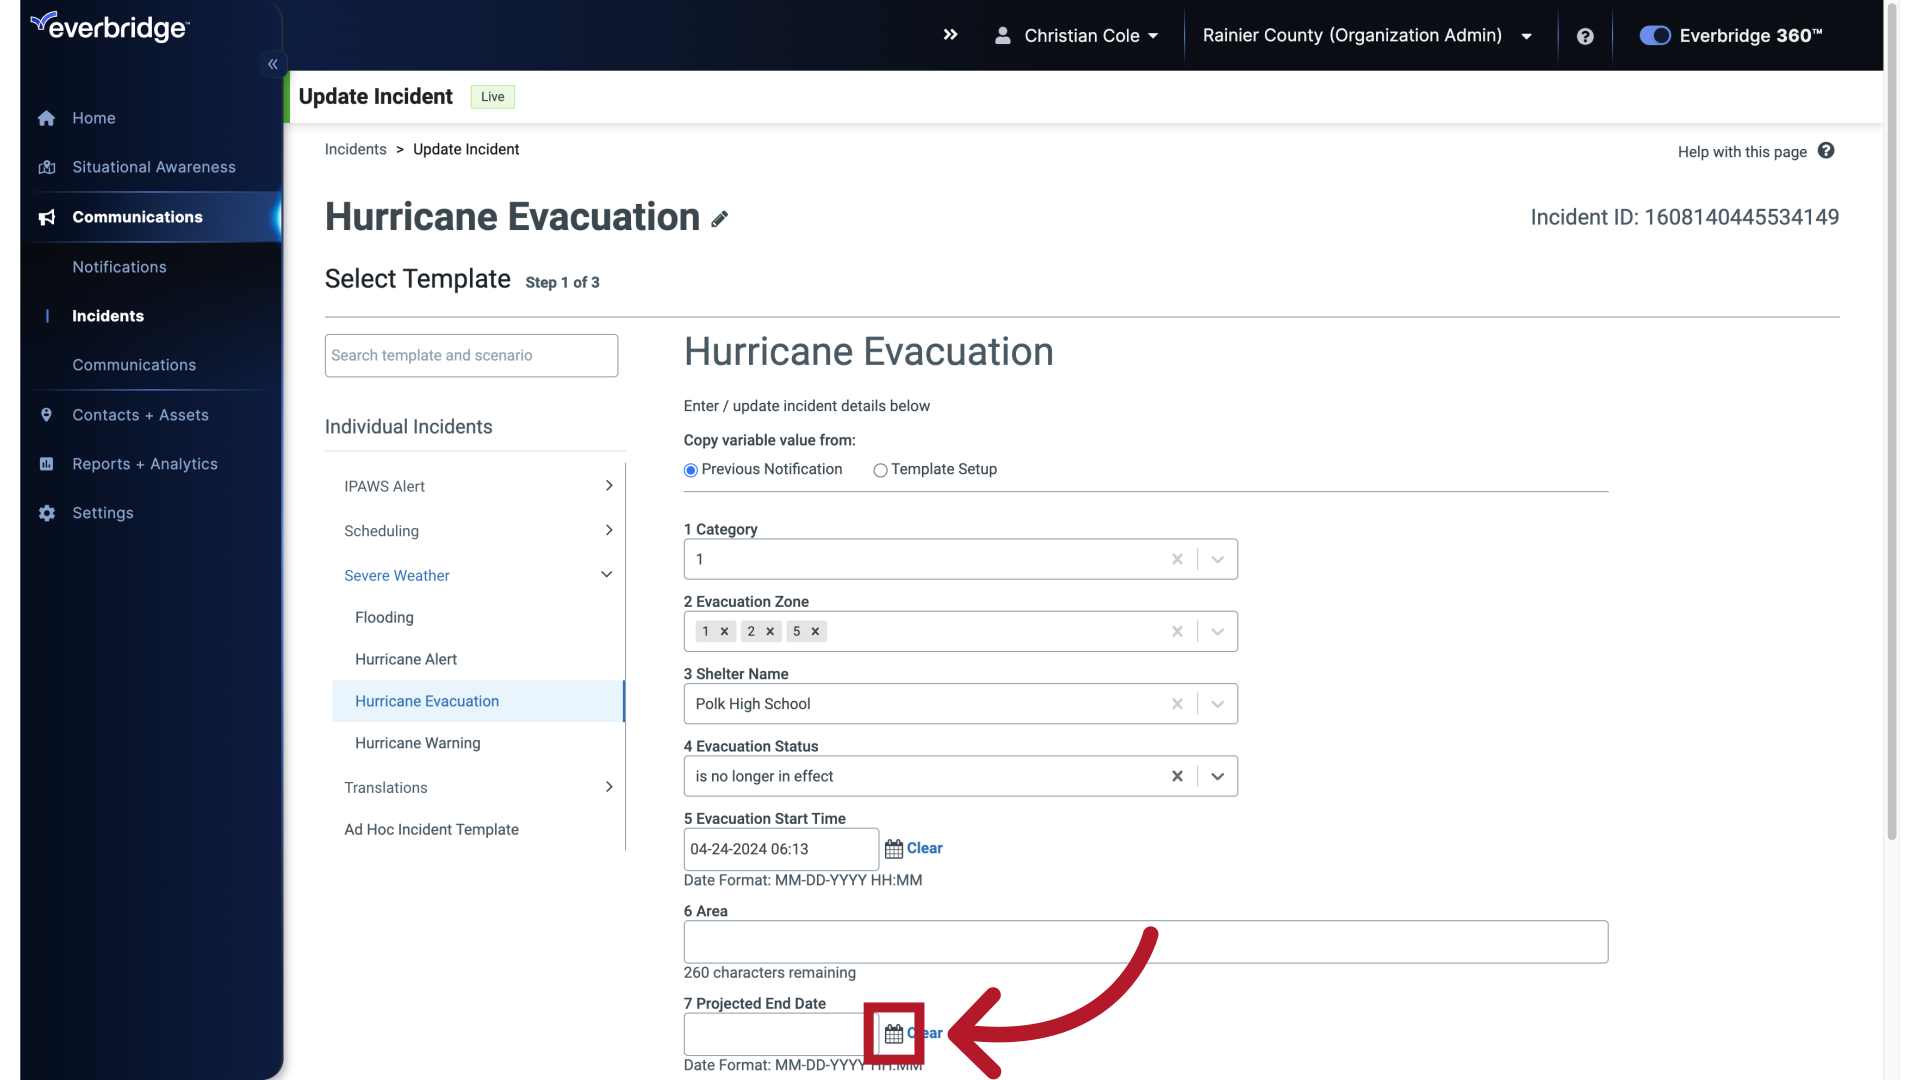
21. Update Variables
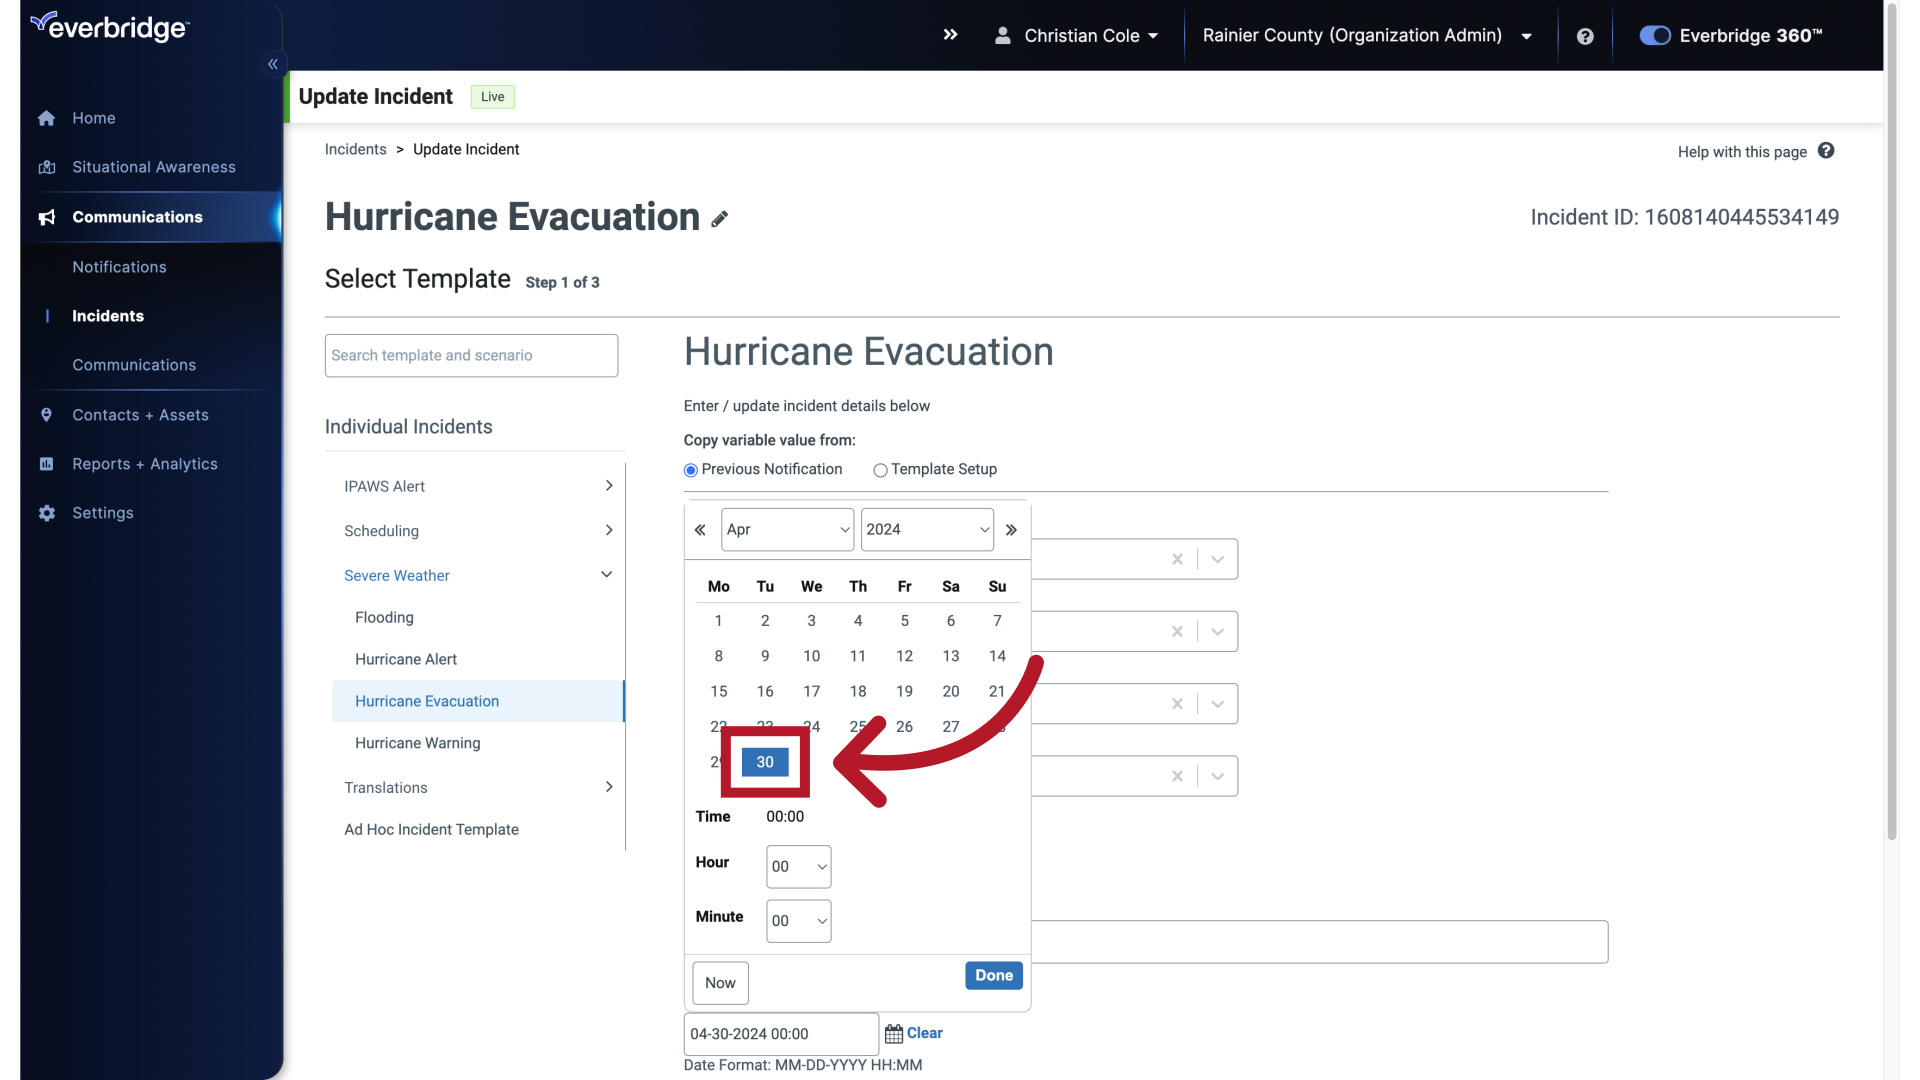
22. Update Variables
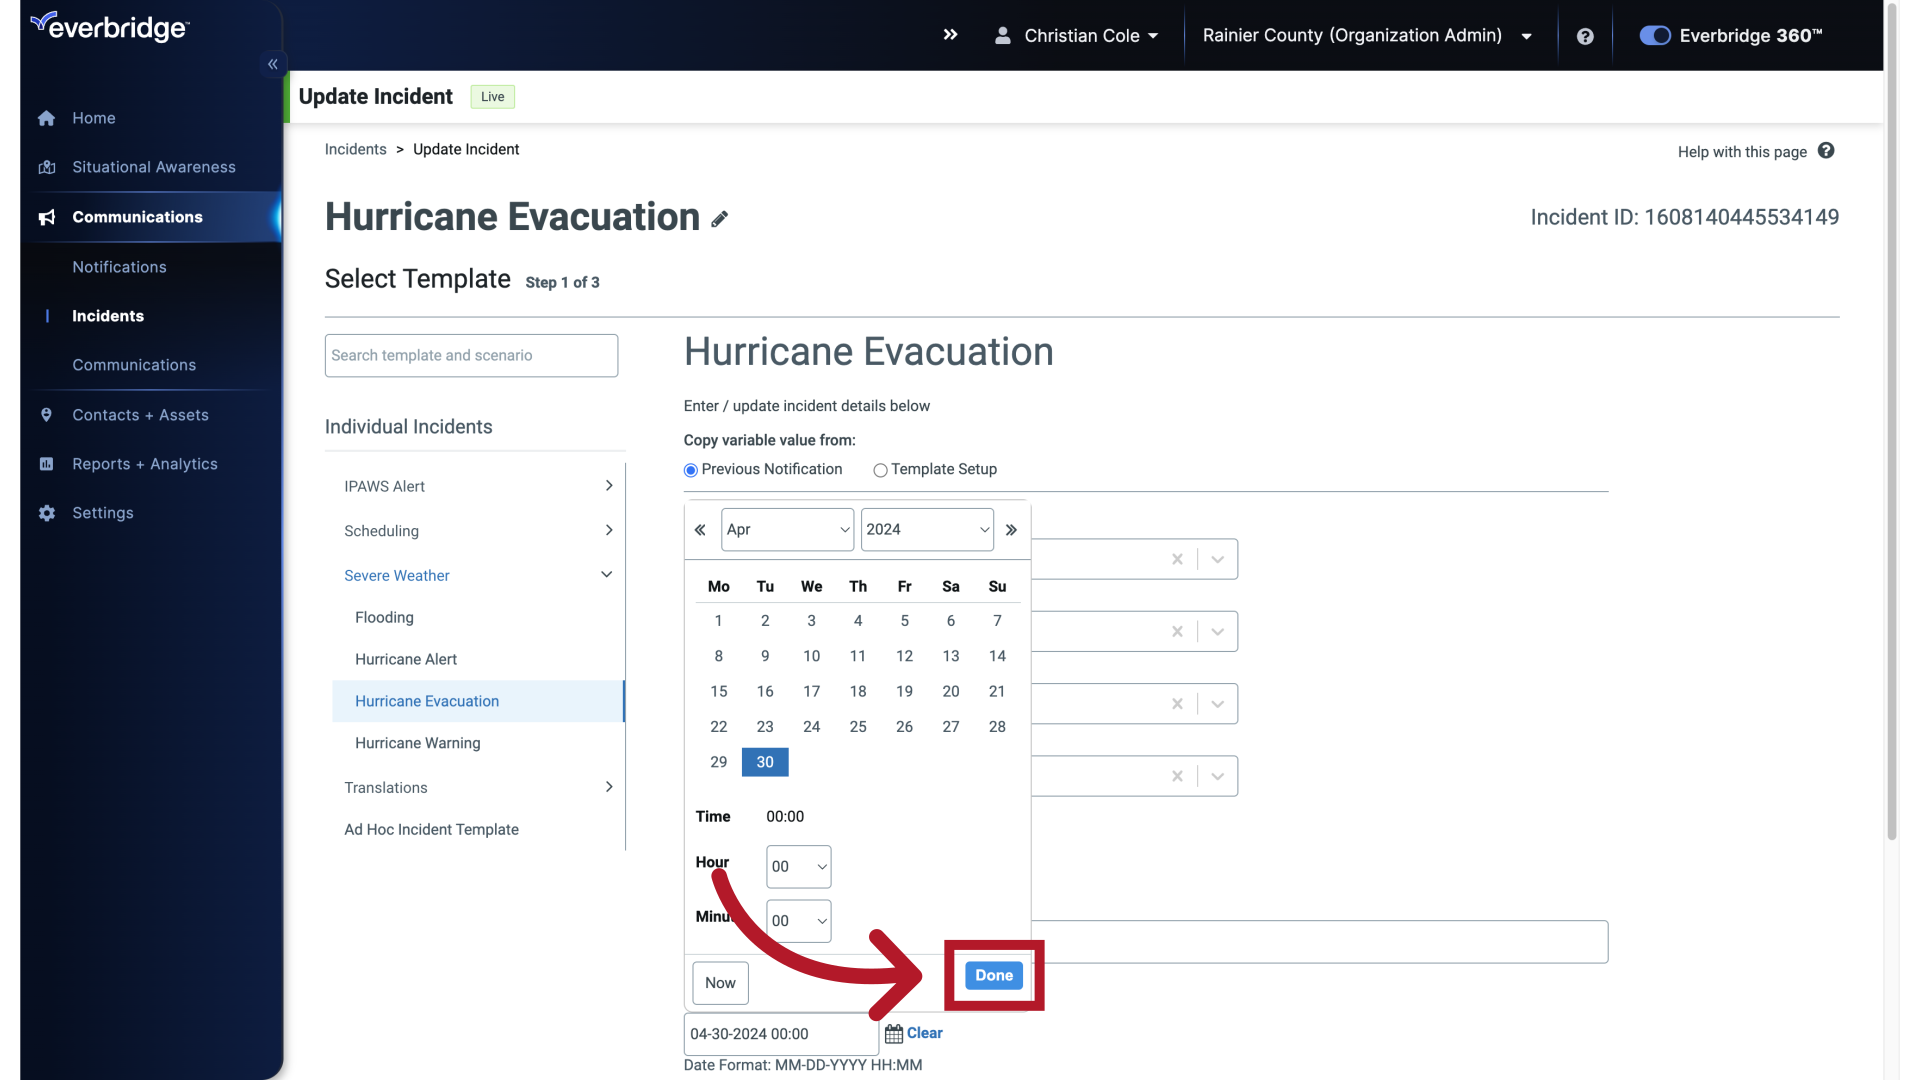
23. Update Variables
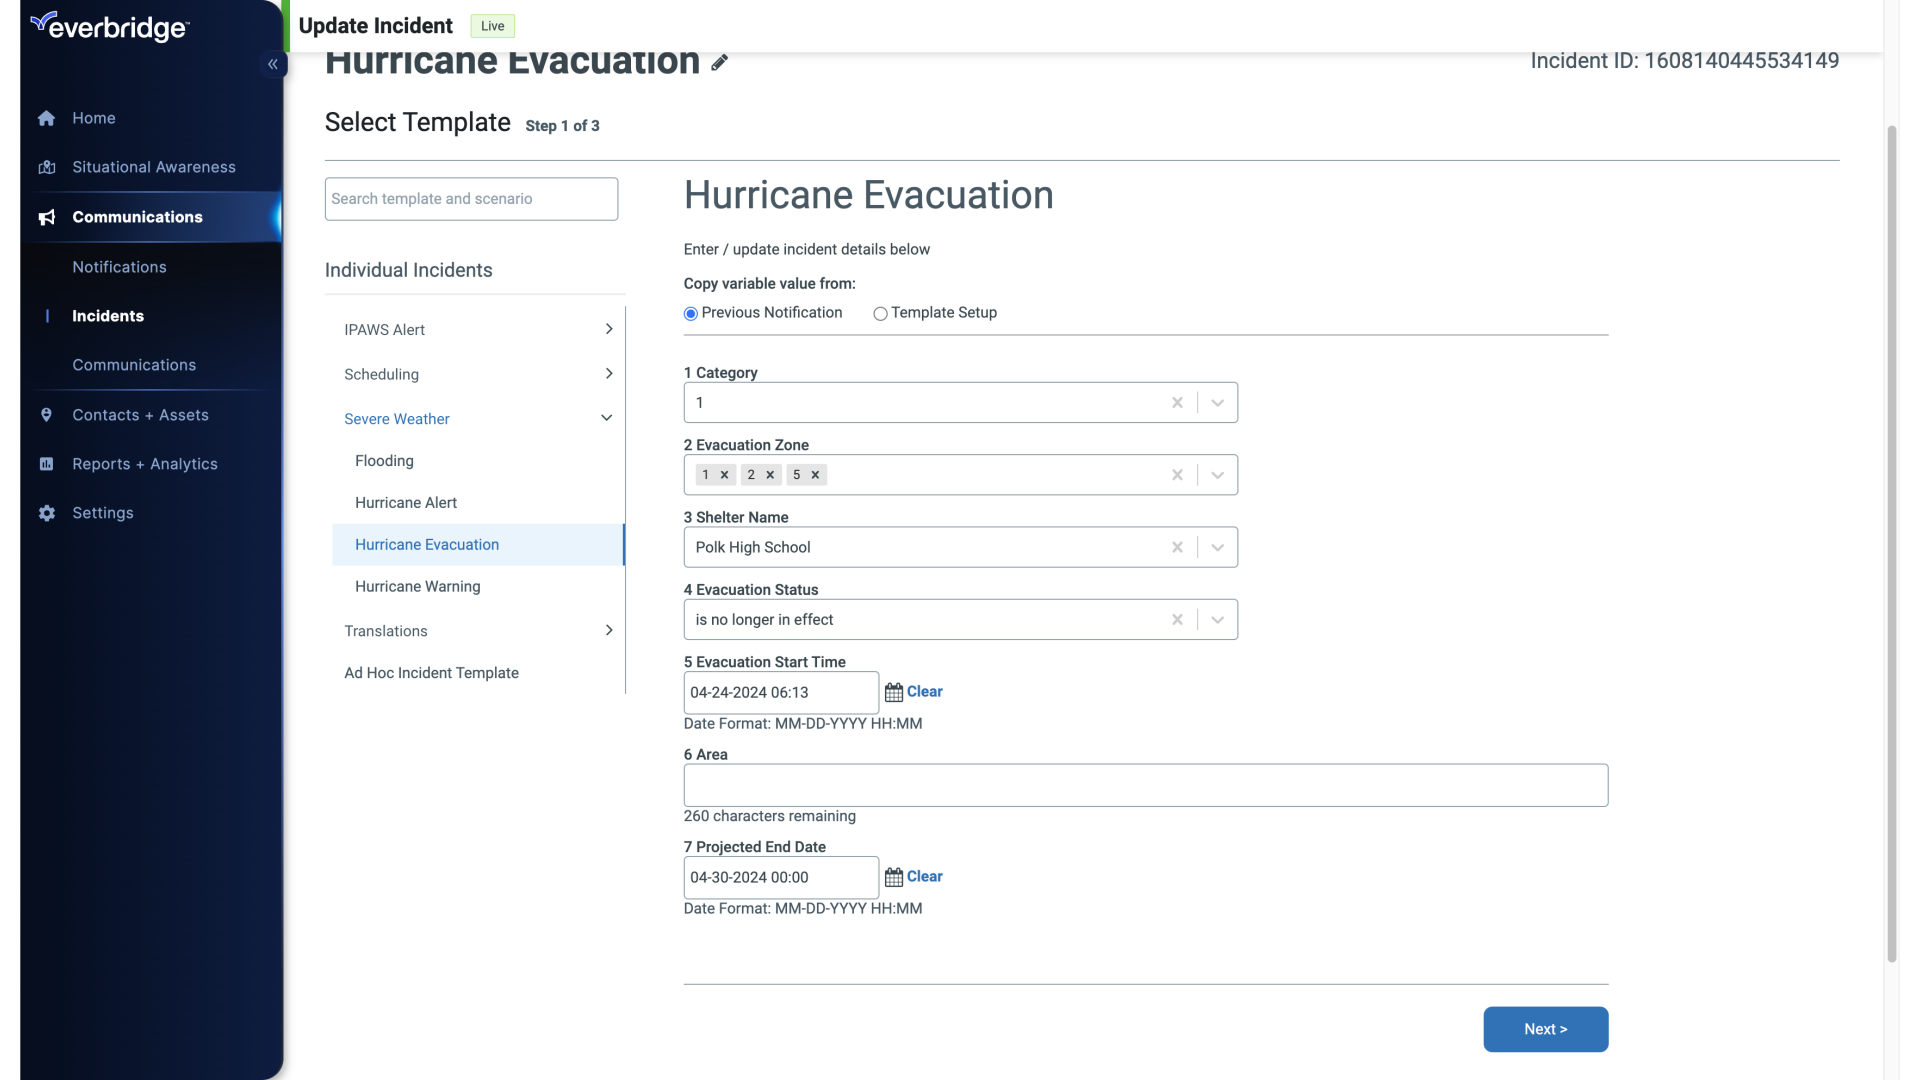
24. Update Variables
Click Next.
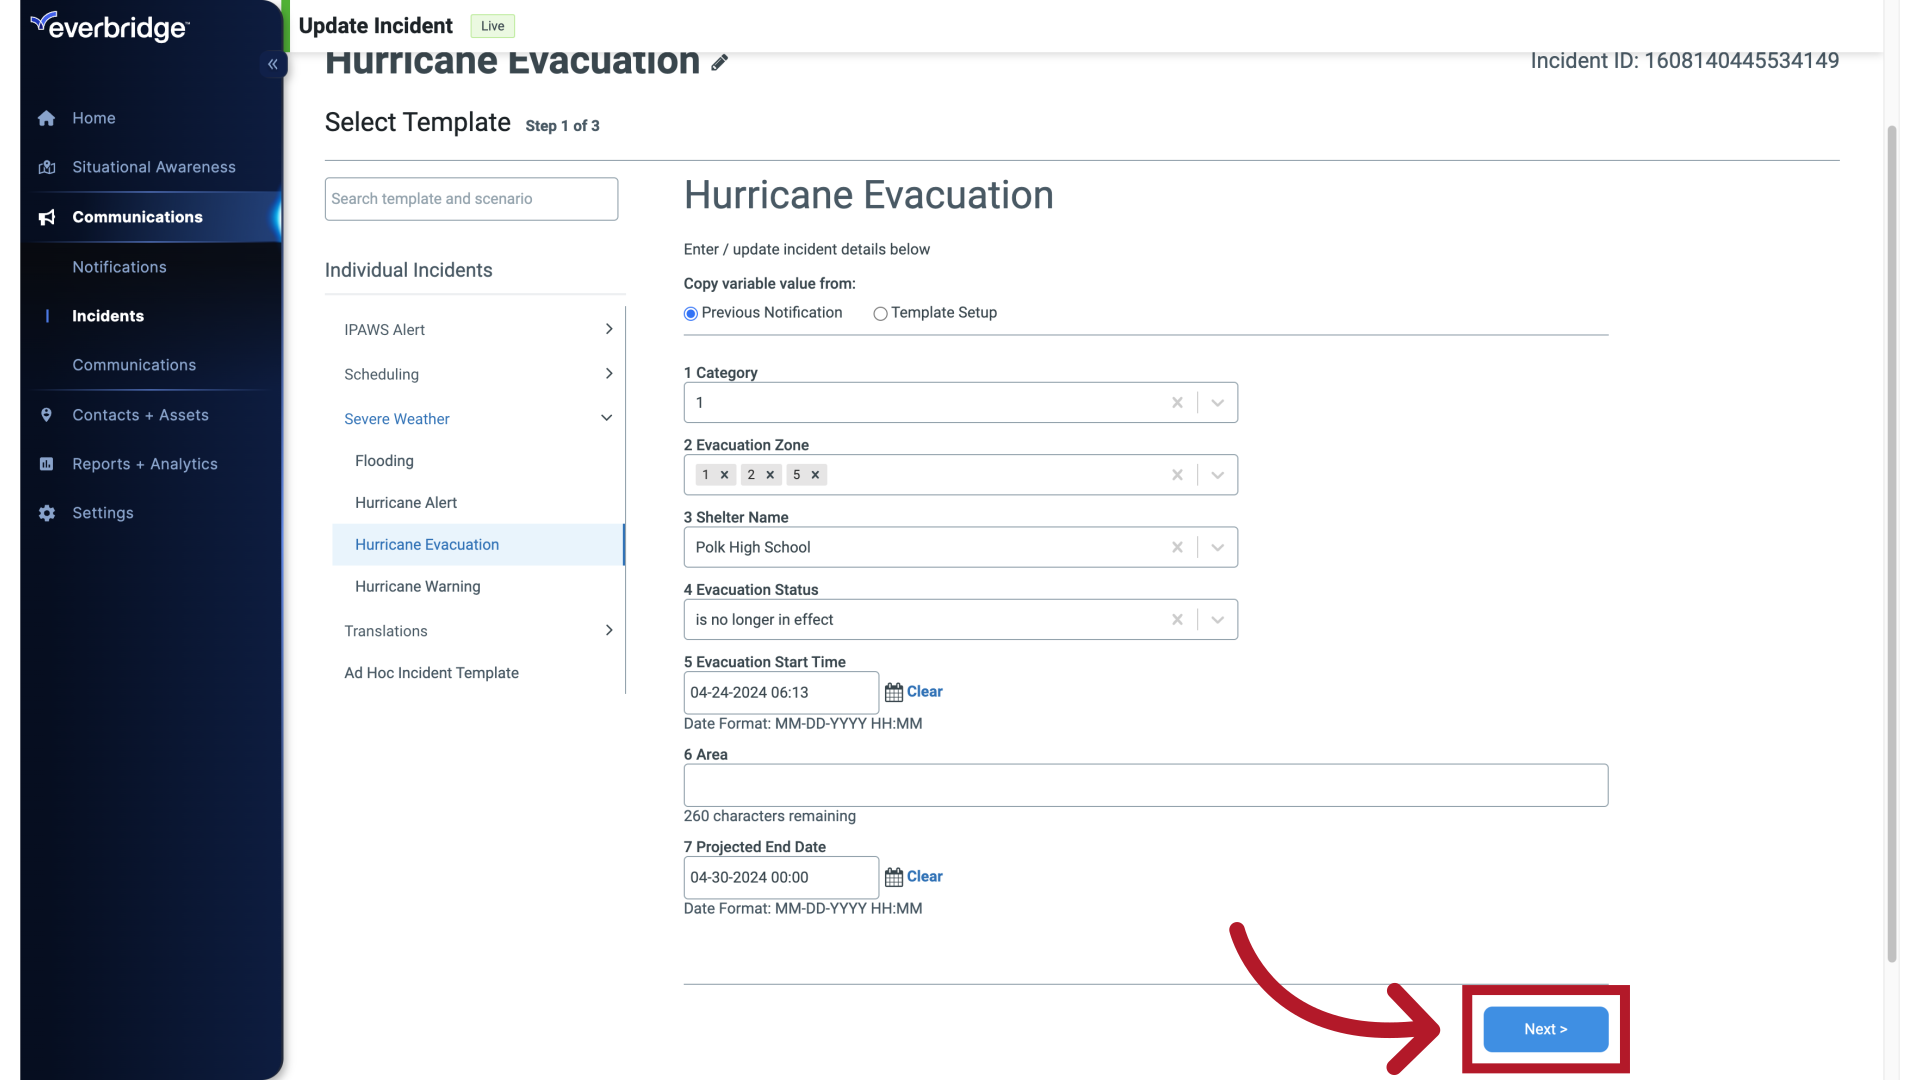
25. Notification Details
If you have not made any changes to any values in the form, you are prompted to confirm that you want to proceed to the next page.
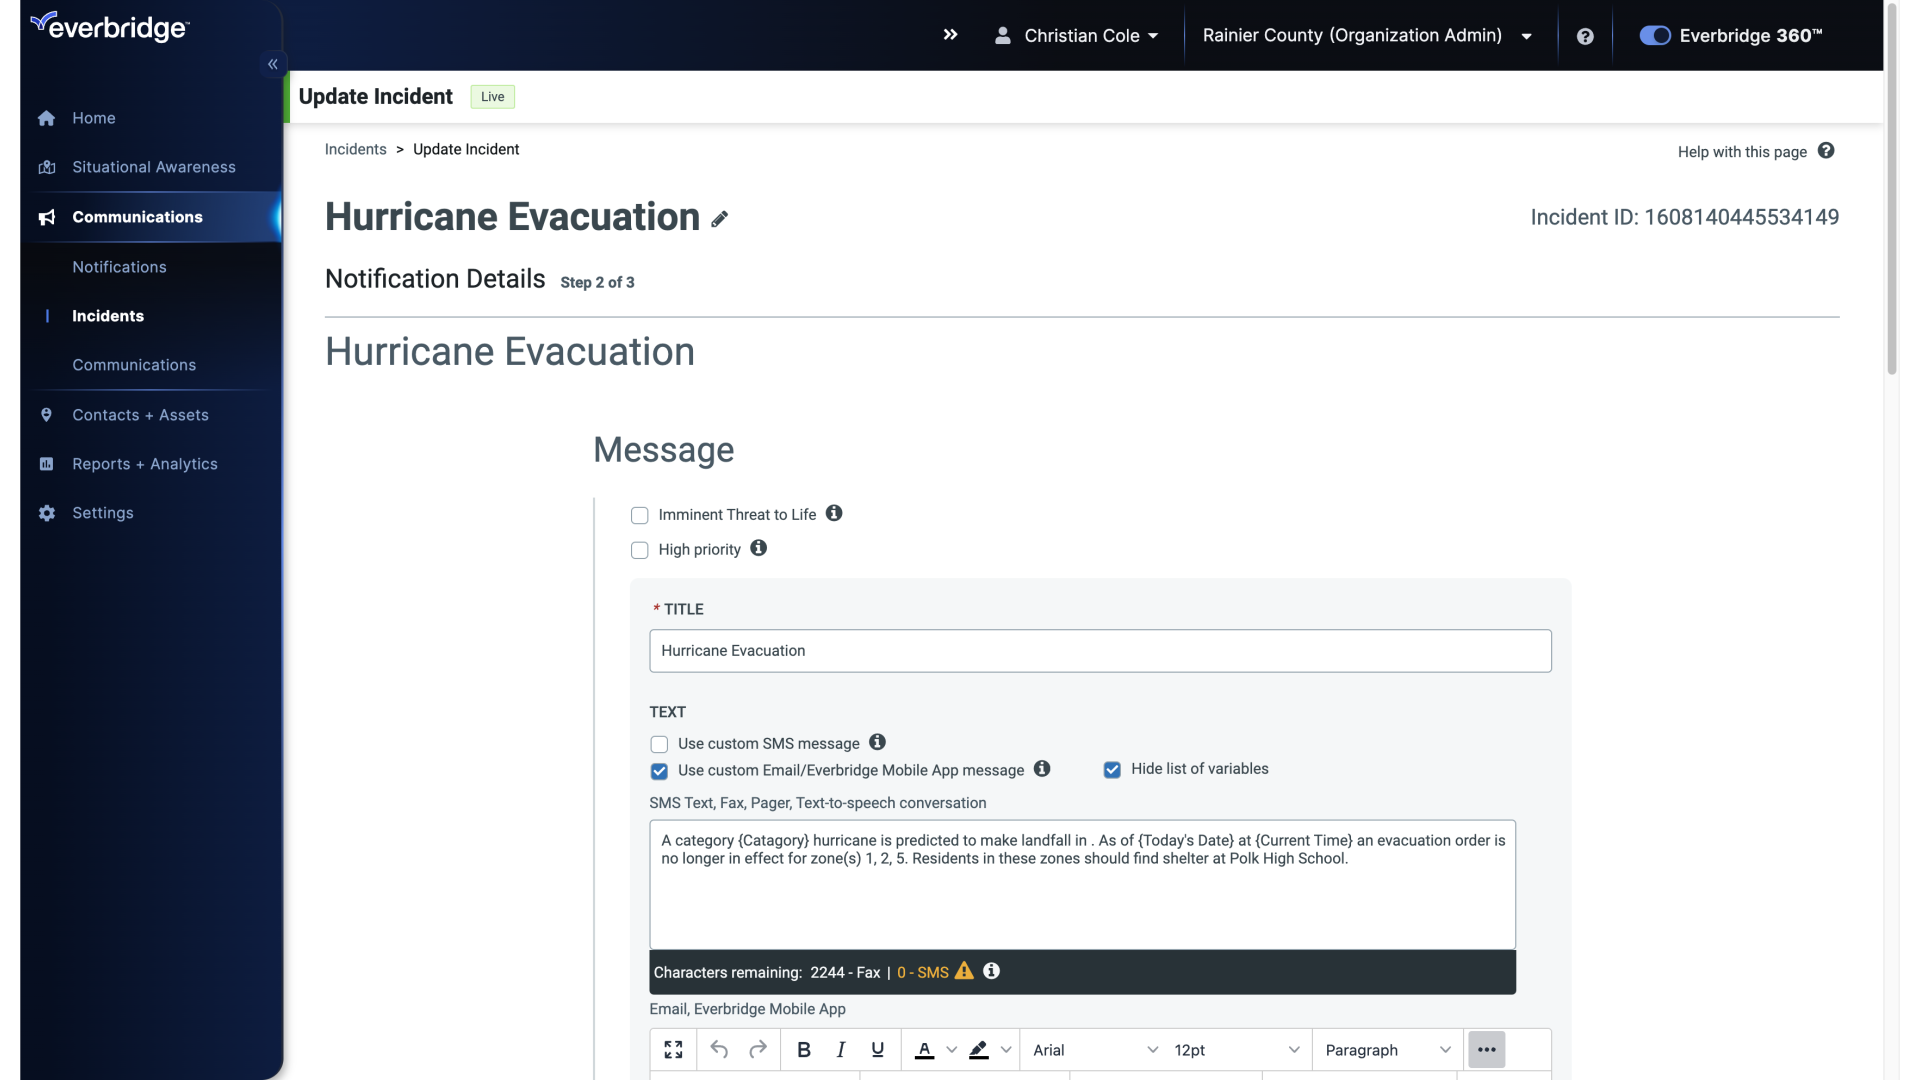
26. Notification Details
Add or Edit the Message on the Notification Details page and make any adjustments necessary.
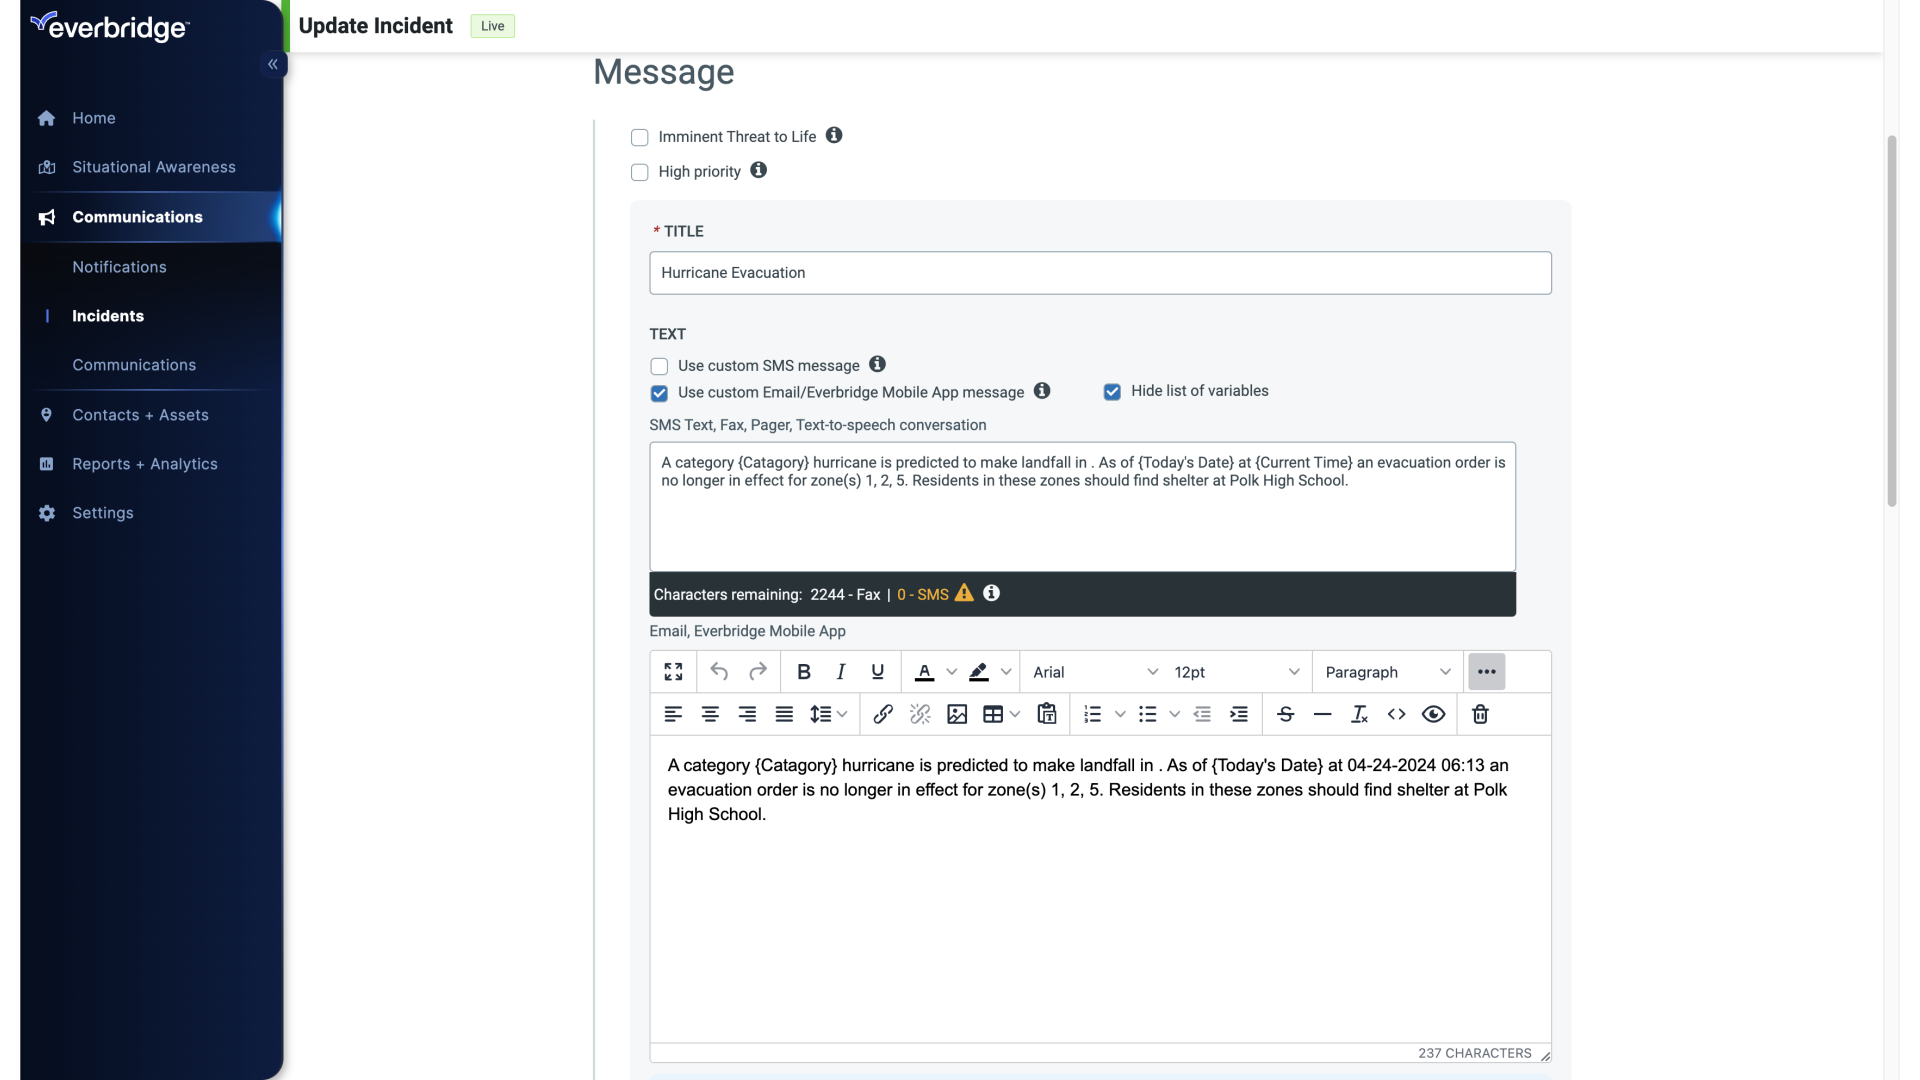
27. Notification Details
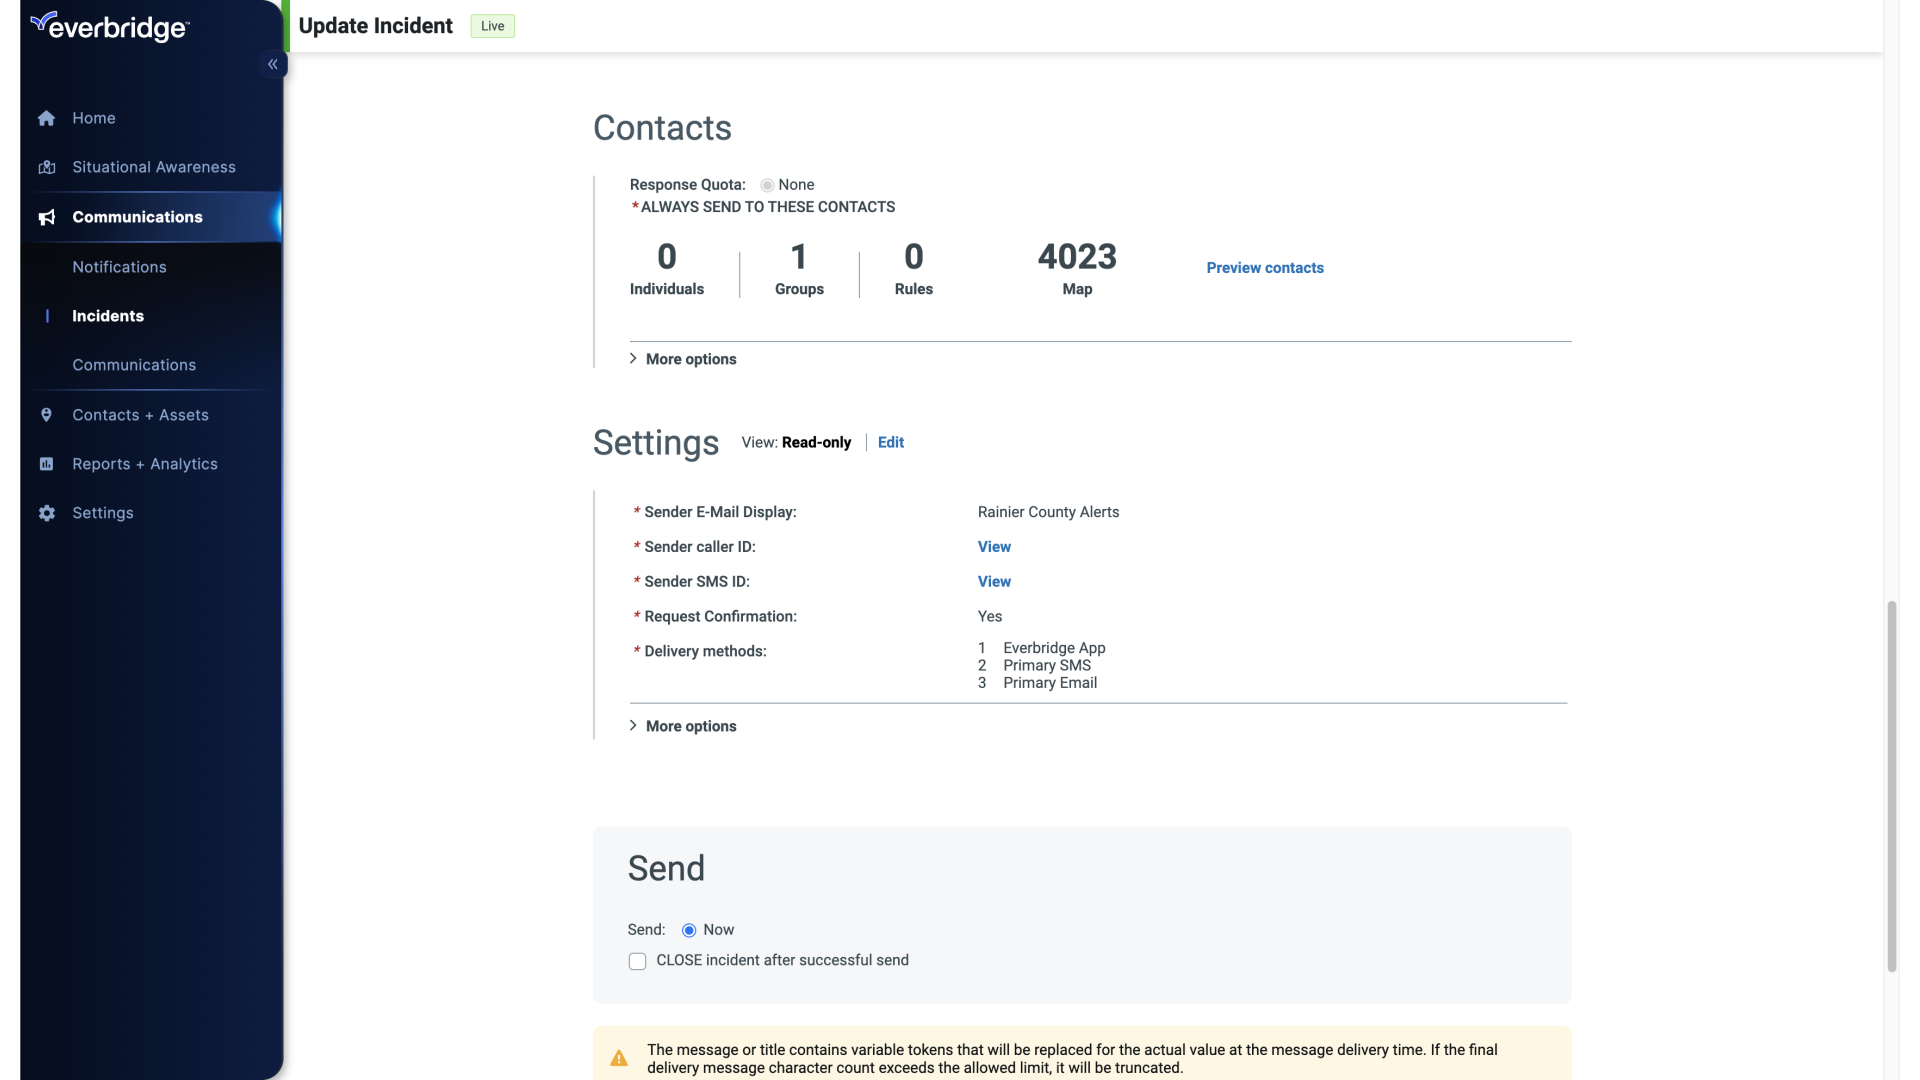
28. Notification Details
Proceed for a final review by selecting Review.
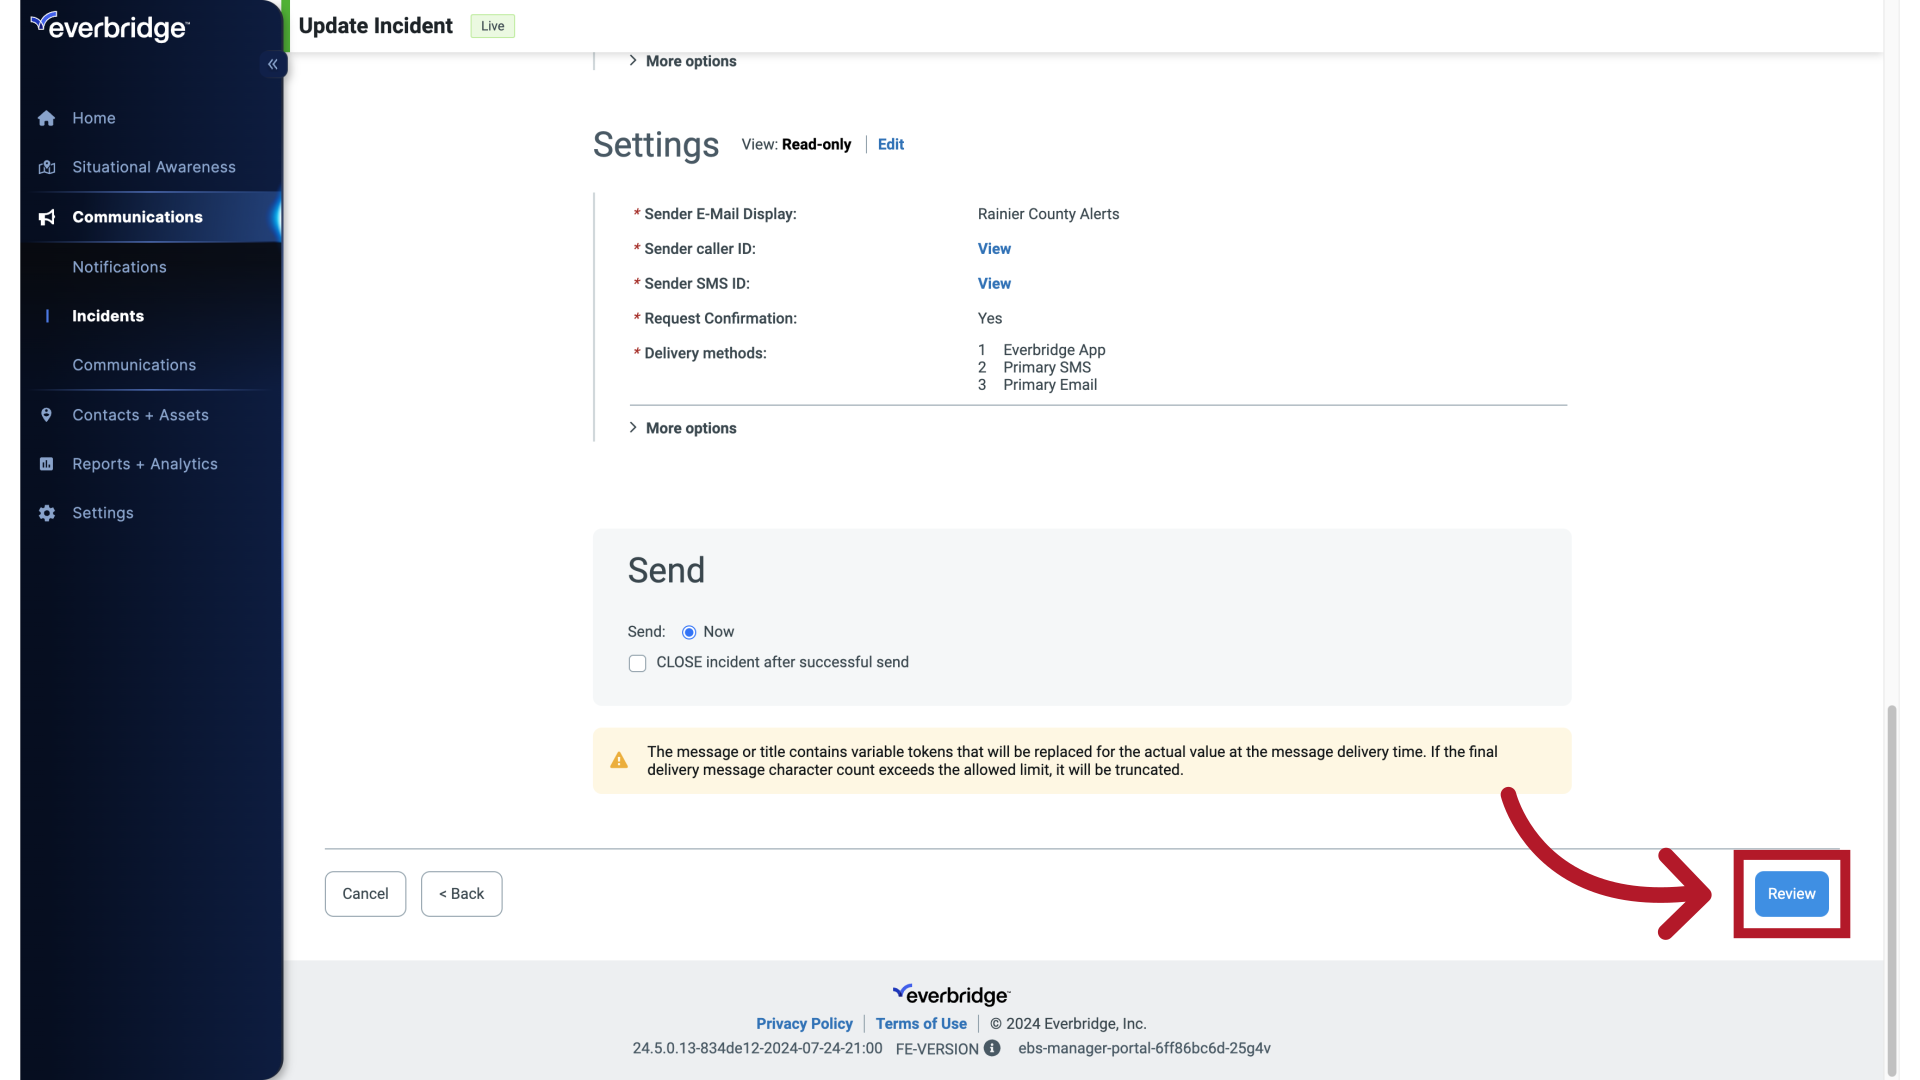
29. Review
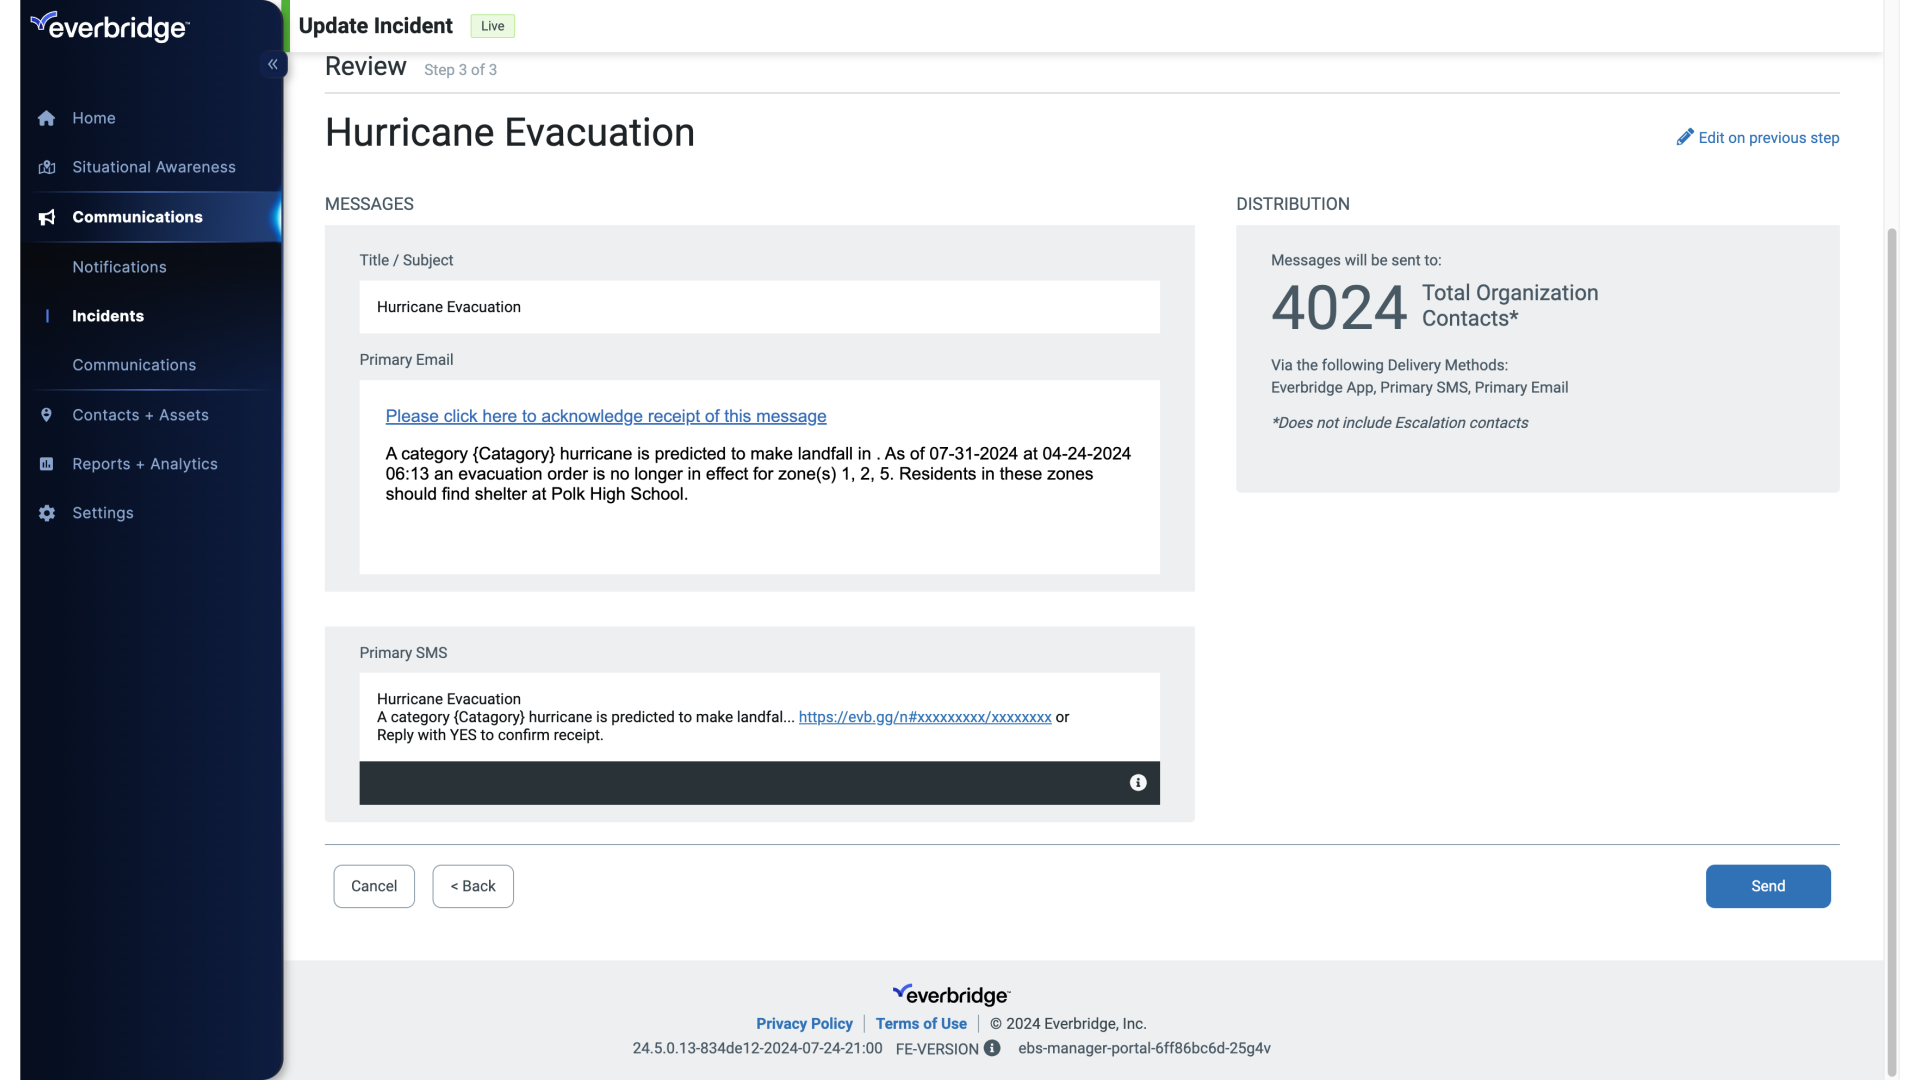
30. Click "Send"
Once ready, click Send.
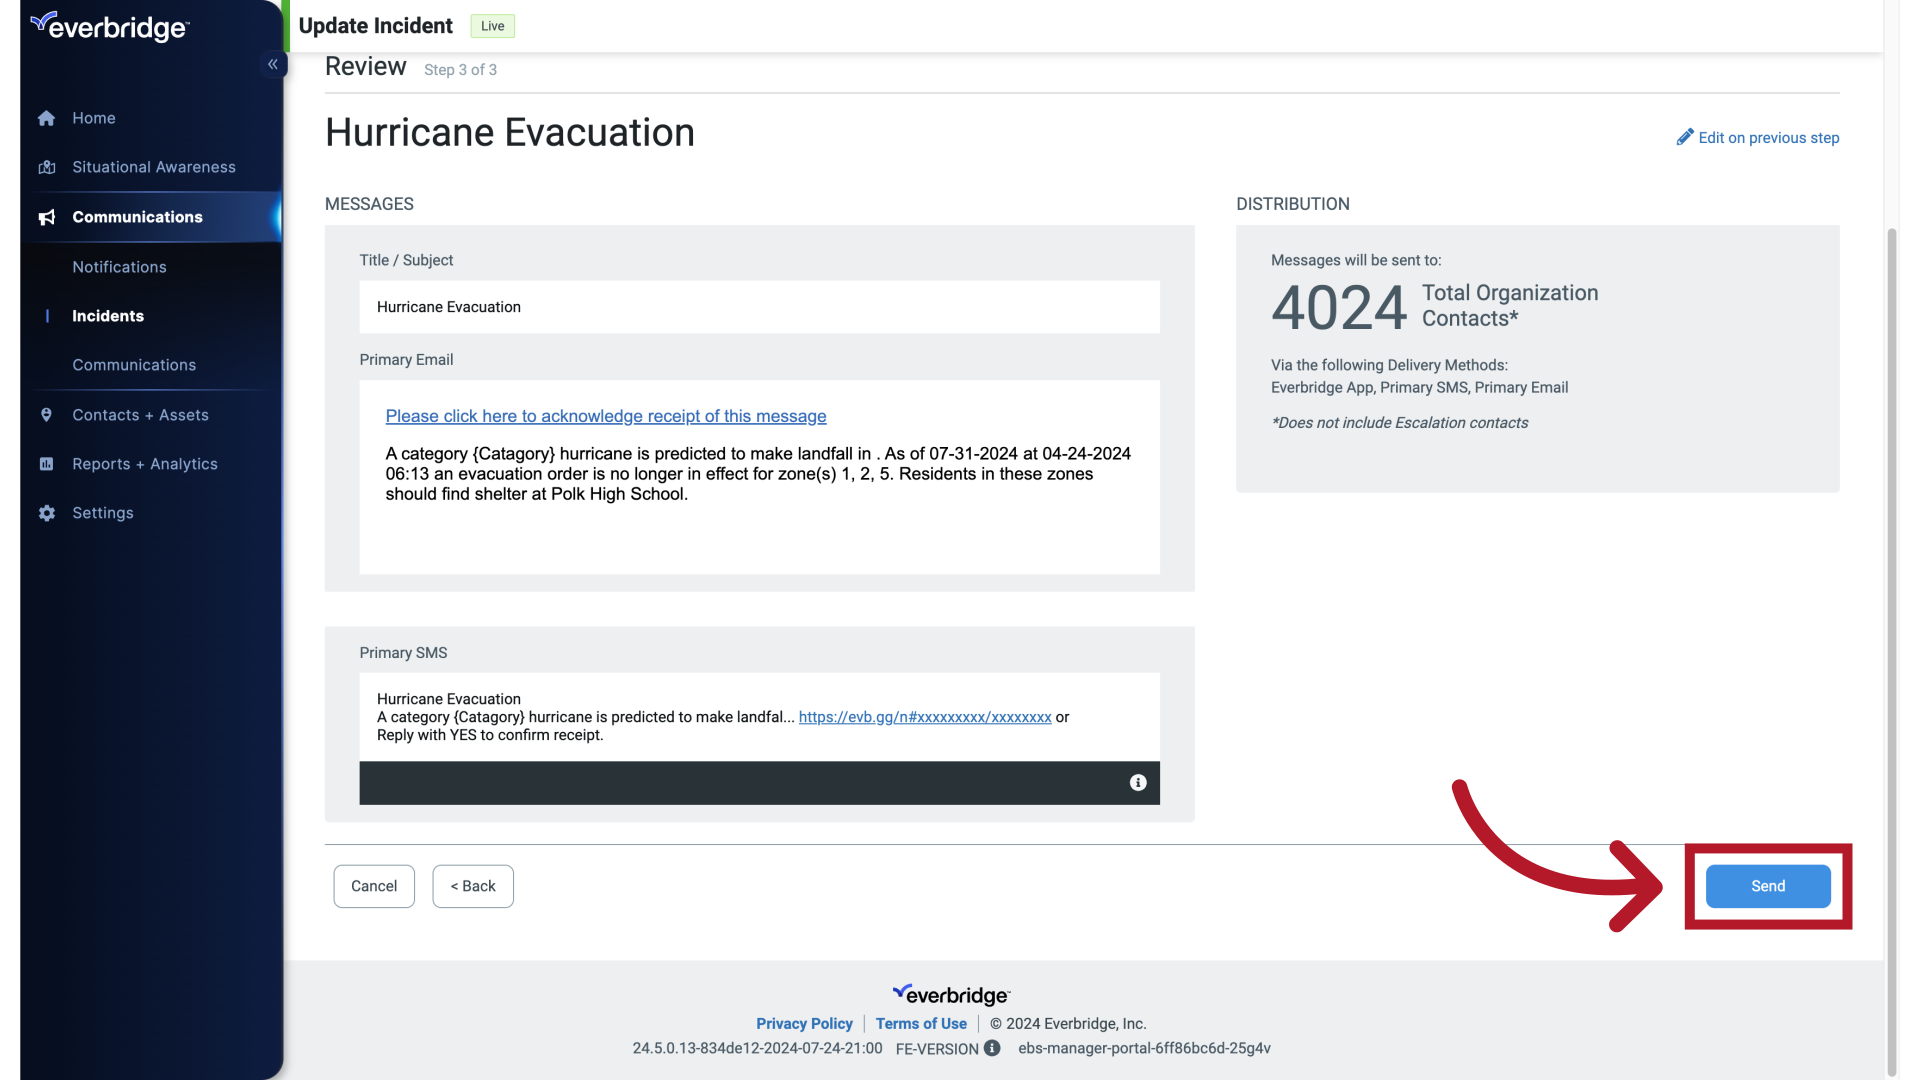
31. Incident Details
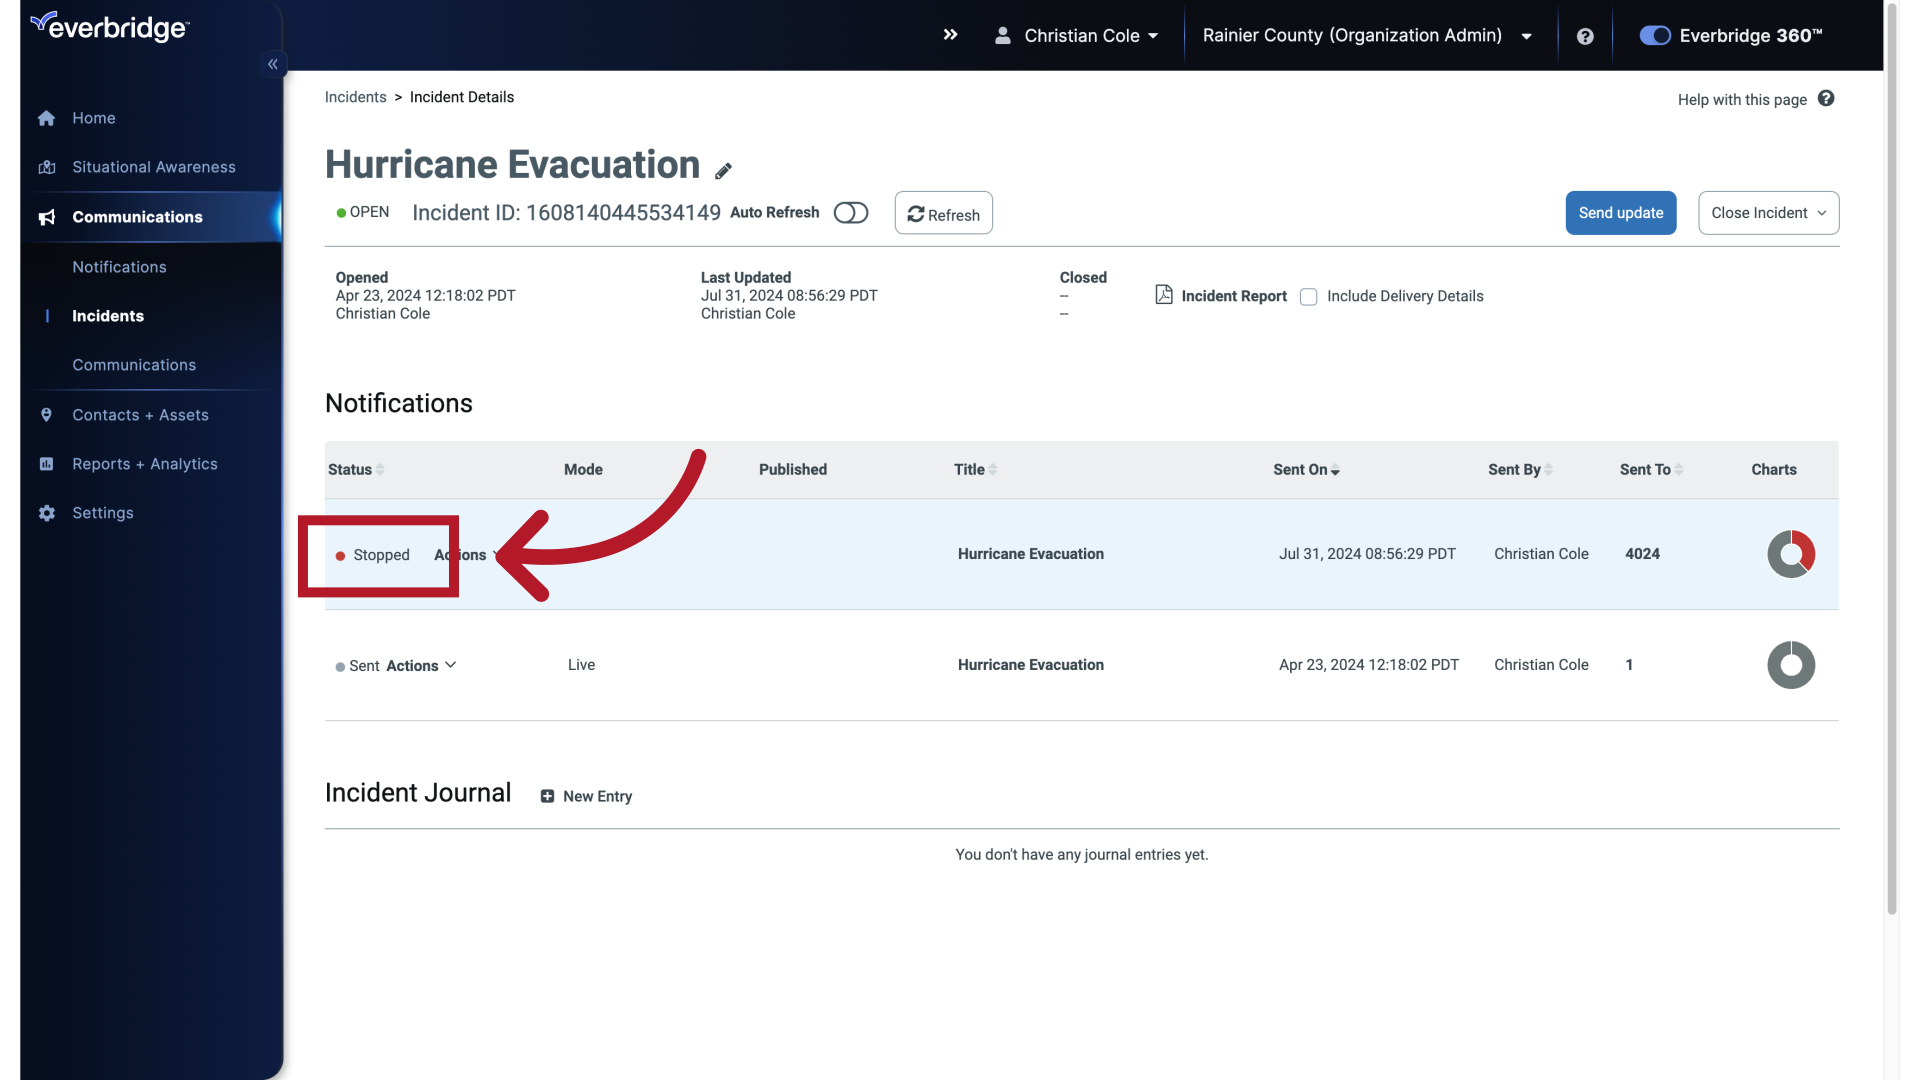
After you click Send, the Incident Details page appears. You can send as many updates as you need. It is also possible to Stop an Update to a Notification.
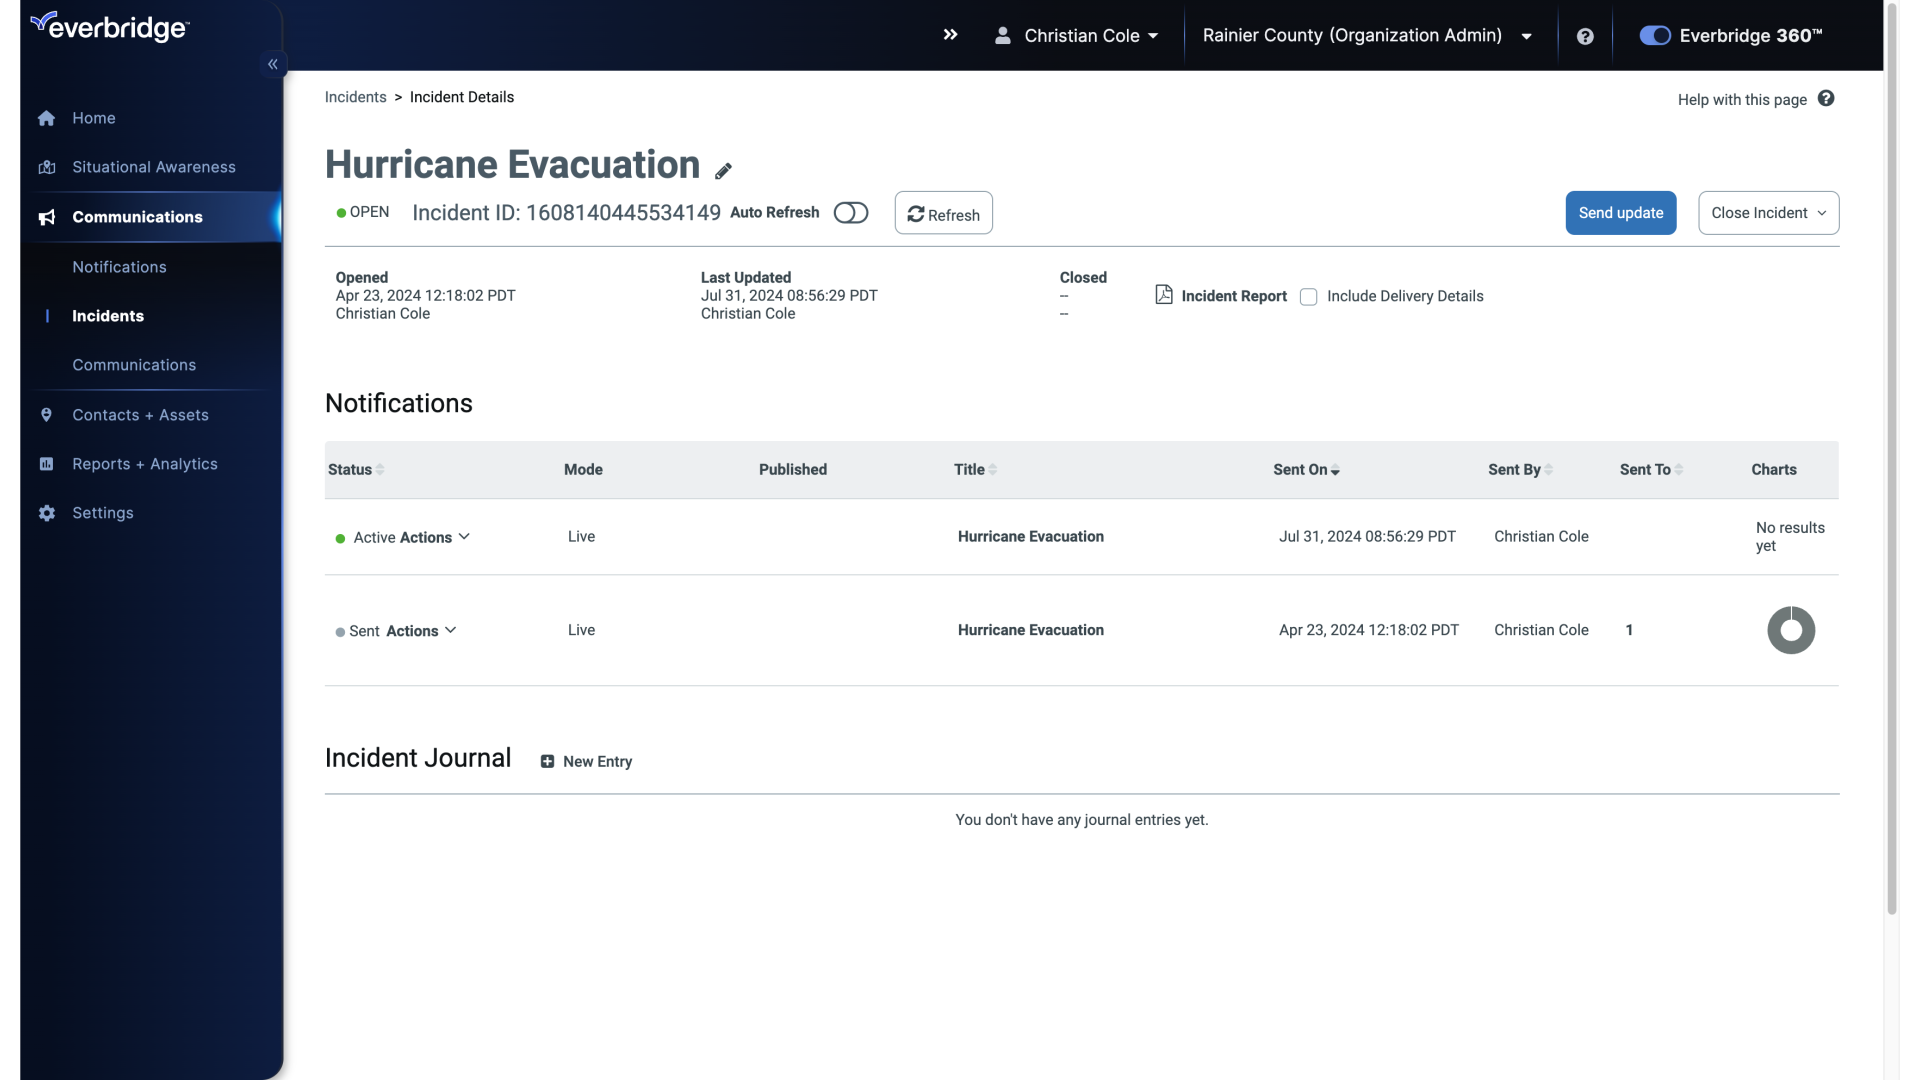
32. Incident Details
Keep in mind this does not retract messages that have been launched, but it does stop future messages from going out if you've made a mistake. The Stop Update option is useful if there are further changes if the event has been resolved, or if you need to make a correction.
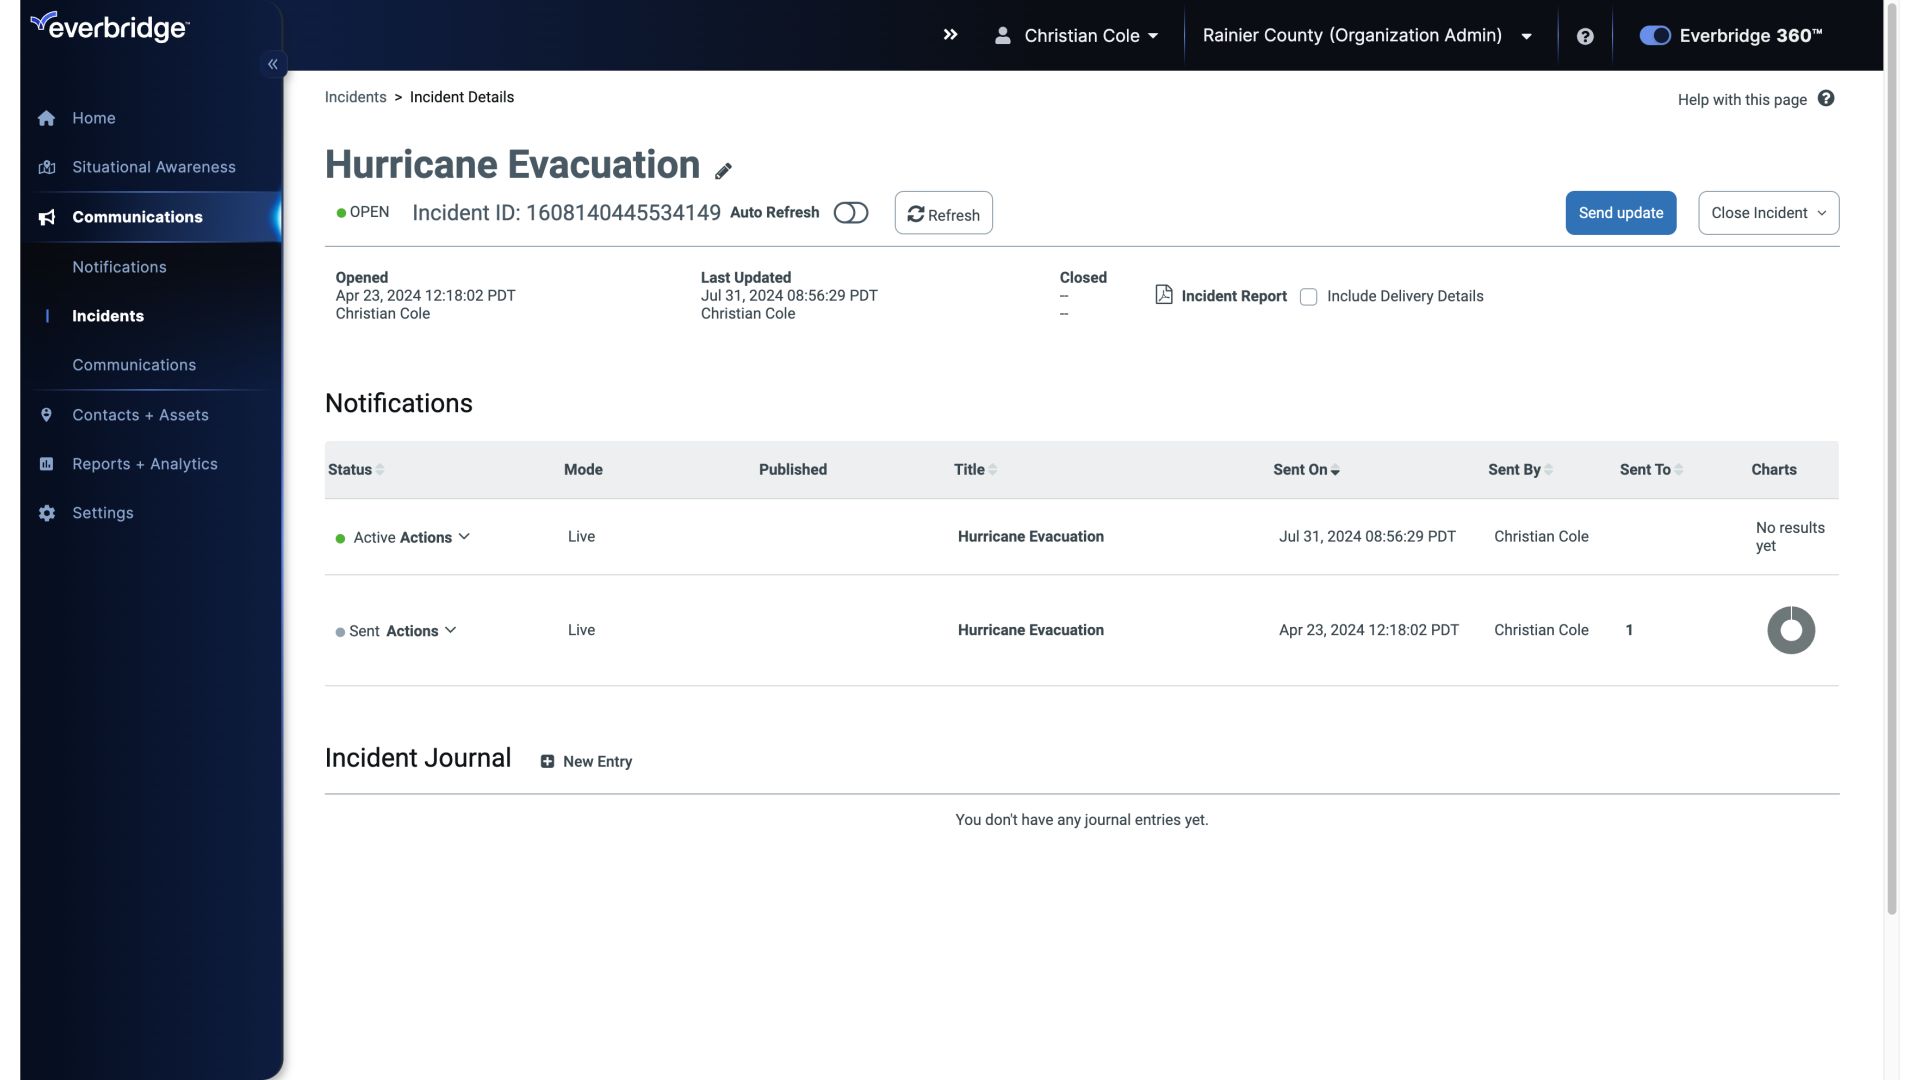
33. Open / History
From the Open History page. Select the Incident name with the Notification you want to stop.
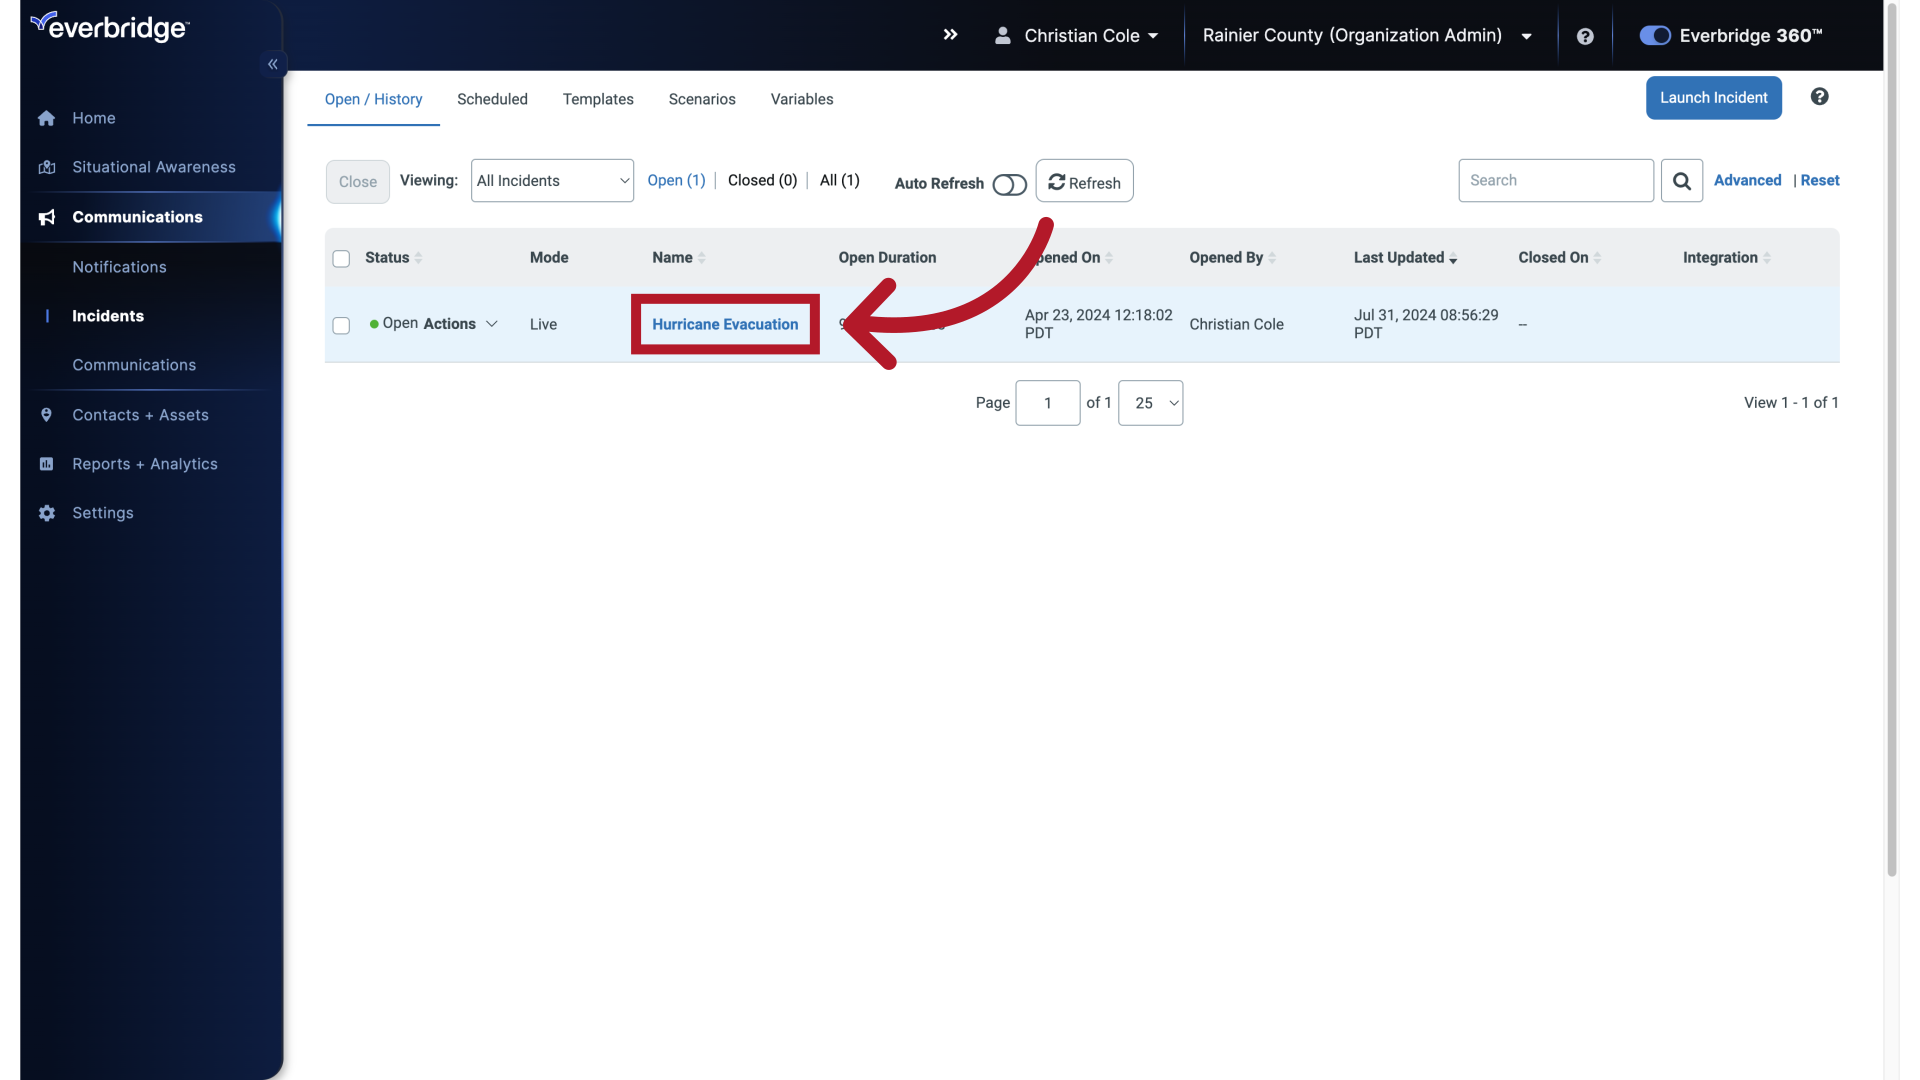
34. Incident Details
The Incident Details page is displayed.
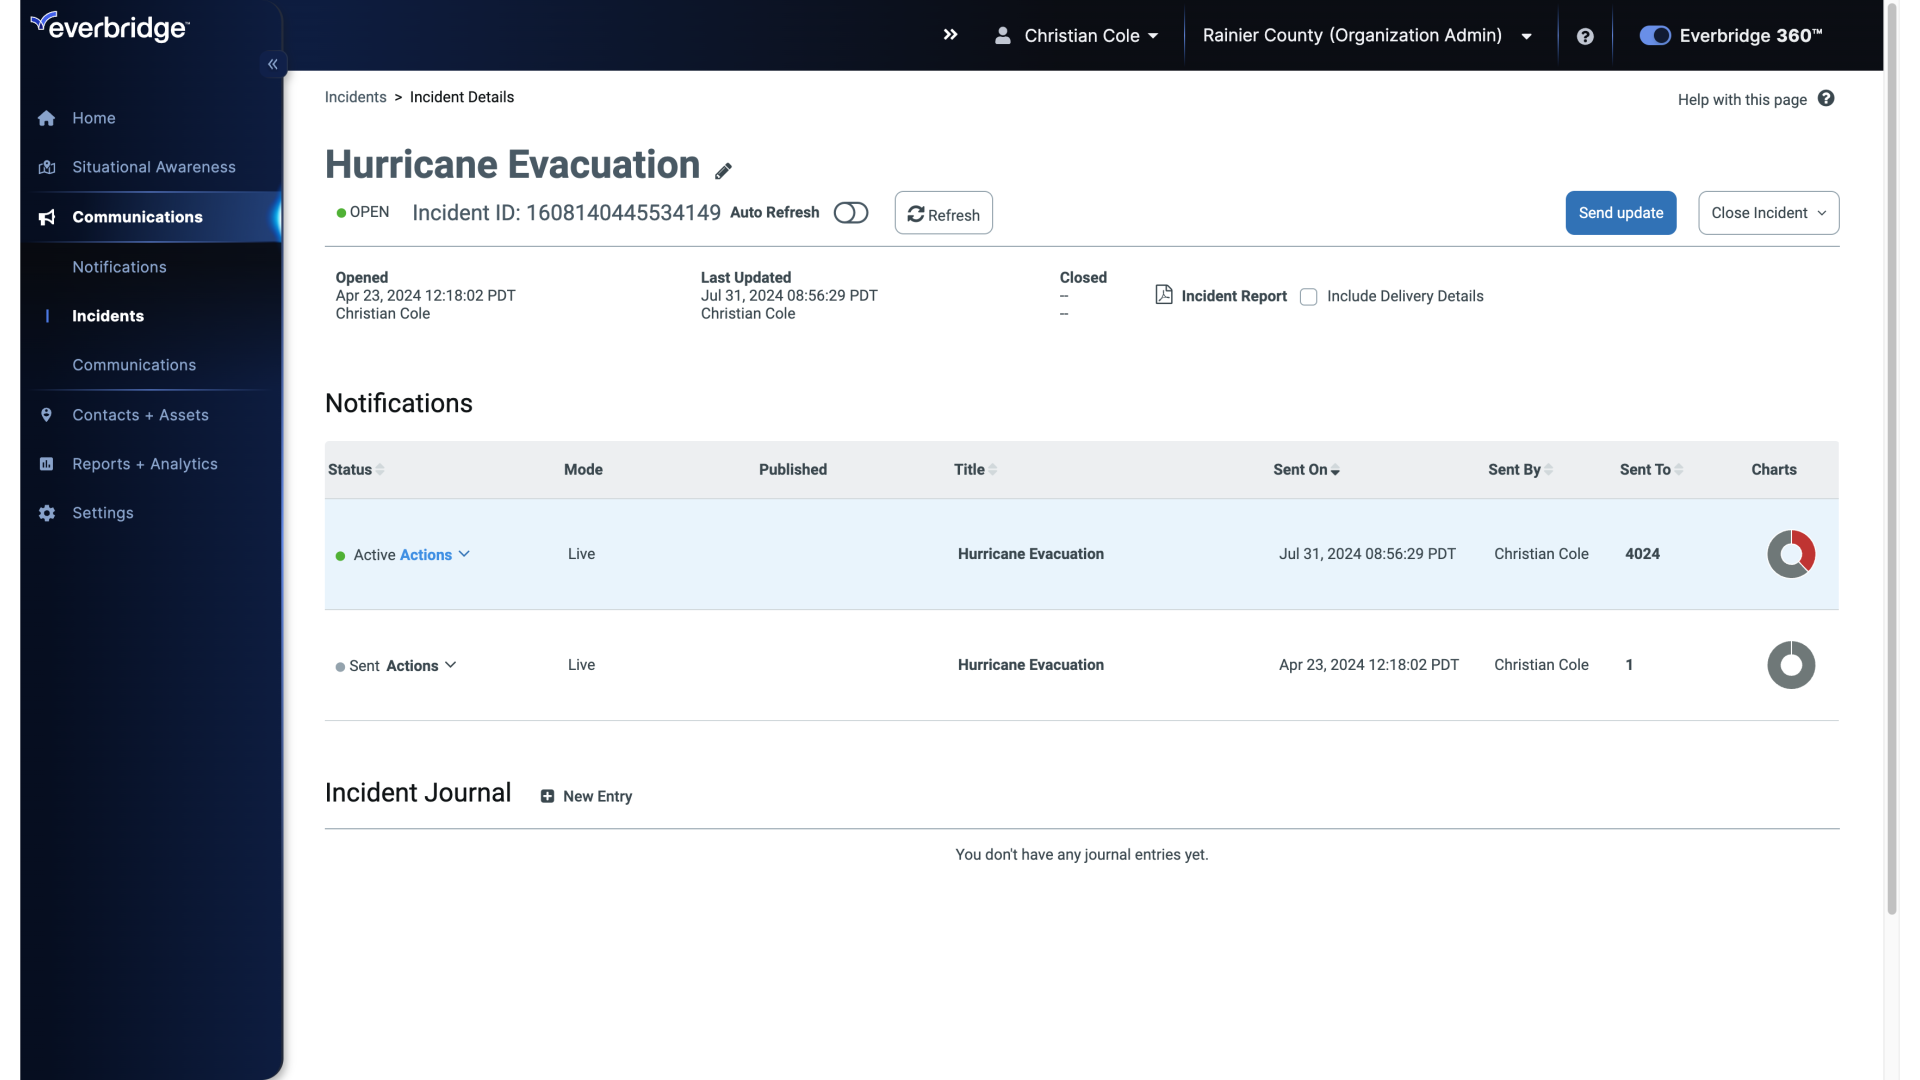
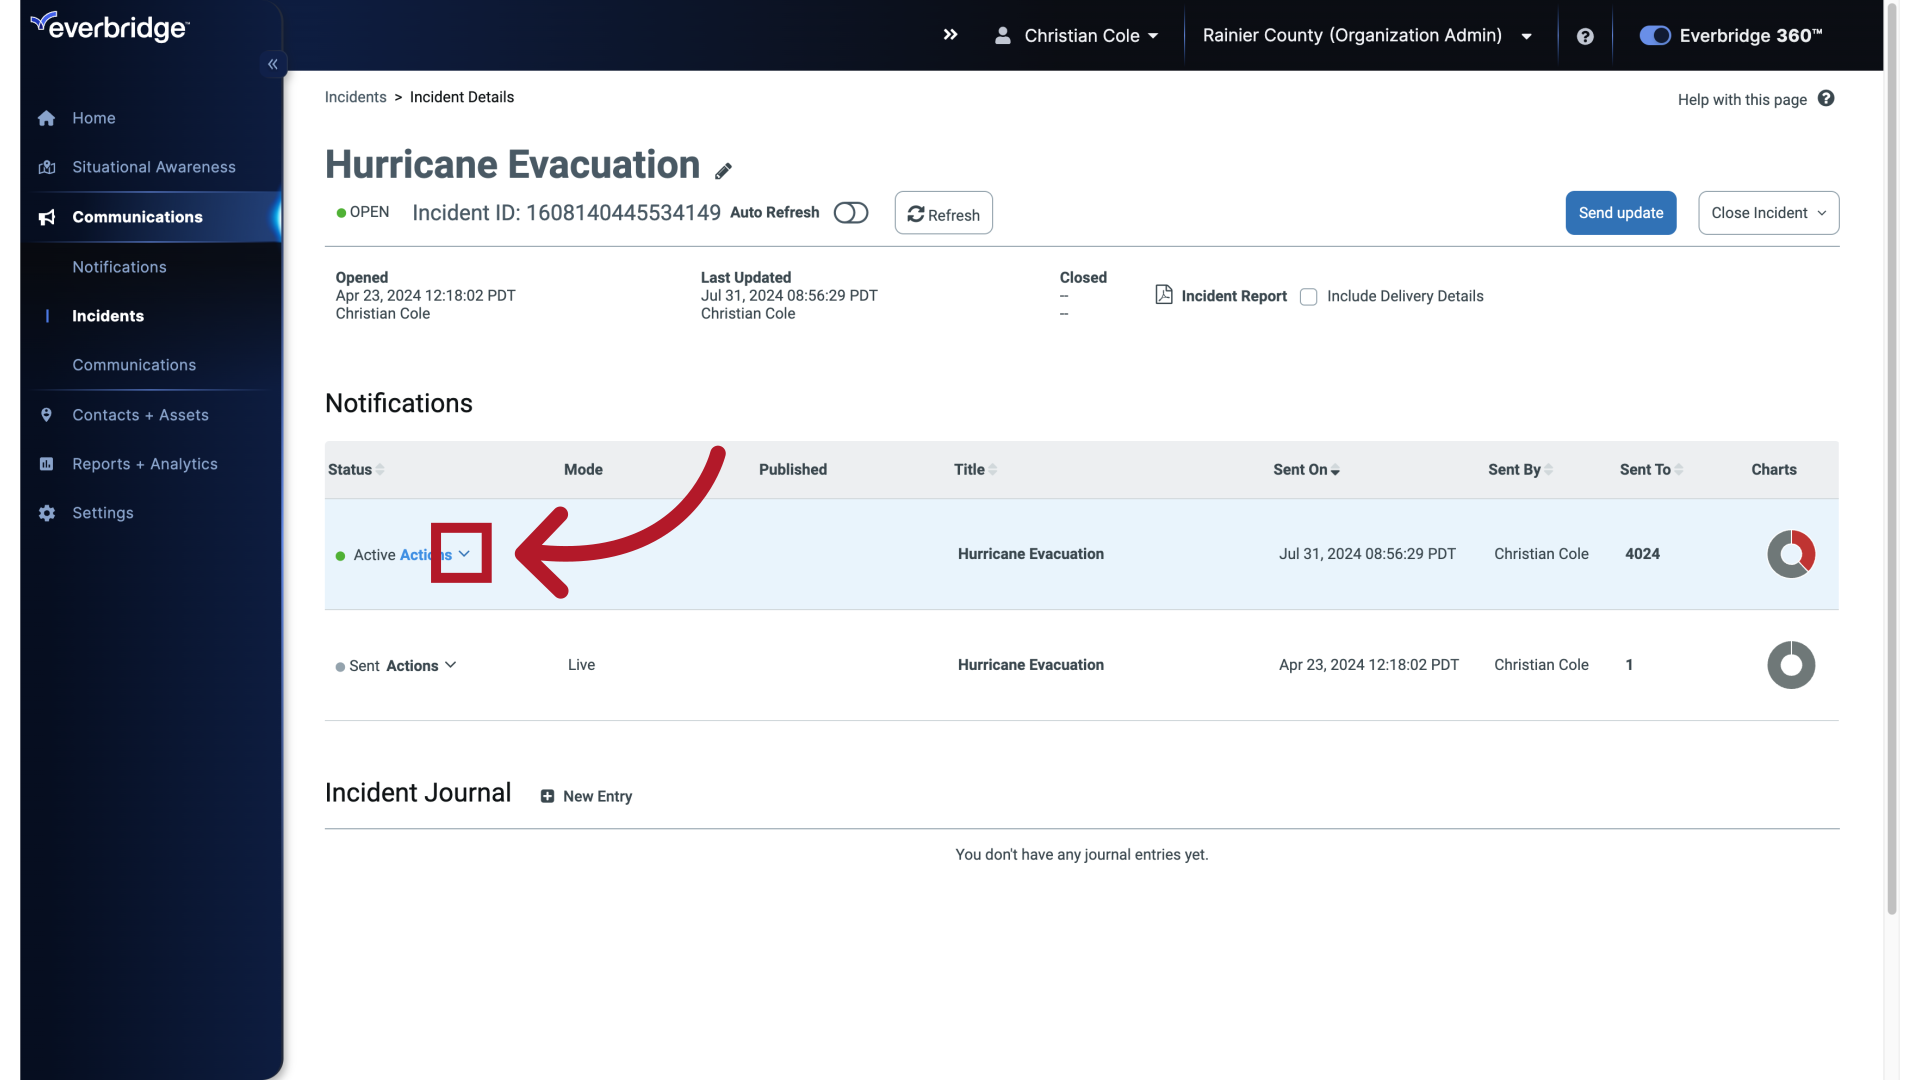
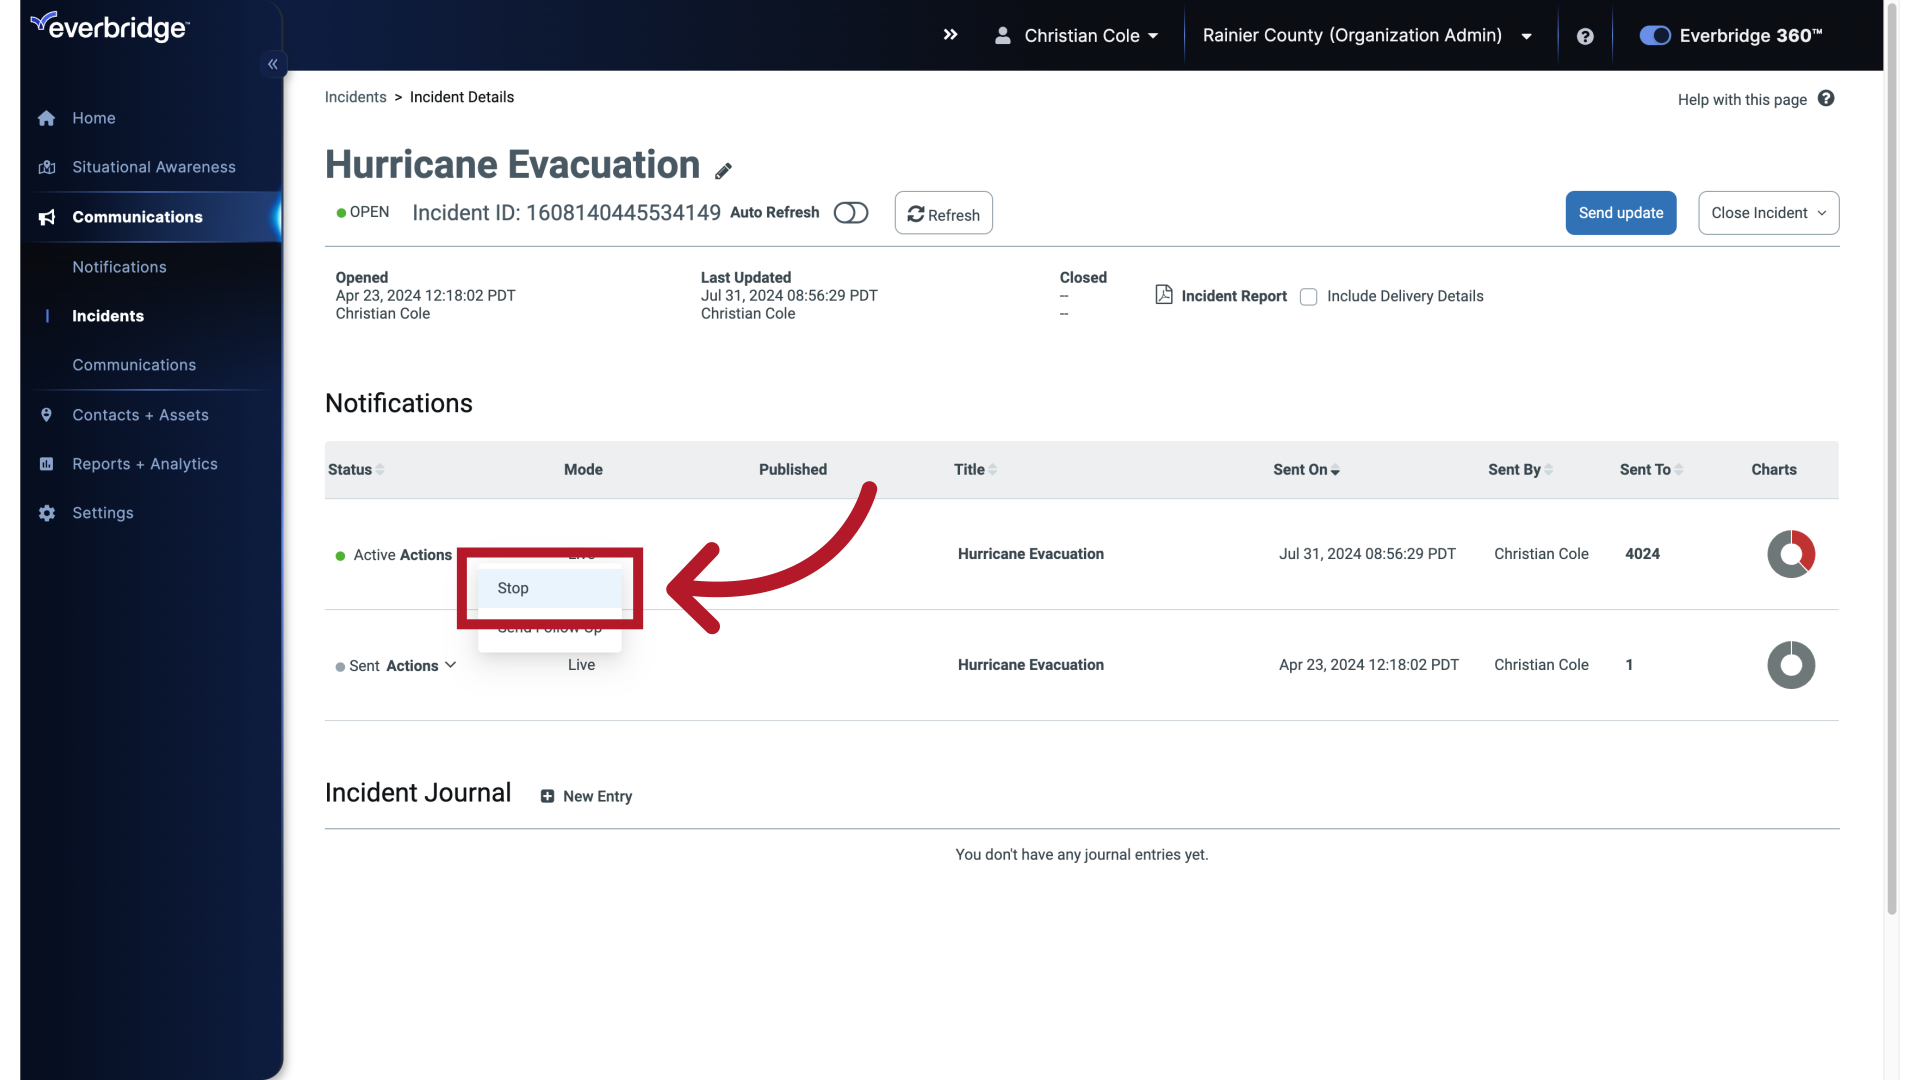
35. Actions Drop-Down
Open the Actions drop-down menu.
36. Click "Stop"
Then, click Stop.
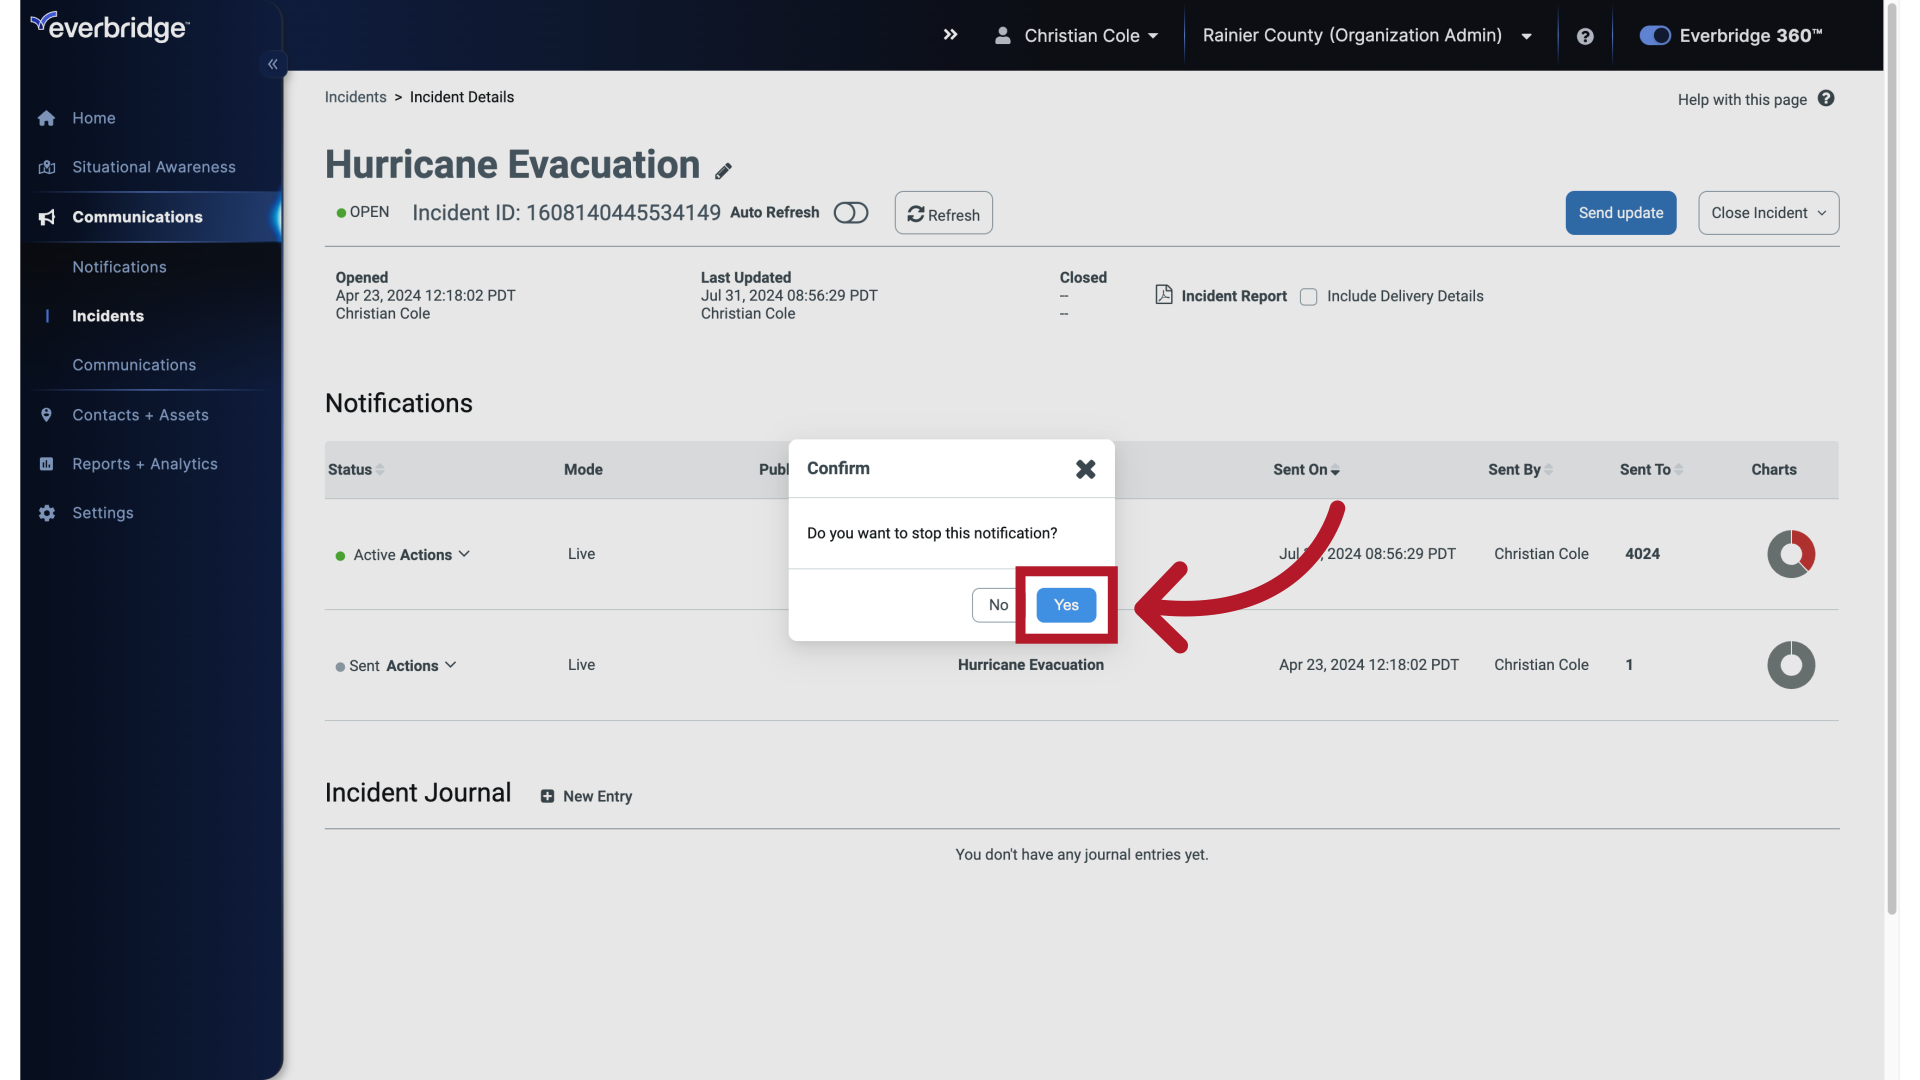
37. Confirm
Click Yes, to Stop the Notification.
38. Incident Details
Stopping a Notification does not affect messages that have already been sent. But it stops the system from sending more messages.
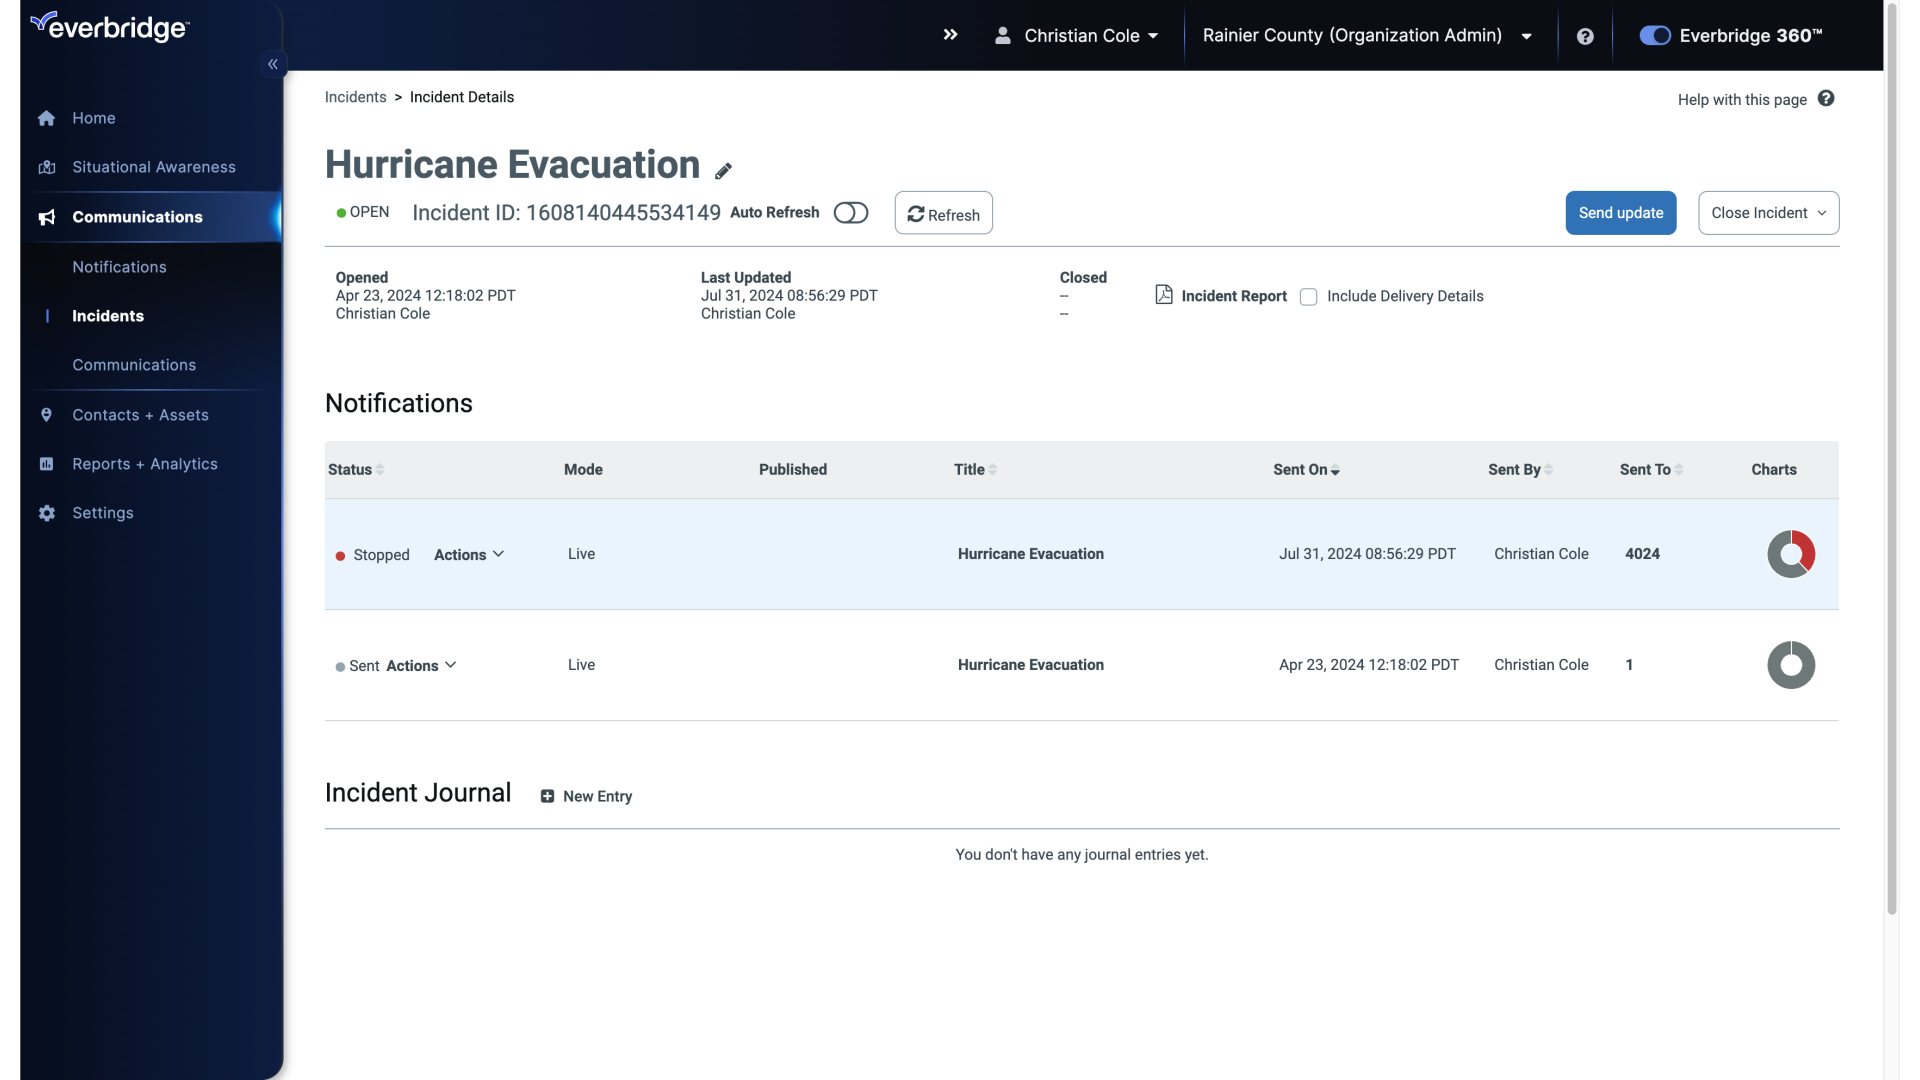
39. Incident Details
The Status changes from Active to Stopped.
