Topic
How to Launch a Communication in Everbridge 360™.
Description
With Everbridge 360™ Communications, you can quickly send messages to respond to events impacting your organization. In this tutorial we will review the steps for launching an ad hoc message without a preconfigured template. Please note, not all roles allow for launching a Communication without a template.
Go to manager.everbridge.net
1. Navigation
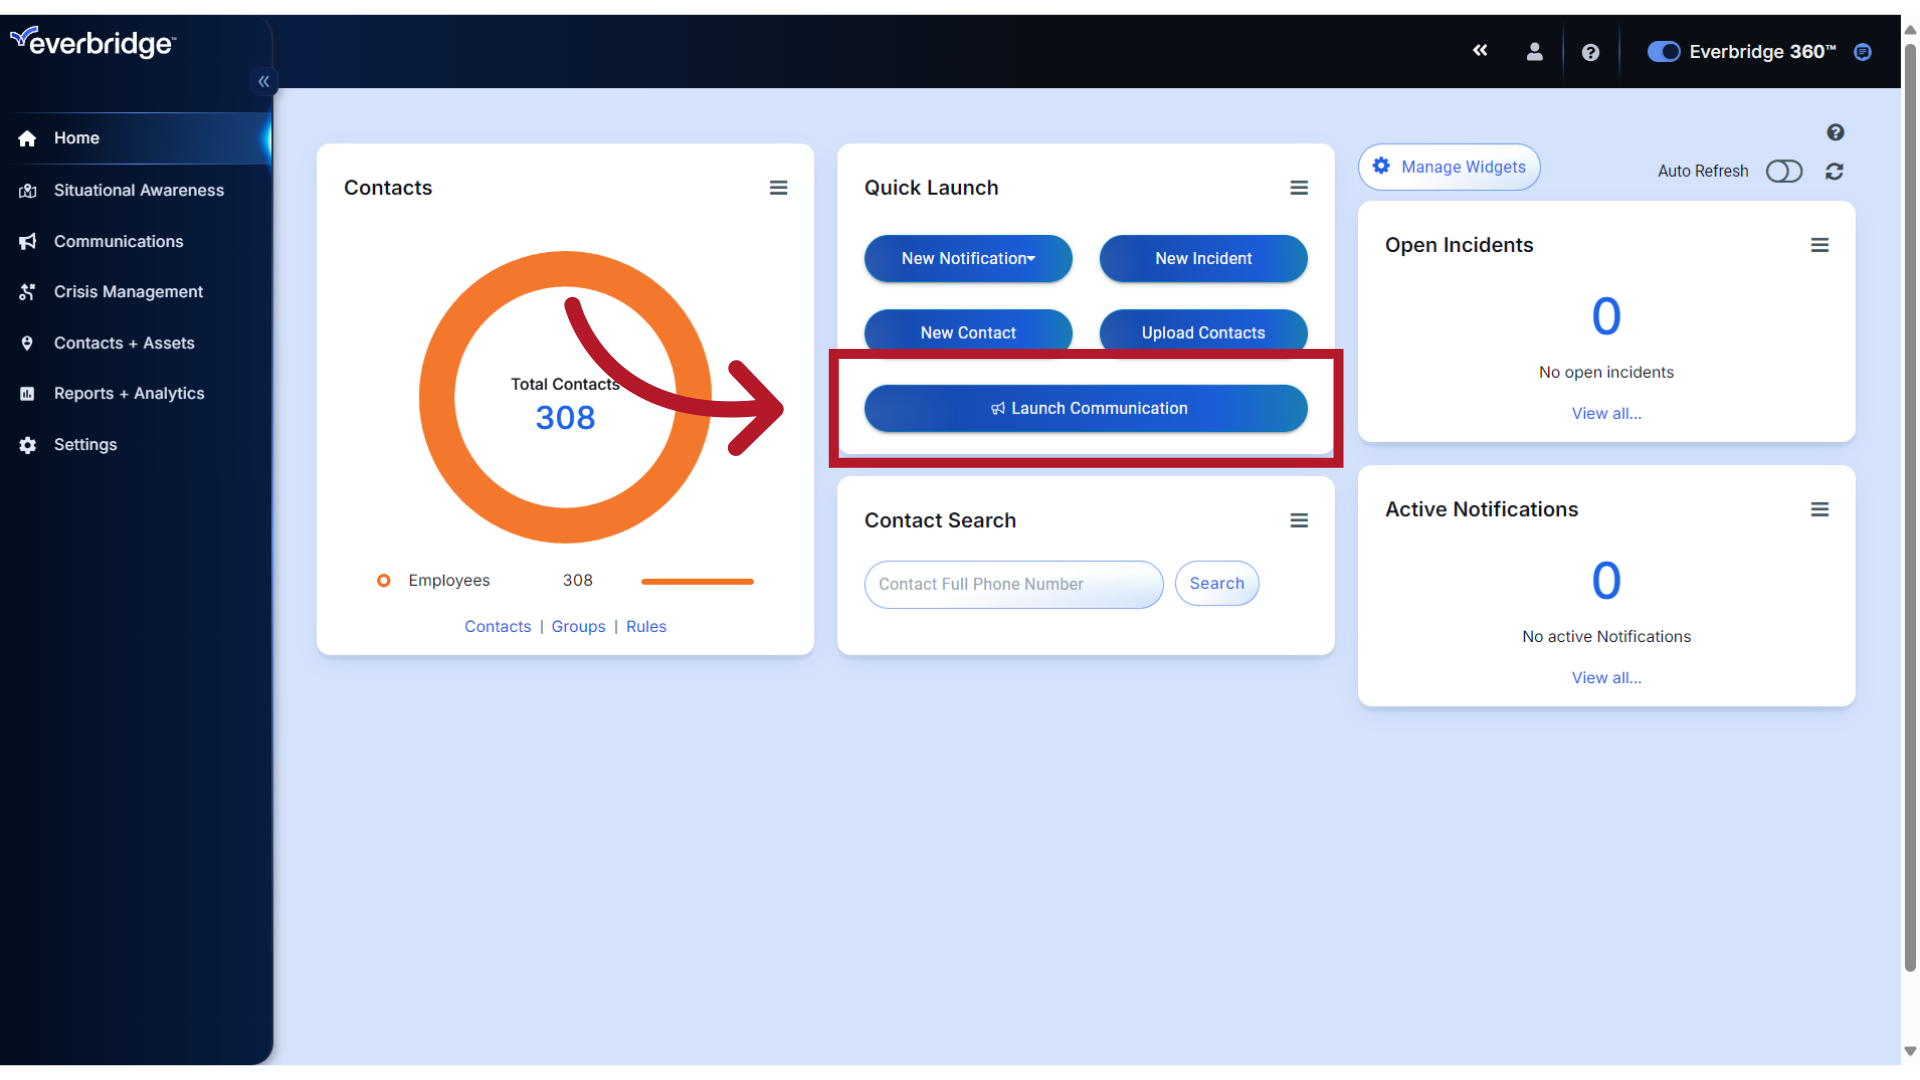
To initiate a message, select Launch Communication from your dashboard's Quick Launch widget
2. Navigation
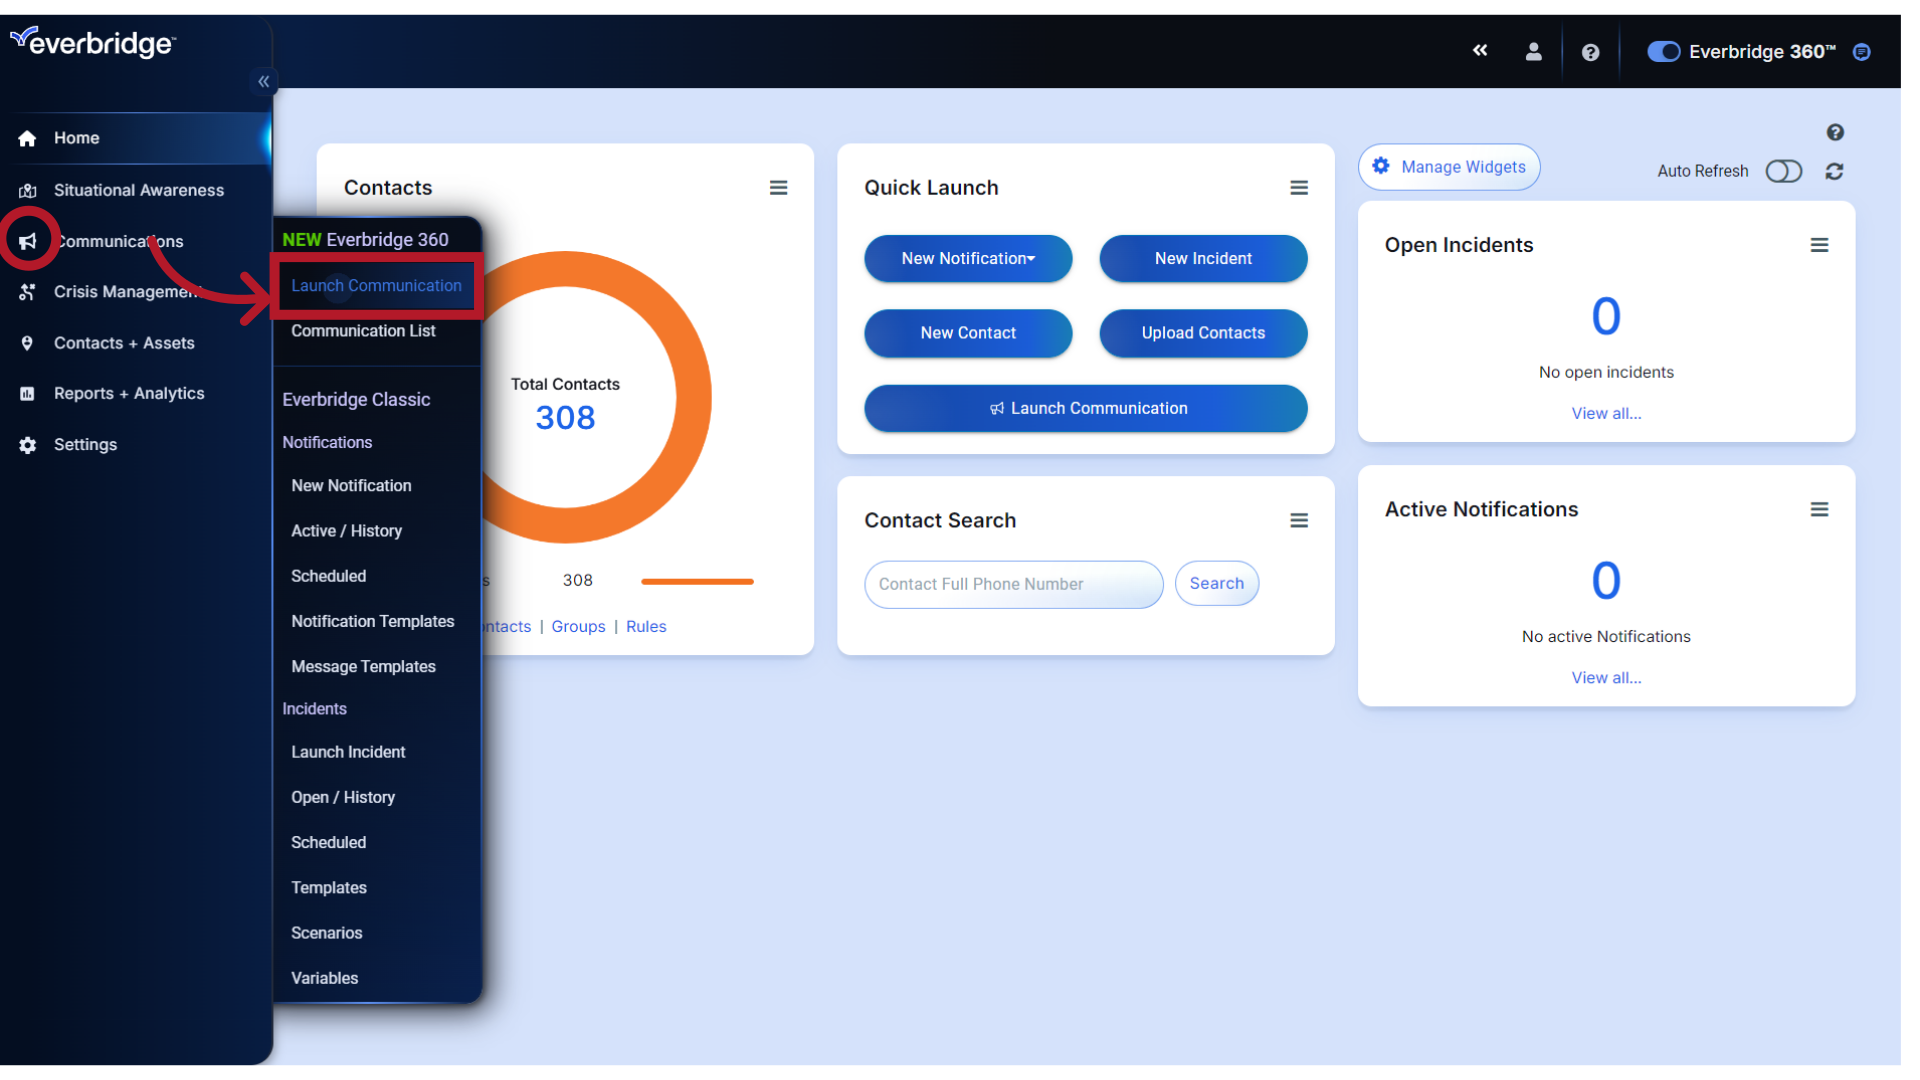
or select Launch Communication from the Communications menu.
3. Form
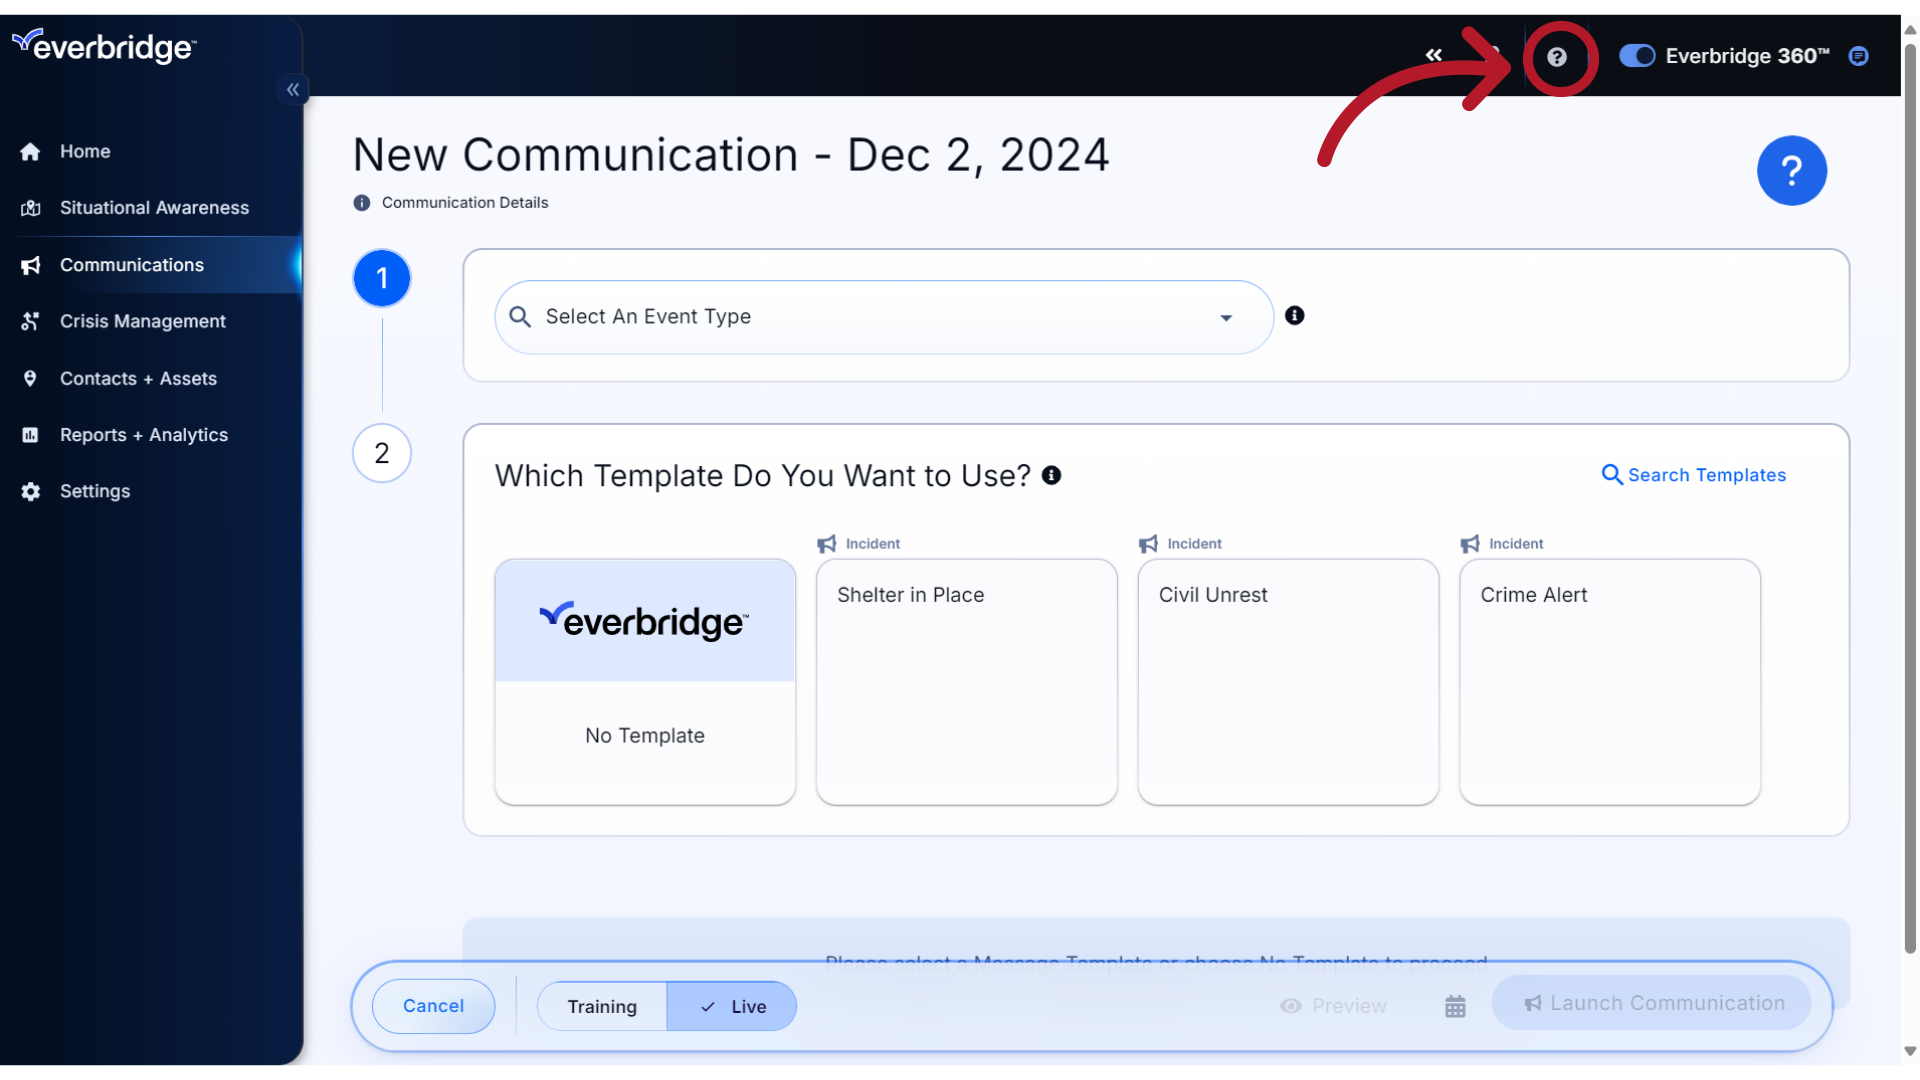
The Launch Communication form is now displayed.

4. Step 1
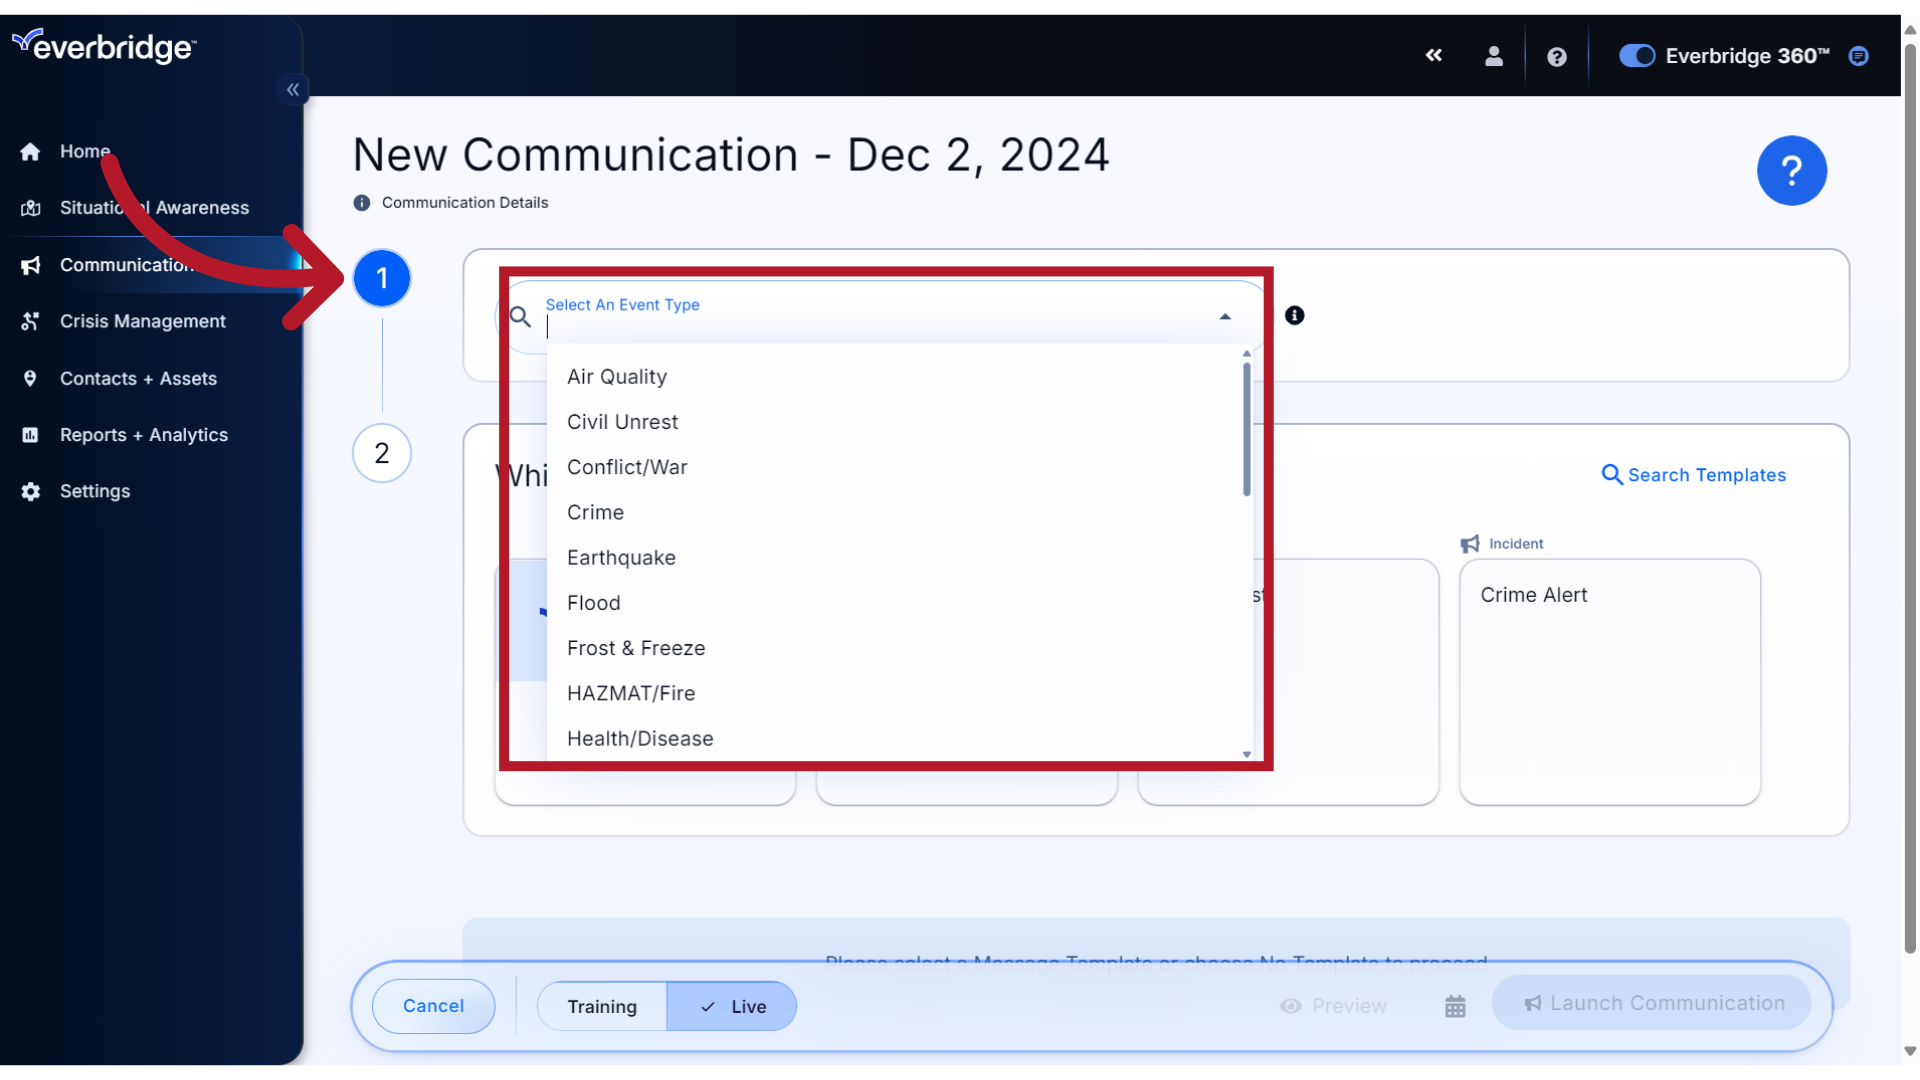
Step 1: Select an Event Type from the dropdown menu that best matches the Communication being sent. This is a preconfigured list that can be customized by your Everbridge administrator. The Event Type helps categorize similar events in your organization and is used in the default Communication name.
5. Event Type
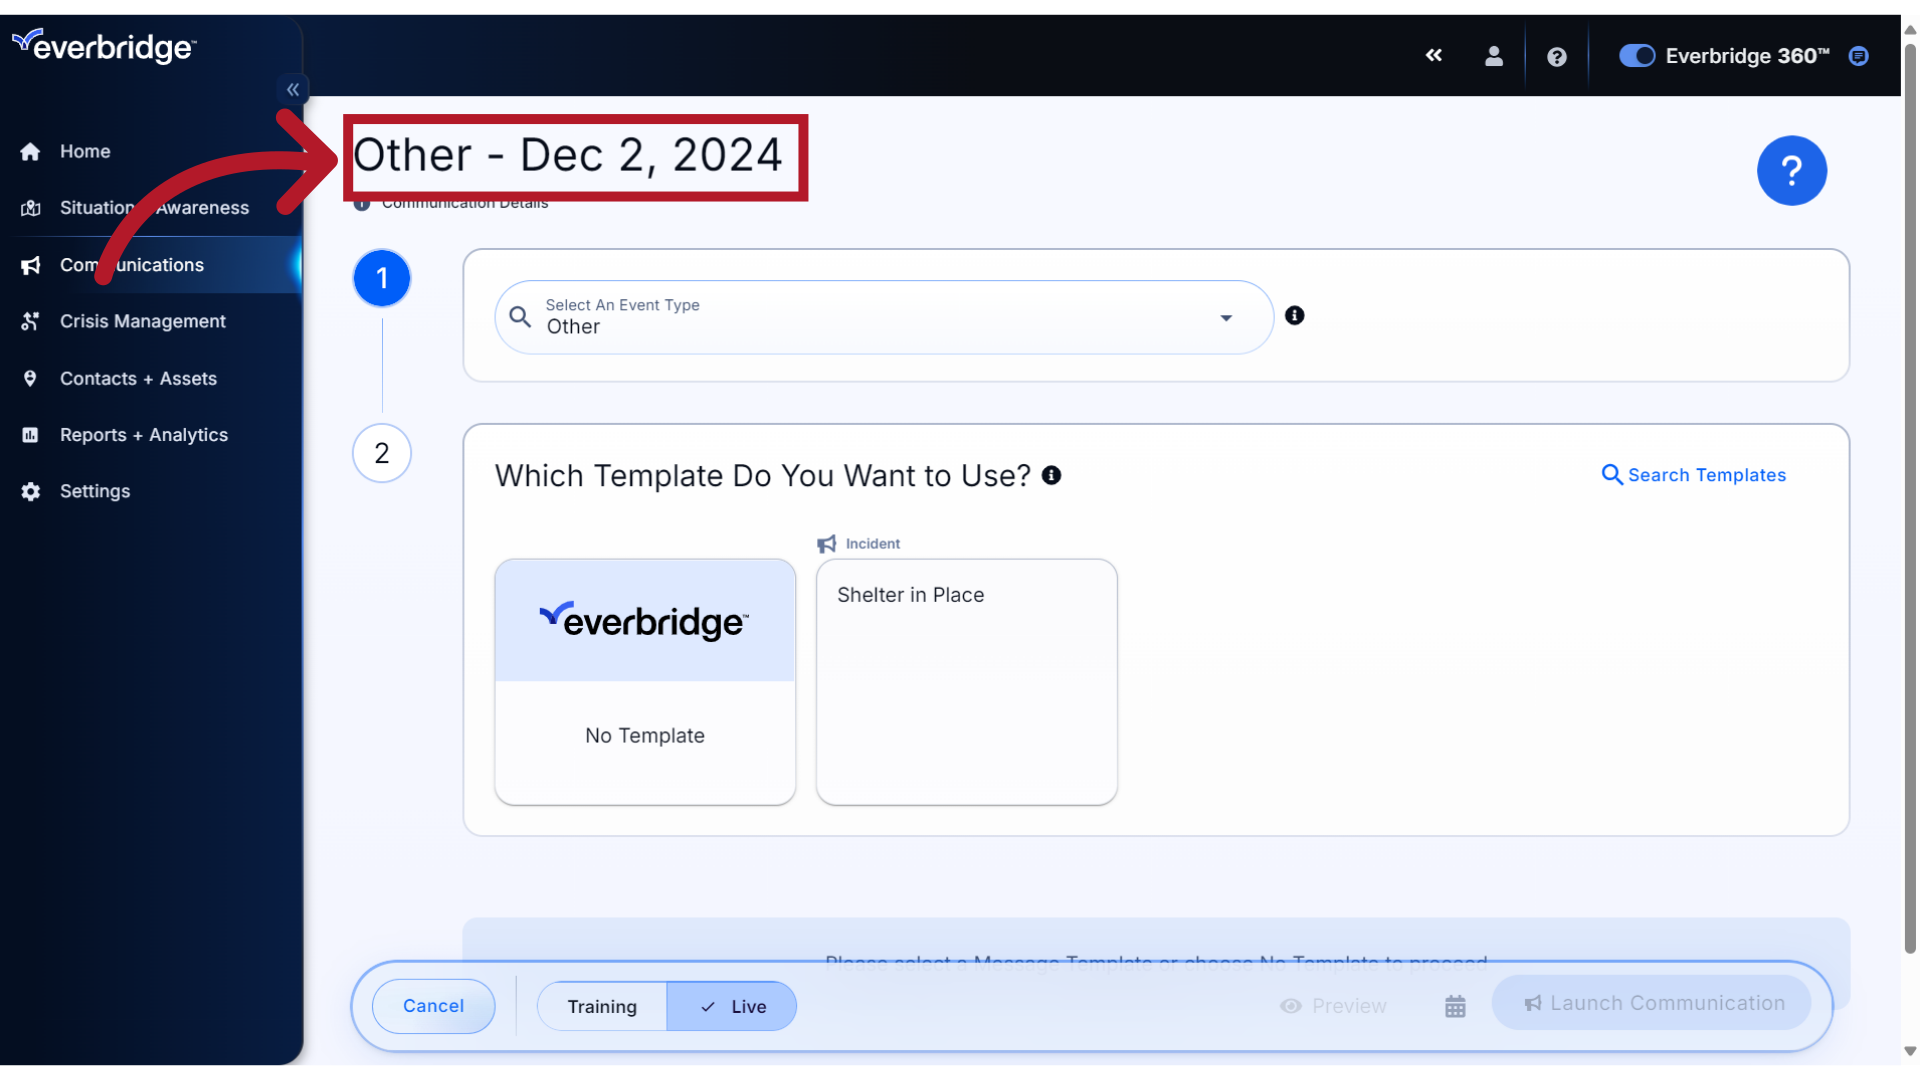
For this example, we have selected "Other" and our Communication Name has updated automatically to match.
6. Step 2
Step 2: Select which template to use.
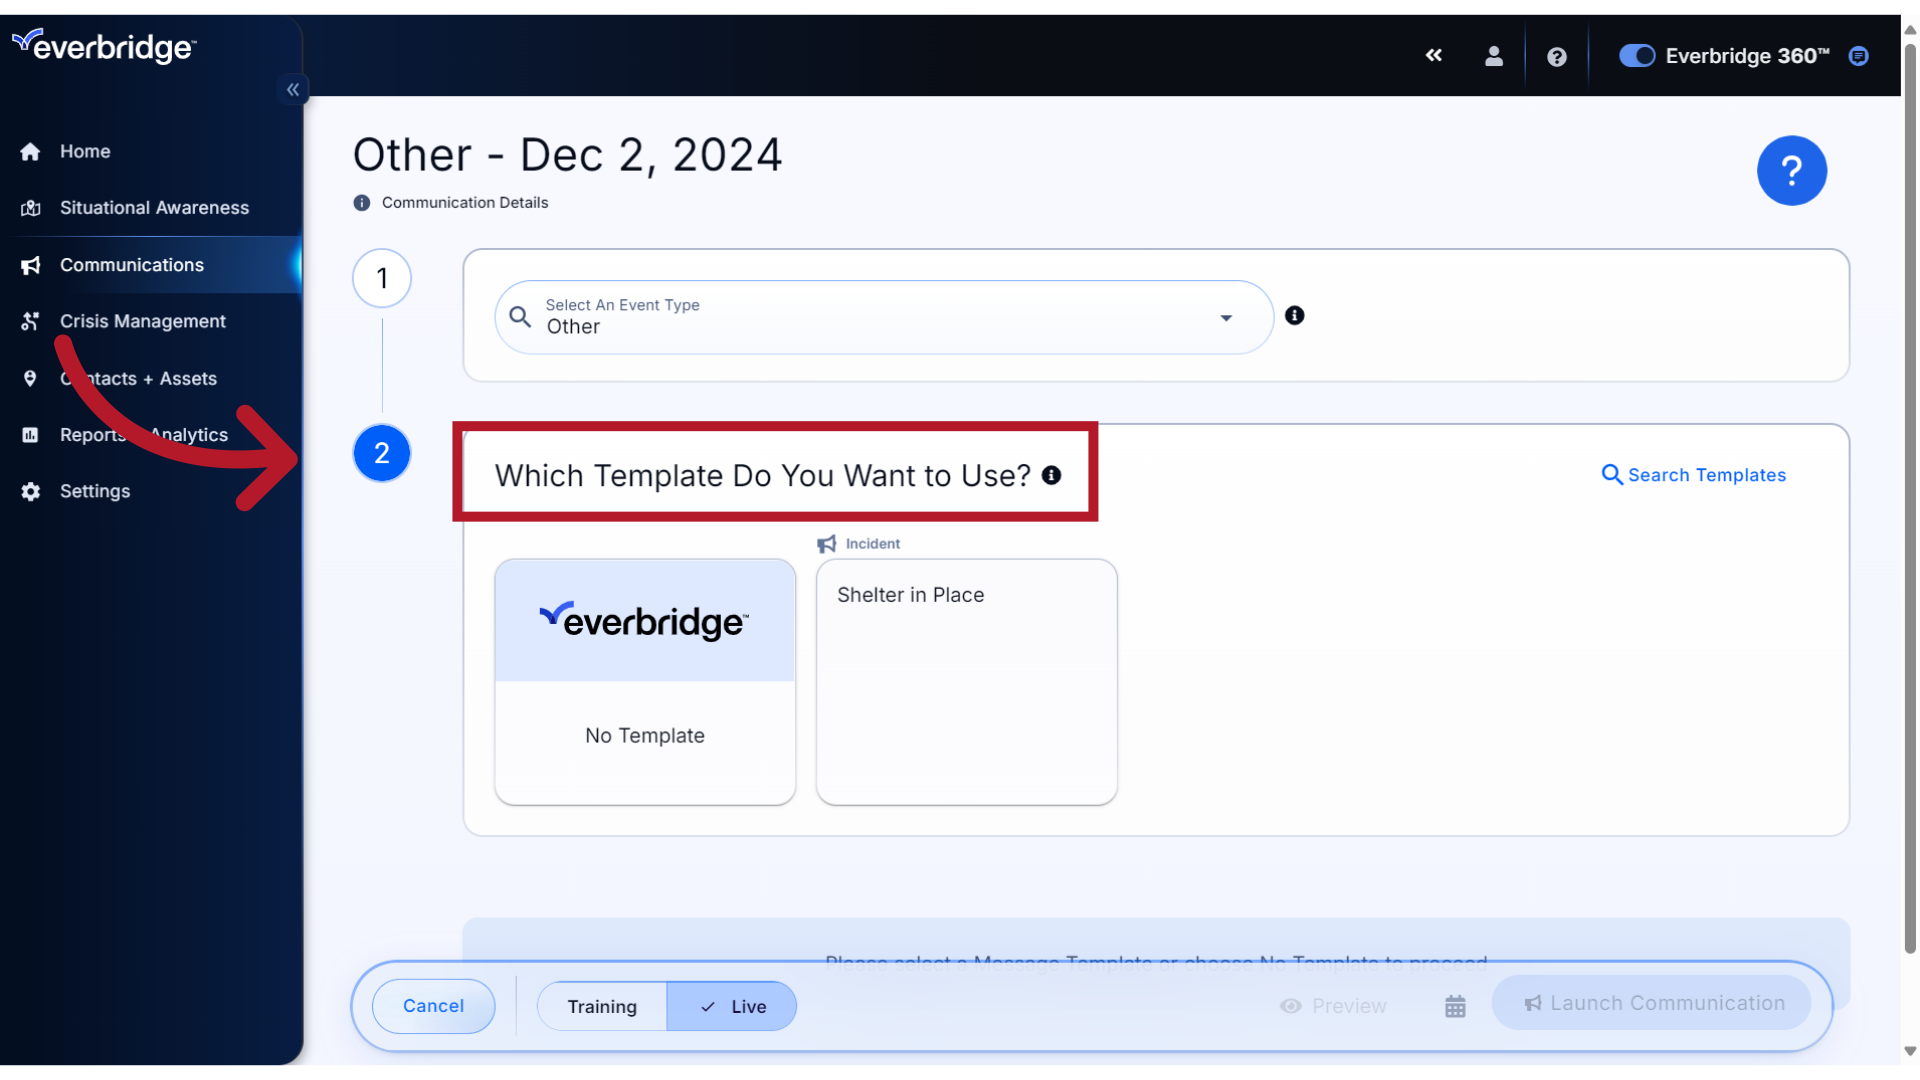
7. No Template
Since this is an ad hoc message, we will choose the No Template option. This will use your organization’s default notification settings and permissions.
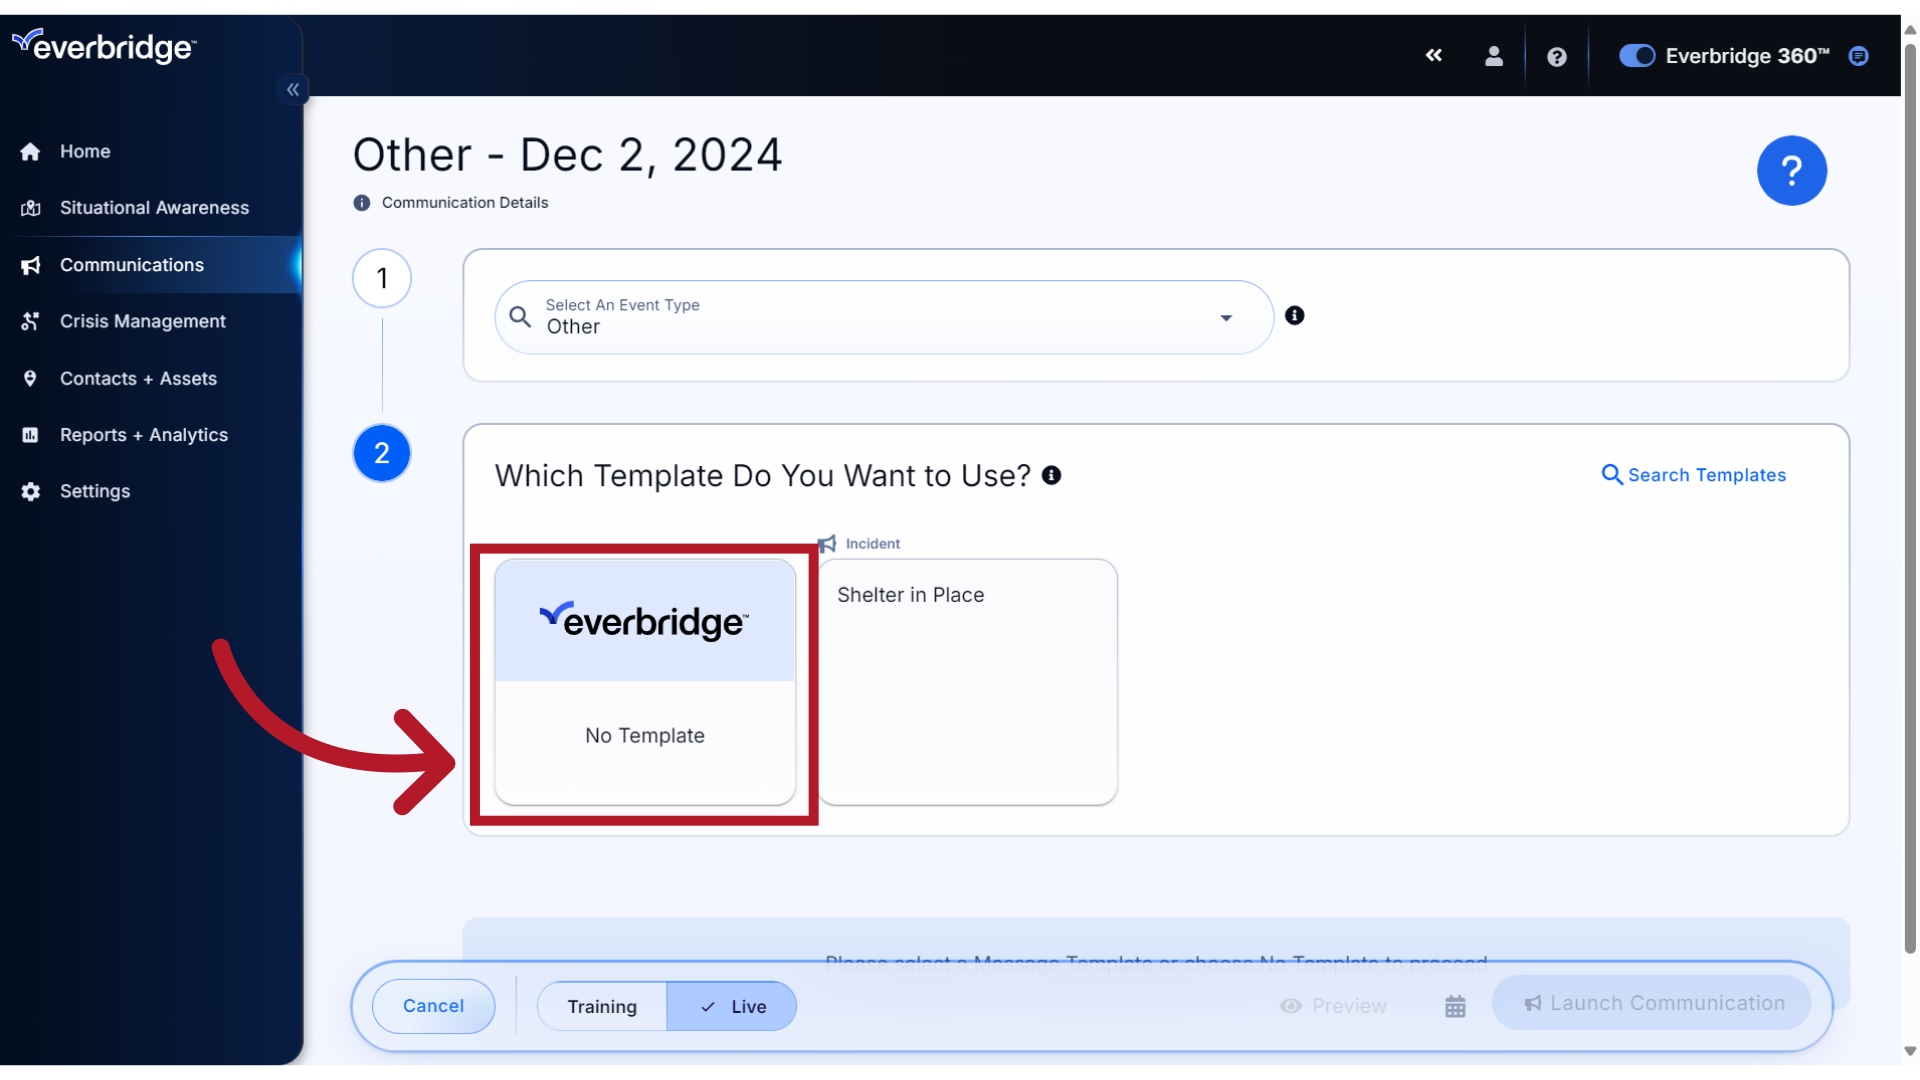
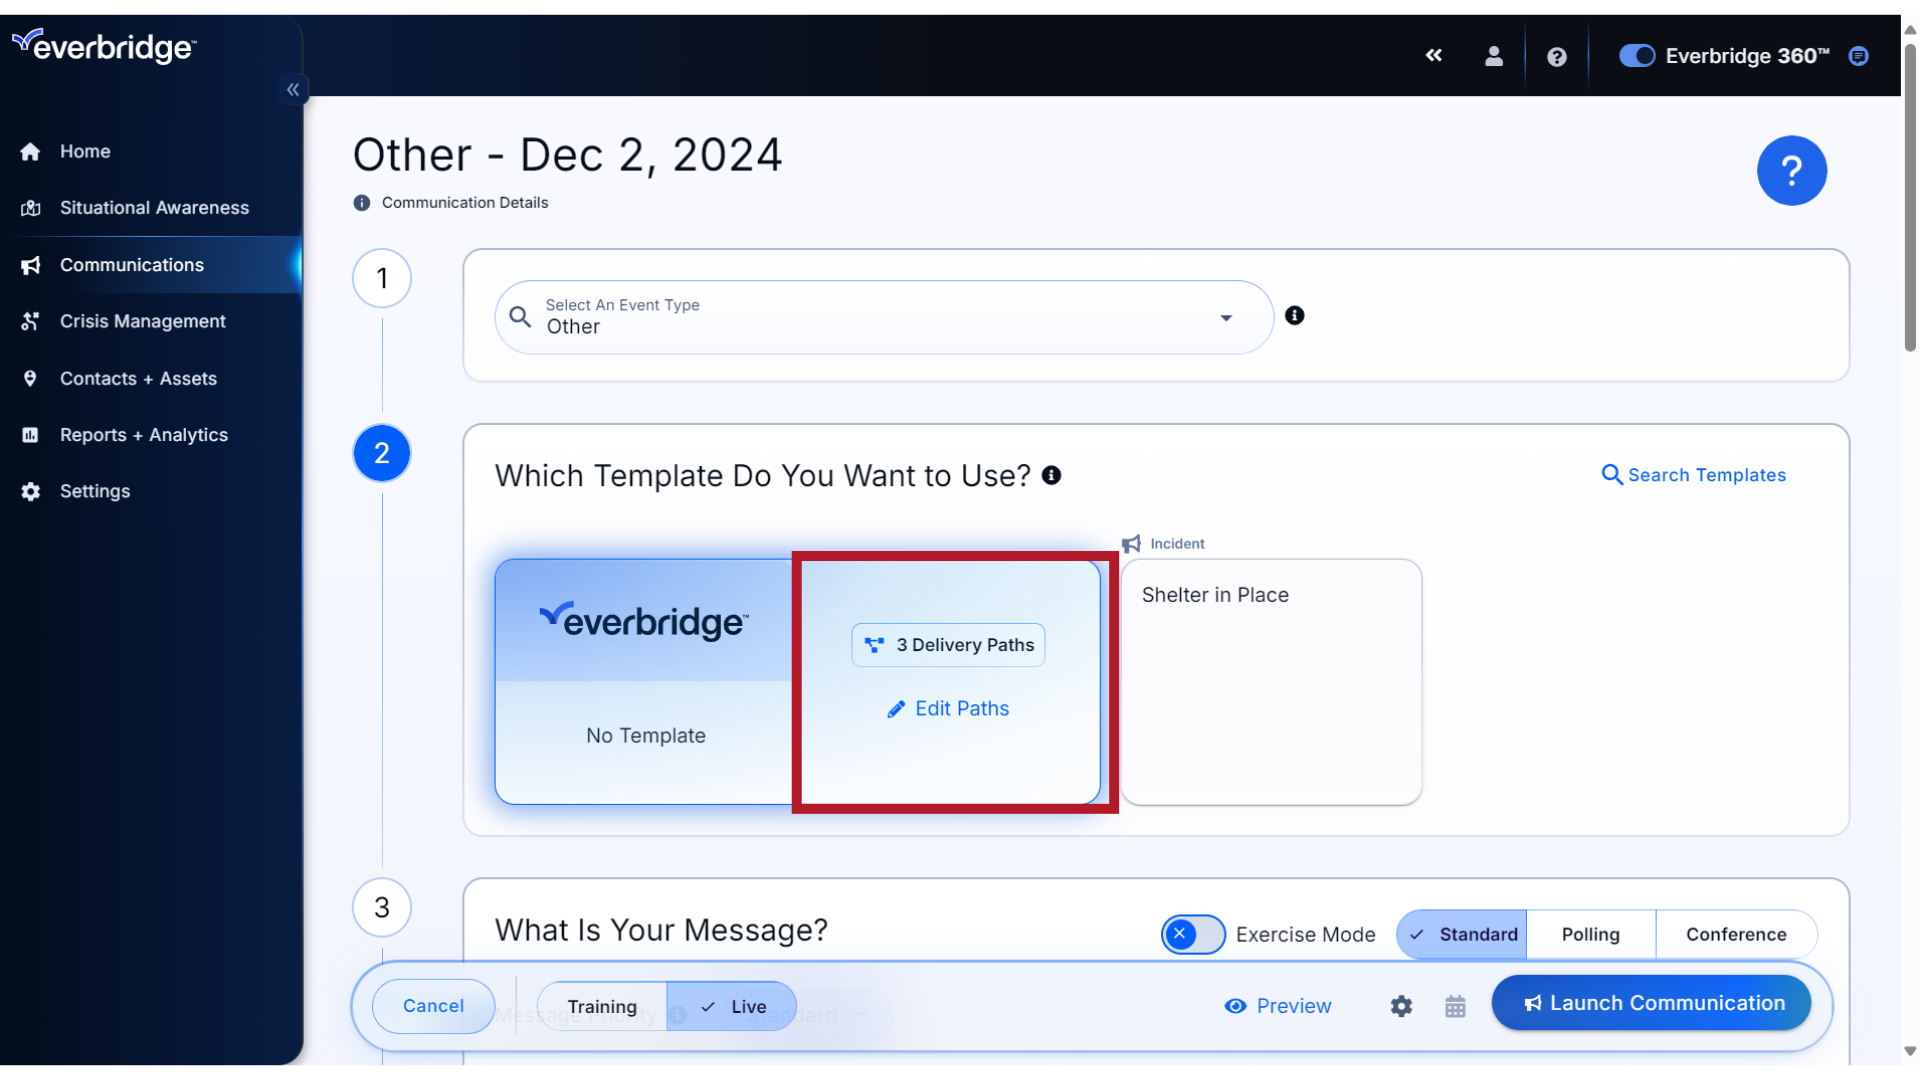
8. Delivery Paths
Once selected, the number of default Delivery Paths set by your organization will display. Continue to the next step.
9. Step 3
Step 3: Create your message.
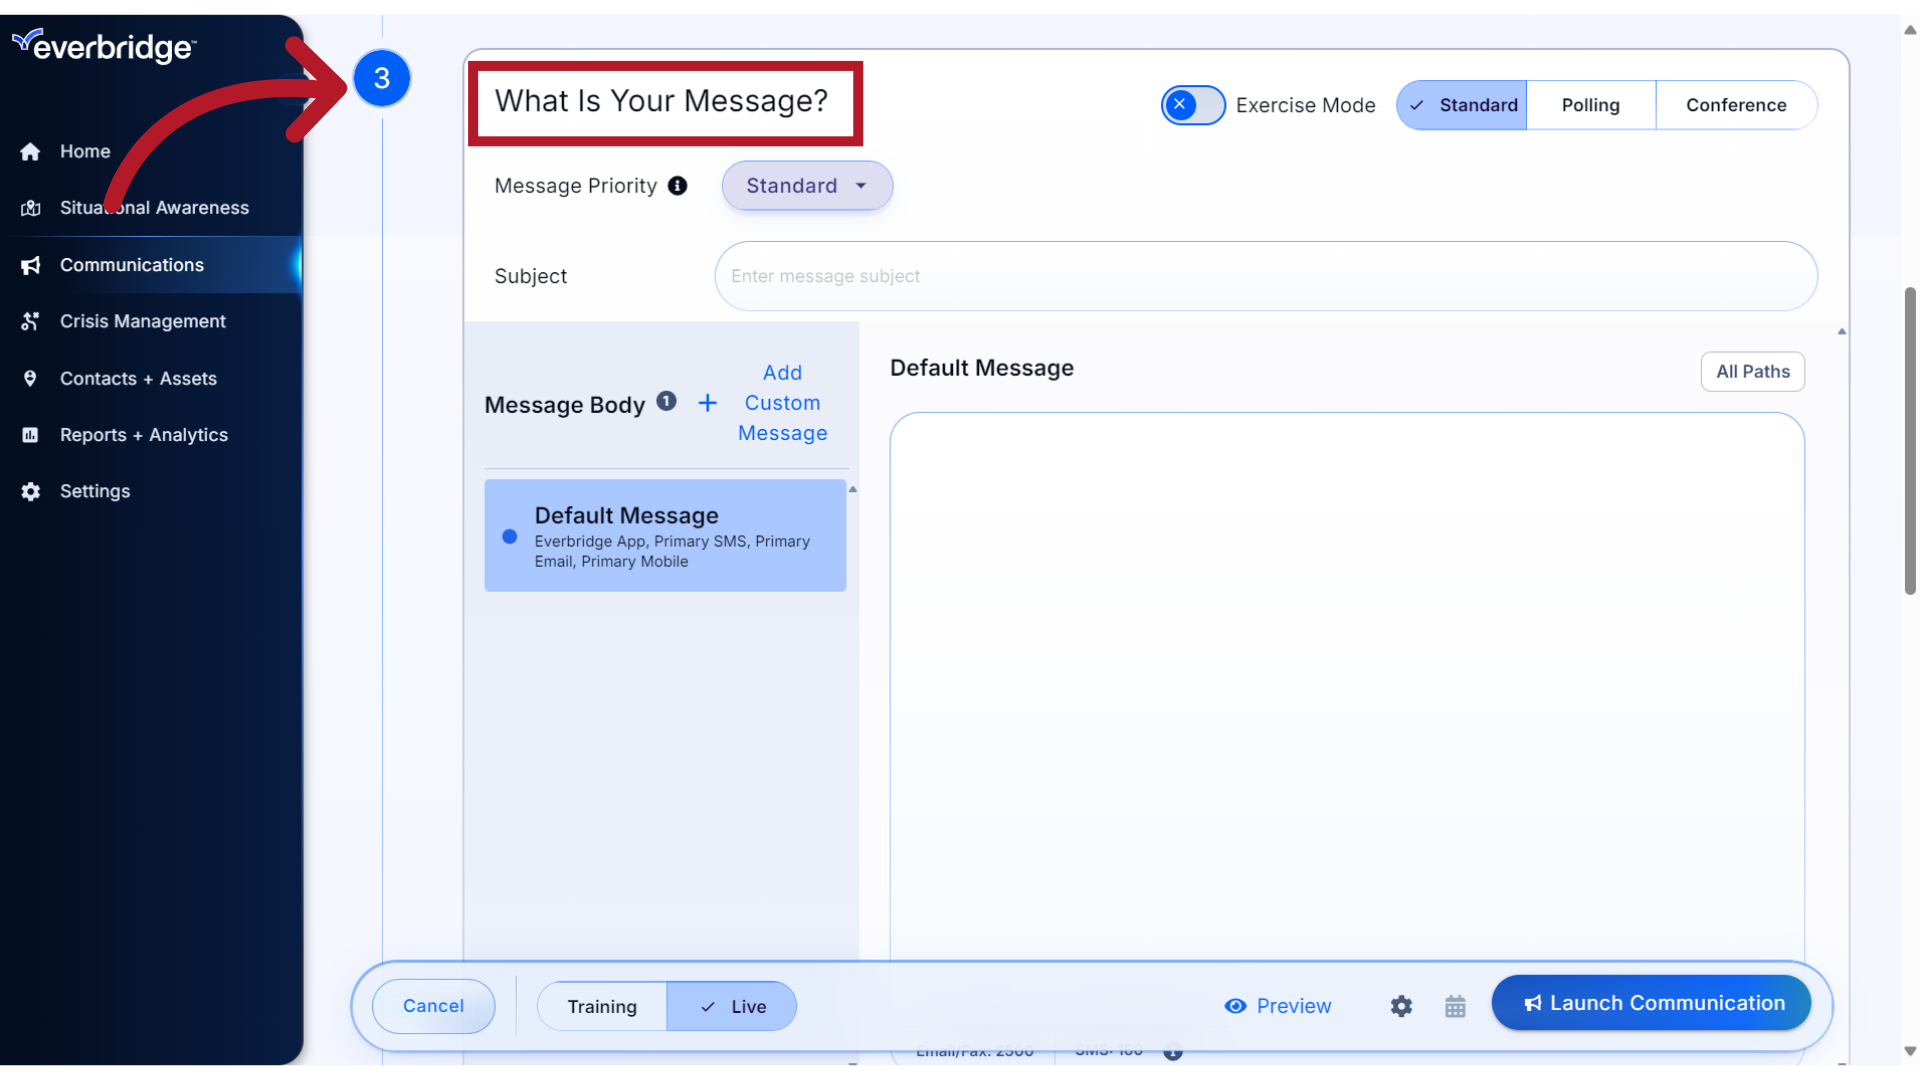
10. Select
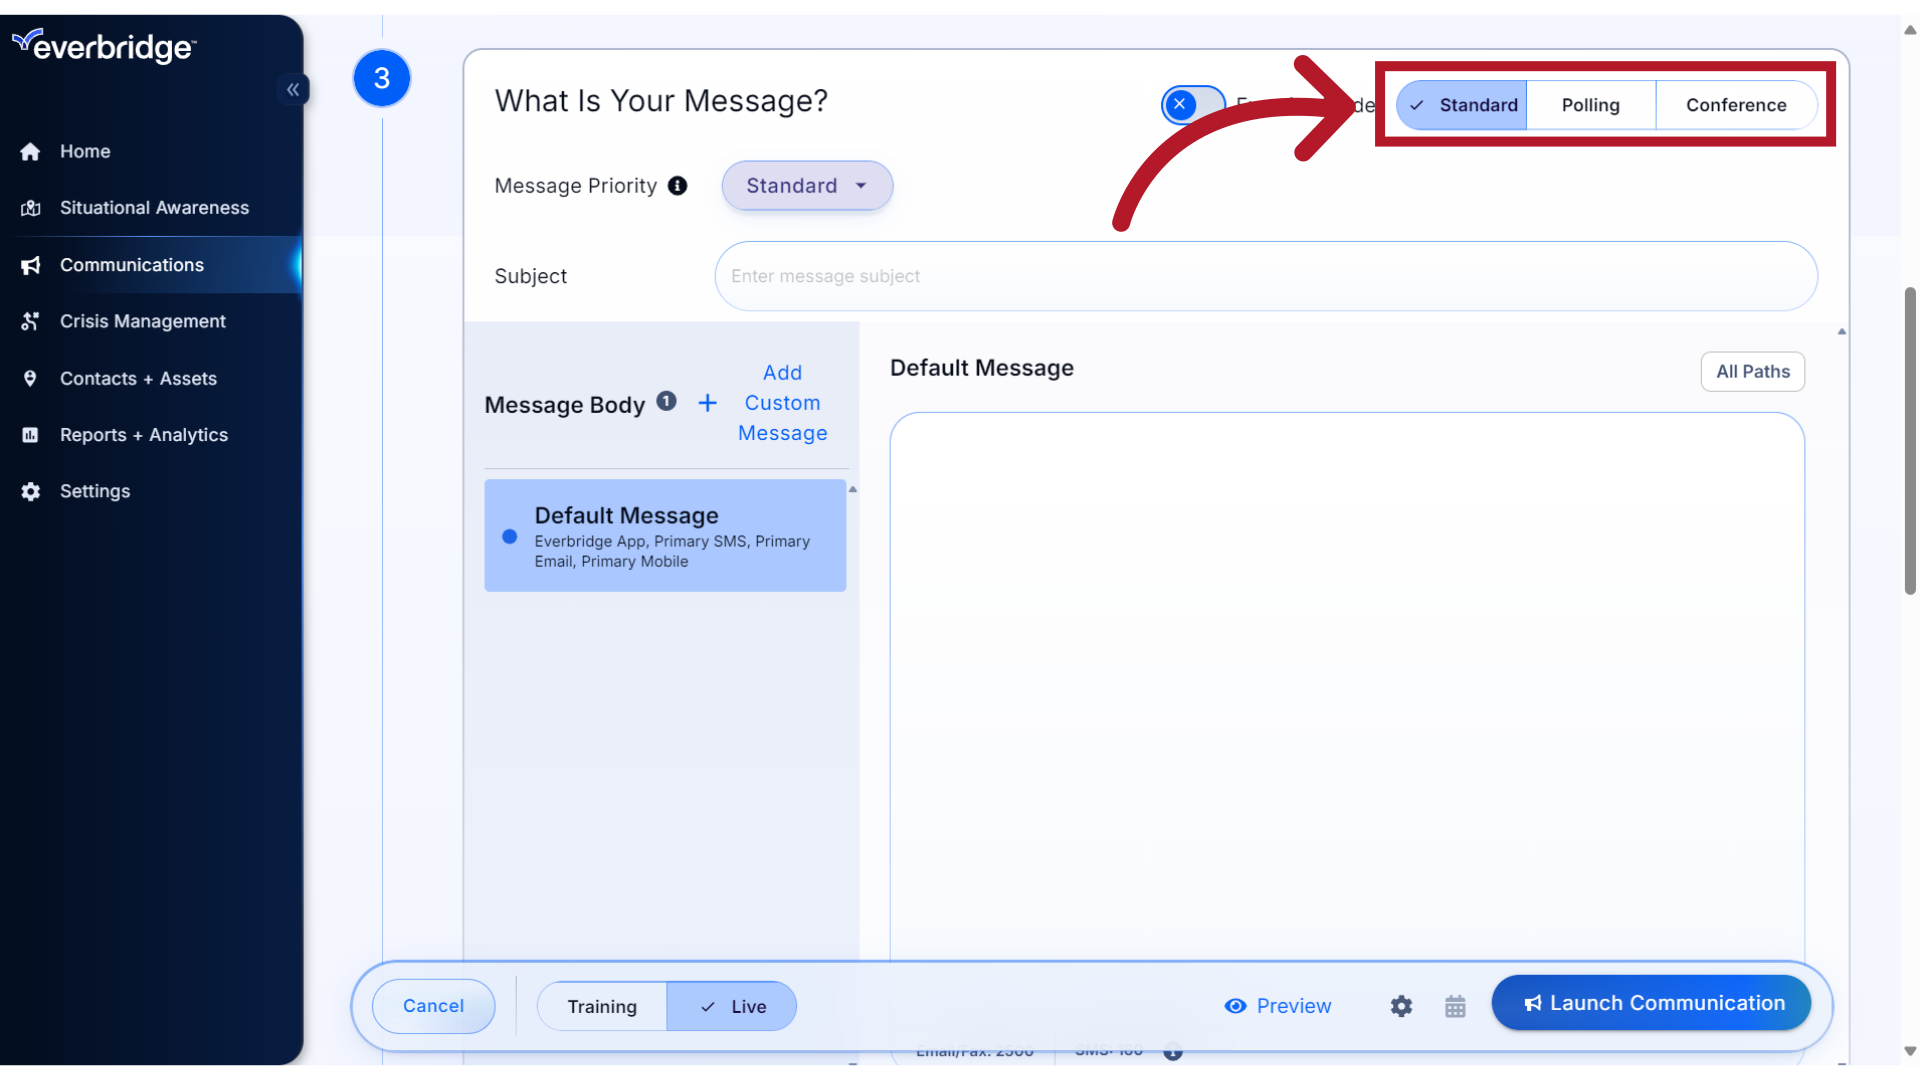
Start by selecting the Message Type. We will demonstrate the Standard message.
11. Select
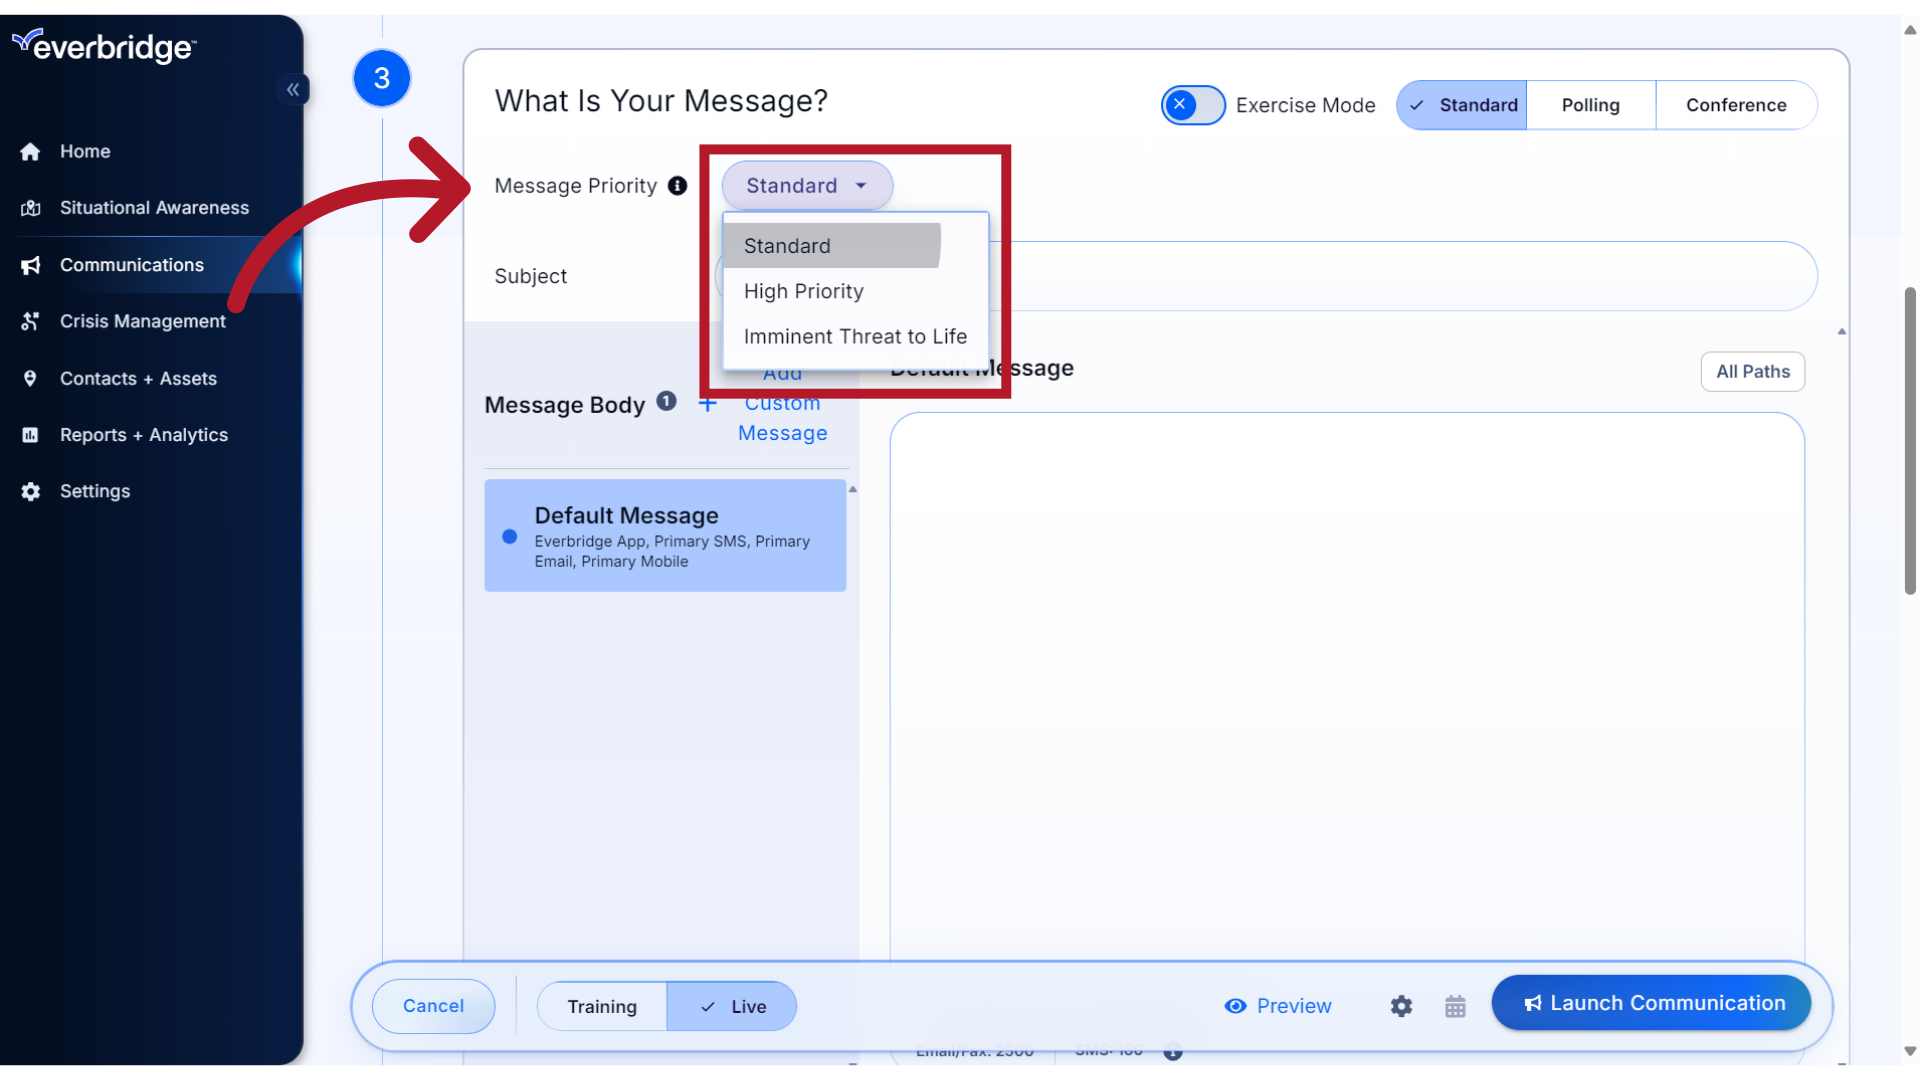
Then set the Message Priority.
12. Subject
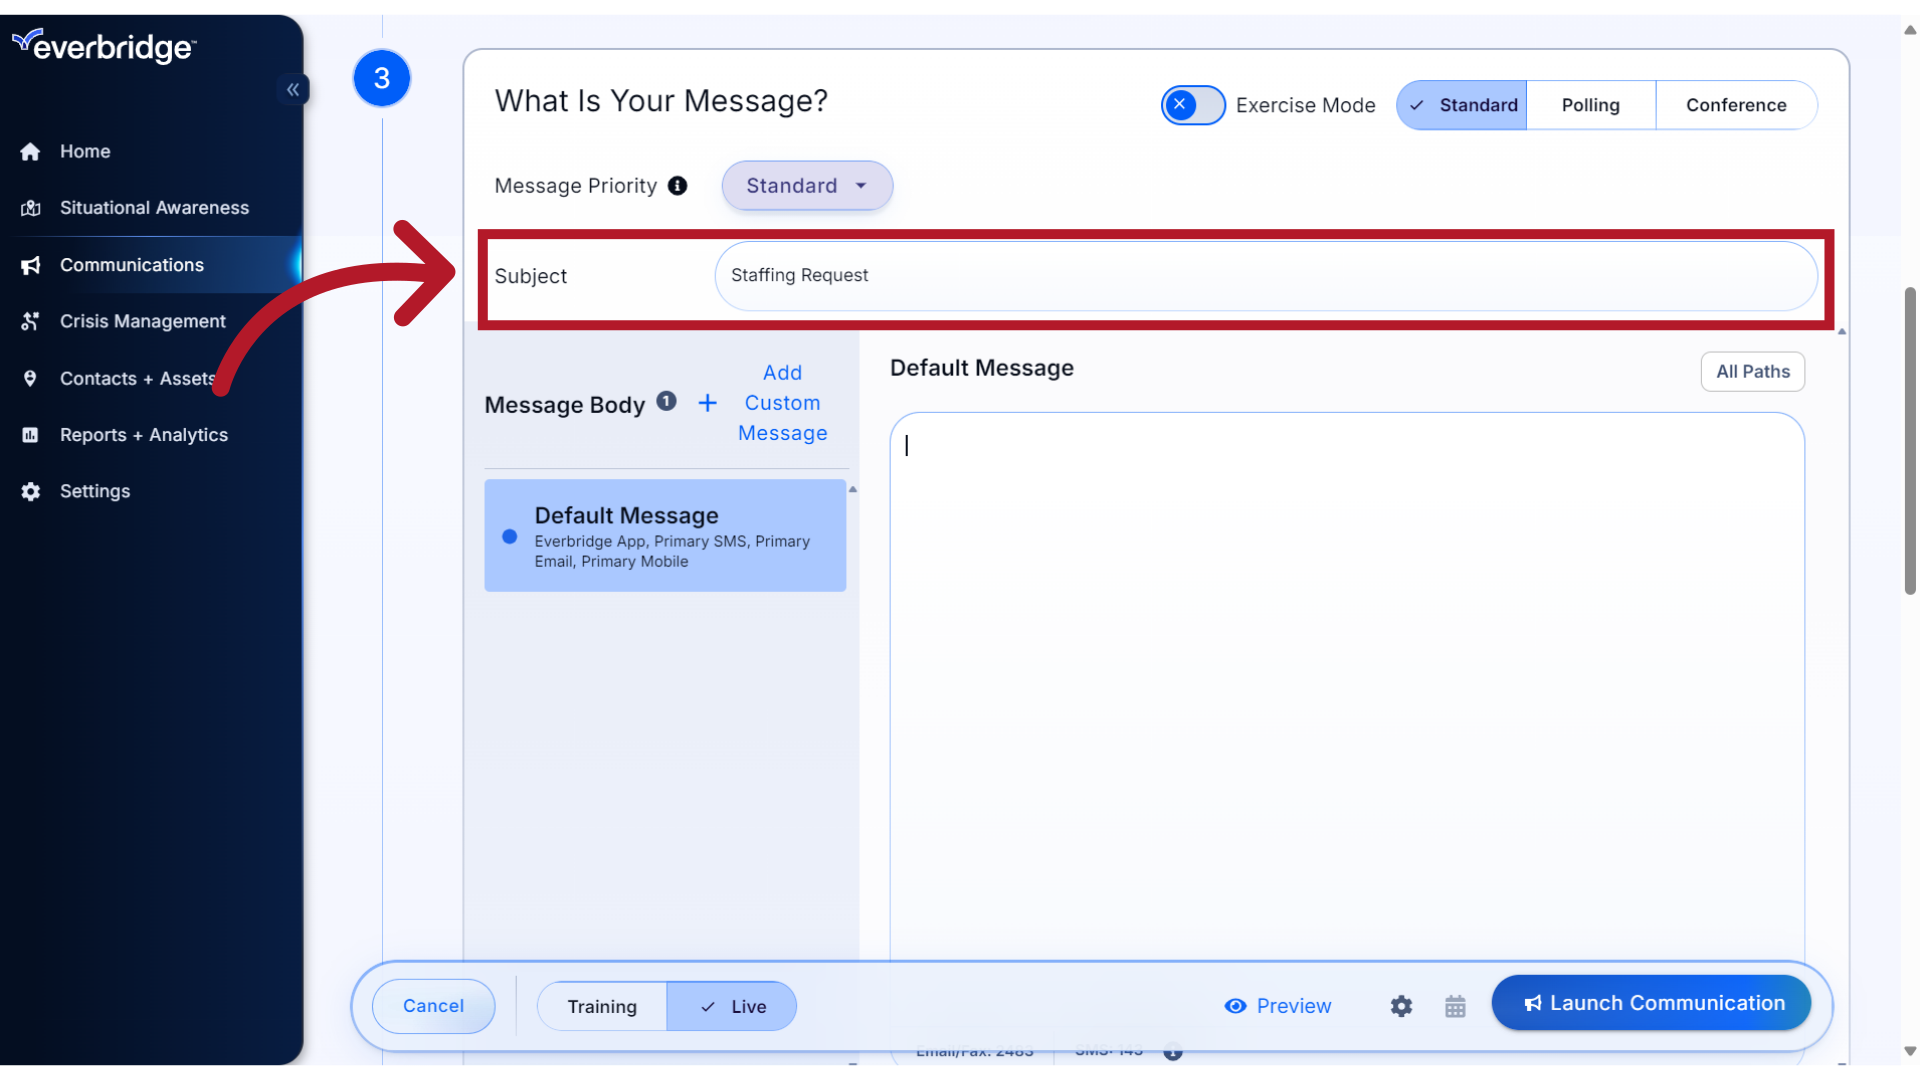
Next, add a subject line
13. Message
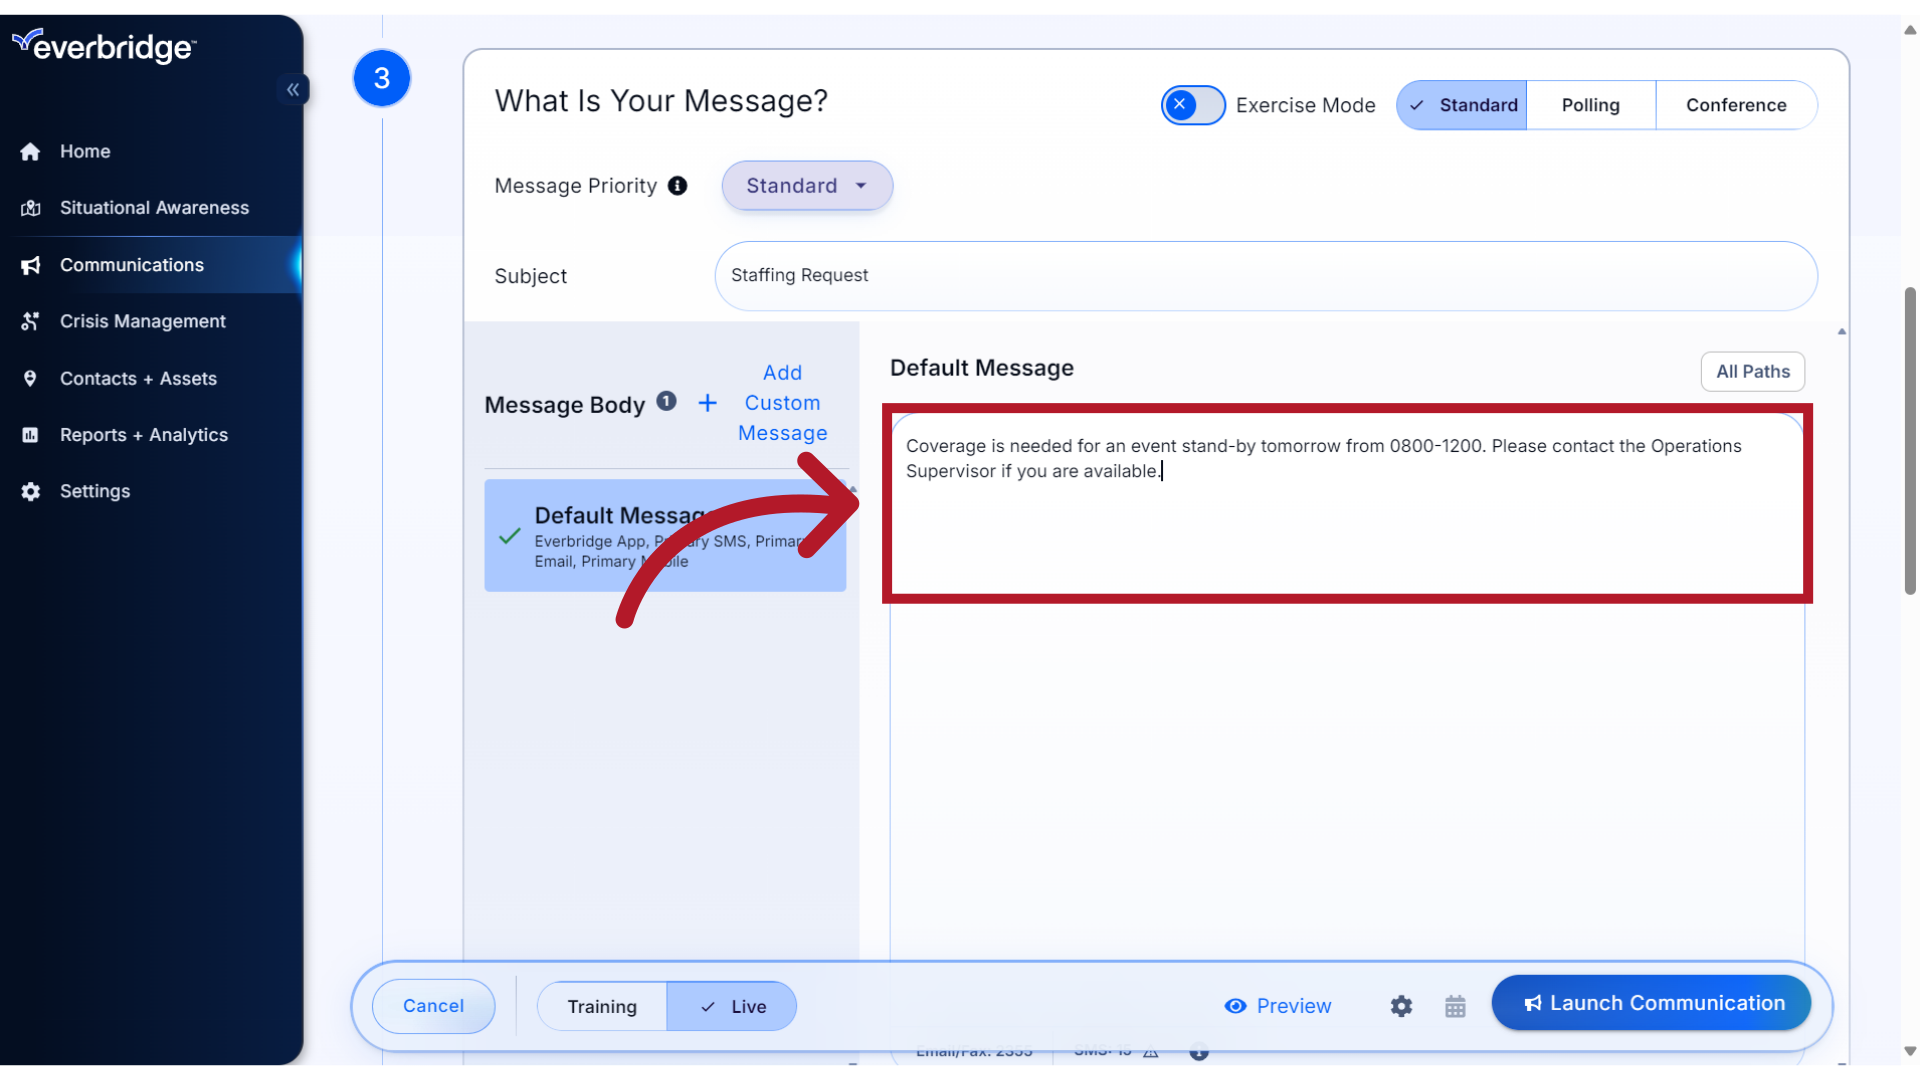
and type your message.
14. Attachments
If needed, you can include attachments by clicking on the "Add" button. Up to 5 attachments can be added to your message, which will be delivered to email type paths and the mobile app.

15. Step 4
Step 4: Select who will receive your message.
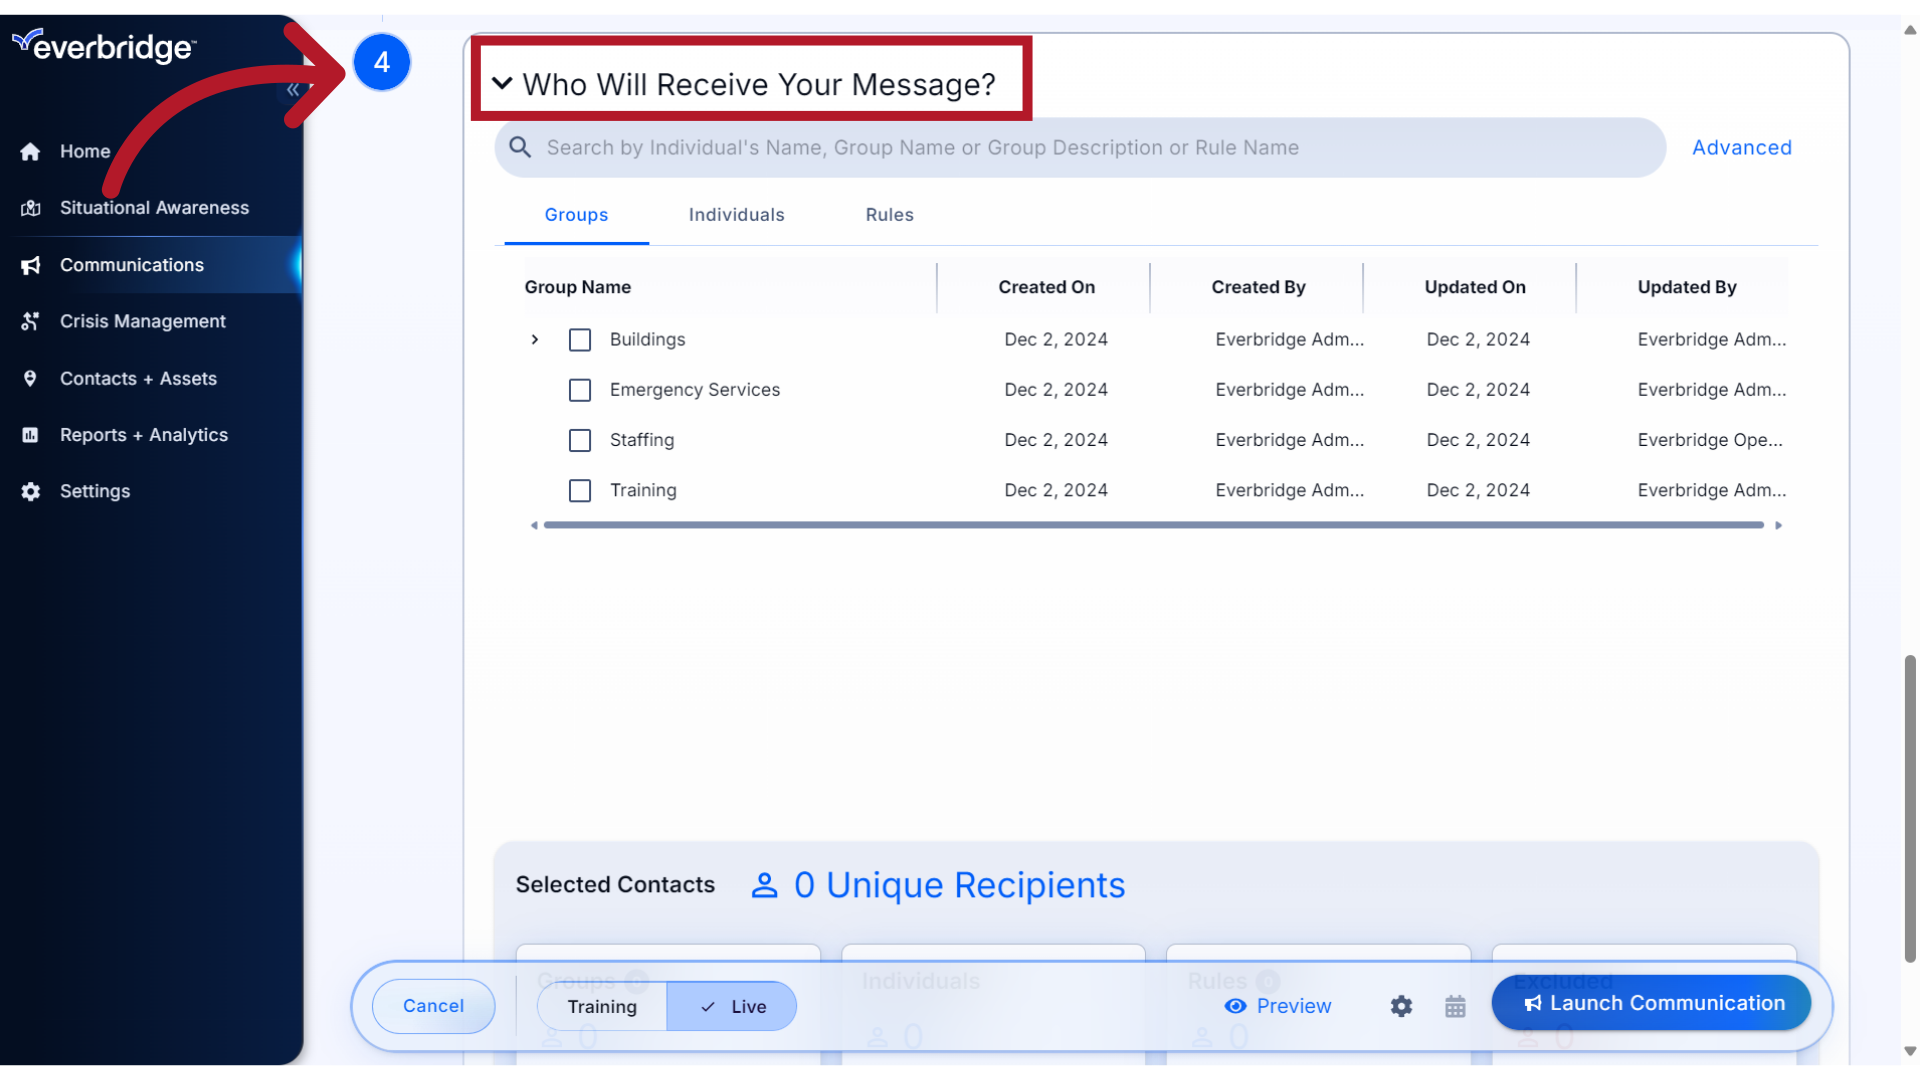
16. Search
You can use the Search feature to find and make selections from the contact data your role permits you to access.
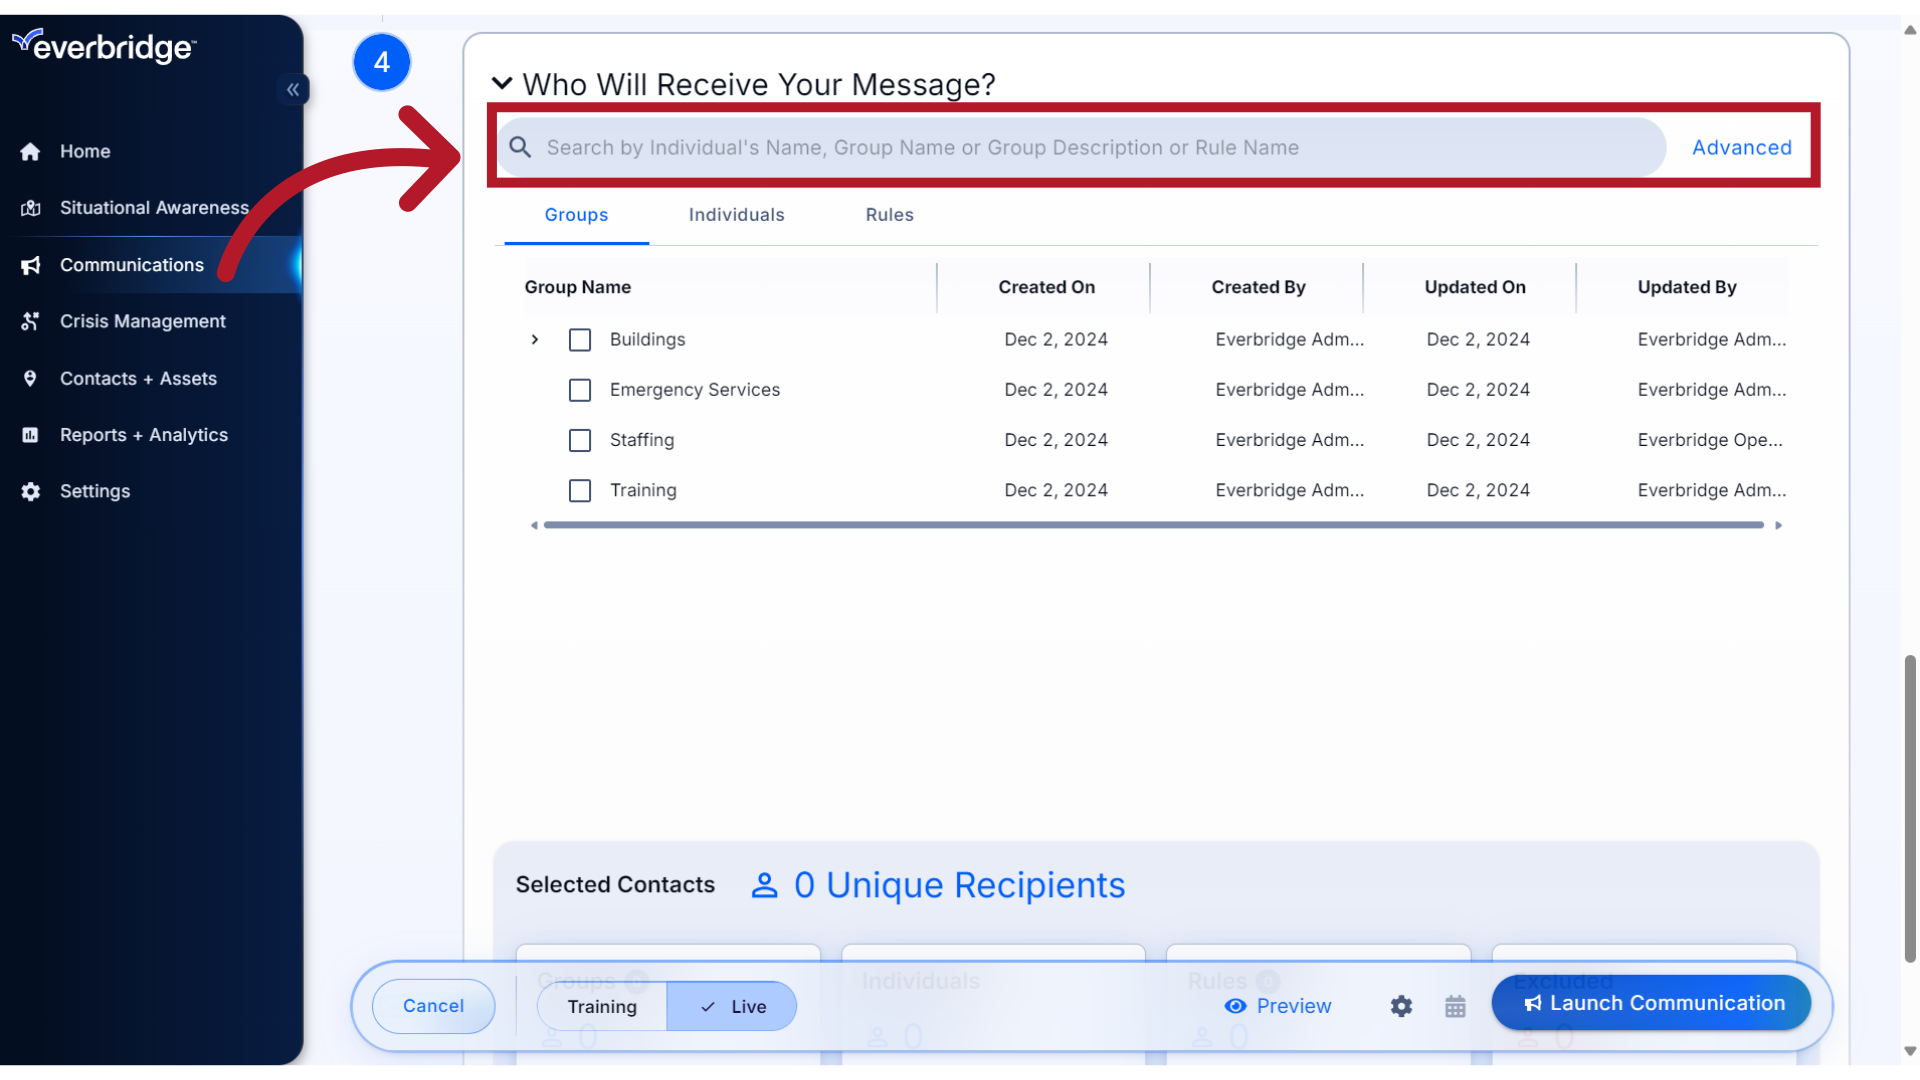
17. Groups
You can also select directly from your organization's Groups,
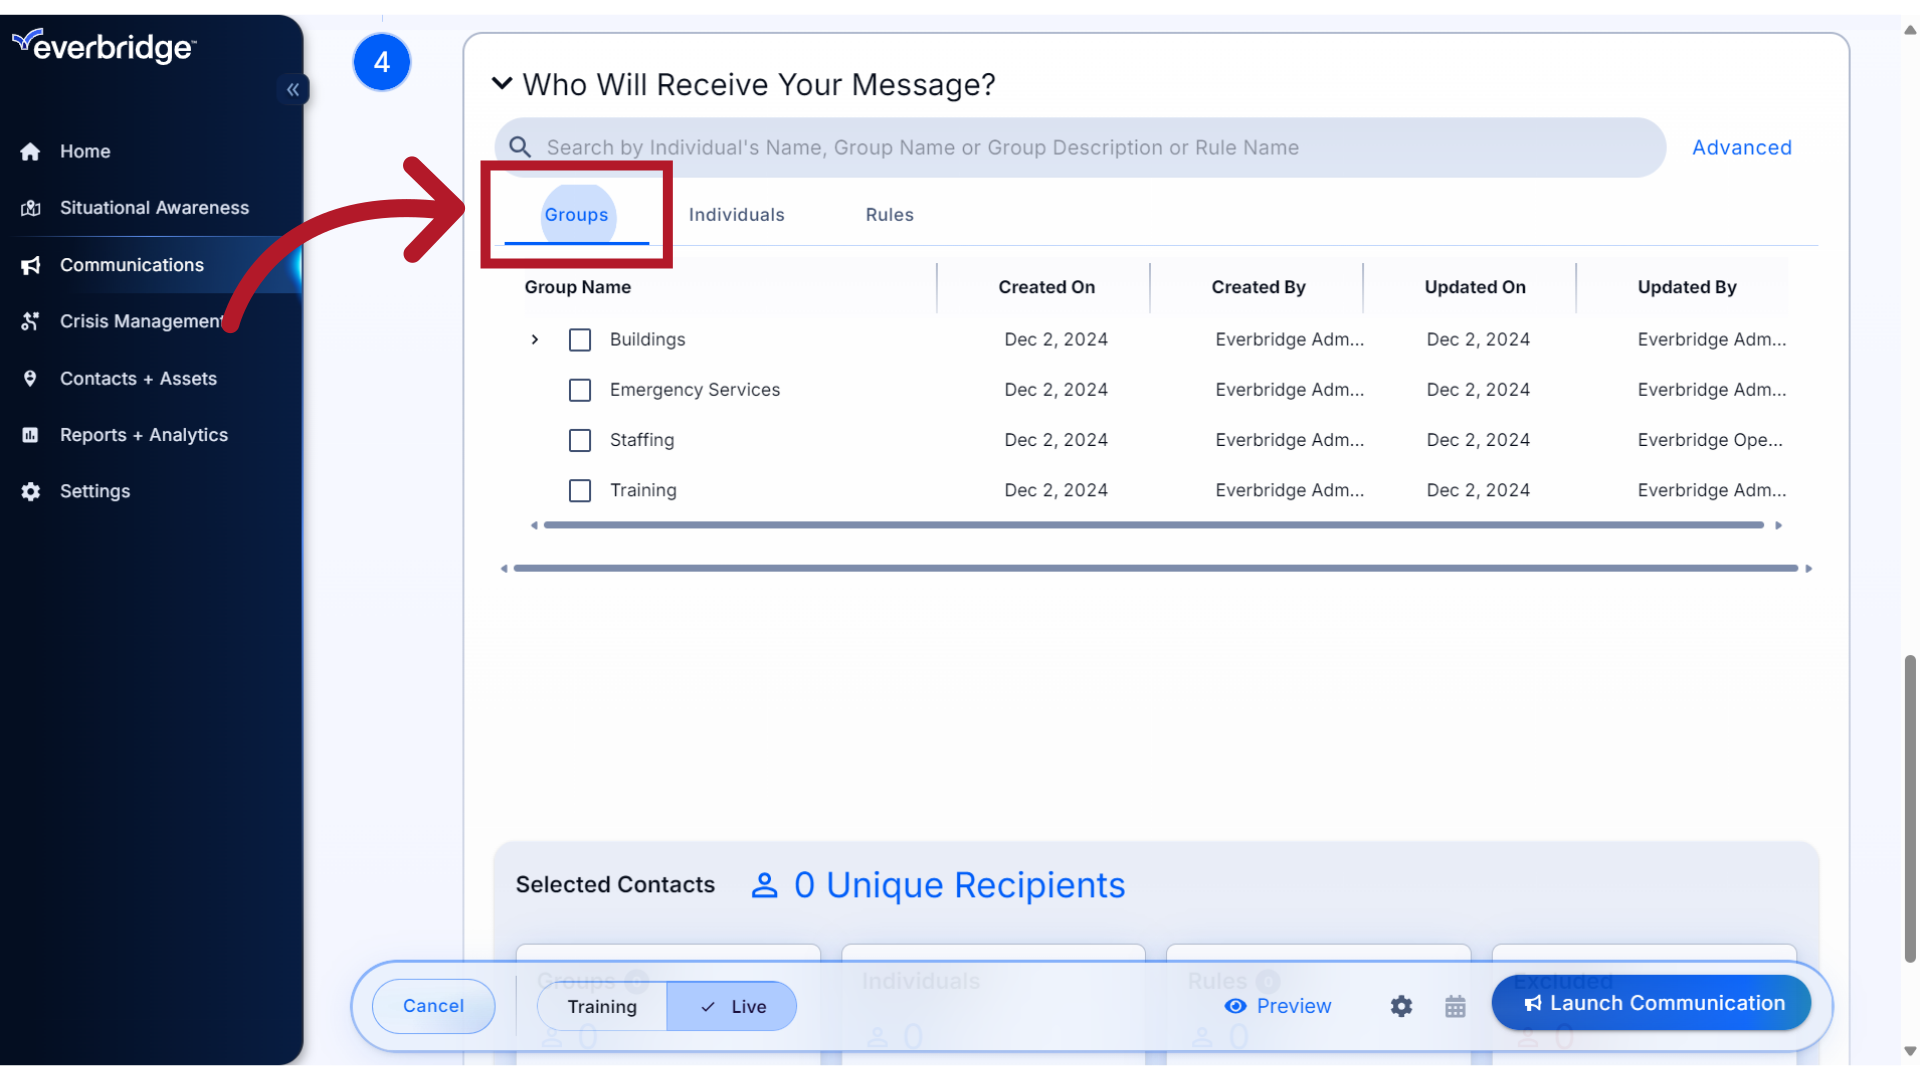
18. Individuals
Individual Contacts,
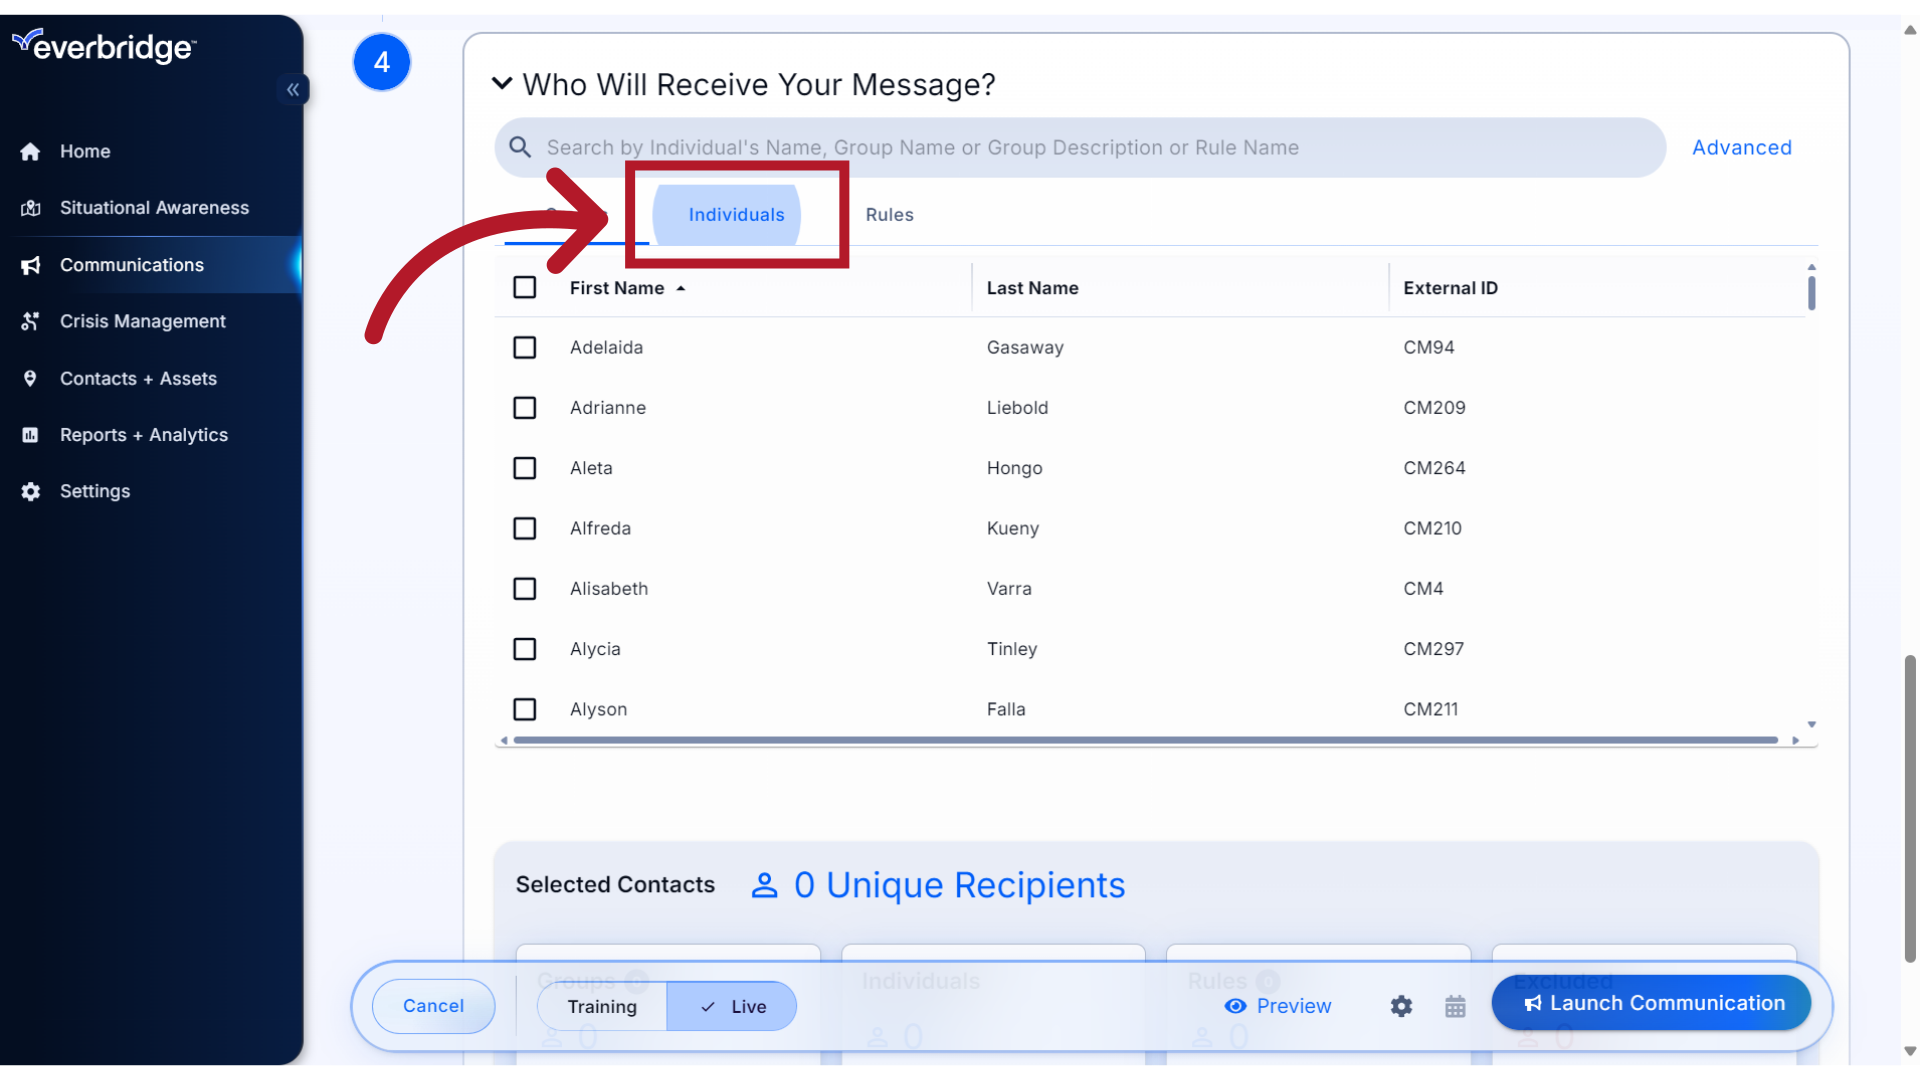
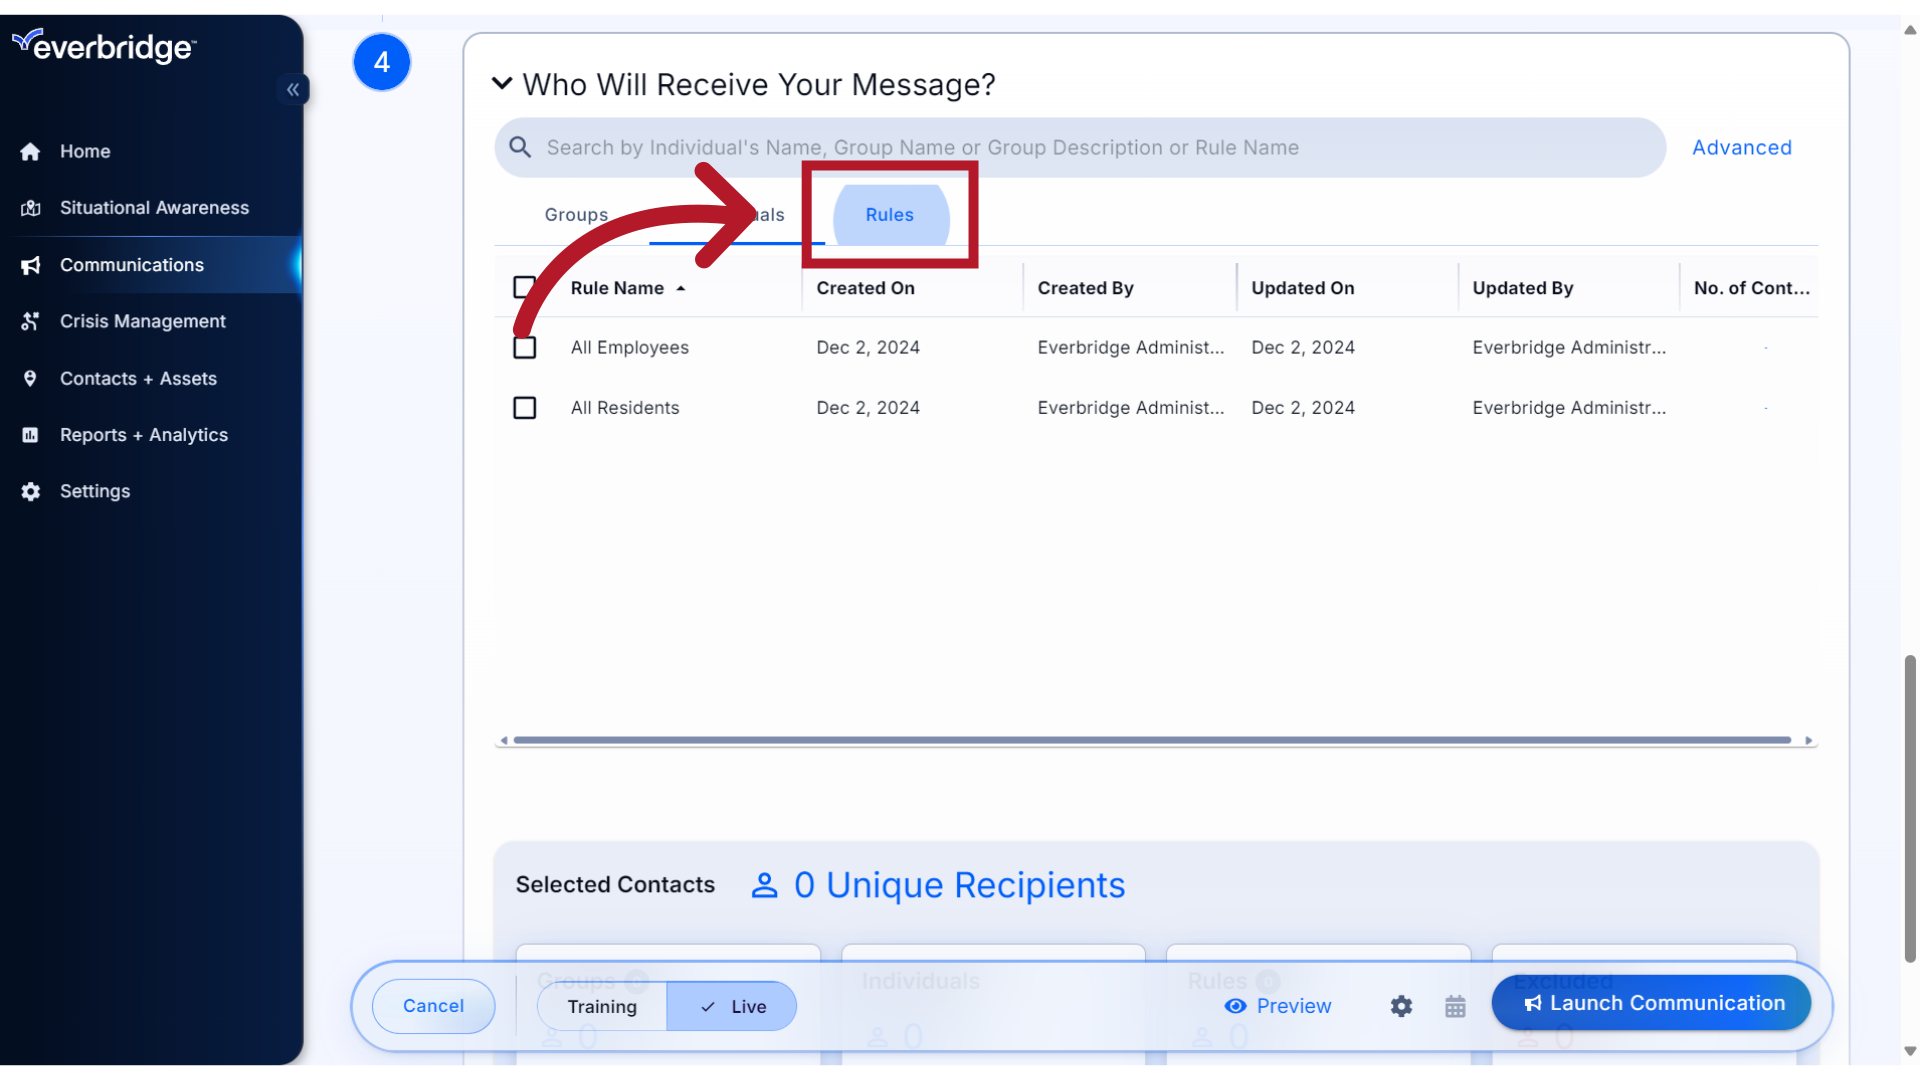
19. Rules
and Rules. Rules are simply contact filters that have been saved in advance.
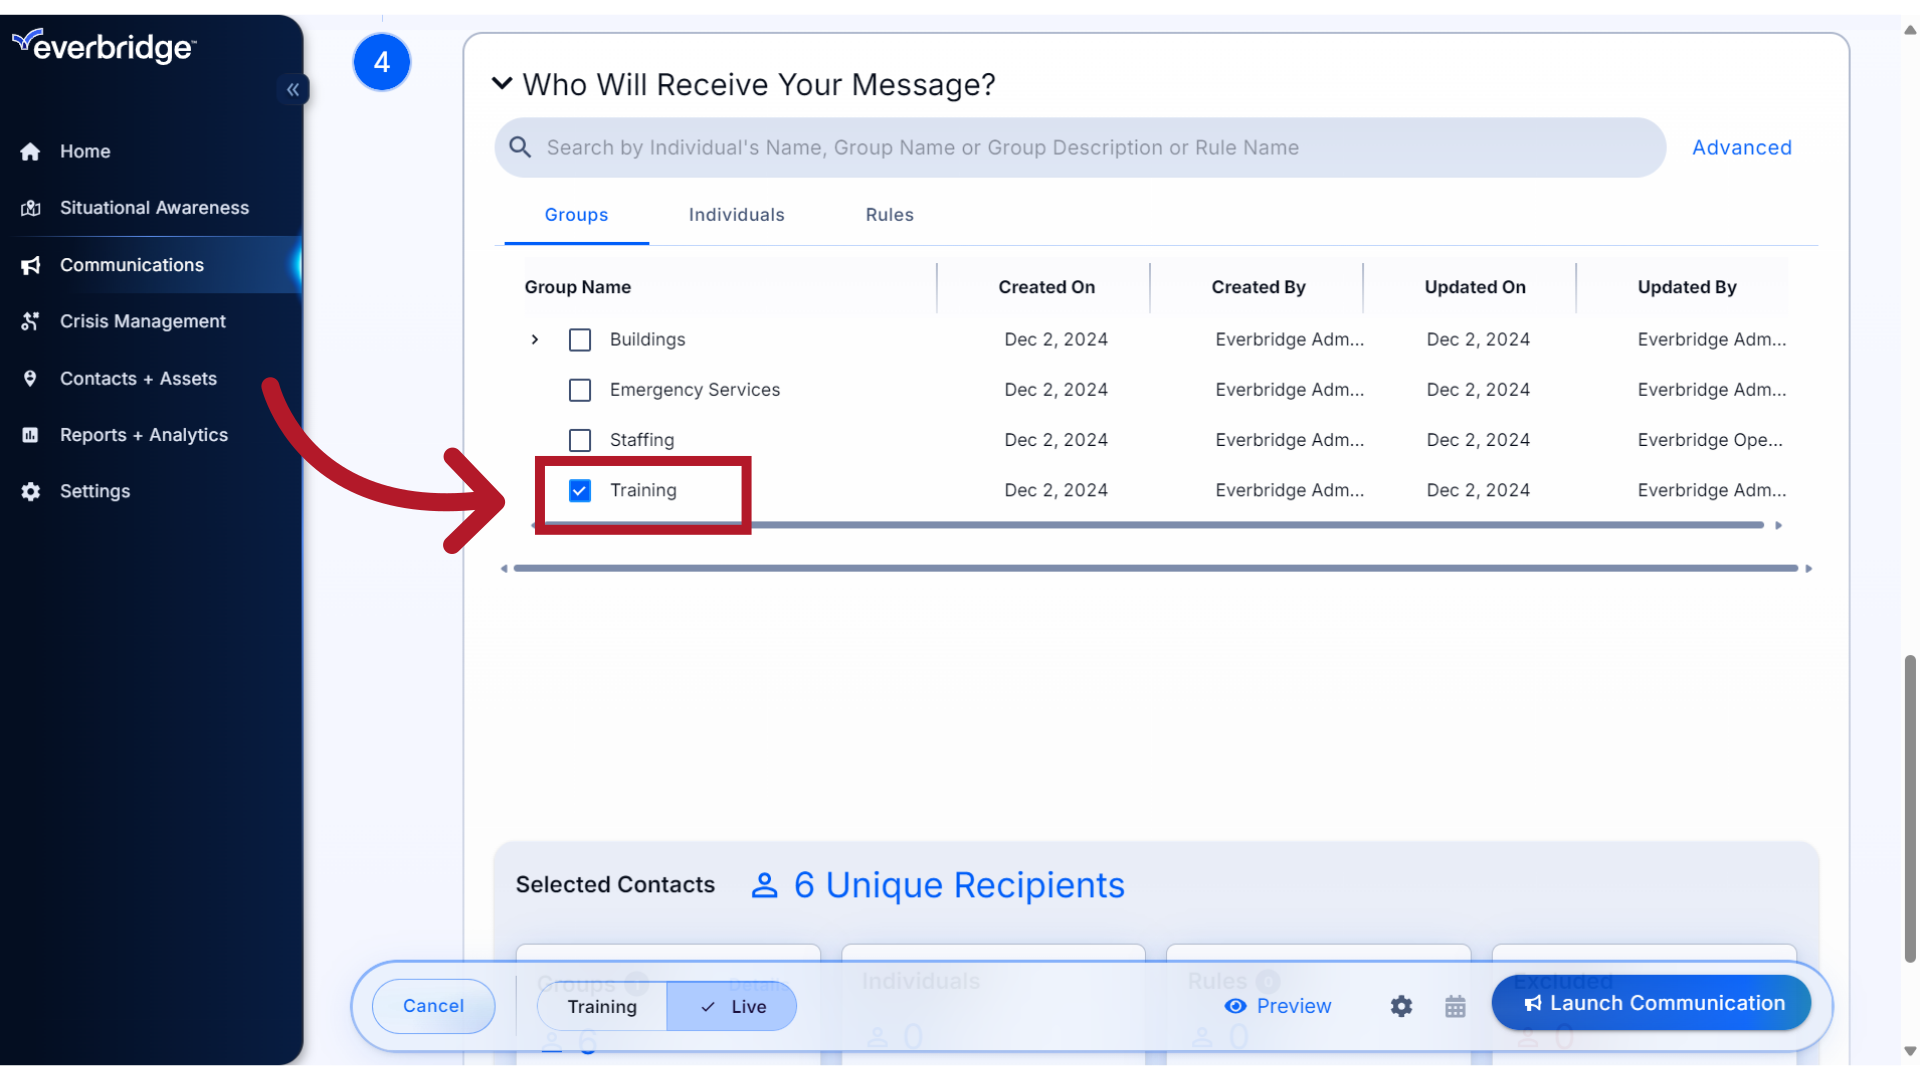
20. Select
For this example, we will select the Training group.
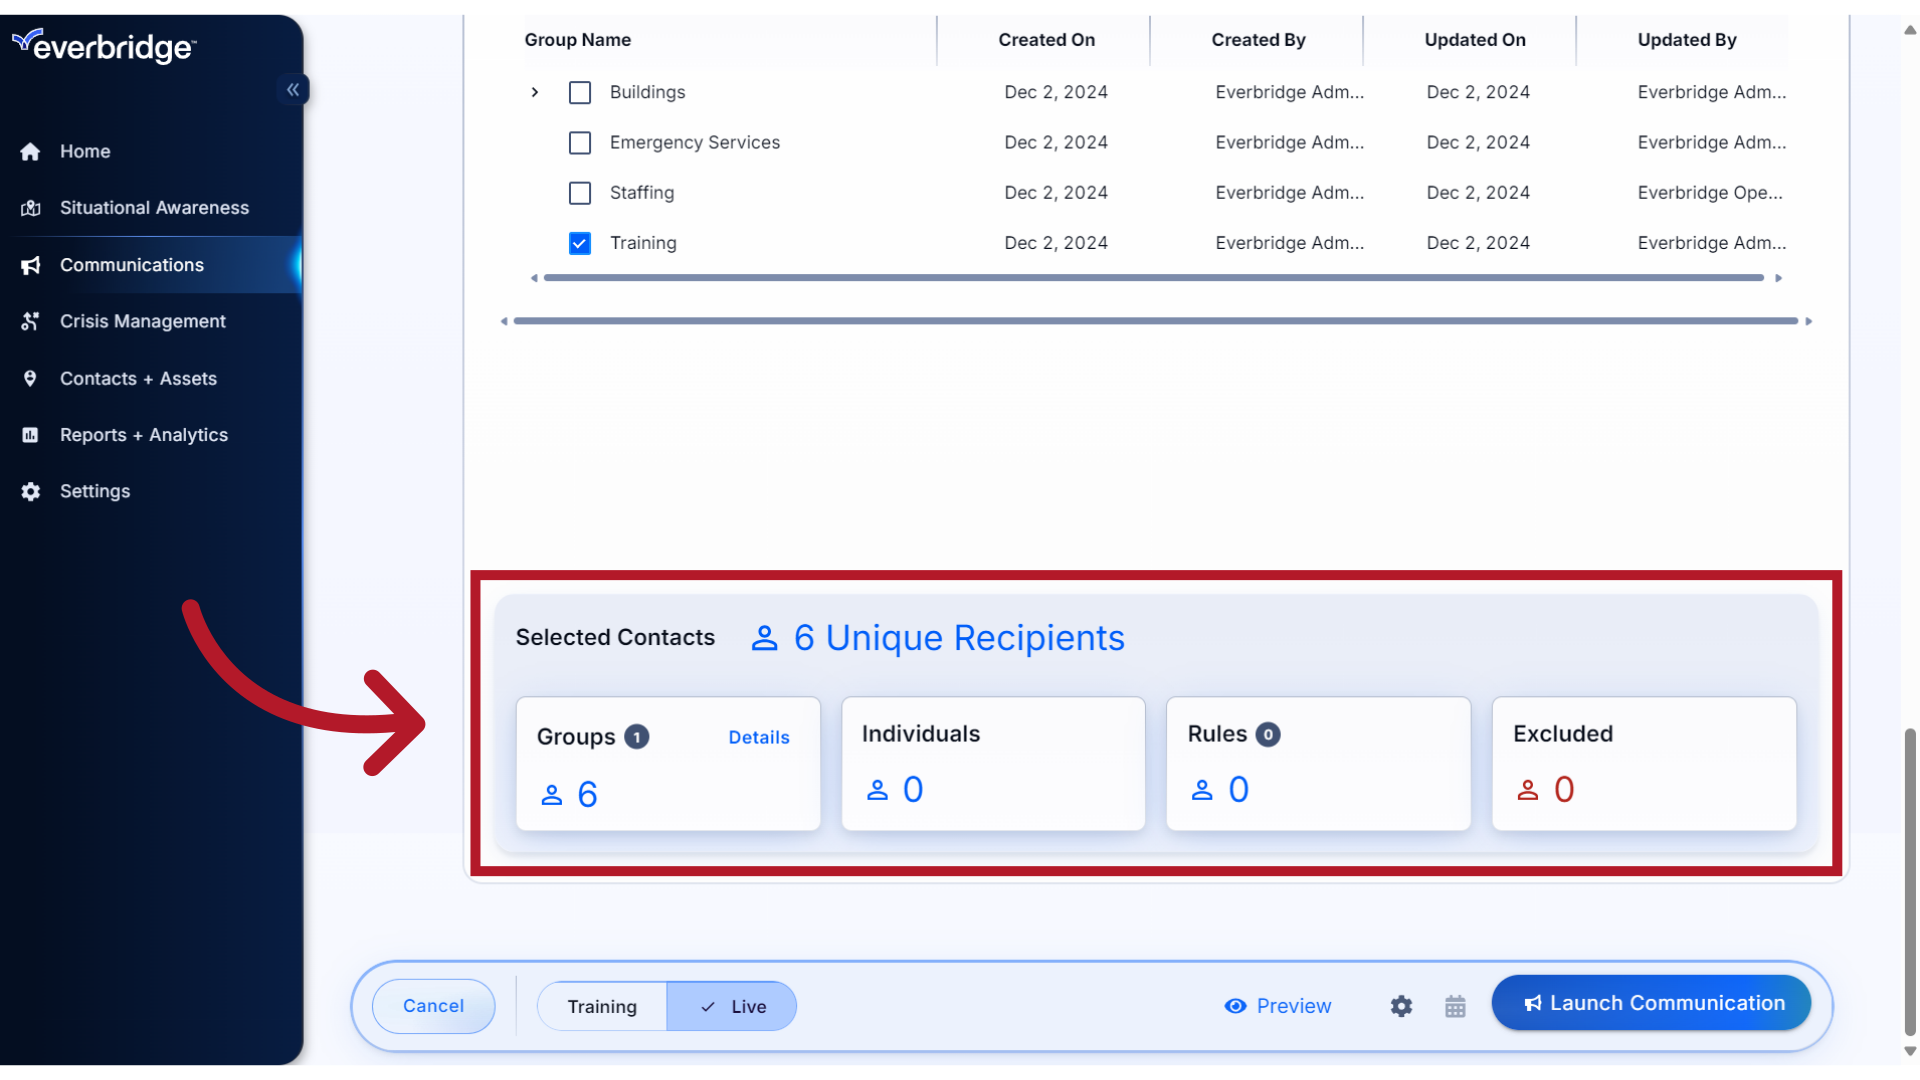
21. Selected Contacts
One you have made your selection, the total count of Selected Contacts will display.
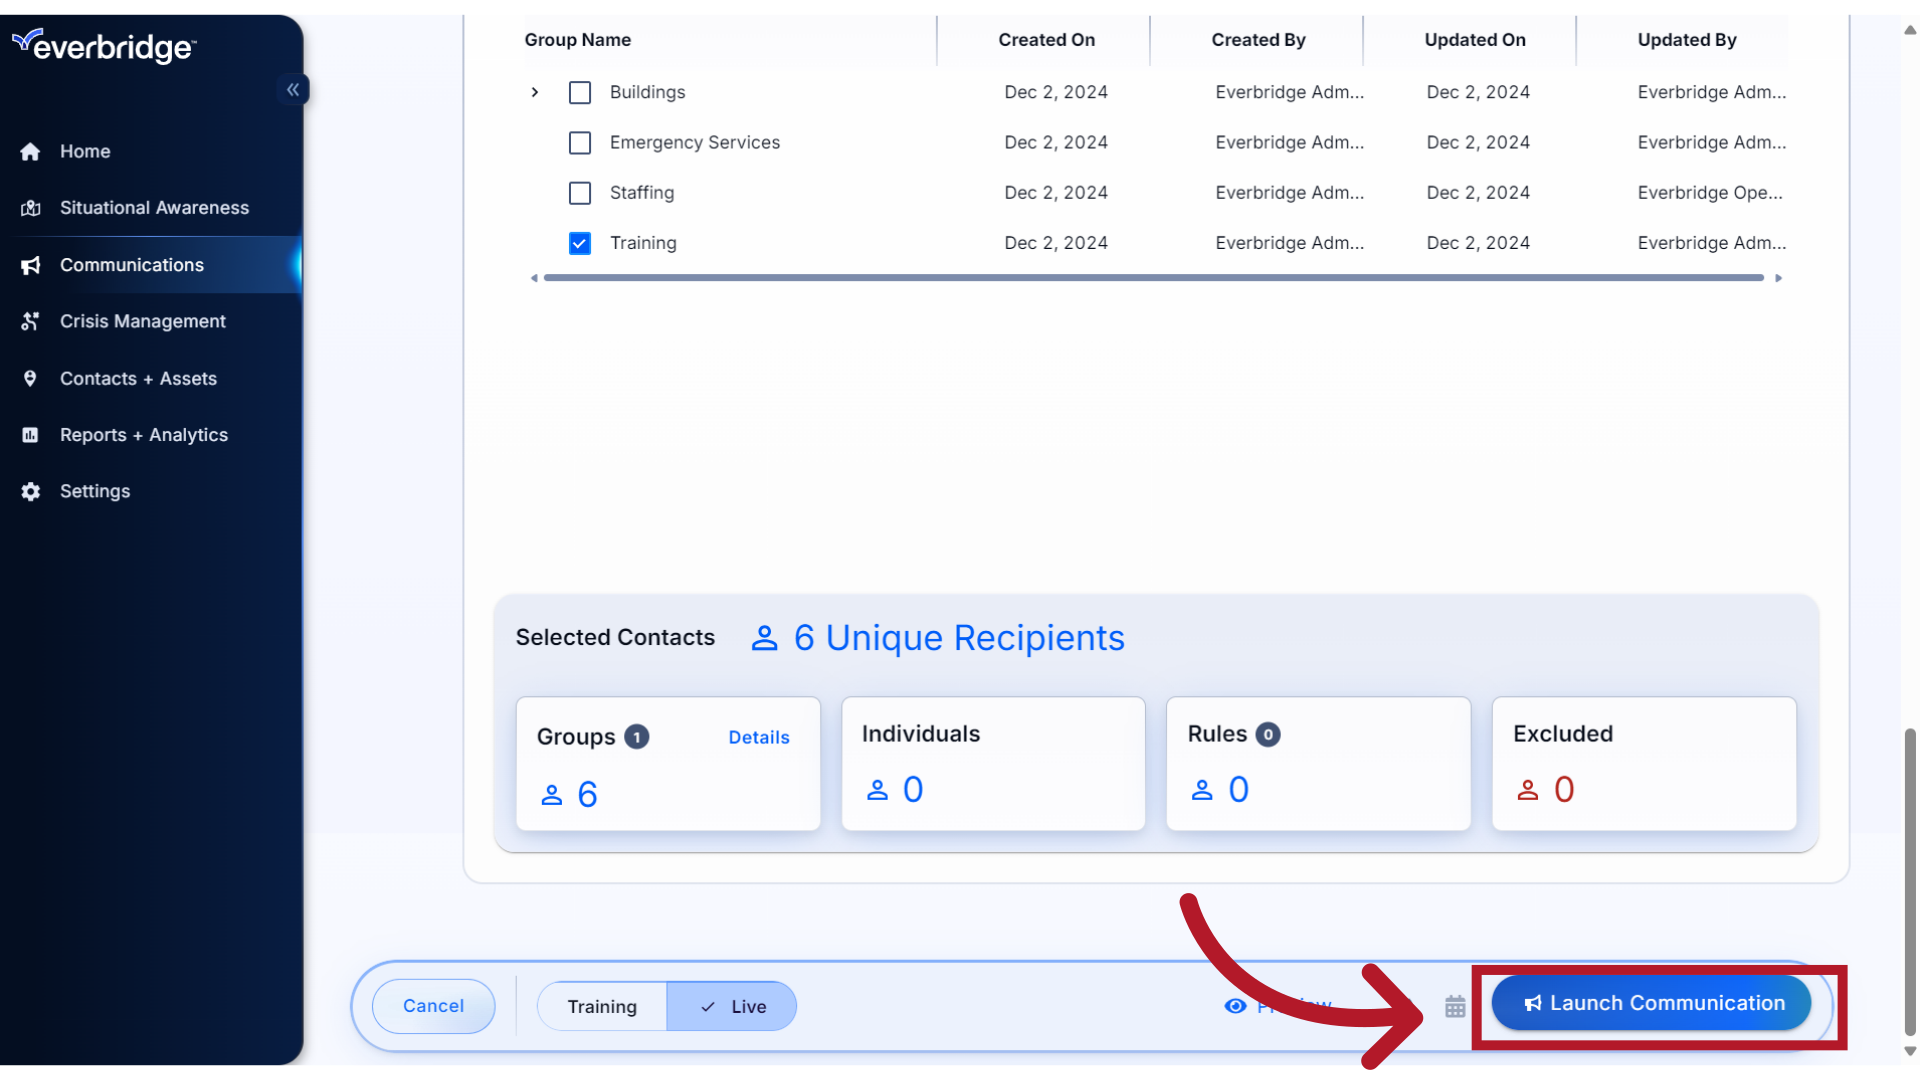
22. Launch
Now that your form is complete, you are ready to send your message. Click Launch Communication.
23. Launch Options
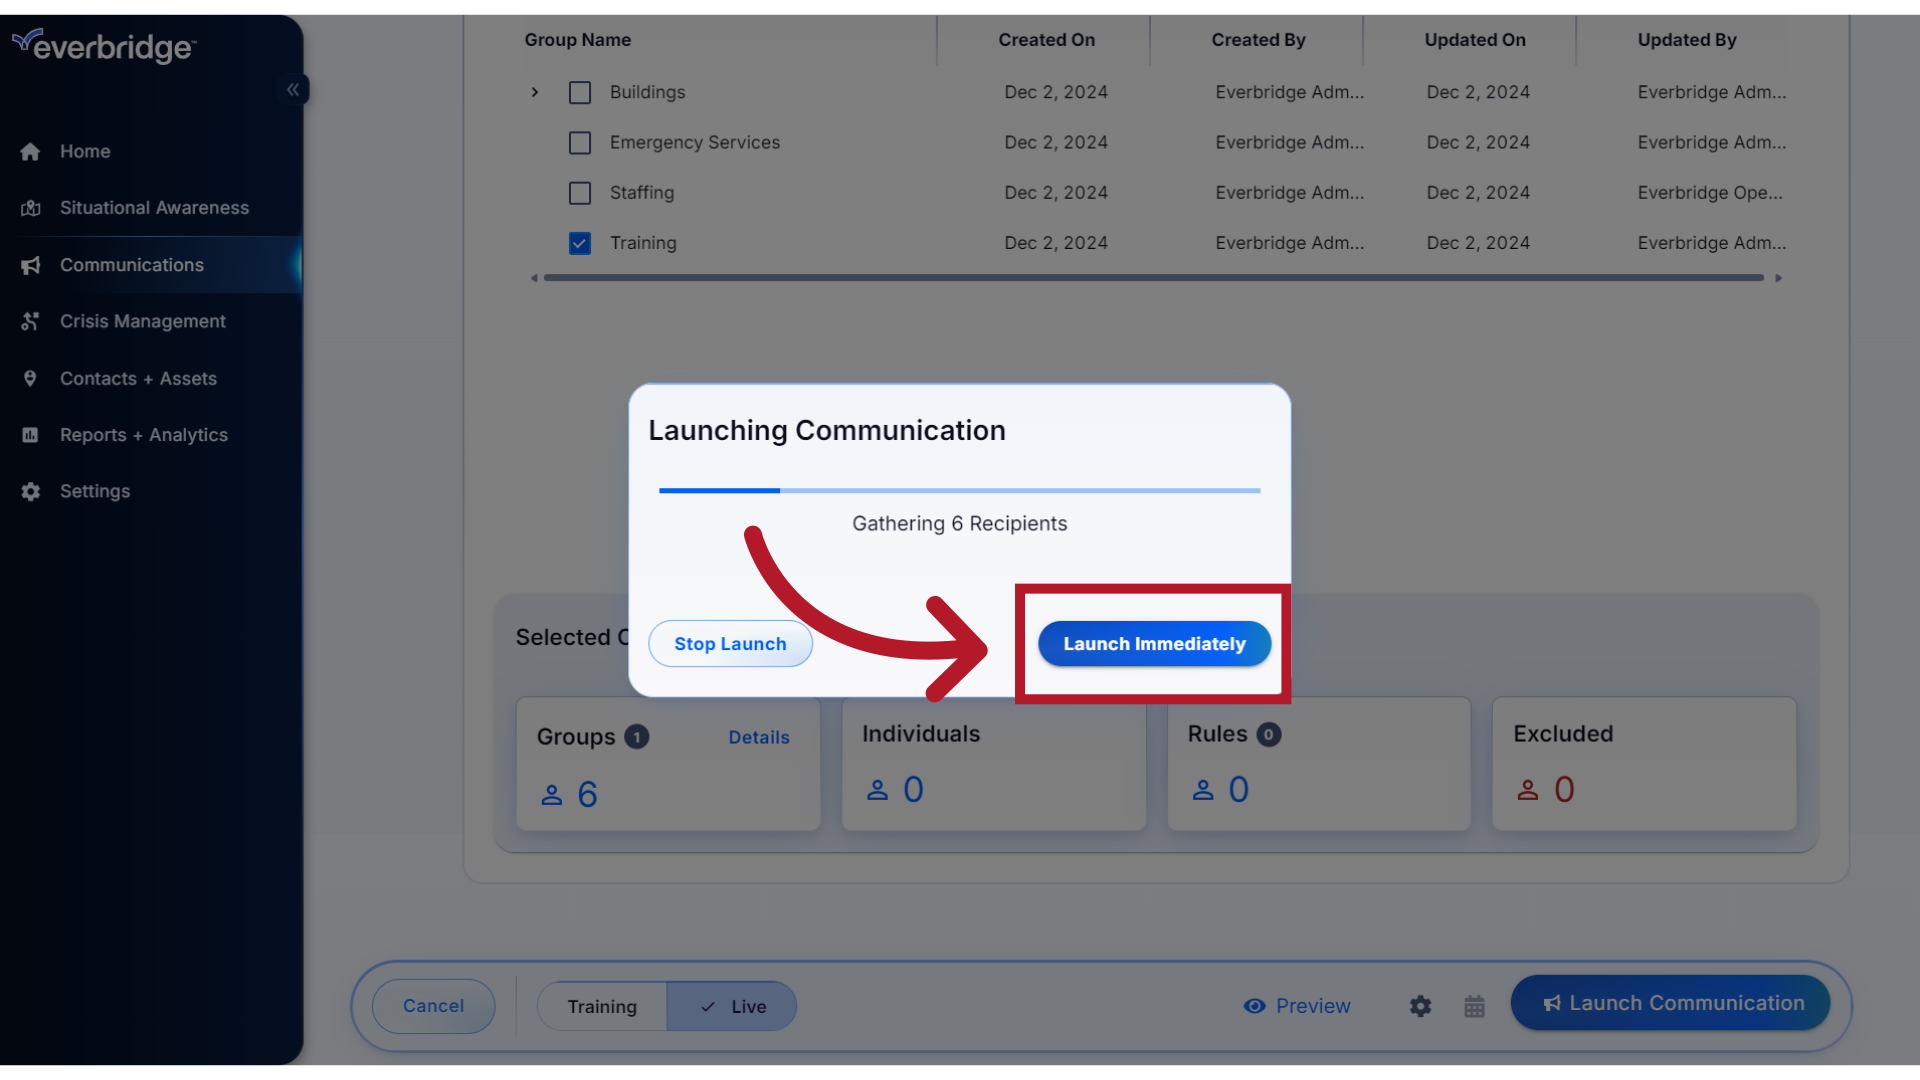
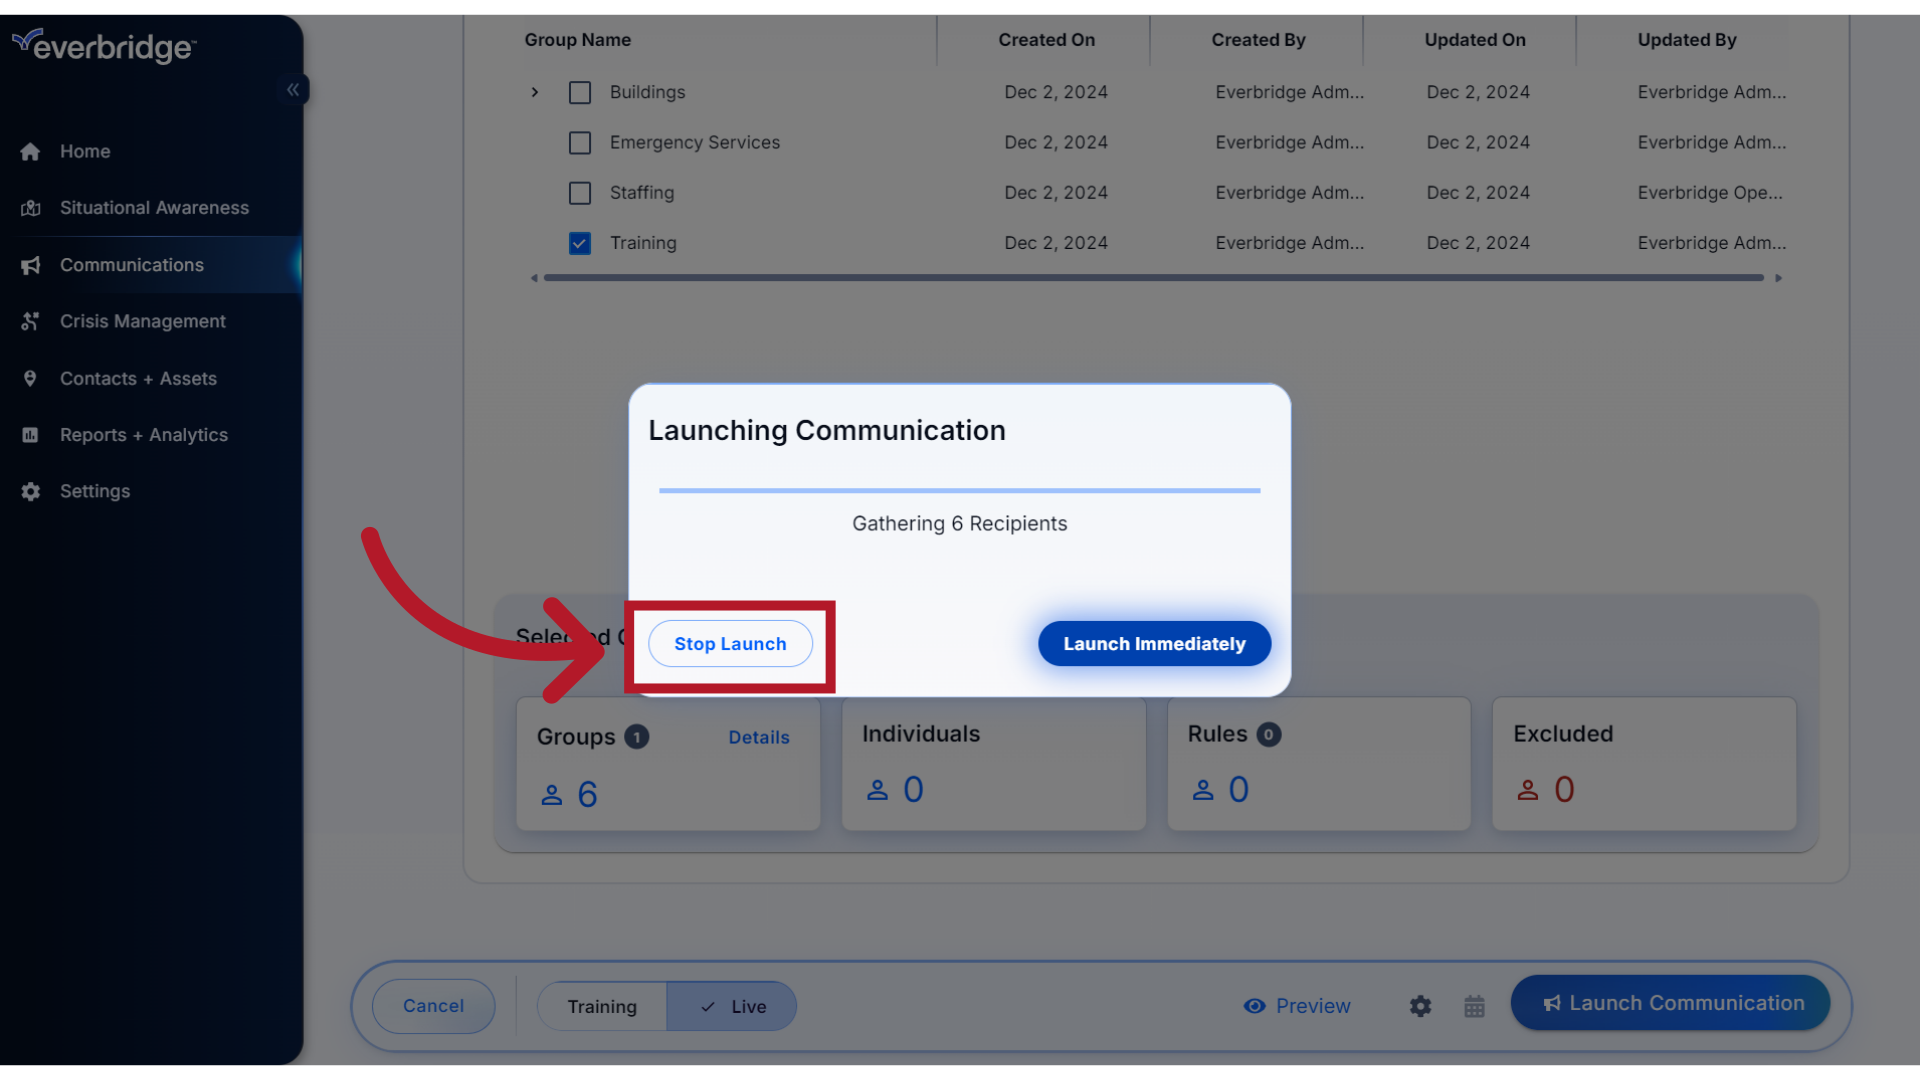
As a precaution, there will be a ten second window where you can choose the option to Launch Immediately
24. Launch Options
or Stop the Launch if you need to cancel or make any final changes. If no action is taken within the ten seconds, the message will launch automatically.
NOTE: A Notification Subject cannot be modified after Launch but a Communication or Incident Subject can be modified after Launch.
NOTE: A Notification Subject cannot be modified after Launch but a Communication or Incident Subject can be modified after Launch.
25. Success
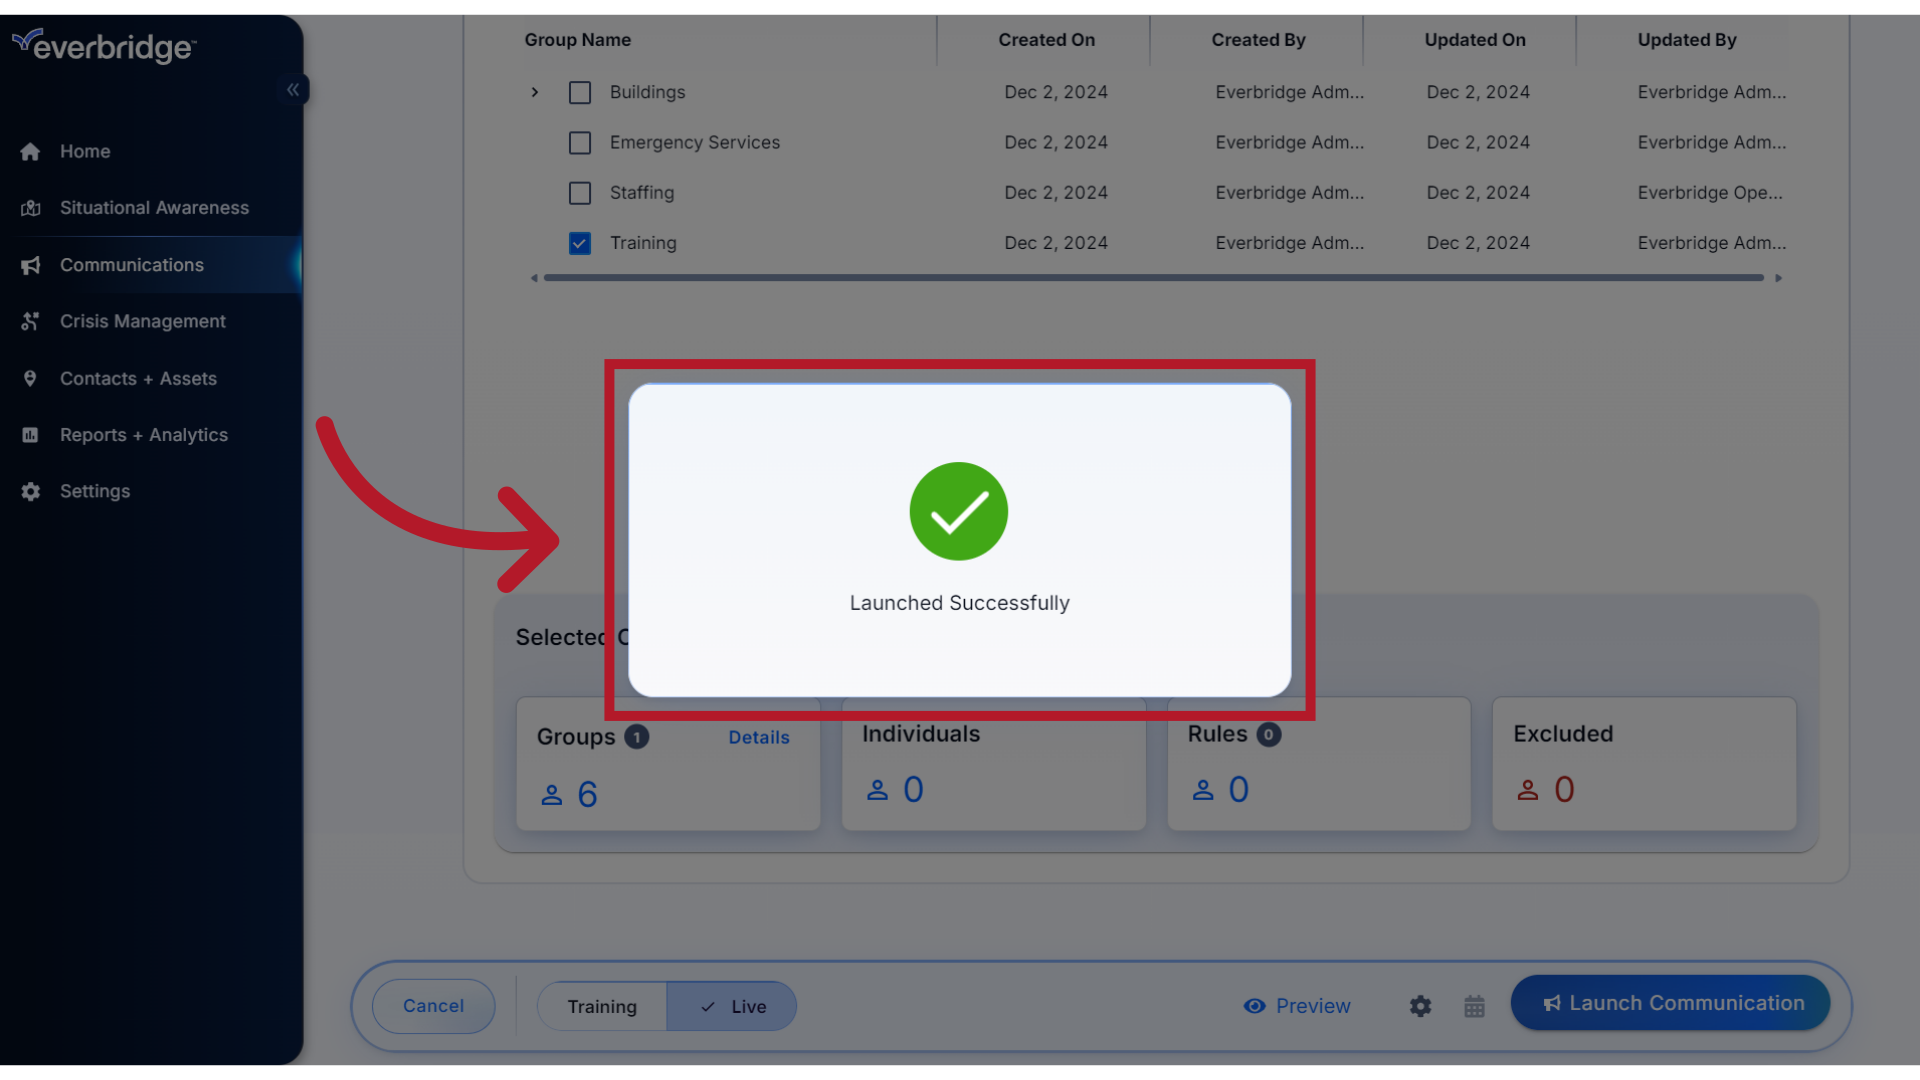
Once the message has been successfully sent,
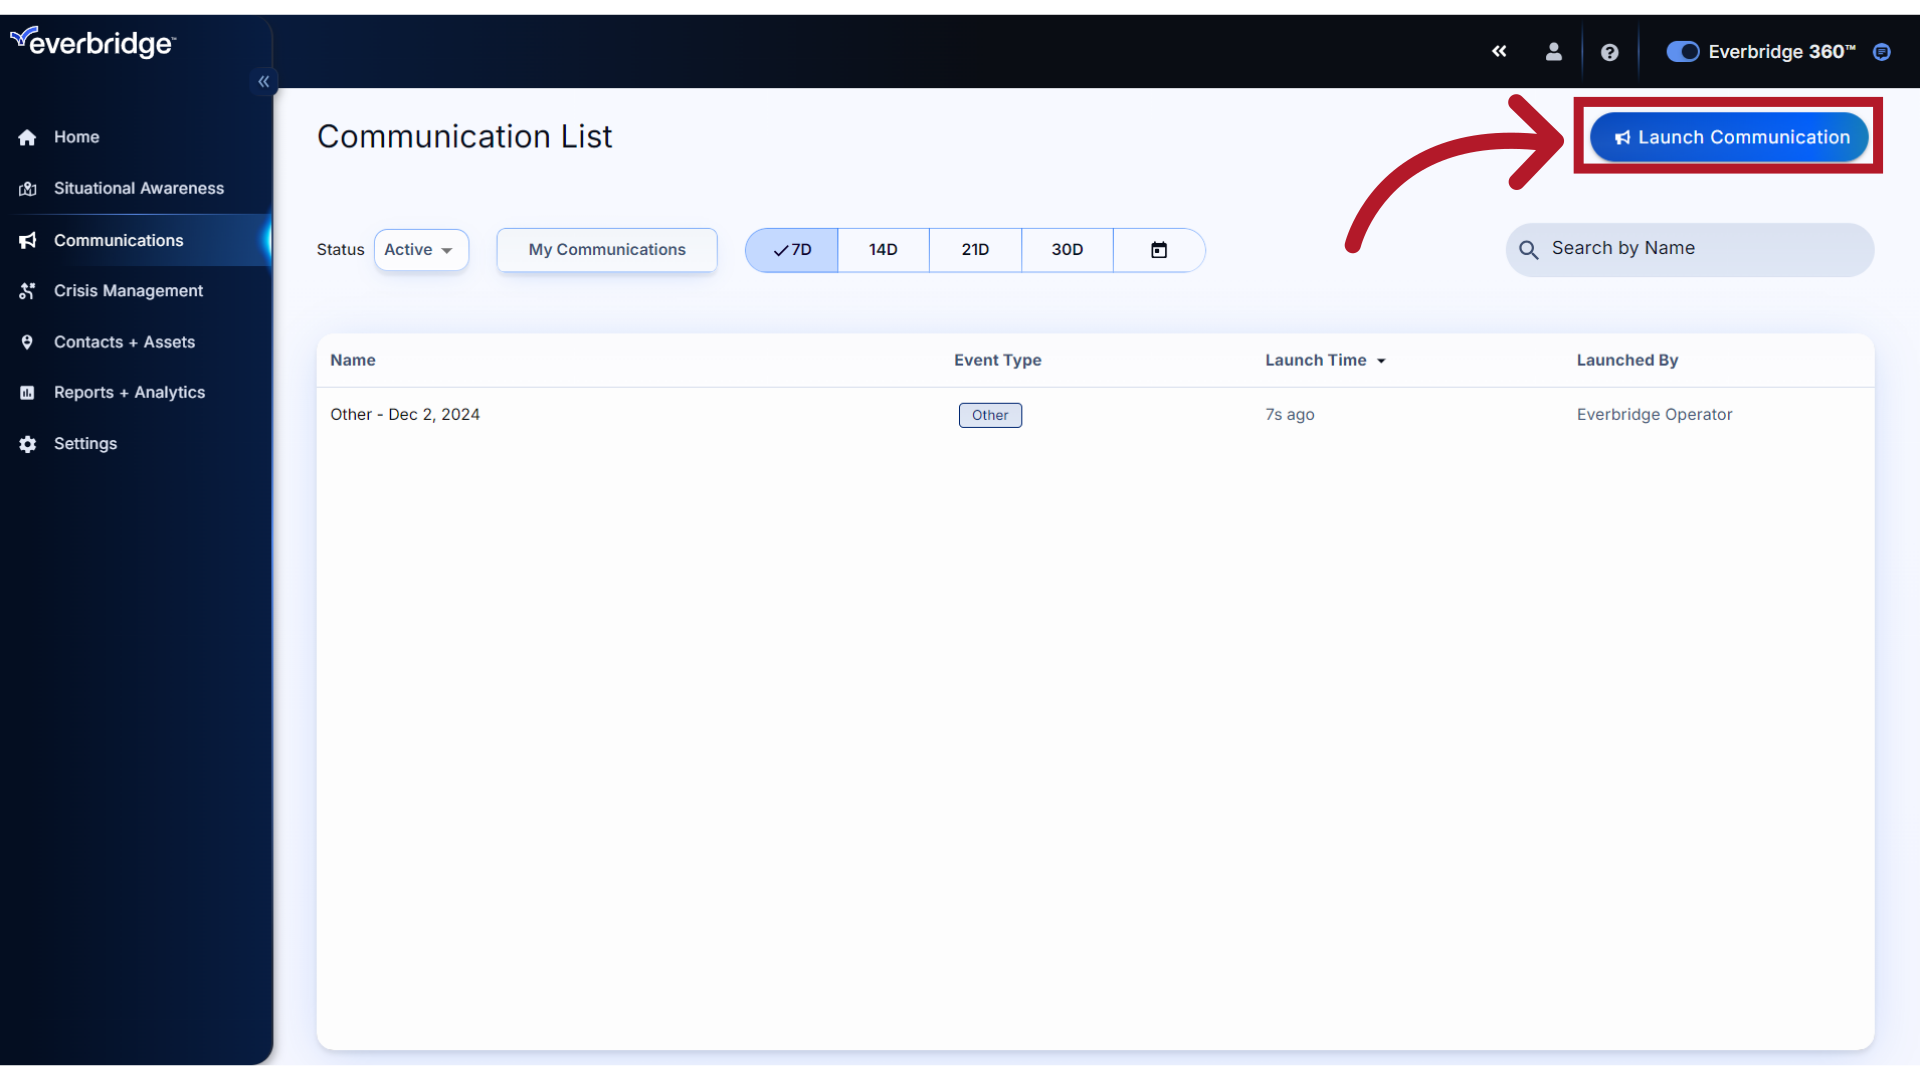
26. Communication List
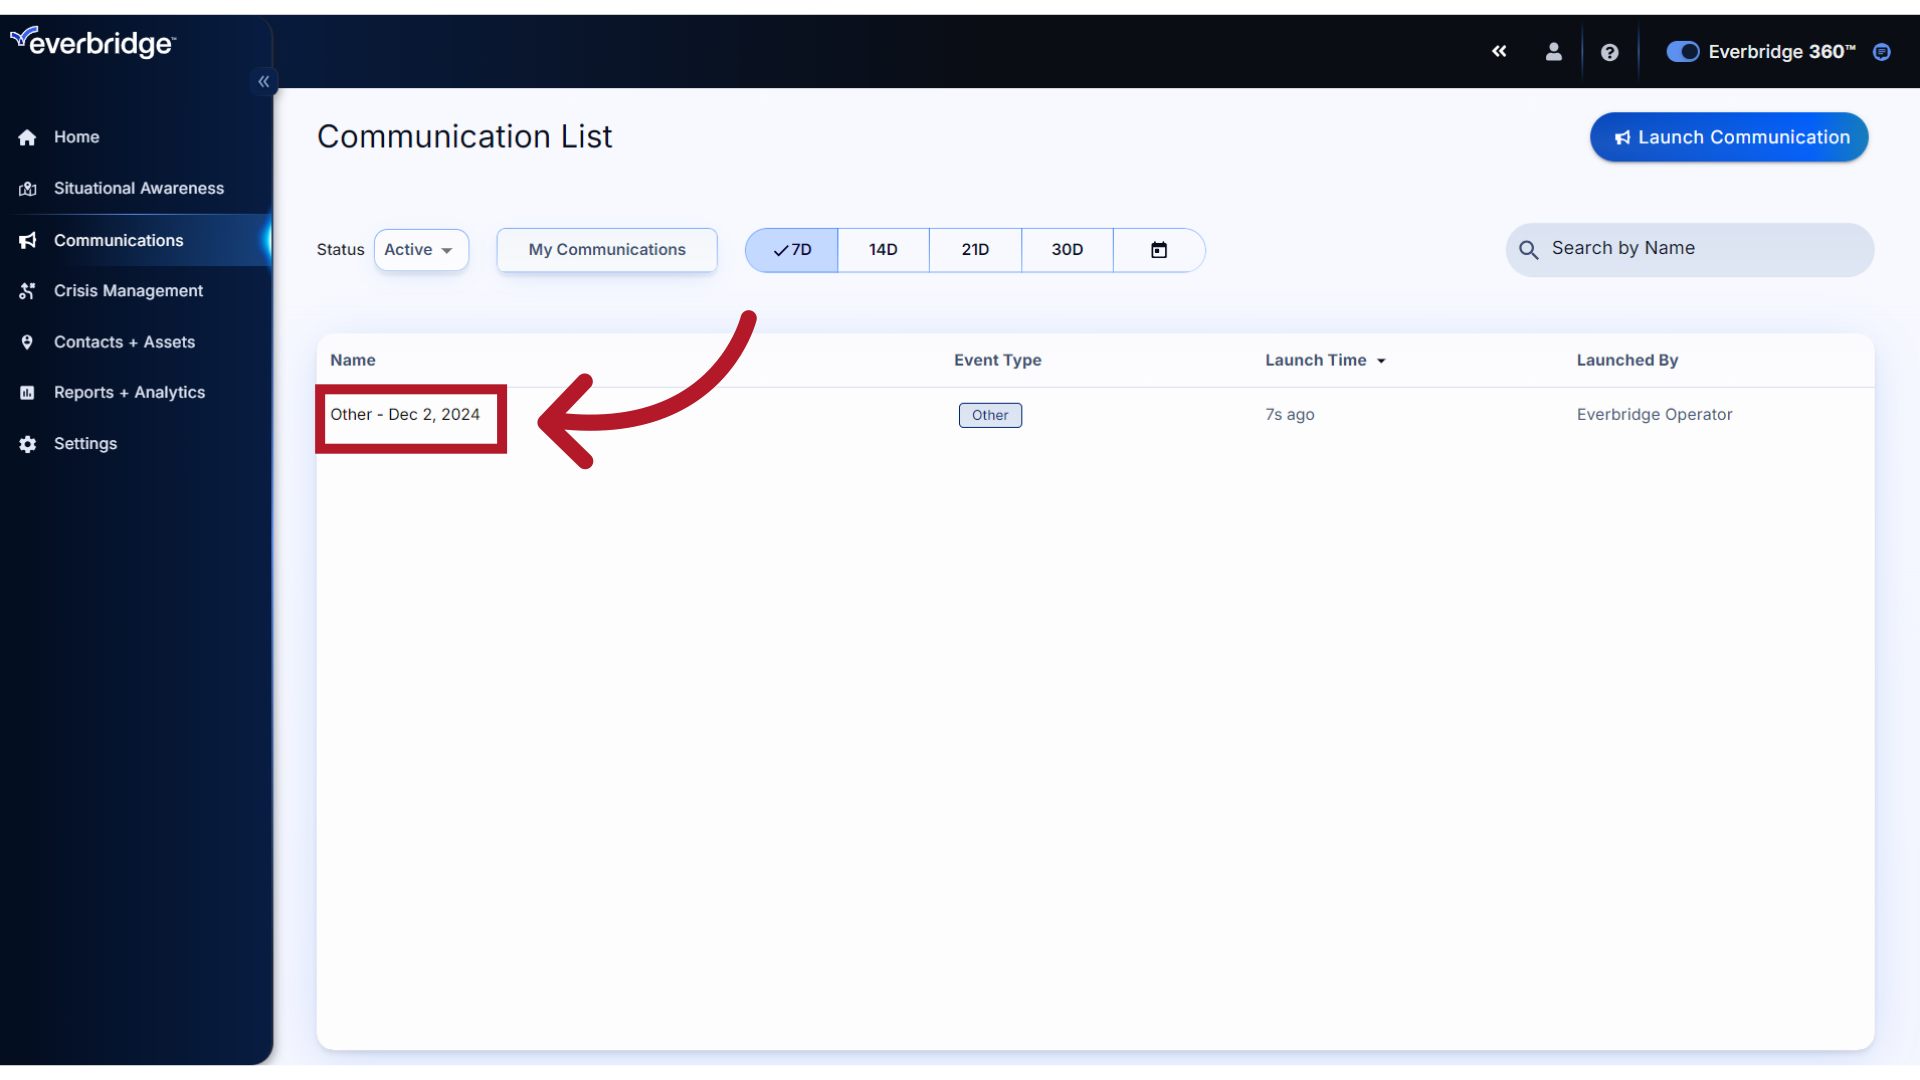
the system will automatically bring you to the Communication List menu, where you can either view the Communication details by clicking on its title
27. Launch
or launch another Communication.
28. Help
For more information about any of the fields or selections shown in the Communications form, click the icon to access Online Support.
Through this guide, you have learned the basics of how to launch a Communication. Thank you for watching!