
In this guide, you will learn how to update the default sender caller ID in Everbridge. Follow the steps below to ensure your messages are properly identified
Go to authentication.everbridge.net
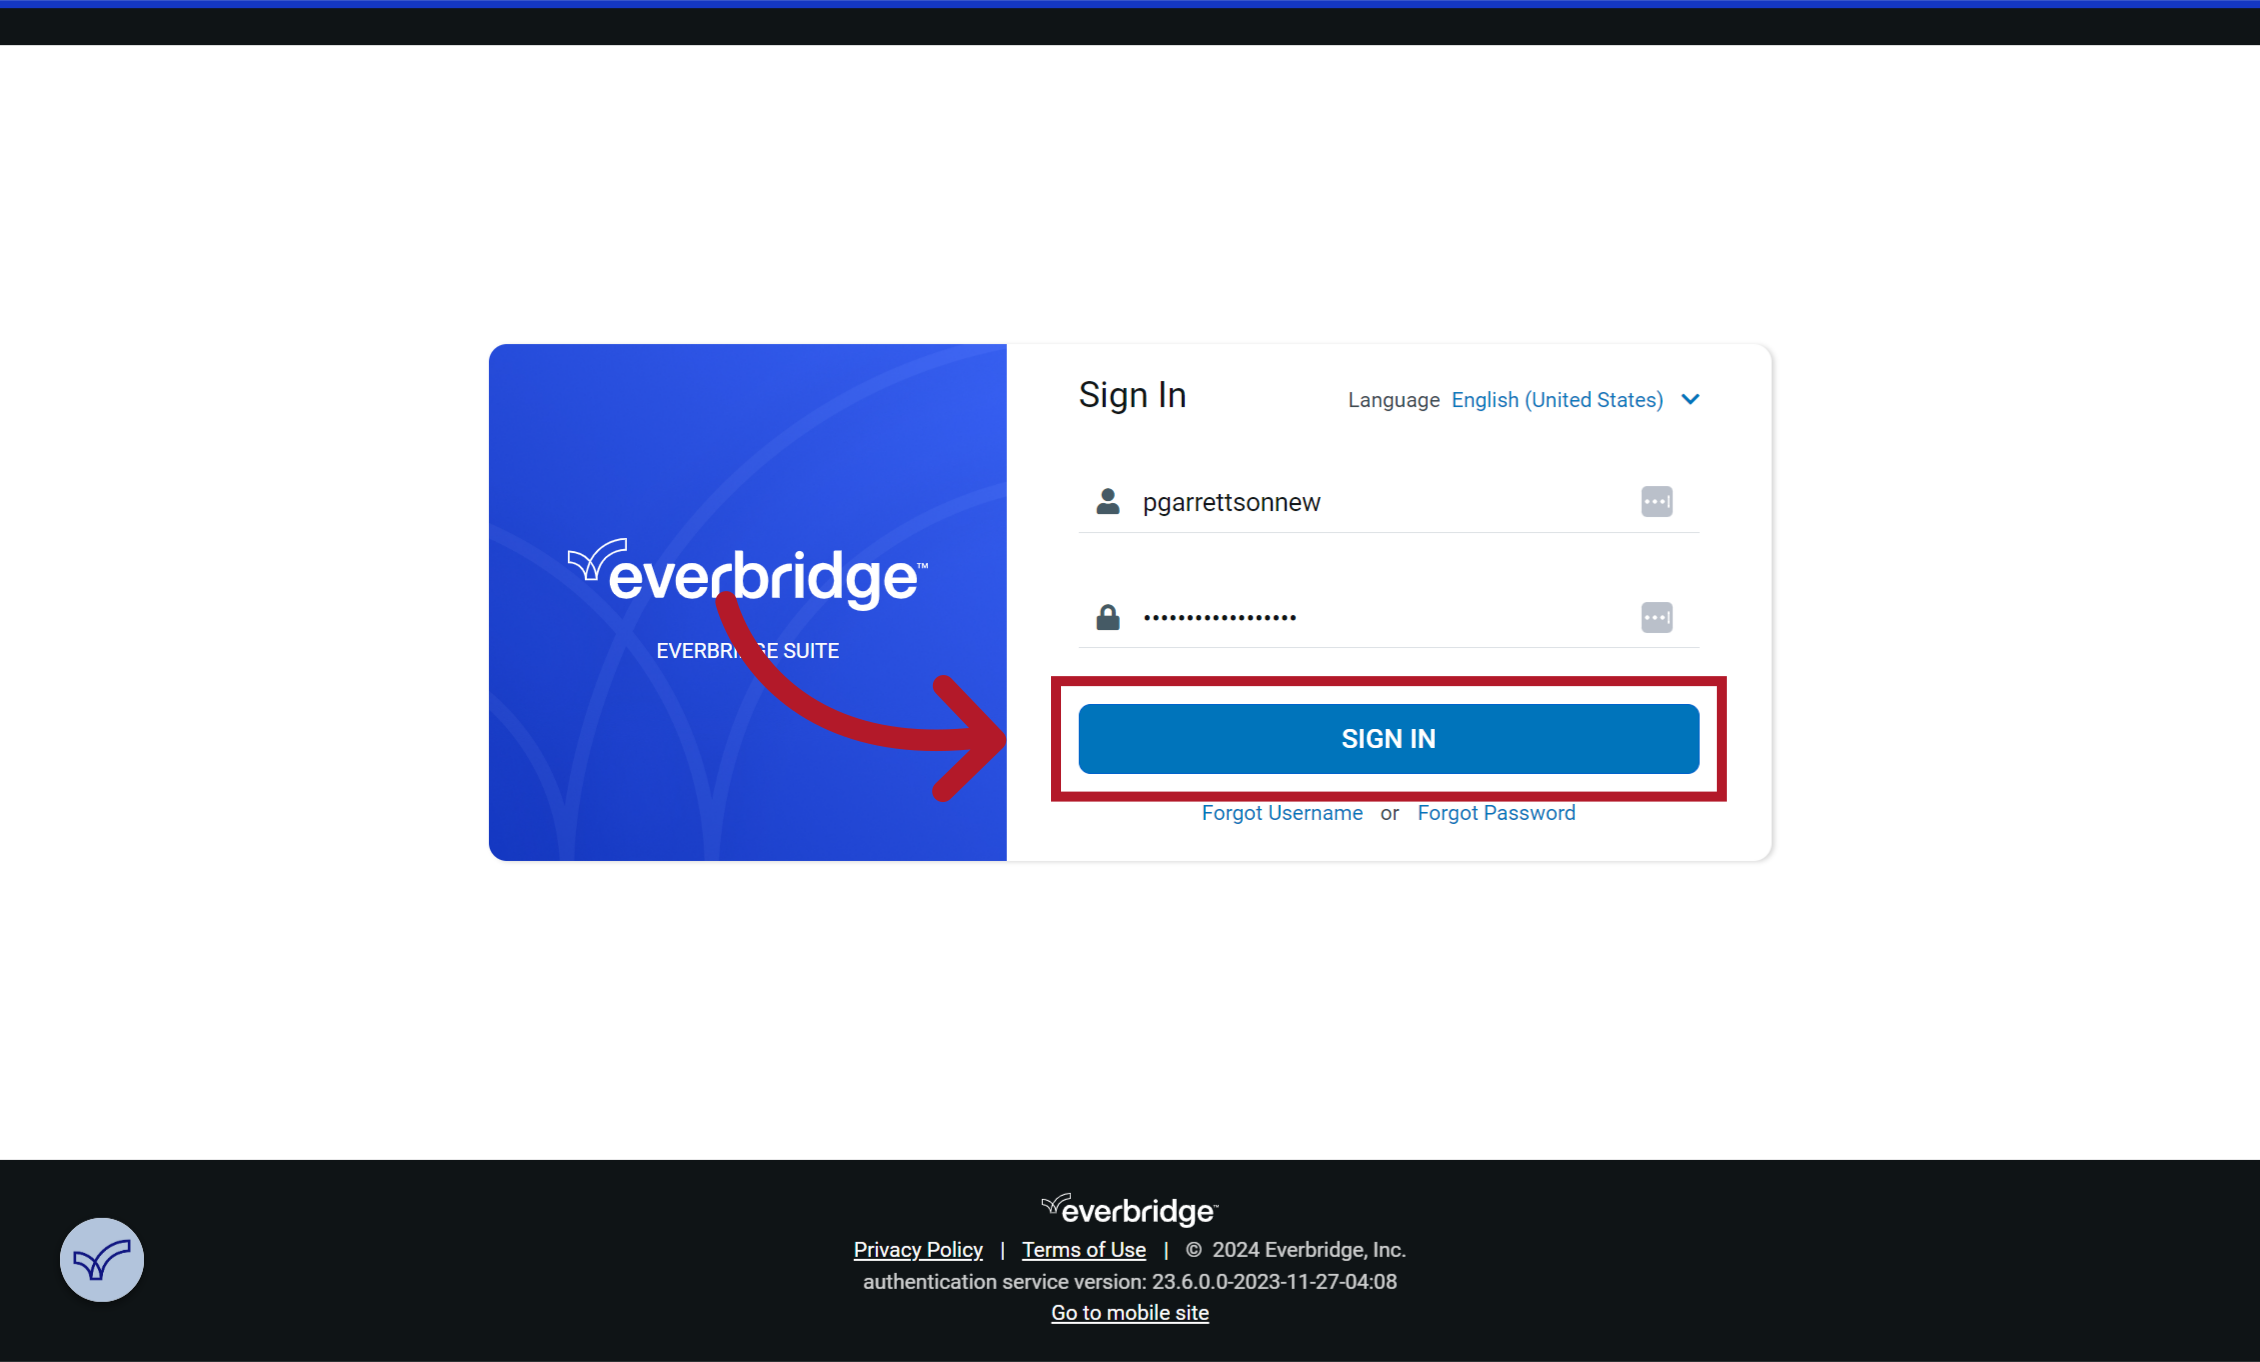
1. Sign In
Enter your credentials and then click on "Sign in"
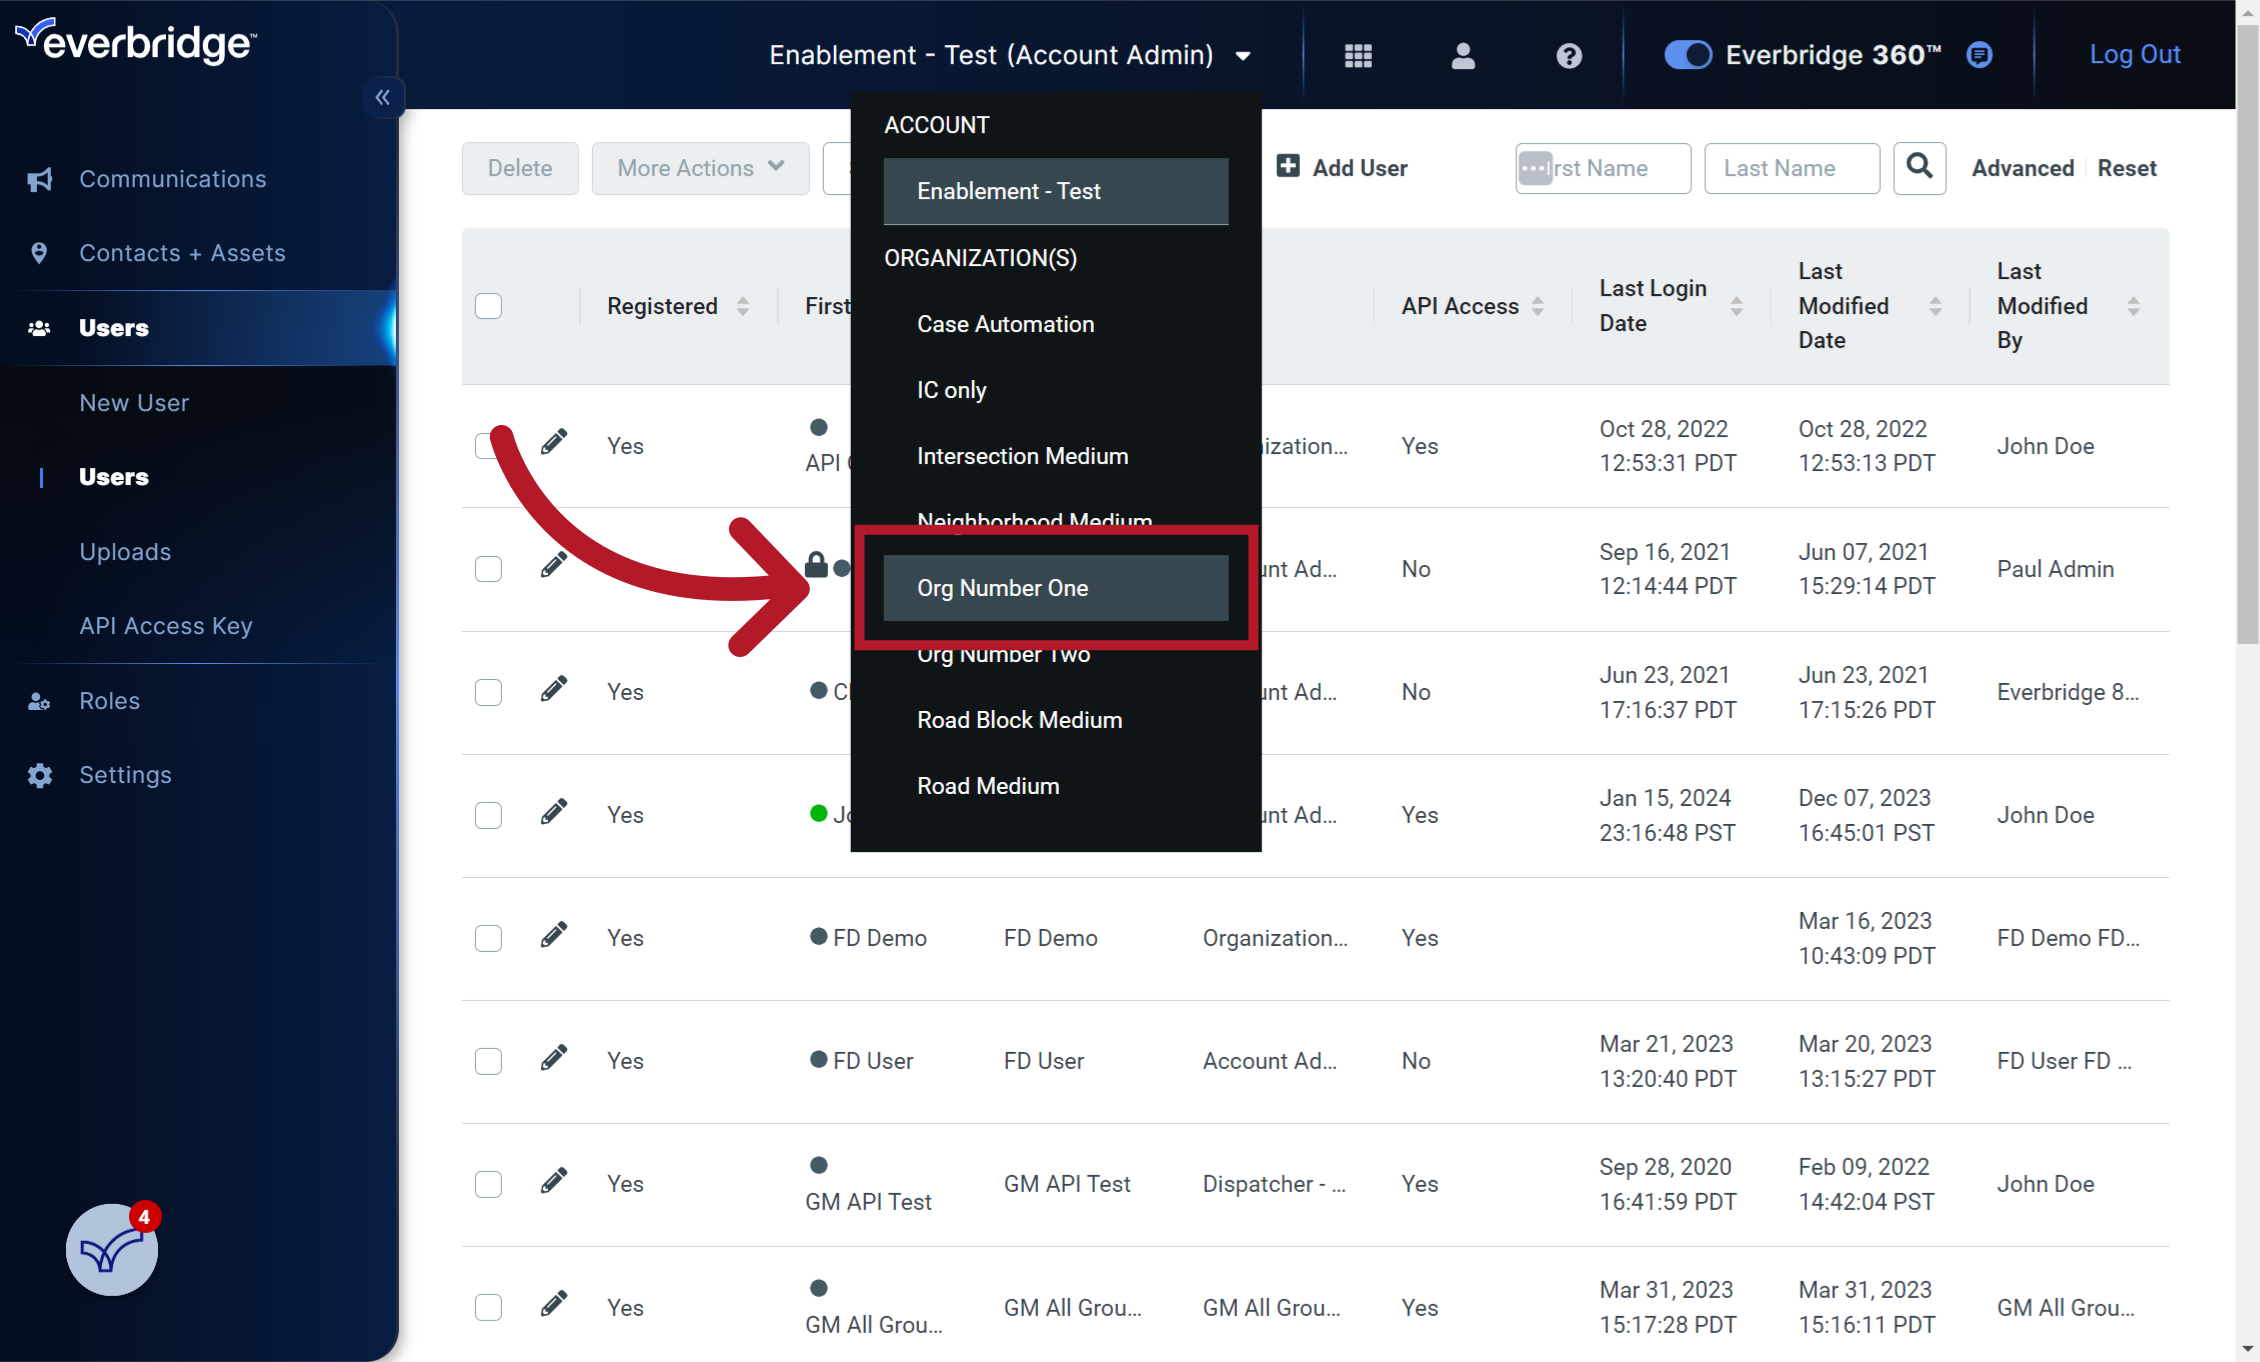
2. Select the Organization dropdown
Click the down arrow to bring up the organization selection list

3. Select Your Organization
Select the organization where you would like to make the change
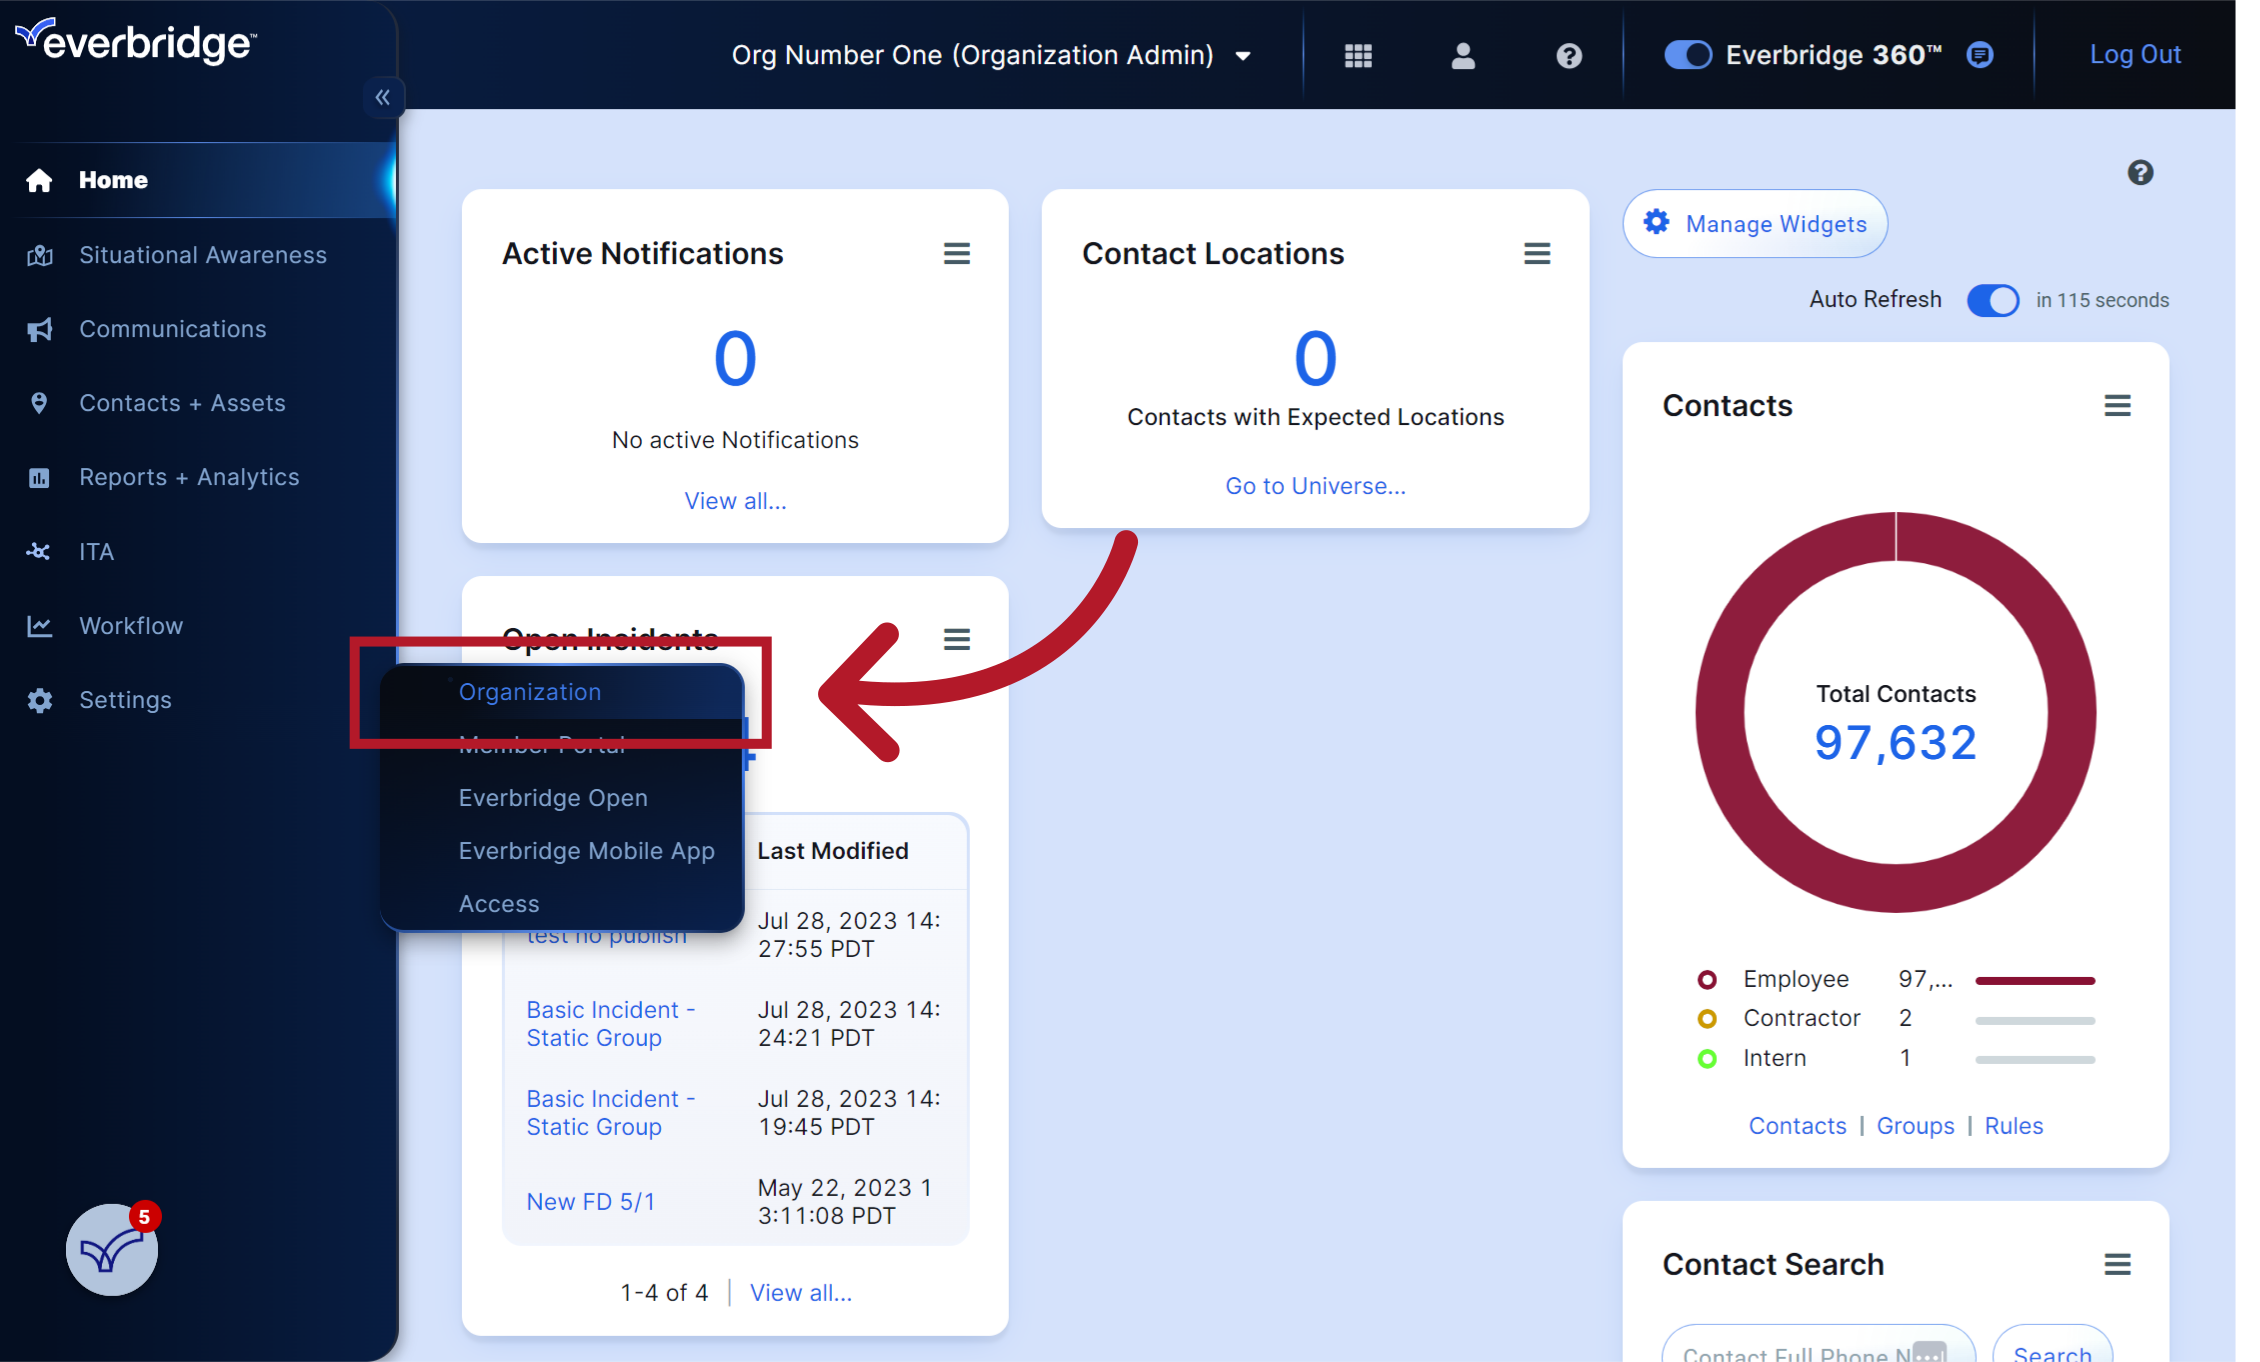
4. Click "Organization"
Choose "Organization"
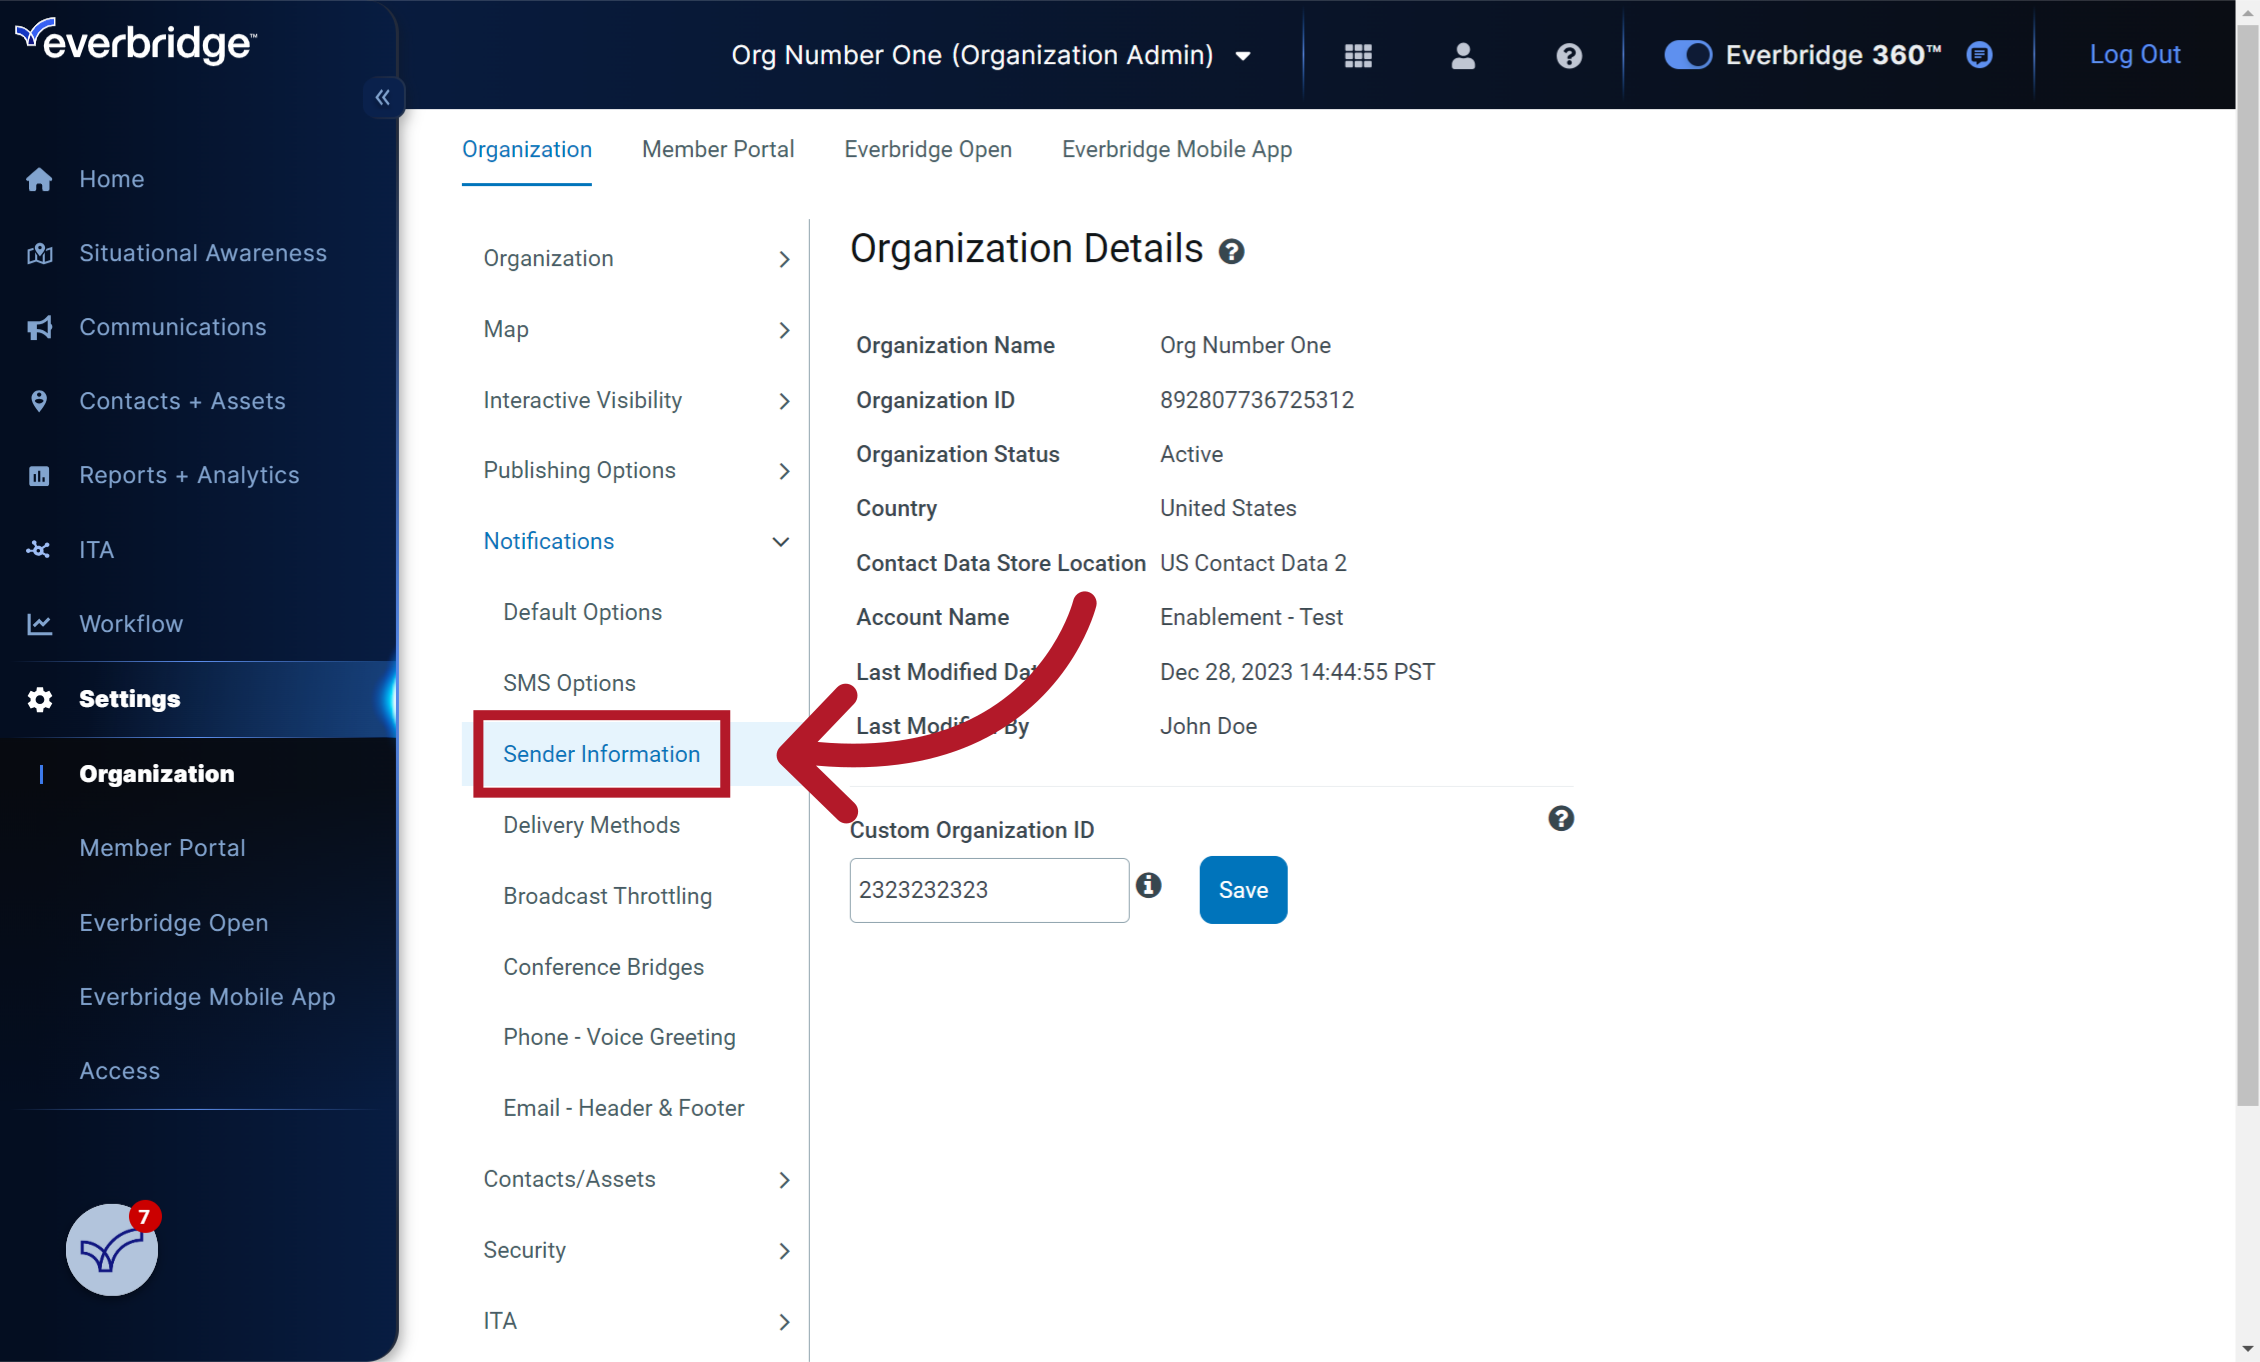
5. Click "Notifications"
Select "Notifications"

6. Click "Sender Information"
Go to "Sender Information"
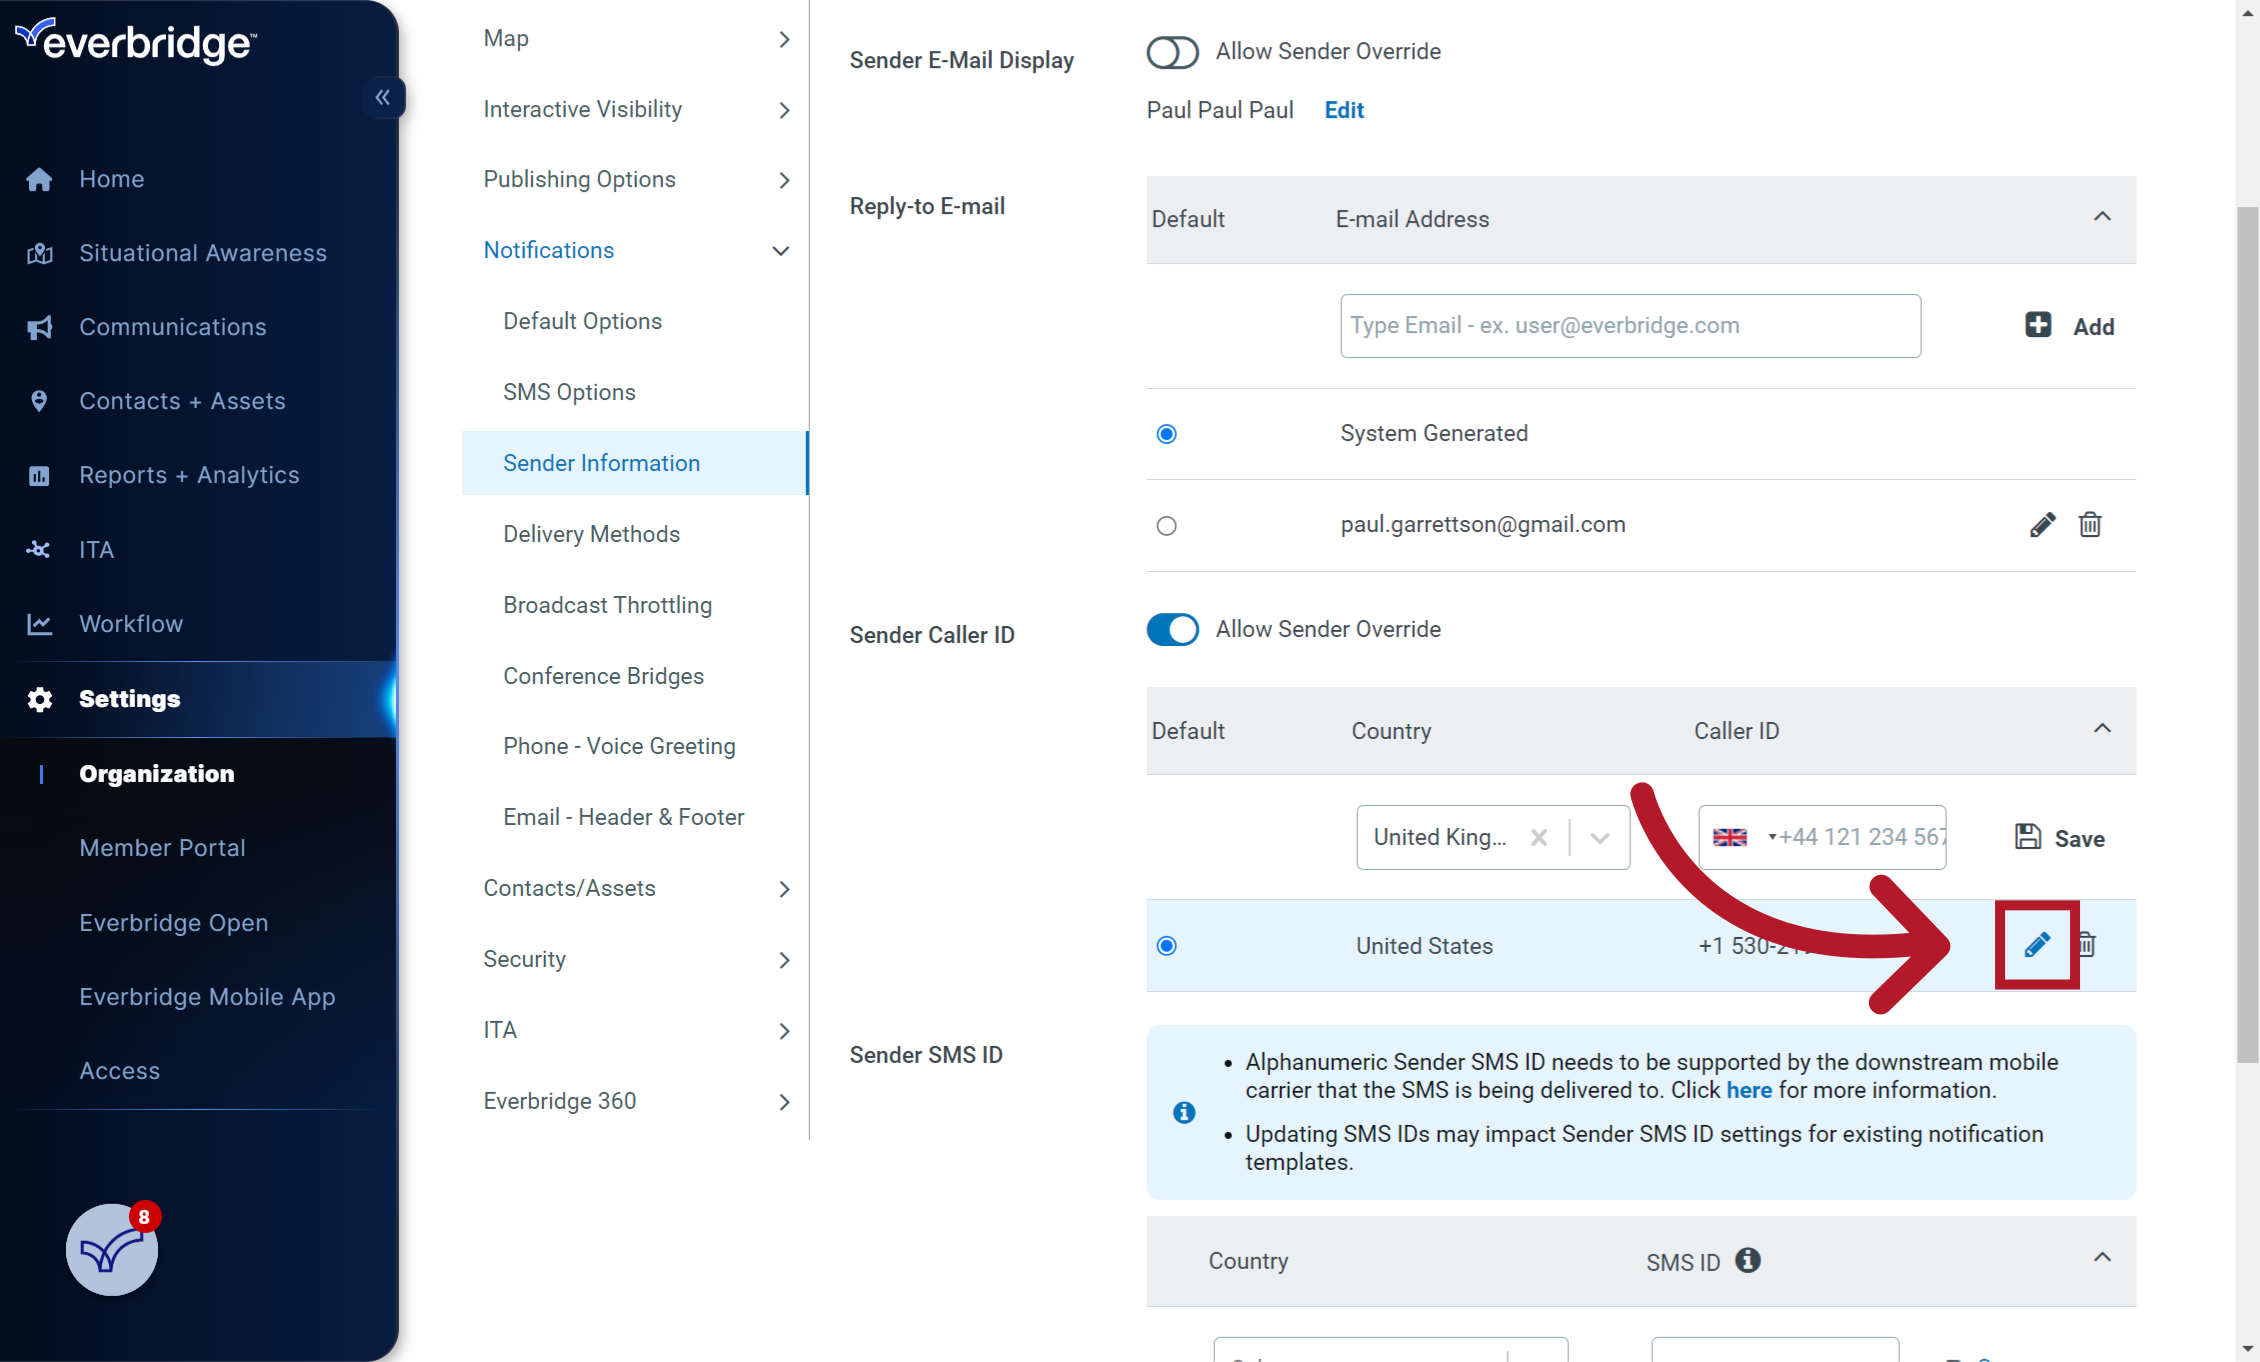
7. Select the pencil icon
Click here to edit the default sender caller ID for the United States
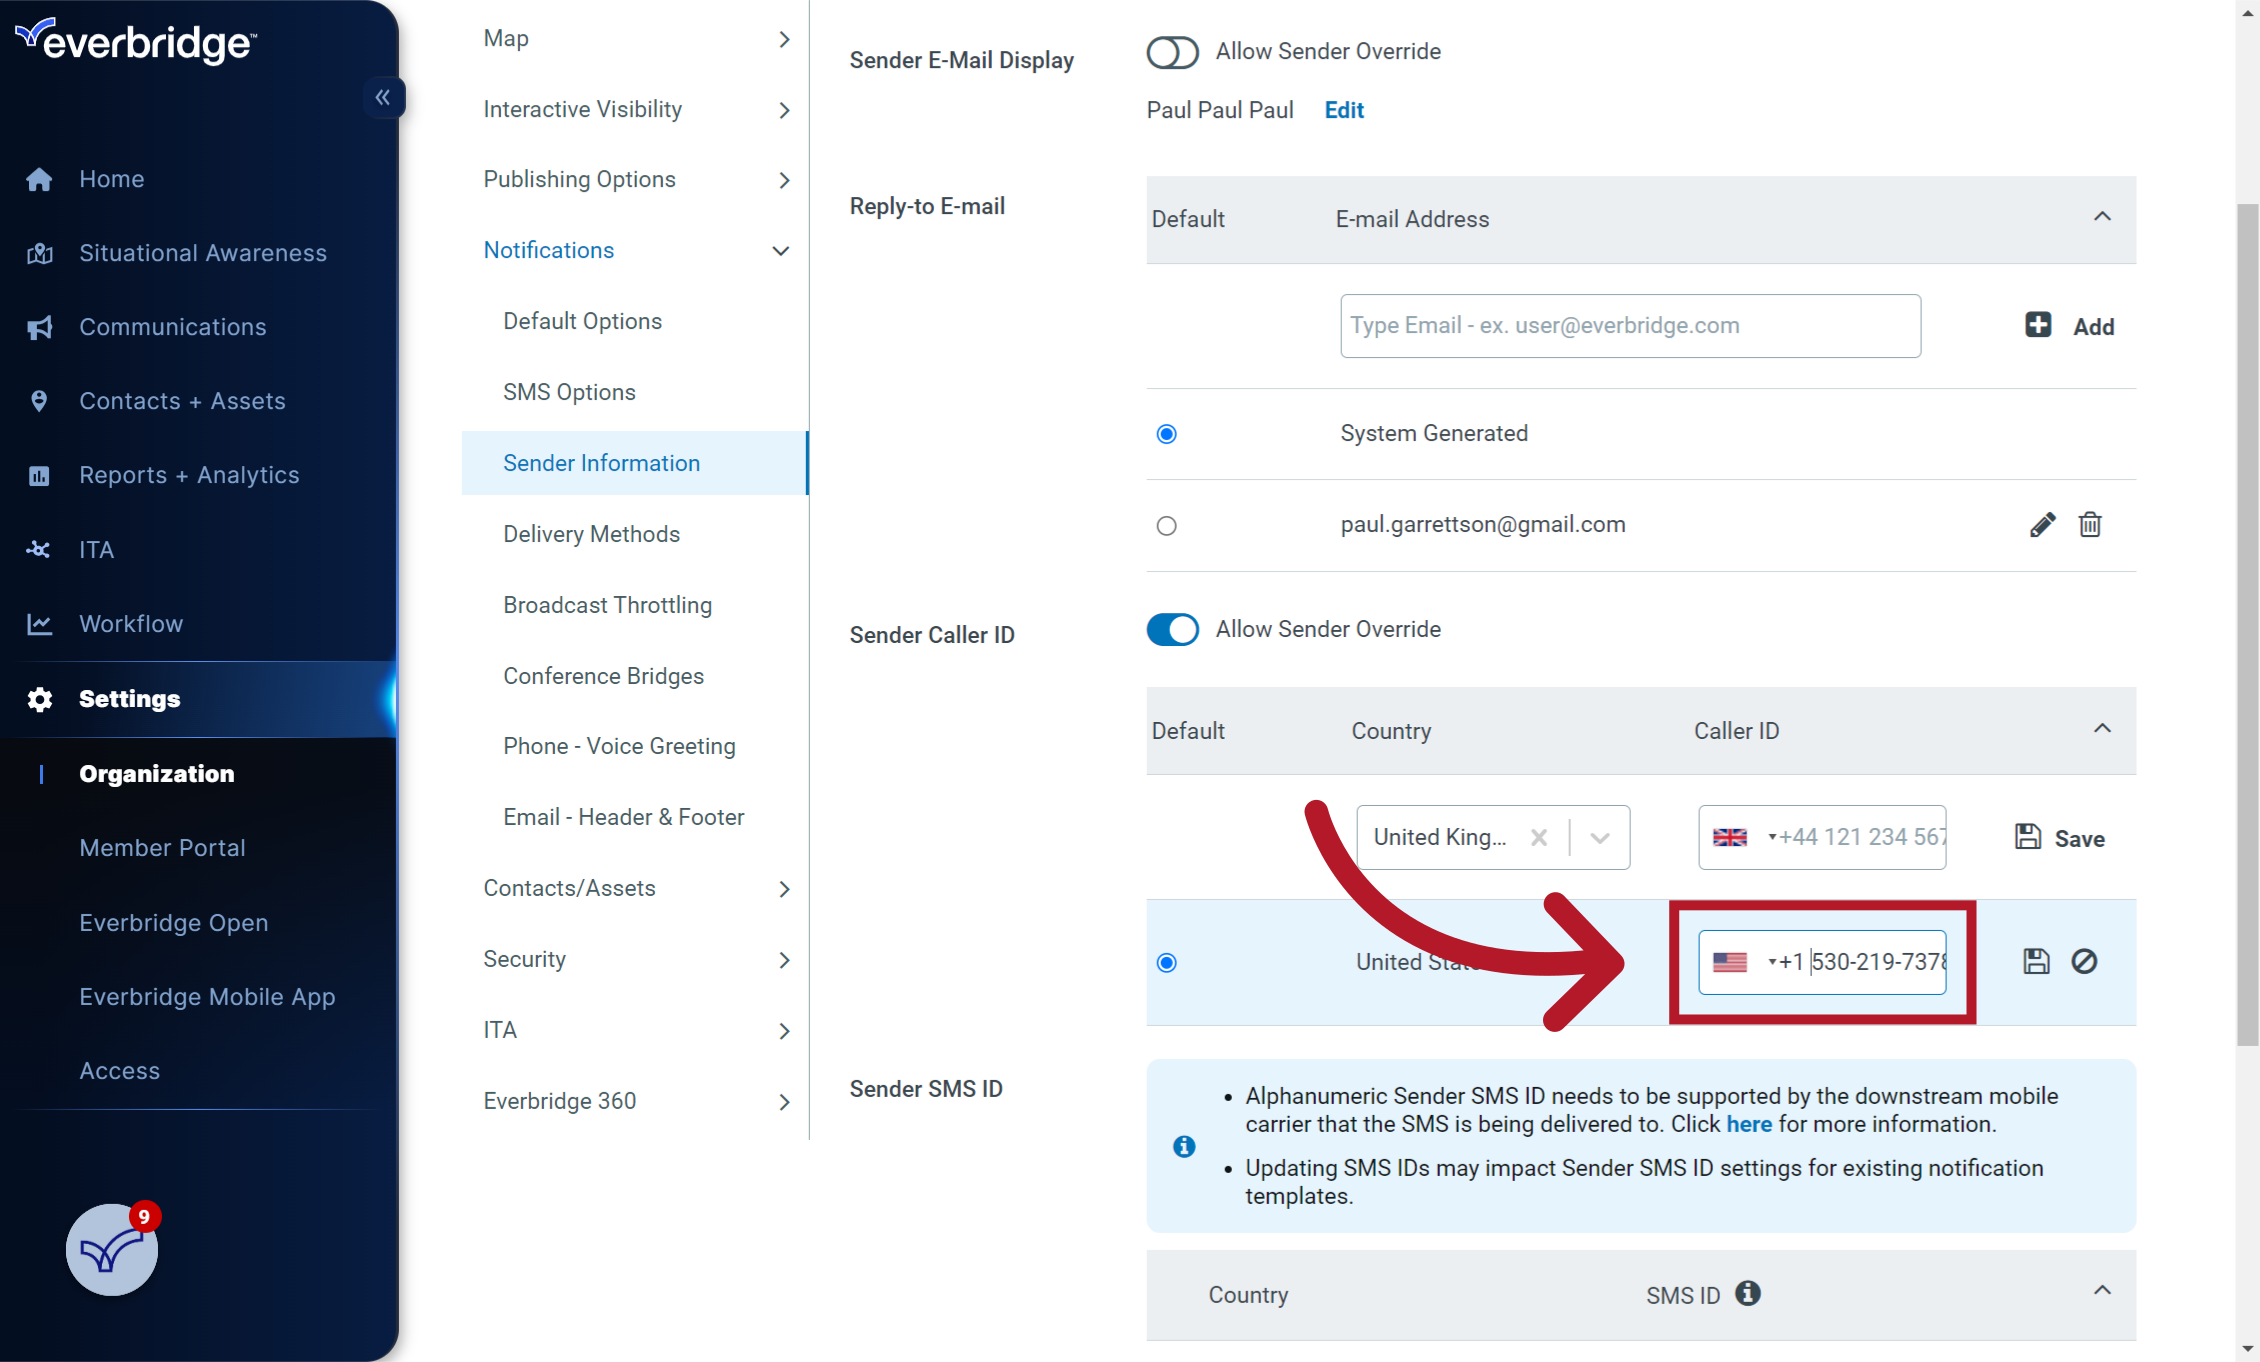
8. Enter the Caller ID
Enter the desired caller ID here. It must be a valid phone number
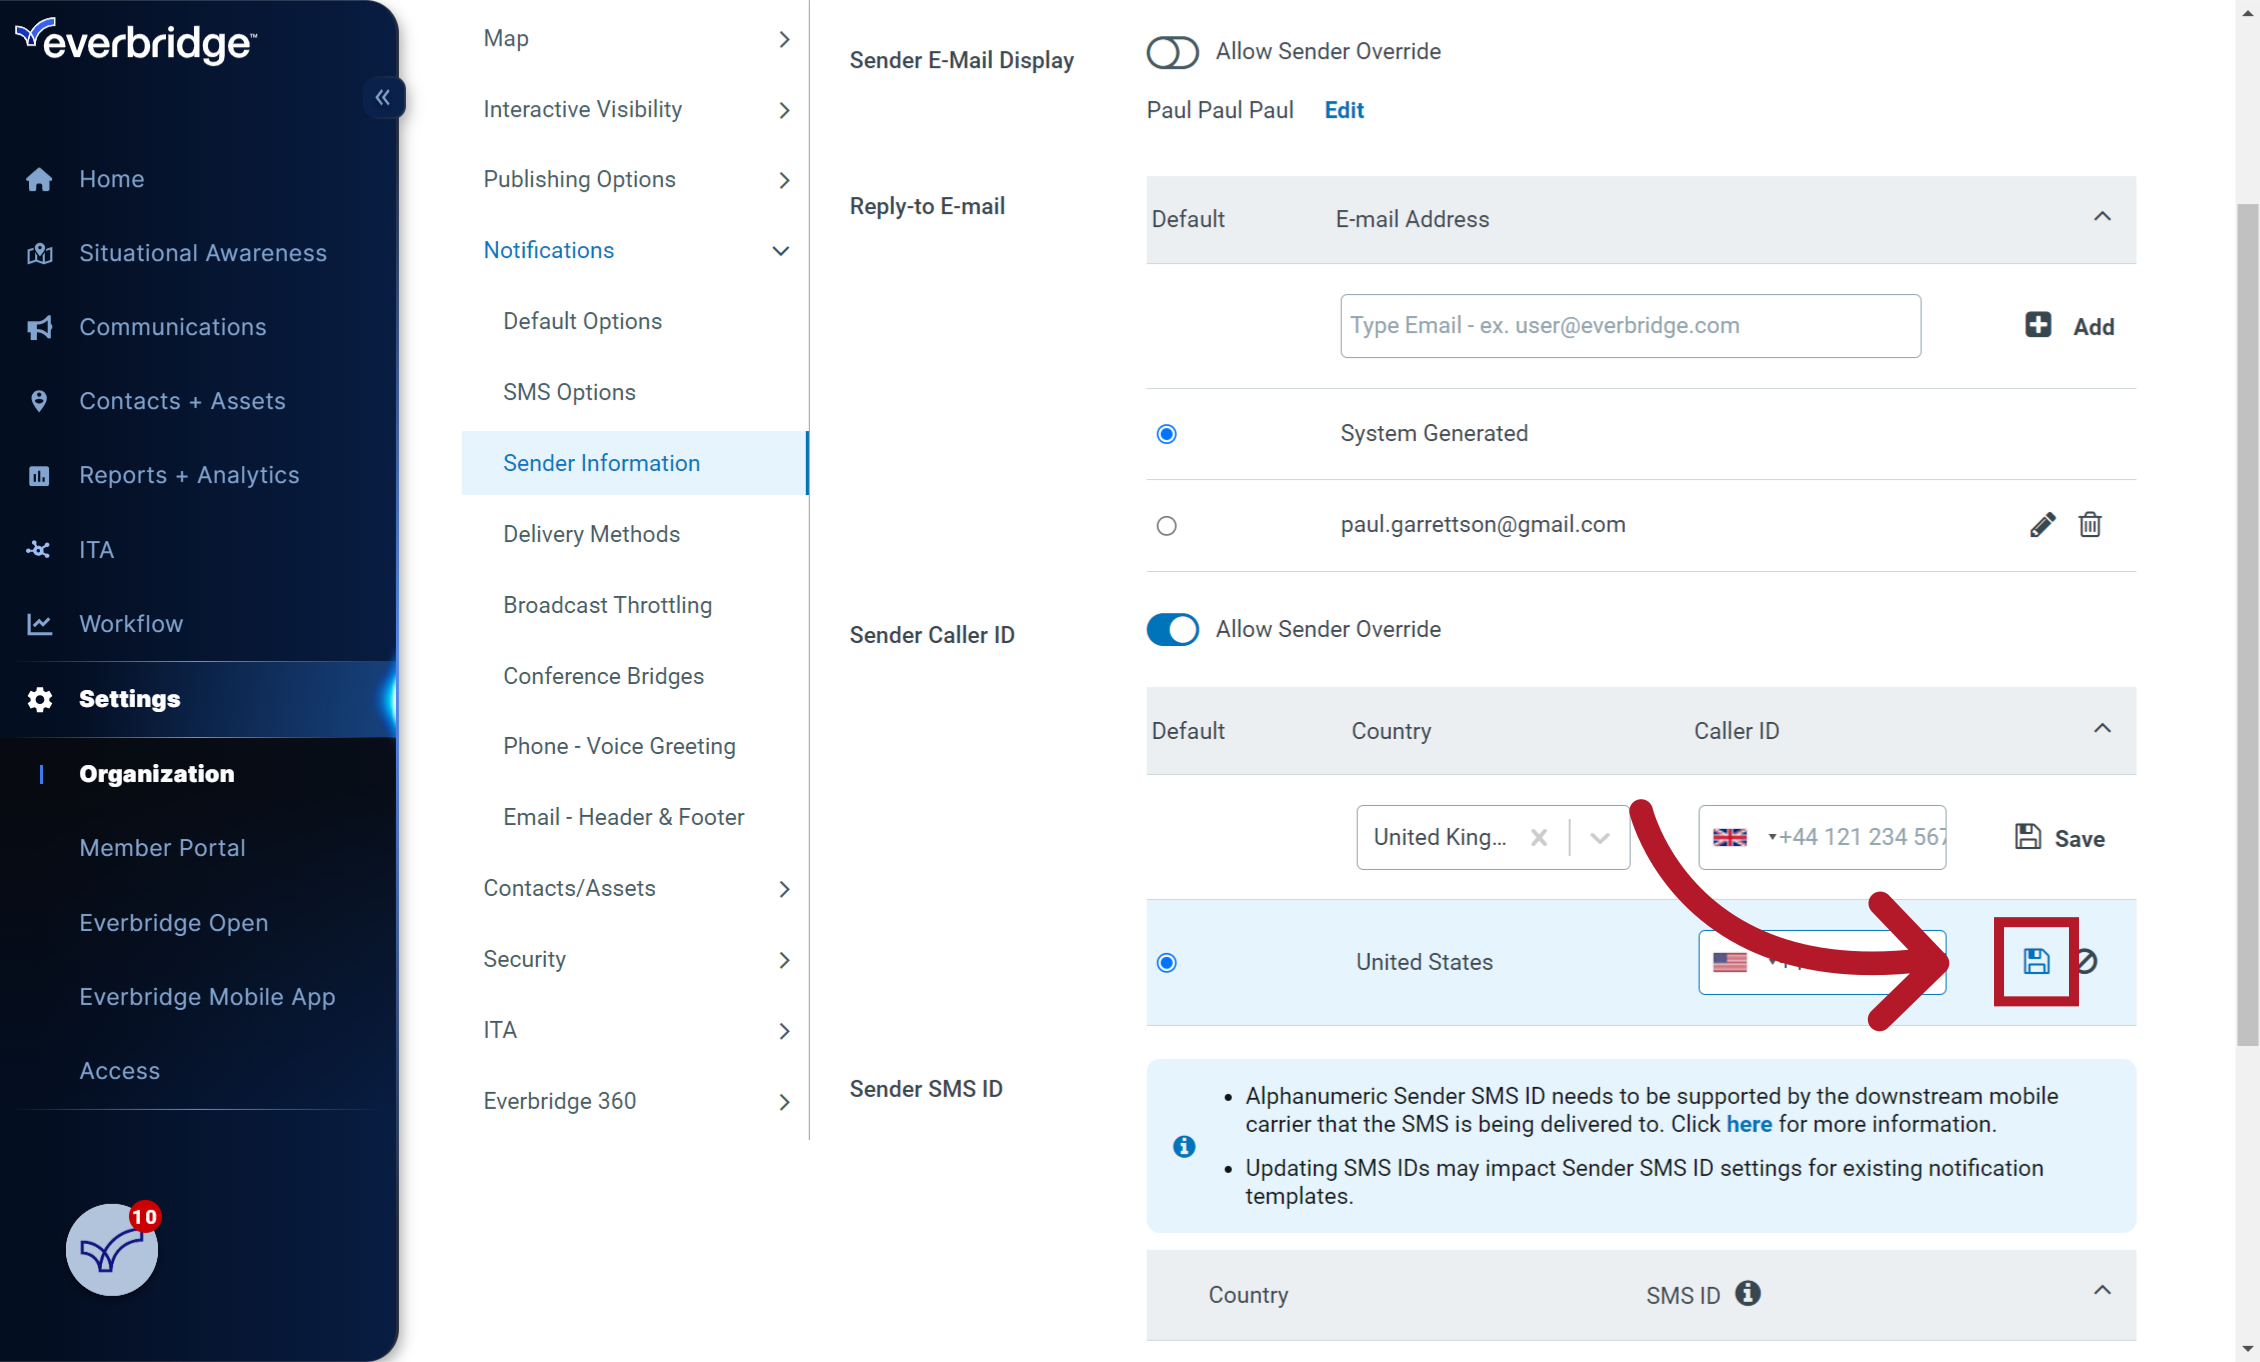
9. Select the save icon
Select the disk icon to save
This guide covered the steps to update the default sender caller ID in Everbridge. By following these instructions, you can ensure that your messages are properly identified when sent through the application.
Article Feedback
Please sign in to leave a comment.