Topic
How to format a file for uploading Contacts.
Description
Rather than manually entering contacts, you can upload contacts in bulk using a CSV file. In order for that file of contacts to upload successfully, it needs to be formatted properly.
Go to manager.everbridge.net
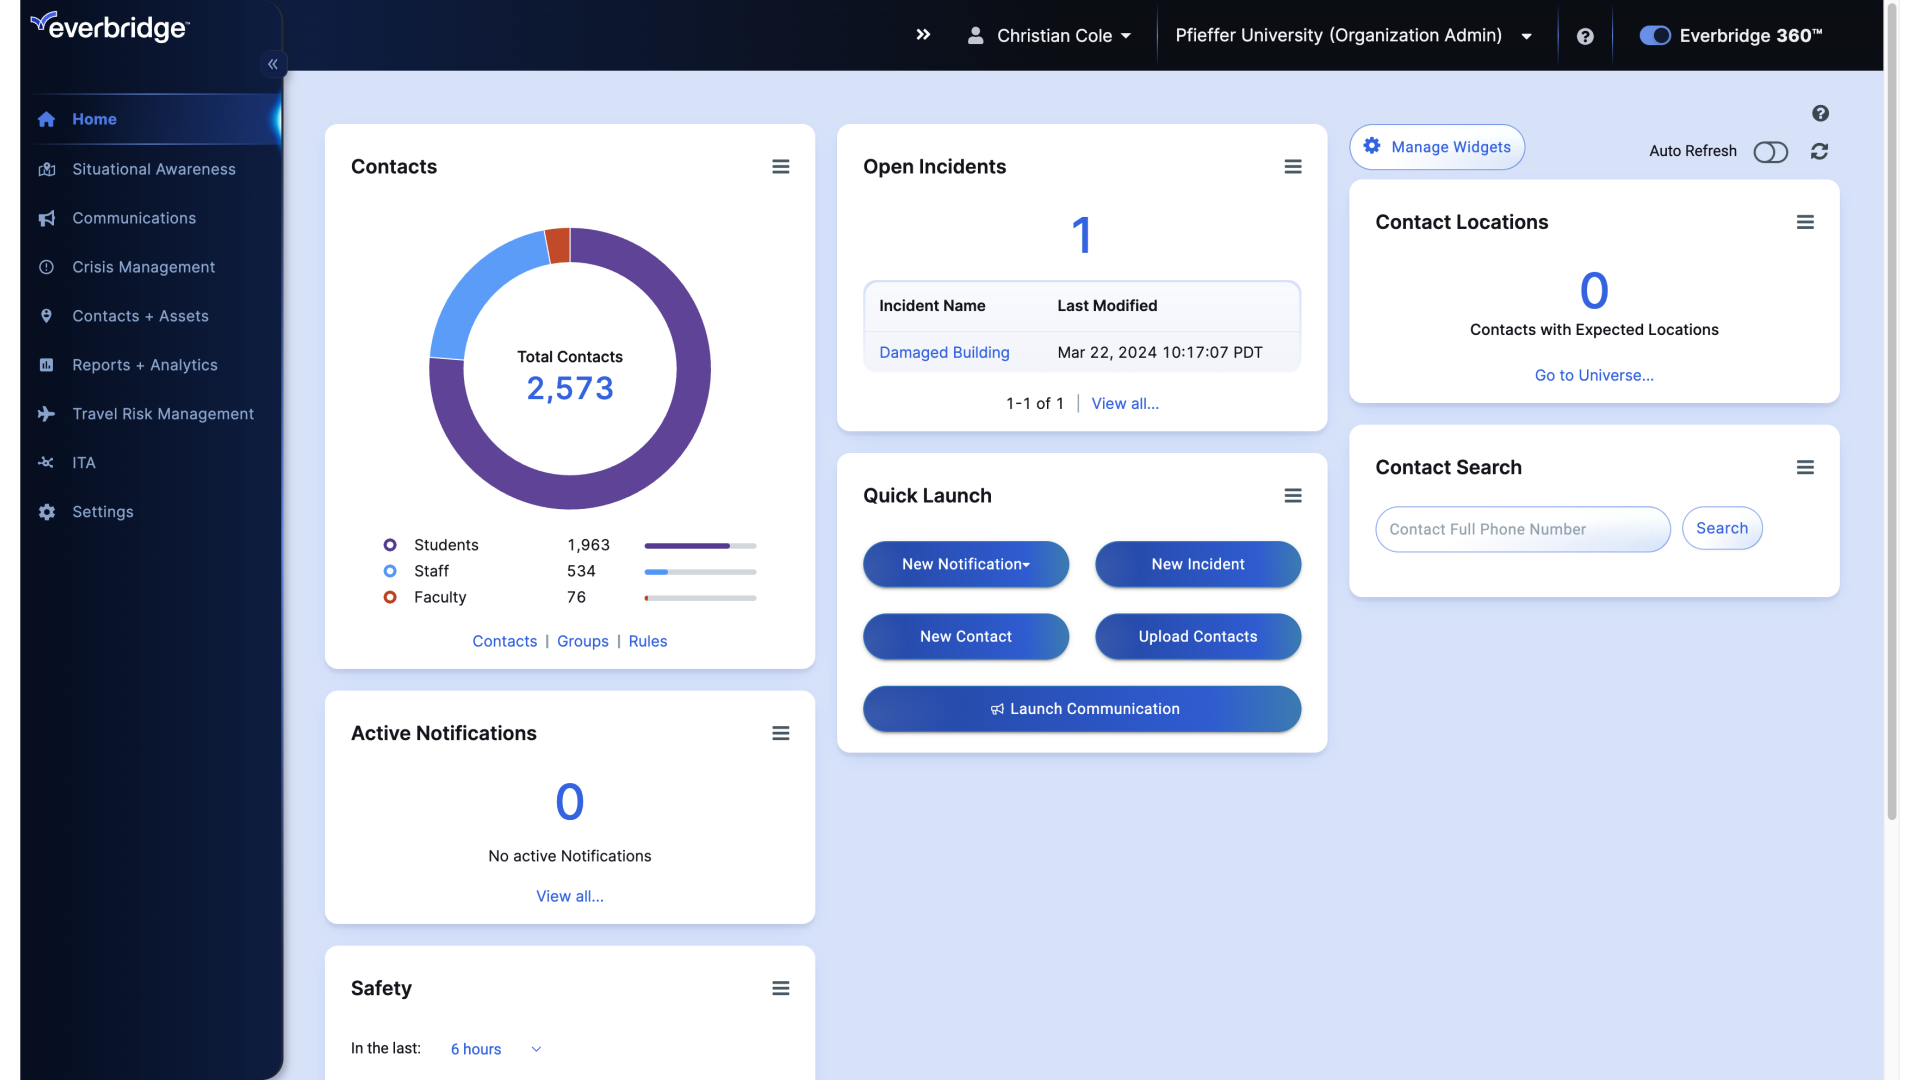
1. Dashboard
It's recommended that you start from the organization's Contacts Template. To access that template.
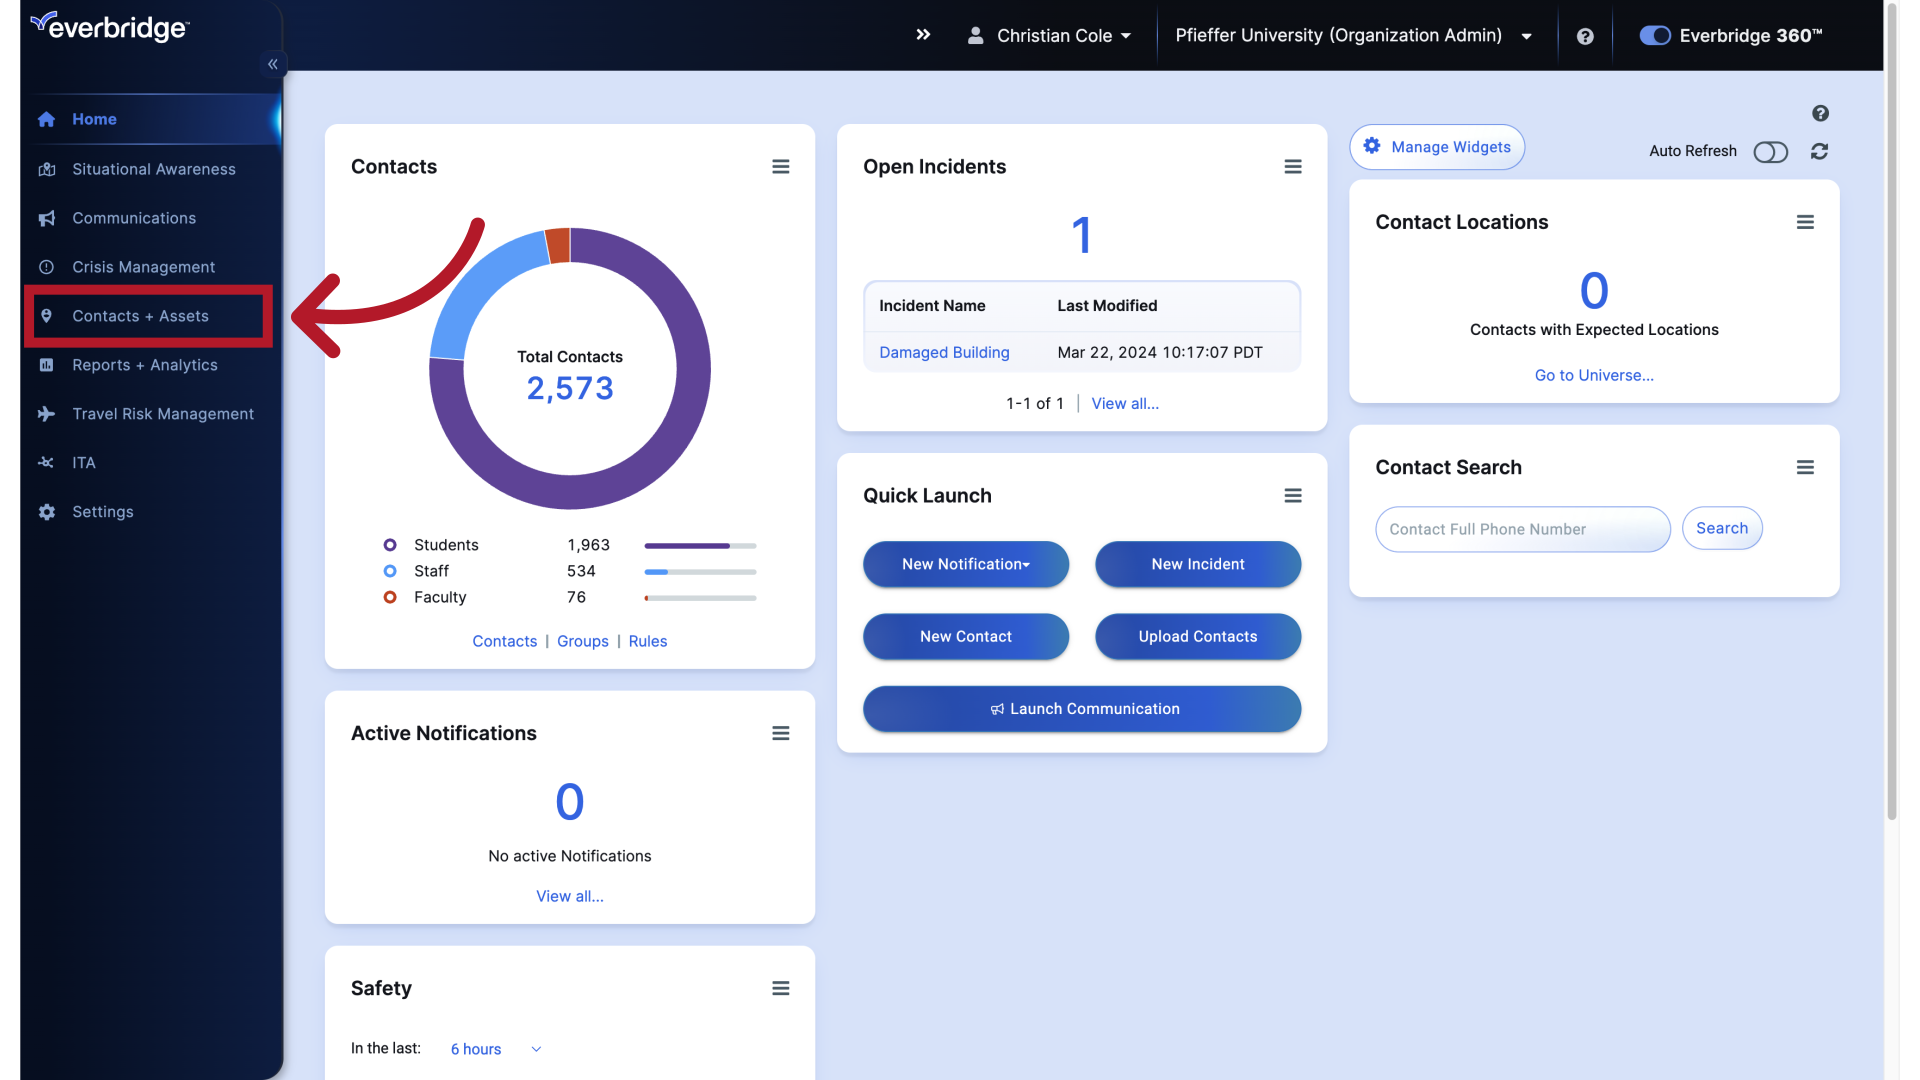
2. Dashboard
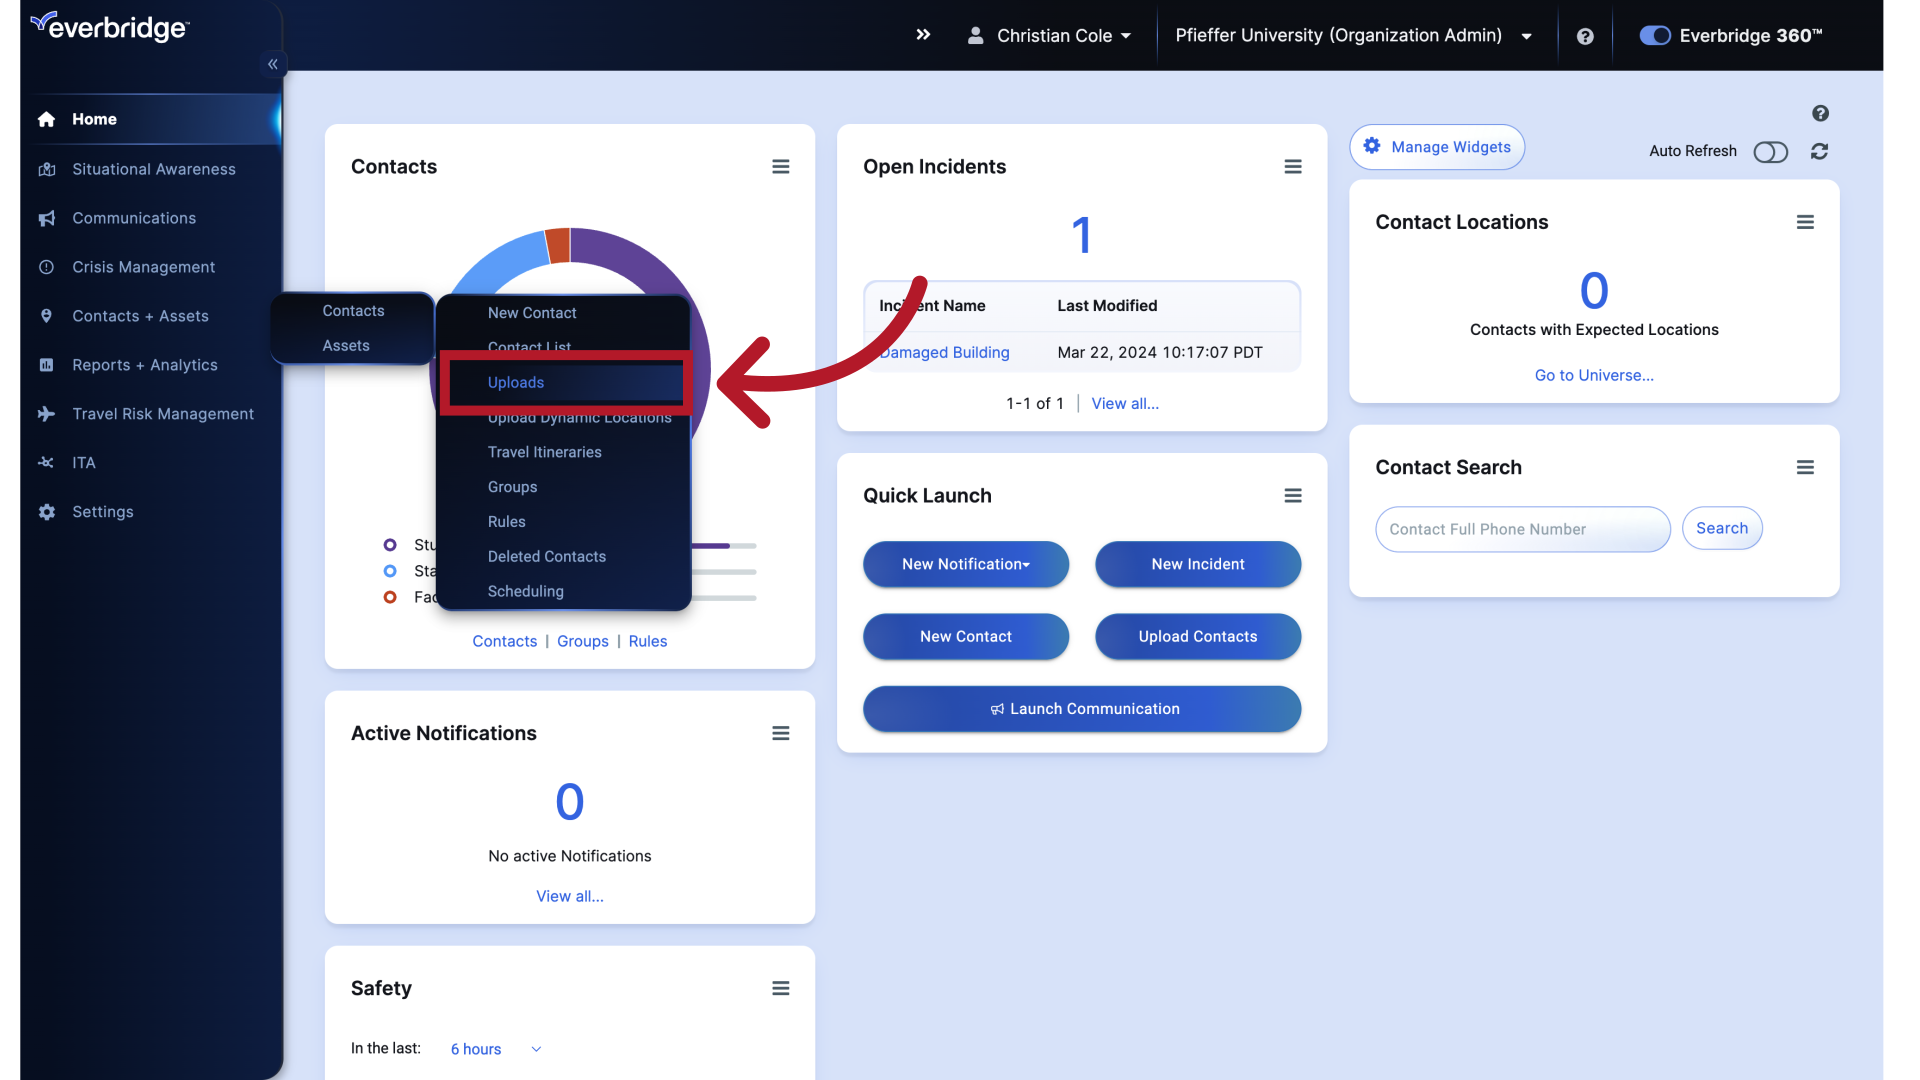
Hover over "Contacts and Assets."
3. Dashboard
Hover over "Contacts."
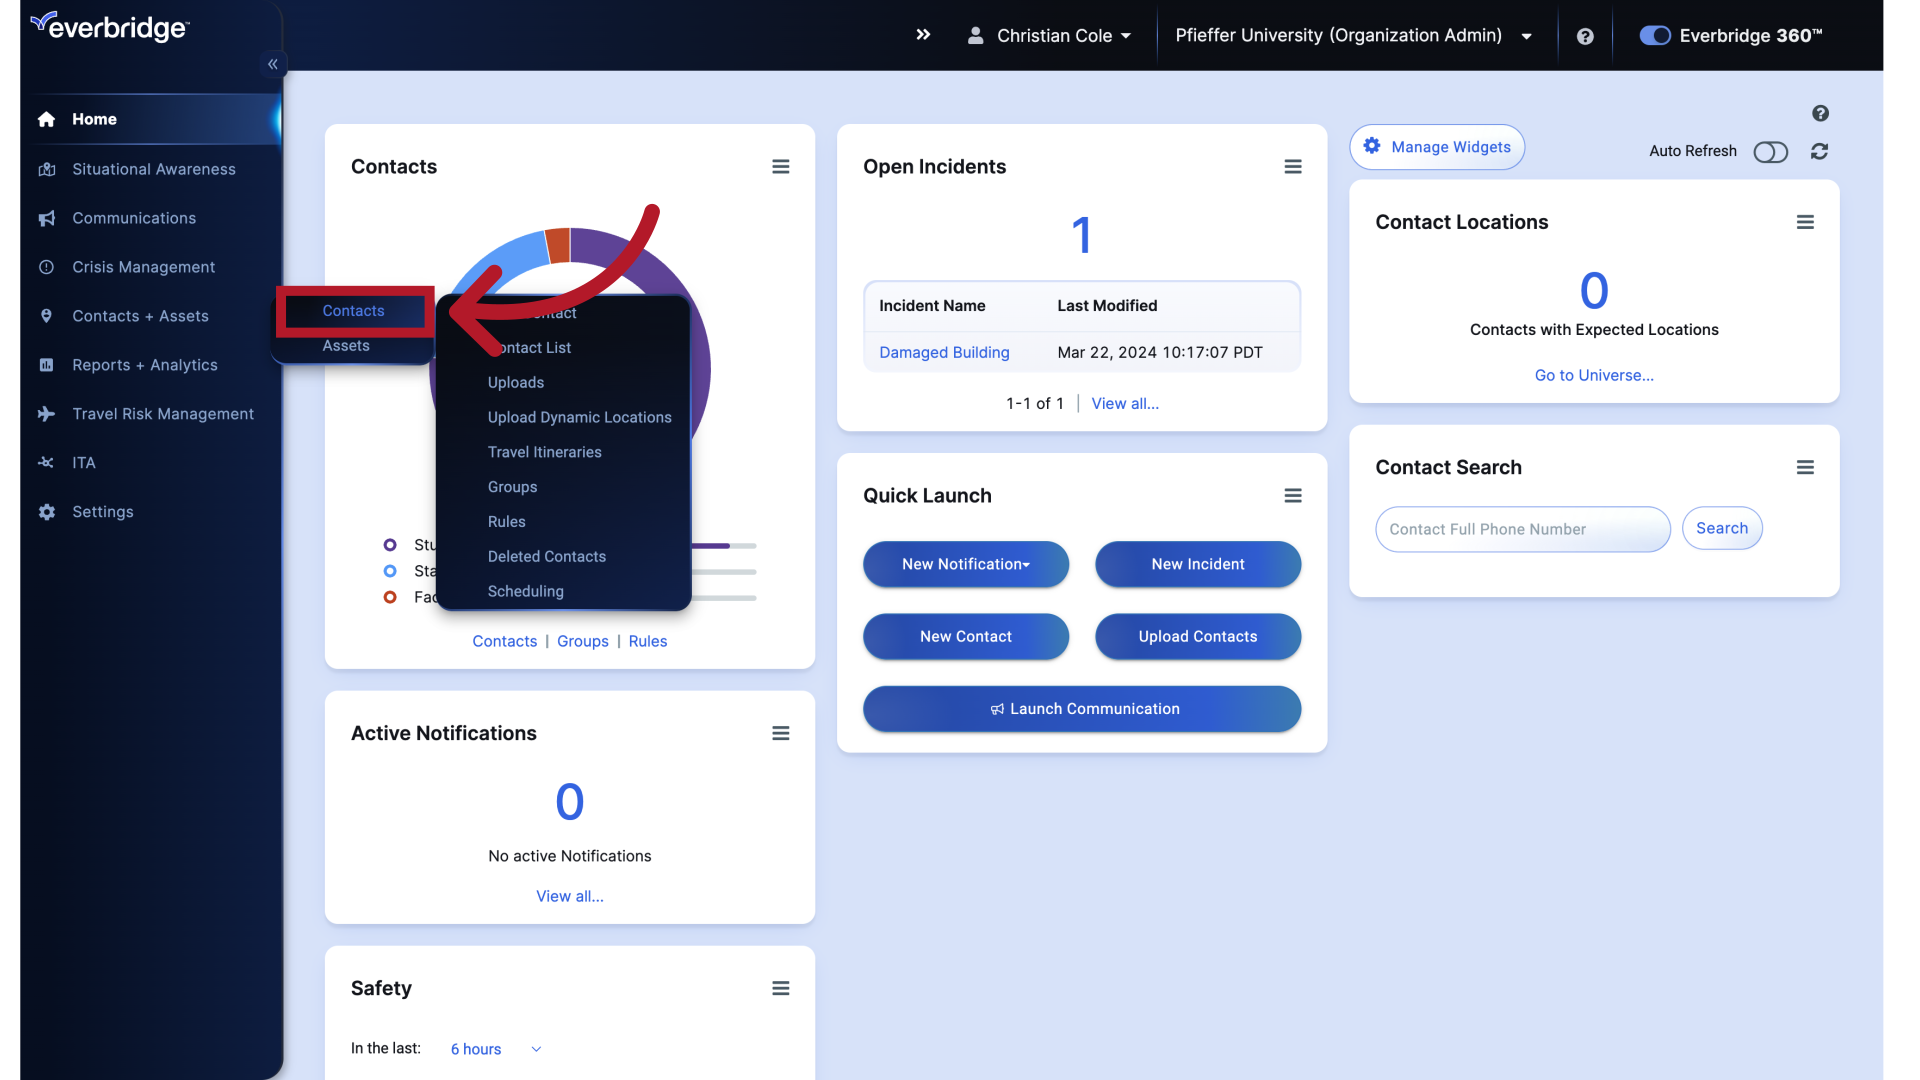
4. Dashboard
Then, choose "Uploads."
5. Uploads
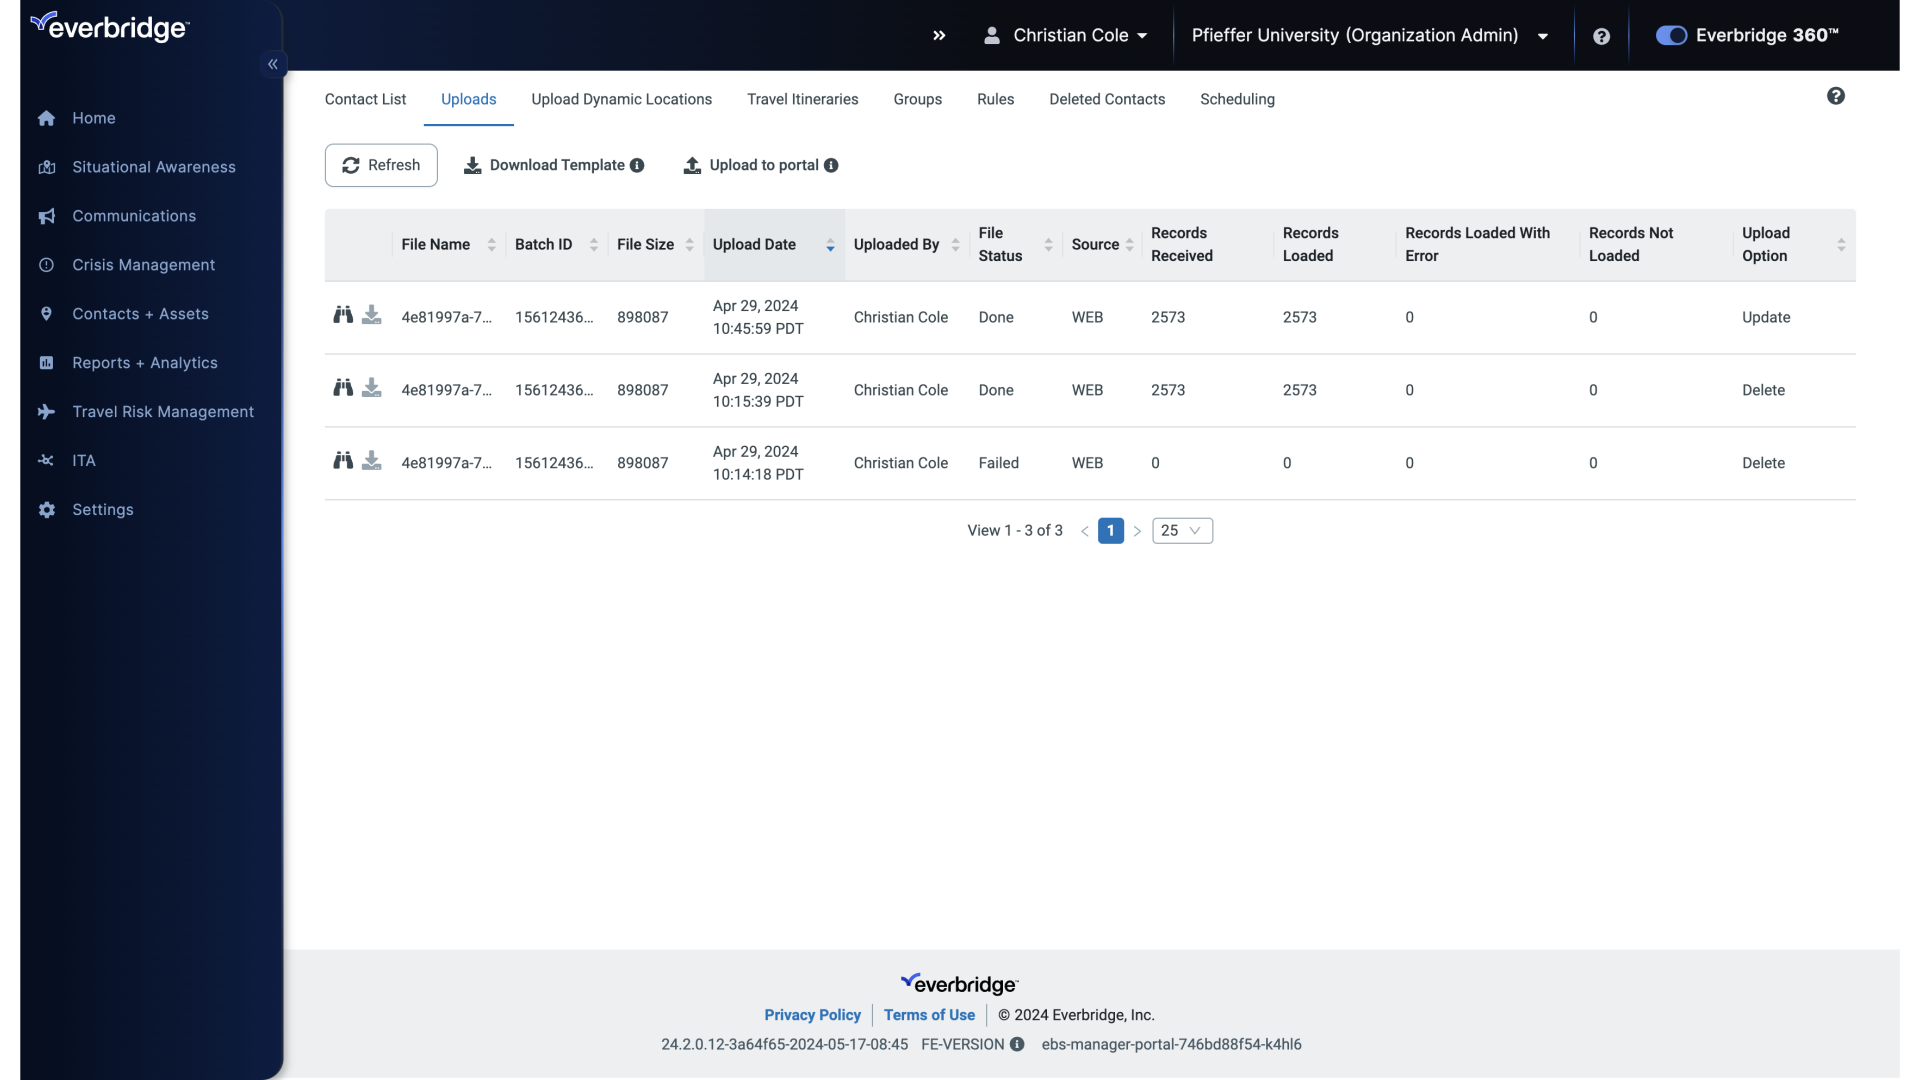
From the "Uploads" page.
6. Download Template
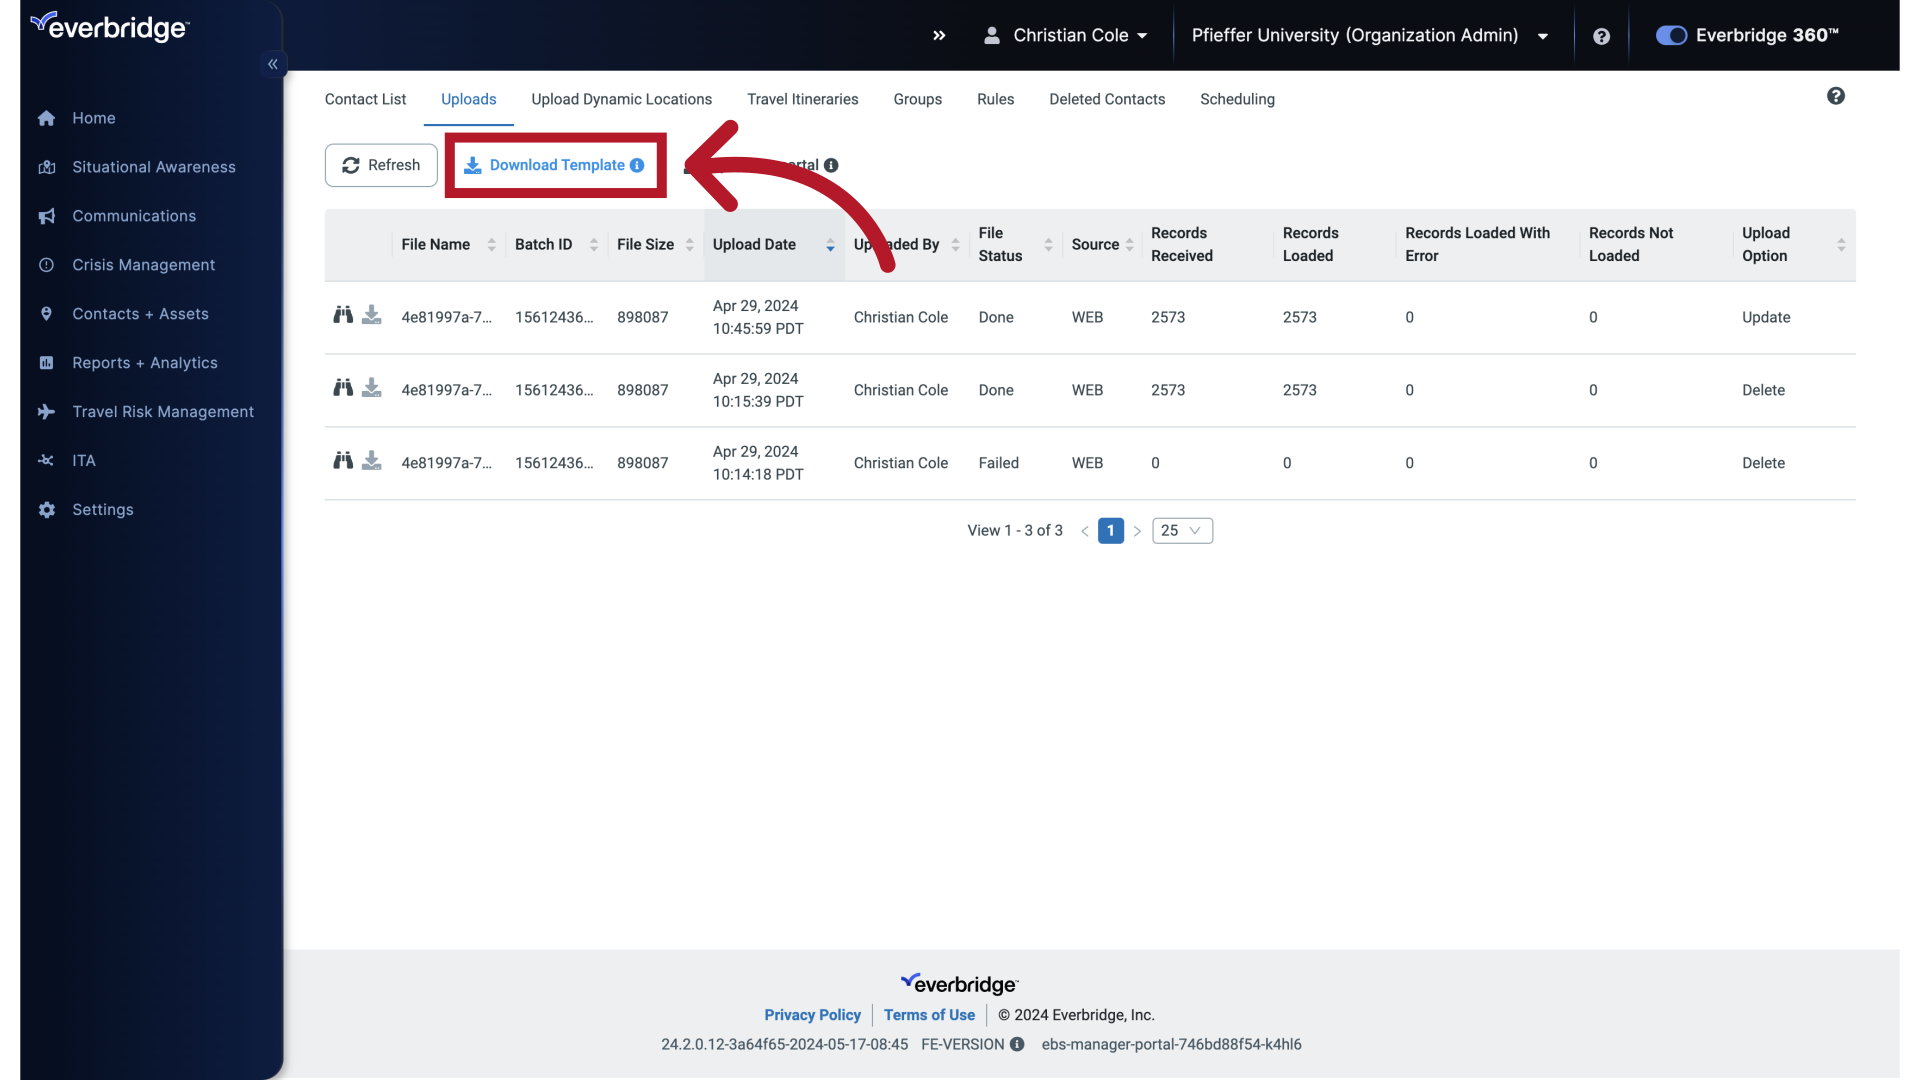
Click "Download Template."
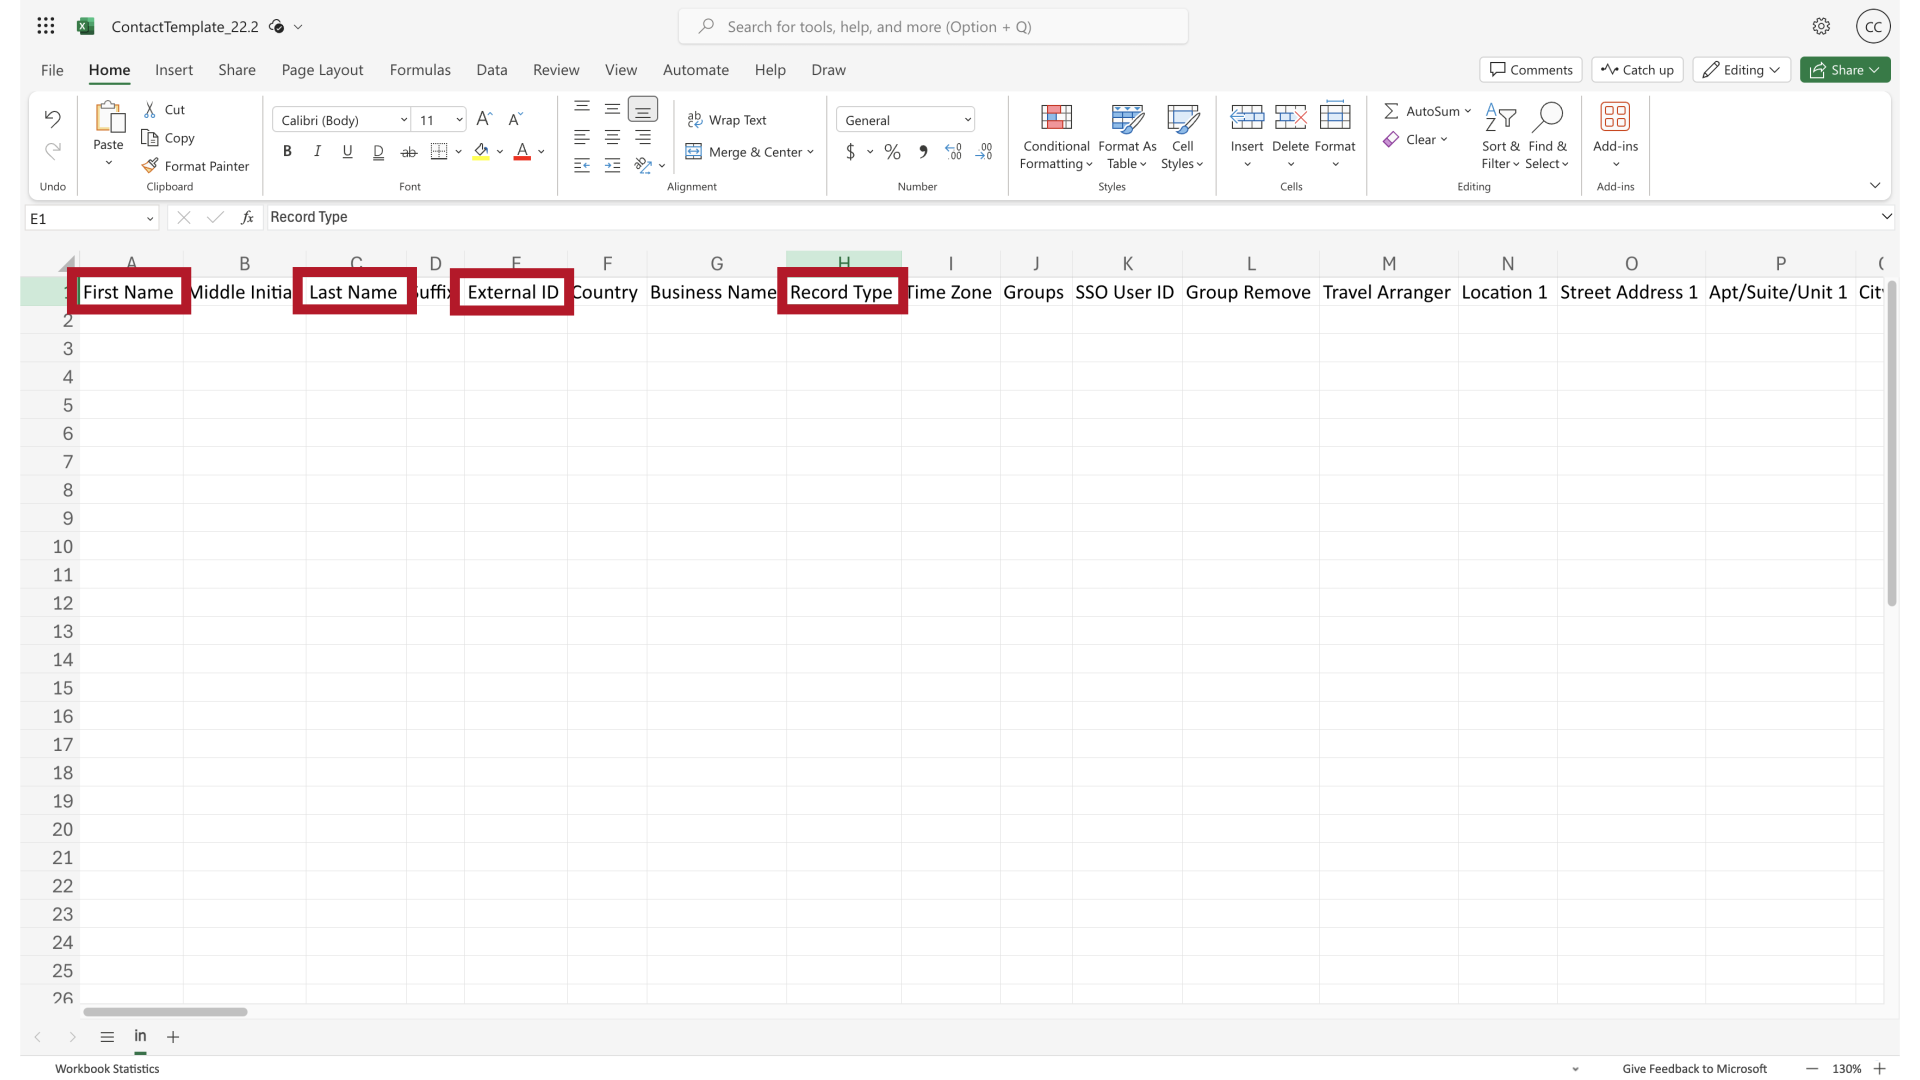
7. Contact Template
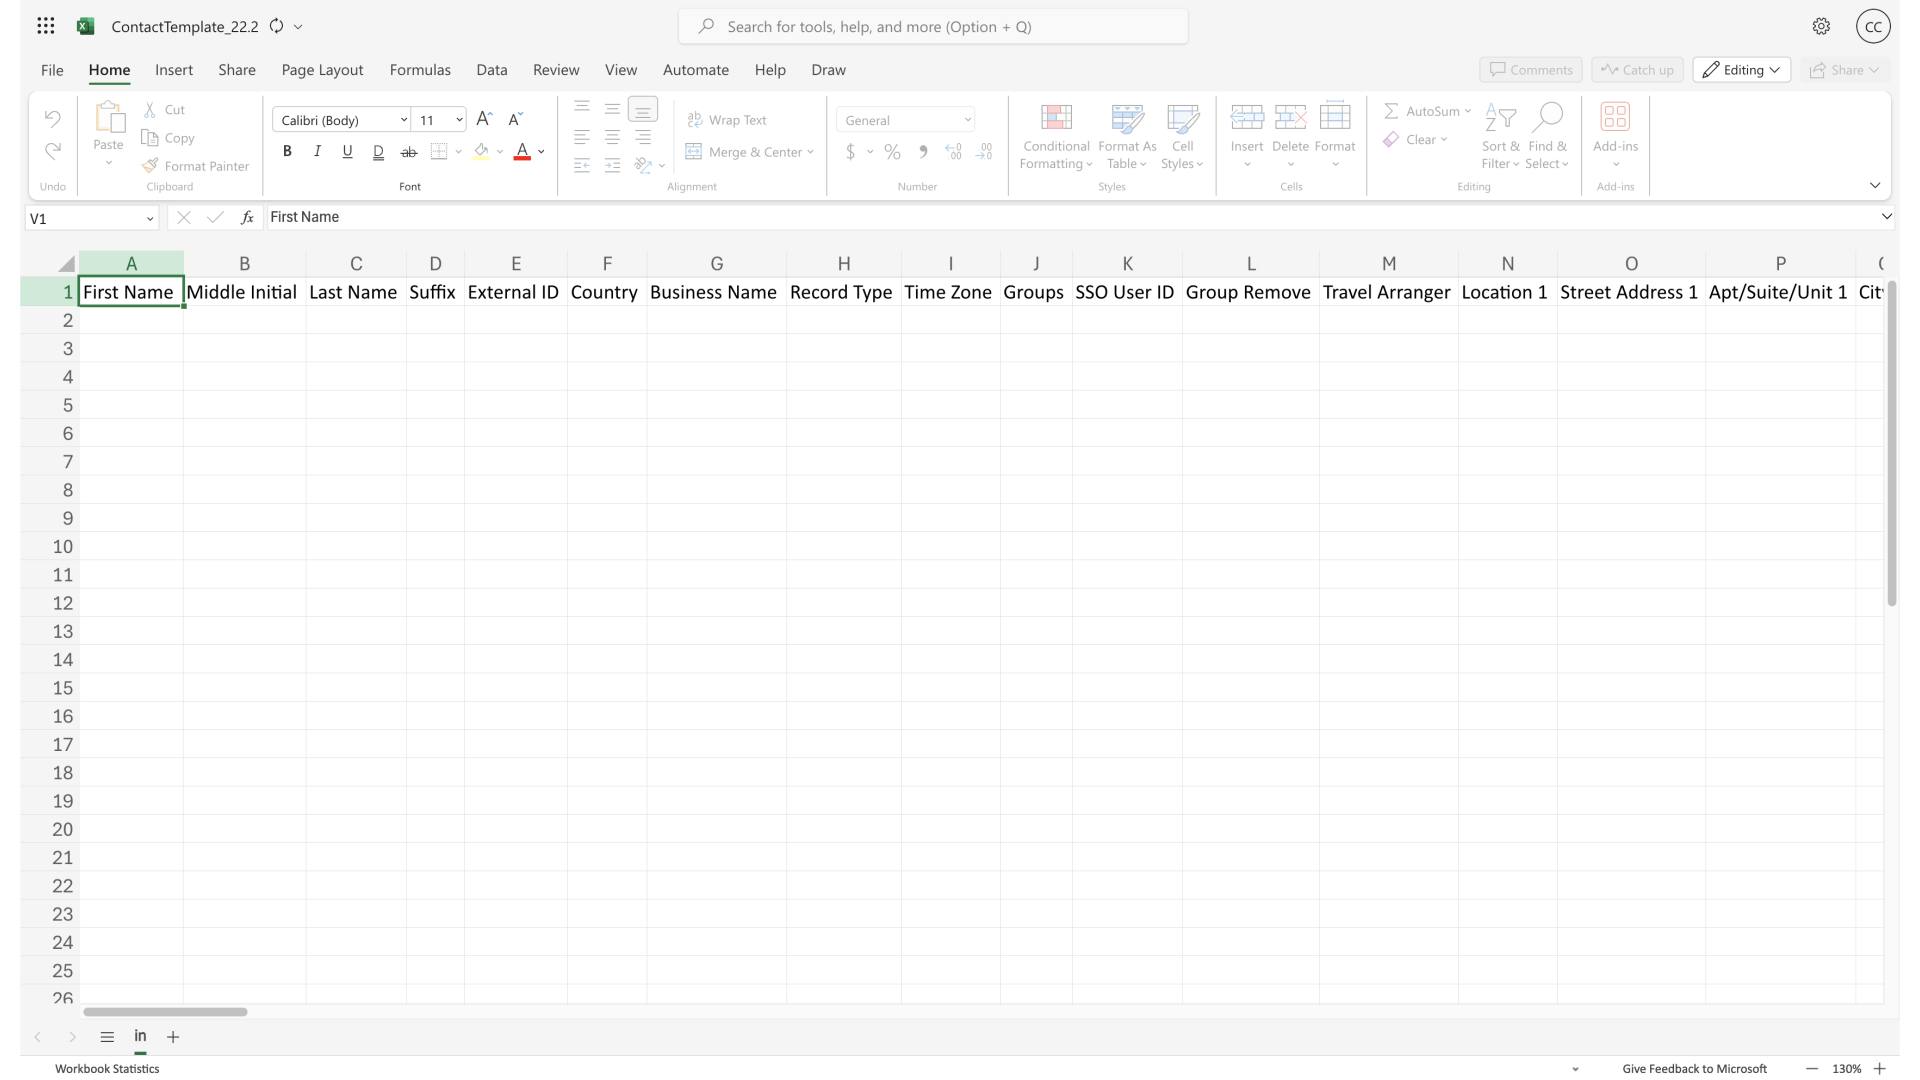
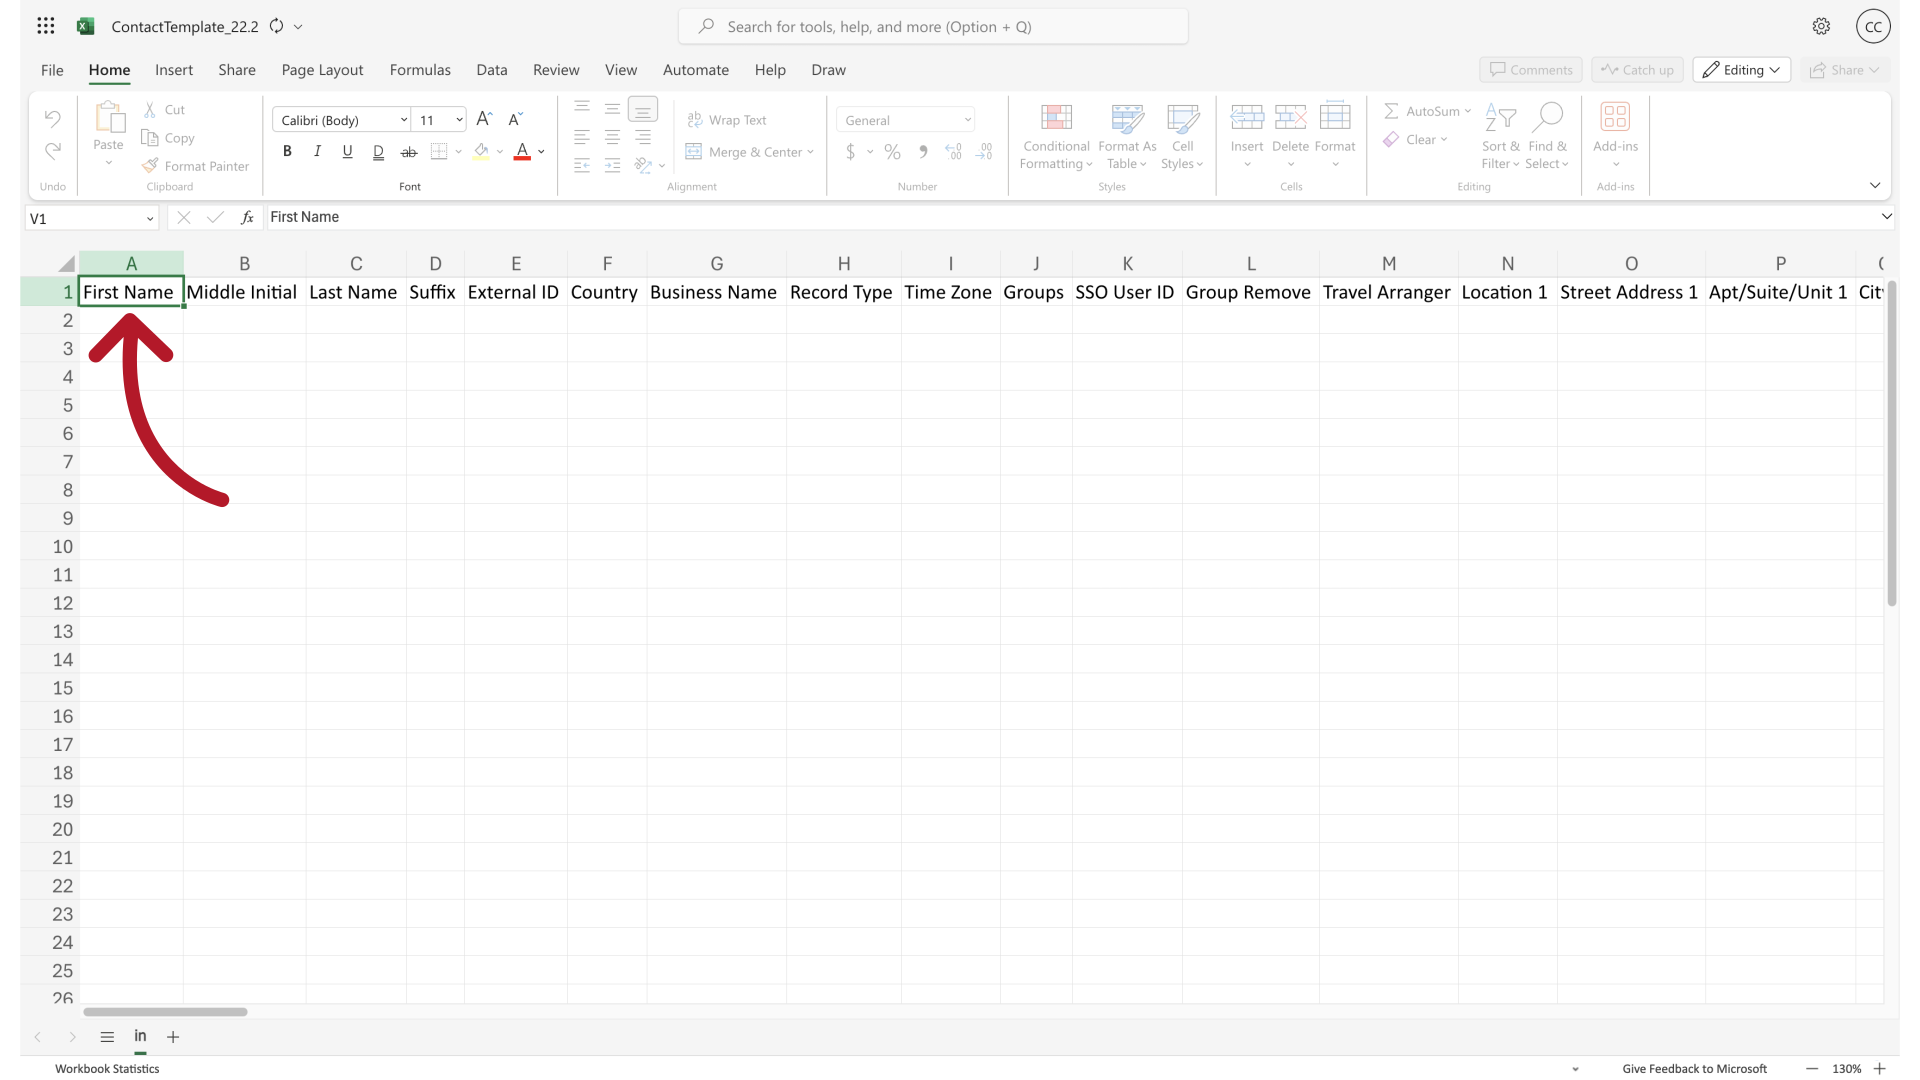
Not every column in the file needs to contain information, but four columns are required.
8. Required Fields
First Name.
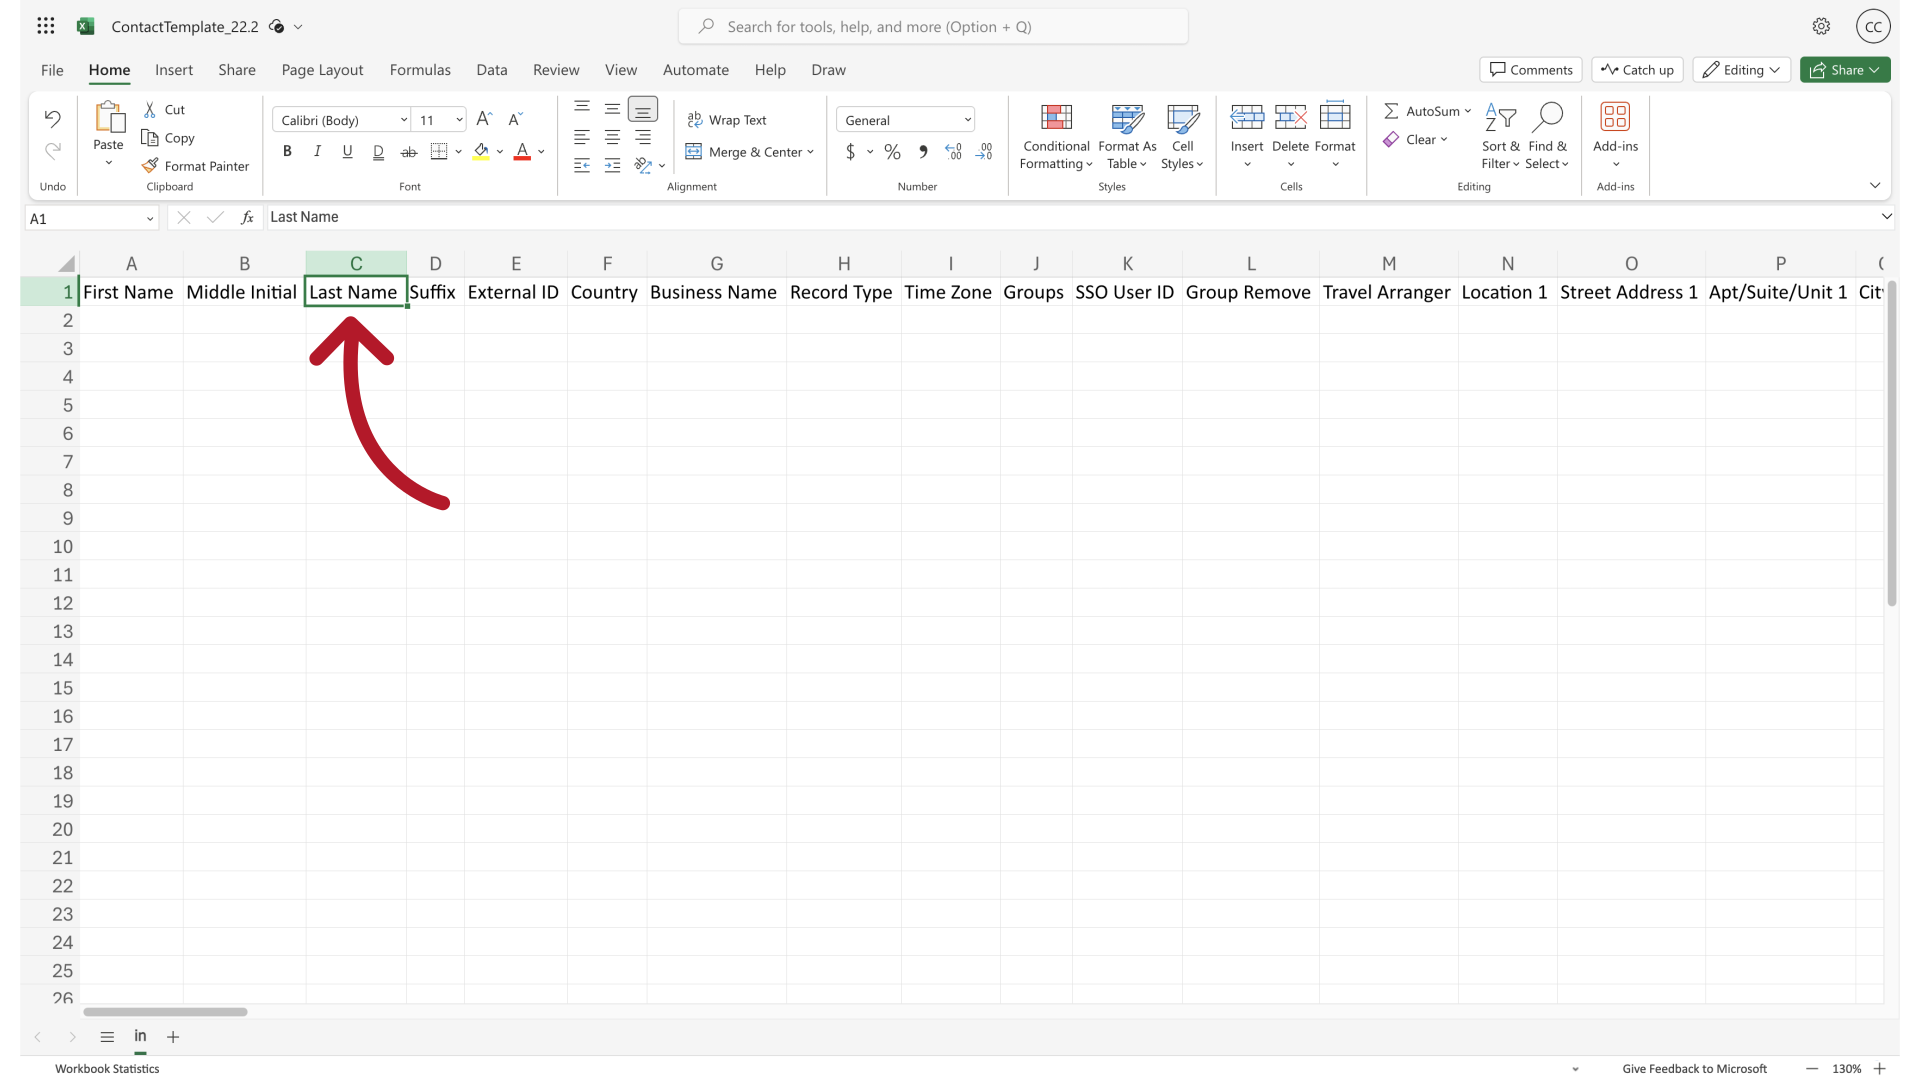
9. Required Fields
Last Name.
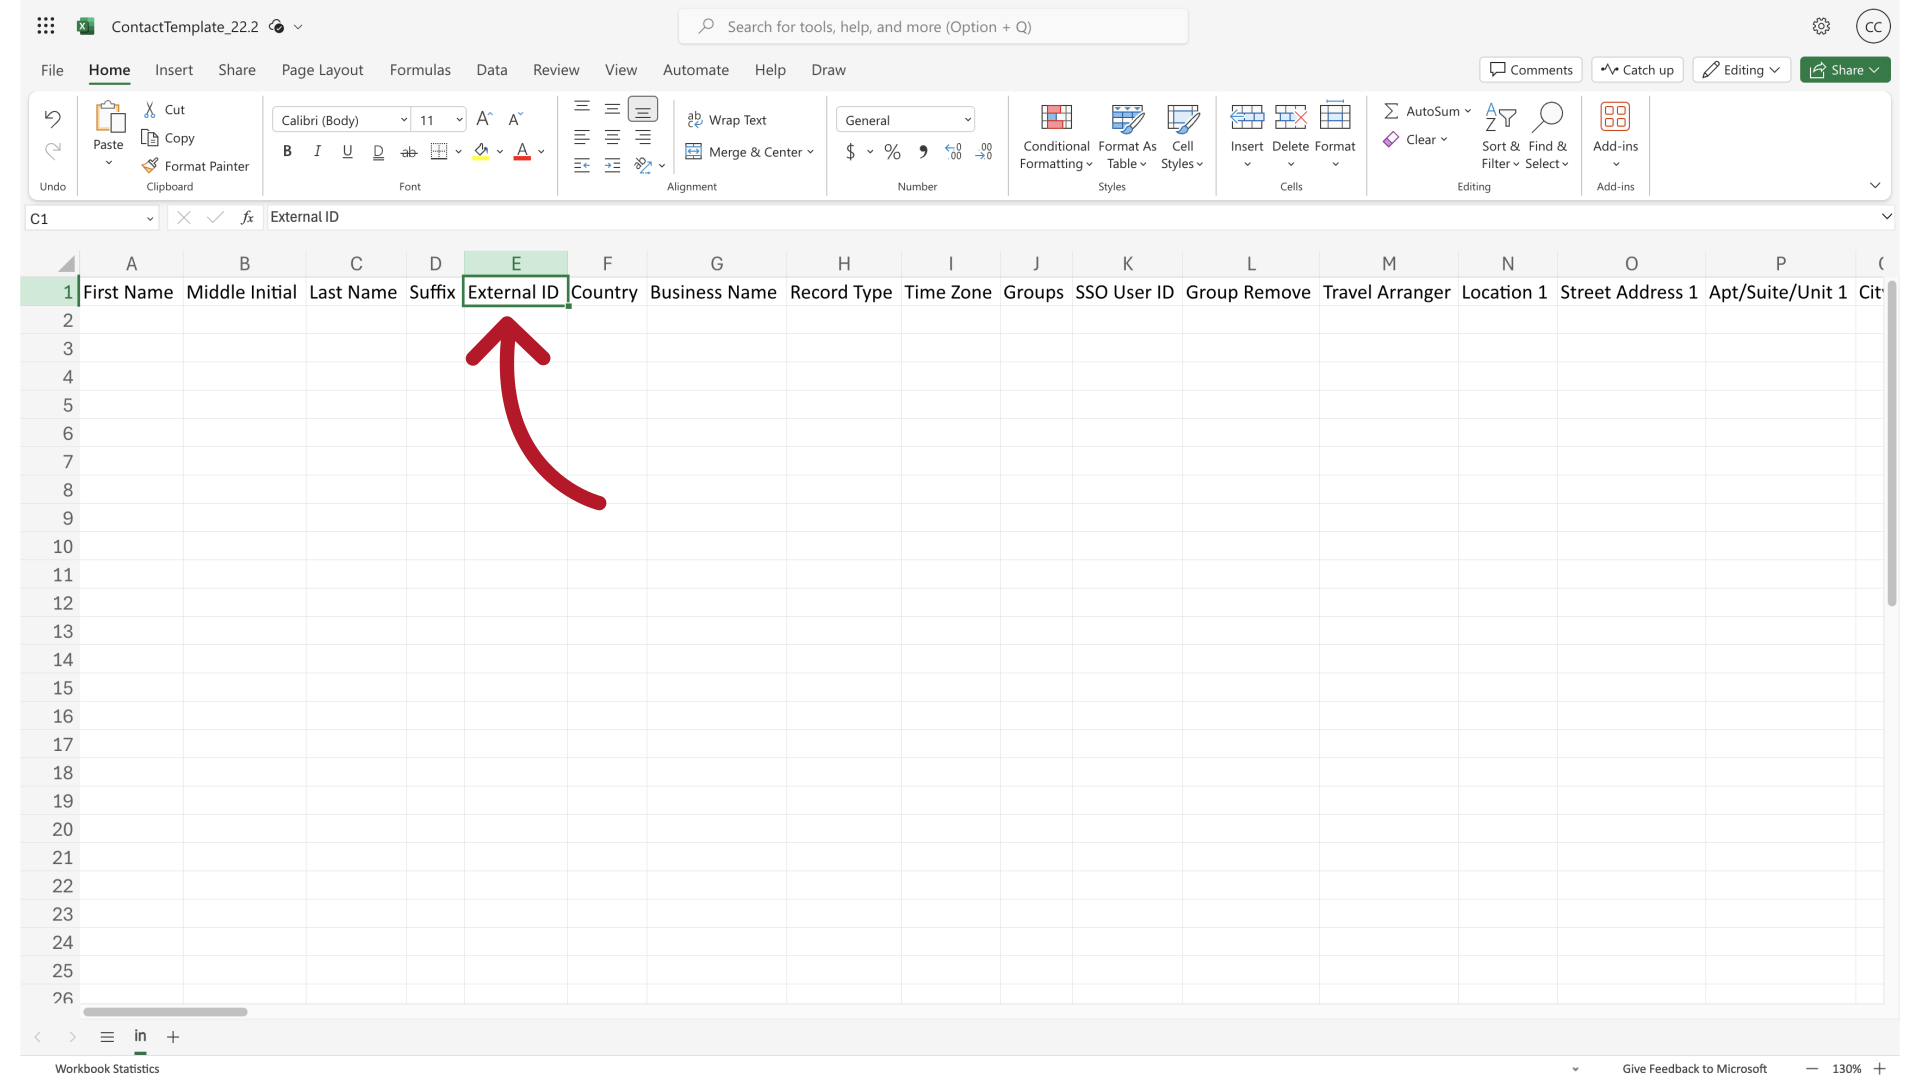
10. Required Fields
External ID.
11. Required Fields
And Record Type.
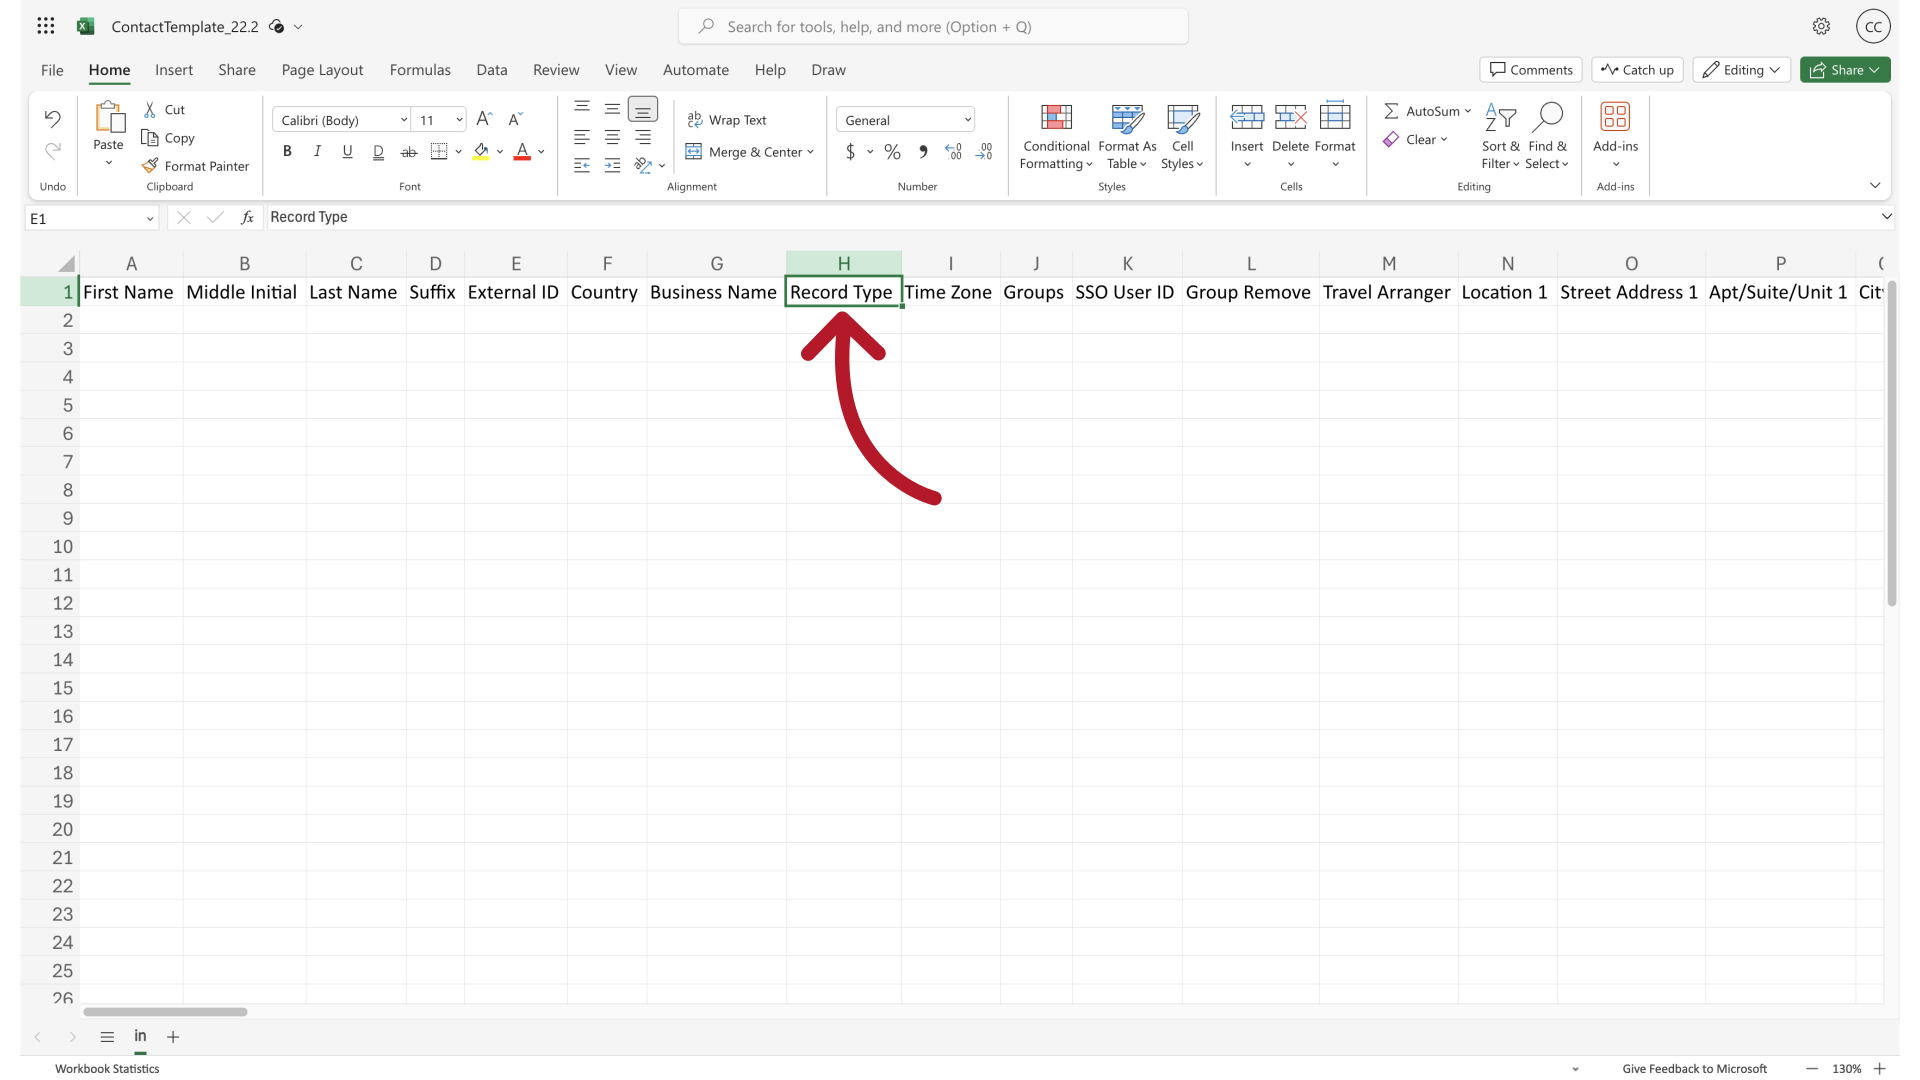
12. Required Fields
Contacts without this information will not be uploaded.
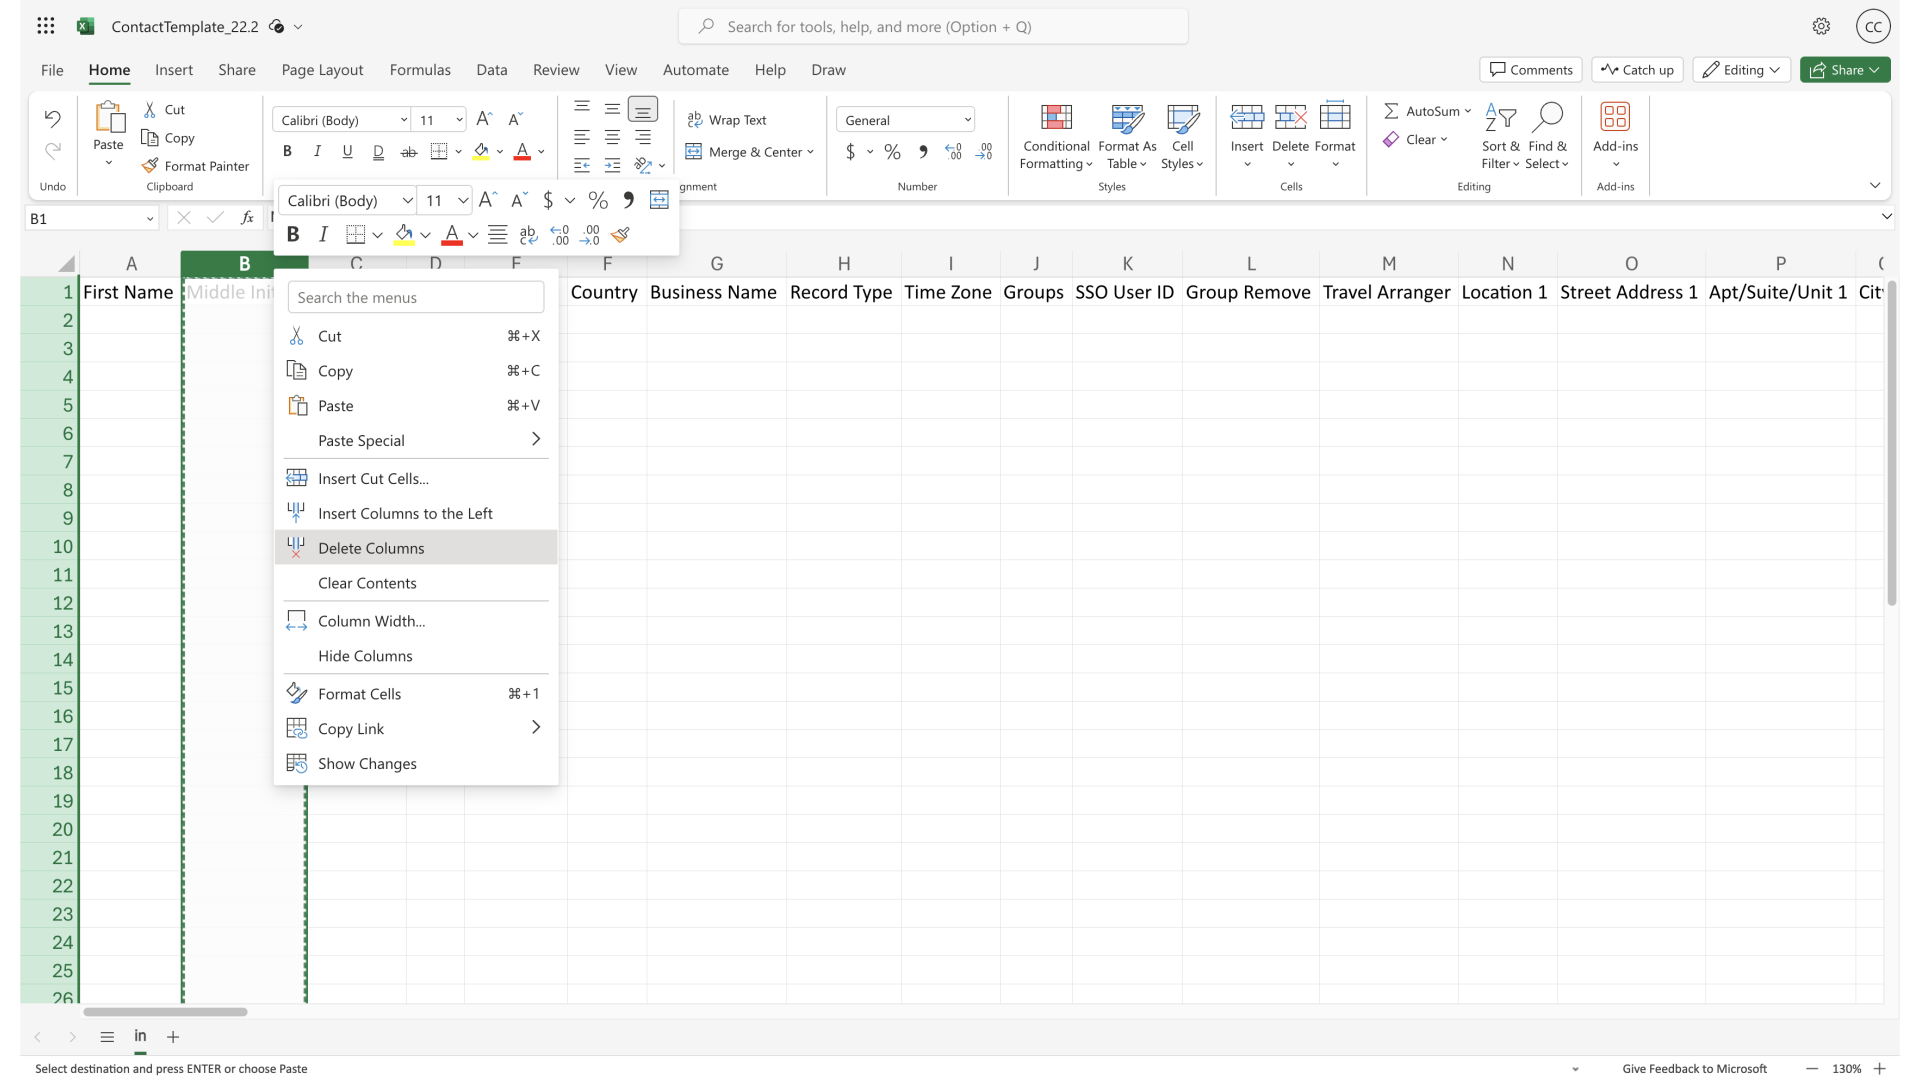
13. Delete Columns
Since every column doesn't need to be filled out, it can be easier to delete the ones you are not using.
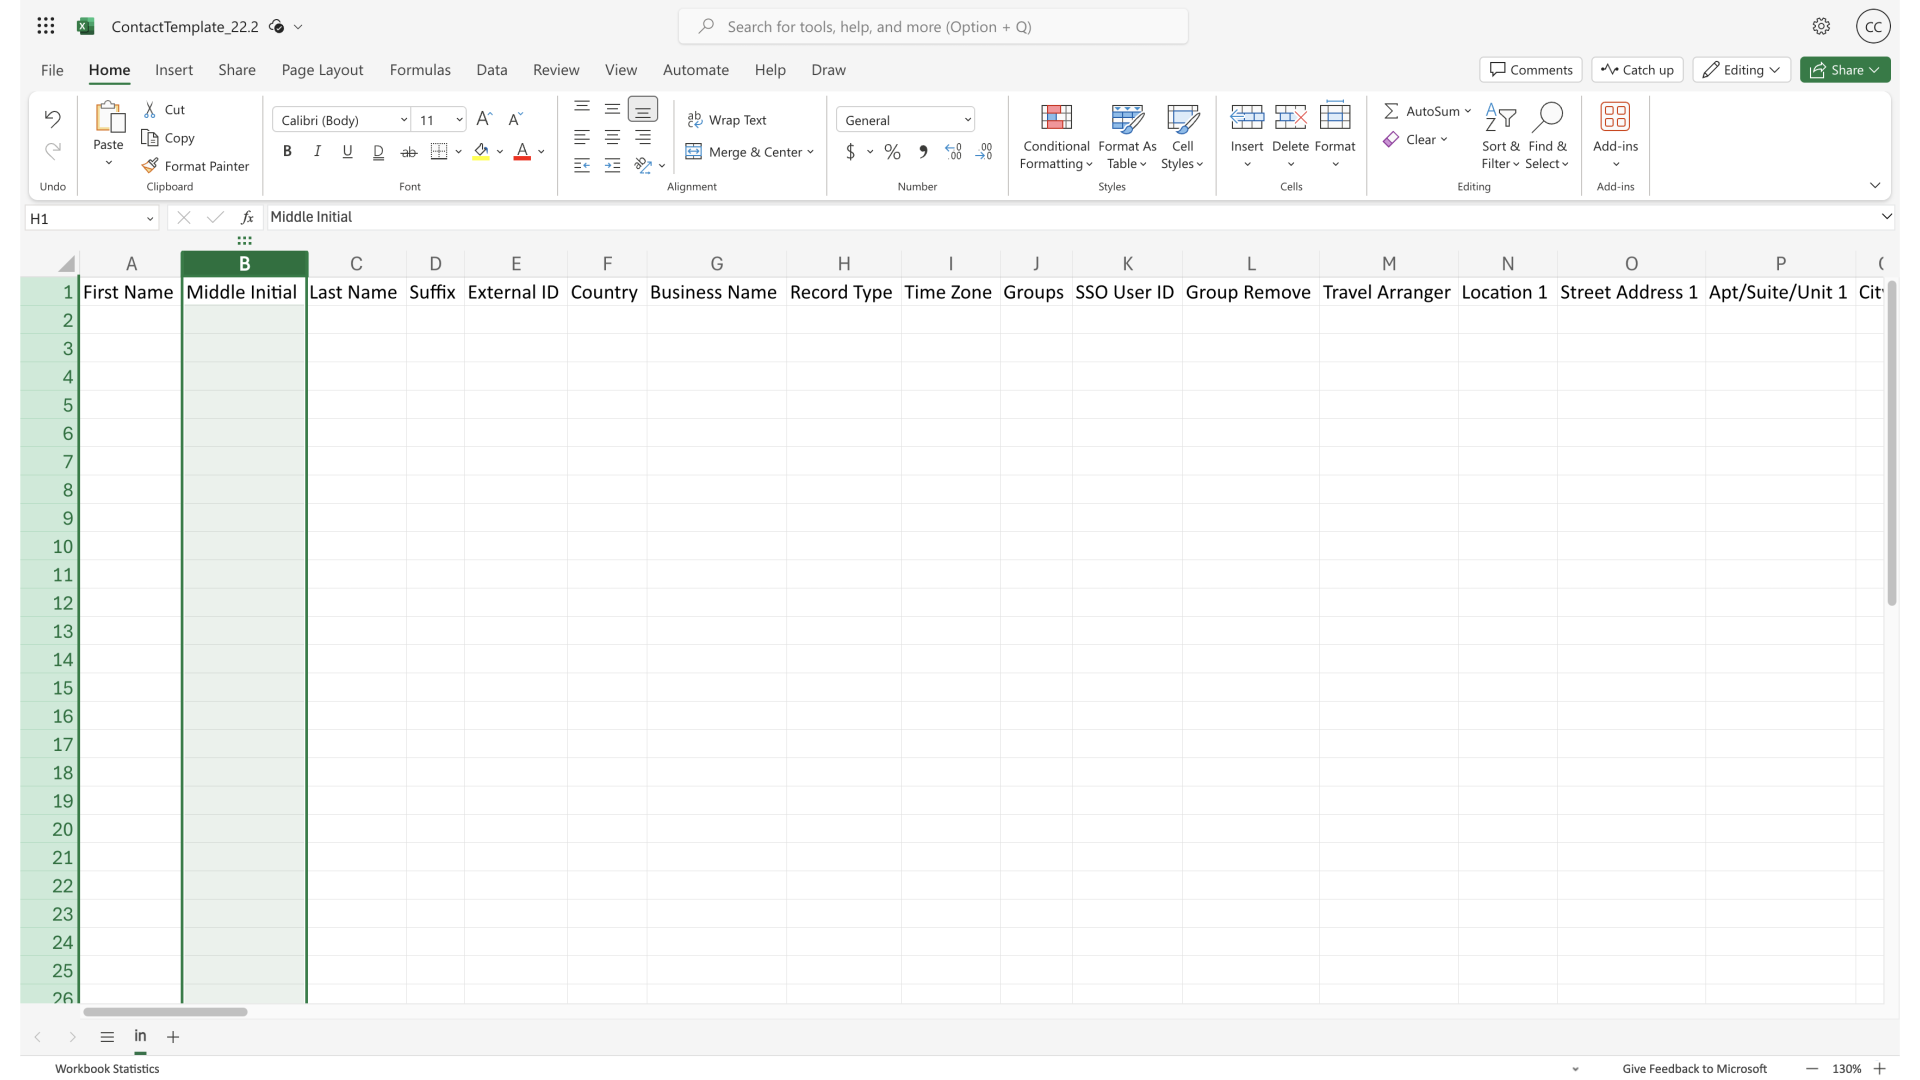
14. Delete Columns
If a column is not included in the file, its information type simply won't be referenced in the upload.
15. Delete Columns
Meaning that there would be no changes or deletions to the column data that might already exist in the Manager Portal.

16. Leading Zeros
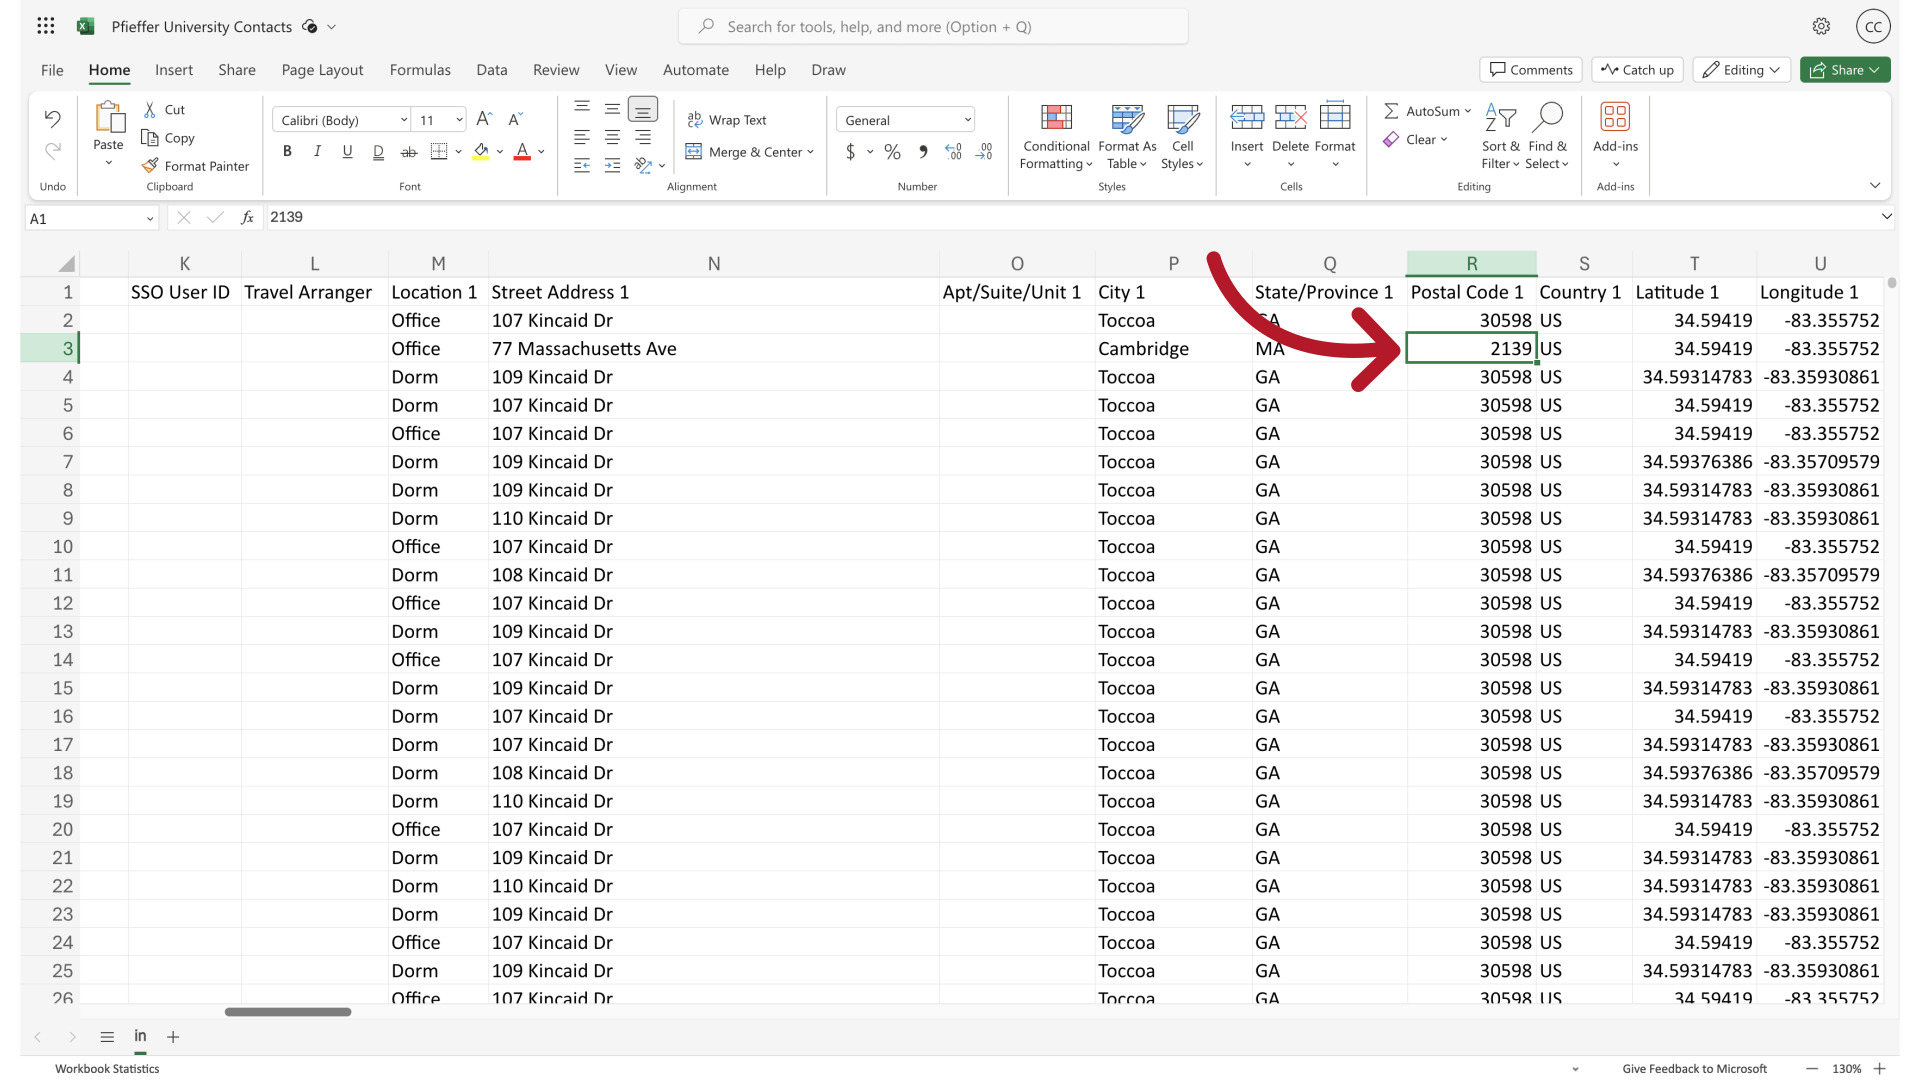
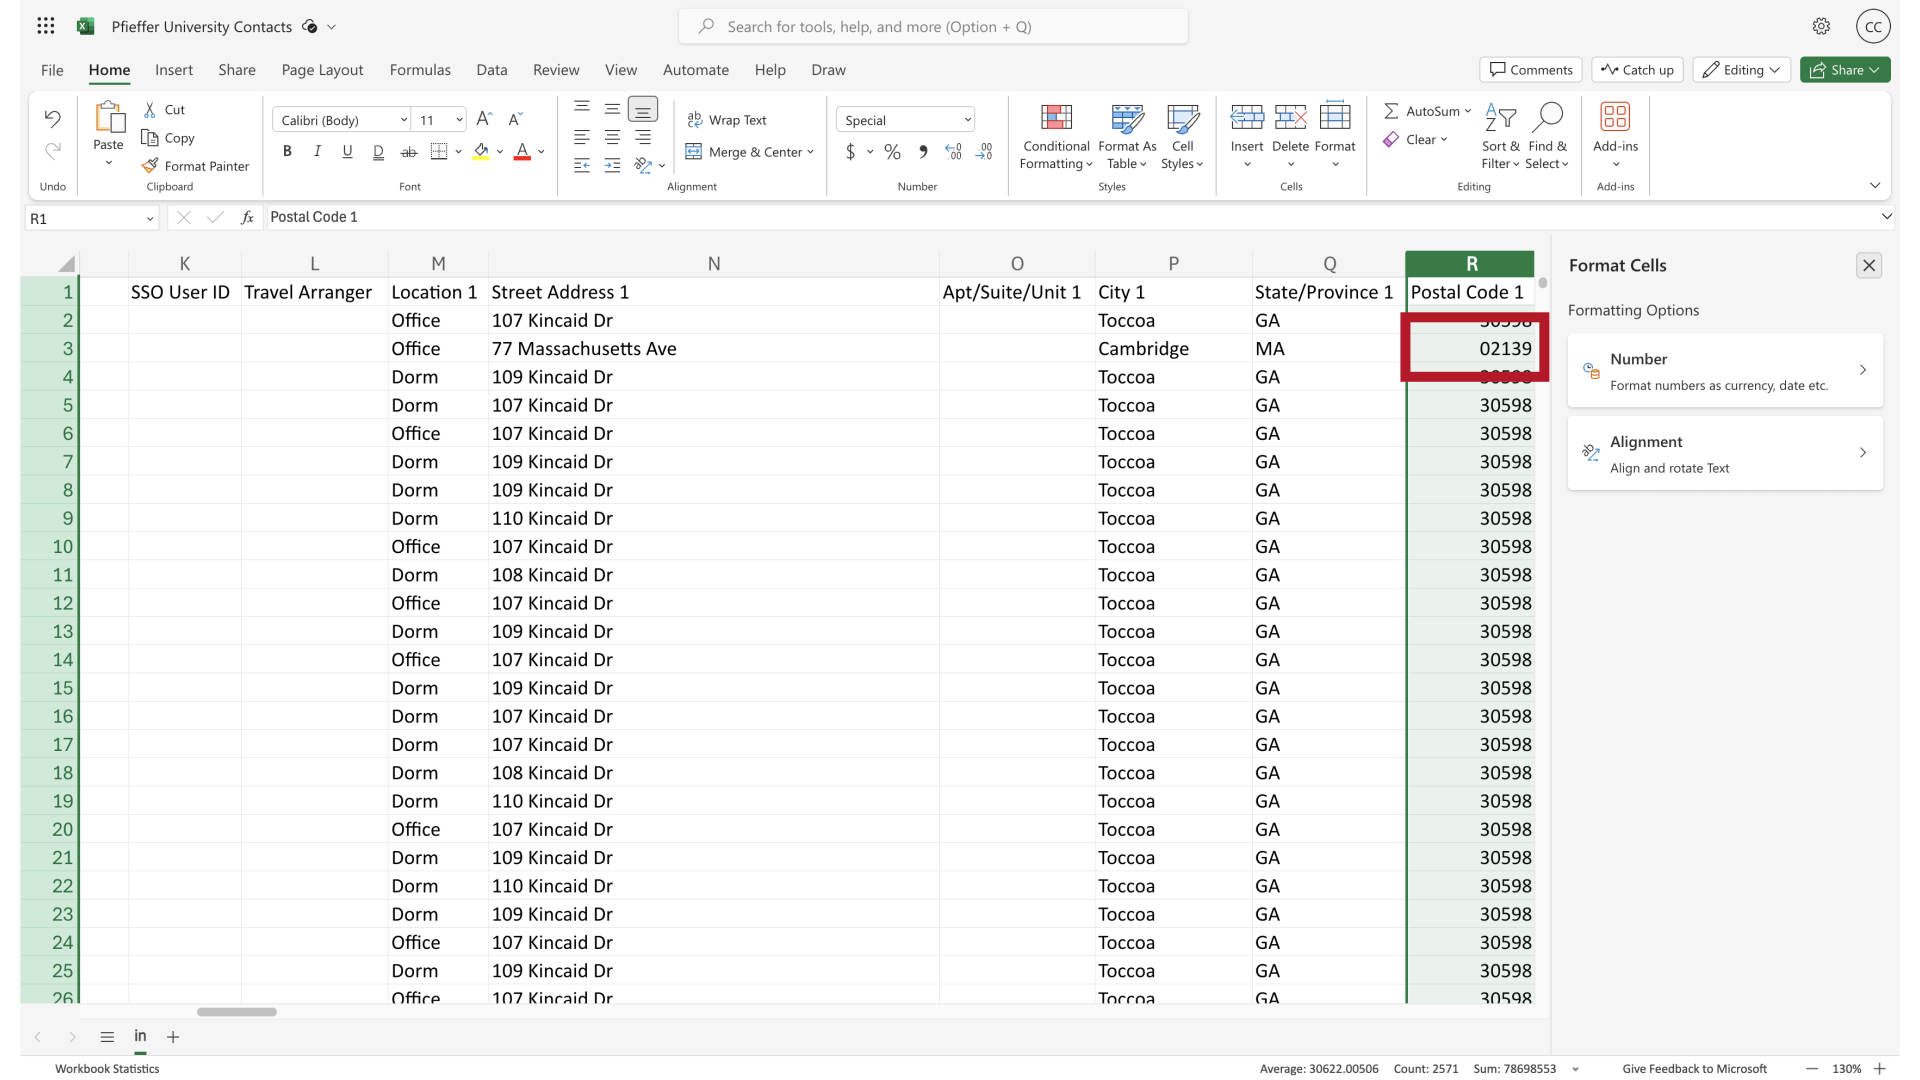
Once contact information has been added, make sure that any fields which begin with a zero are formatted properly.
17. Leading Zeros
Without proper formatting, numbers that begin with zero could be stripped of that zero.
18. Leading Zeros
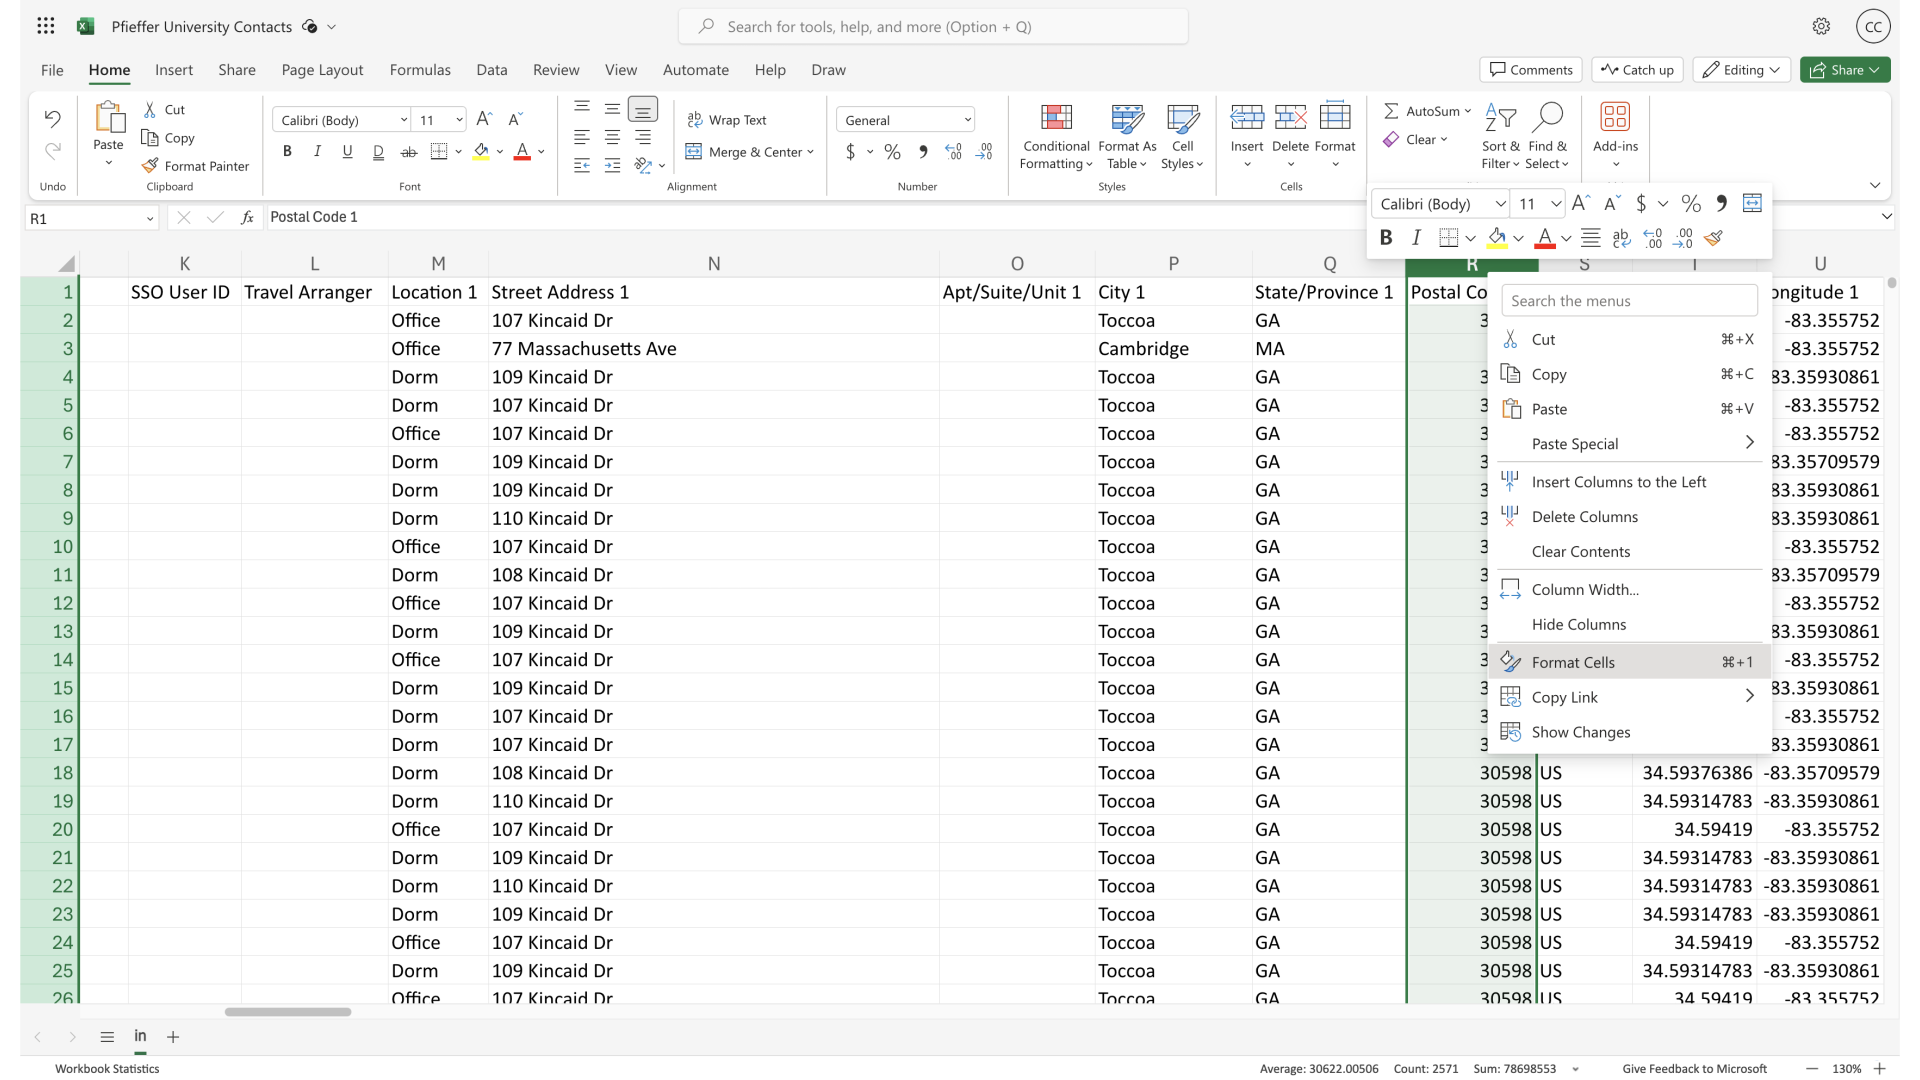
To make sure leading zeroes are maintained for Zip Codes. Right-click on the column header and choose Format Cells.
19. Leading Zeros
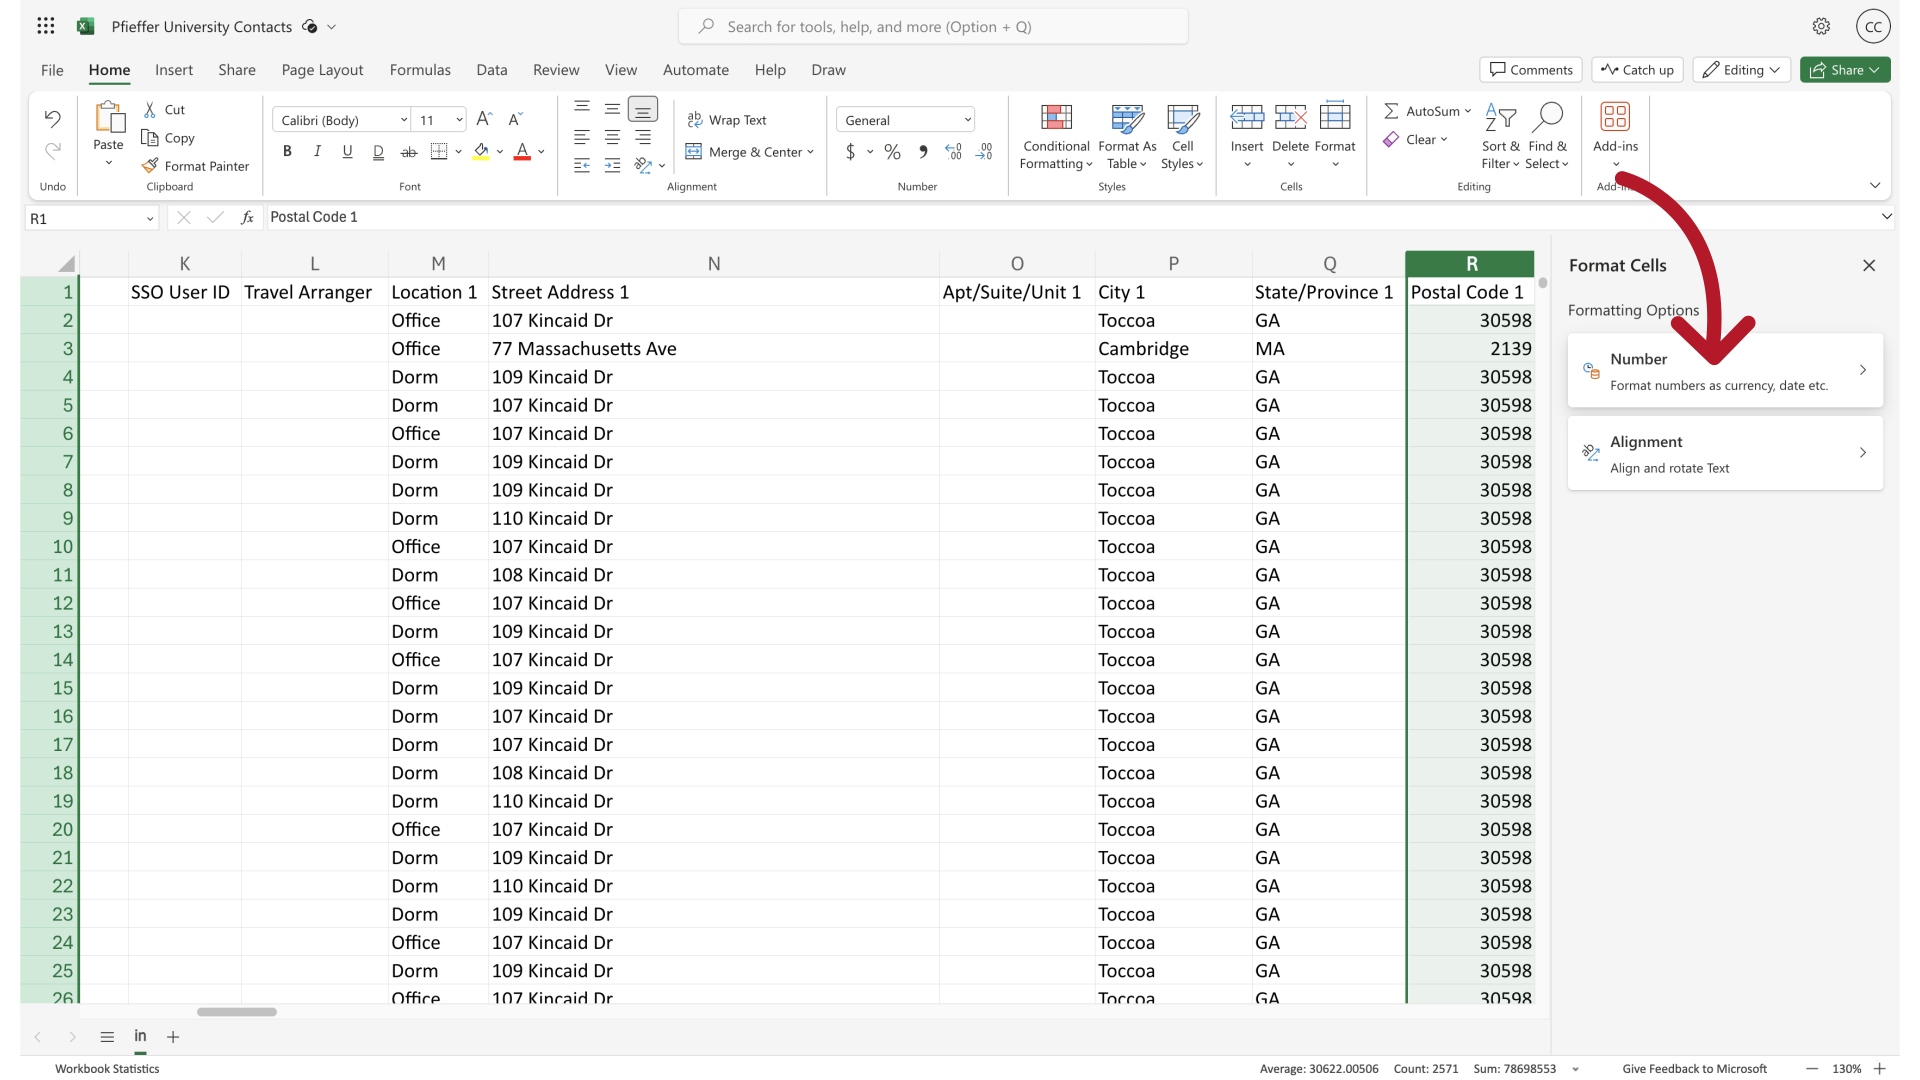
Select the "Number" option.
20. Leading Zeros
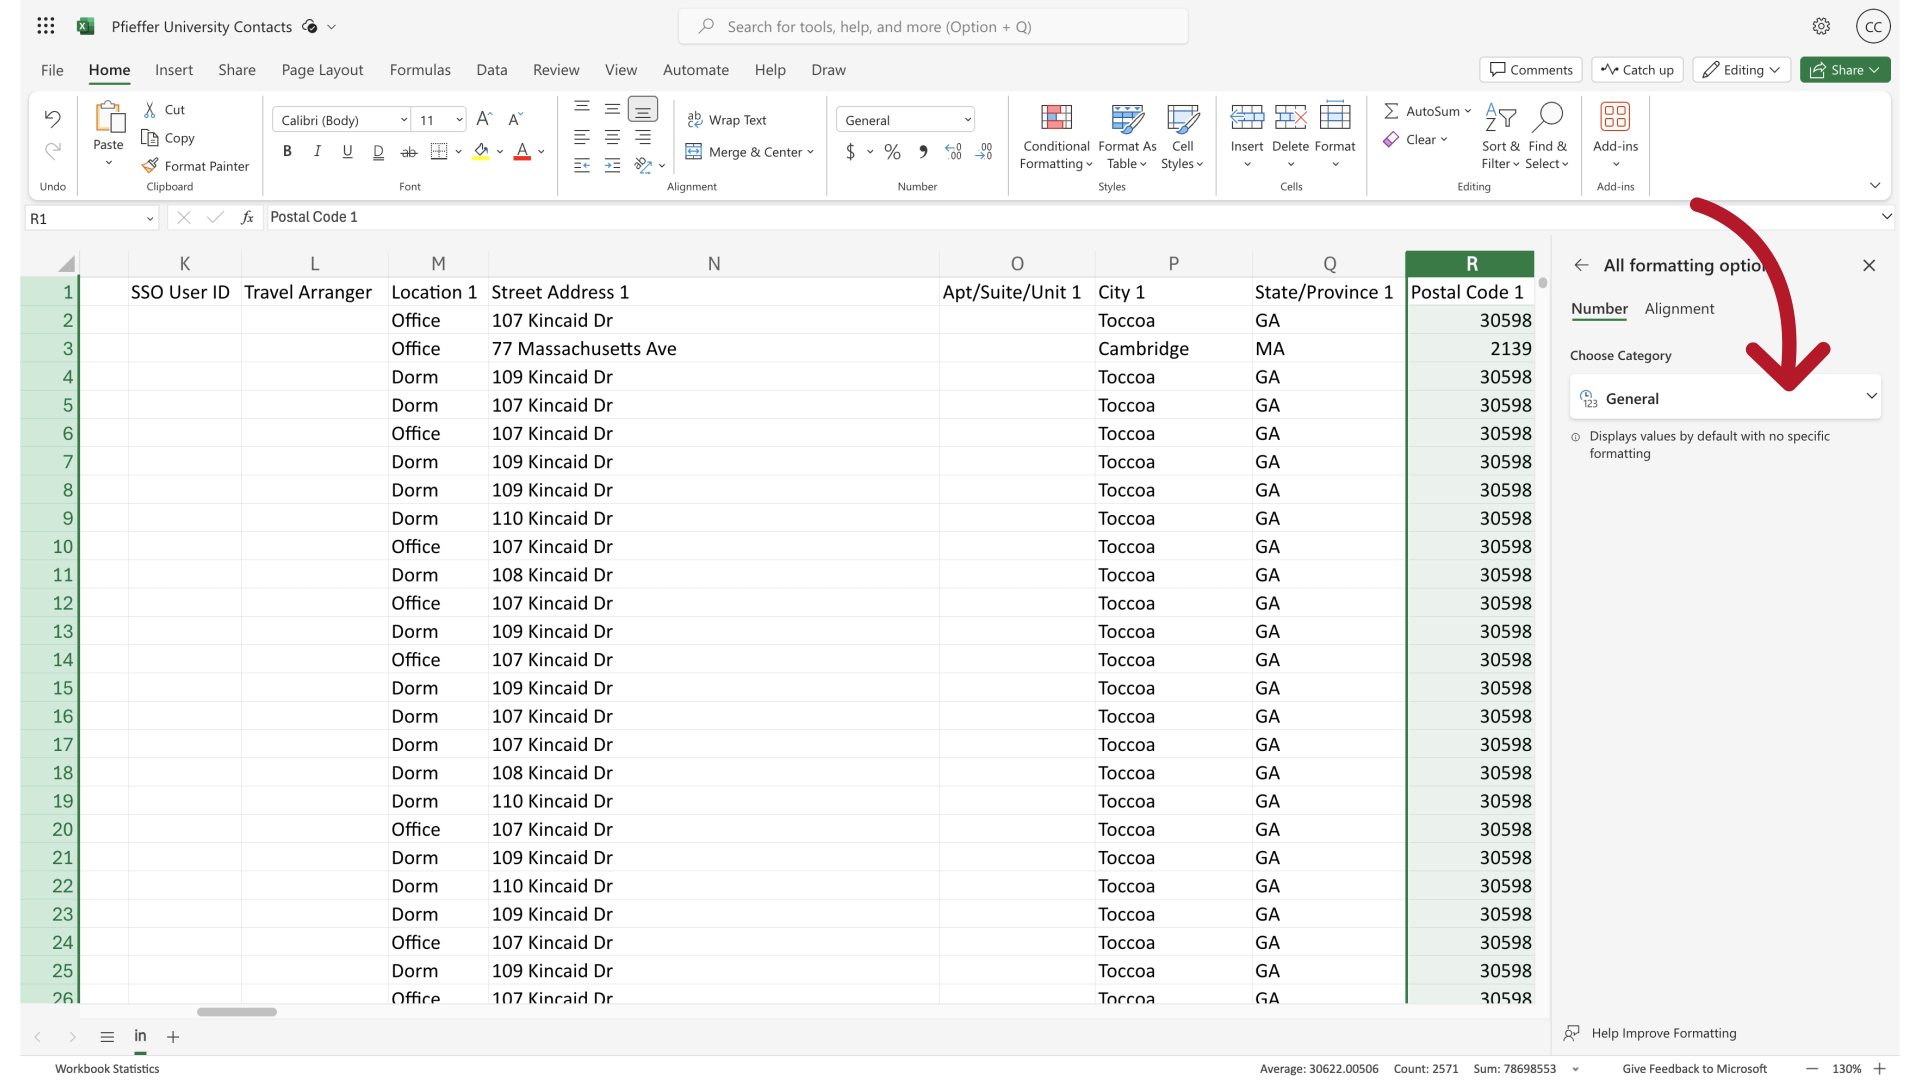
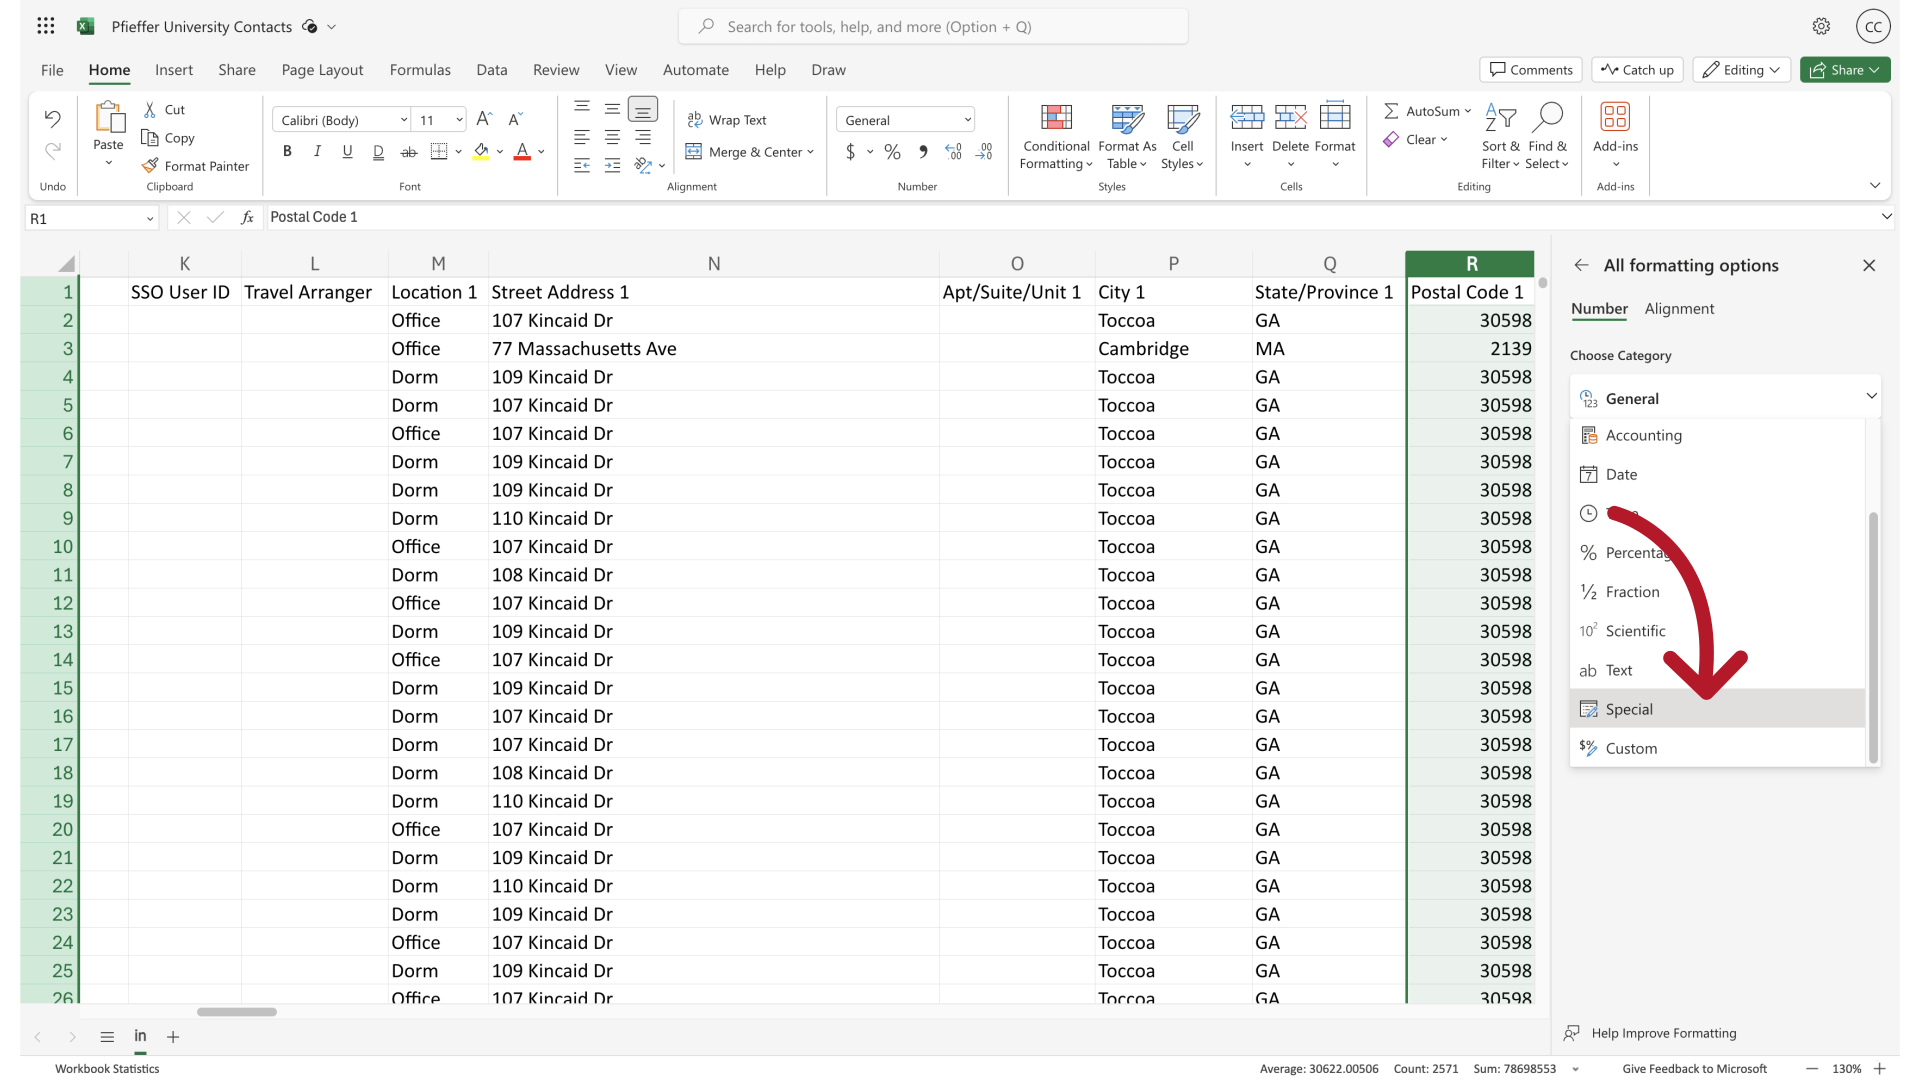
Choose the "General" format dropdown.
21. Leading Zeros
Select the "Special" option.
22. Leading Zeros
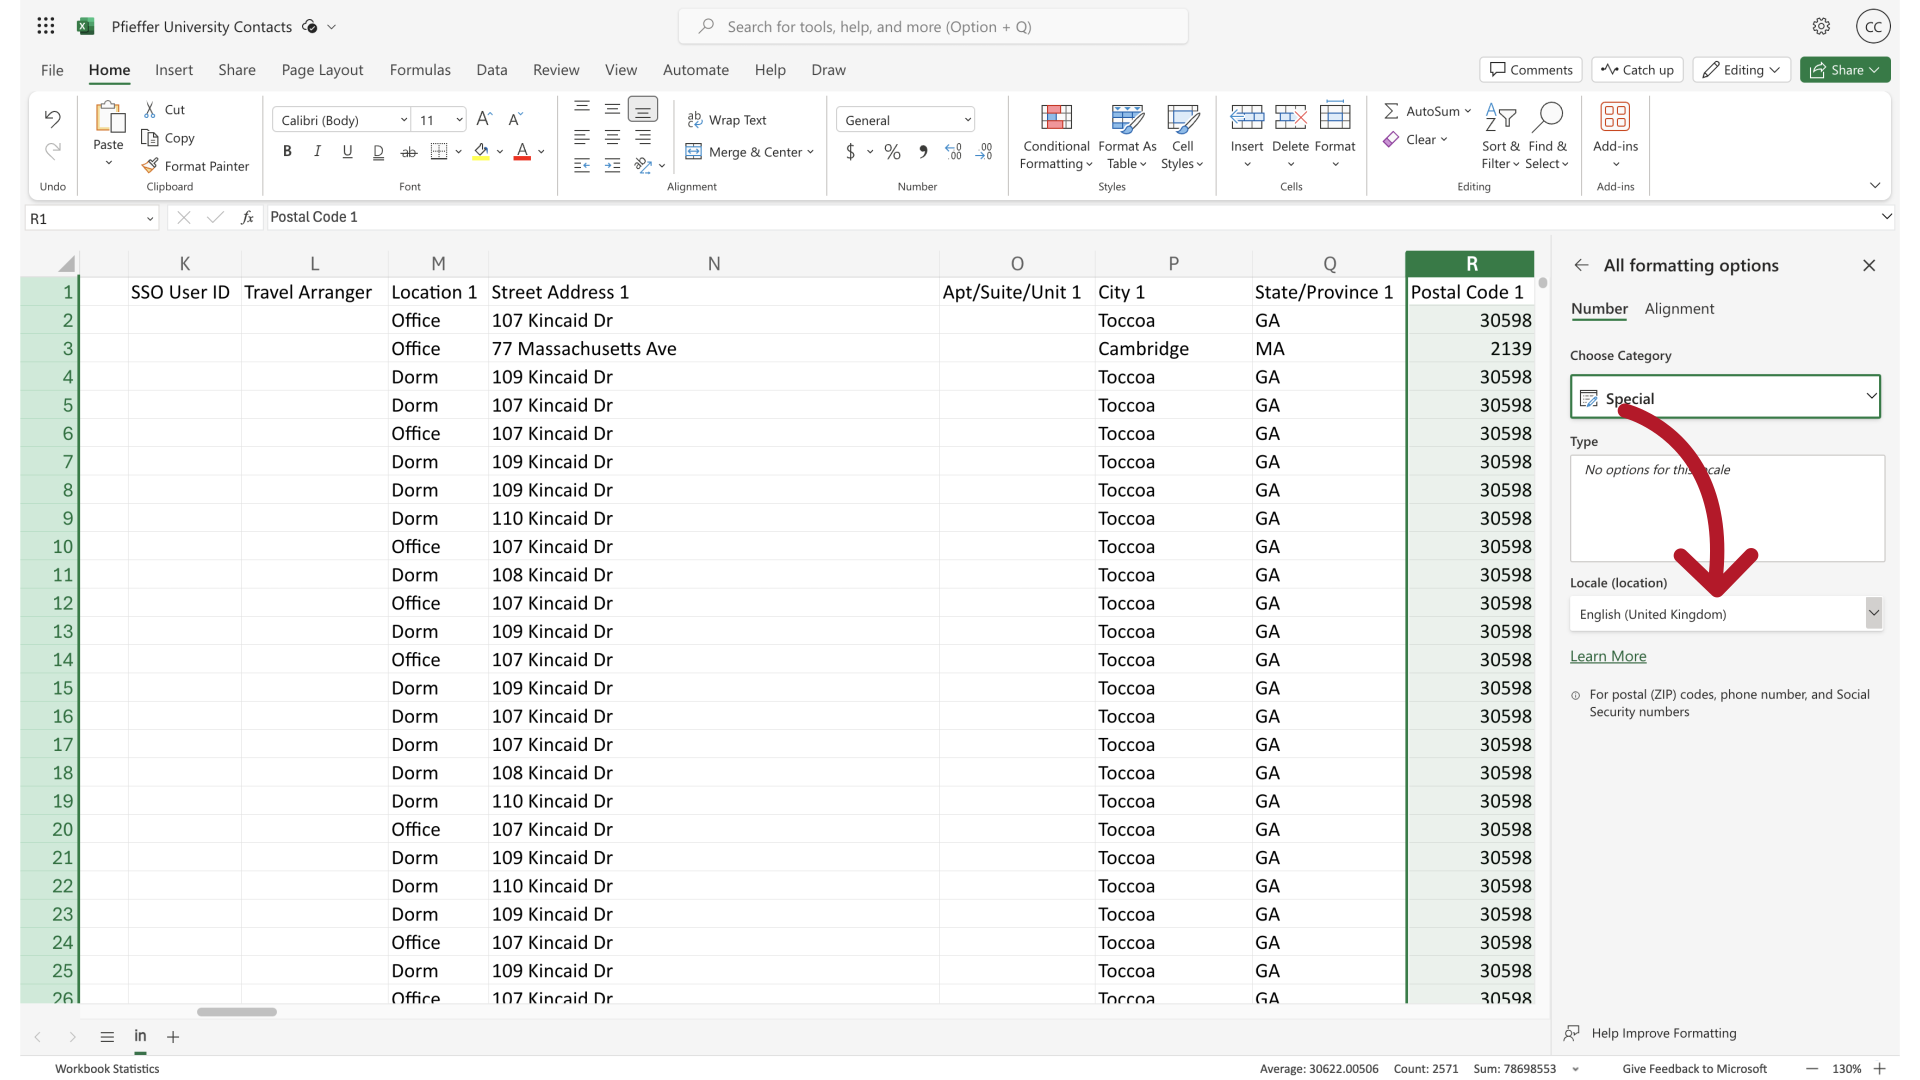
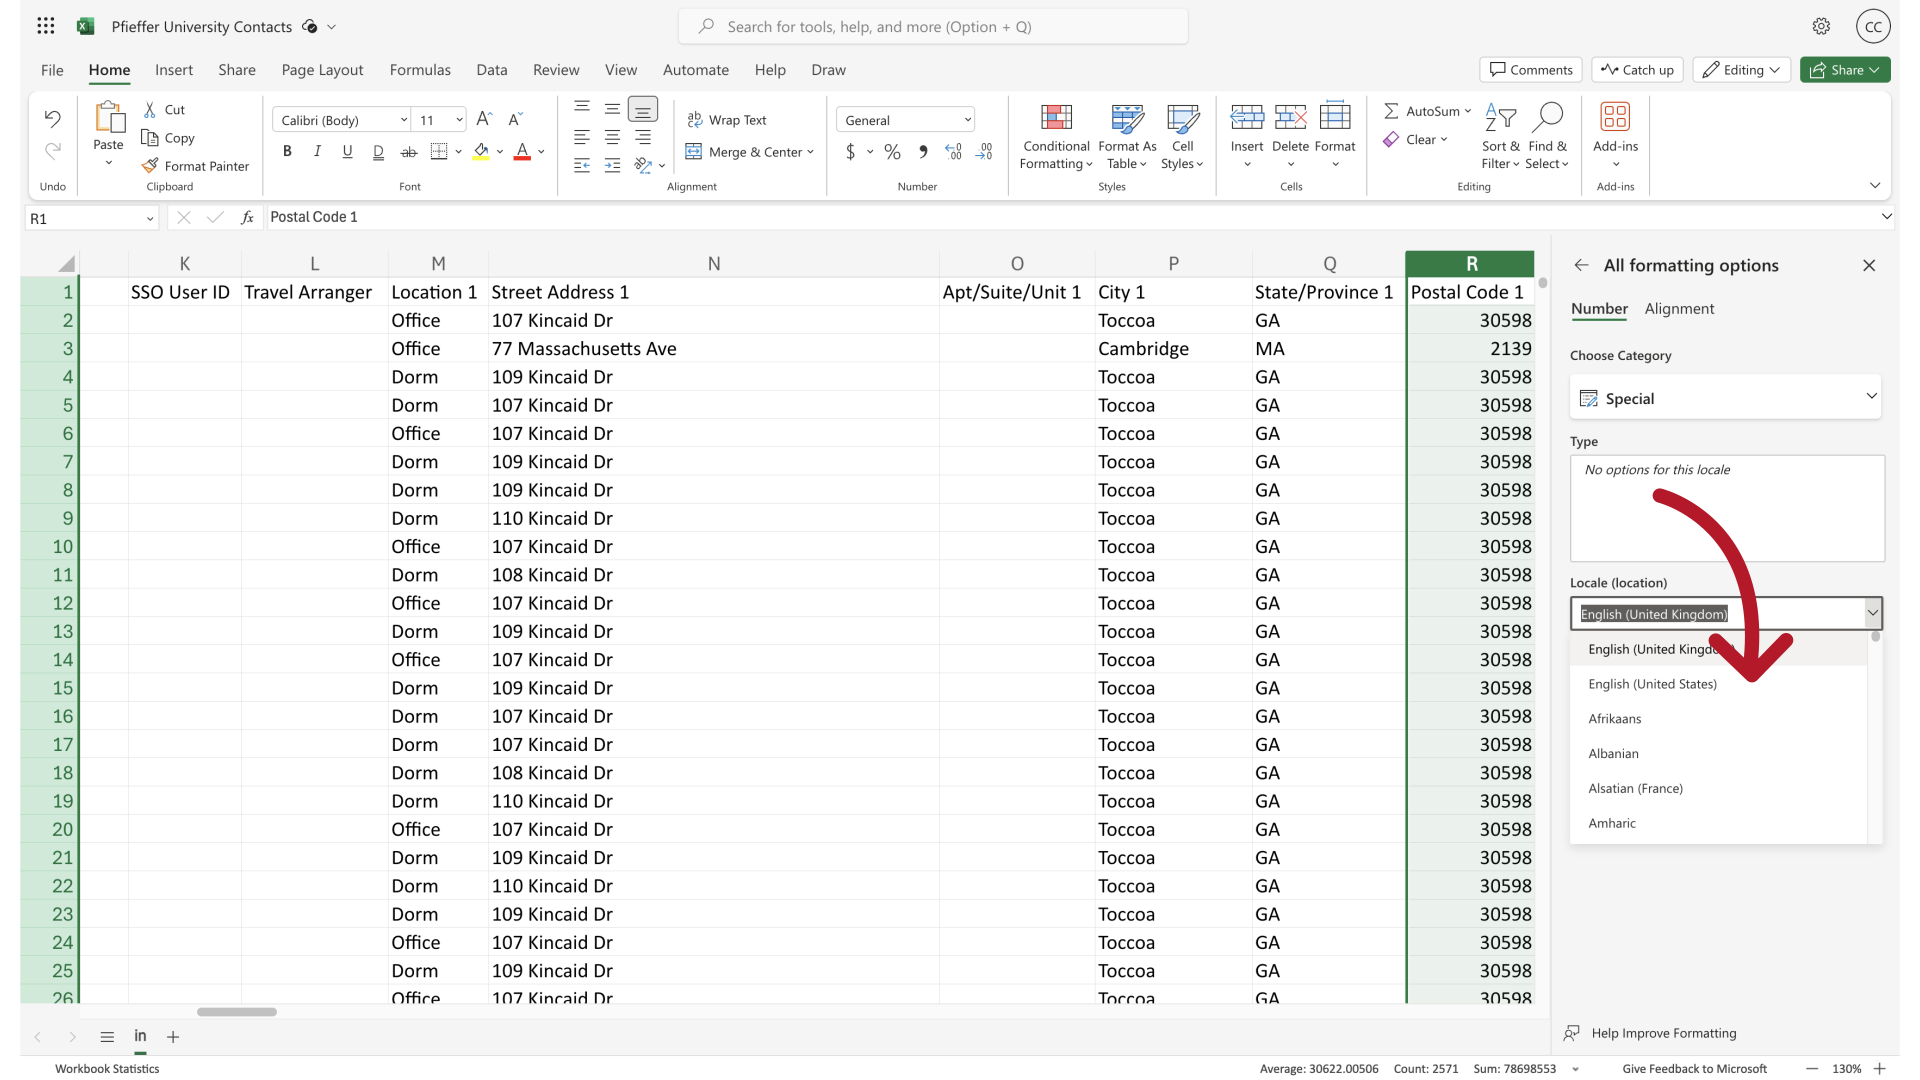
Select the applicable location from the dropdown.
23. Leading Zeros
We'll choose "English (United States)".
24. Leading Zeros
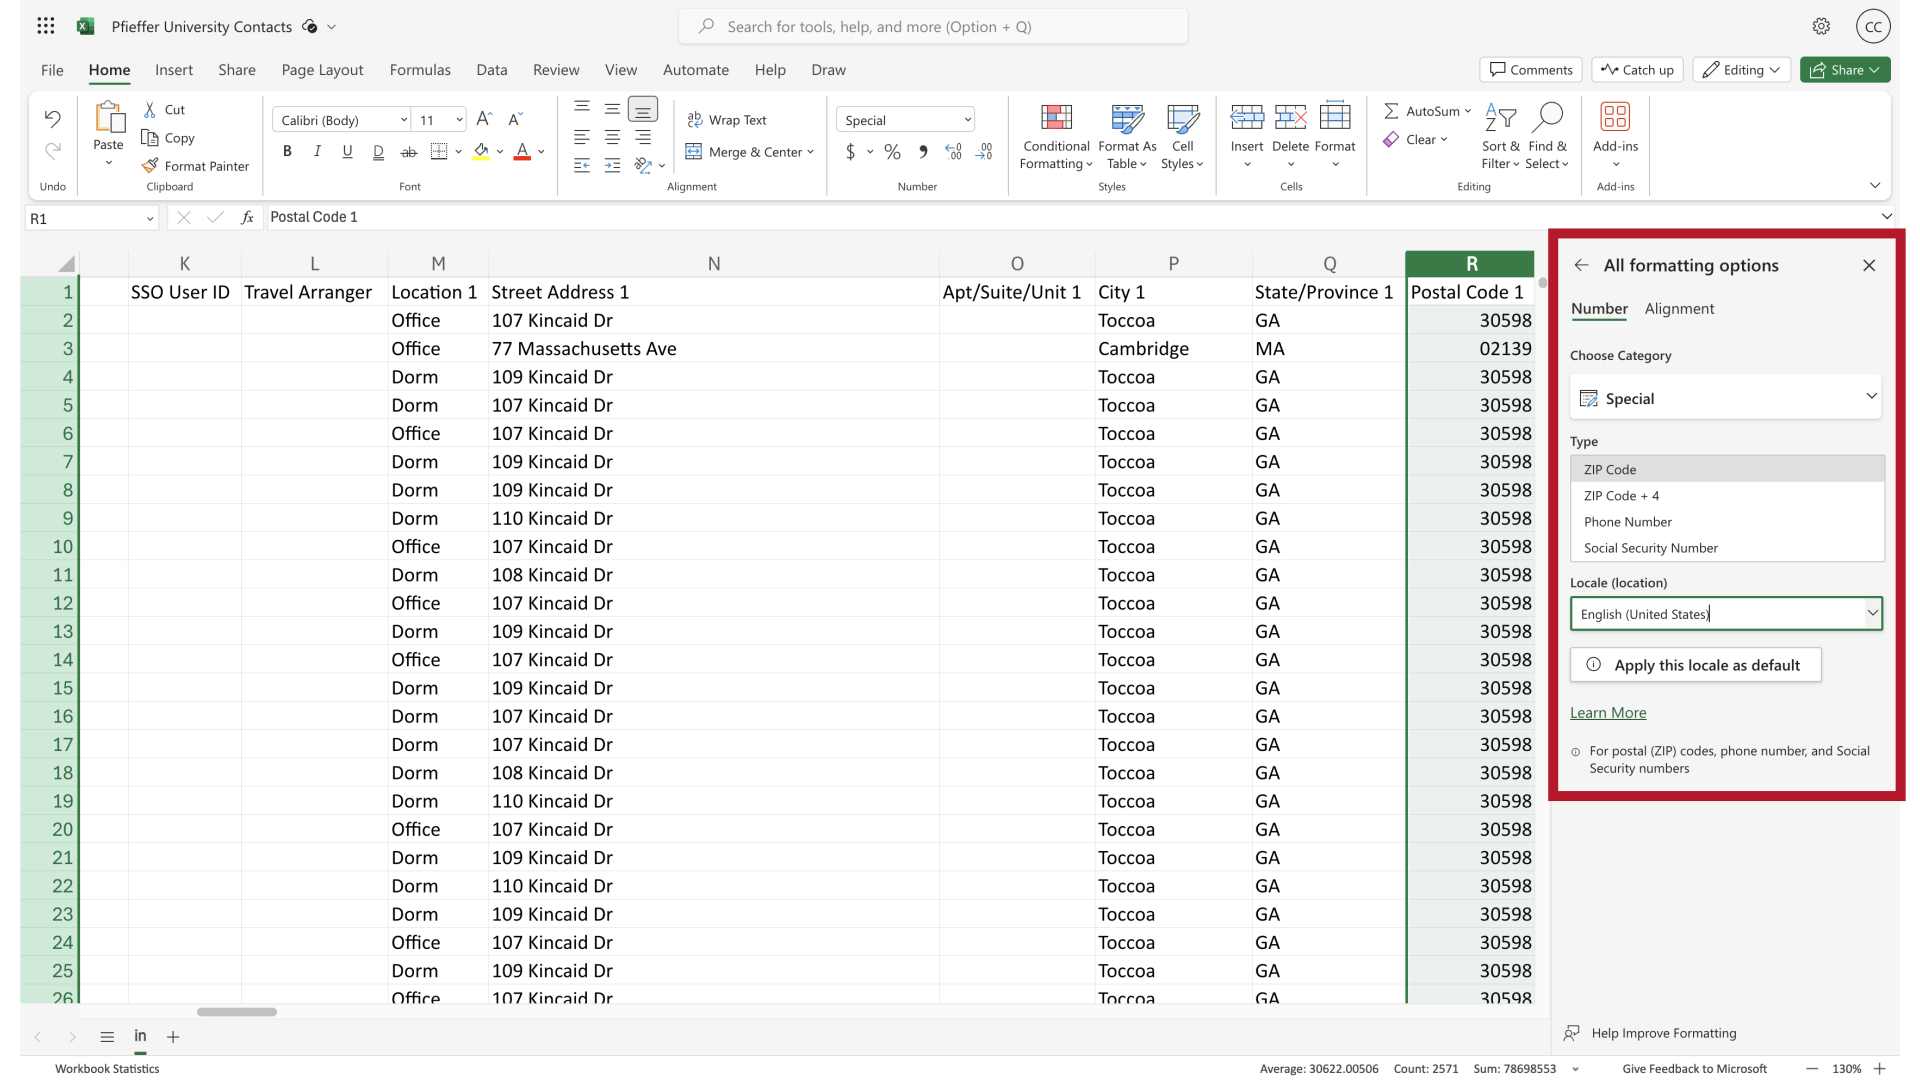
Choose the "ZIP Code" option.
25. Leading Zeros
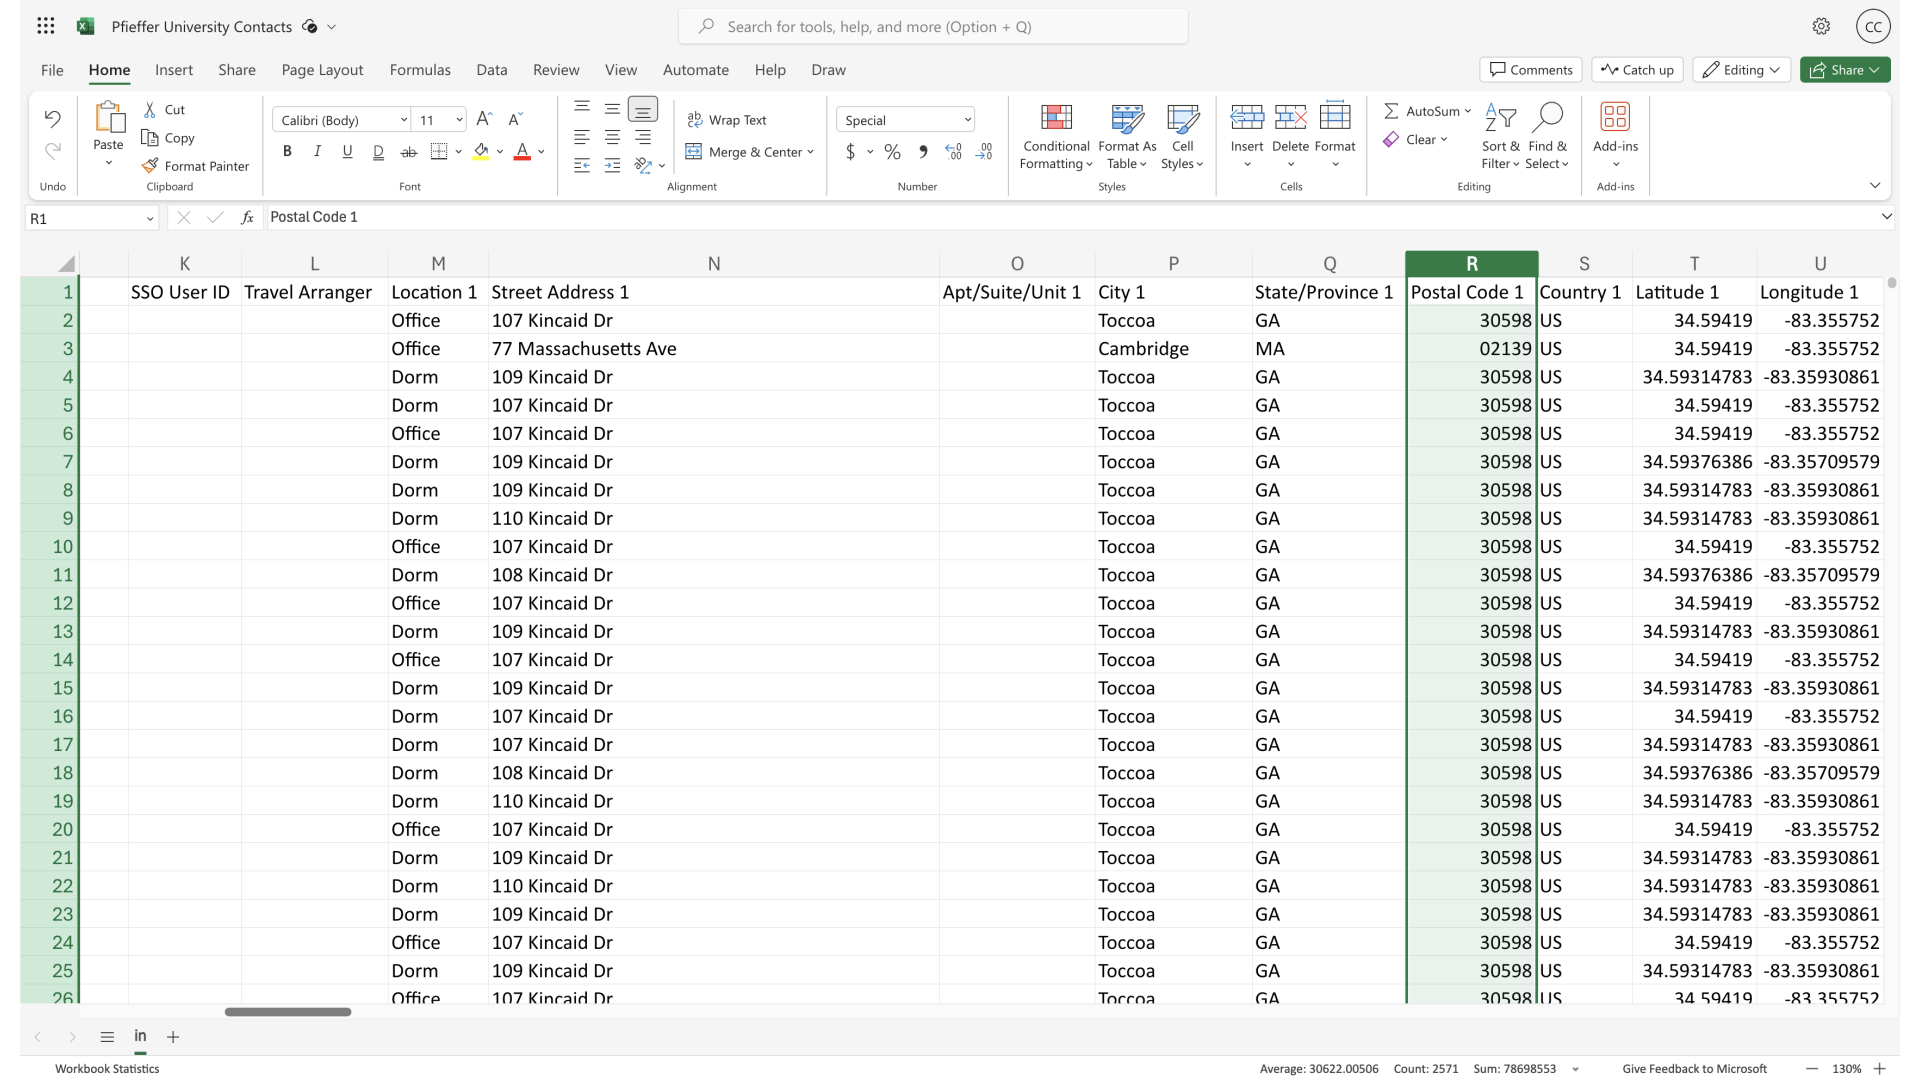
Now you'll observe the leading zeros are maintained for the entire "Postal Code" column.
26. Leading Zeros
Click here
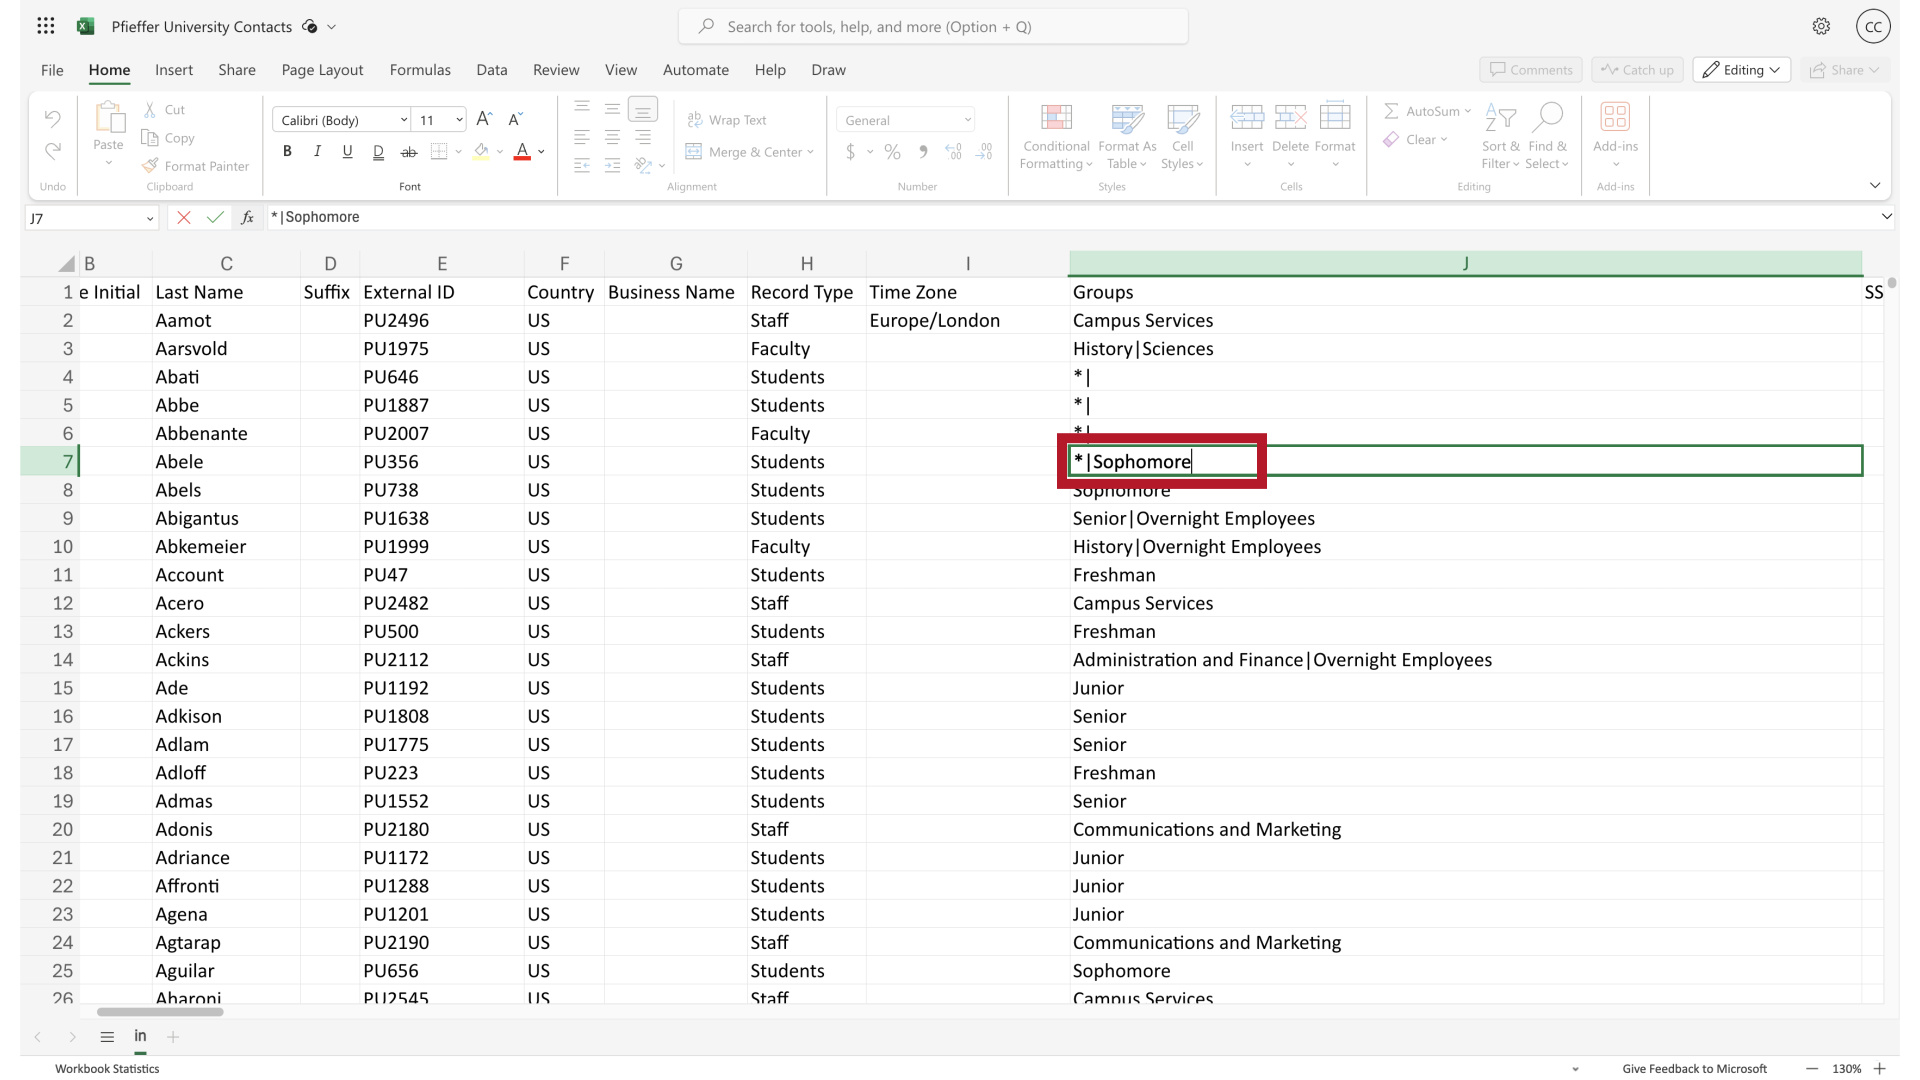
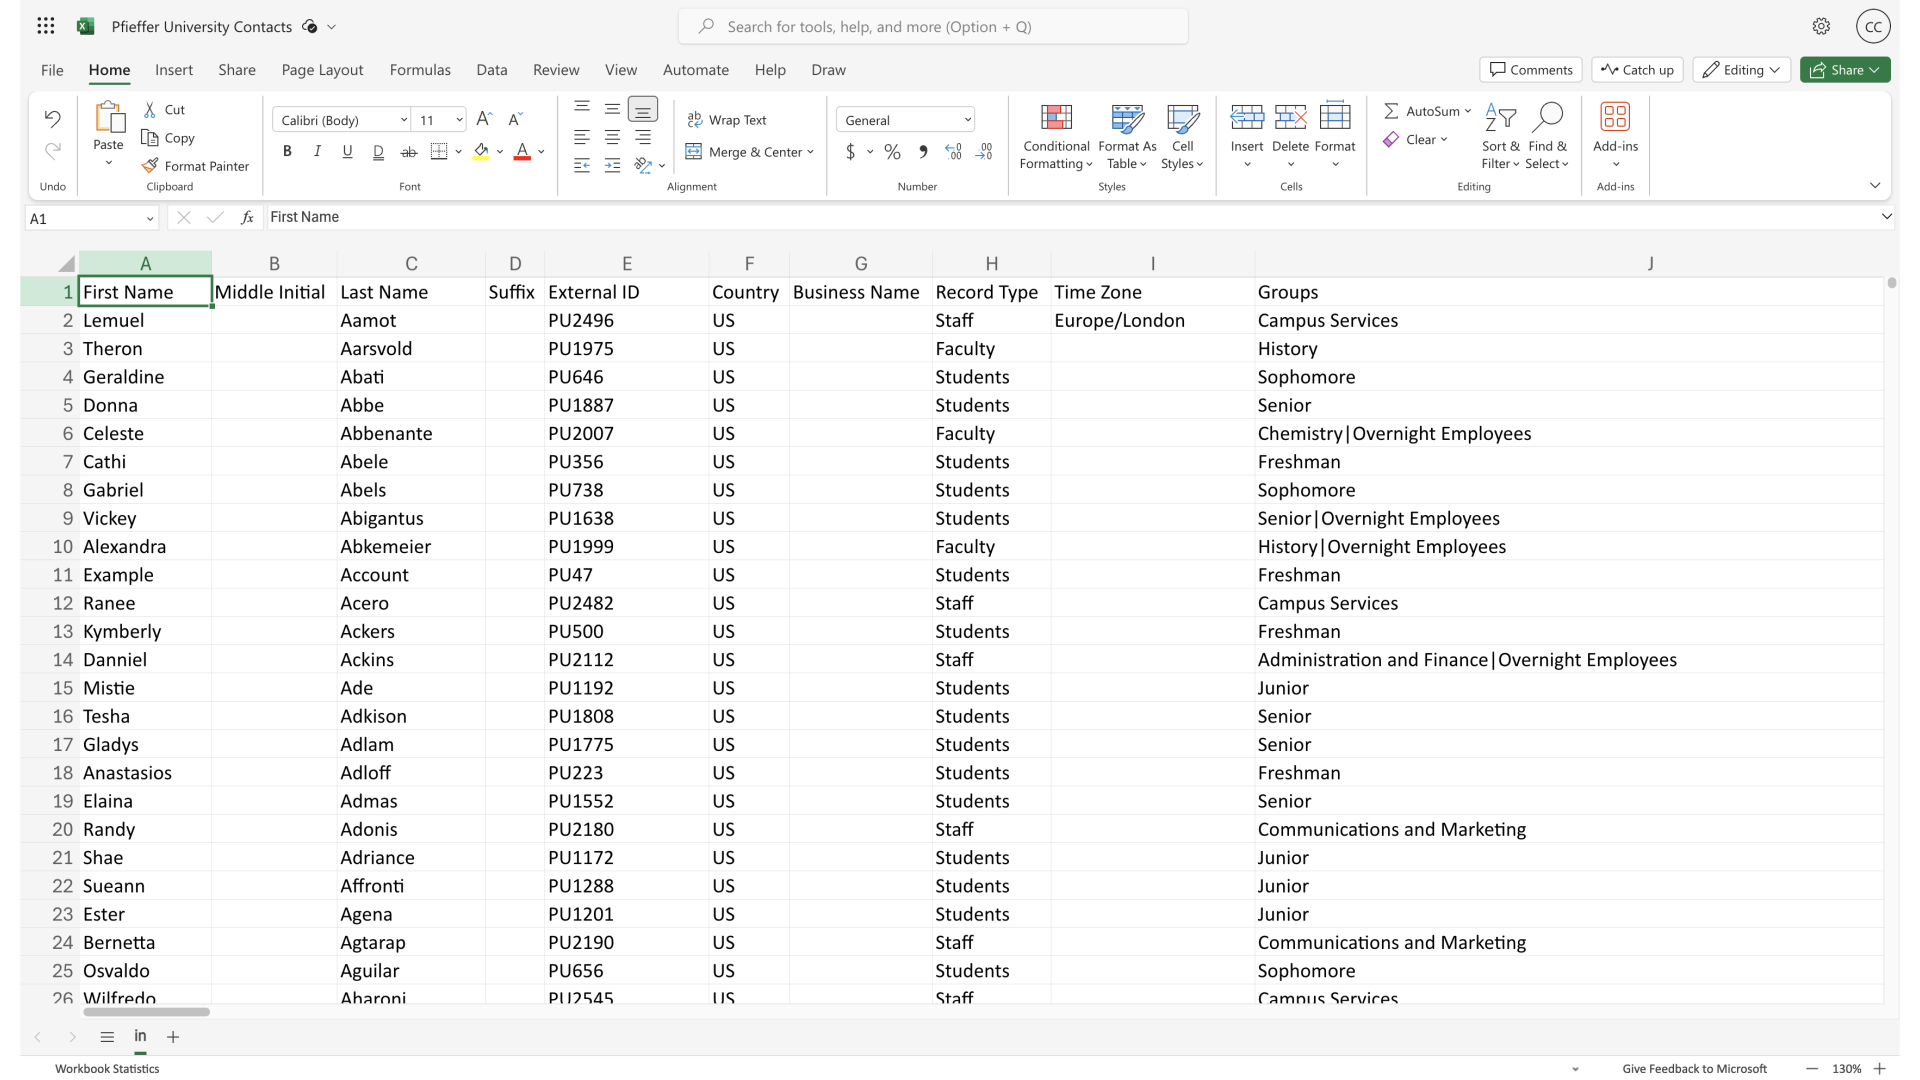
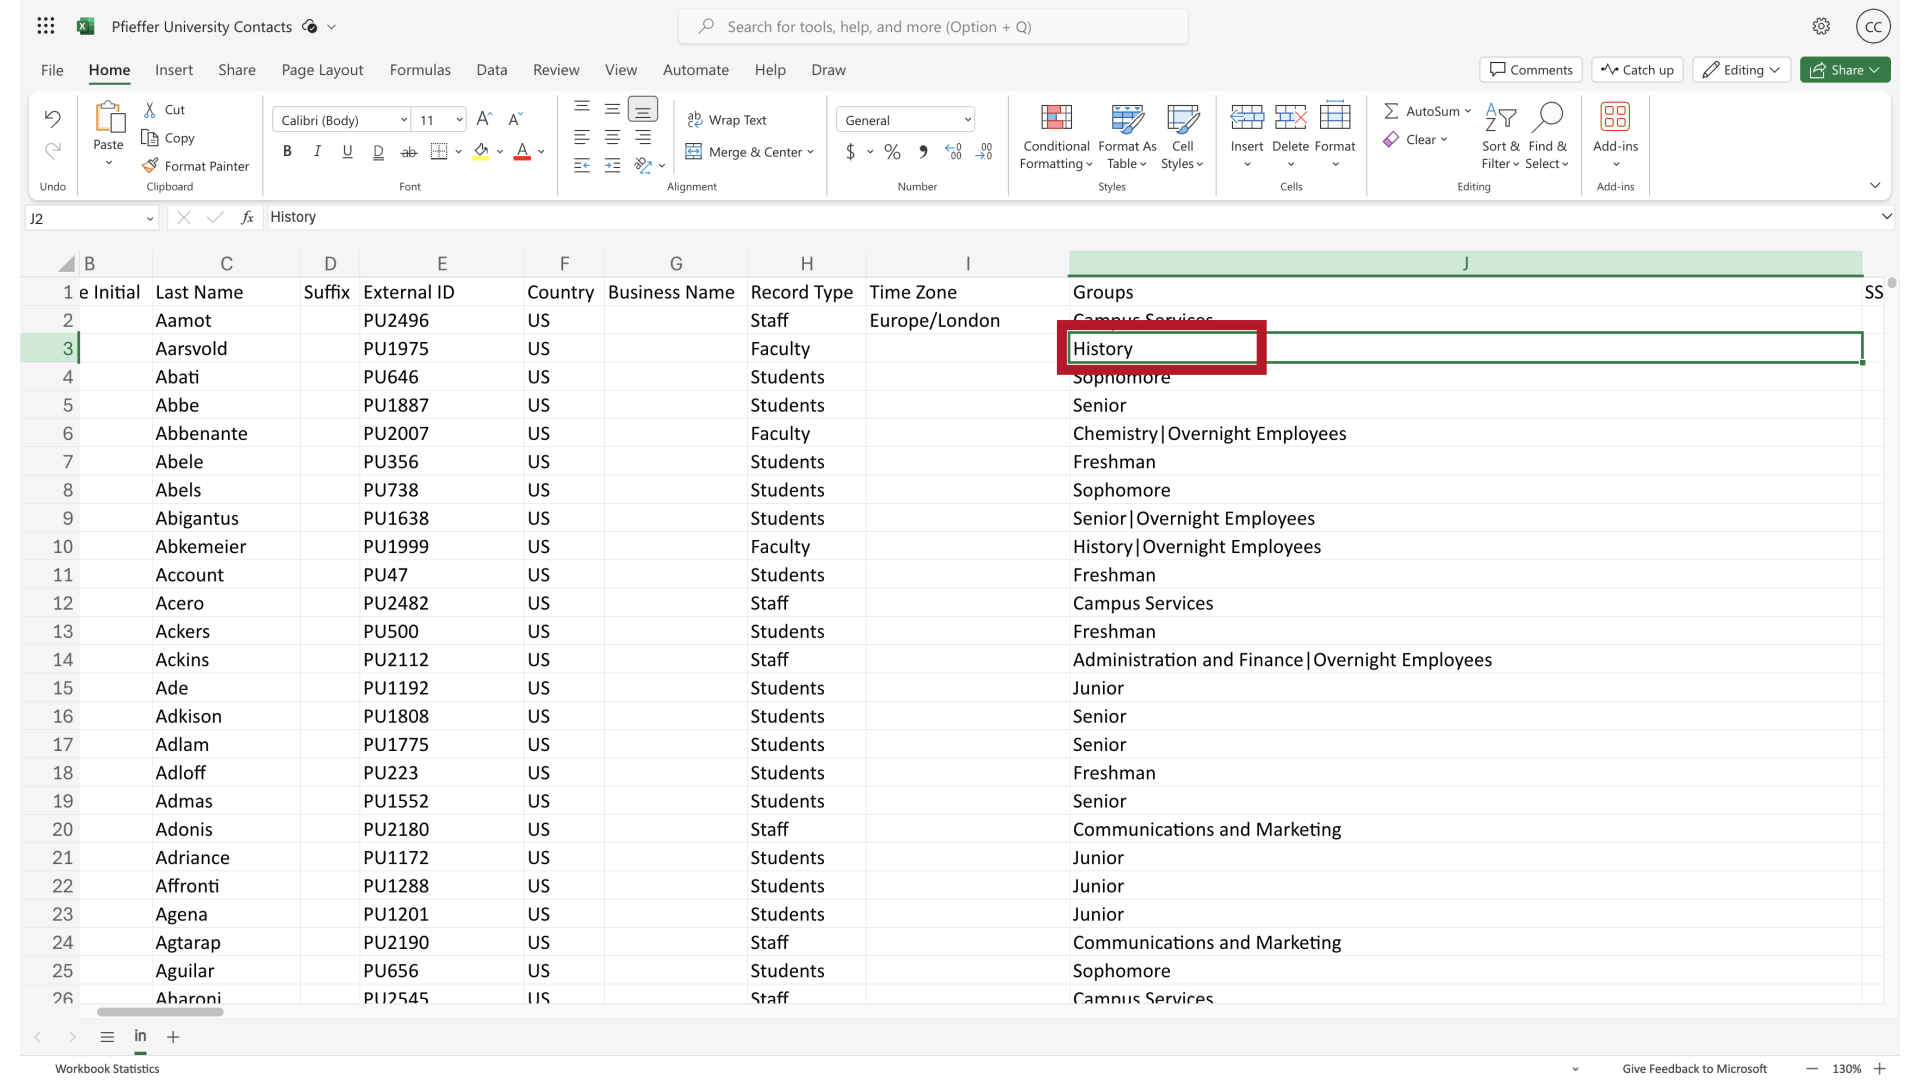
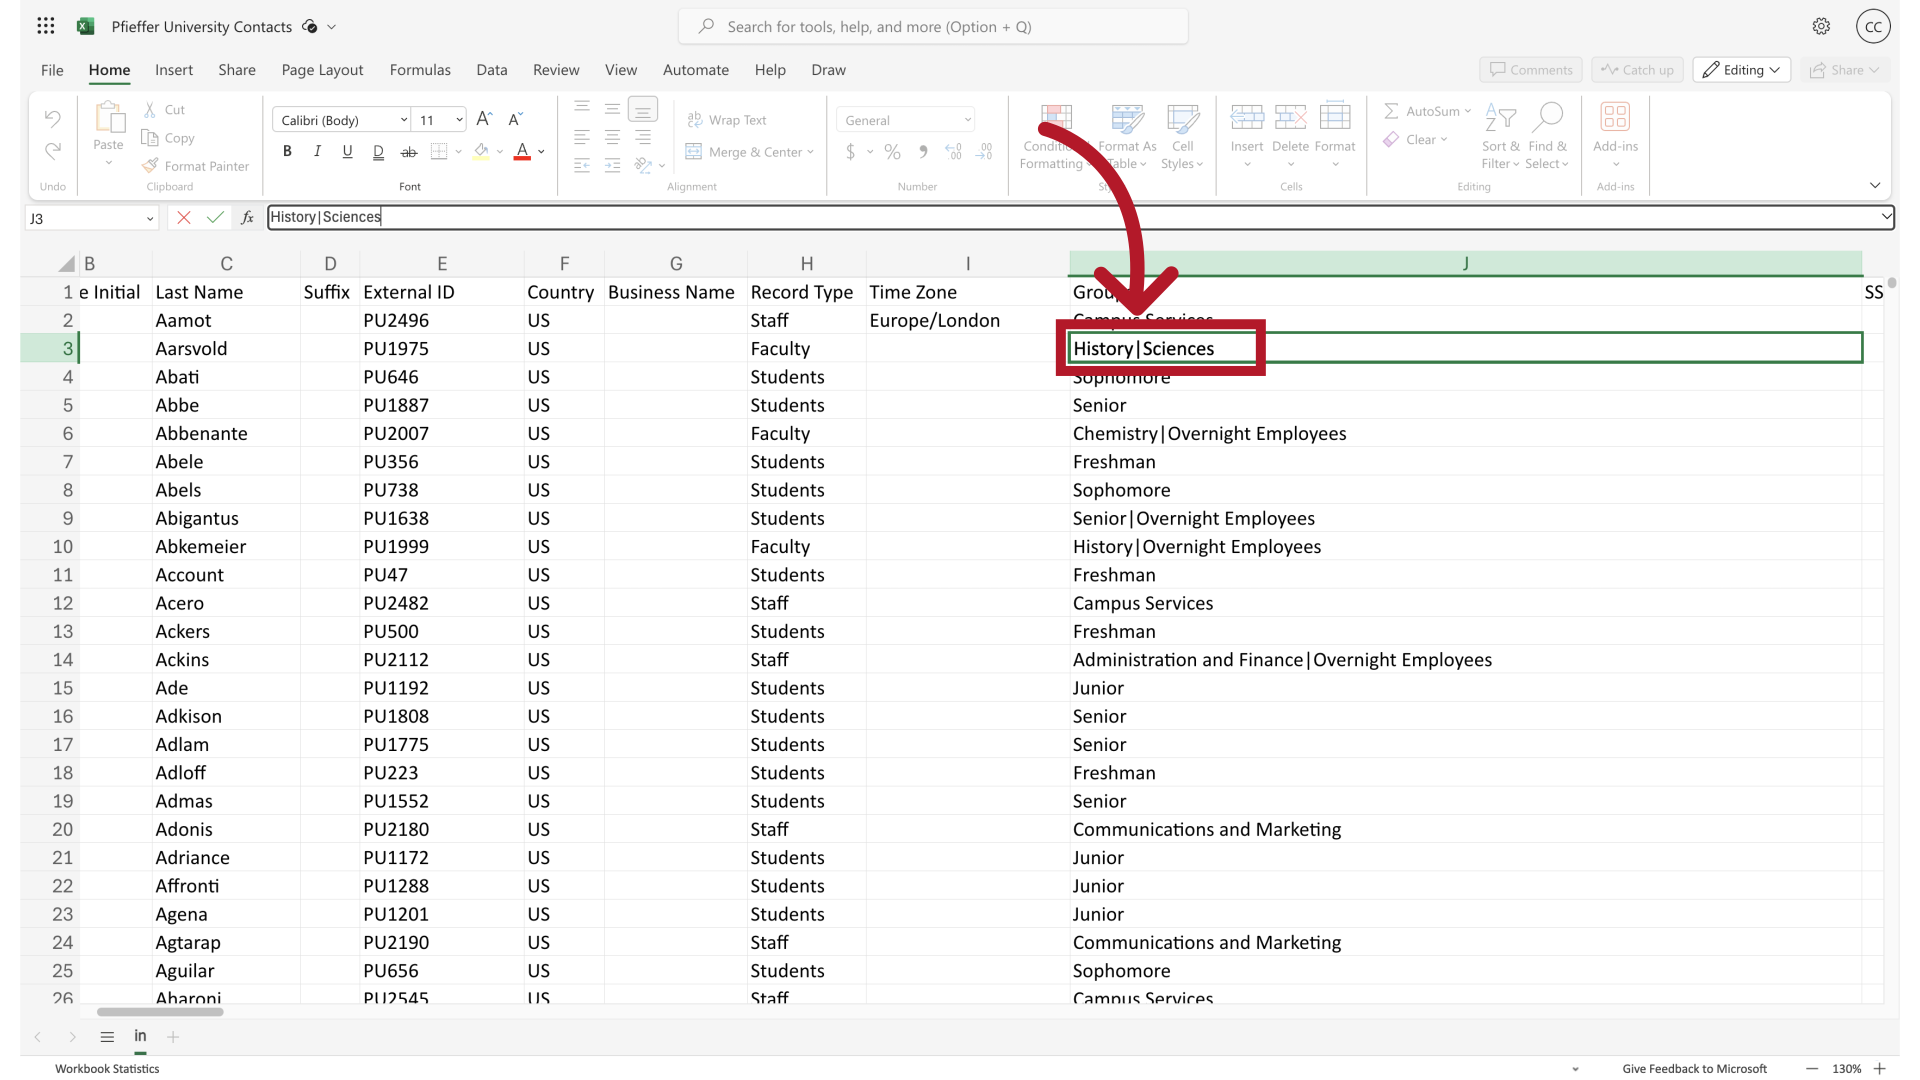
27. Separate Groups
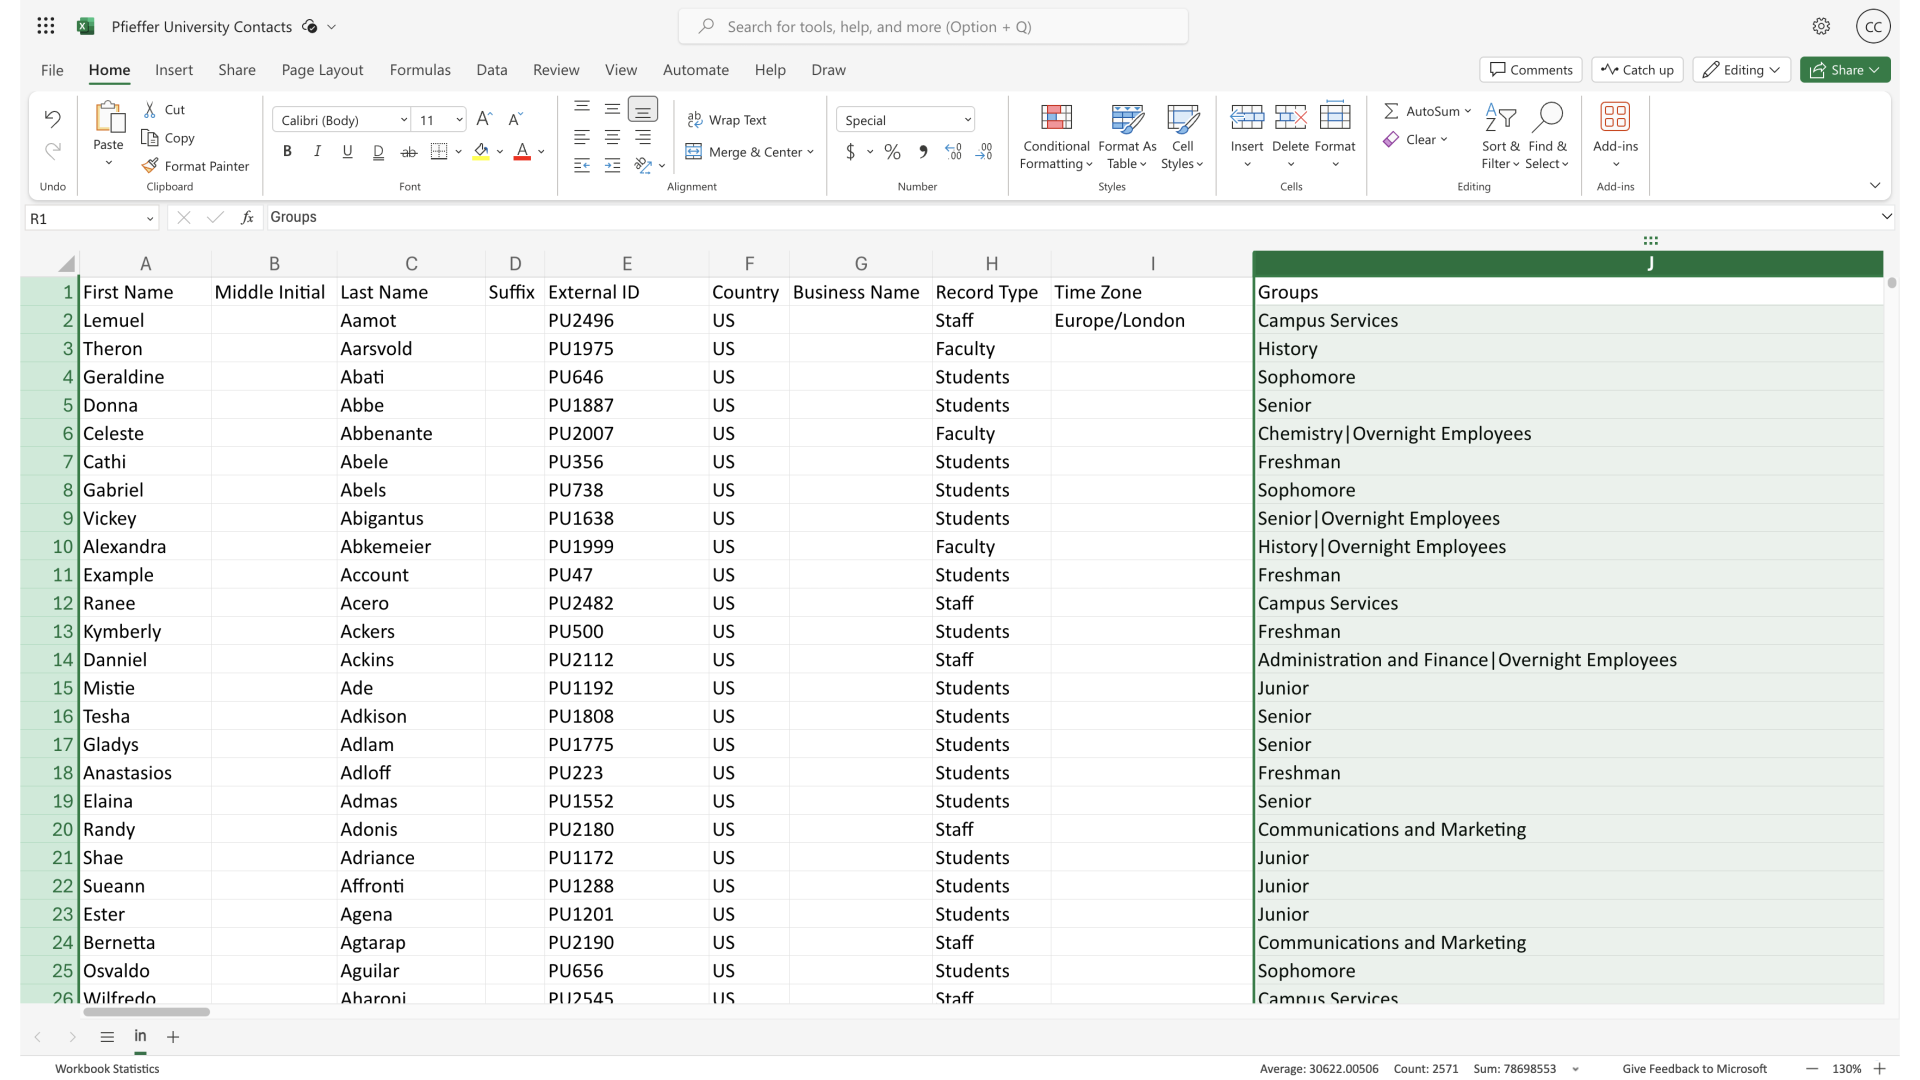
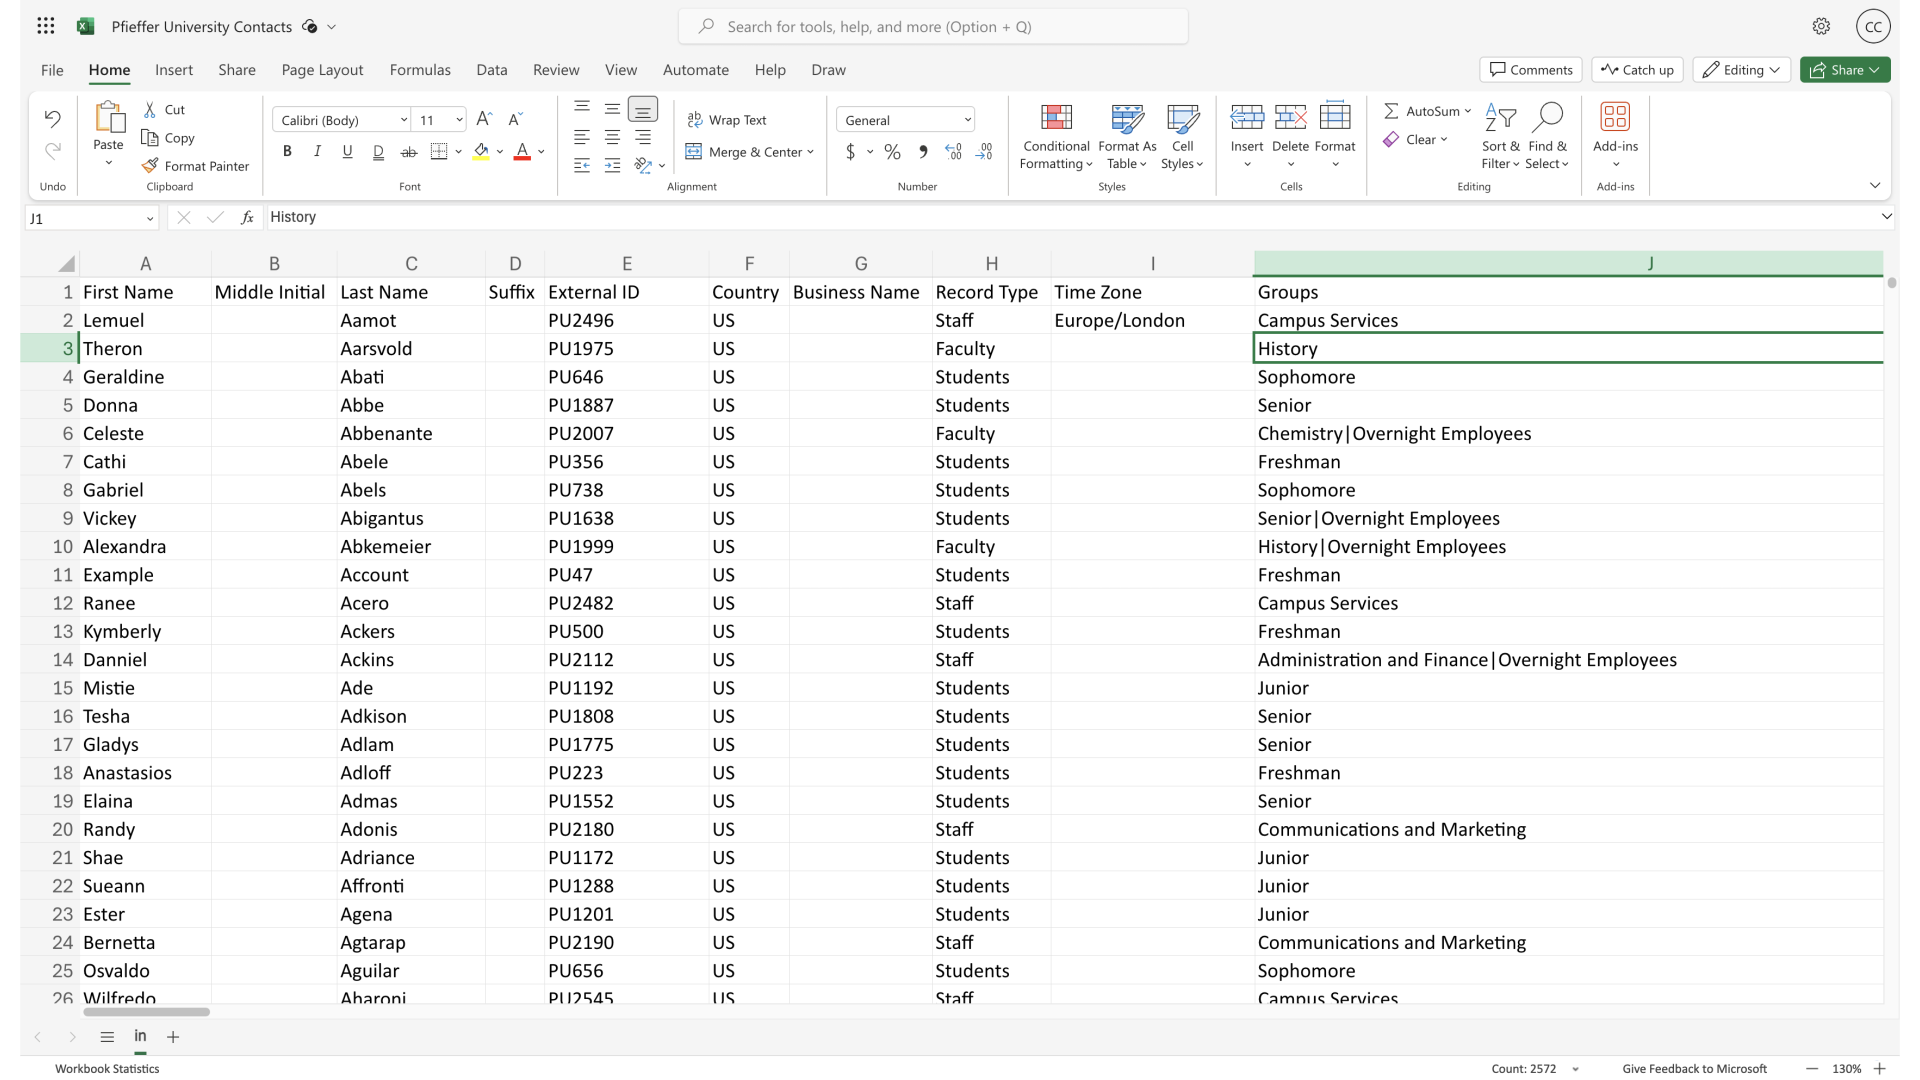
In addition, make sure that the pipe symbol is used to separate out multiple groups in the group column.
28. Separate Groups
Click the selected option
29. Separate Groups
Navigate here
30. Separate Groups
There should be no spaces in between the pipe and the group name.
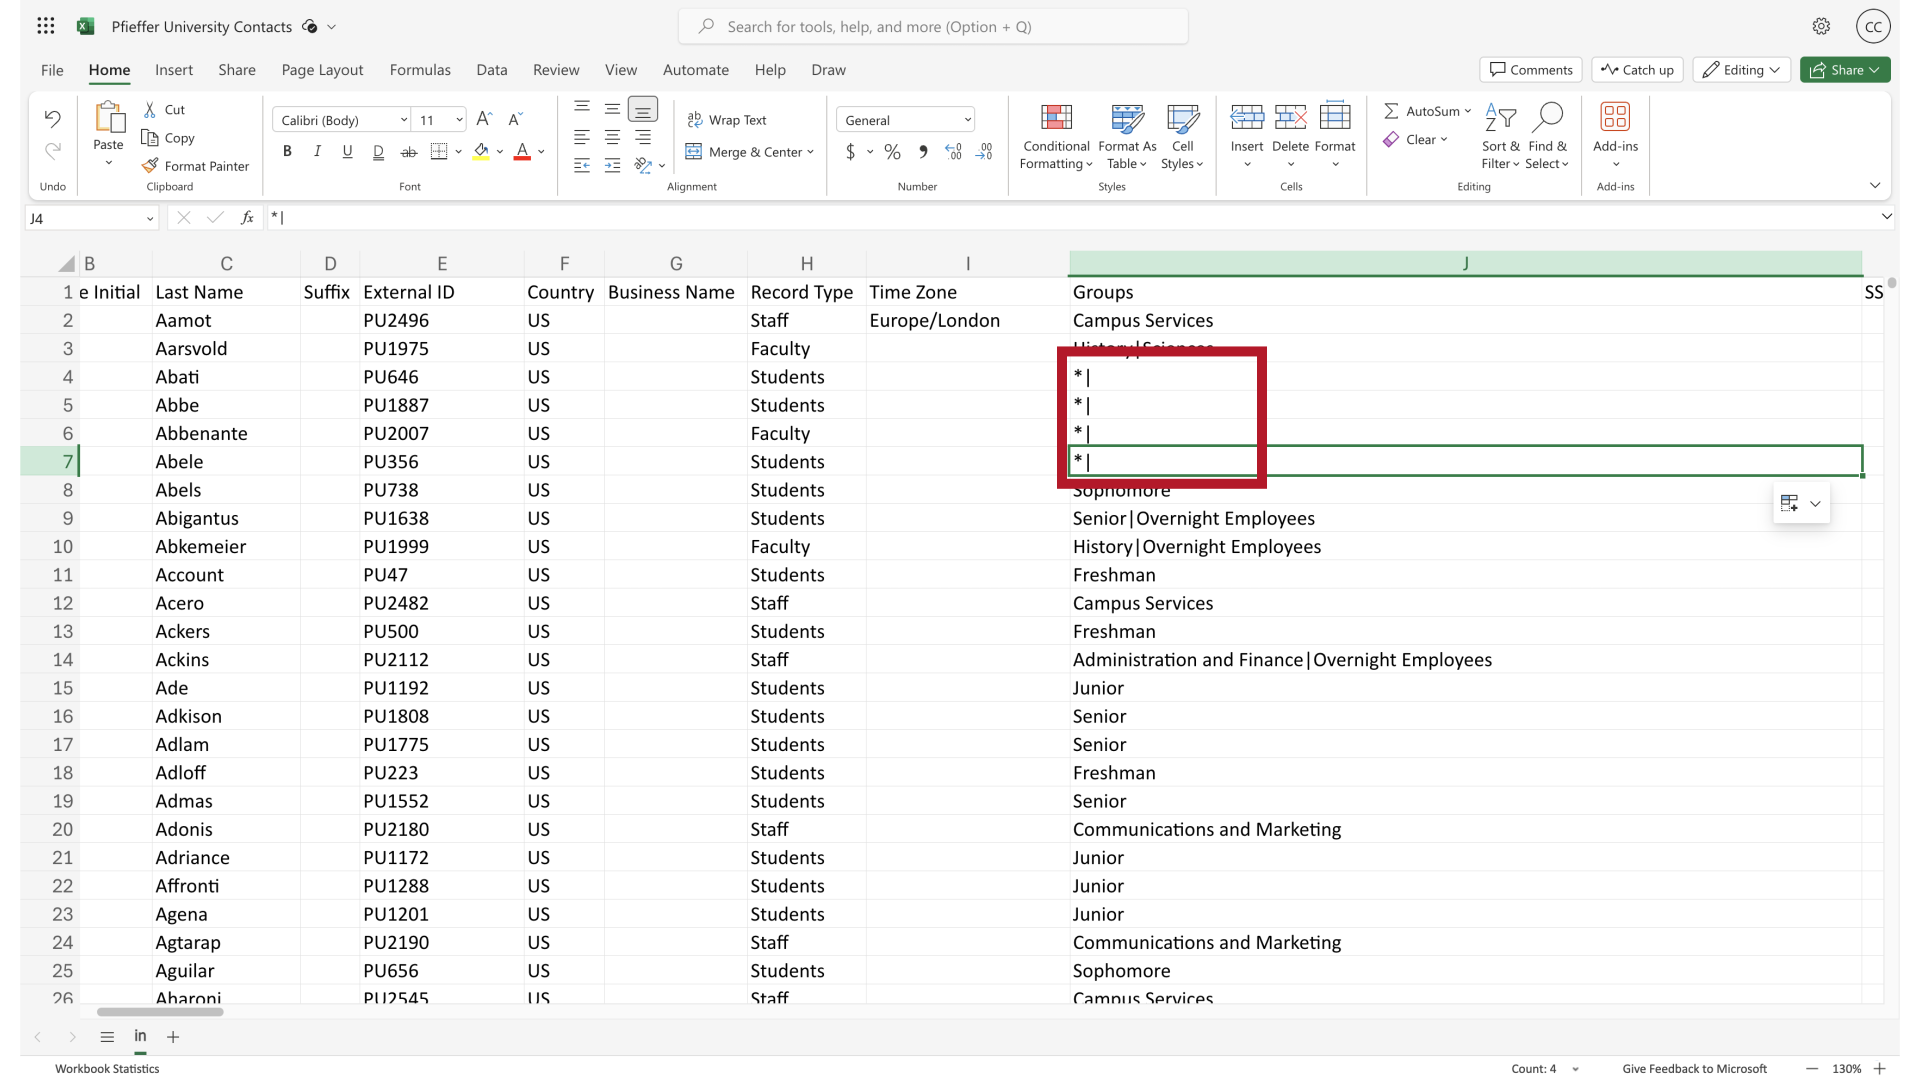
31. Maintain Groups
Information and the Groups field will overwrite what's in the Manager Portal. This can be an issue if a contact has been added to groups that aren't reflected in the contact file.
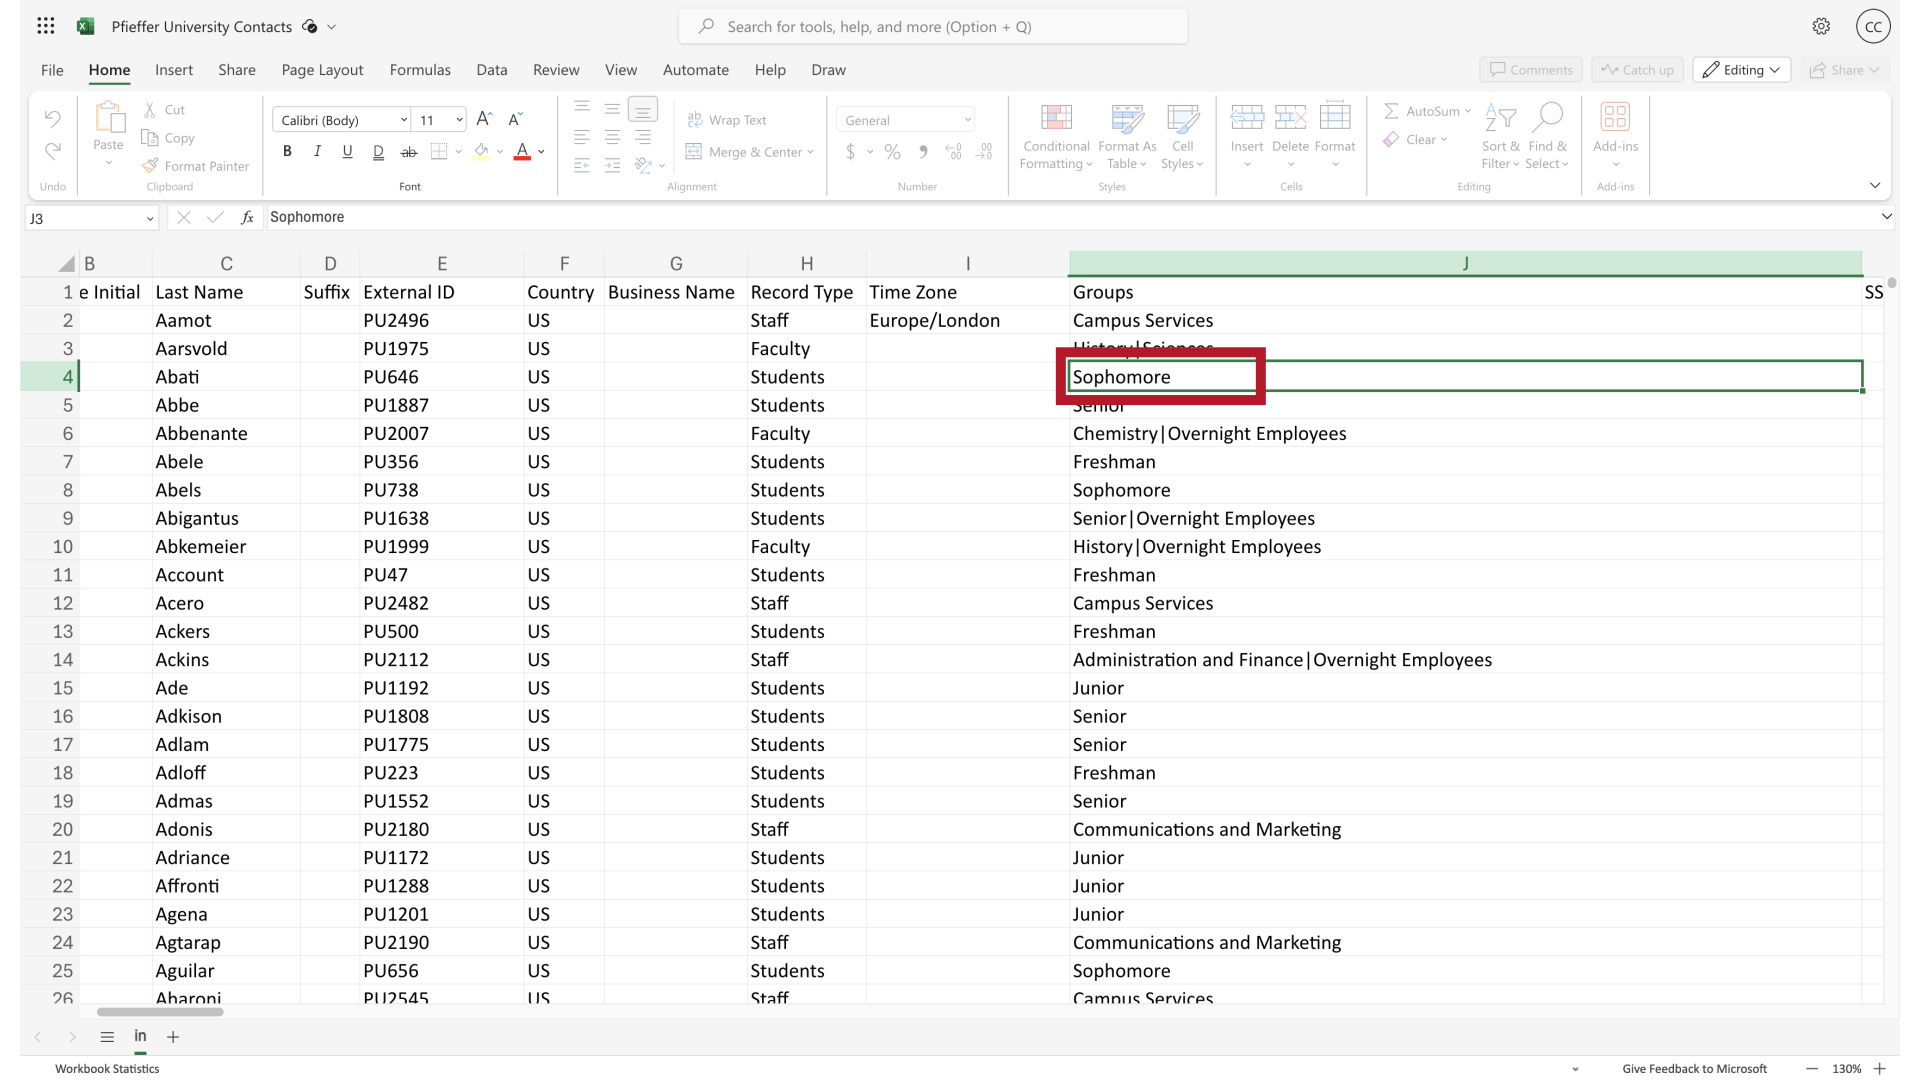
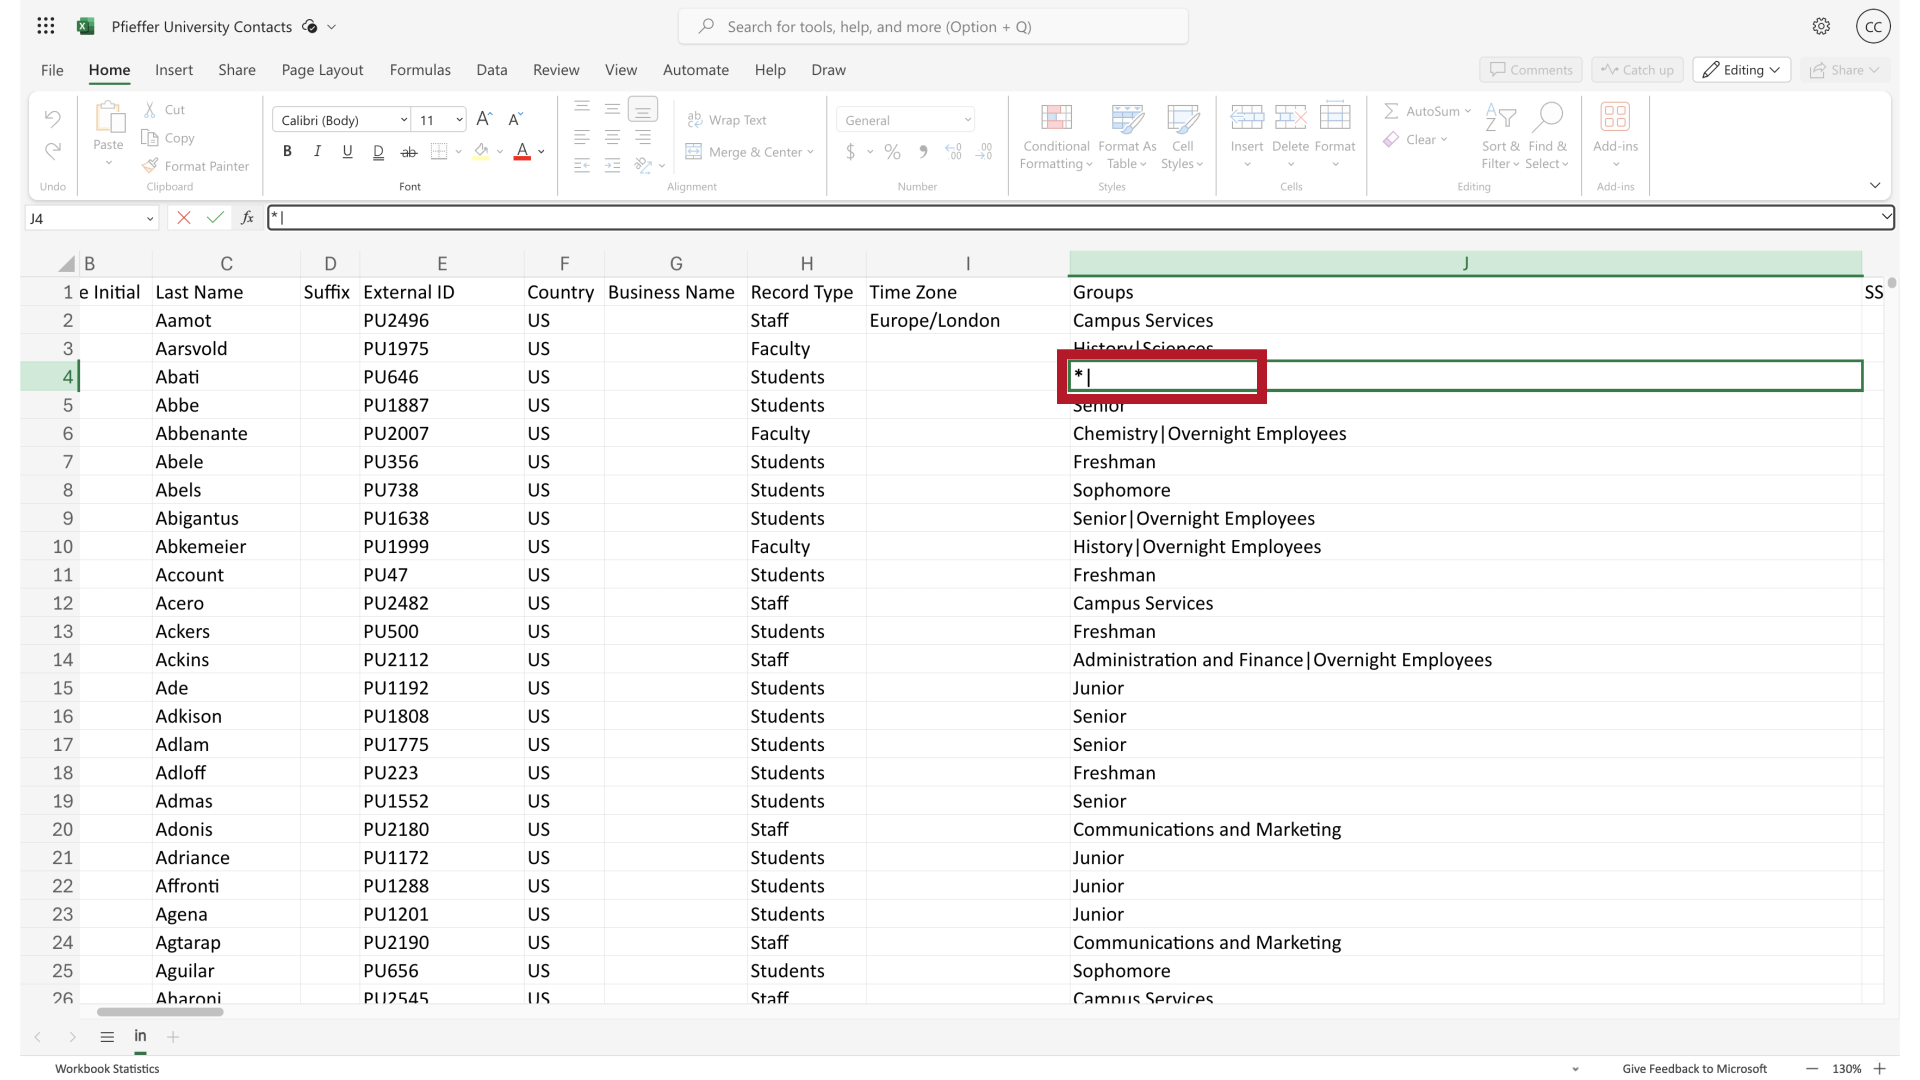
32. Maintain Groups
The asterisk and pipe with no spaces in between them, indicate that the group information in the file should not overwrite what's in the Manager Portal.
33. Maintain Groups
Click the selected option
34. Maintain & Add Groups
When the asterisk, and pipe are paired with a group name. It indicates that the contact should be added to that new group, but nothing else about the groups they are in should change.