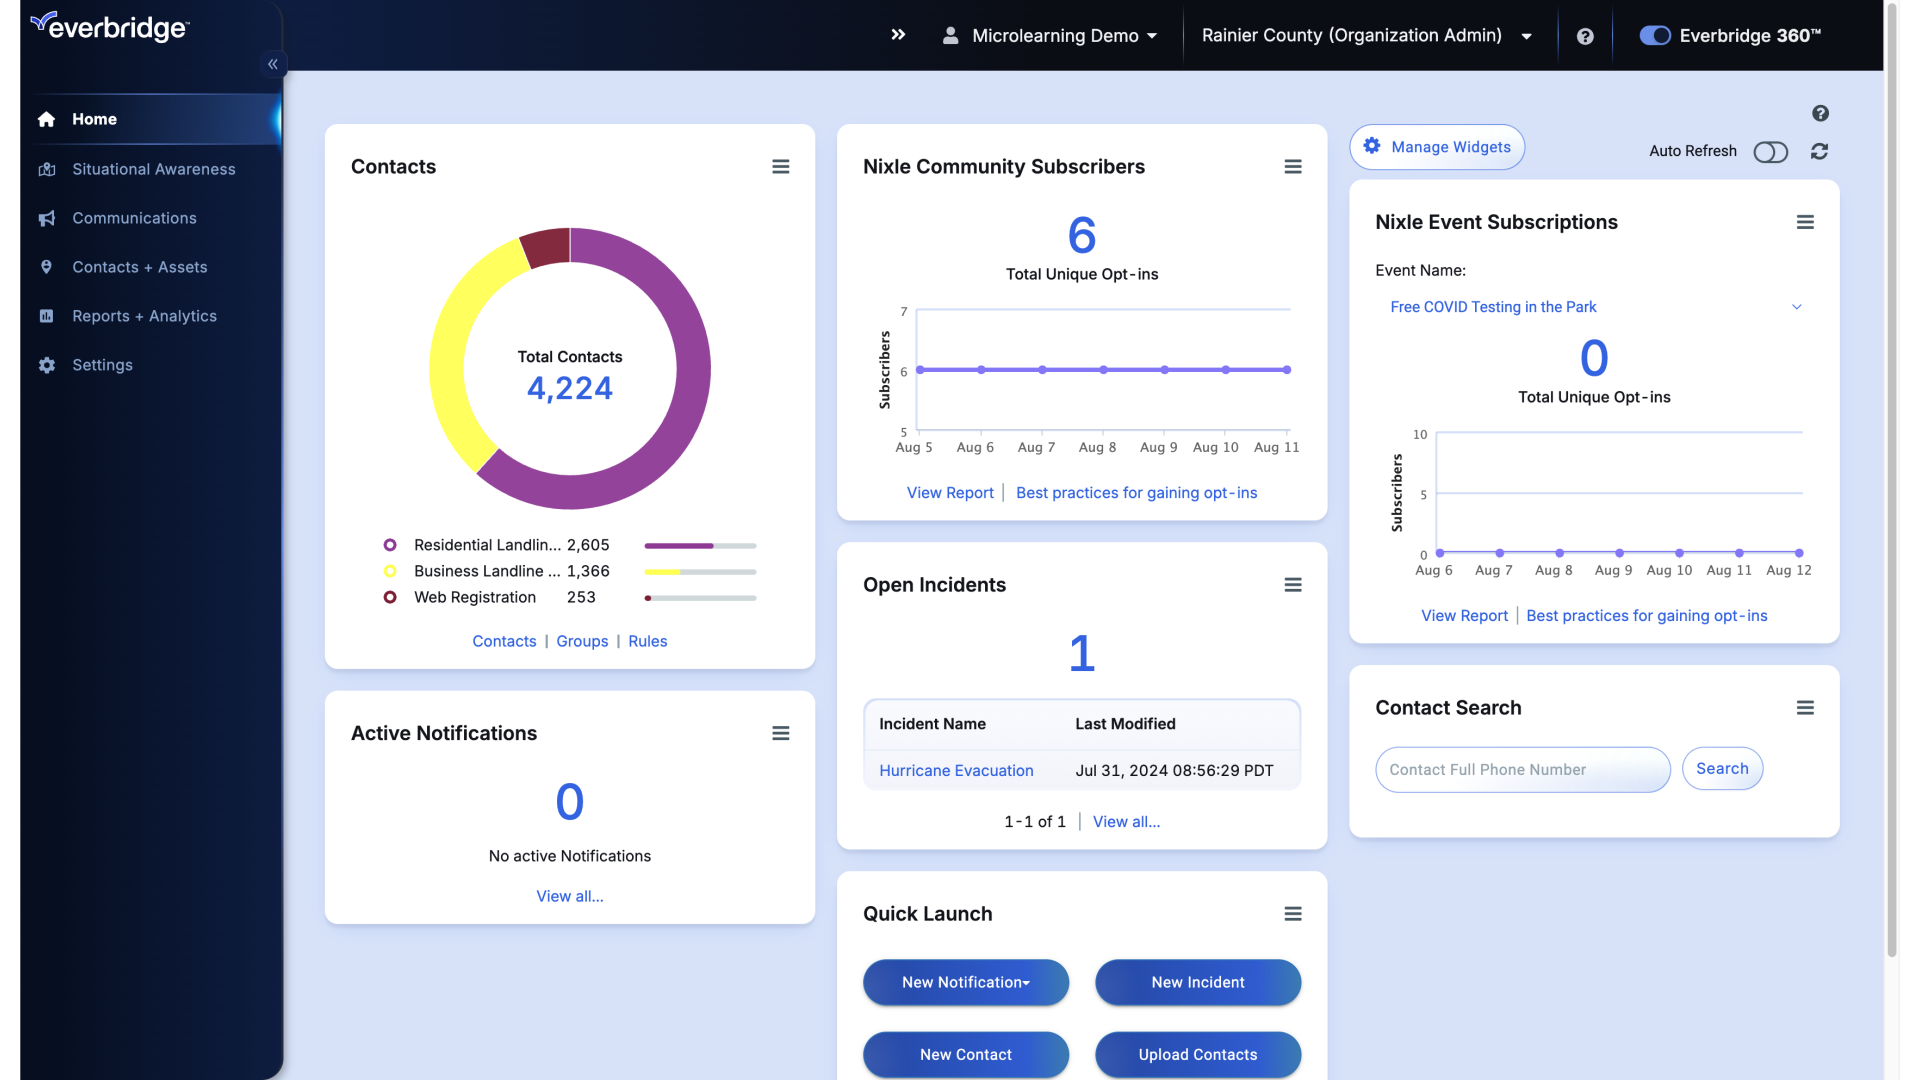
Topic
How to register your user profile in the Everbridge Manager Portal.
Description
To be a User and access the Everbridge Manager Portal, you will need to register a profile.
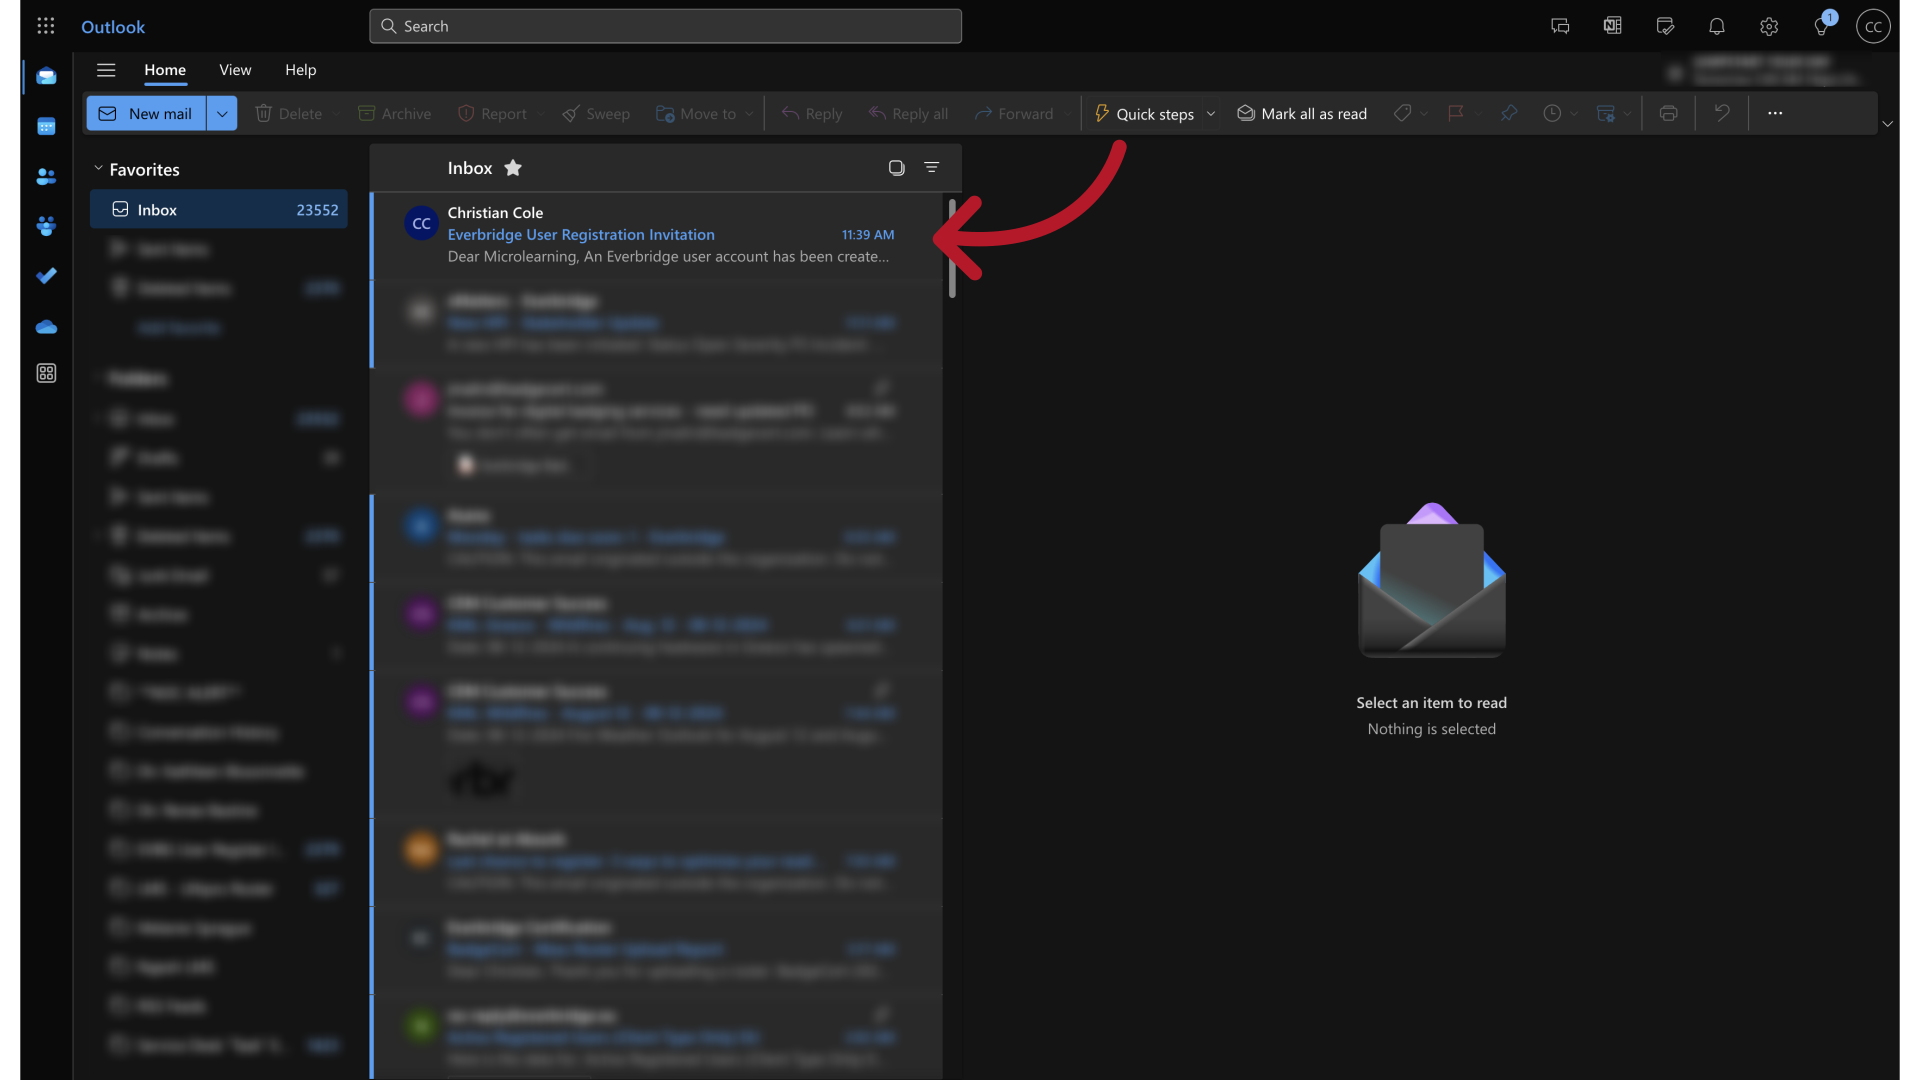
1. Registration Email
Starting this process begins with an email from your Administrator. The email contains a link that is active for 72 hours. For security reasons, registration cannot be initiated directly by Everbridge Technical Support - your supervisor must send the registration email to grant you access.
2. Registration Invitation
Click the link before it expires to get to the registration page and create your profile.
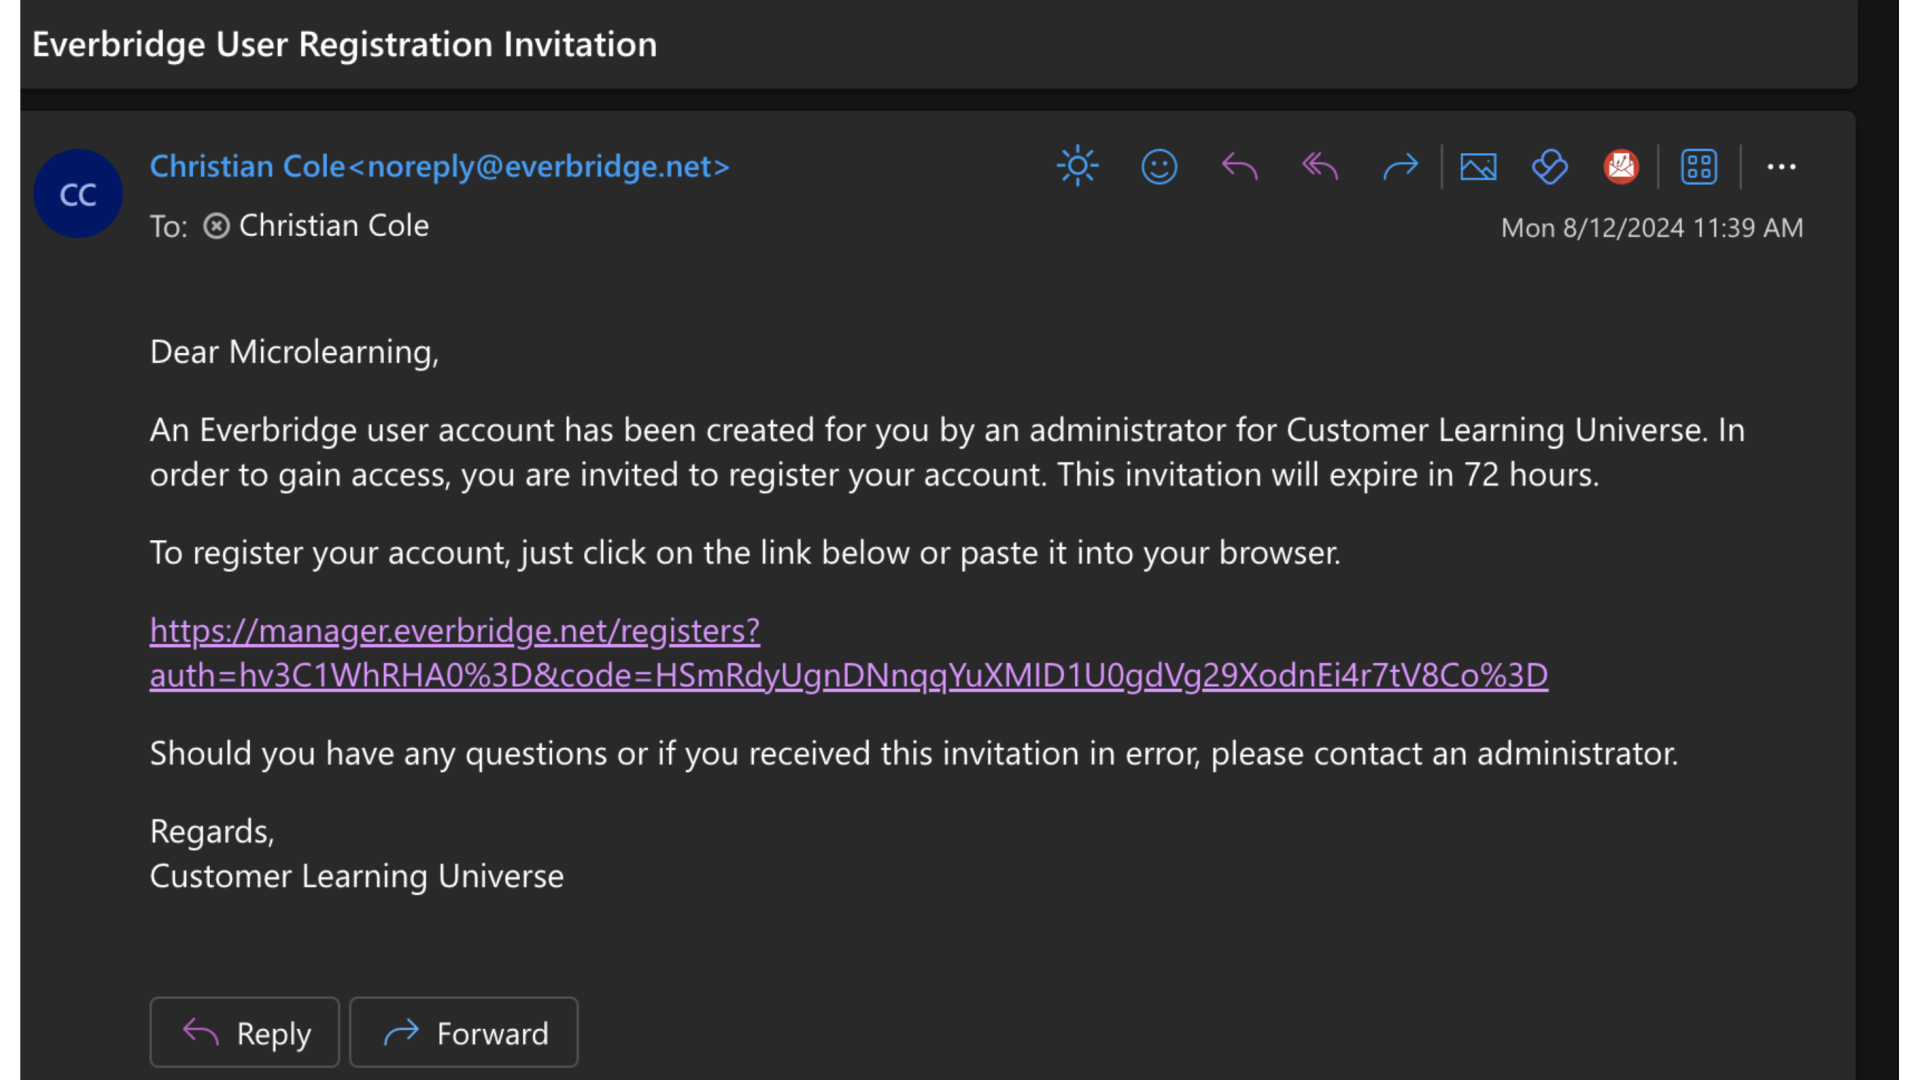
3. Registration Link
If the link expires, contact your internal administrator to send another registration email.
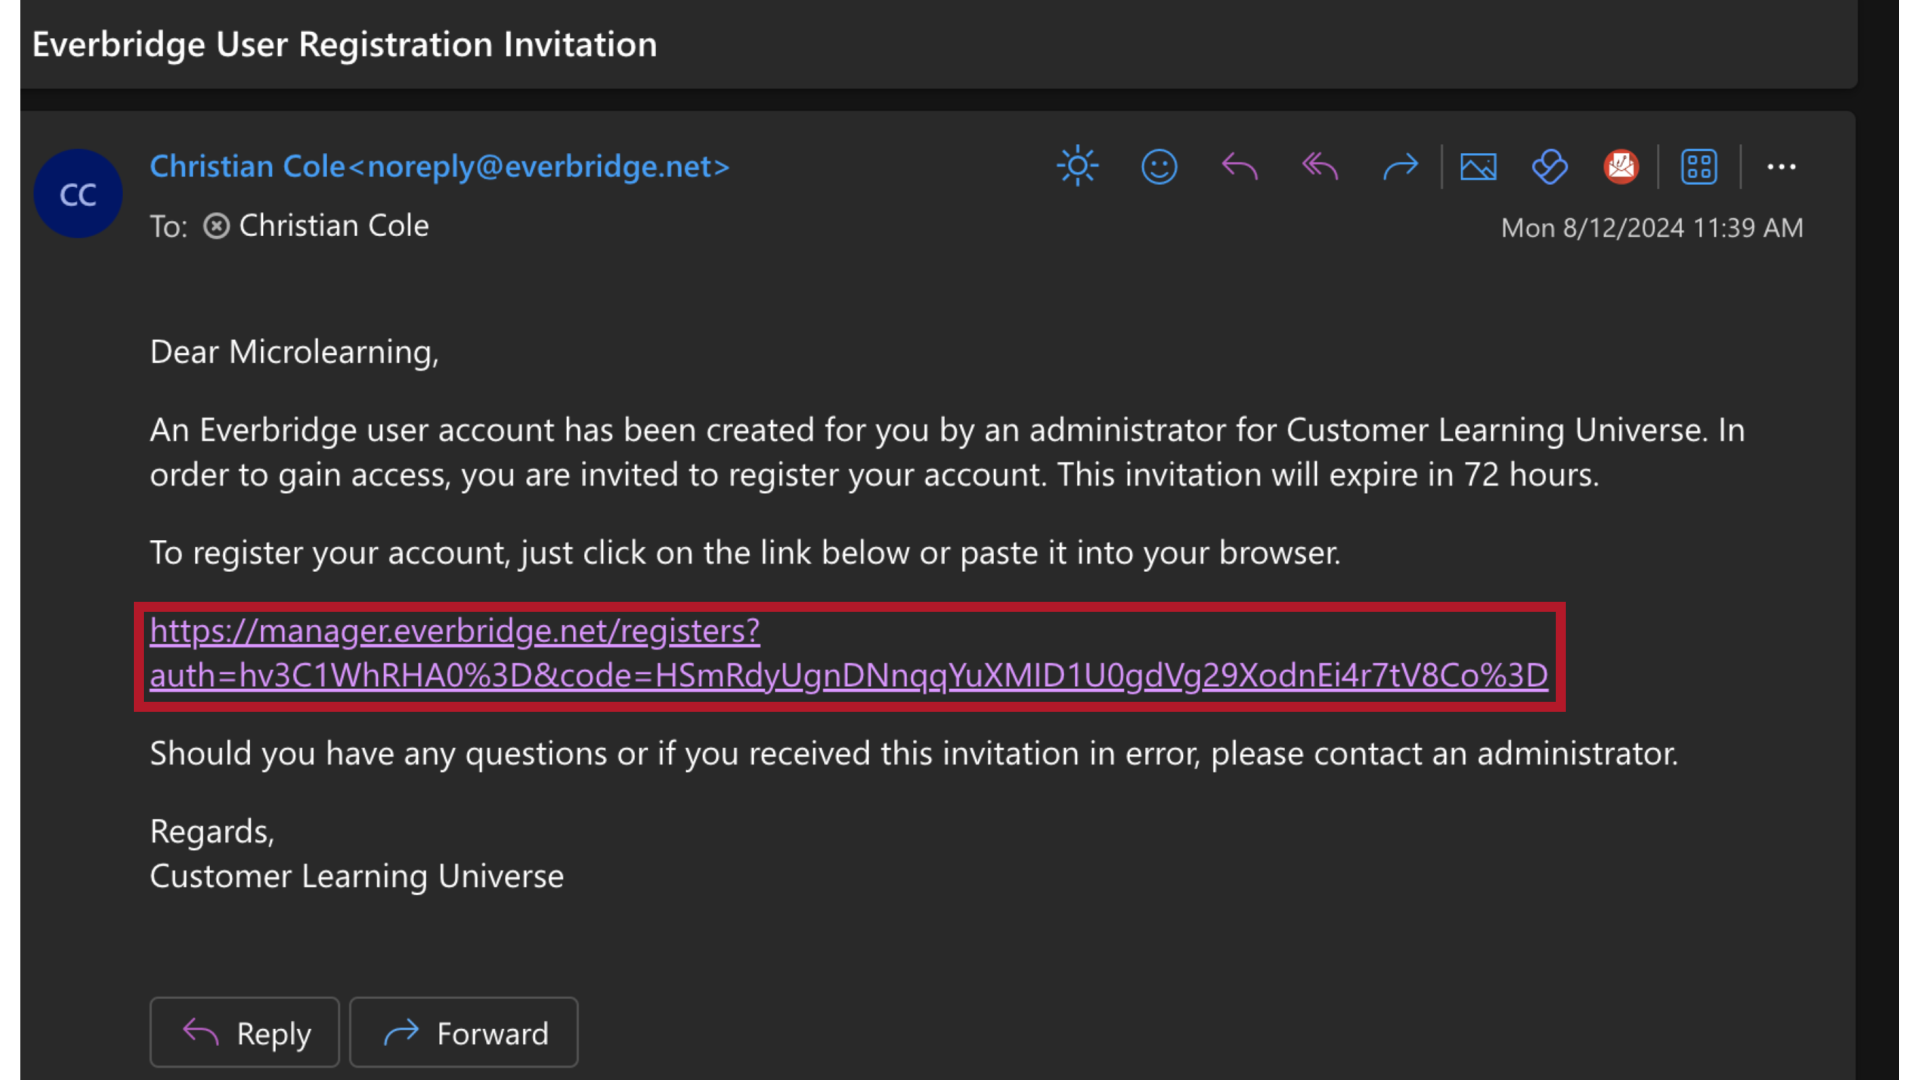
4. New User Registration
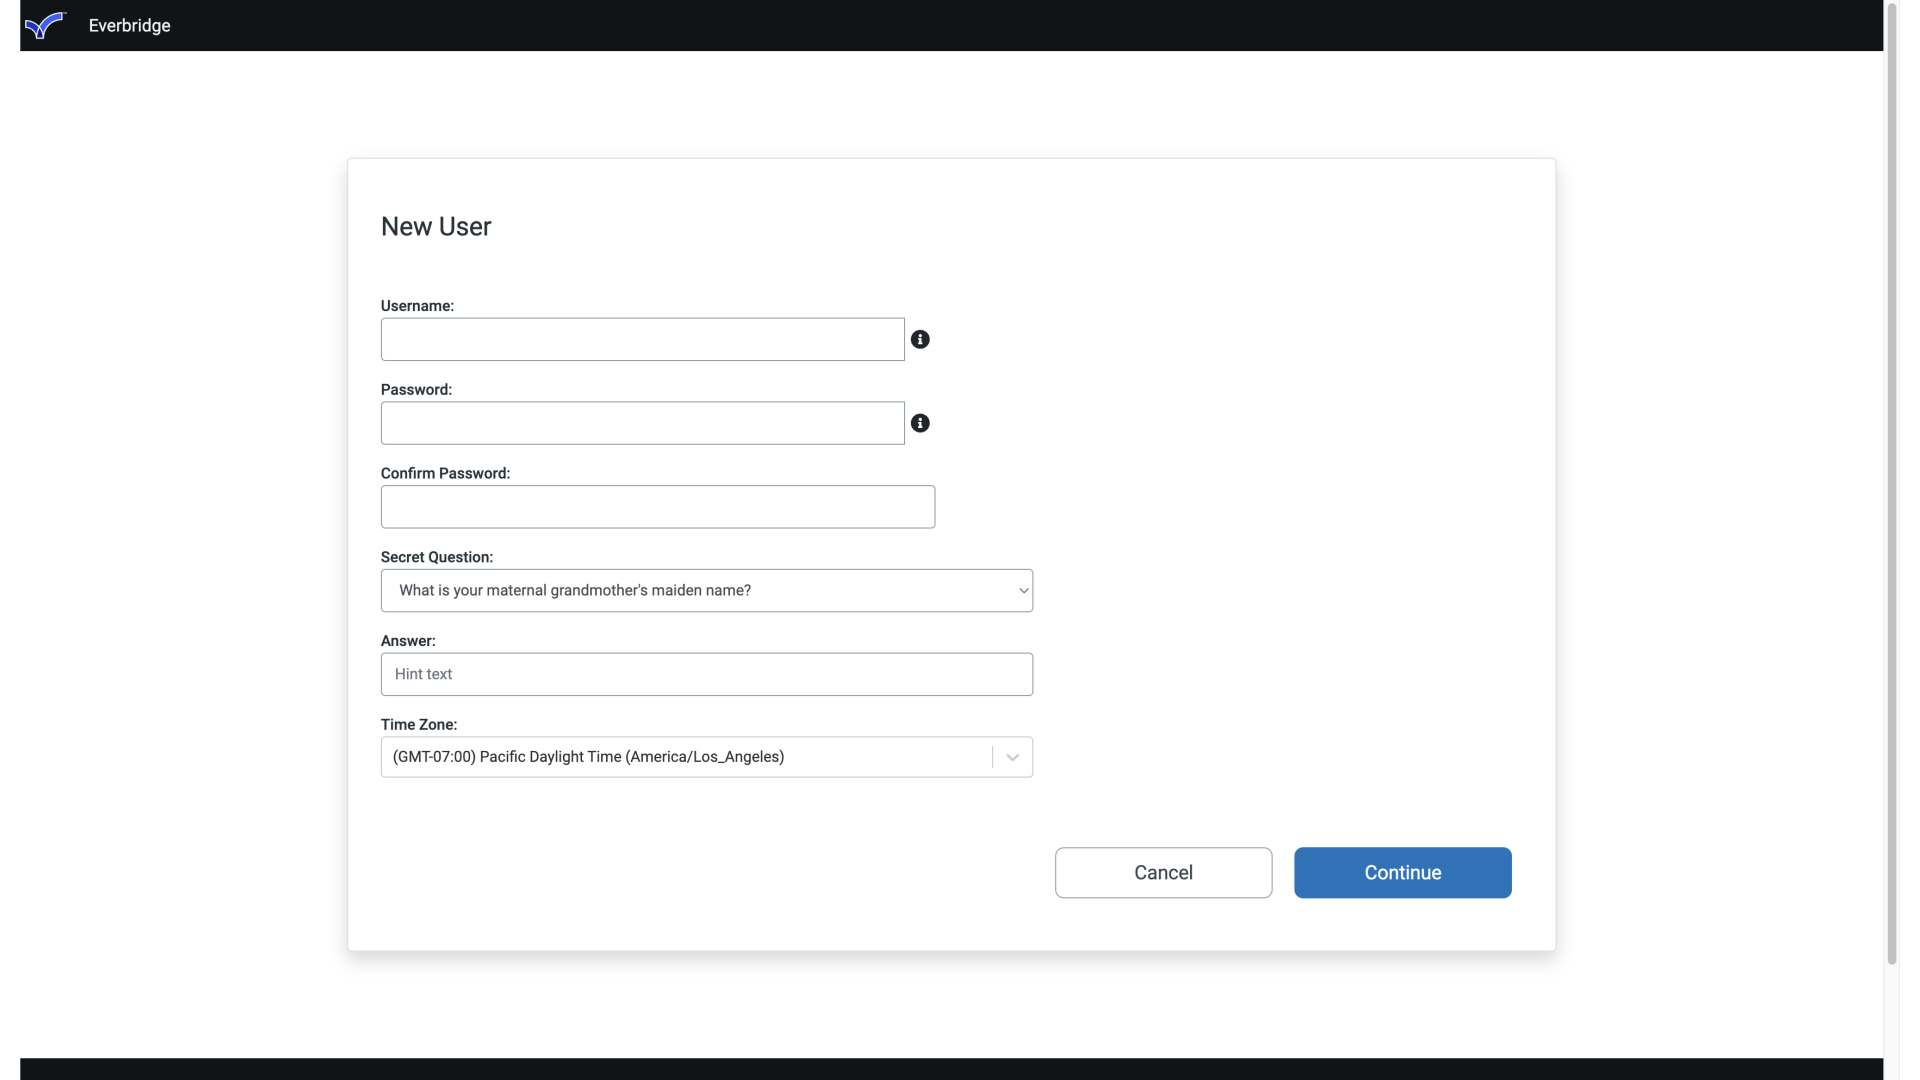
After you click the link you are brought to a New User Registration Page. This is similar to many registration processes or signups involving the creation of.
5. New User Registration
A Username.
6. New User Registration Password
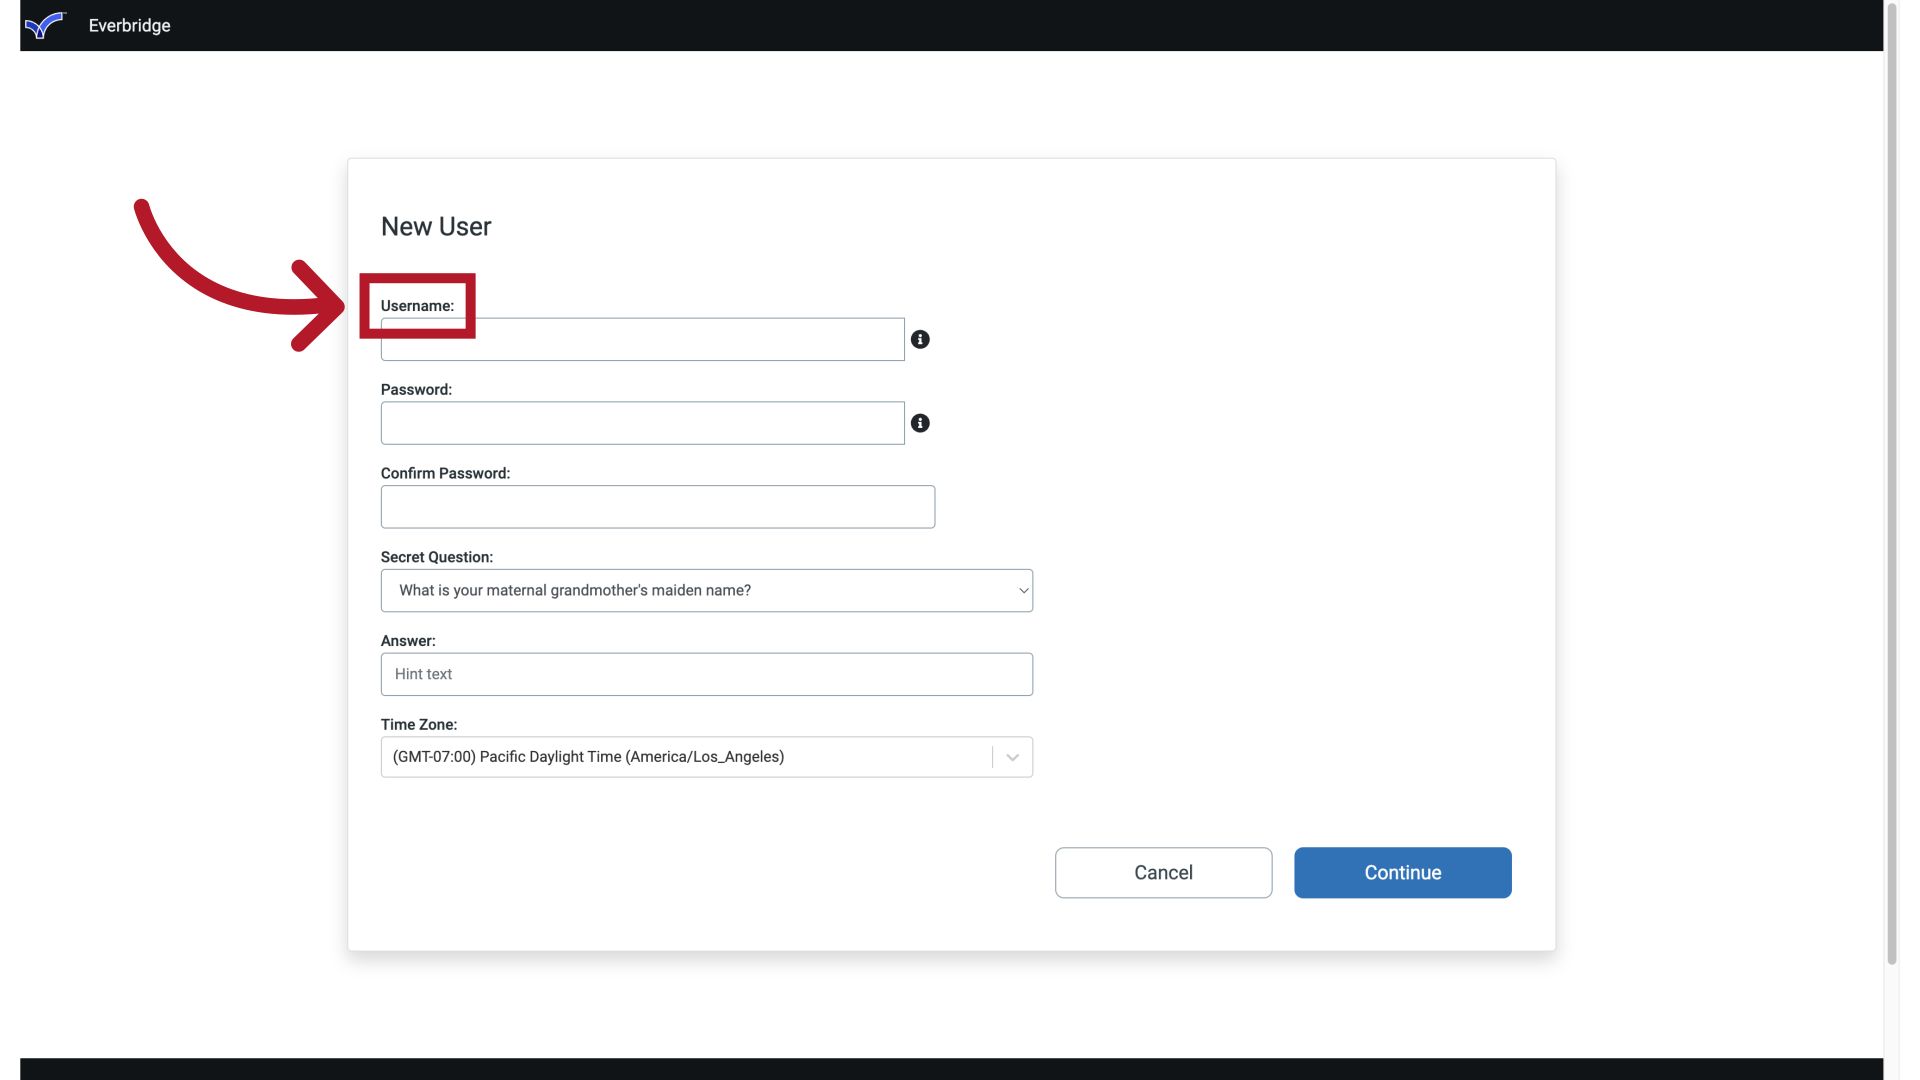
Password.
7. New User Registration Secret
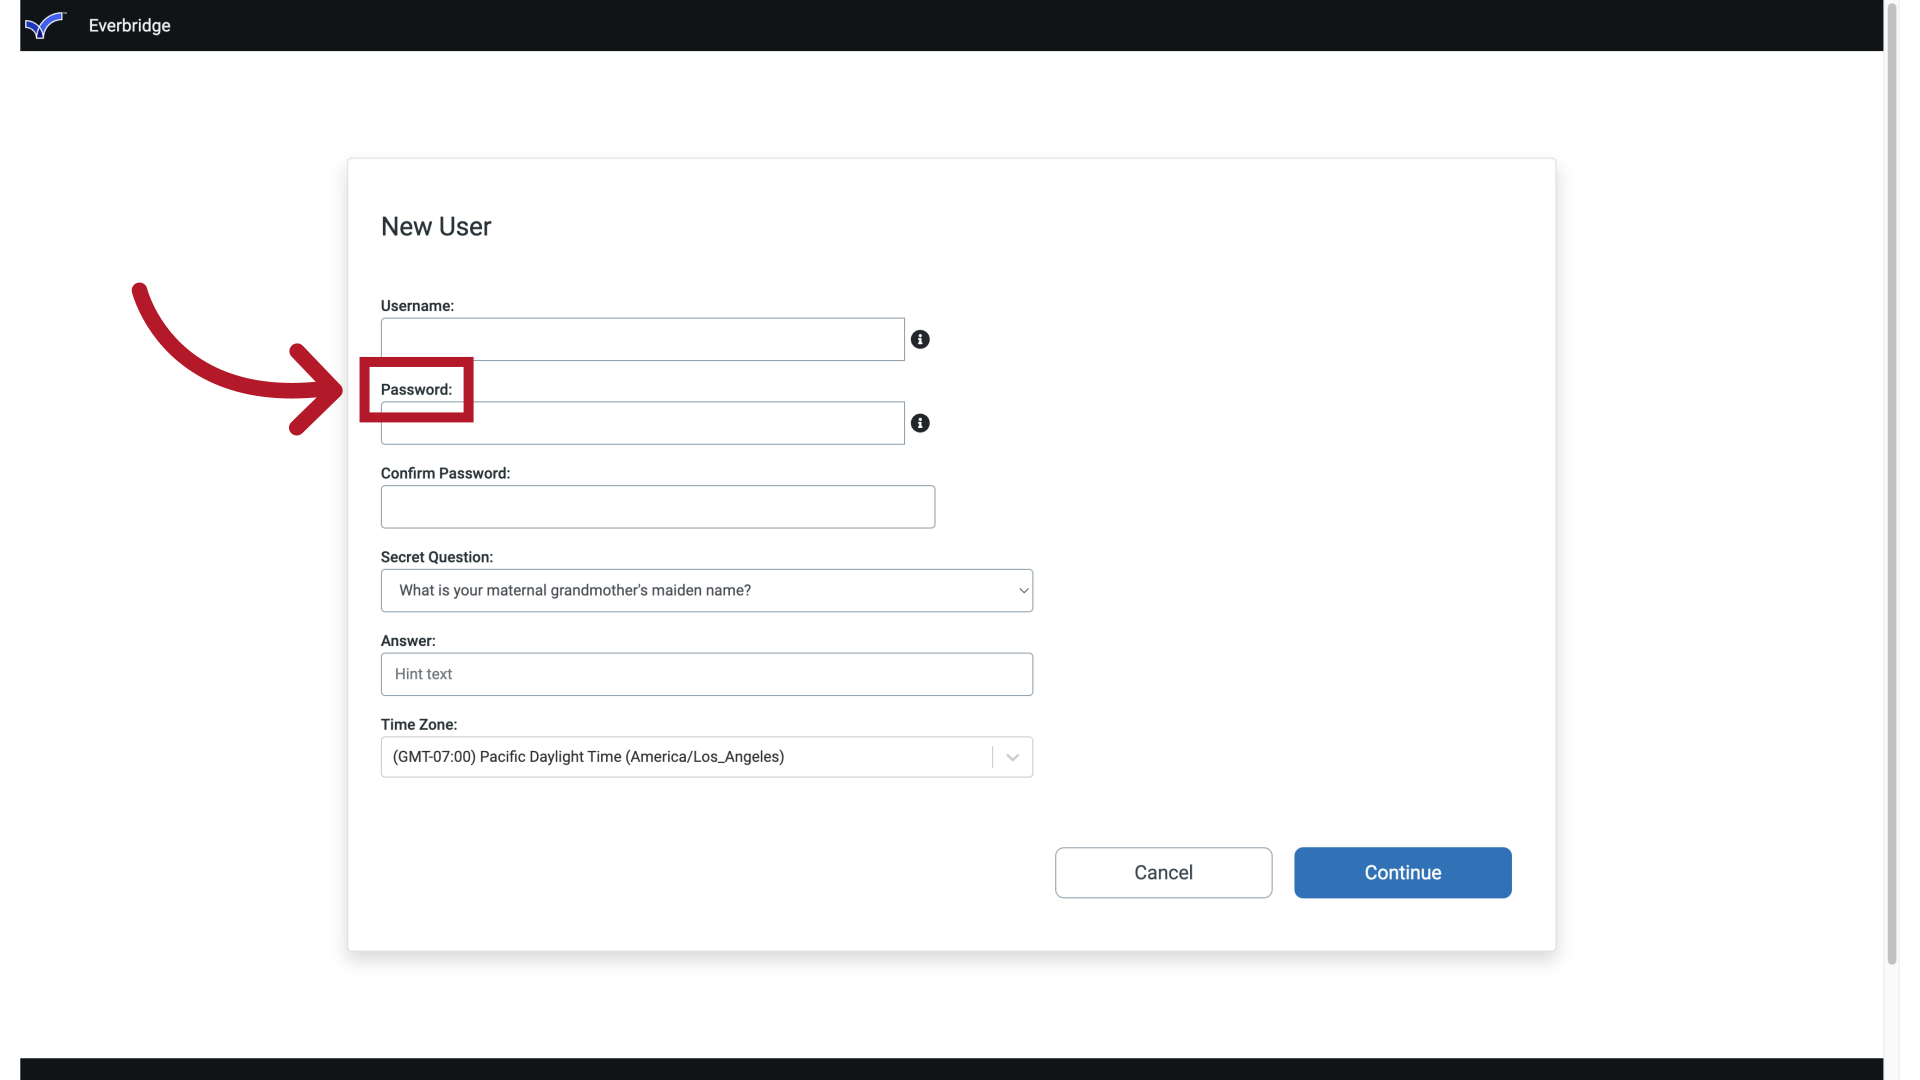
And Secret Question.
8. New User Registration
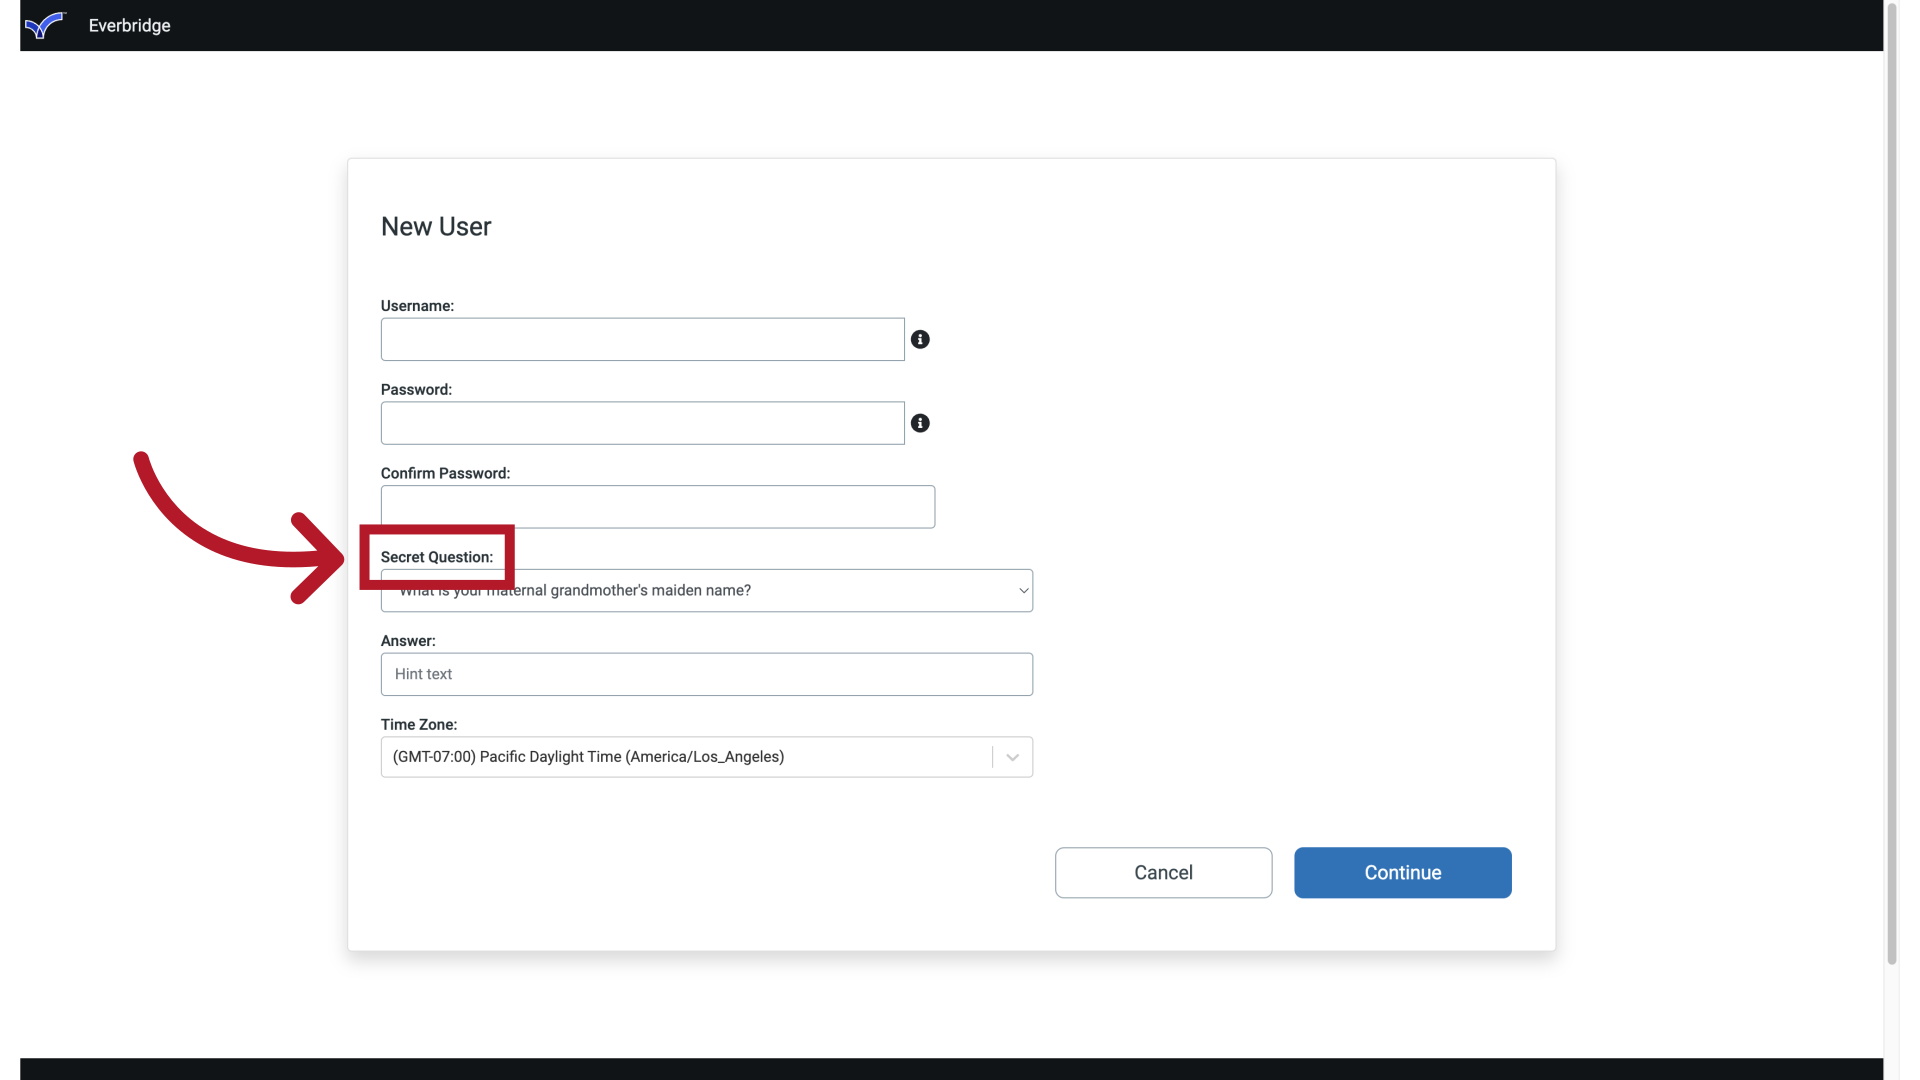
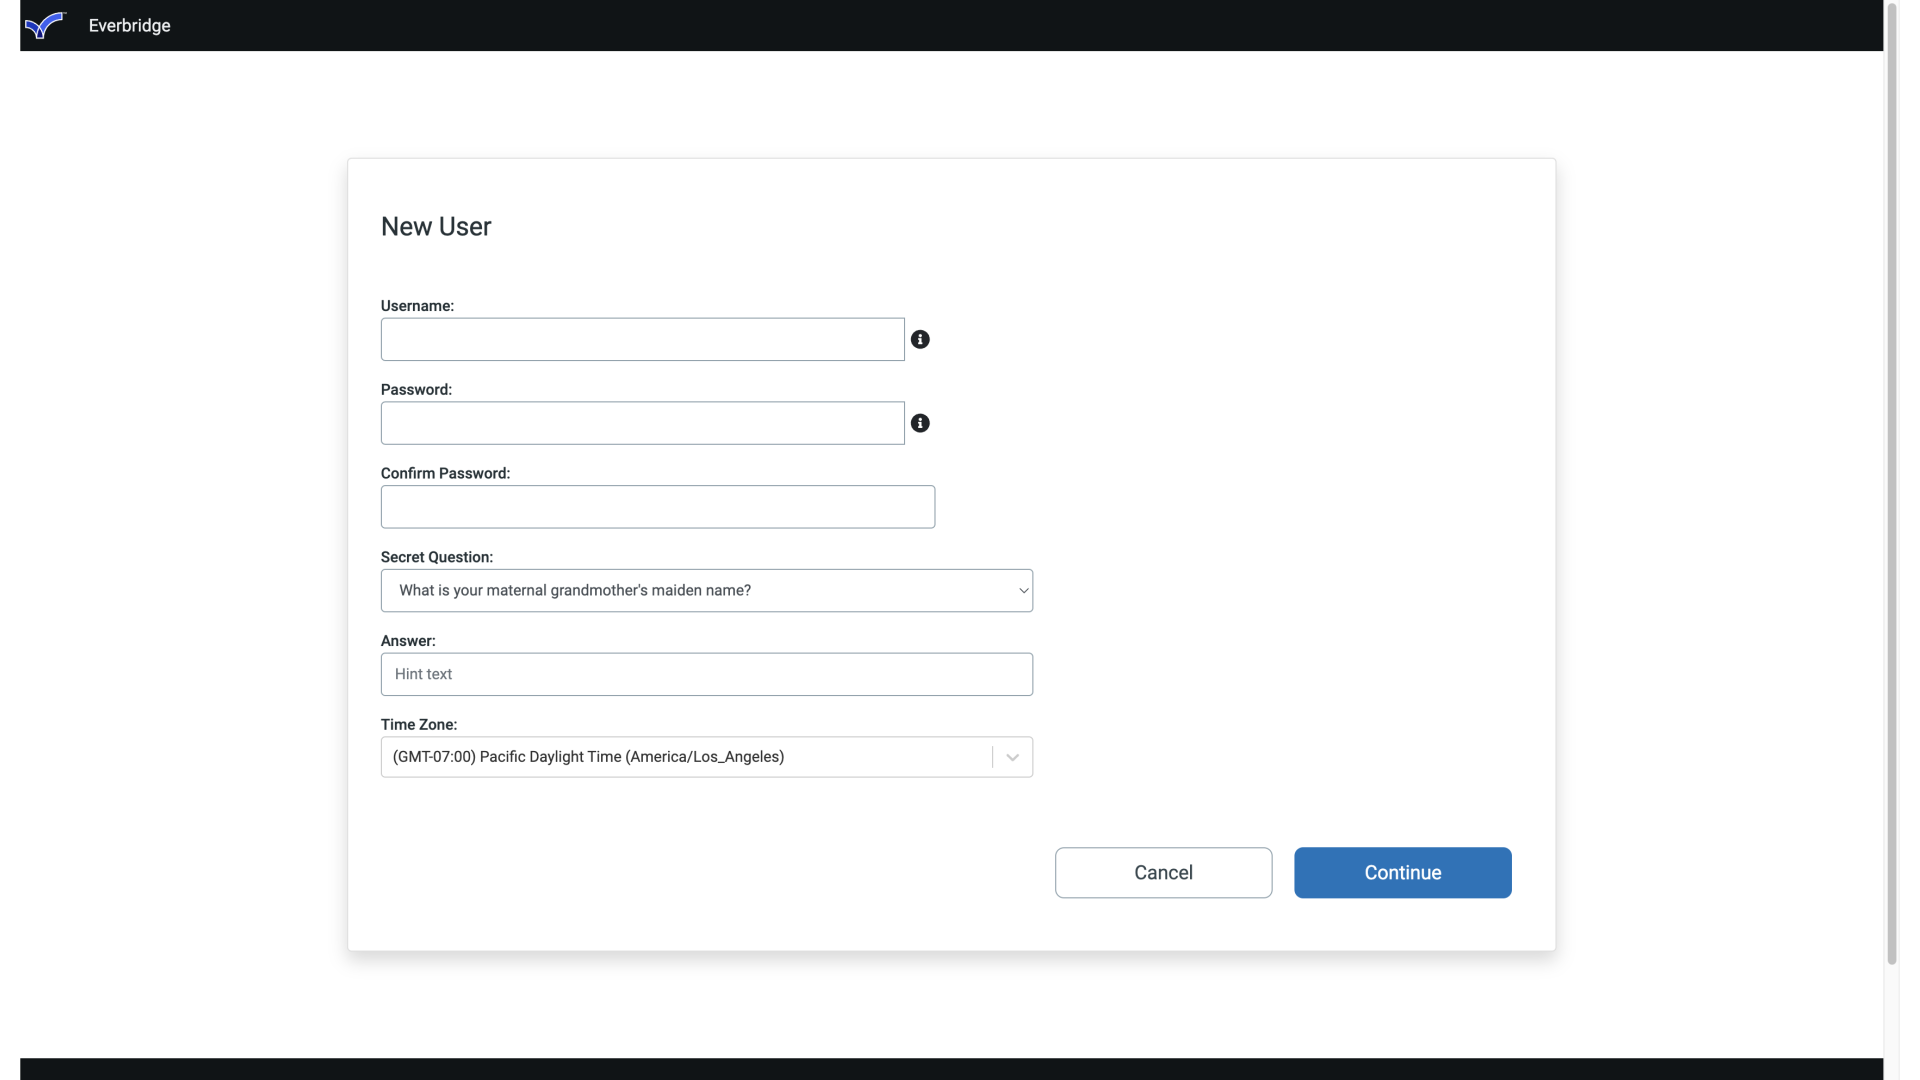
Begin by giving yourself a Username. You will use this Username to log on to the Everbridge Manager Portal. This can be something as simple as your full name, or your email address. Just add something to it that makes it unique to you like a number or a specific character.
9. Username Creation
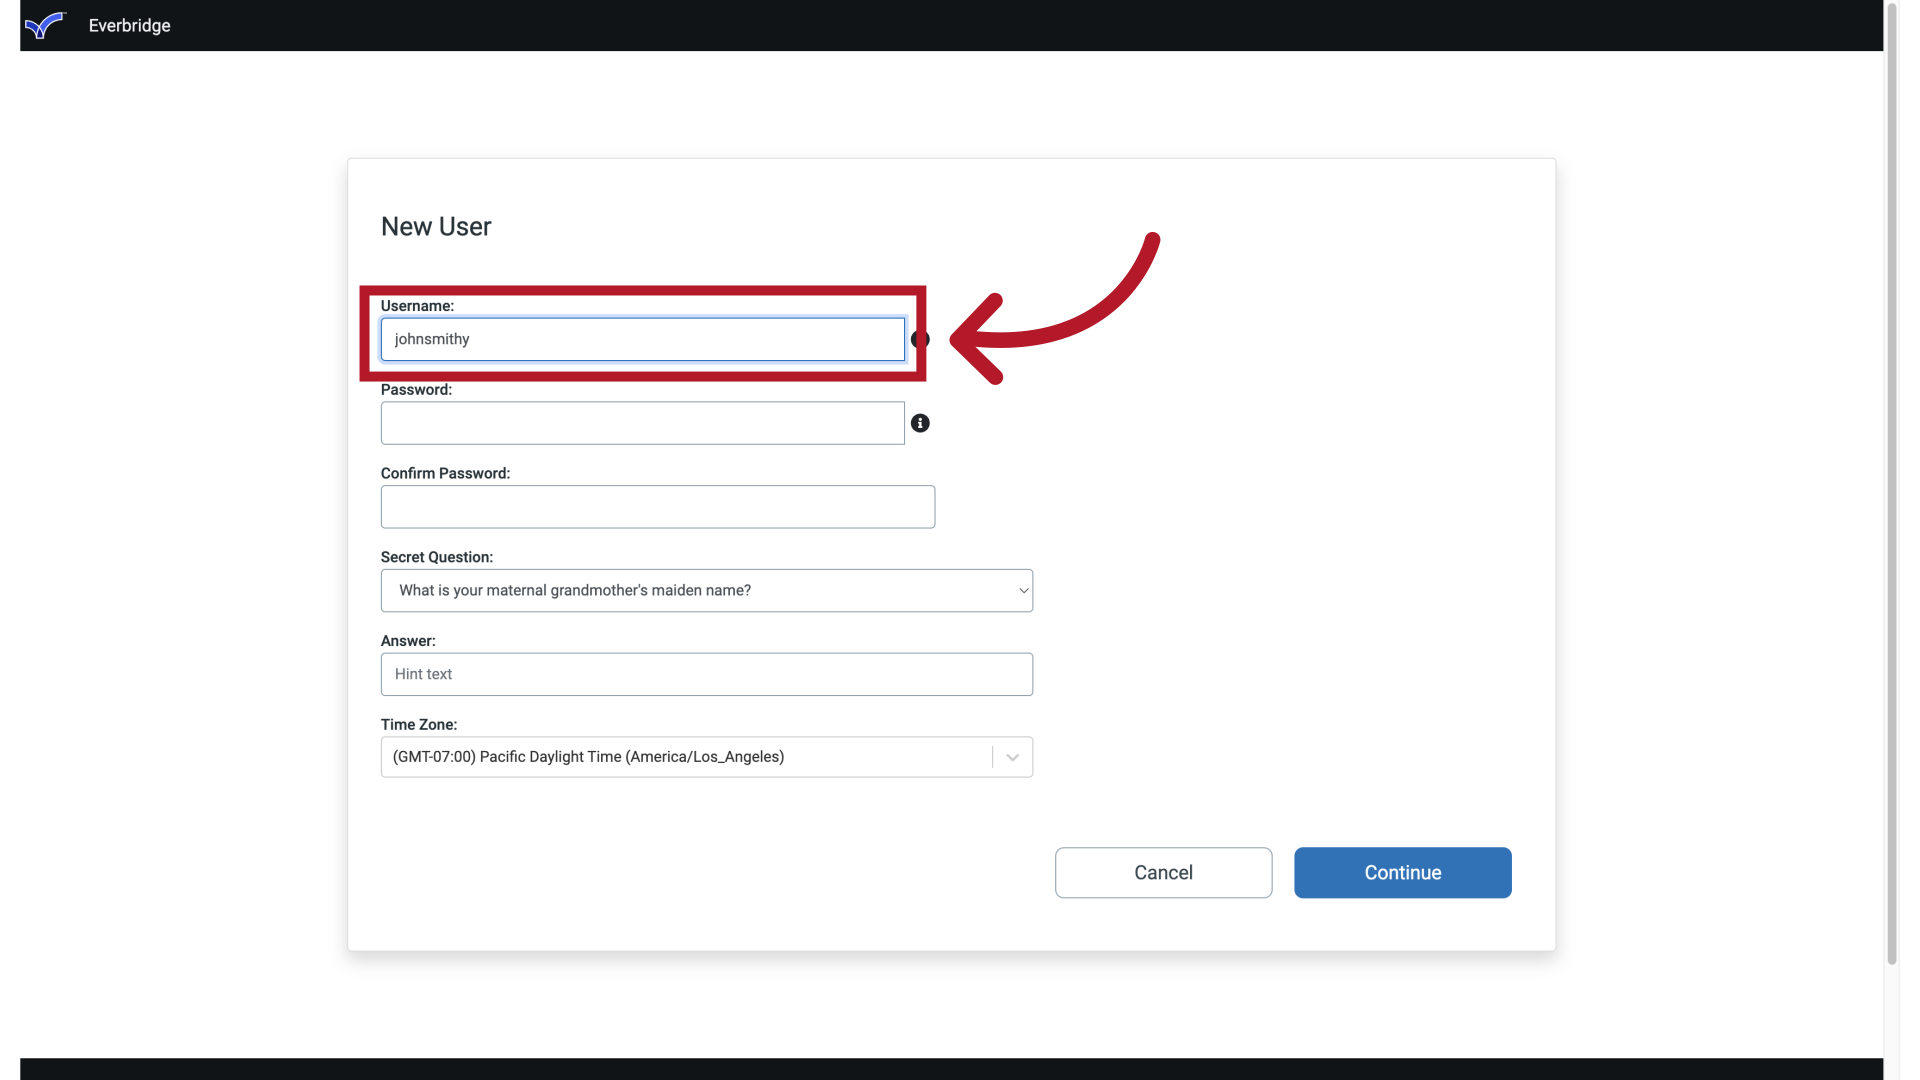
If you create a username that already exists.
10. Username Creation
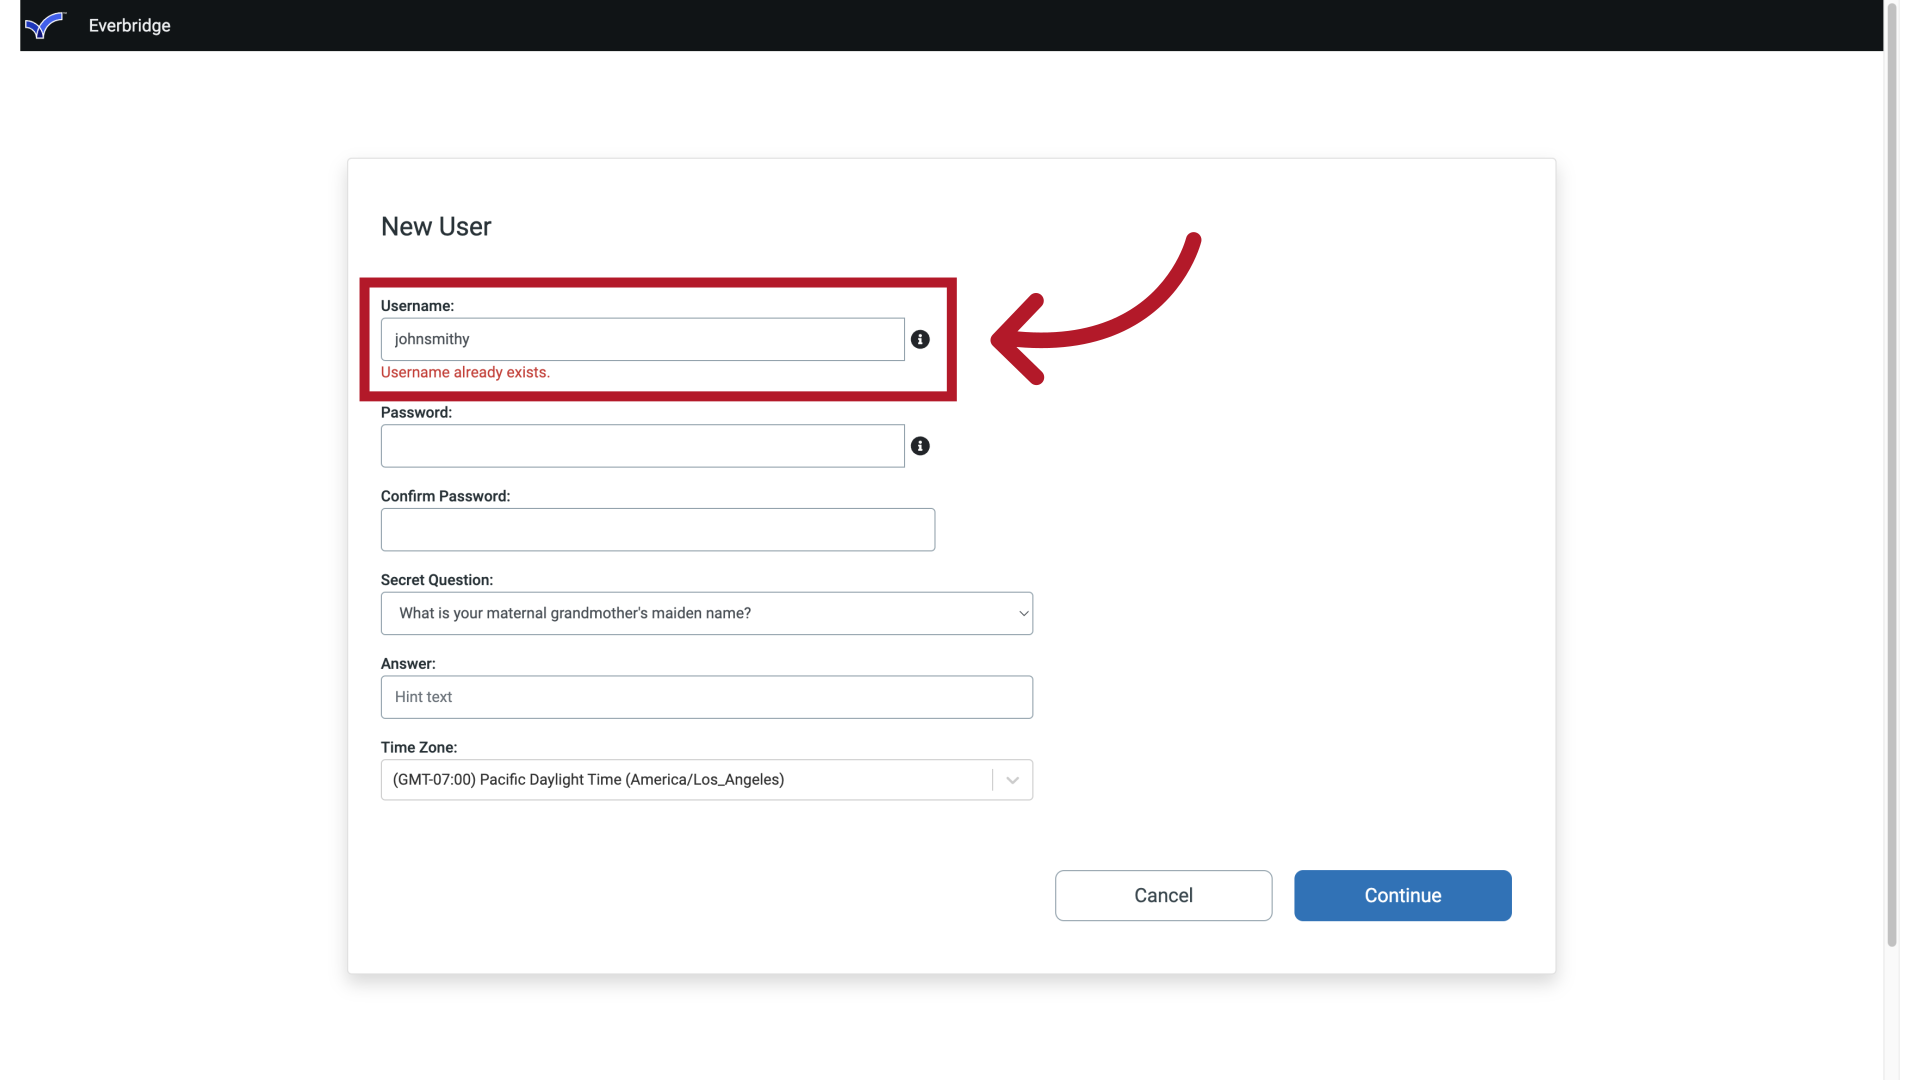
Everbridge will alert you to this and have you alter the name. For instance, John Smithy is a common name, and another Everbridge User could share that name. Therefore, John Smithy 1990 could be a good option for a Username.
11. Username Creation
Usernames are case insensitive and must be a minimum of four acceptable characters and a maximum of 80 characters.
12. Password Creation
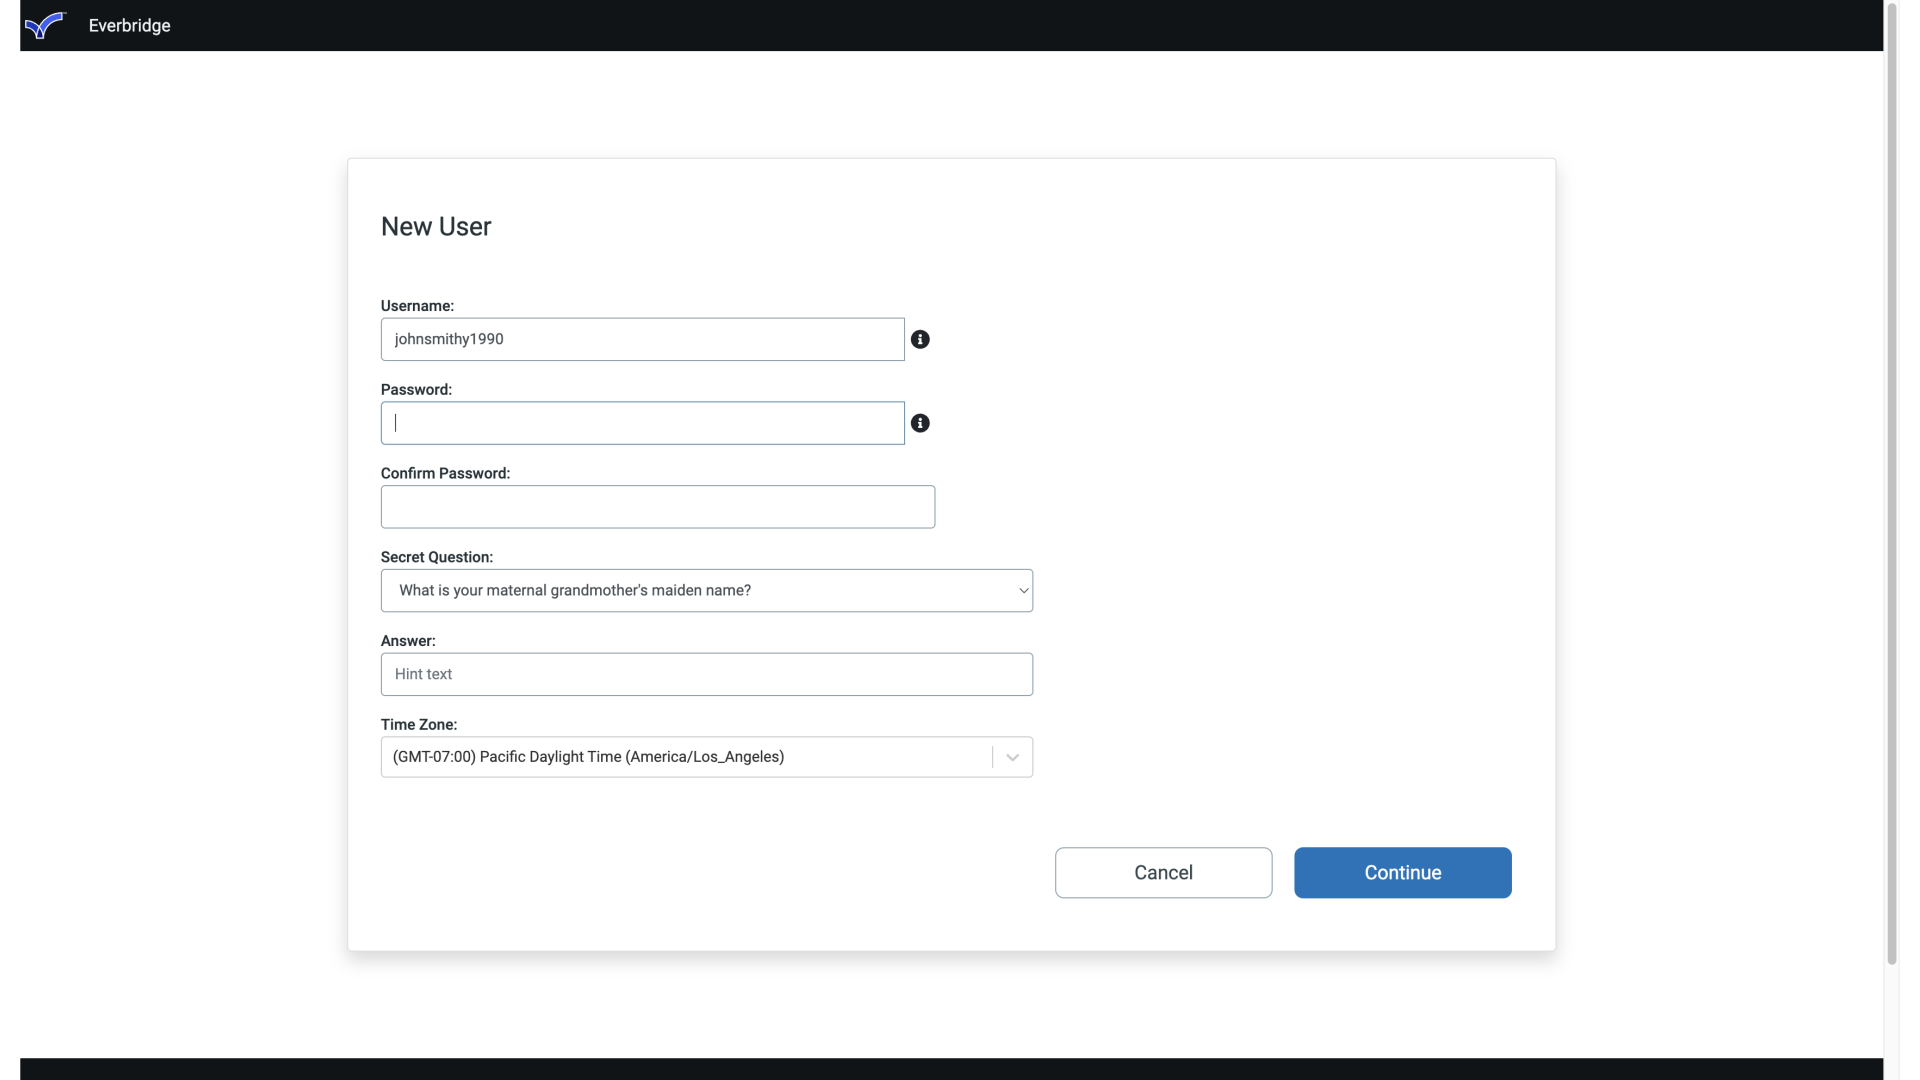
Next, create your Password.
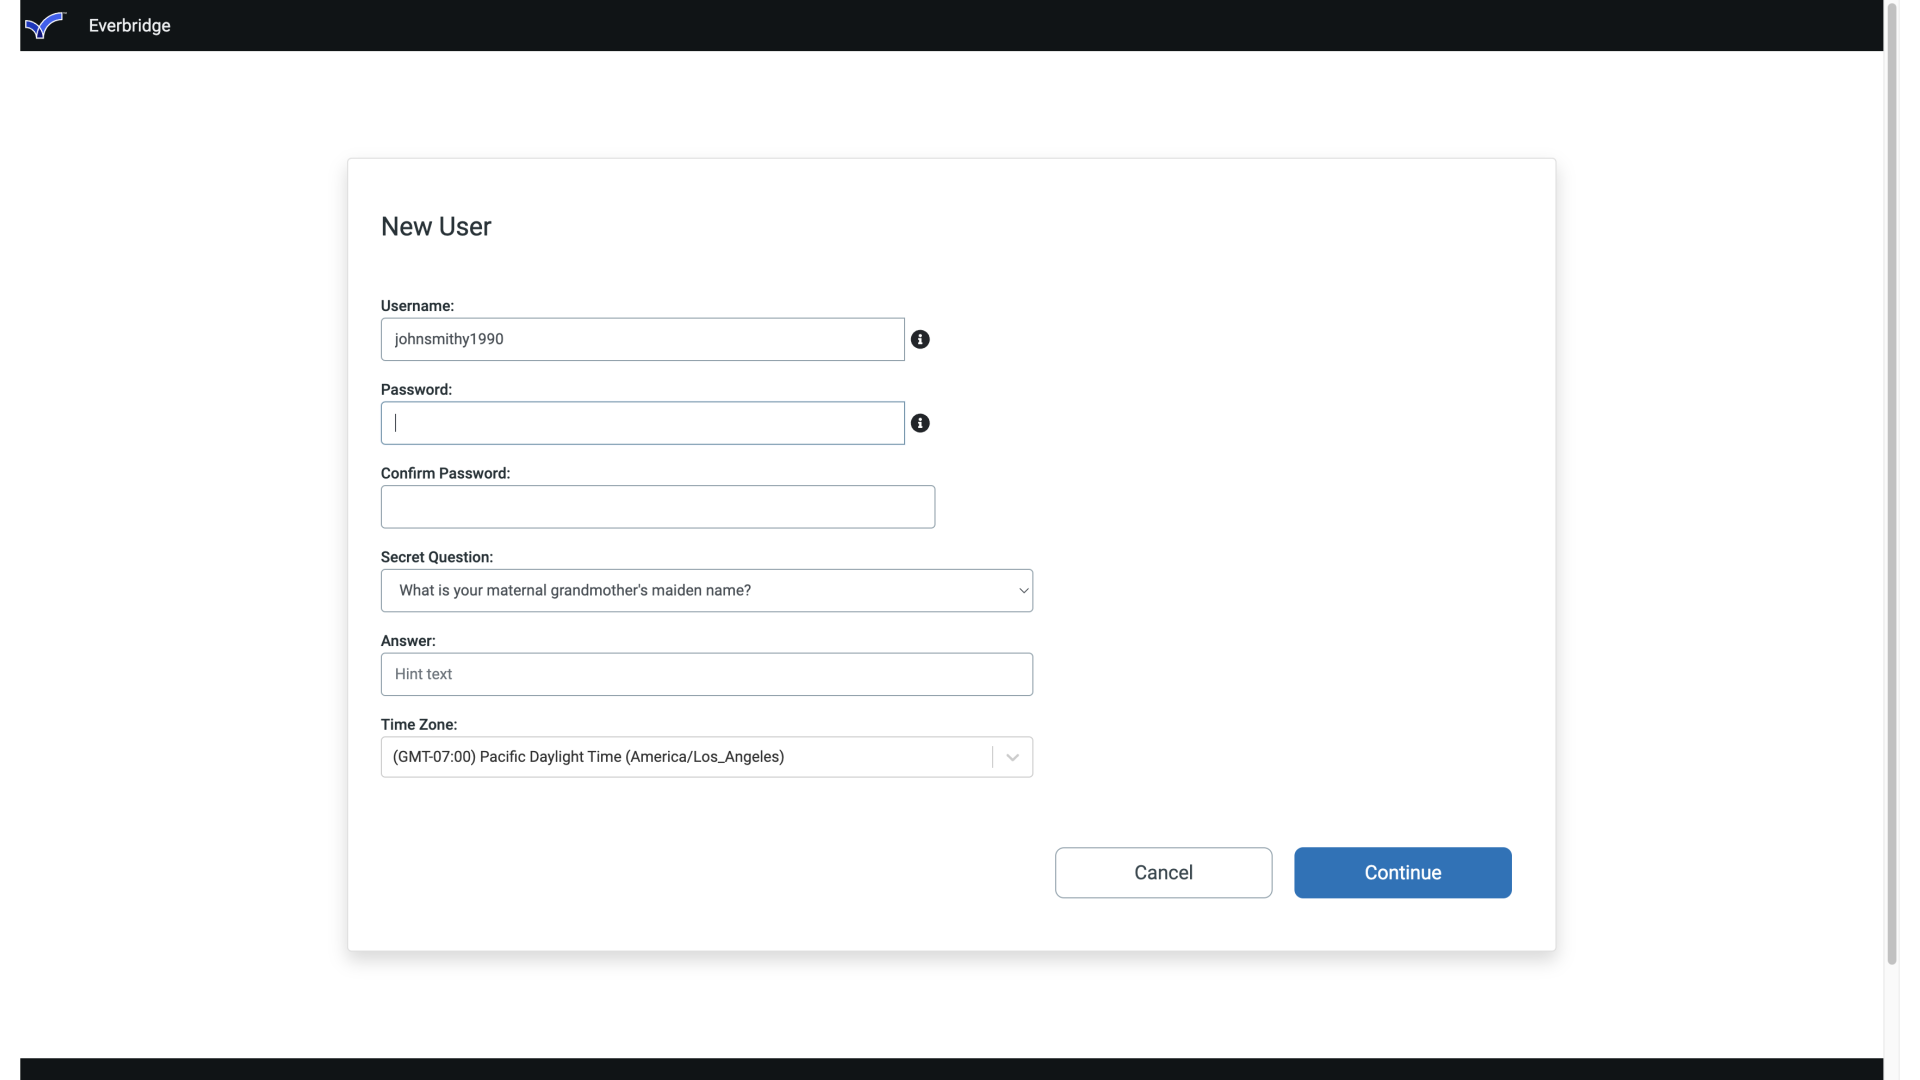
13. Password Creation Help
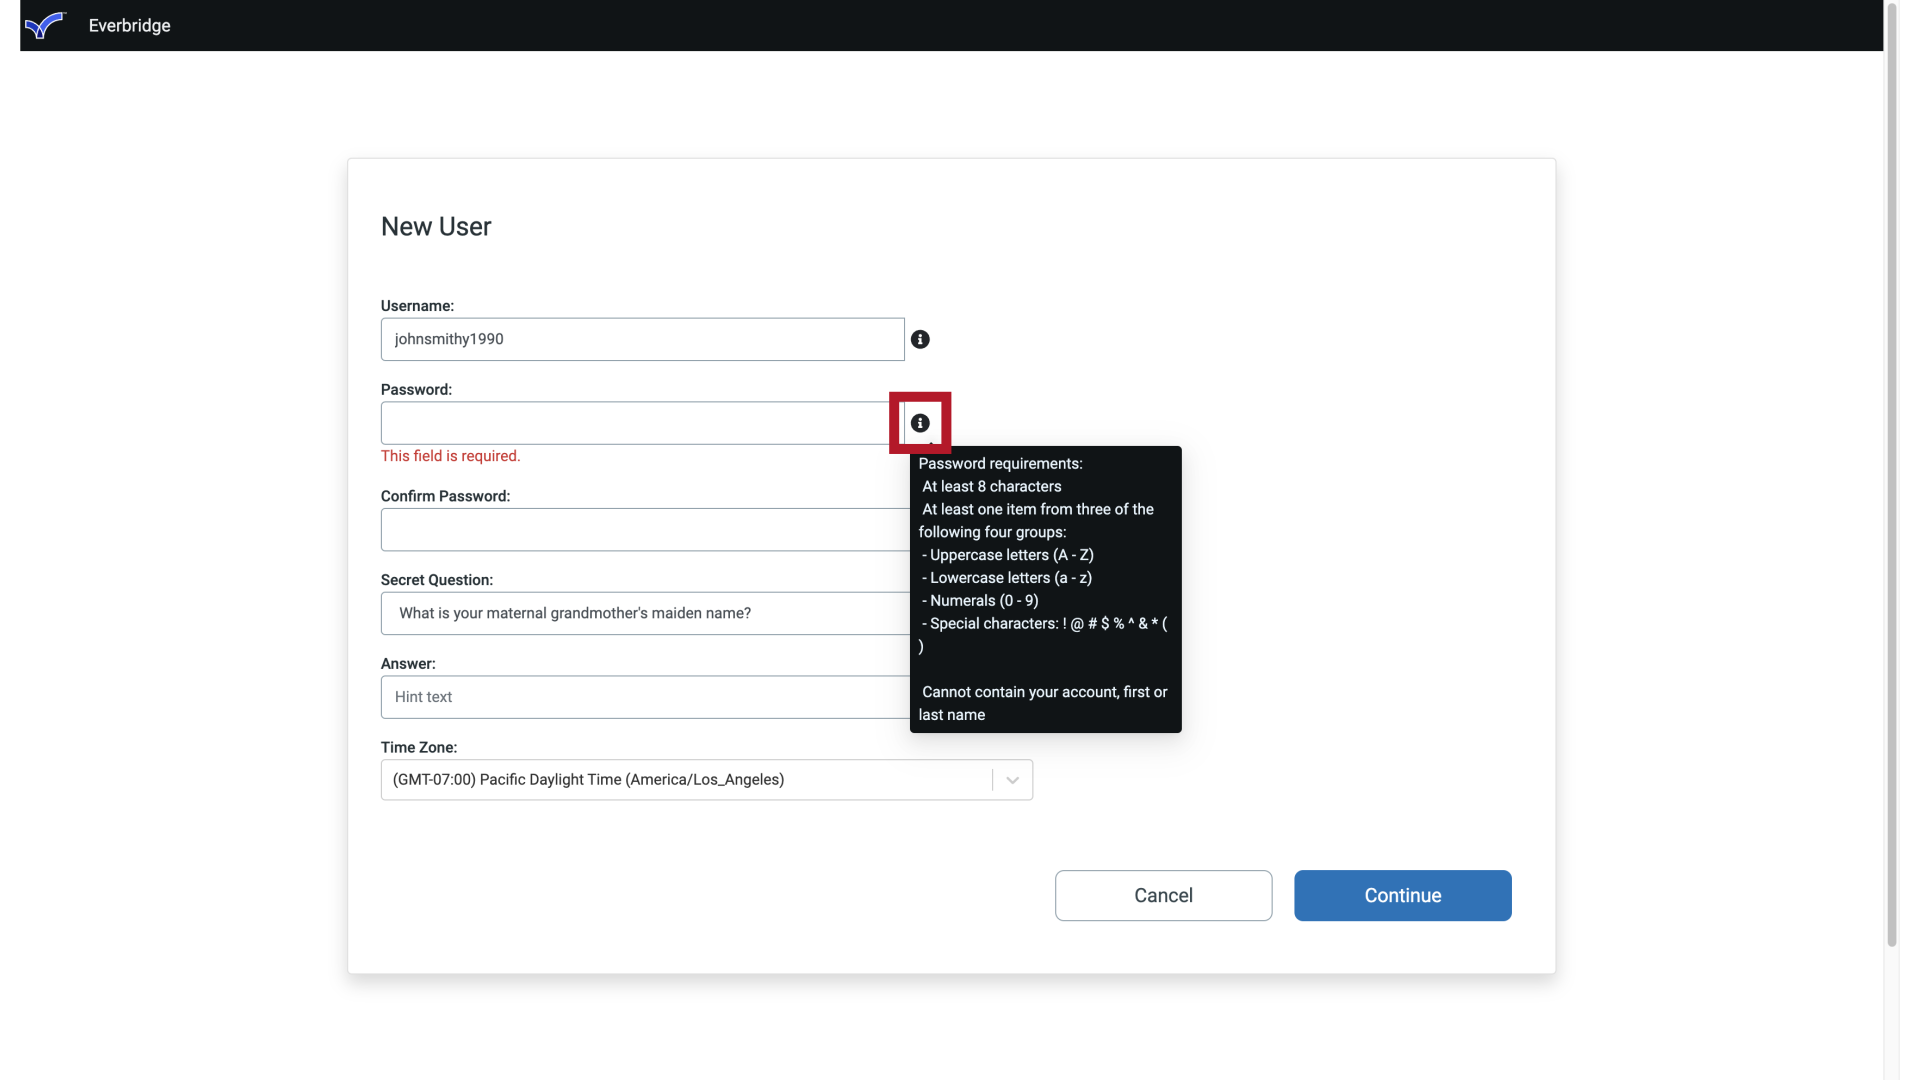
14. Password Creation Requirements
The standard requirements call for at least eight characters, and it must contain at least one item from the three of the following four groups, uppercase letters, lowercase letters, numerals, and special characters such as the exclamation point, the at symbol, the pound sign, the dollar sign, or the percentage sign. Your organization however, can increase the security requirements for your password, calling for it to be at least 12 characters, and have one item from each of those four groups.
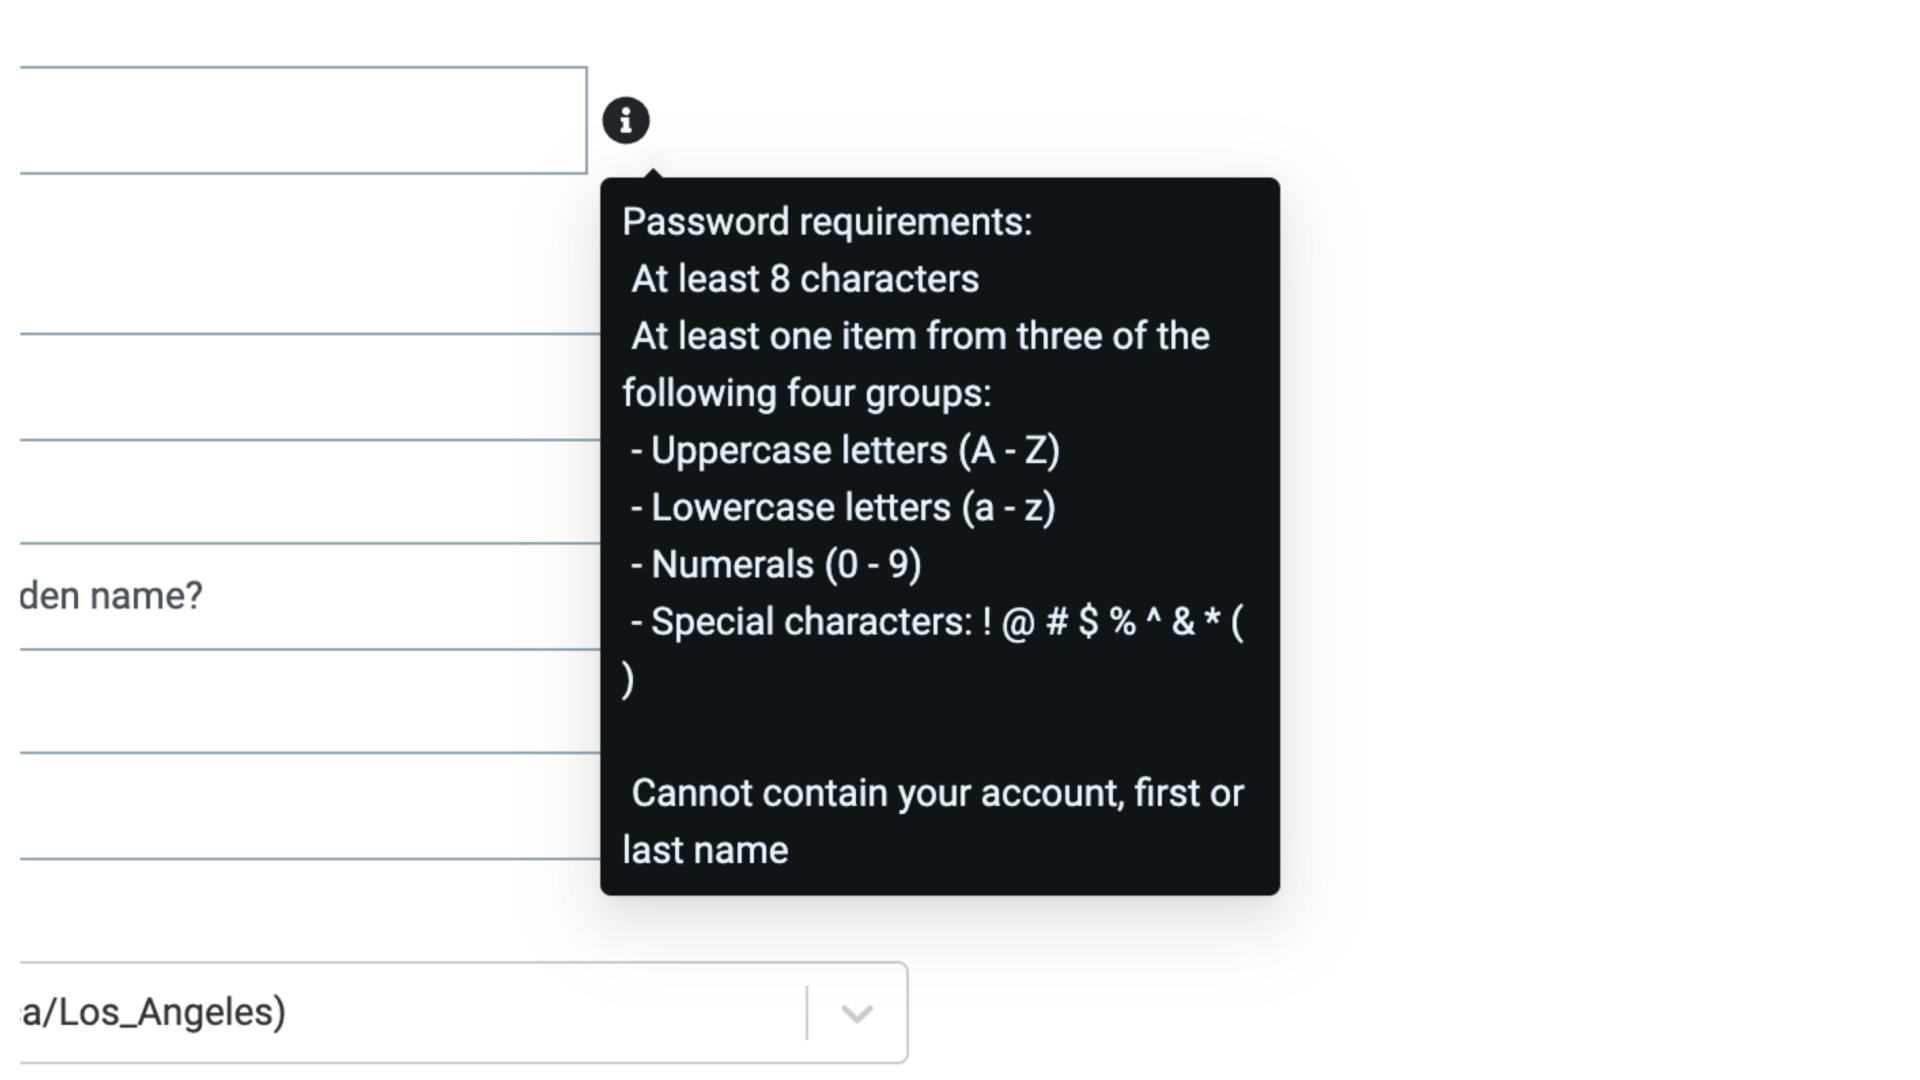
15. Password Creation Confirmation
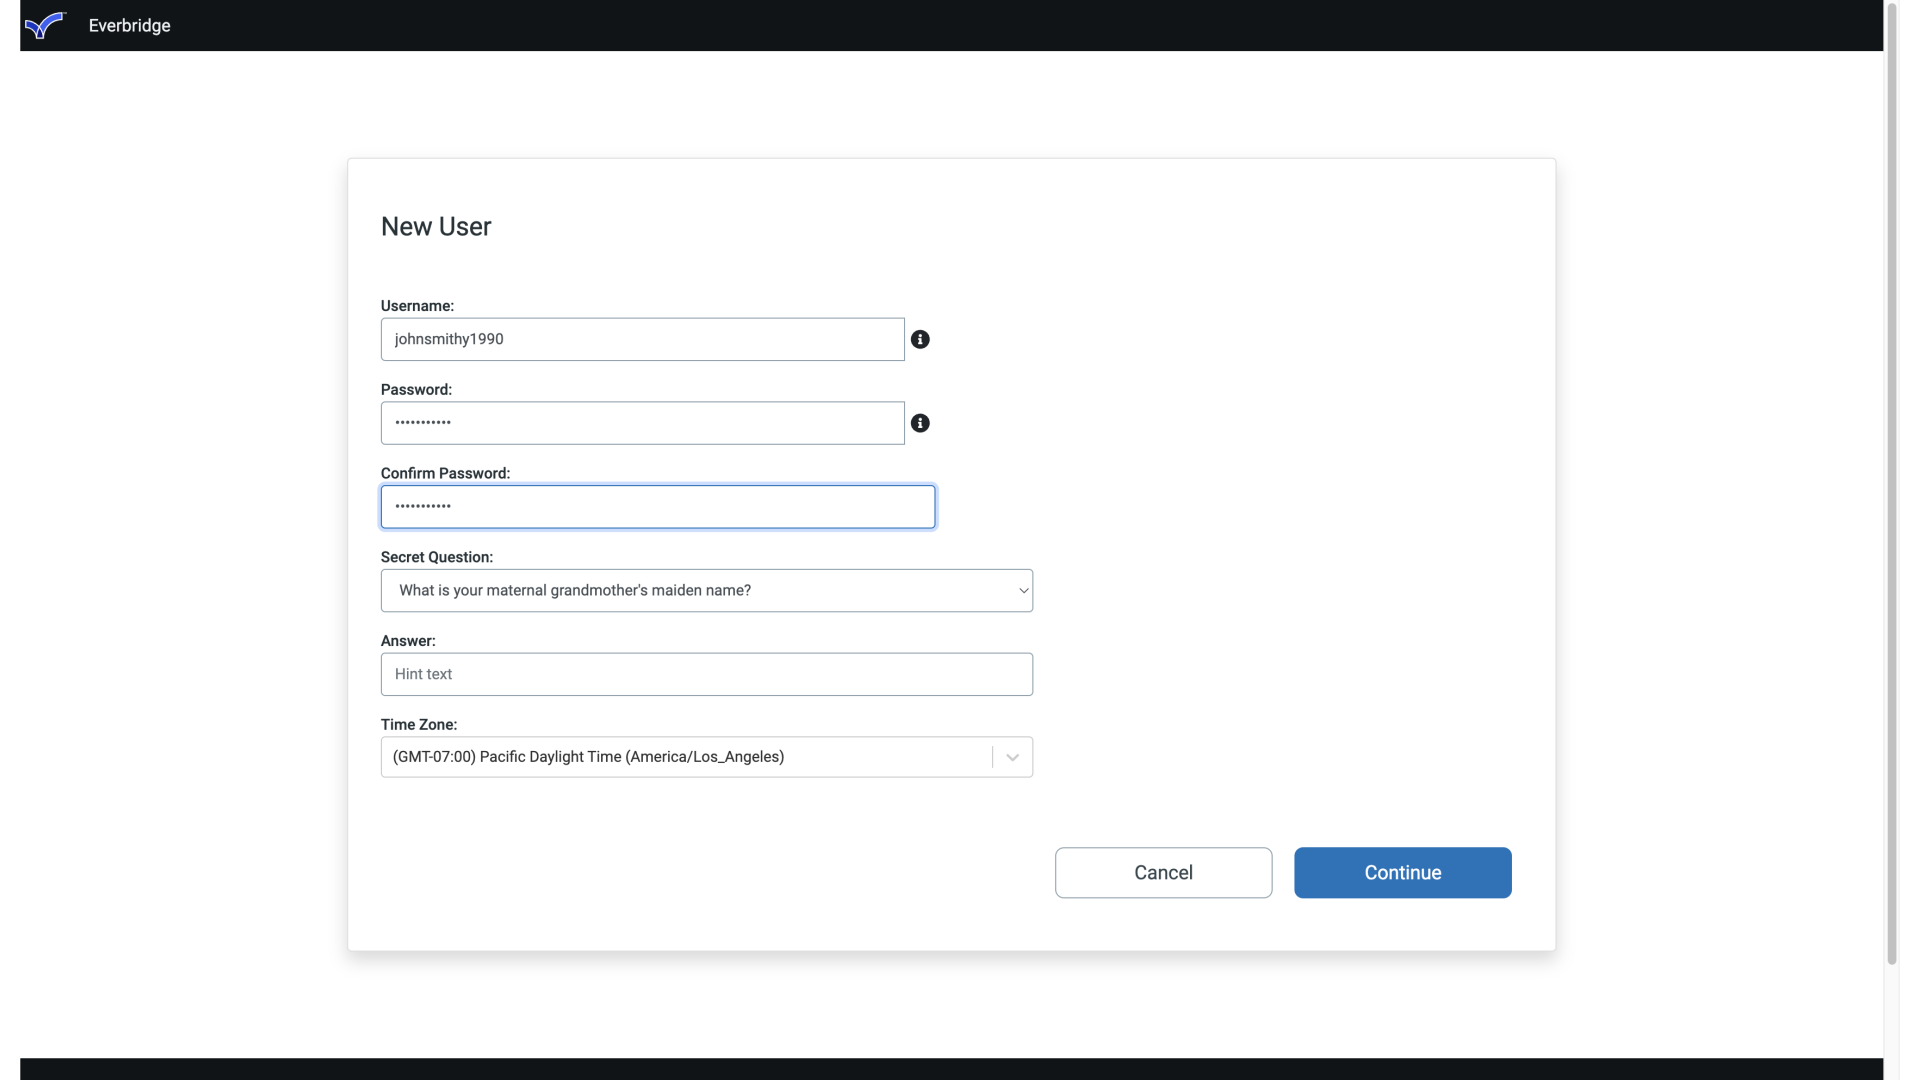
Once you've created your password, you'll be asked to type it in again just to confirm.
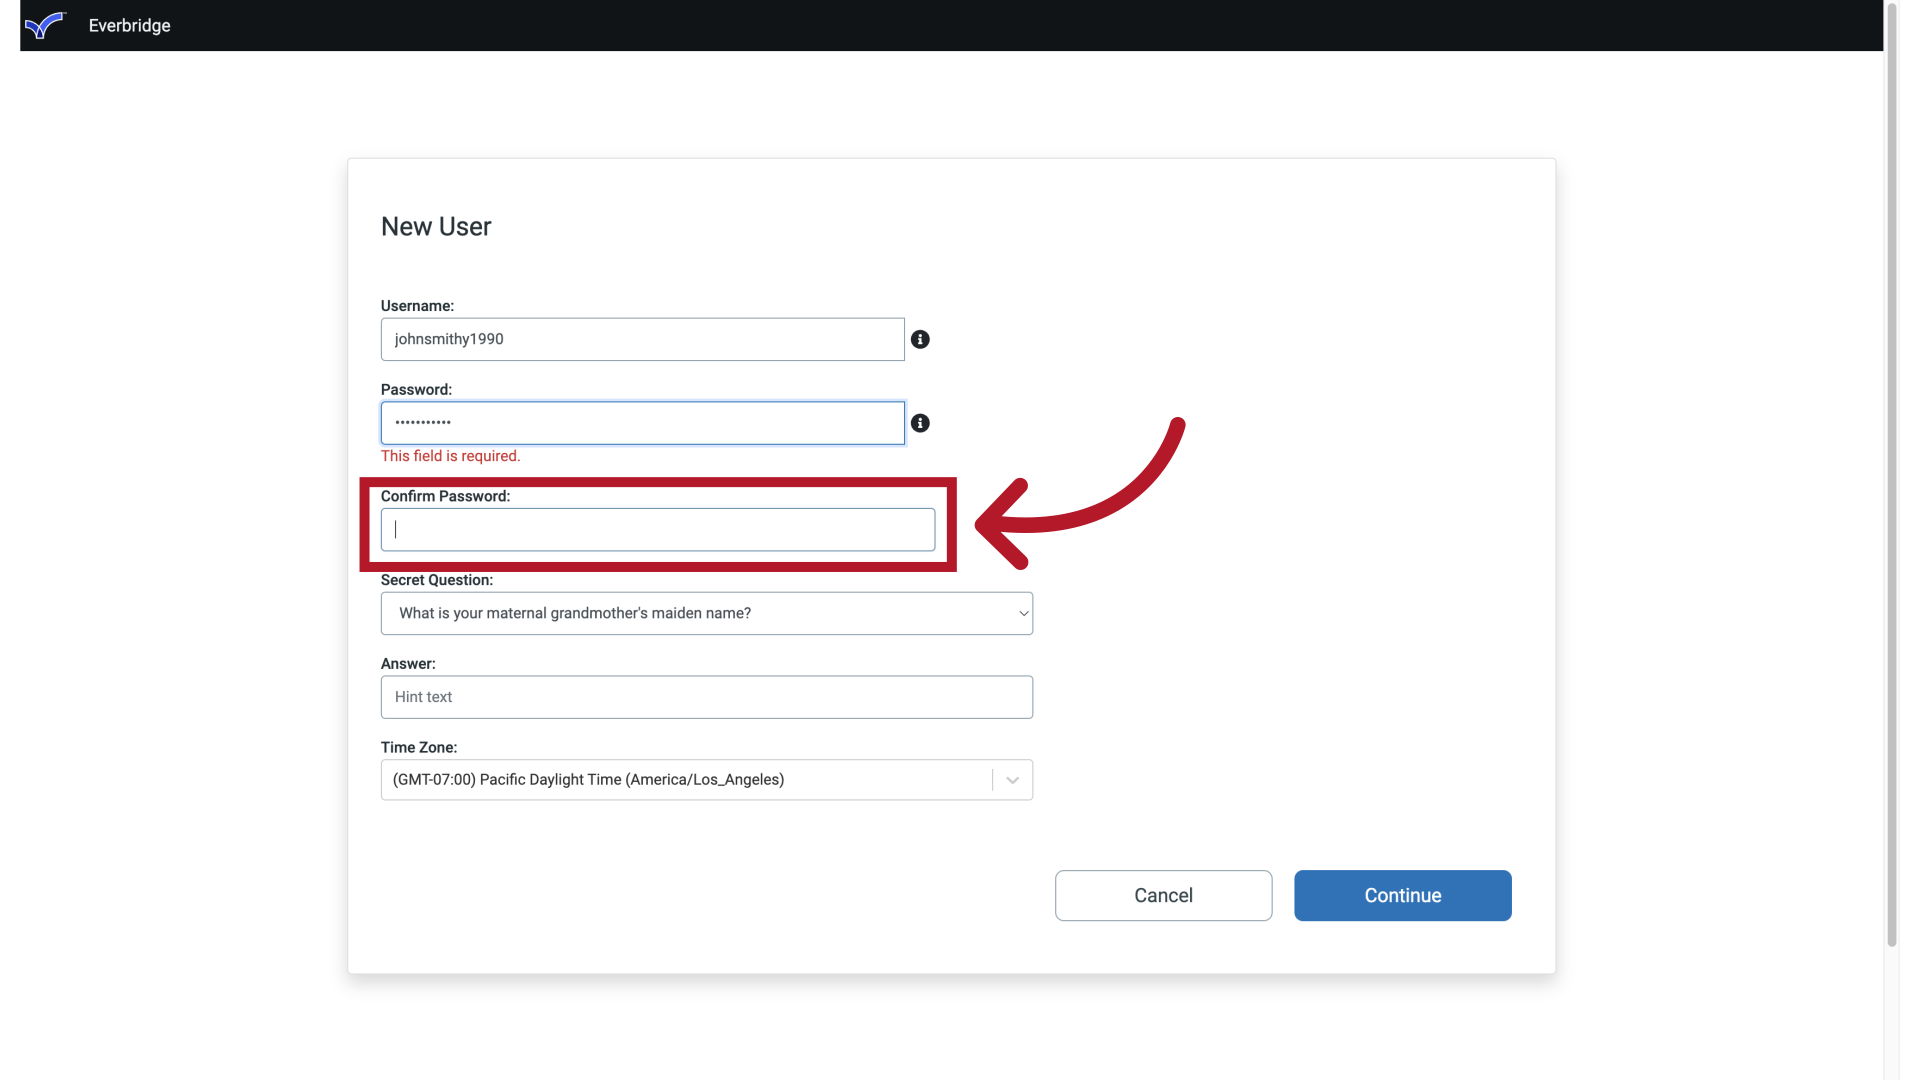
16. Password Creation
17. Secret Question Requirement
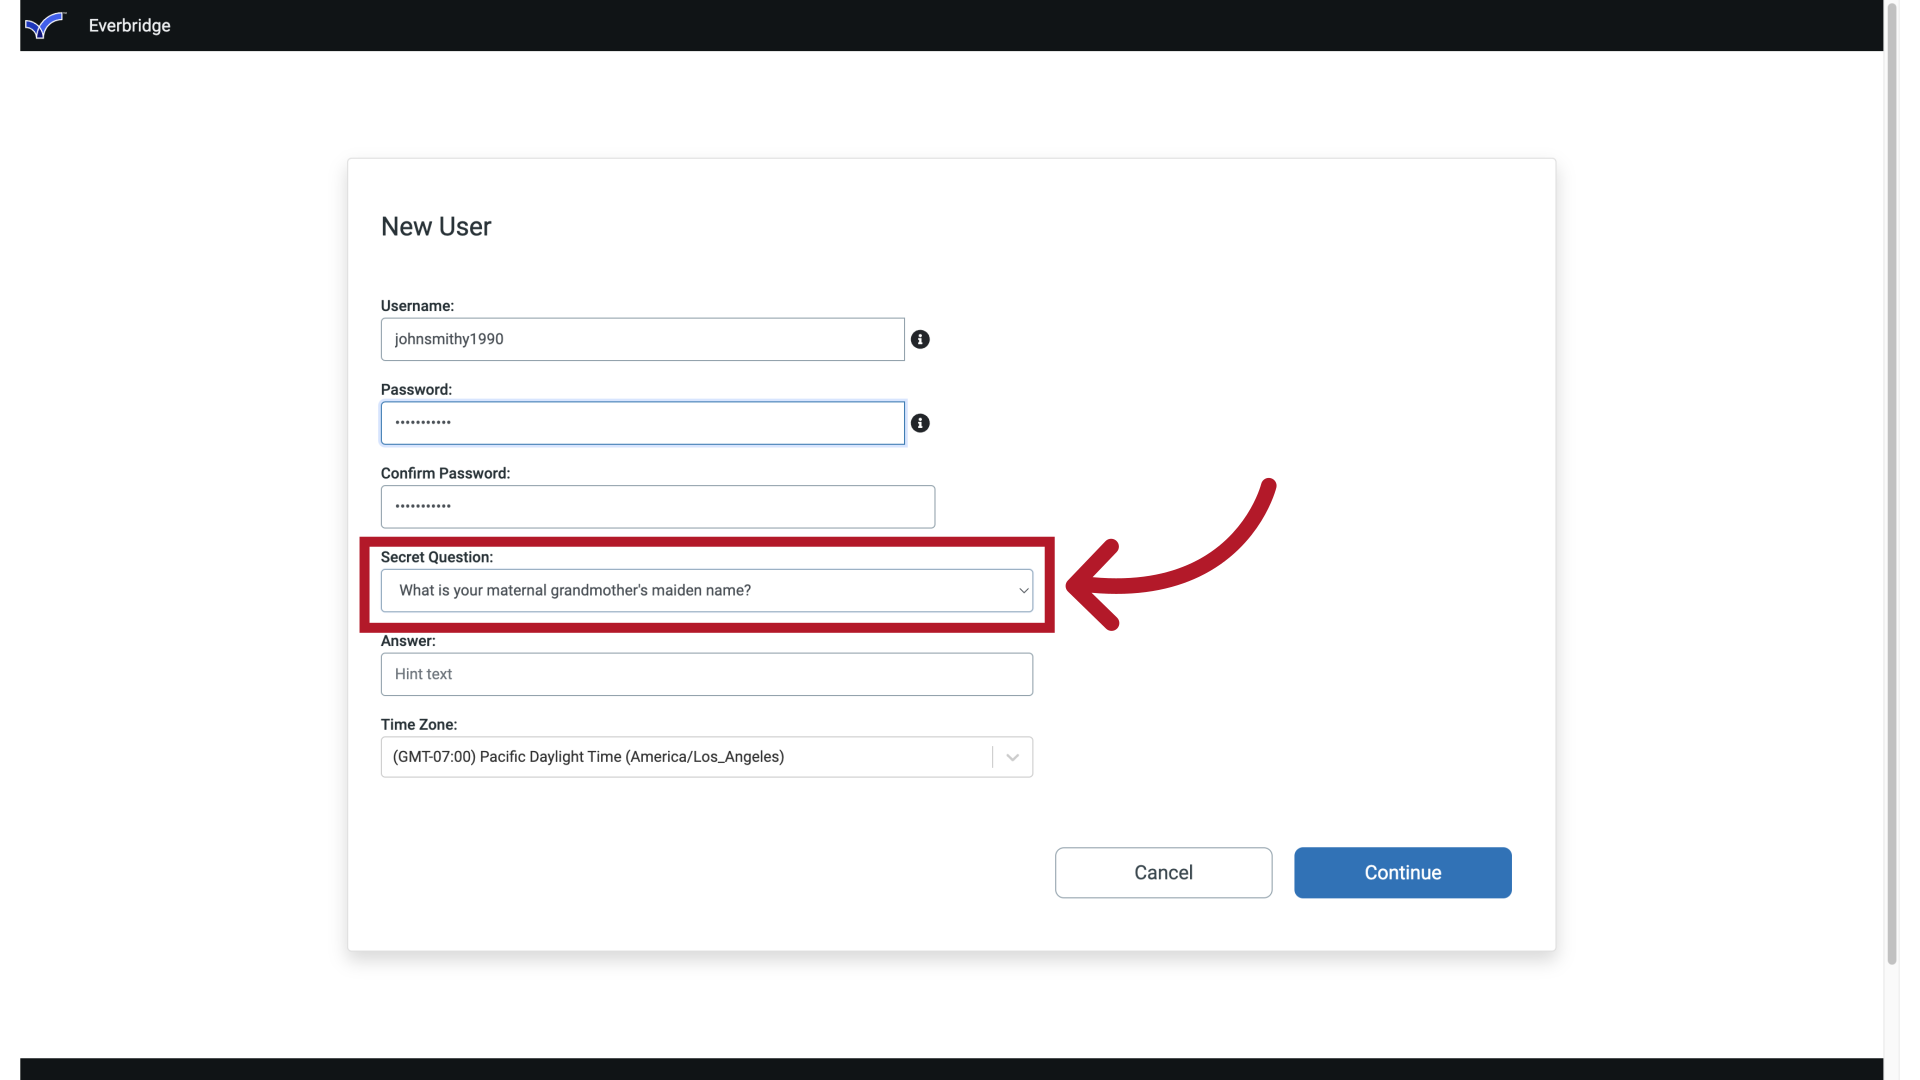
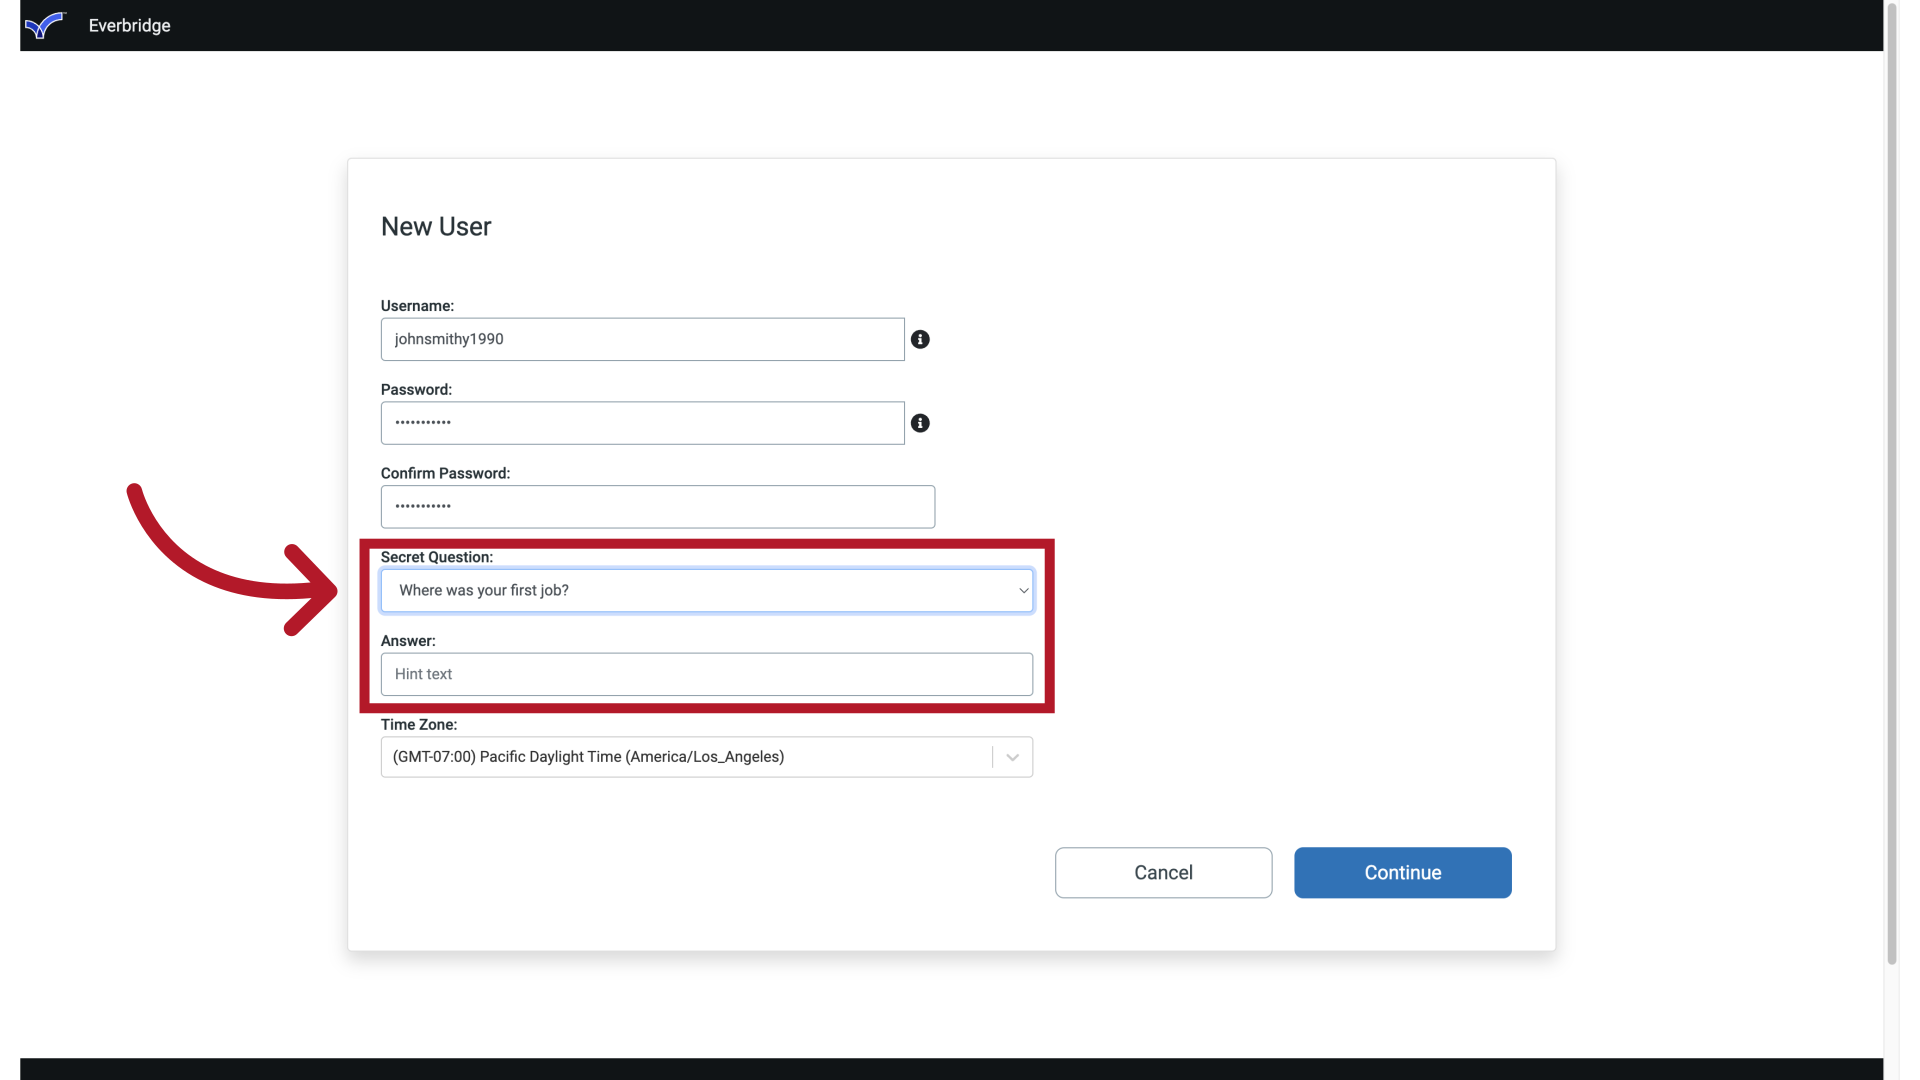
From here you must choose one of the available Security Questions from the drop-down list and fill in the answer.
Security questions are required as an additional security measure to help you reset your password or unlock your account. They provide an extra layer of account protection beyond standard login credentials. The Everbridge Support Representative may ask you to verify your identity using the security question and answer.
18. Secret Question
If the system ever needs to confirm your identity for a password reset, it will ask you this question. Also, If you ever need help from Everbridge Support, the Support Representative may also ask you to verify your identity by asking you this secret question.
Note: Users accessing the Manager Portal via Single Sign-On (SSO) may not see security question options until they complete user registration. To enable security questions, you need to register and create a username and password, which will then provide you with the option to set up security questions.
19. Time Zone
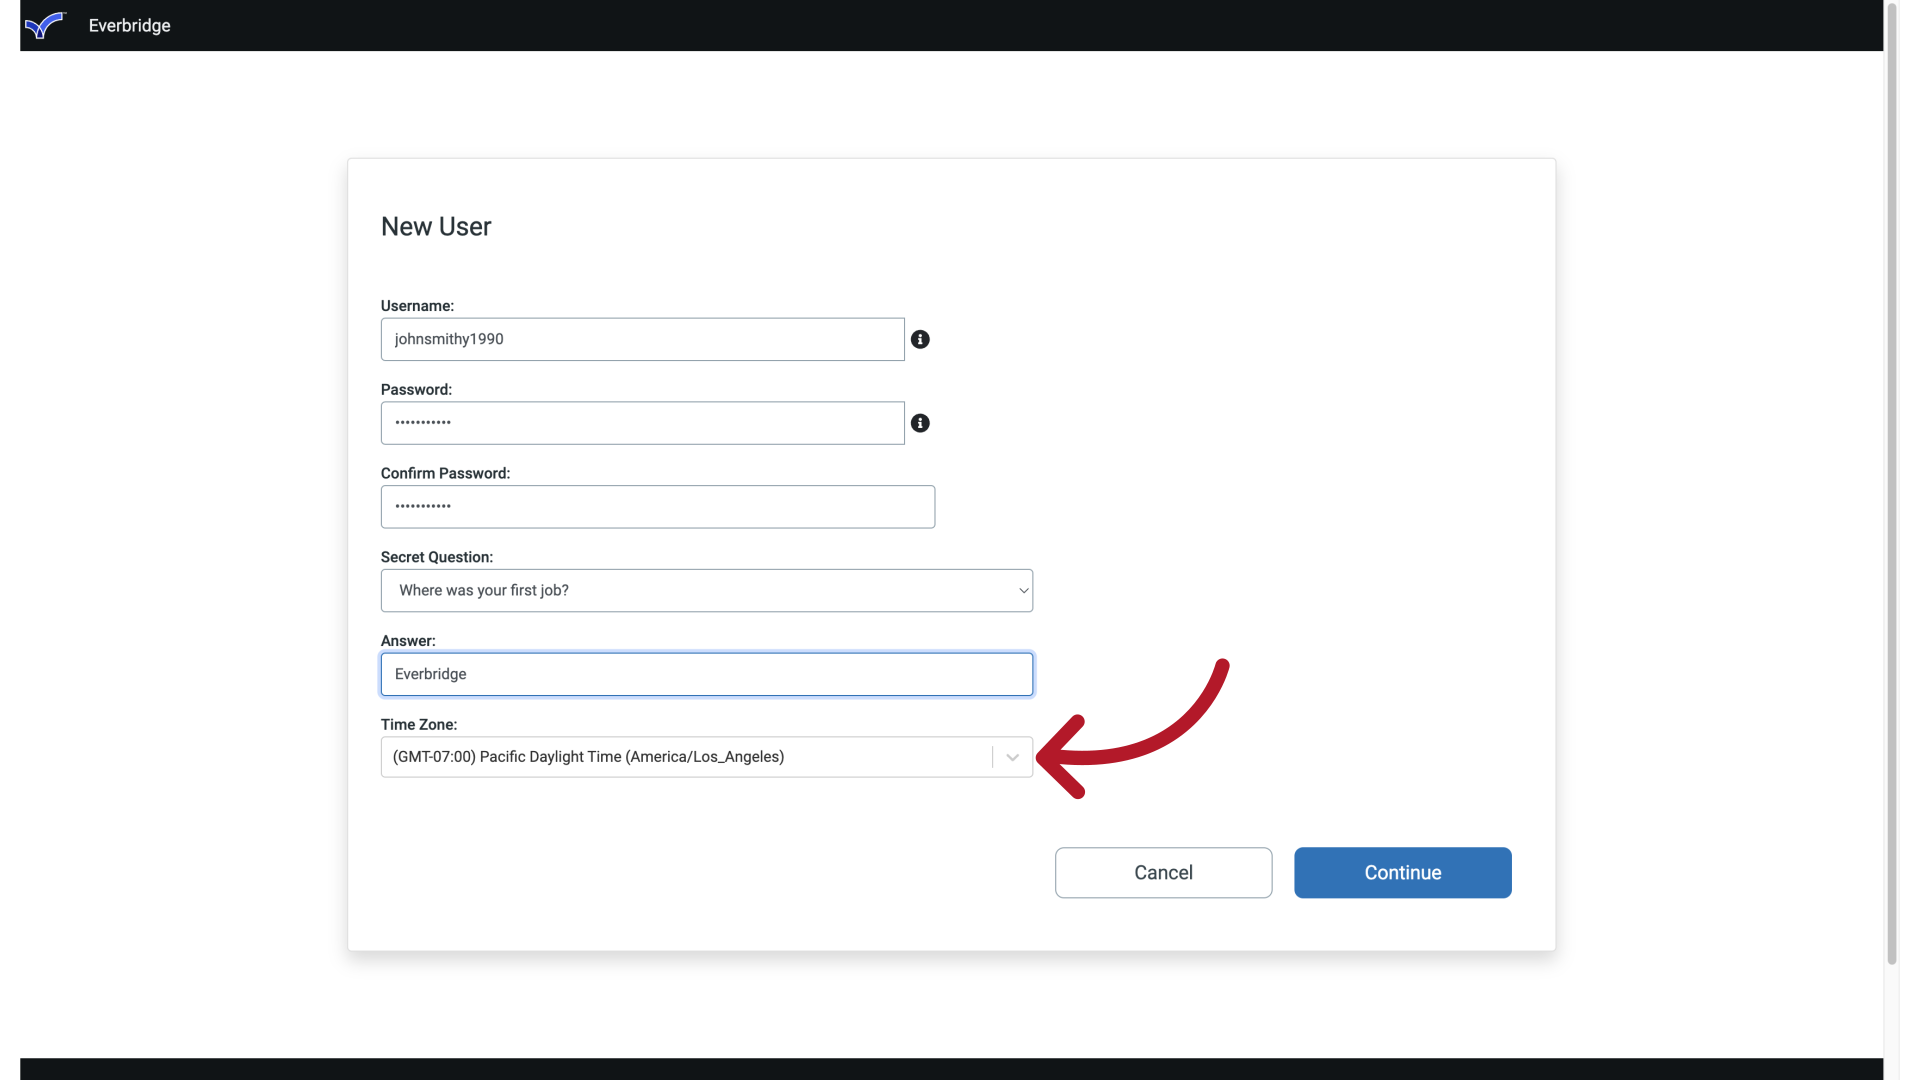
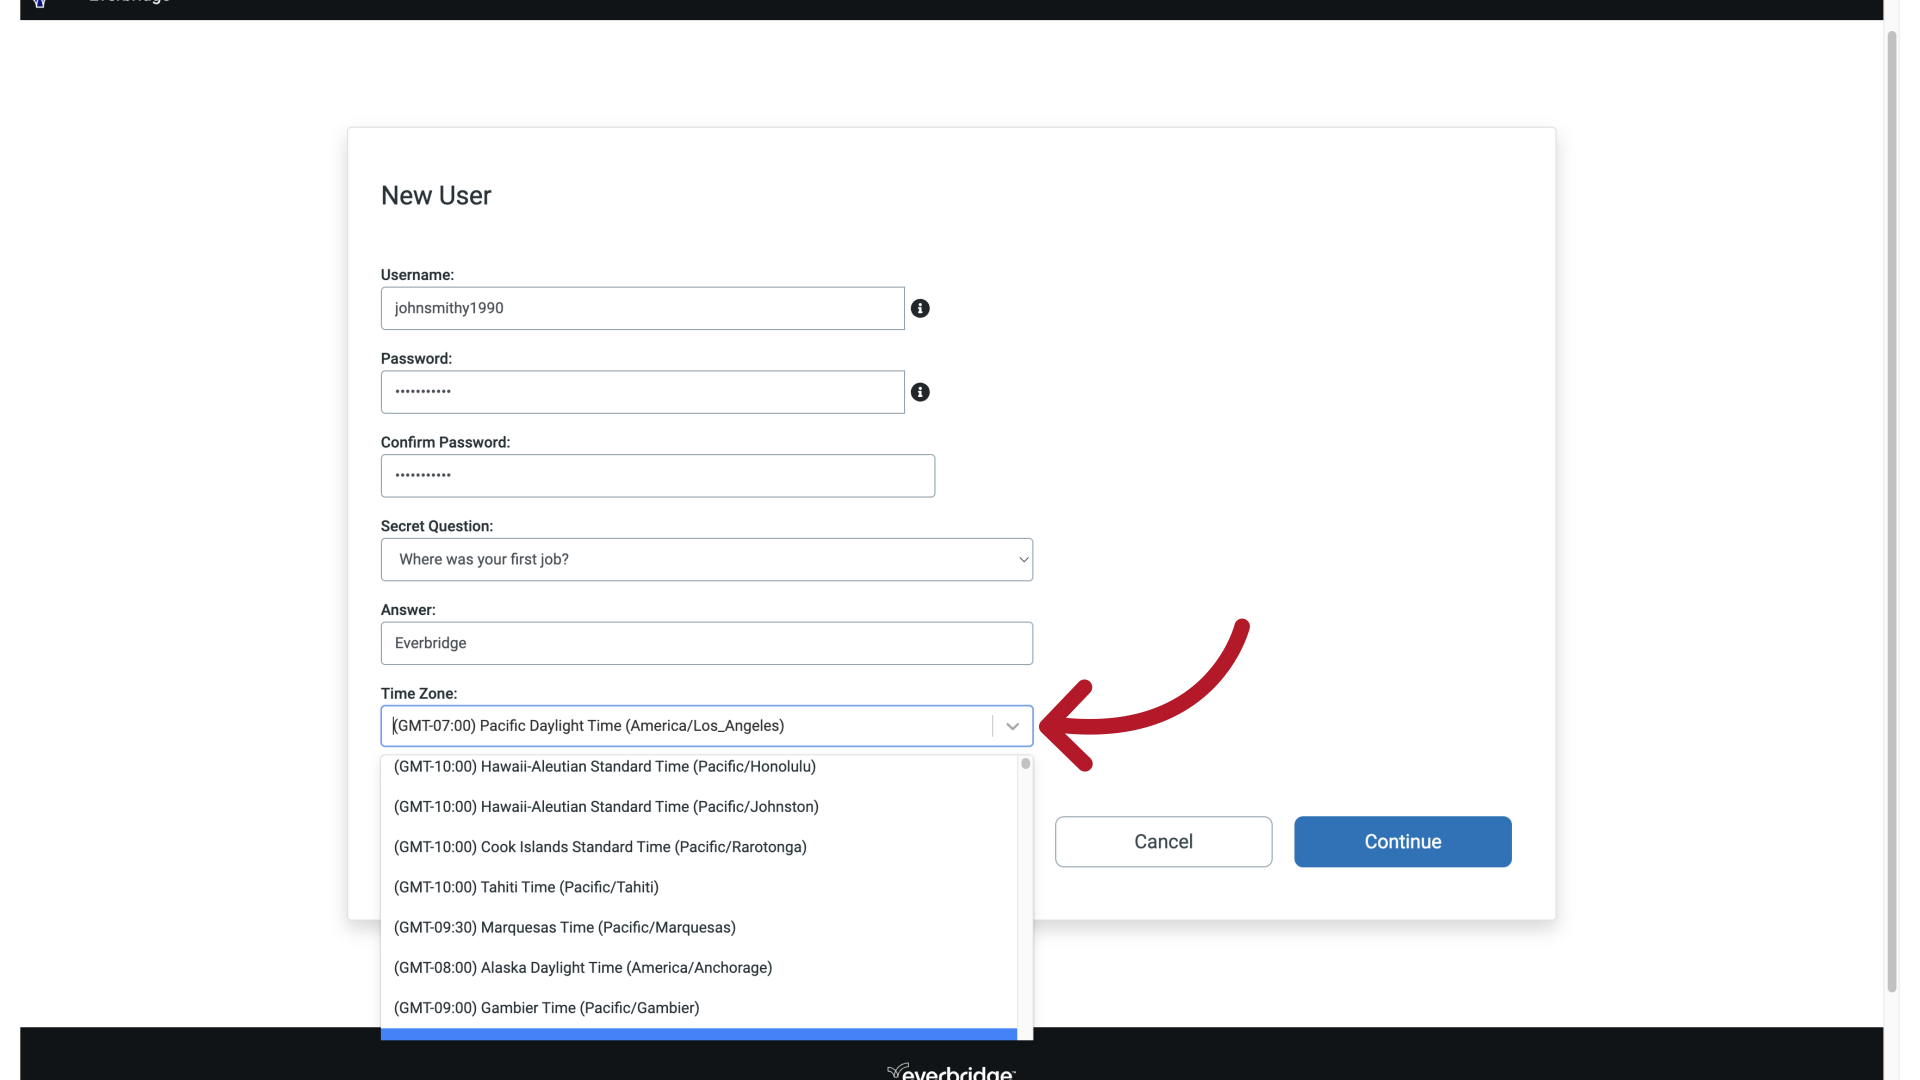
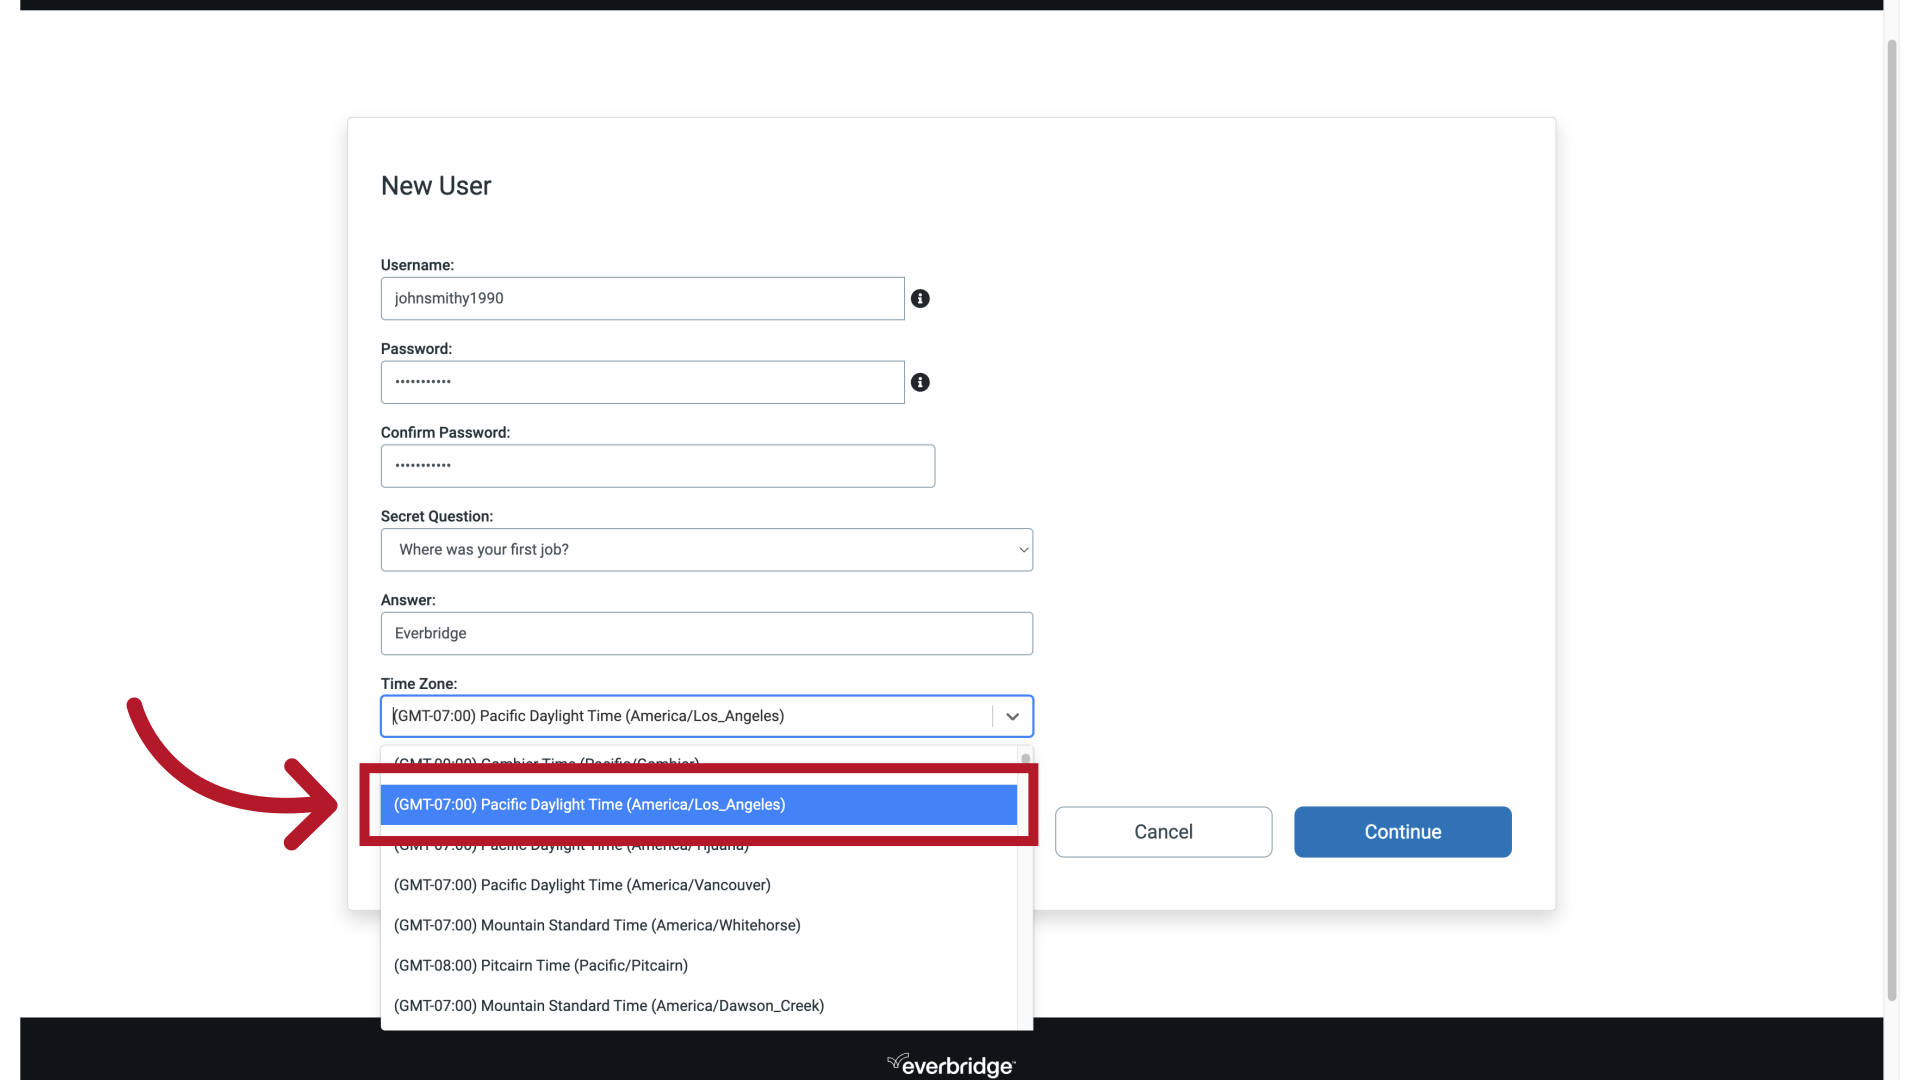
Next, select the time zone you reside in from the drop-down list.
20. Time Zone
Beginning to type something like Pacific Daylight for example, will help you navigate the list.
21. Time Zone
22. Save Changes
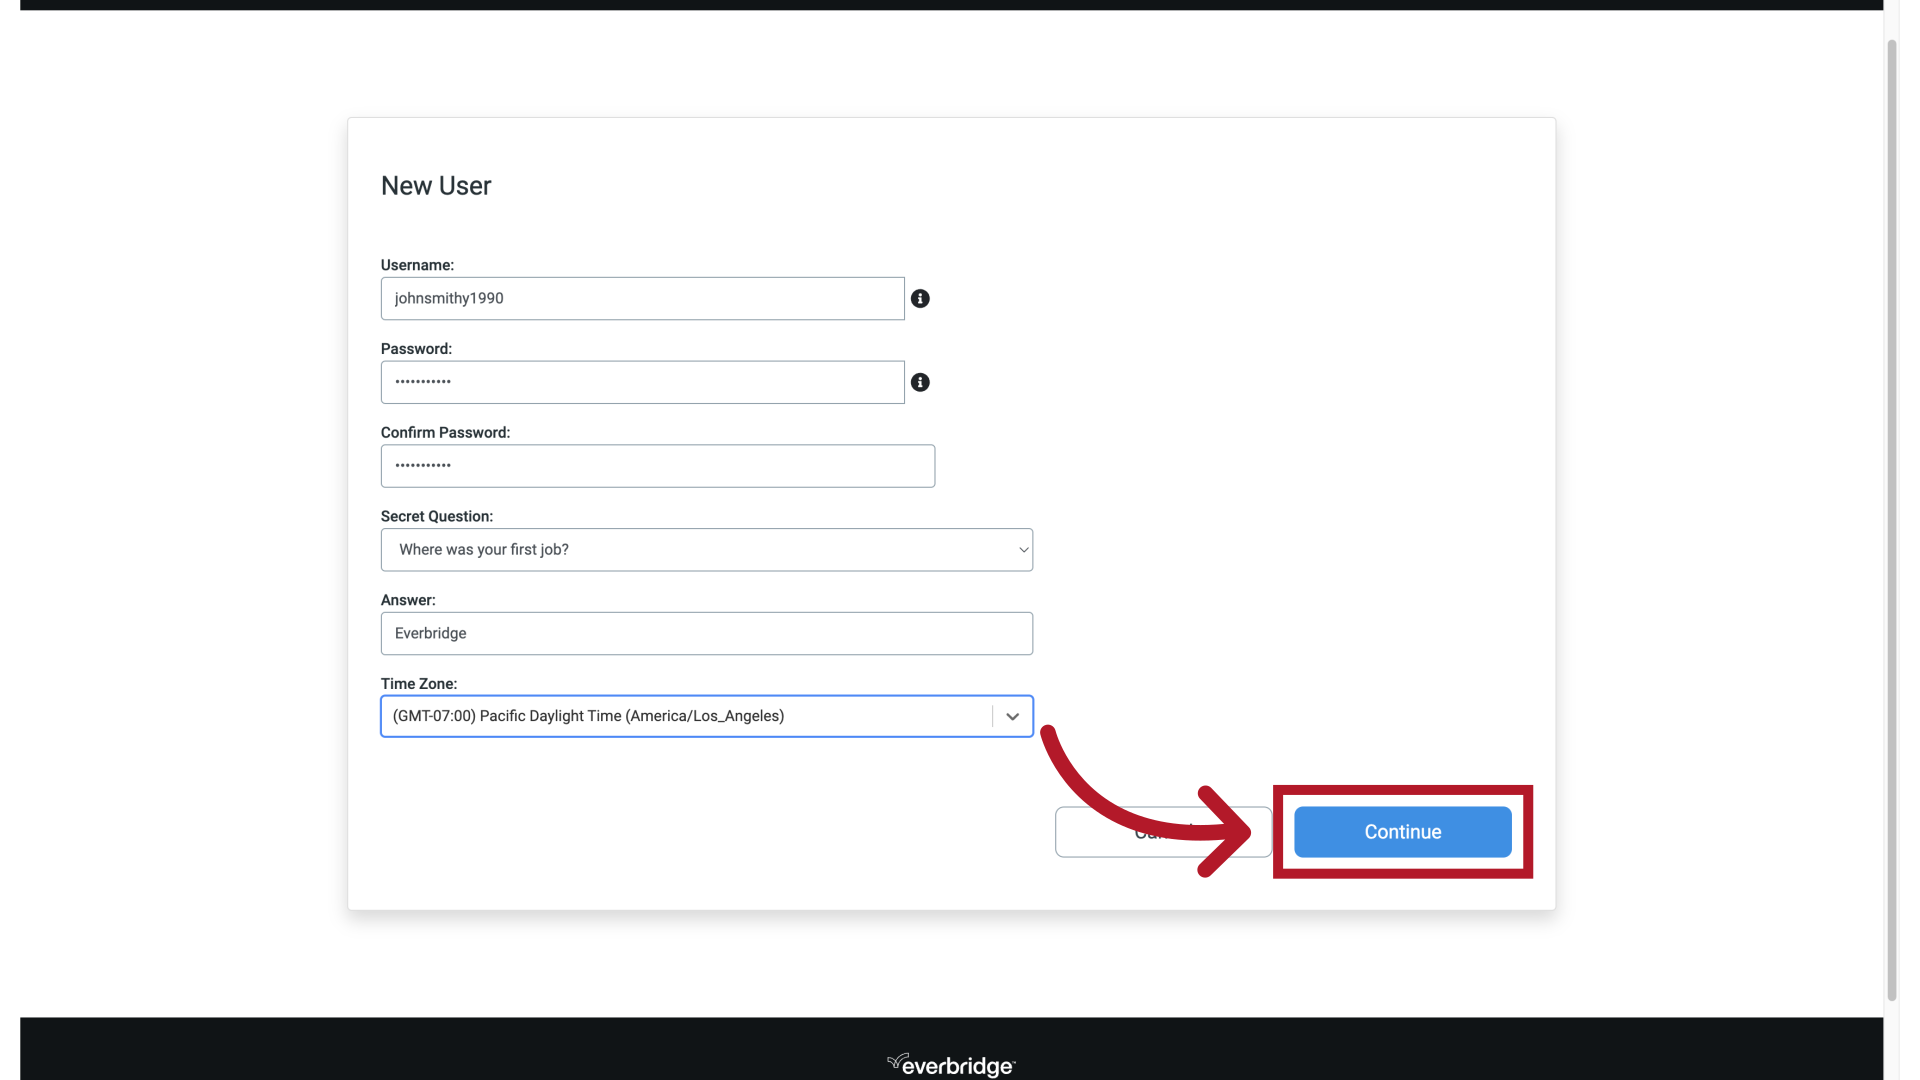
Once you've finished, click Continue.
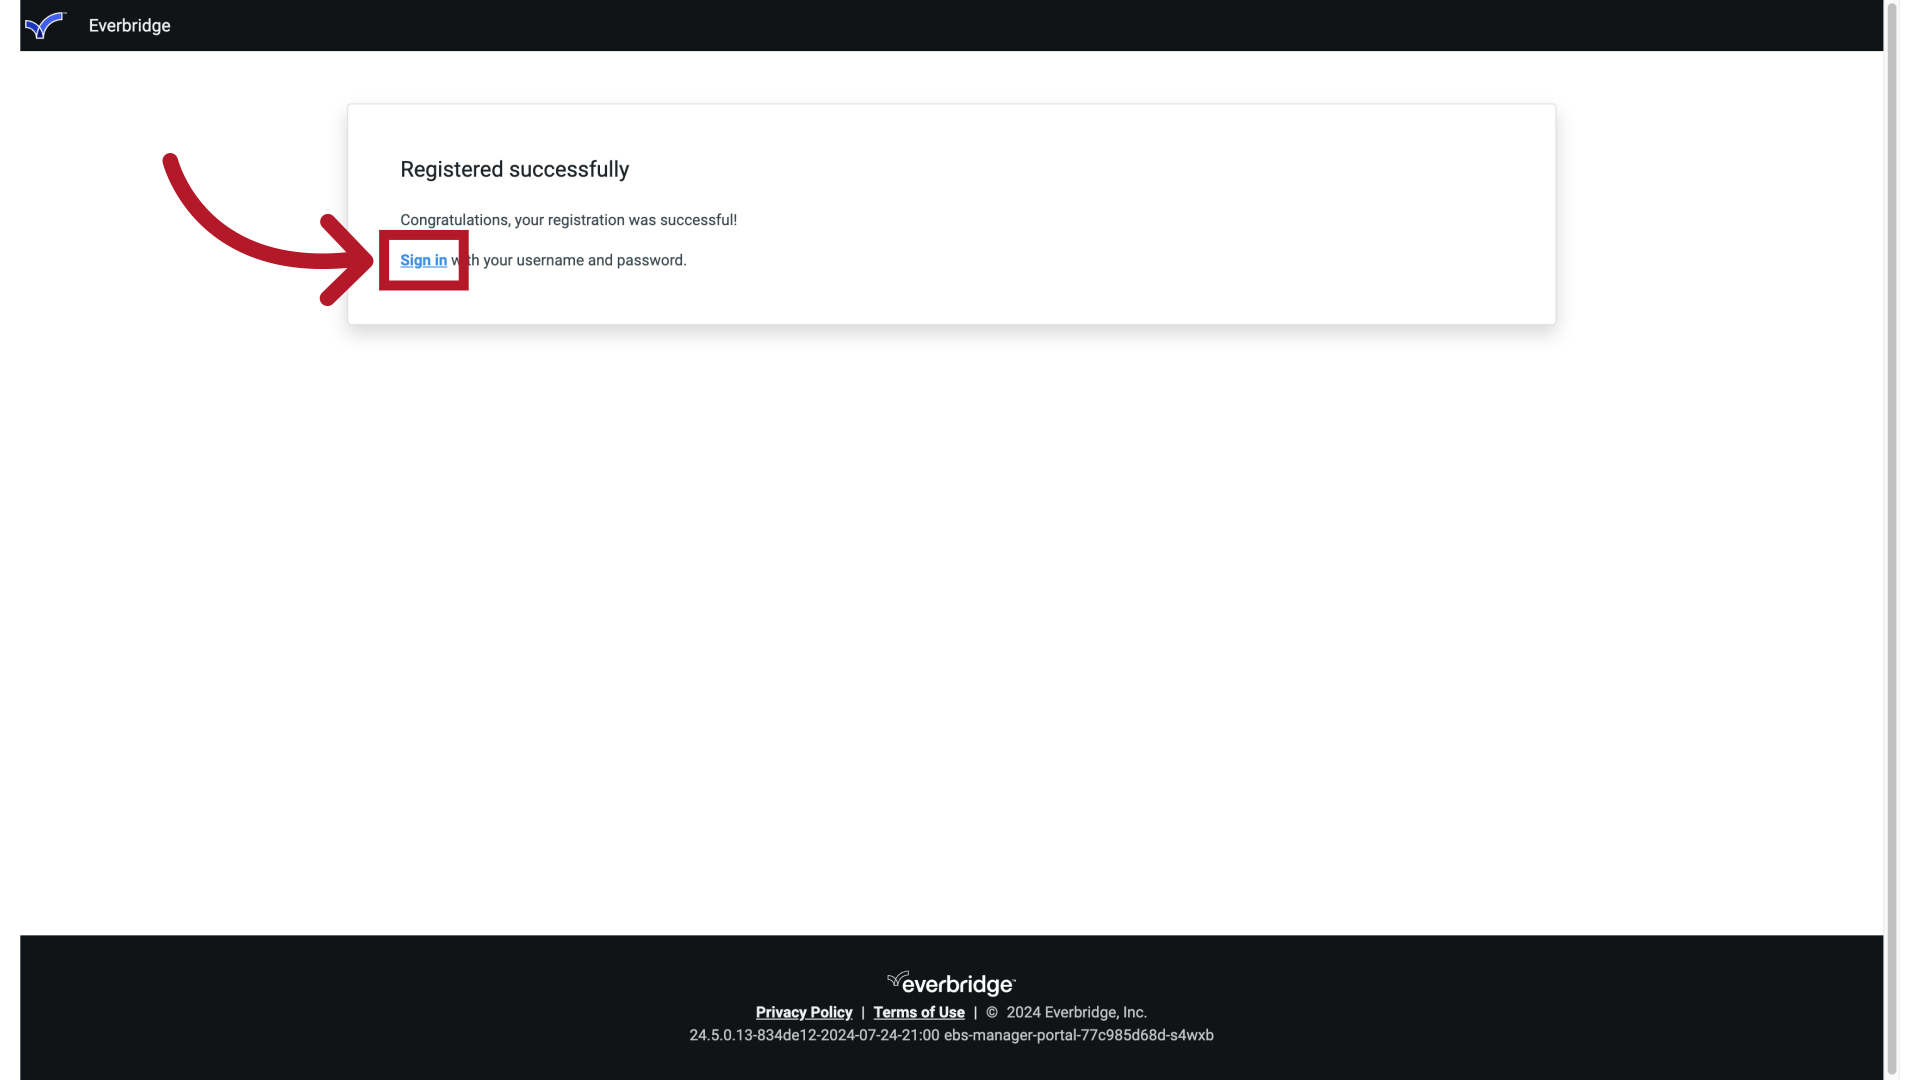
23. Registered Successfully
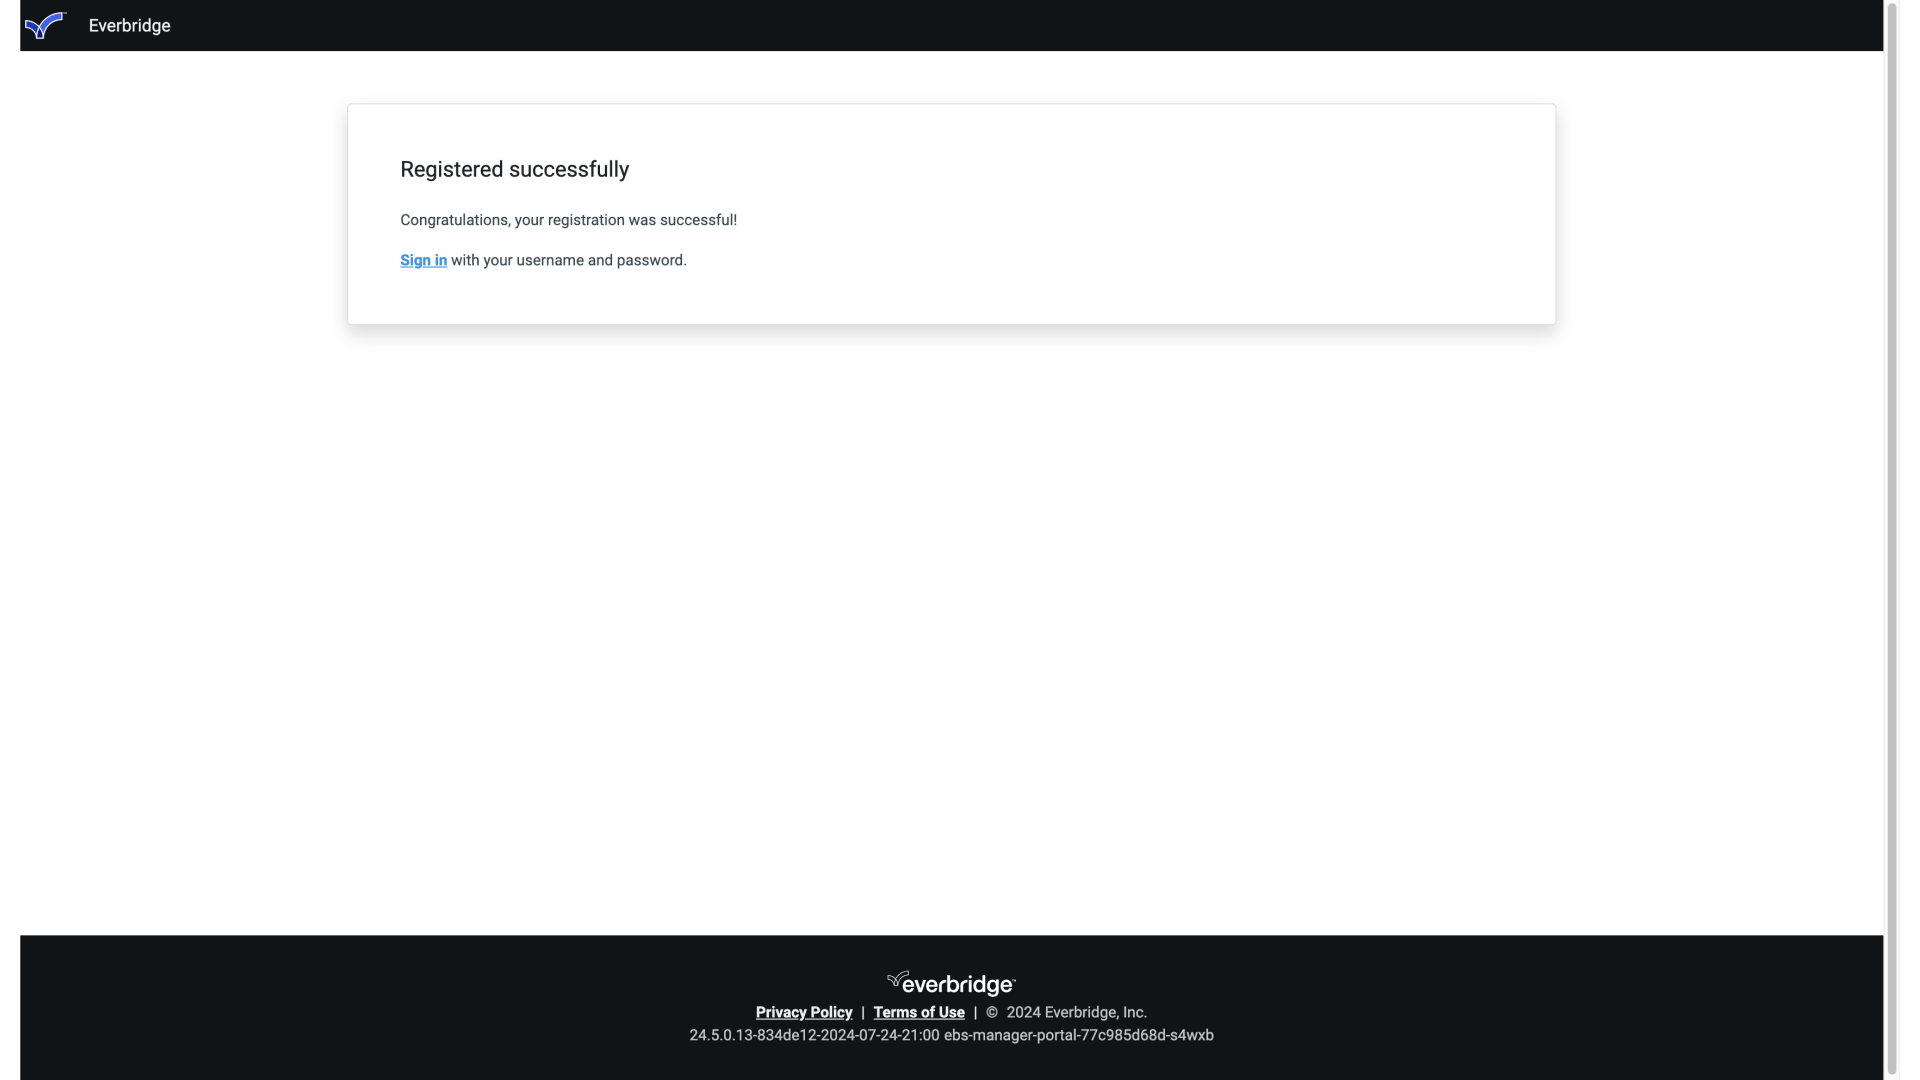
To complete the process and log in to Everbridge. Head over to the login page manager.everbridge.net or manager.everbridge.eu .
24. Sign In
Or, click Sign In.
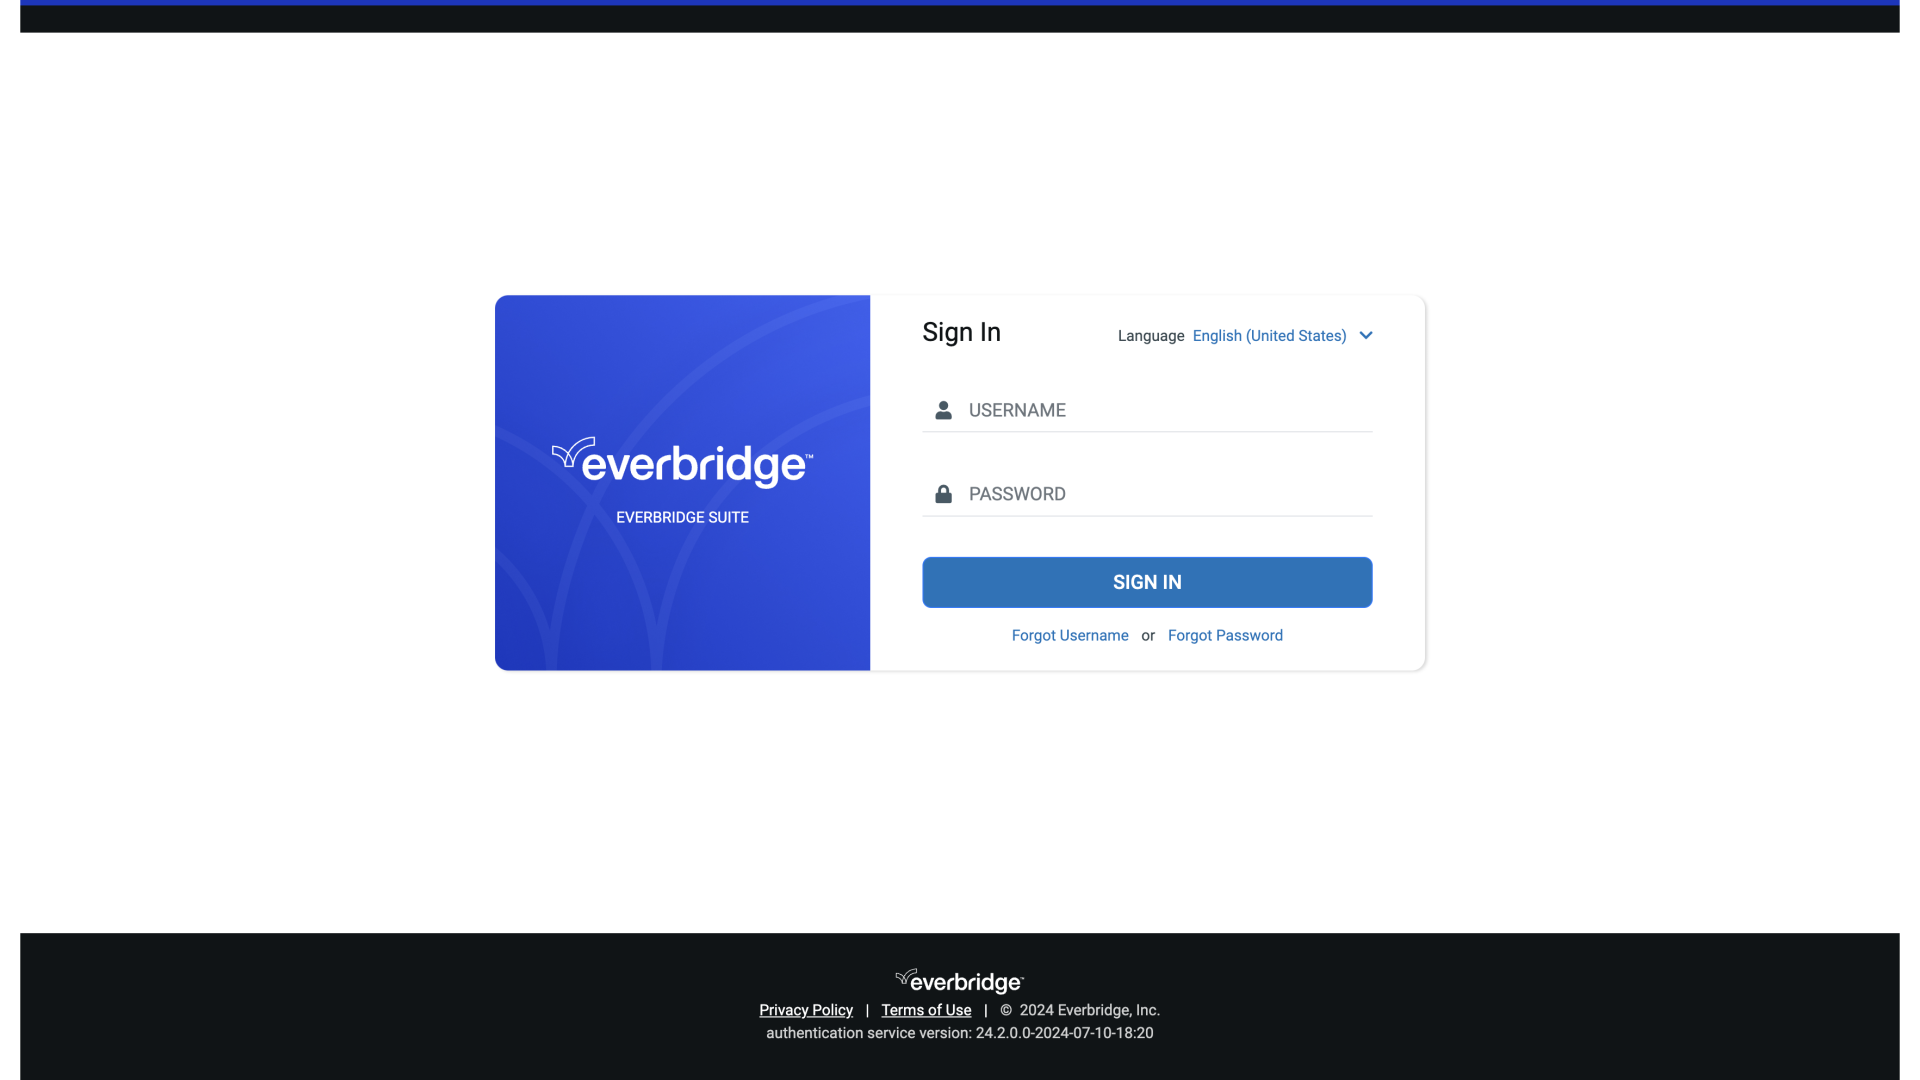
25. Sign In
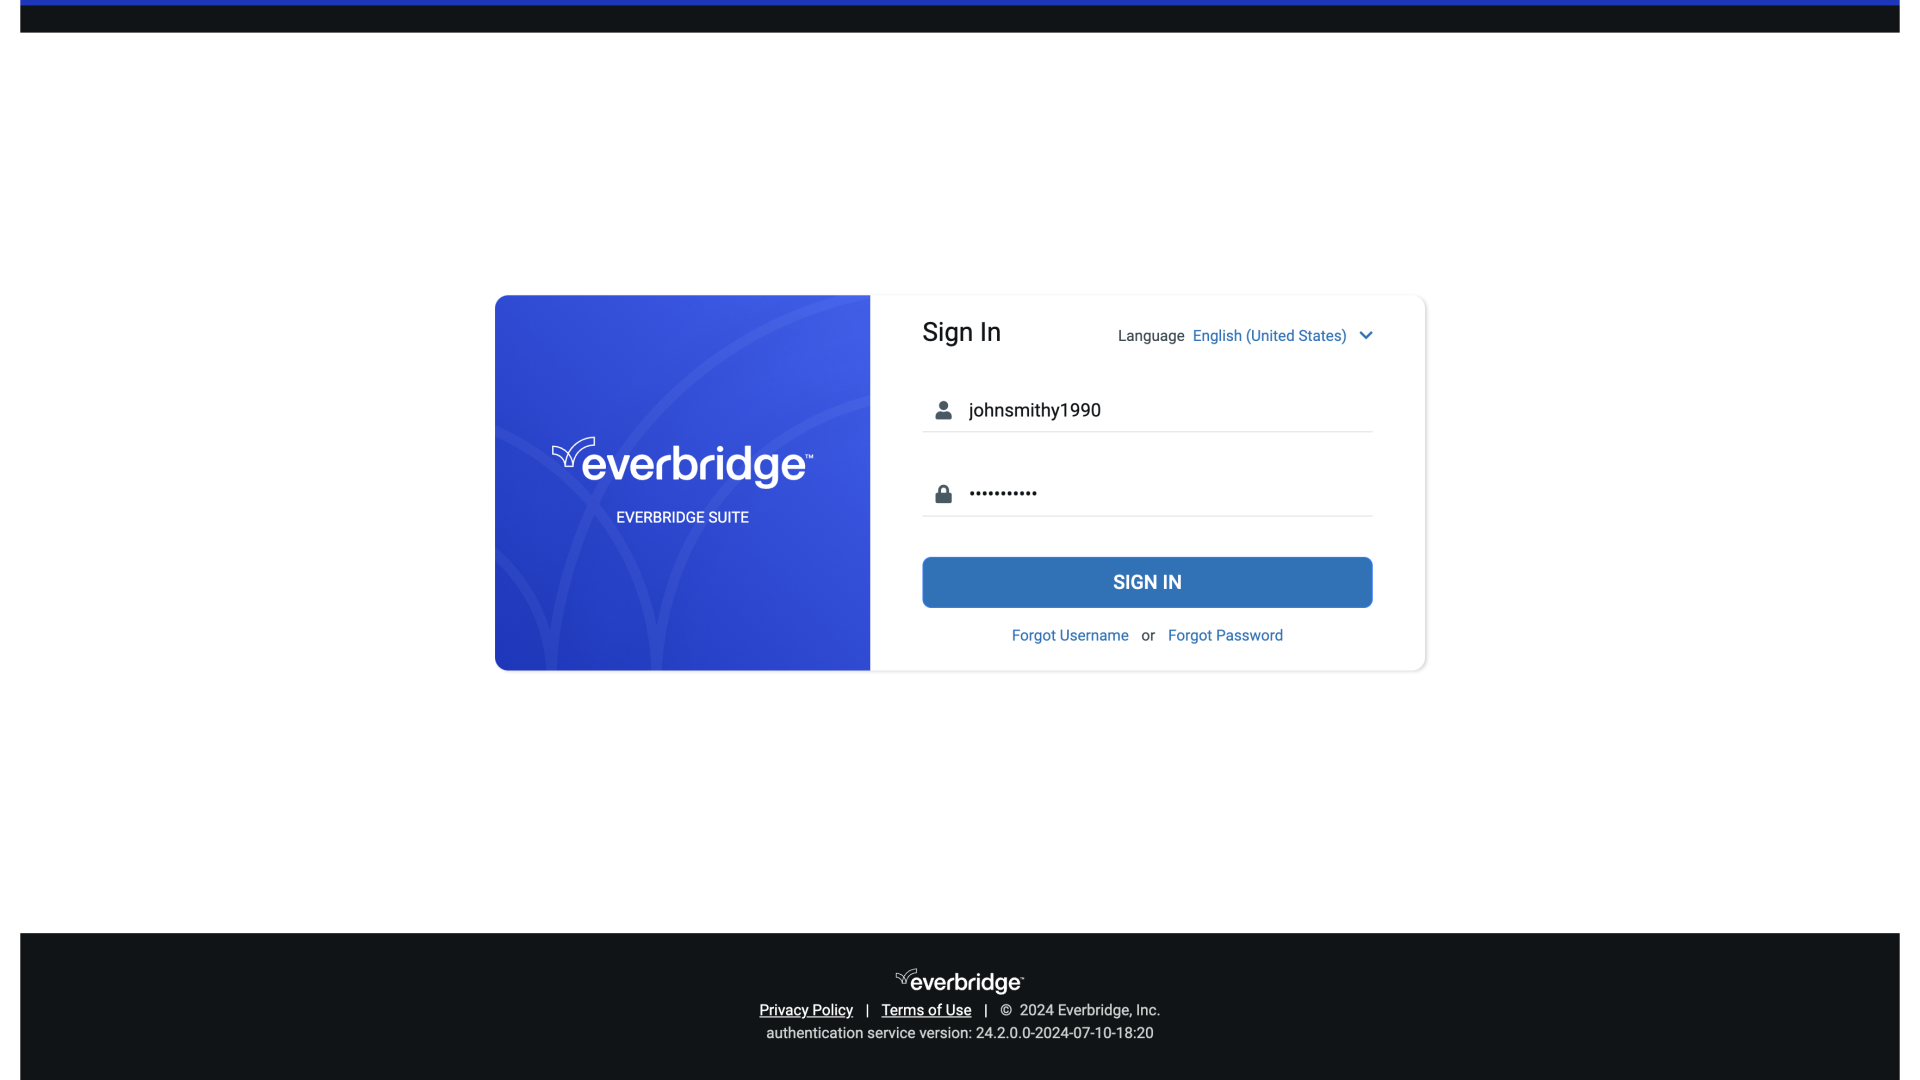
And then enter the credentials you have just created.
26. Sign In
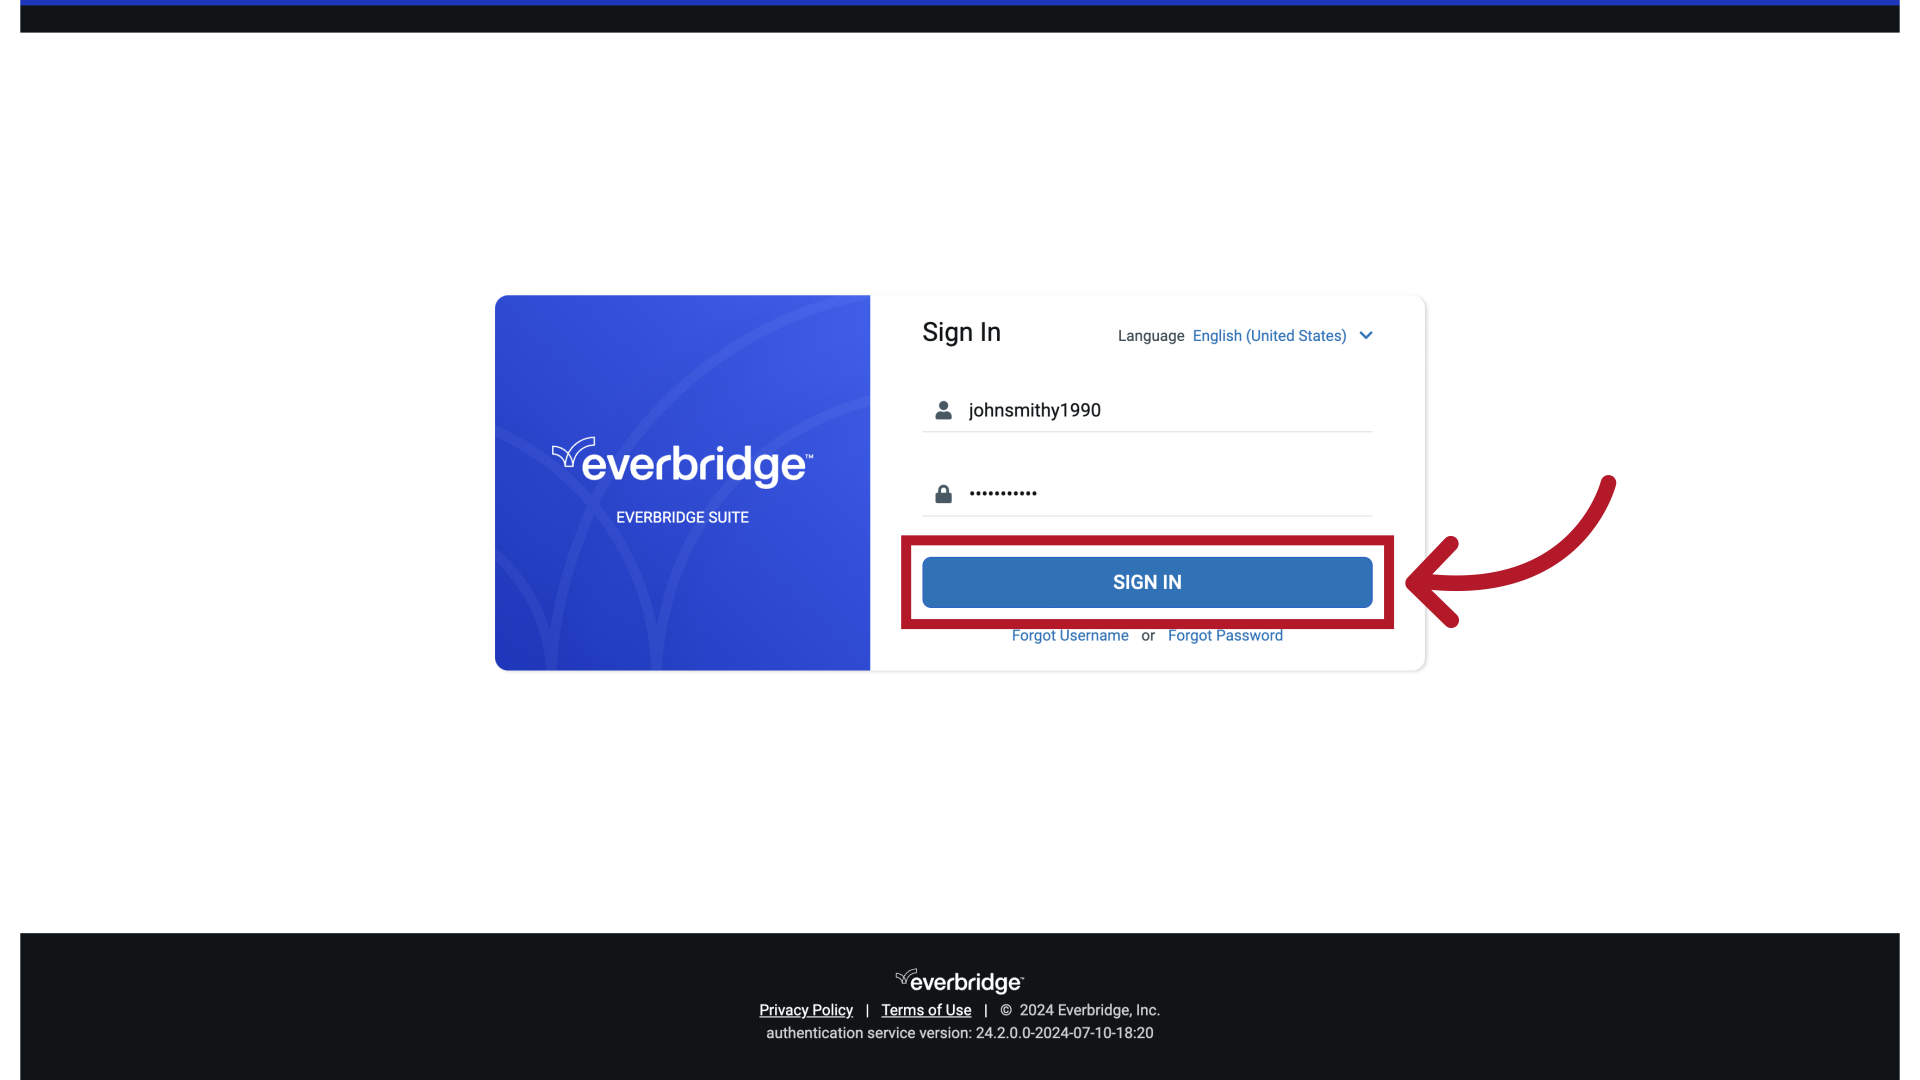
27. Sign In
Then select "Sign in."
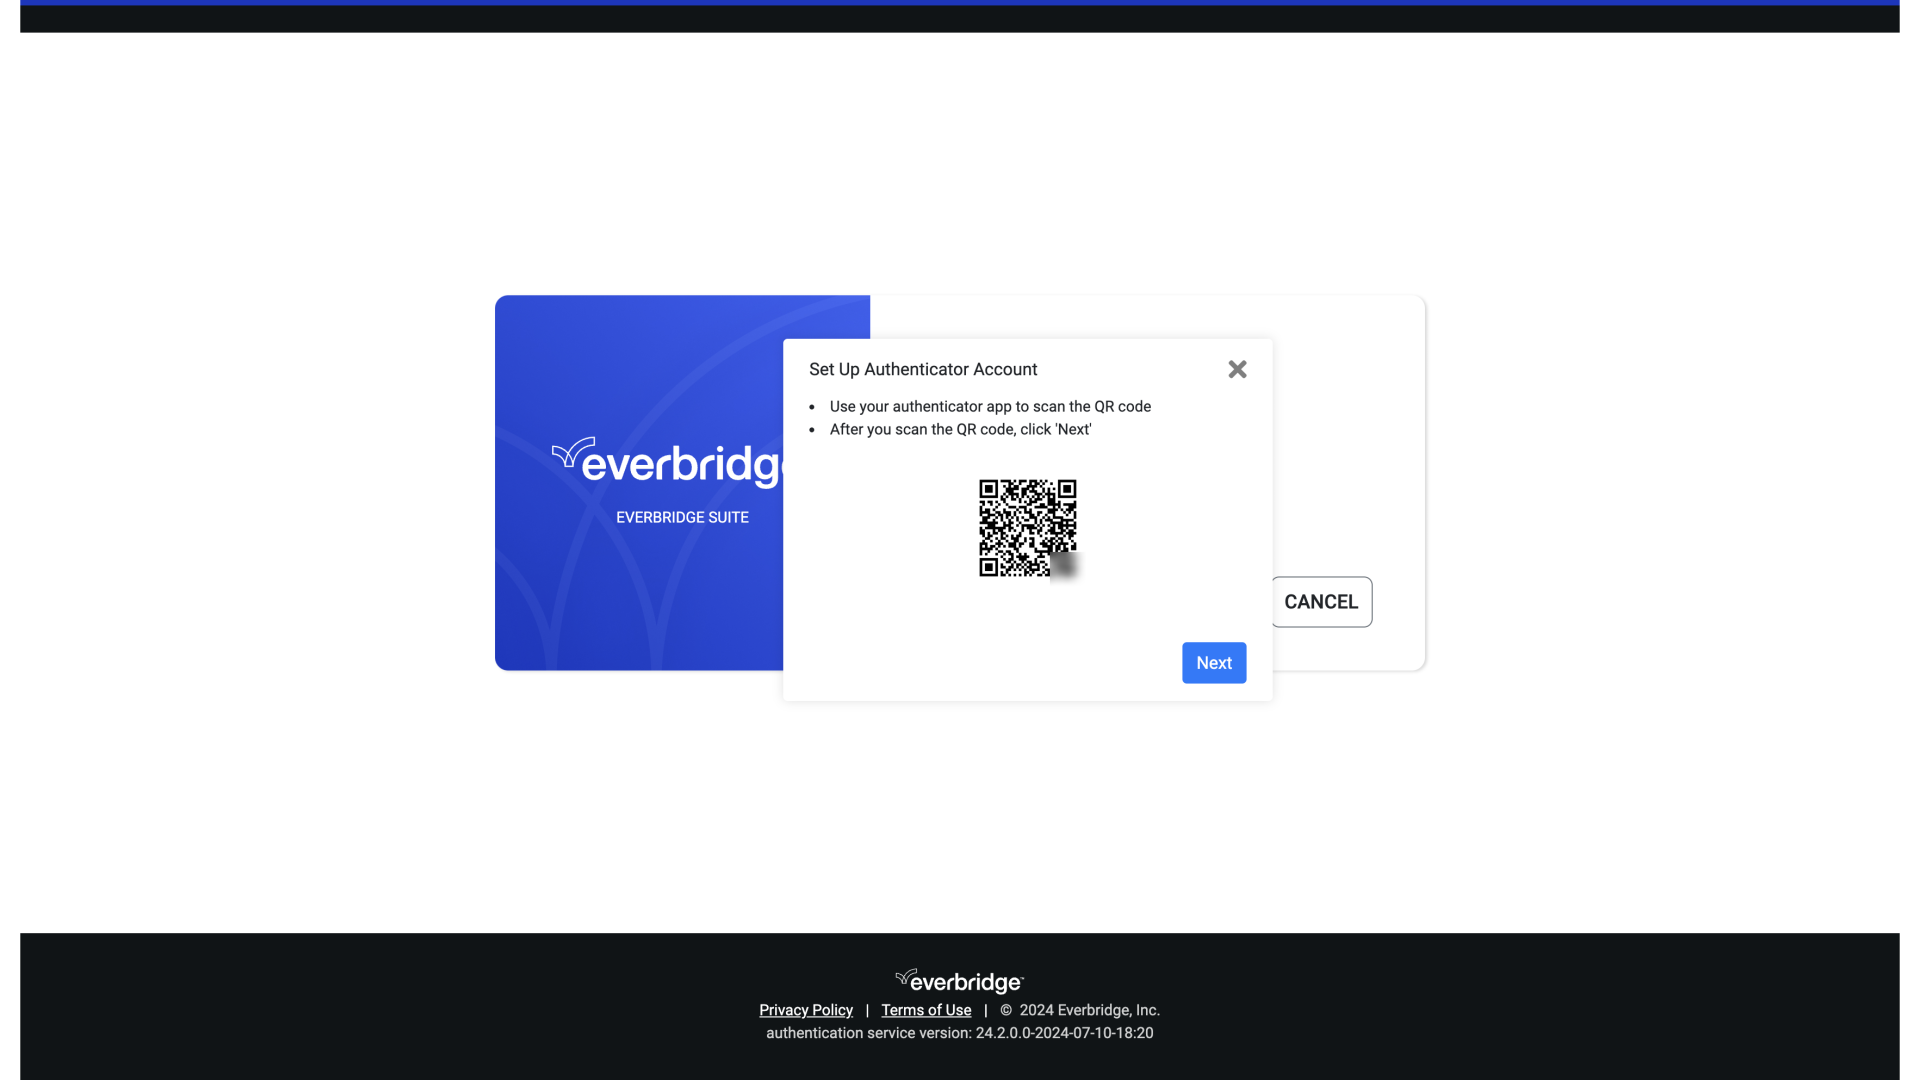
28. Multi-Factor Authenticator Setup
If your Organization has Multi-Factor Authentication enabled, you will be required to set it up.
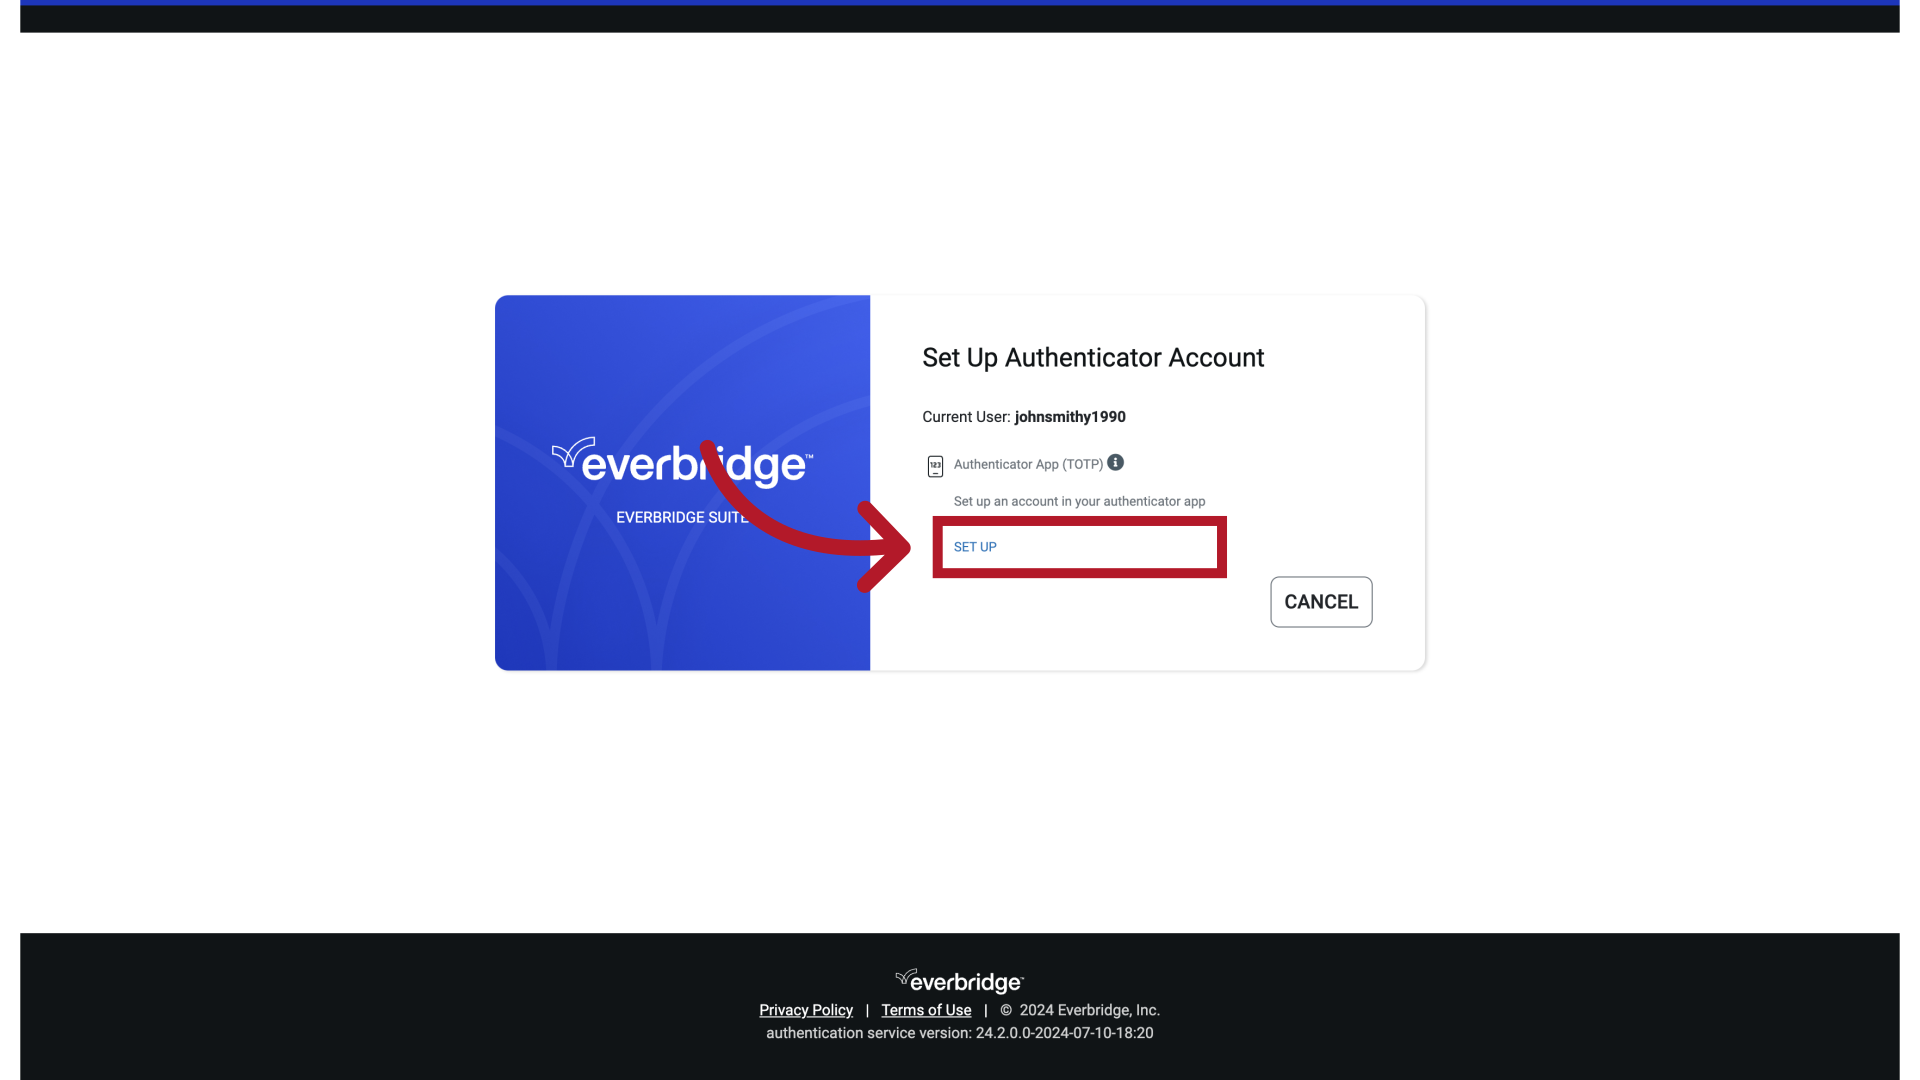
29. Multi-Factor Authenticator Setup
Click the link at the bottom right to review a quick video on setting up Multi-Factor Authentication.
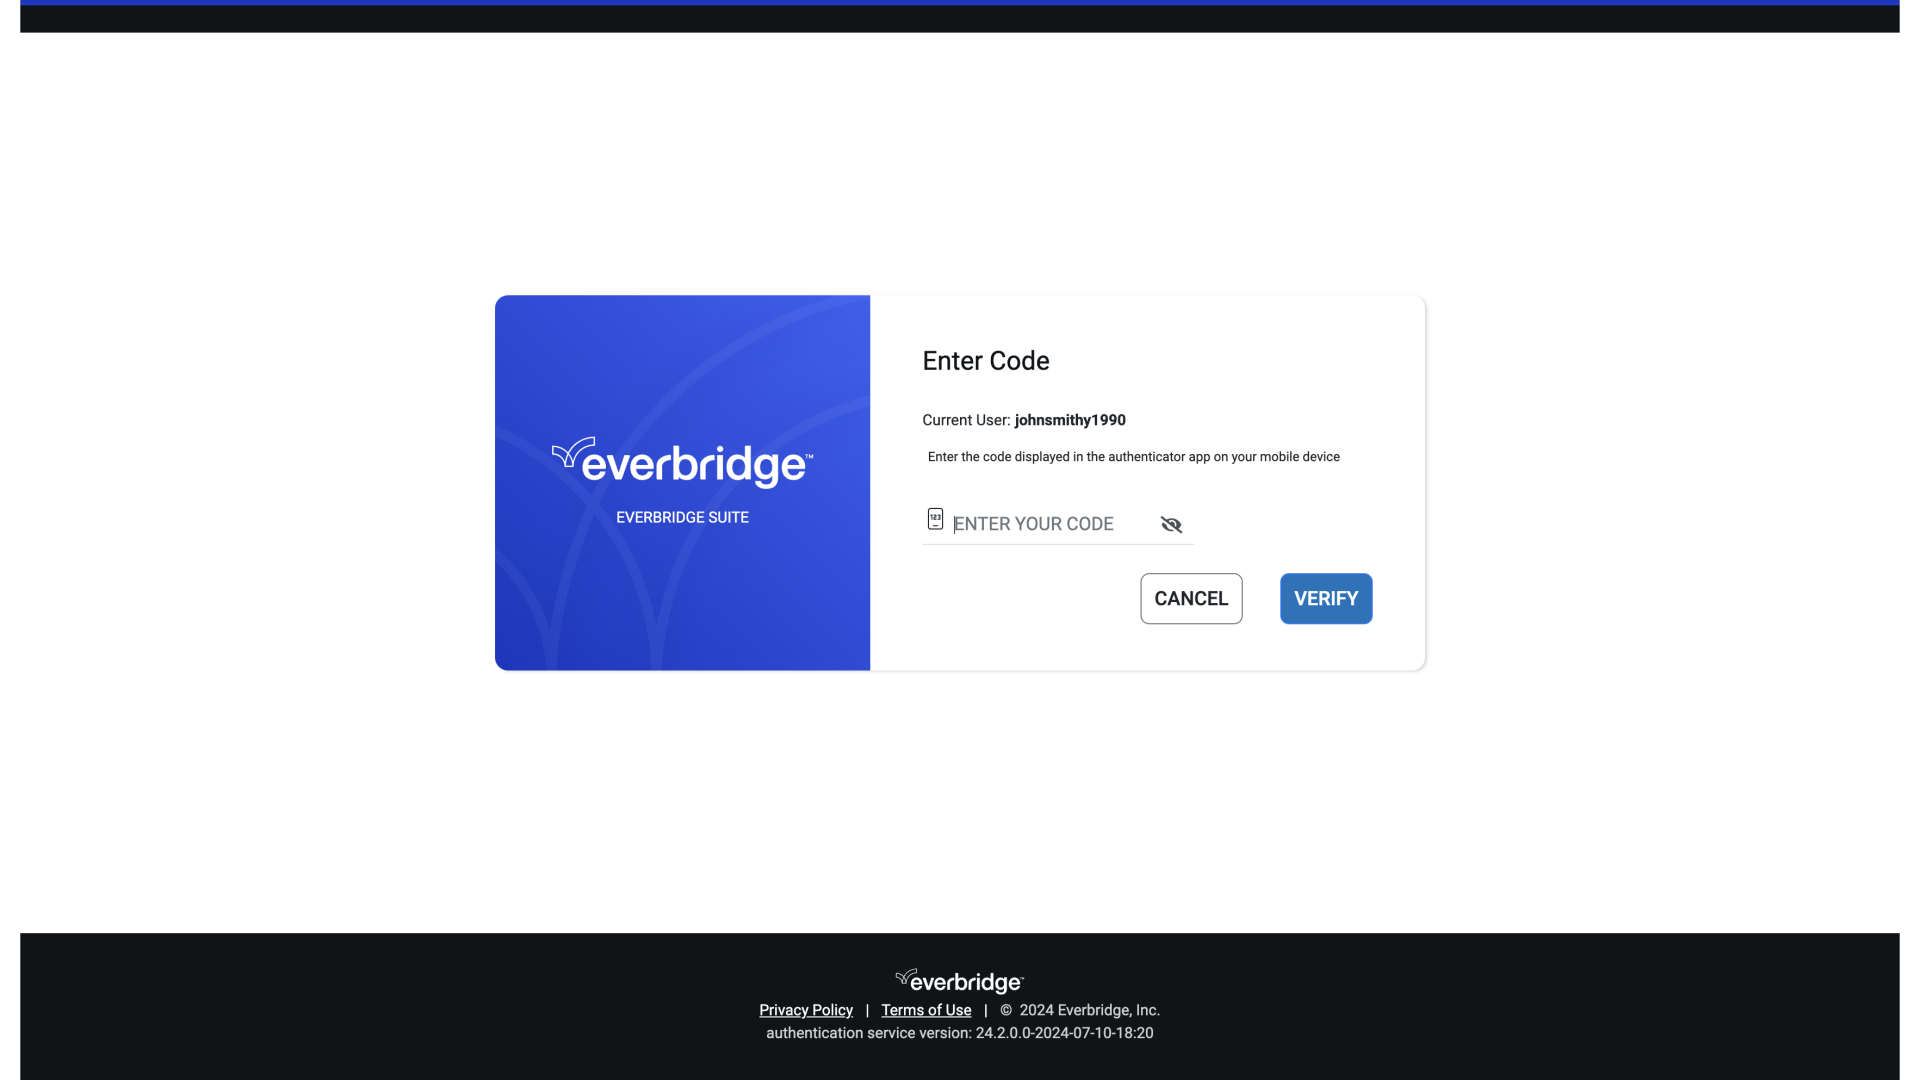
30. Enter your Code
After configuring Multi-Factor Authentication, enter your 6-digit code when prompted.
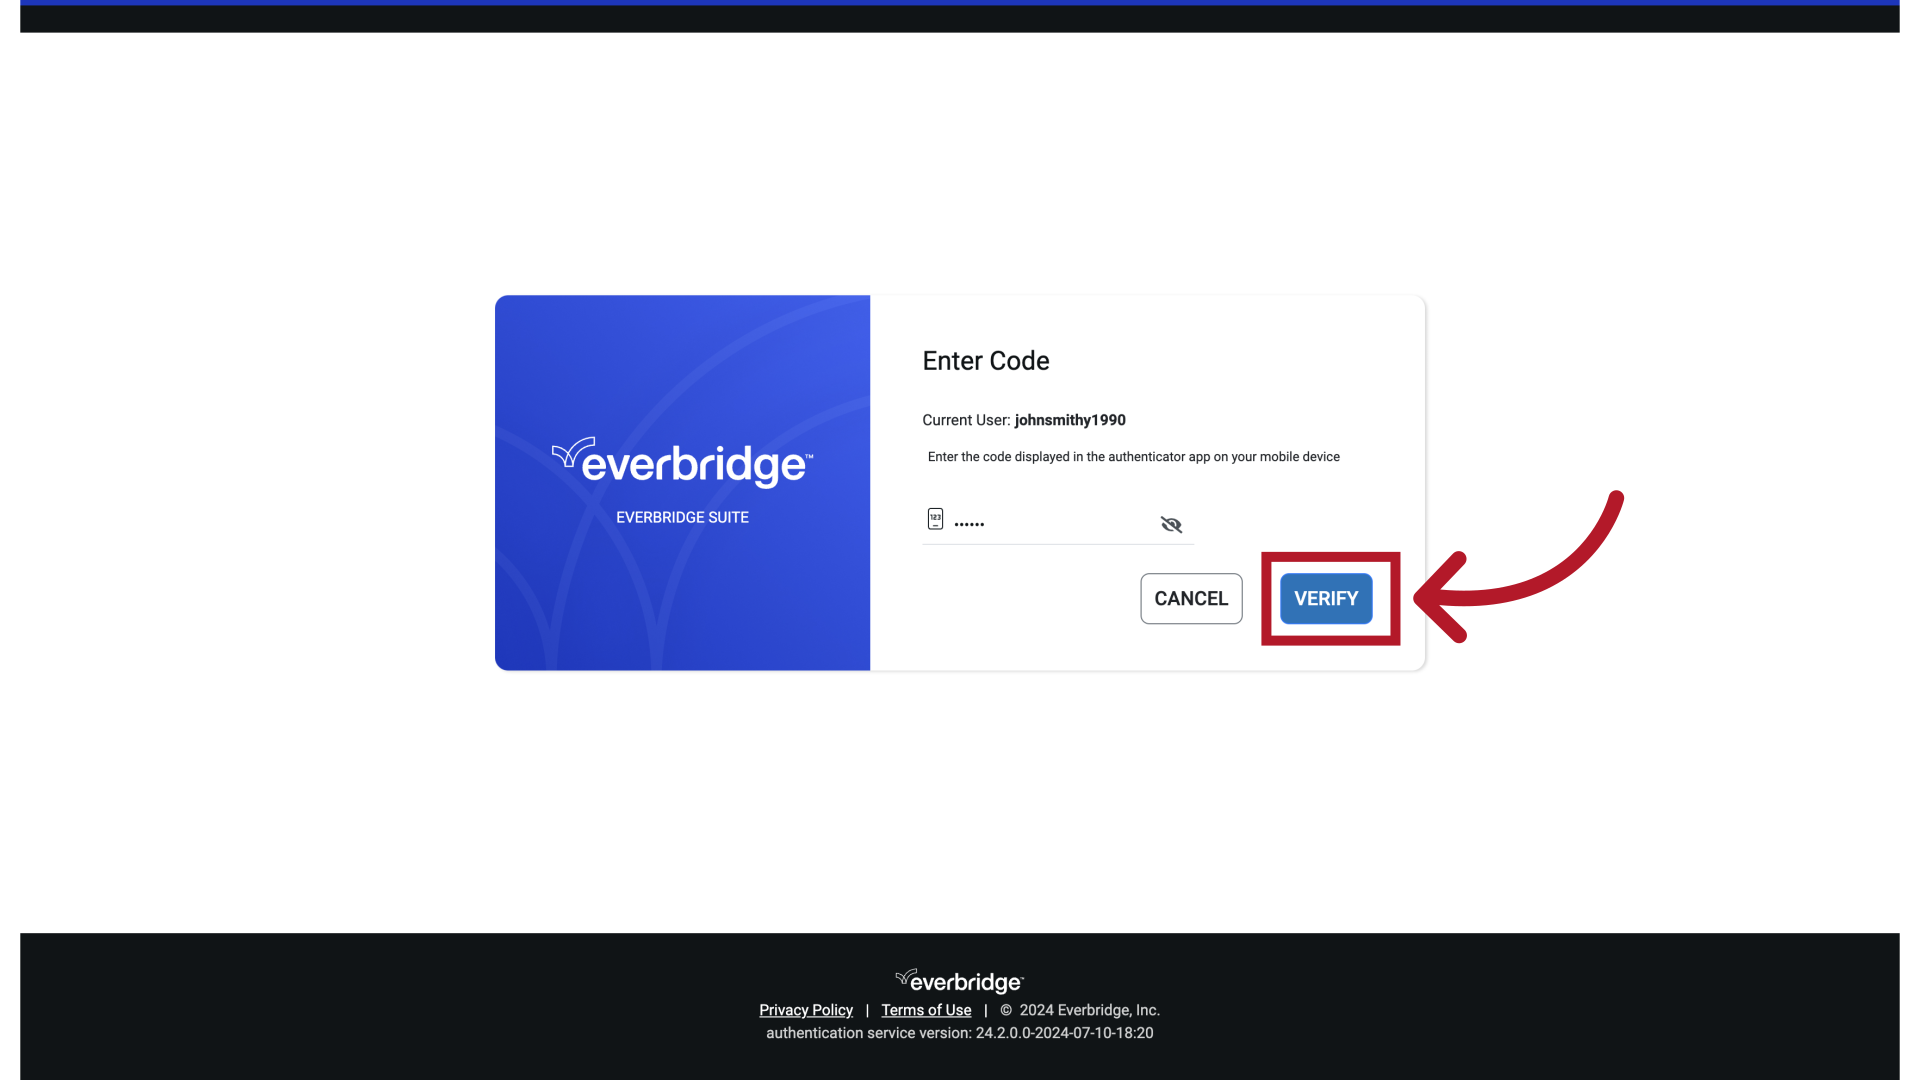
31. Verify Code
Then, click Verify.
32. Dashboard
You have successfully registered your user profile in Everbridge suite.
