Topic
The video below demonstrates how to set the broadcast duration for a notification.
The Broadcast Duration in the Everbridge Manager Portal is the duration of how long your Notification can be active in order to send messages and receive confirmations.
Go to manager.everbridge.net
1. Dashboard
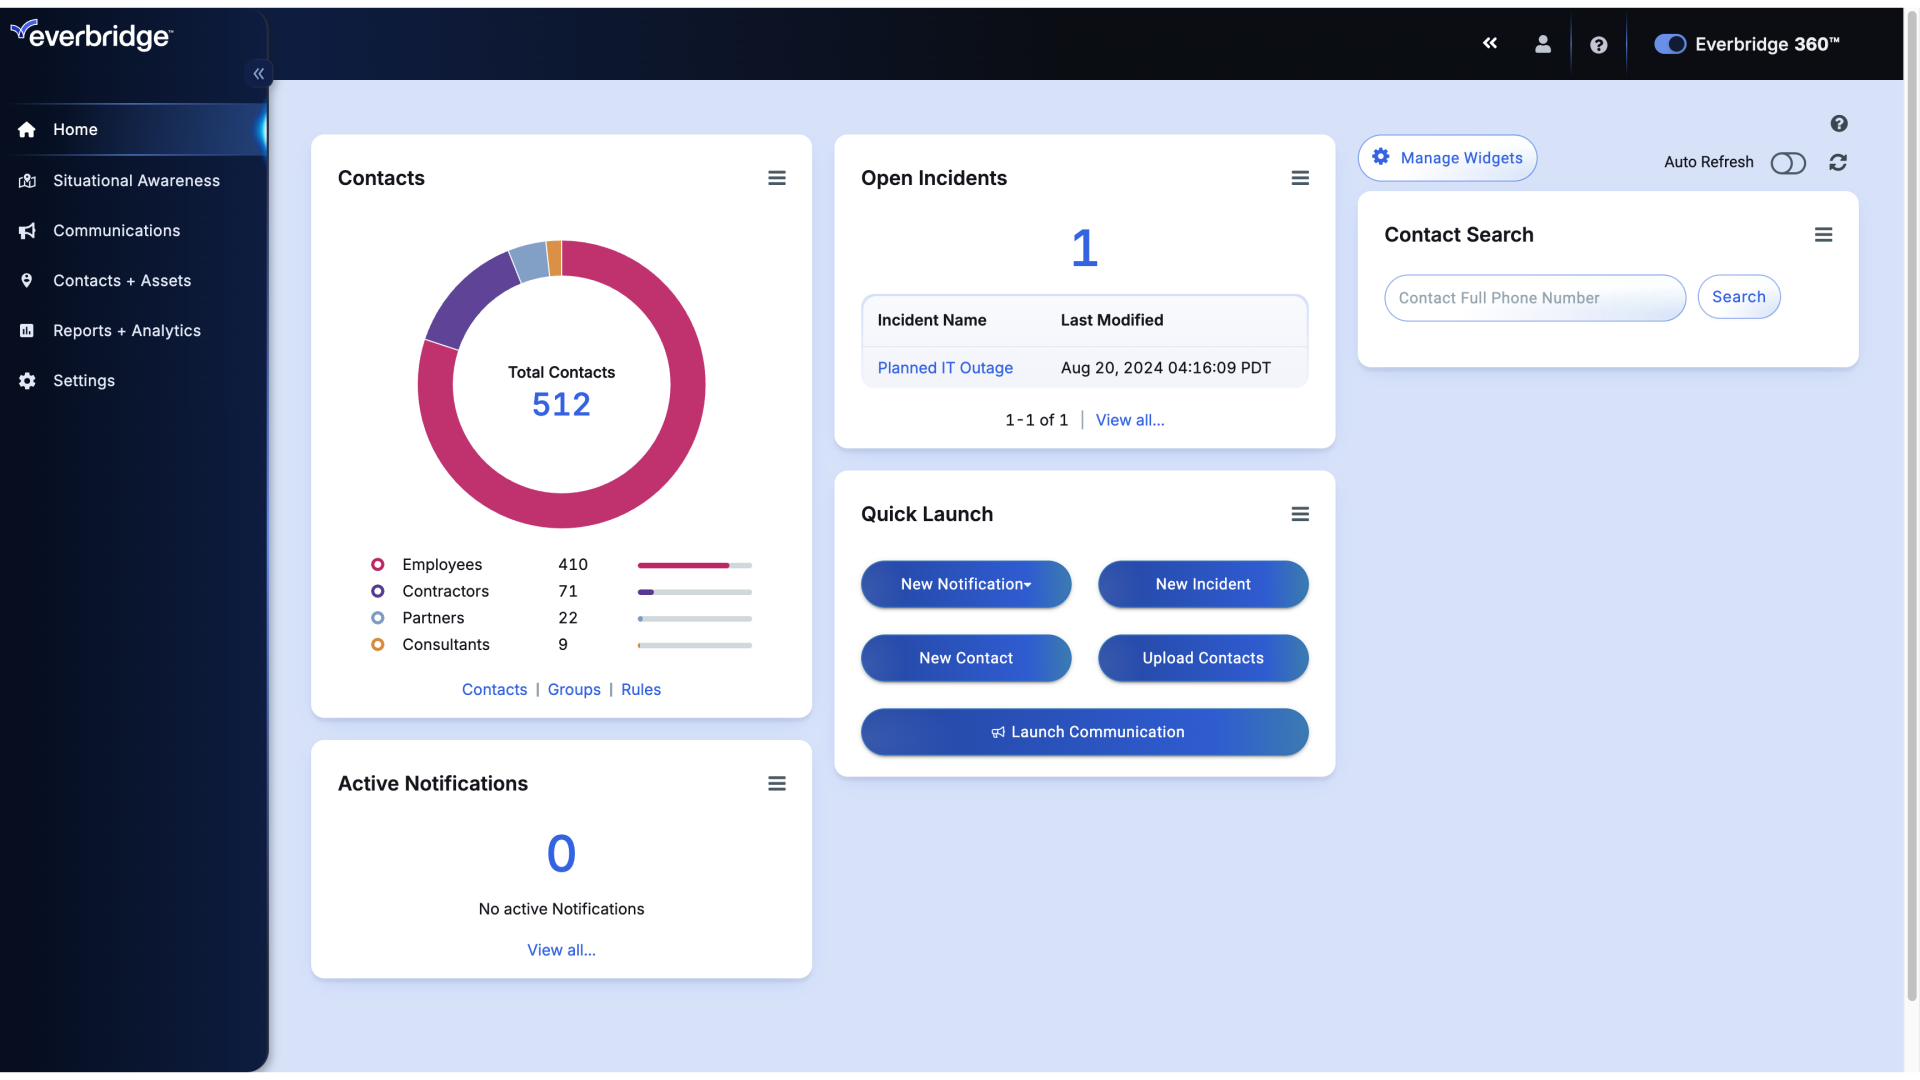
Access the auto-refresh settings.
2. Dashboard
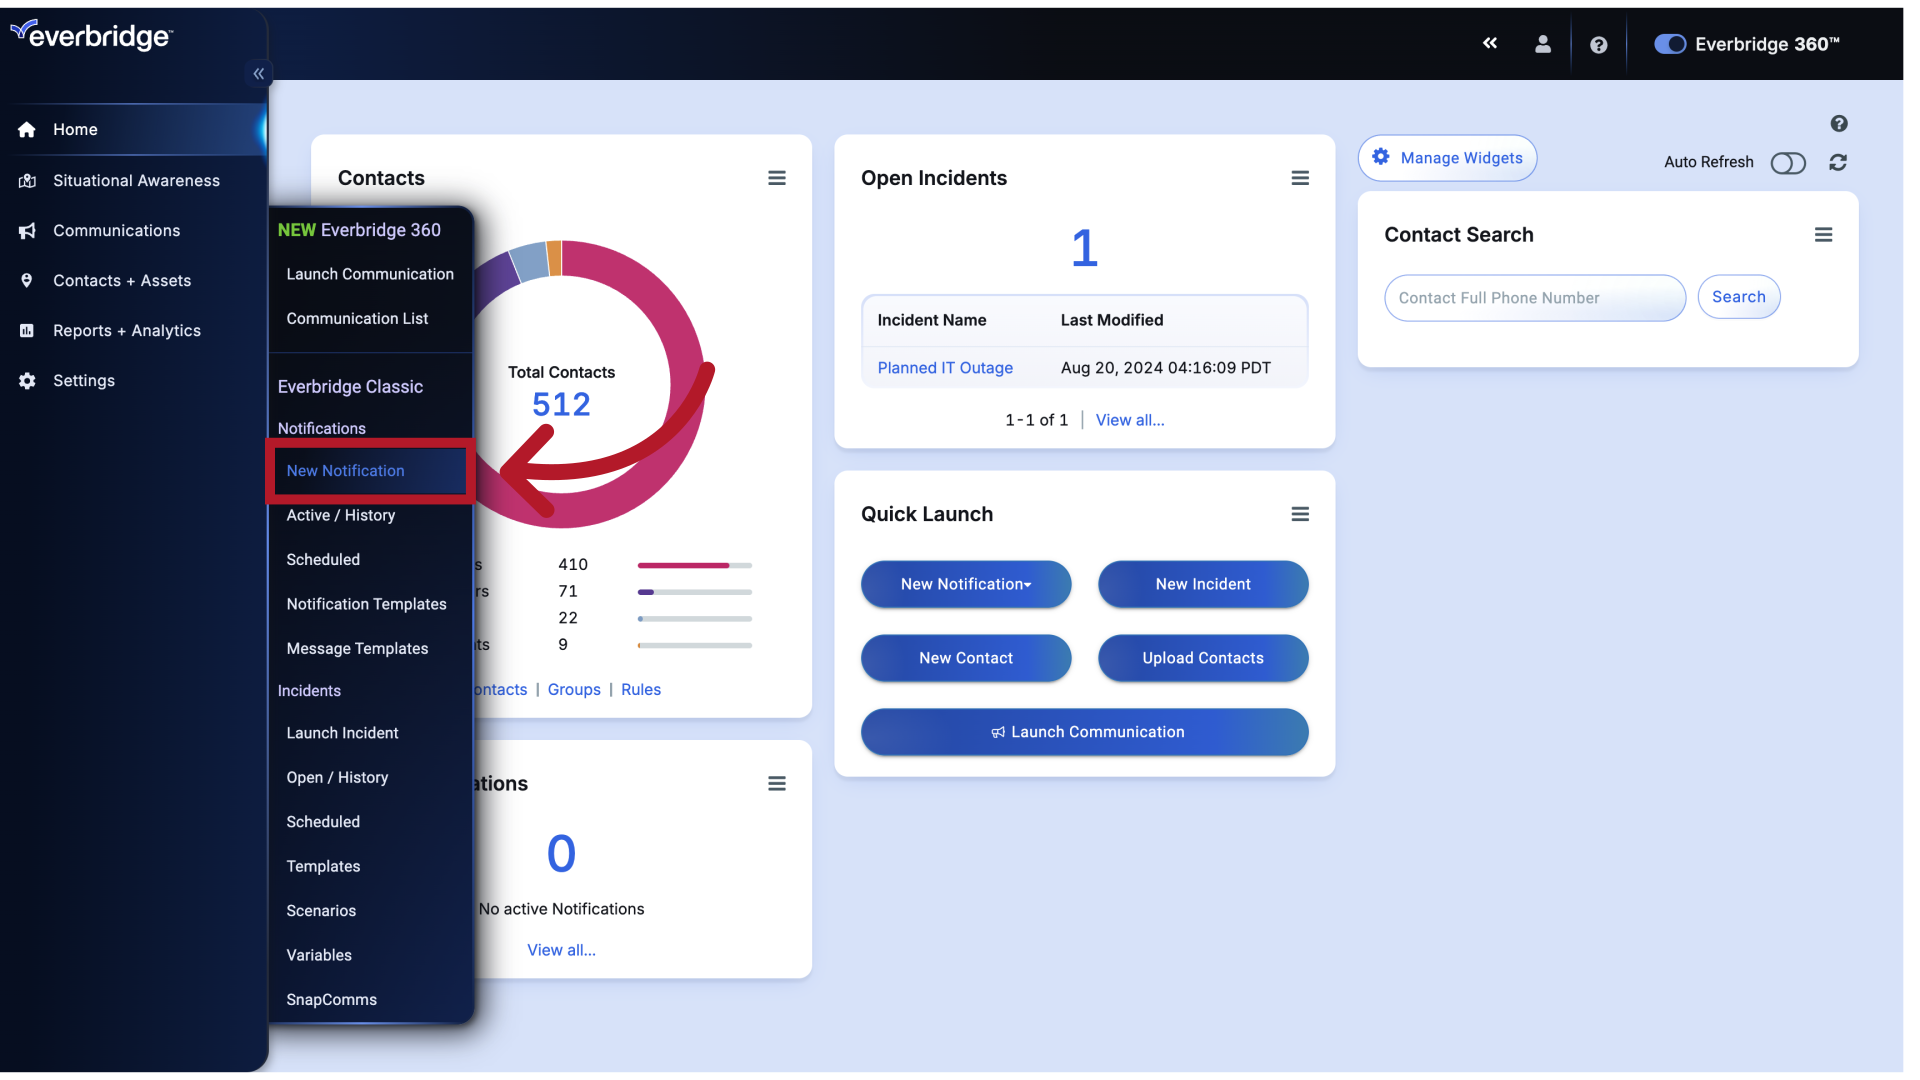
Initiate a new notification.
3. Create Notification
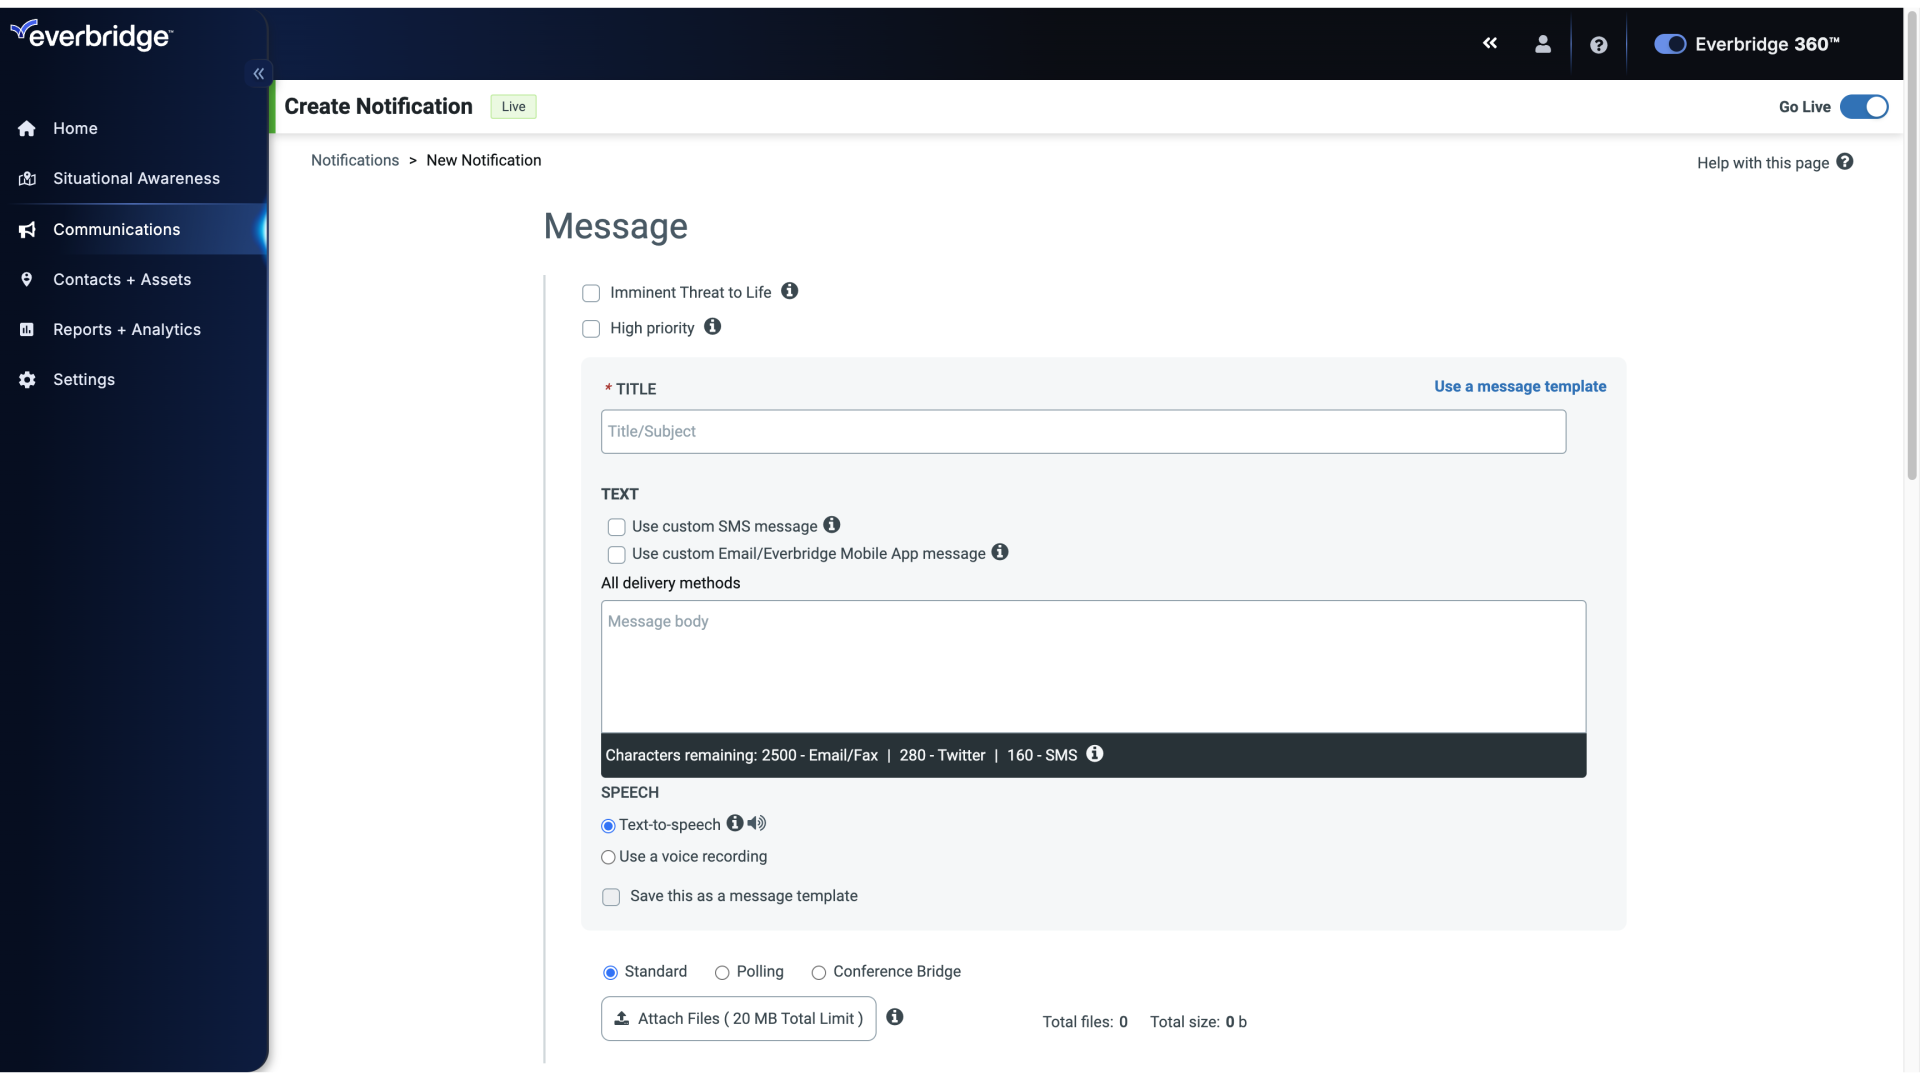
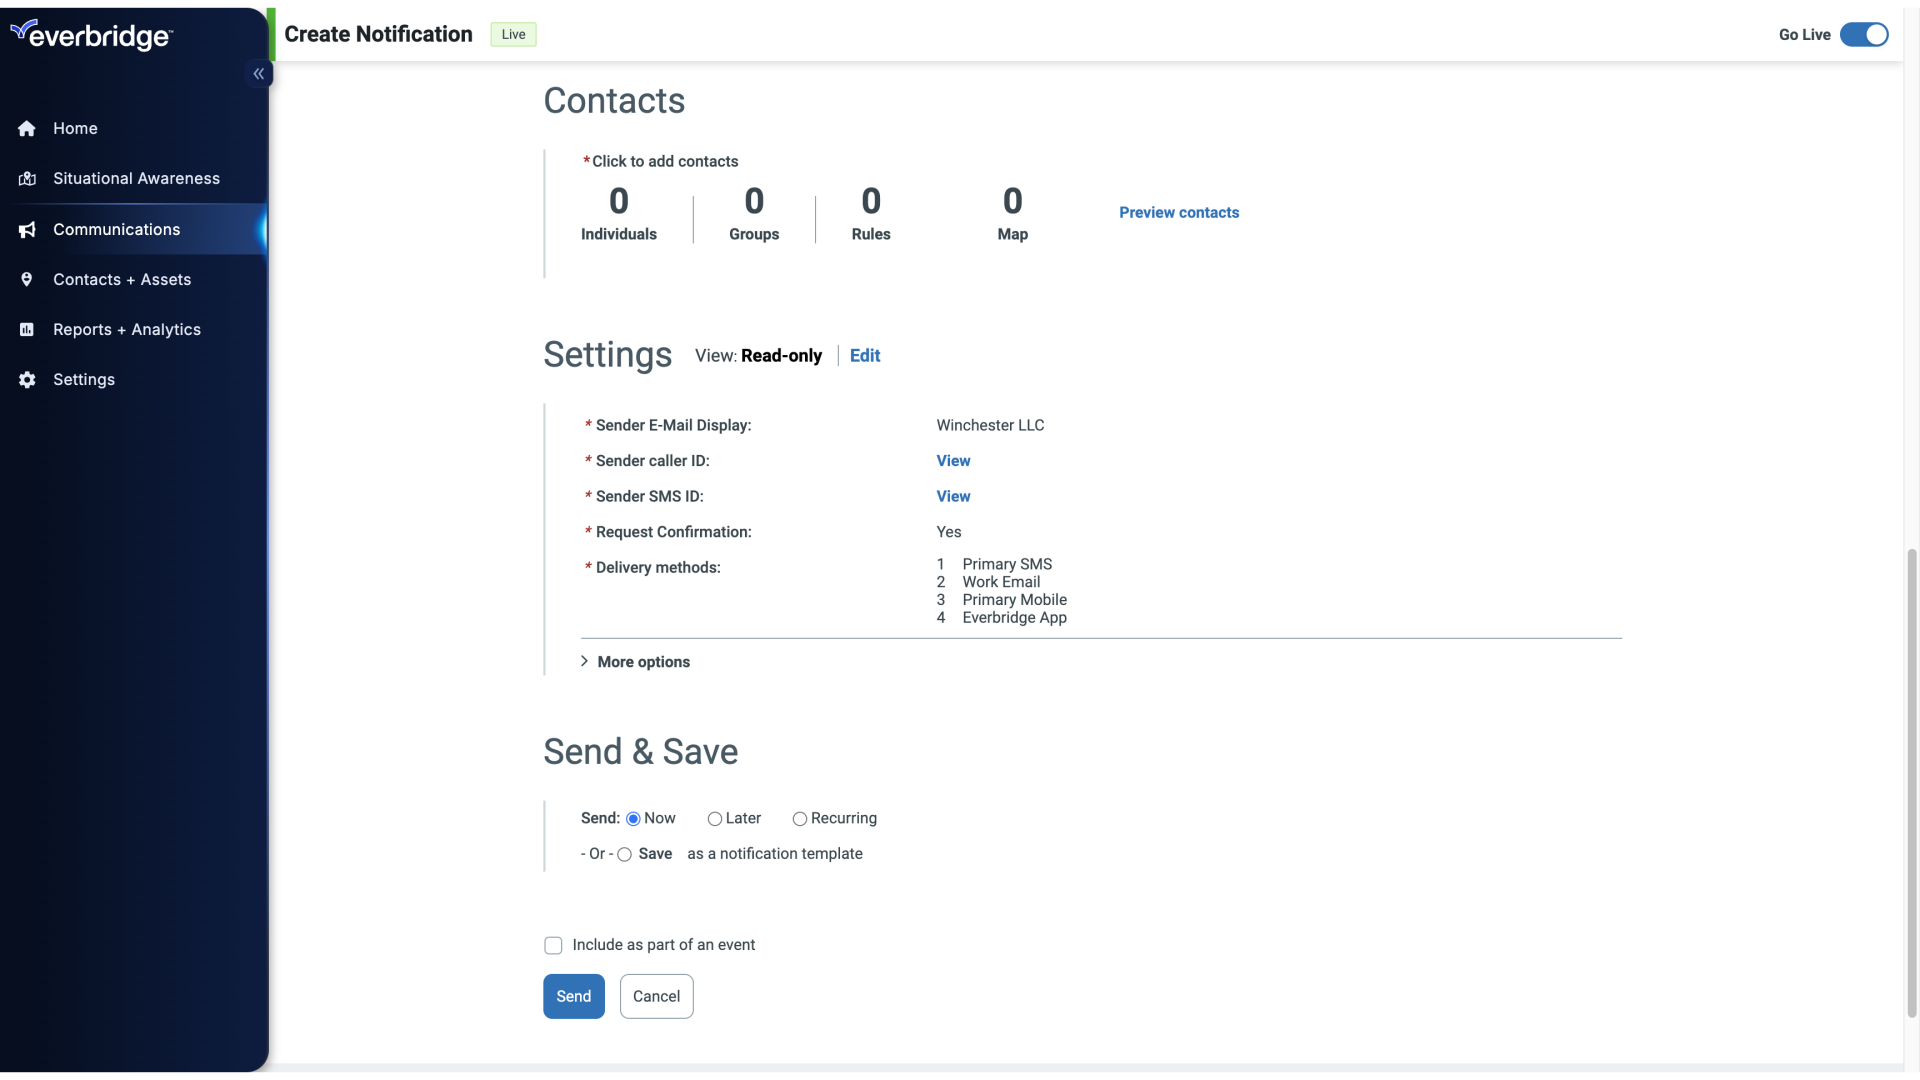
To set a Broadcast Duration in a New Notification, scroll down to the Settings section.
4. Create Notification
Choose the specific message.
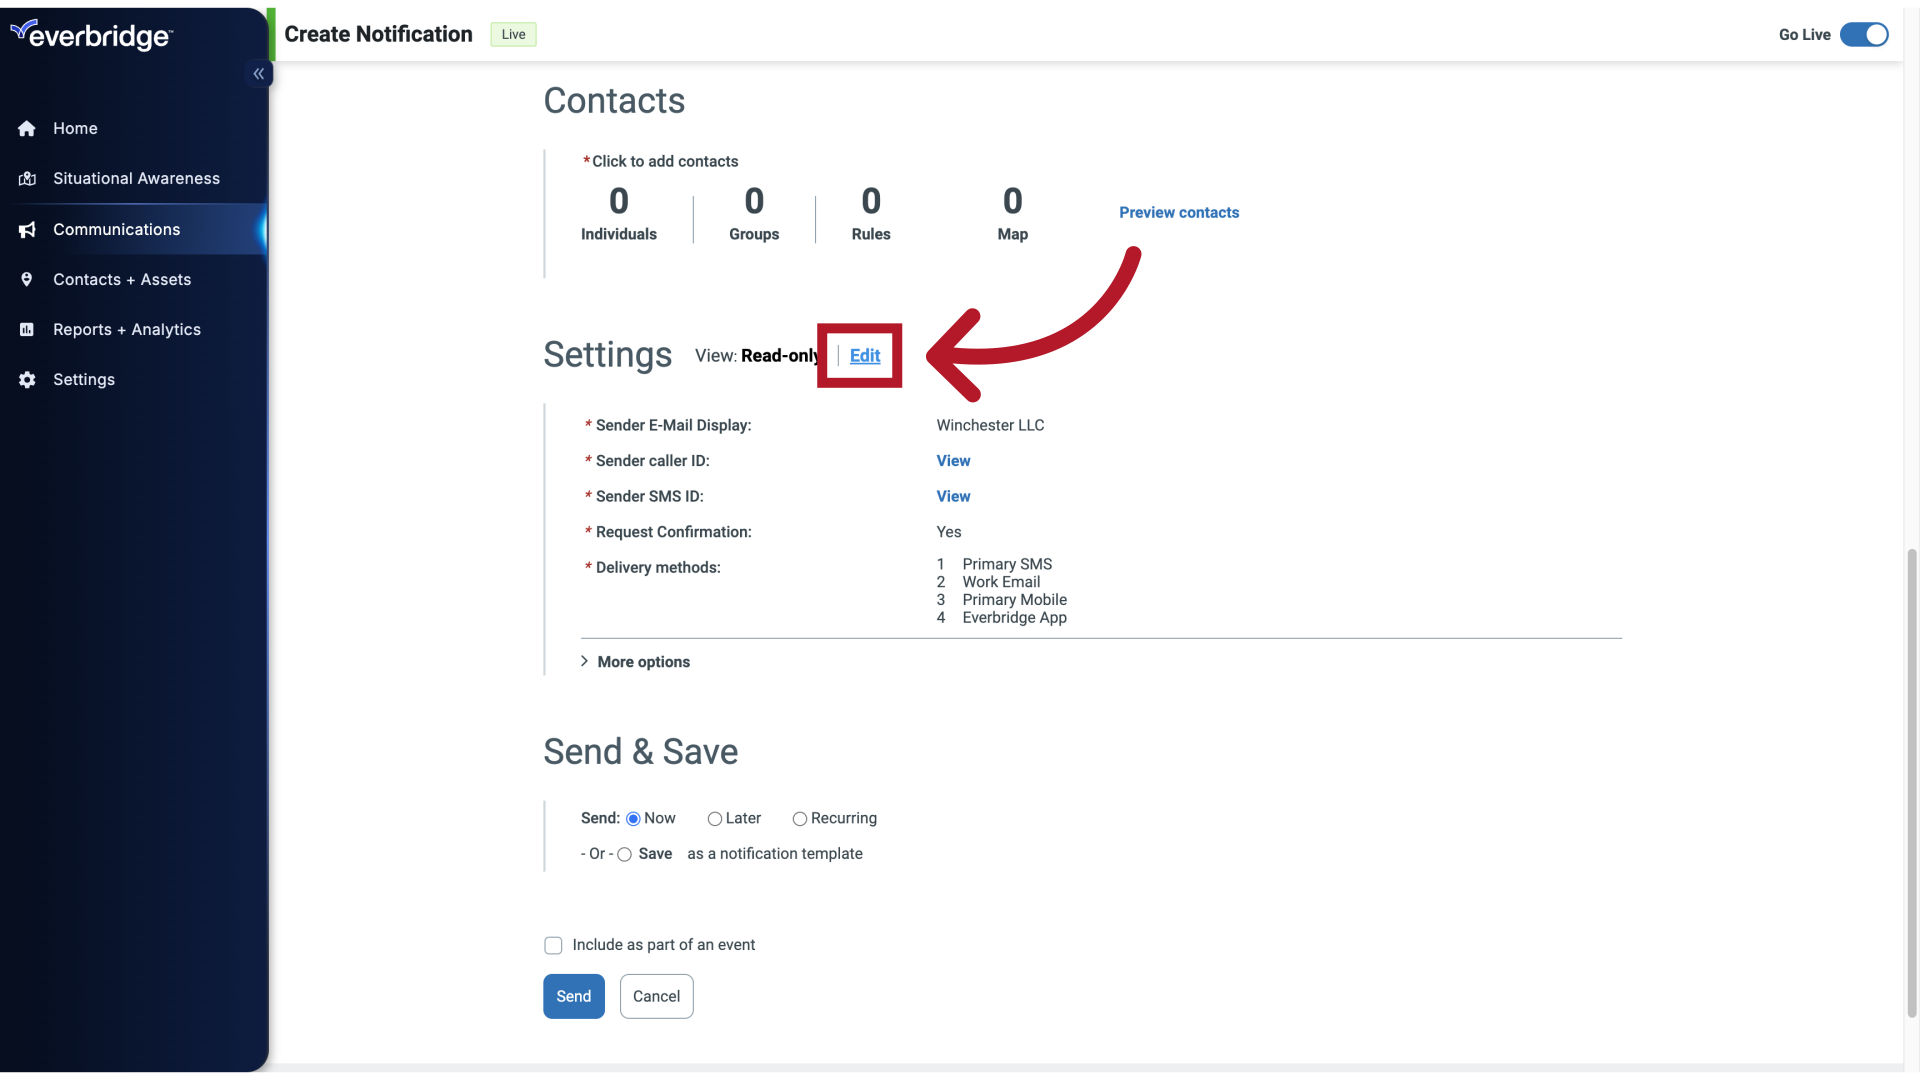
5. Settings - Edit
Click Edit.
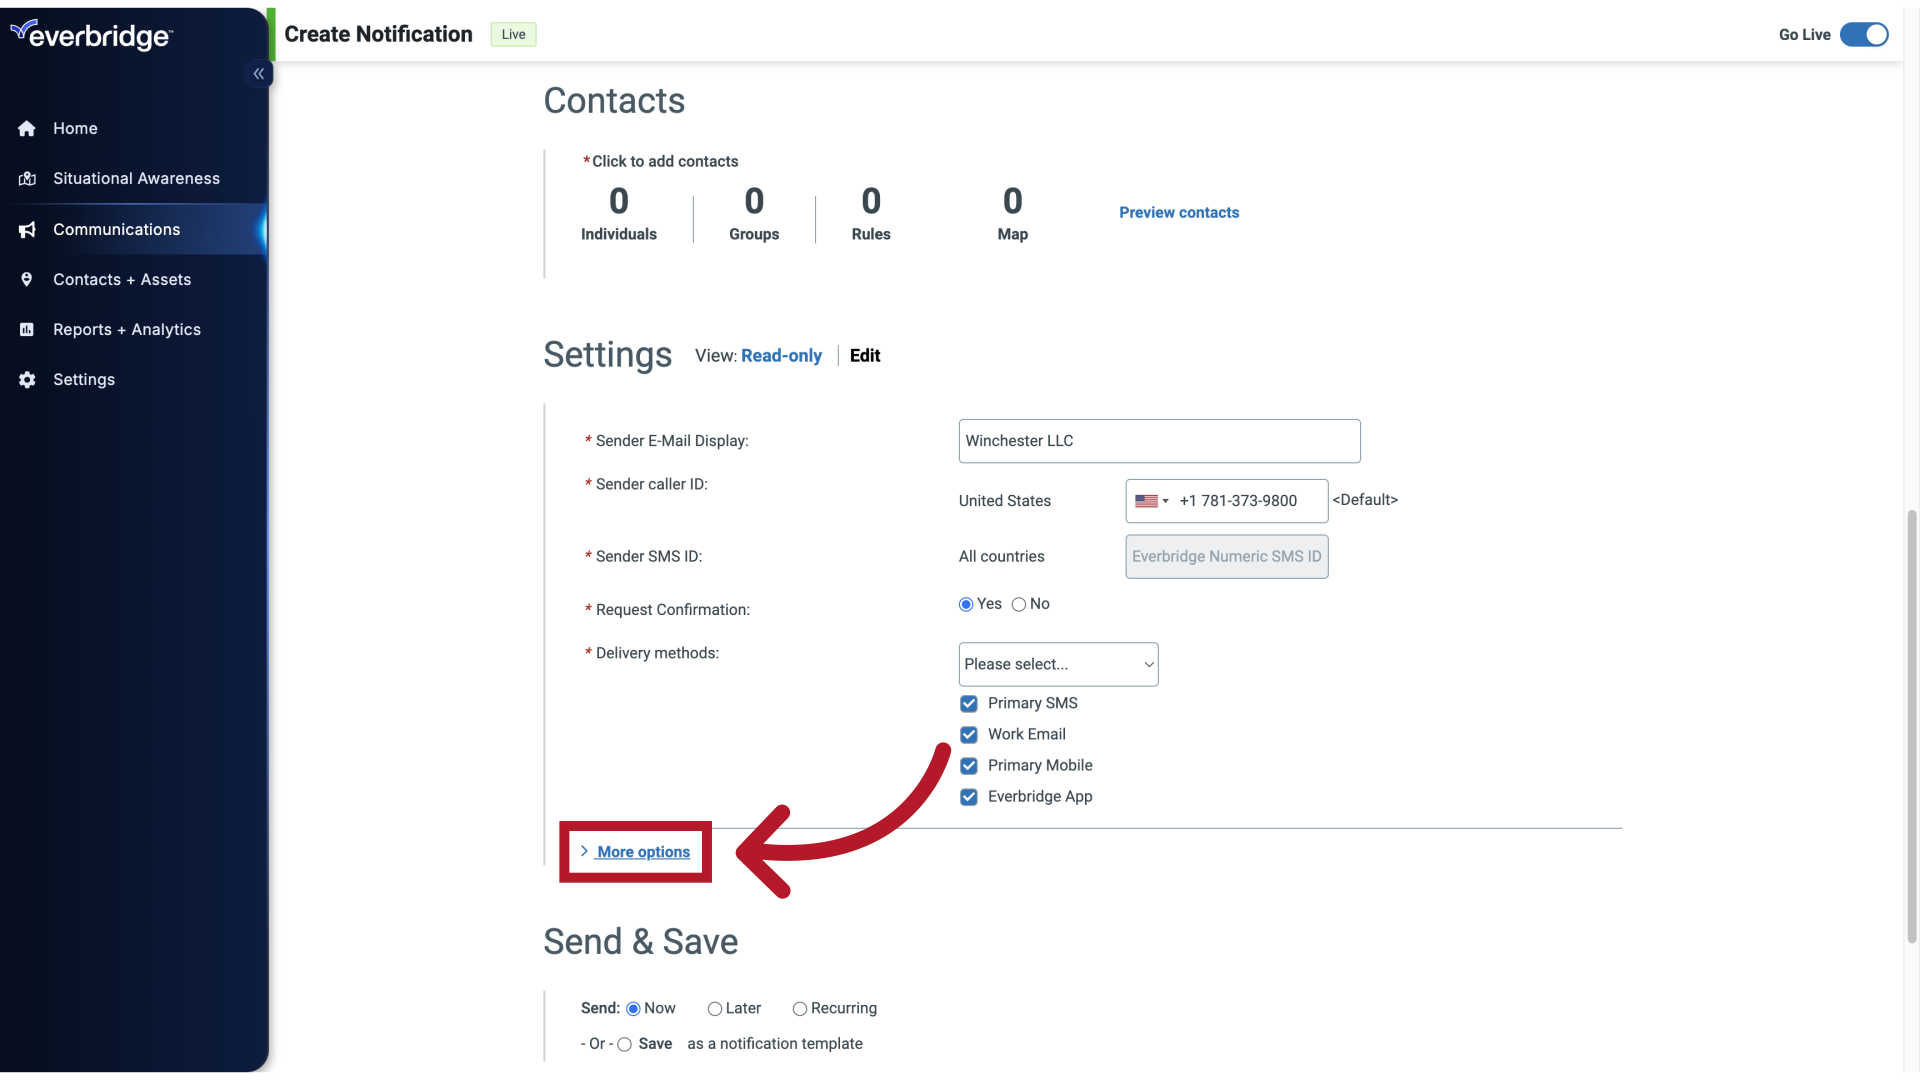
6. Settings - More Options
Then click More Options.
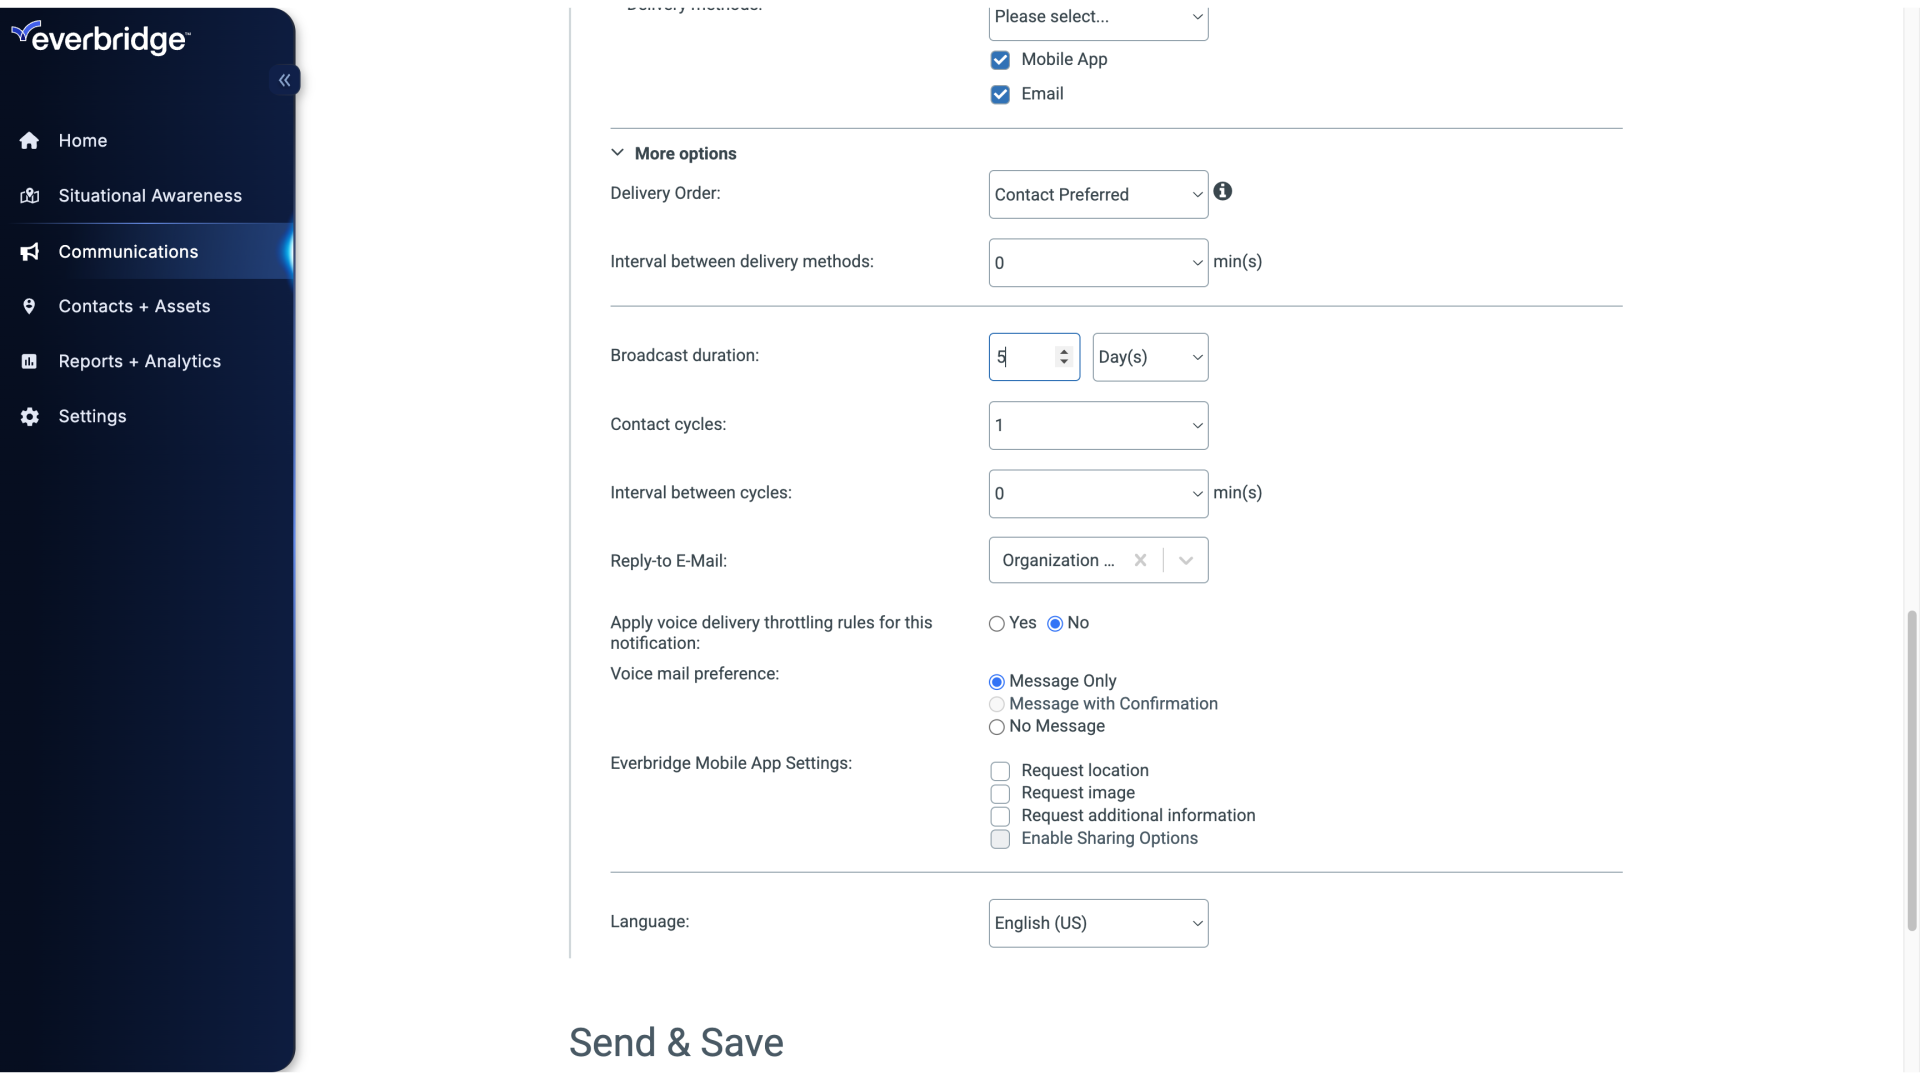
7. More Options
Select option 5.
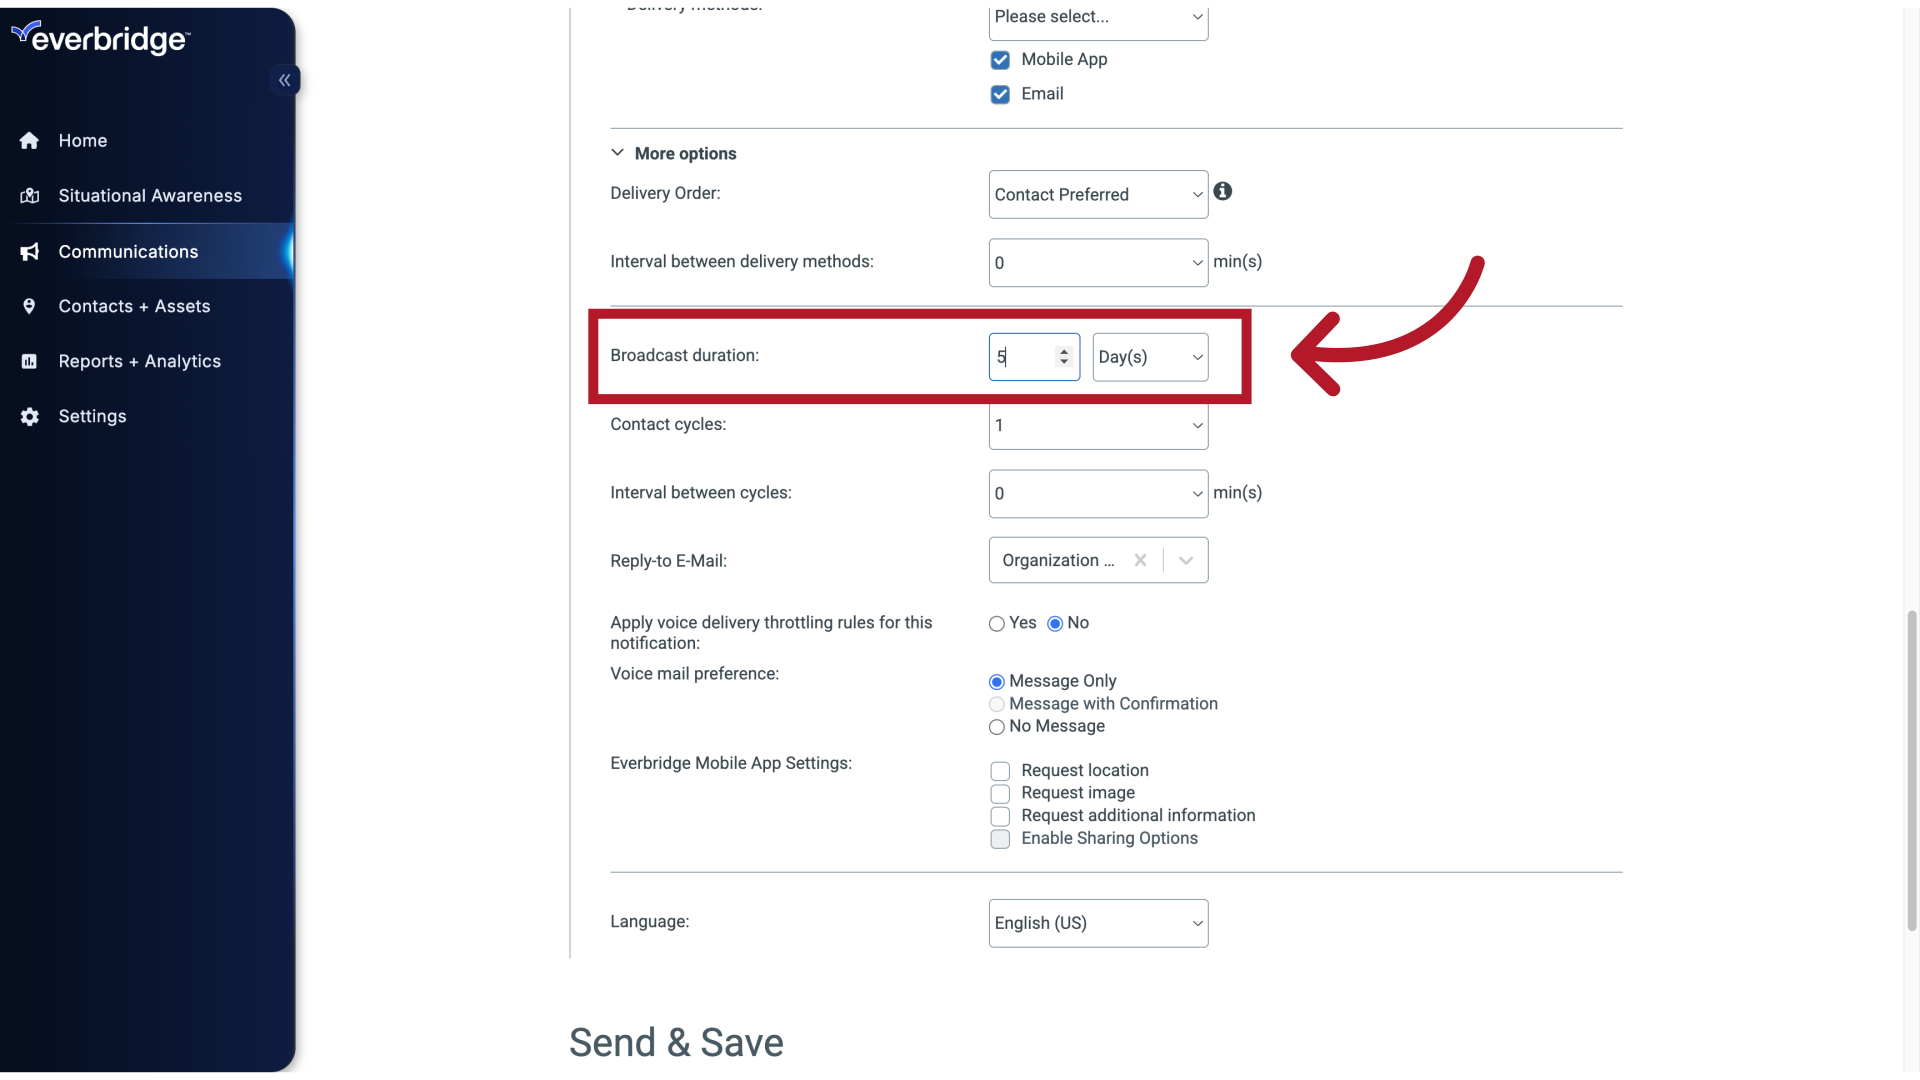
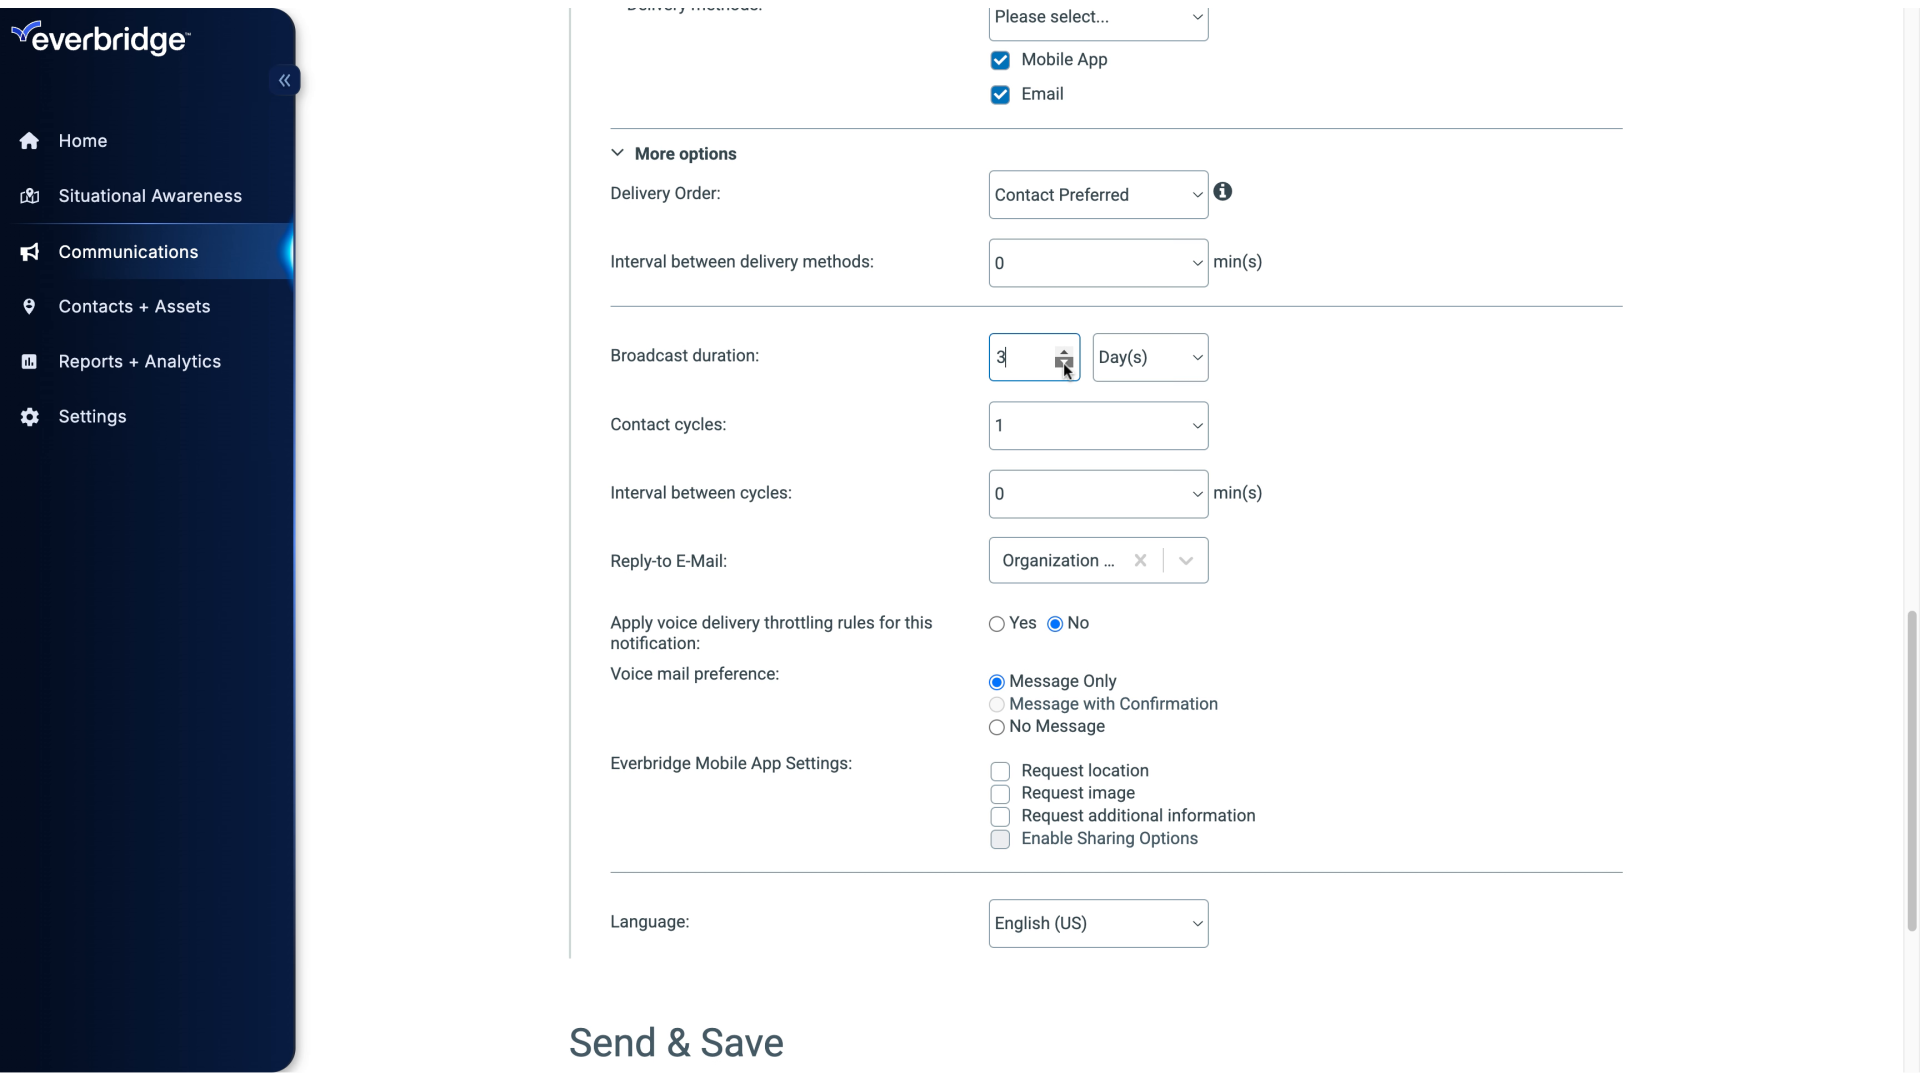
8. Broadcast Duration
Now, click any of the drop-downs next to Broadcast Duration and choose the number of days, hours, or minutes you want the broadcast to be active.
9. Broadcast Duration
It is best practice to make sure the duration is long enough to send all of the messages. Otherwise, the notification might not go to all contacts. Typically, the duration is set to 24 hours or 1 day as it impacts the validity of confirmation URLs and emails.
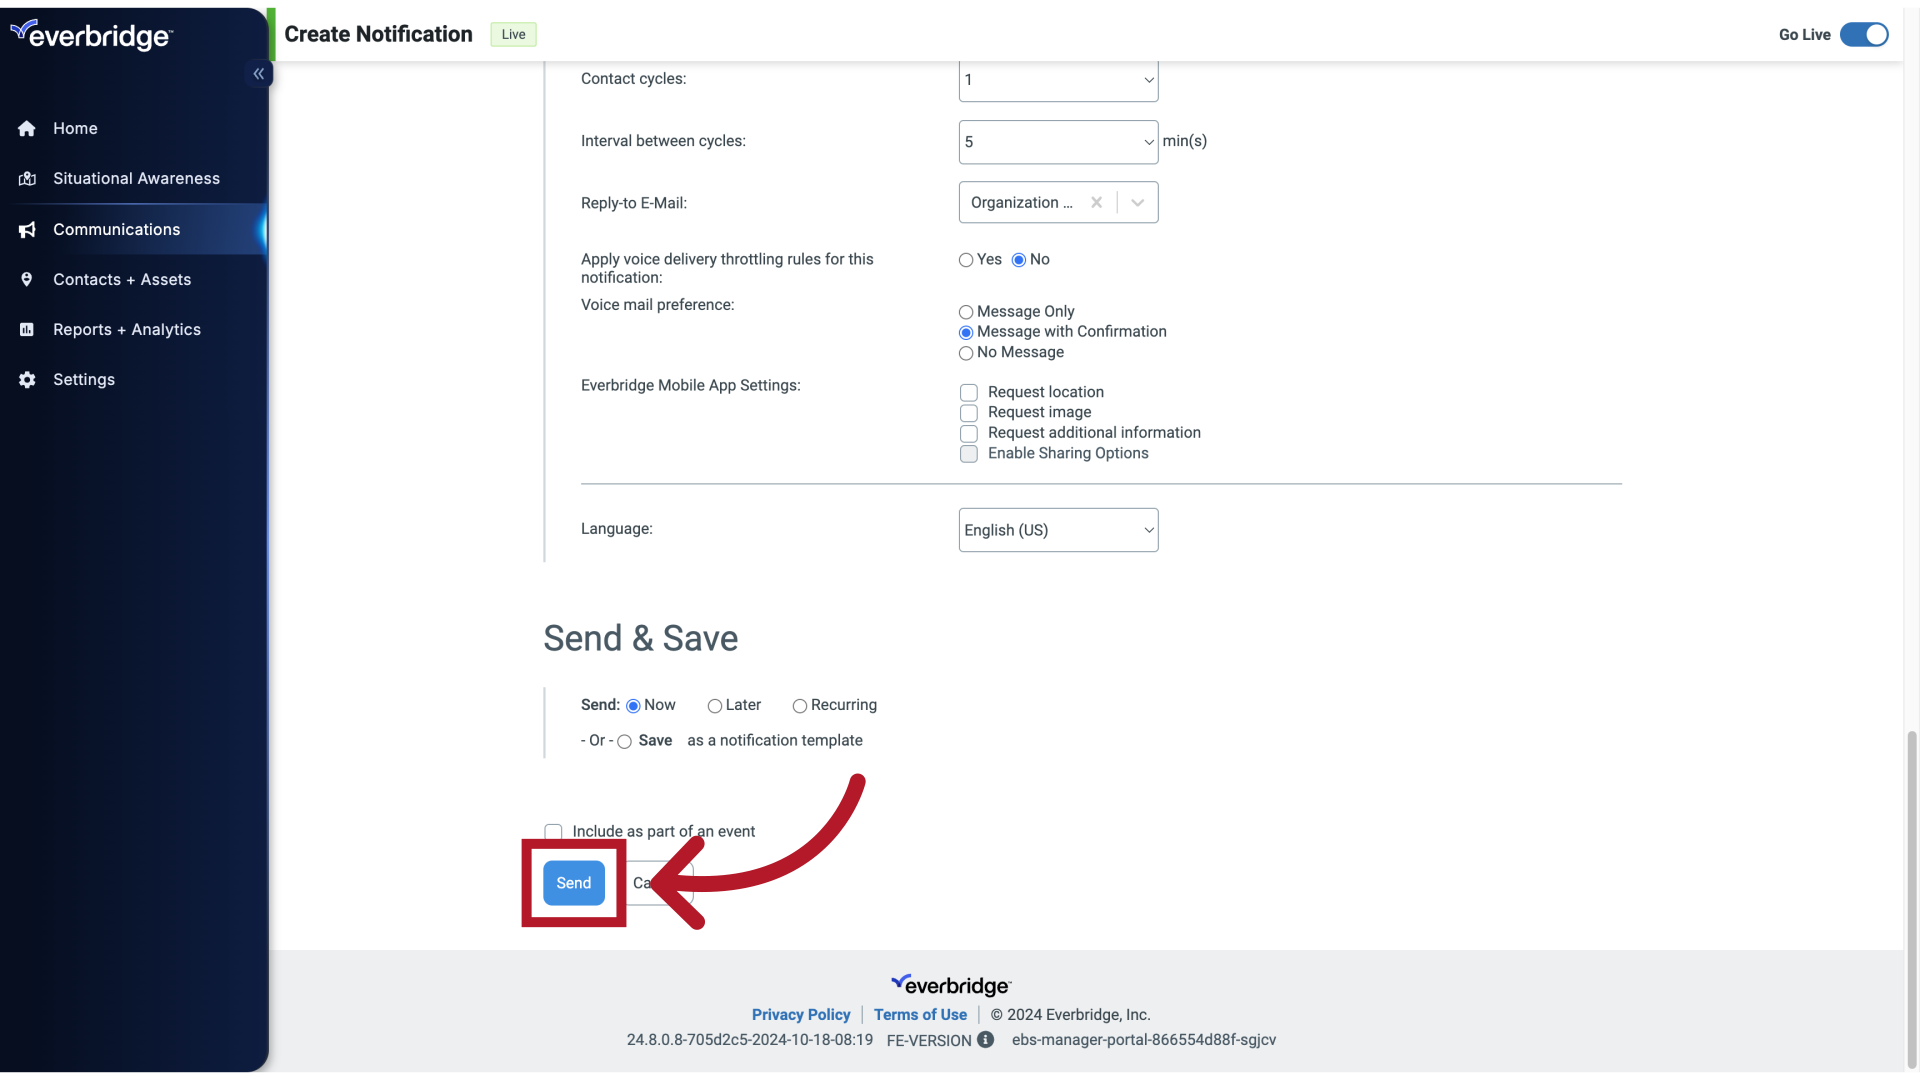
10. Send
Send the notification.
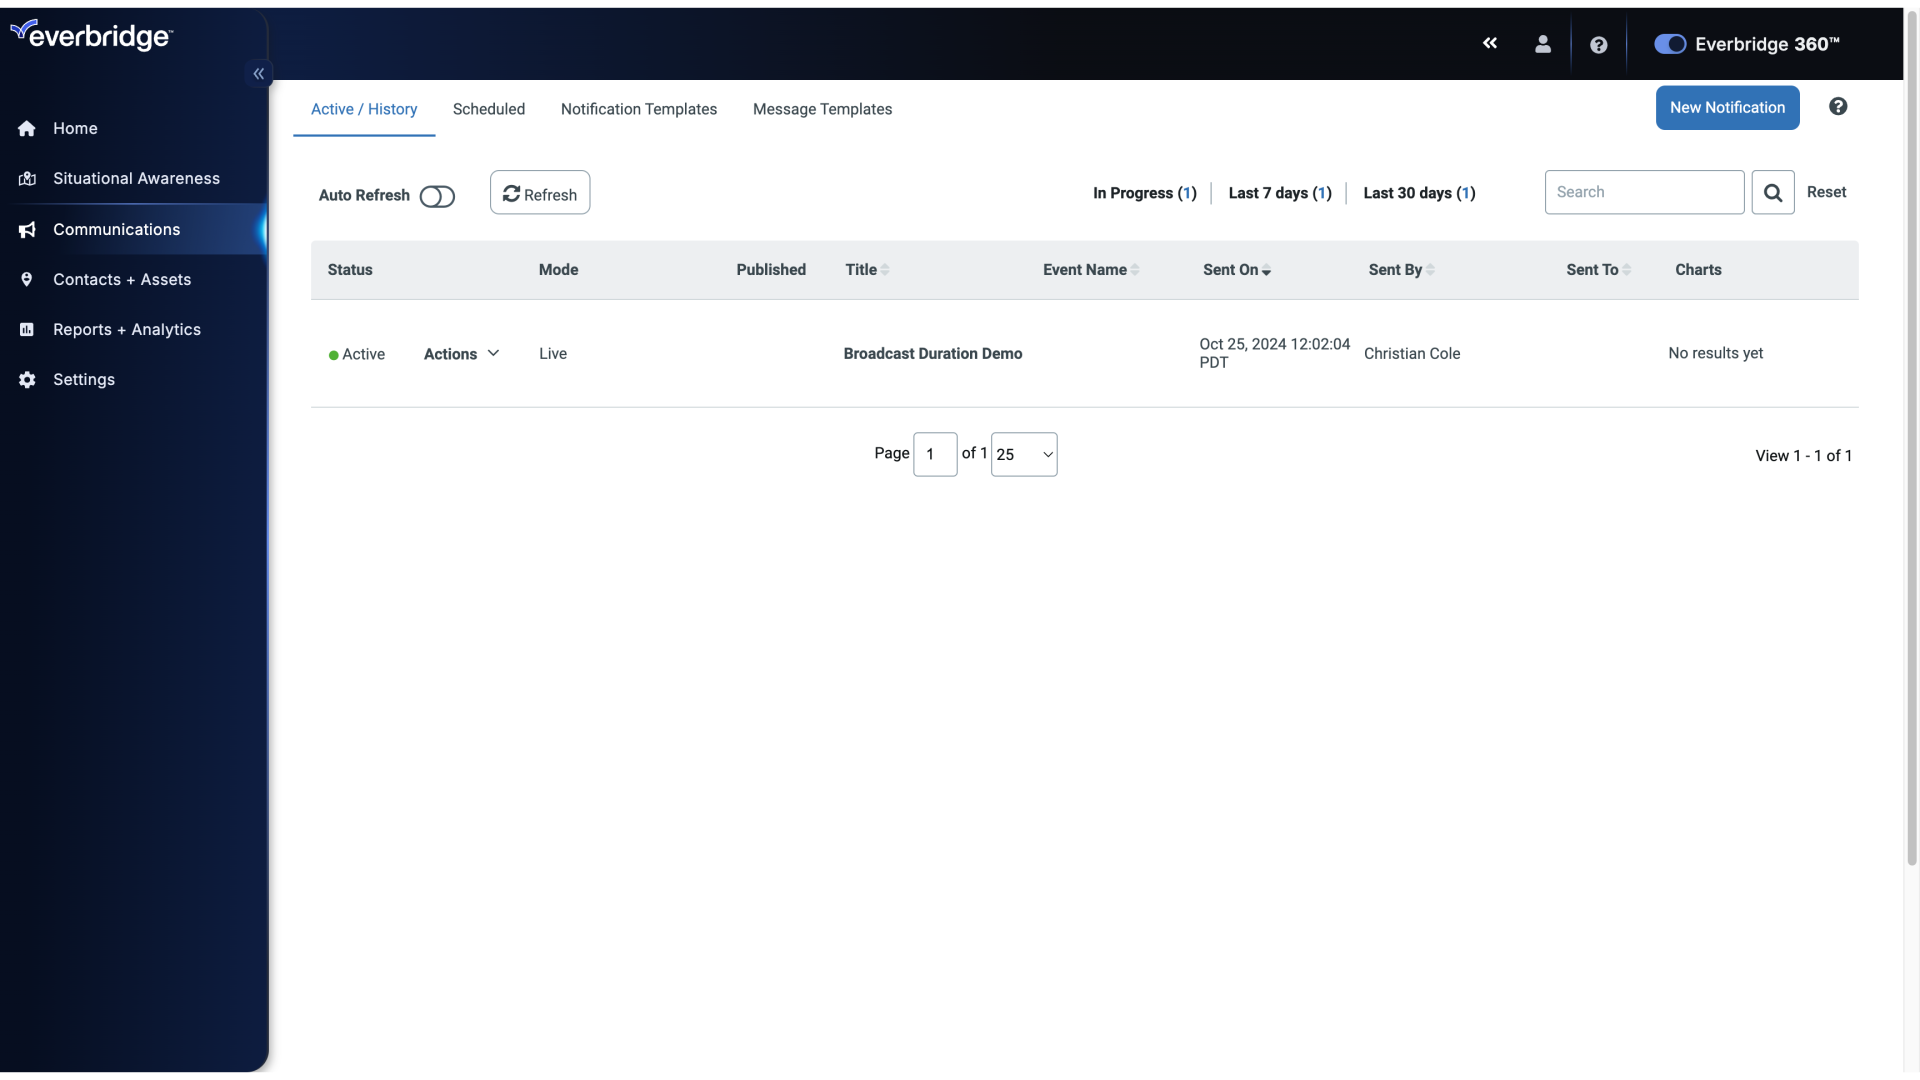
11. Active / History
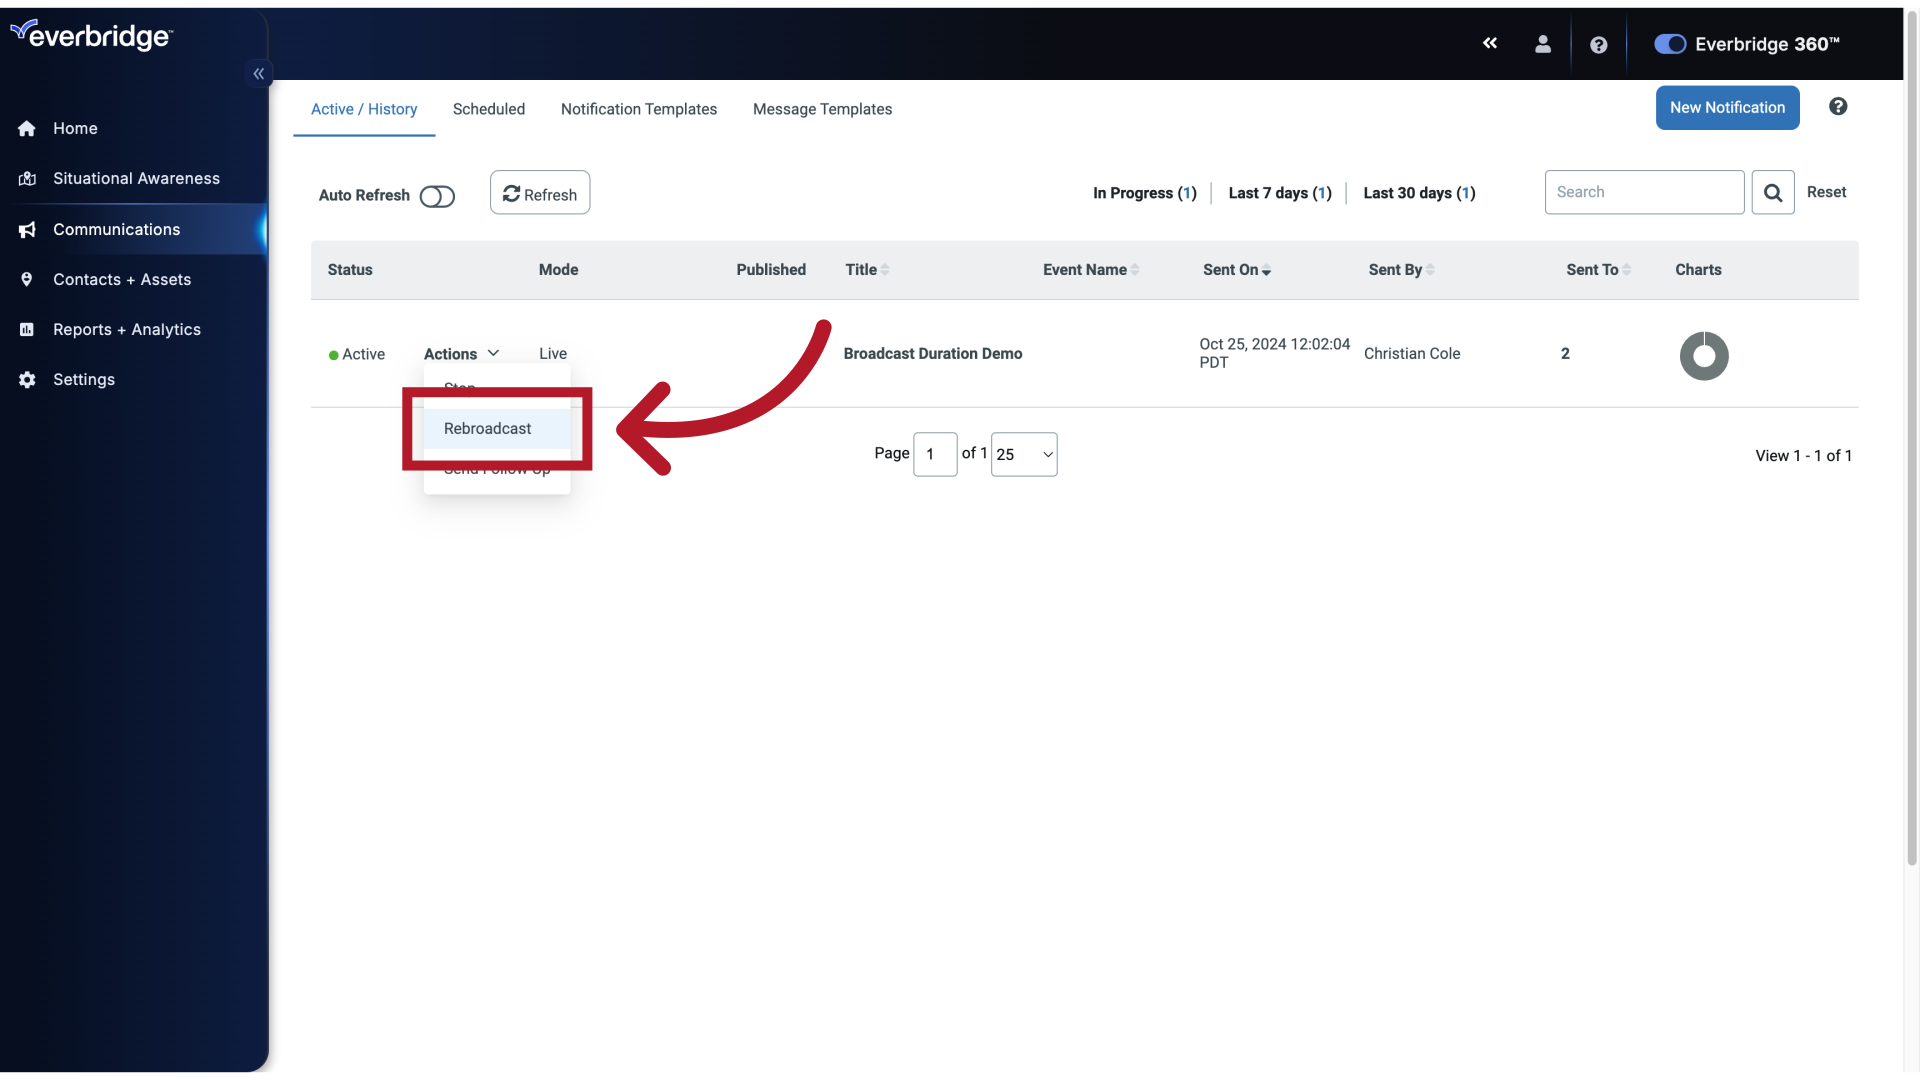
Remember, if the Broadcast Duration time expires, you can still reach the contacts who have not responded to your Notification by Rebroadcasting.
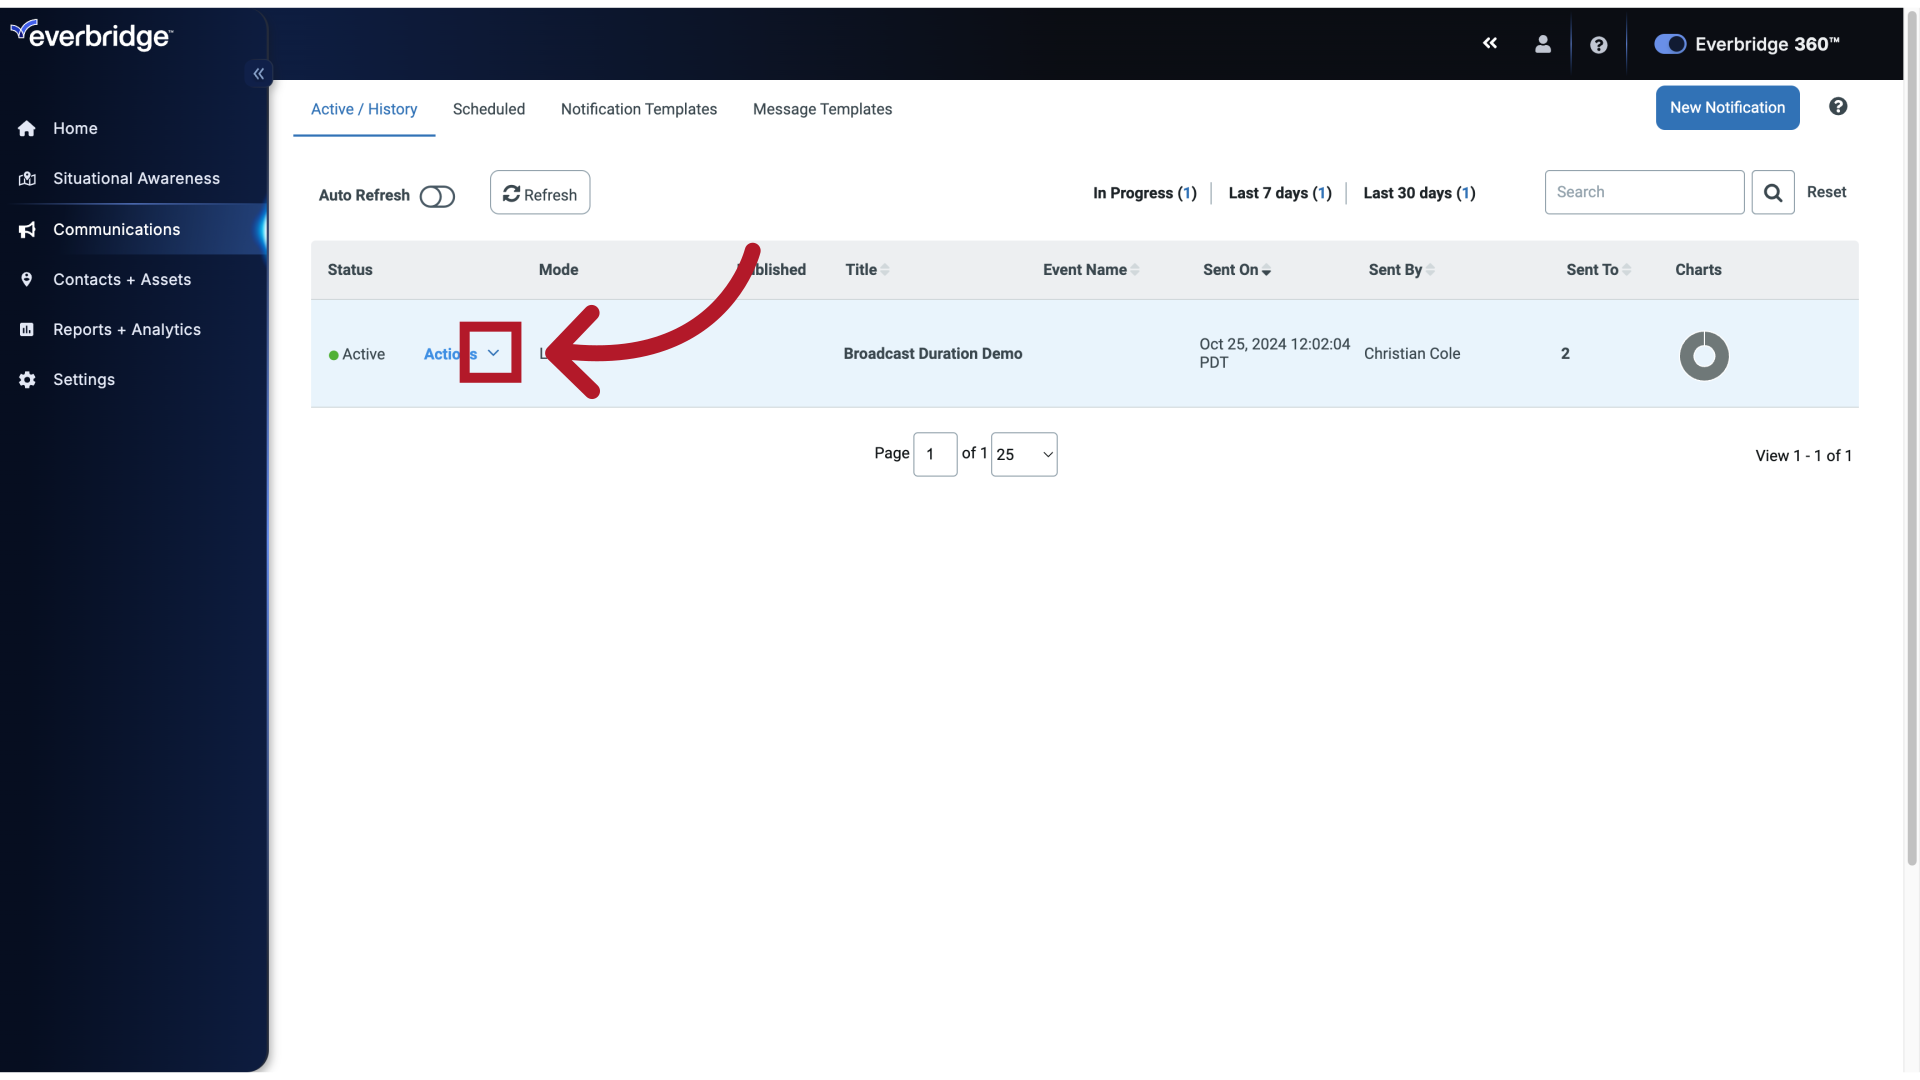
12. Actions
Click on the designated link.
13. Rebroadcast
Rebroadcast will resend a Notification to all contacts who received it earlier but have not confirmed receipt.
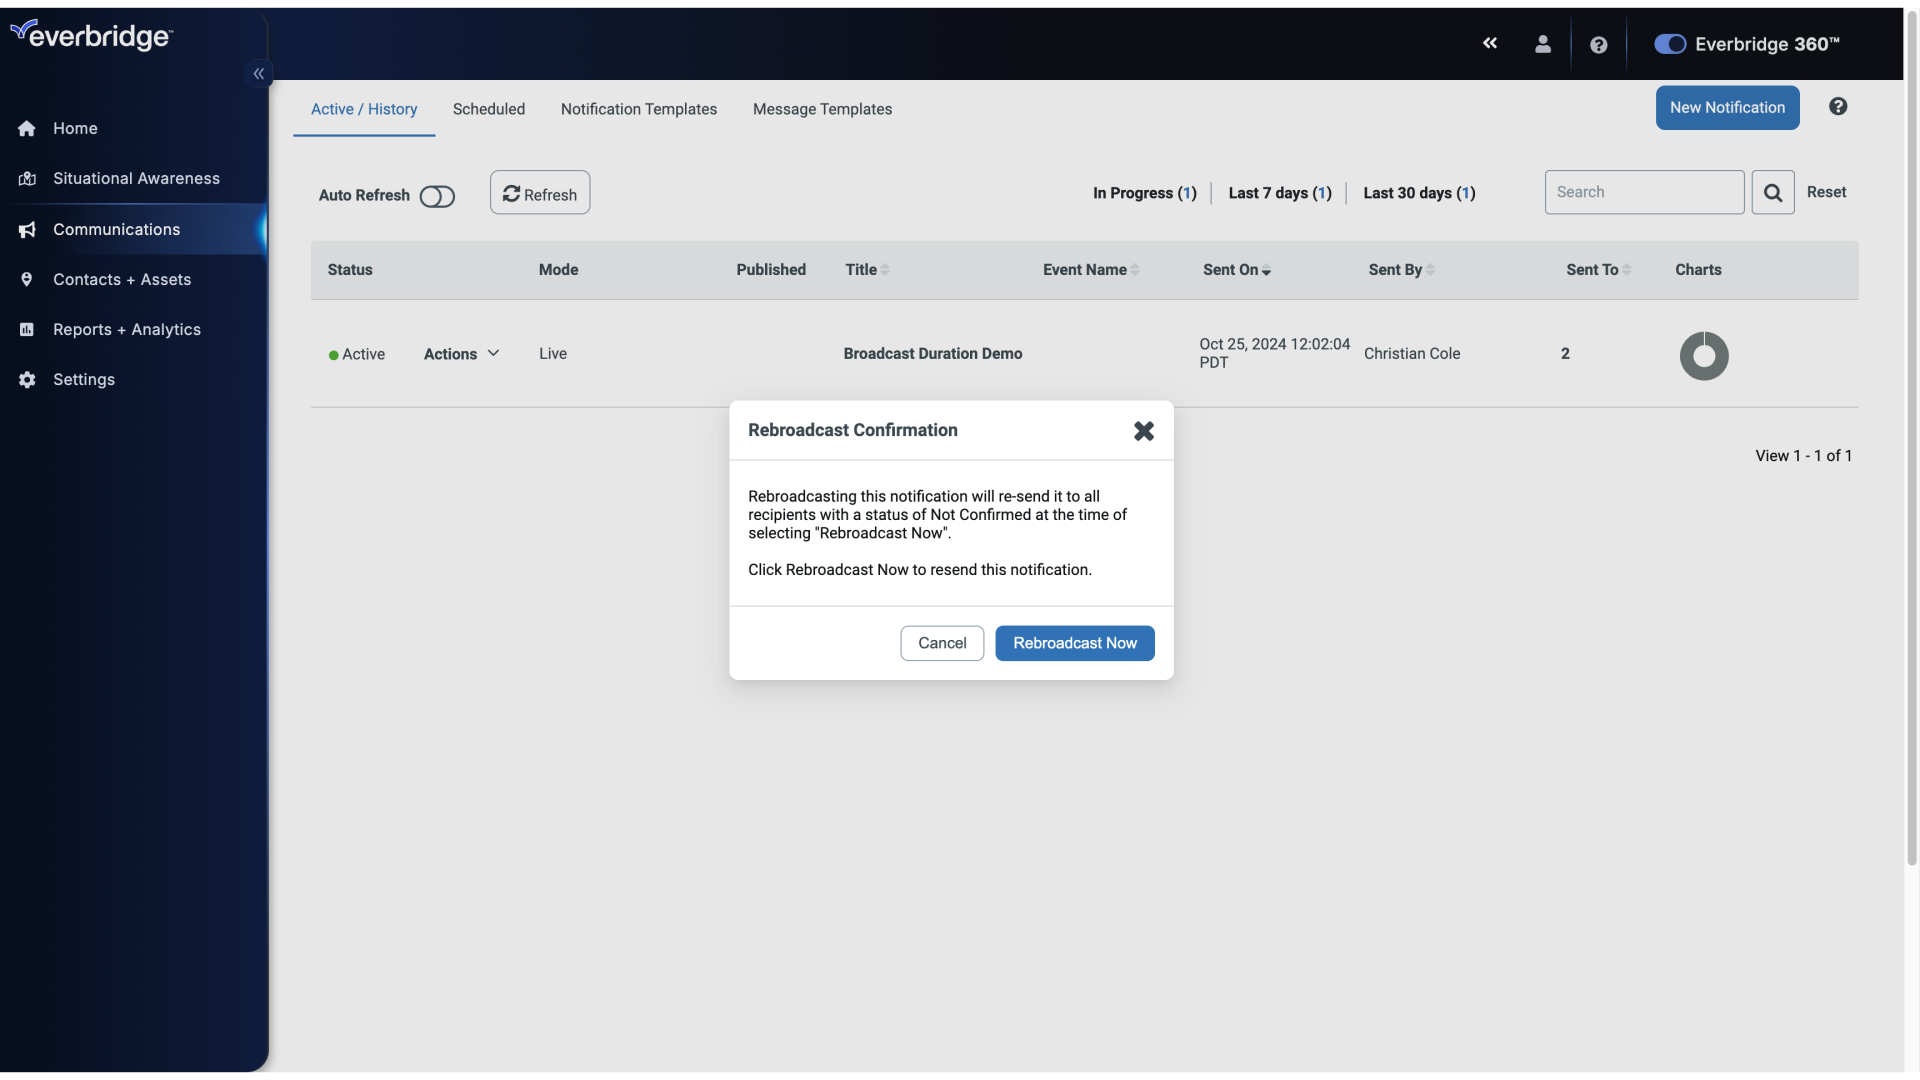
14. Rebroadcast Confirmation
Read the rebroadcast message.
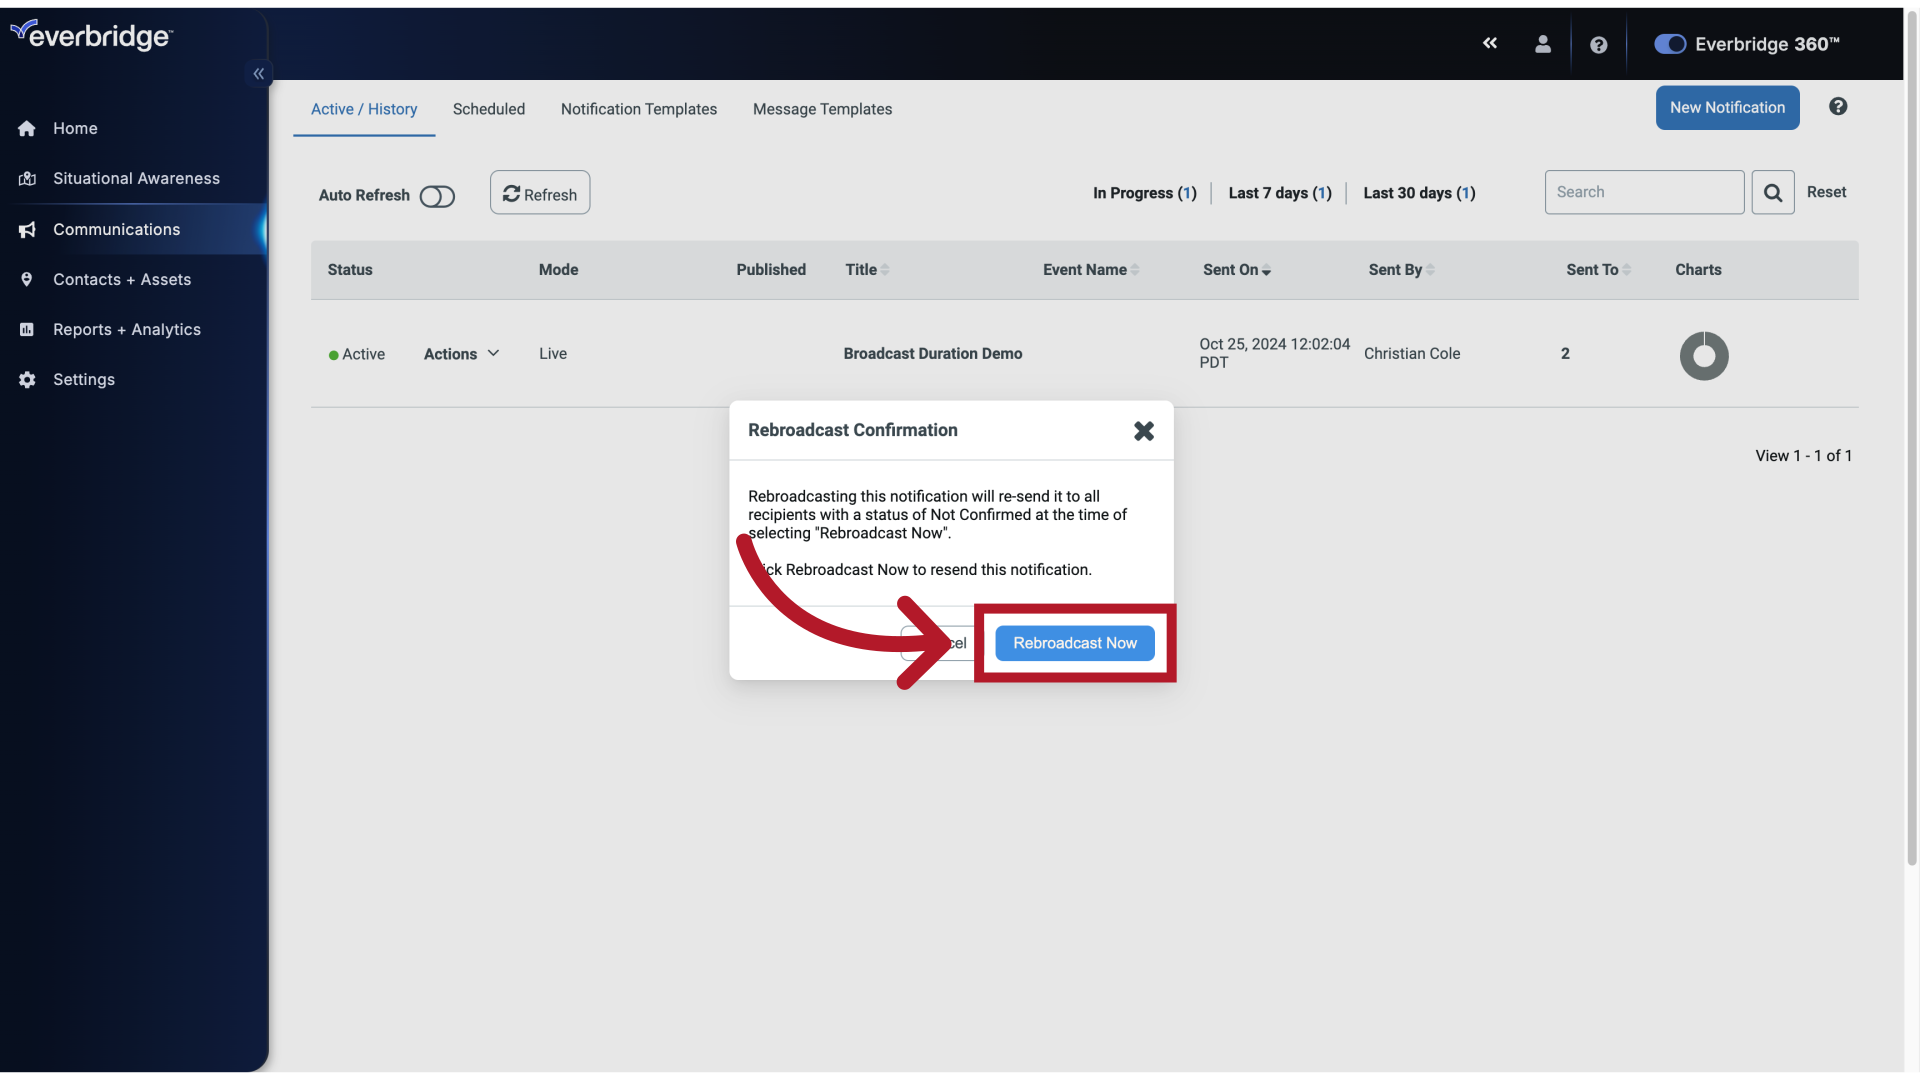
15. Rebroadcast Now
Initiate the rebroadcast.
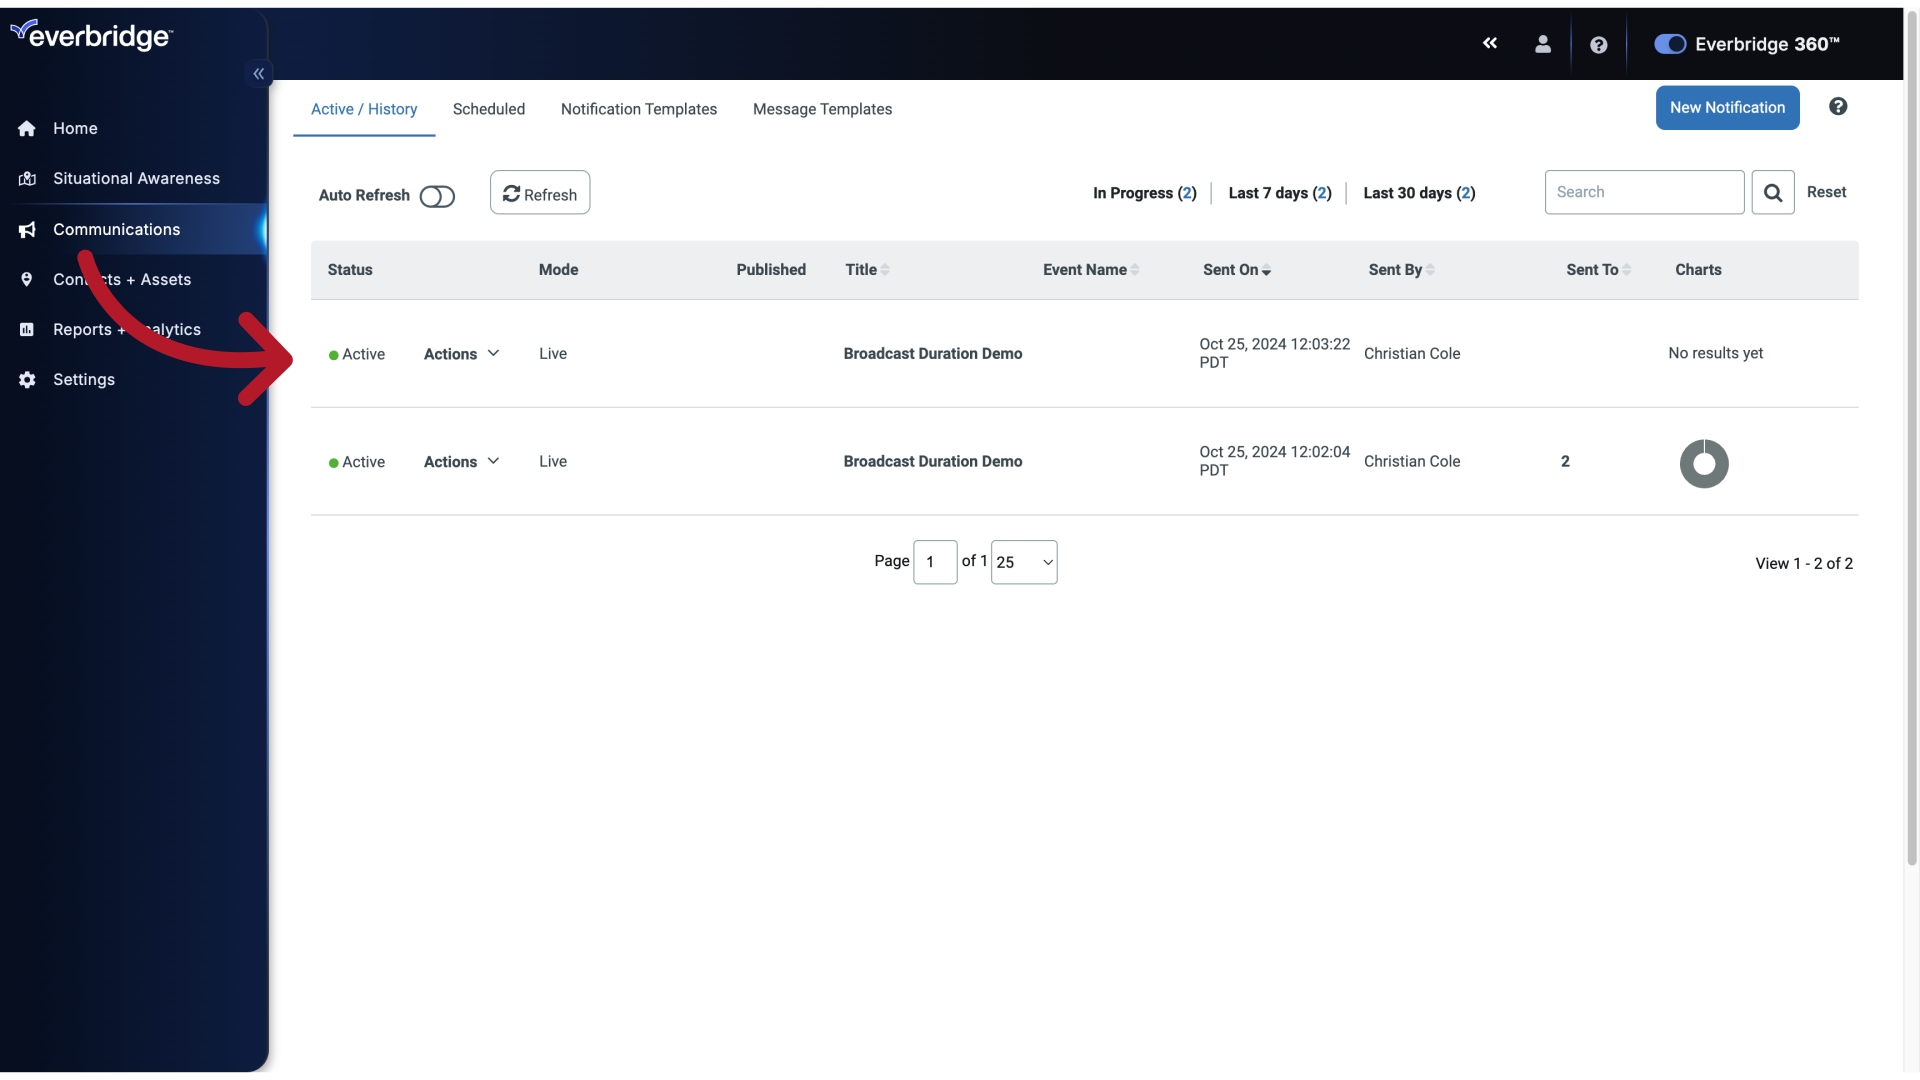
16. Active / History
Navigate to the specified page.
Frequently Asked Questions
What is the maximum broadcast duration for Everbridge incident scenarios?
The maximum broadcast duration for Everbridge incident scenarios is 5 days or 120 hours. If you attempt to set a duration longer than this, the system will prevent you from saving the configuration.
How does the broadcast duration affect launching new incident scenarios?
The broadcast duration does not prevent you from launching multiple scenarios in quick succession. You can create and launch new scenarios at any time, regardless of the previous scenario's broadcast duration. The duration only determines how long the notification remains active for responses.
The guide covered configuring a broadcast duration in Everbridge, including creating a notification, selecting recipients, setting the duration, and rebroadcasting messages. Master these steps to efficiently communicate important information within the application.