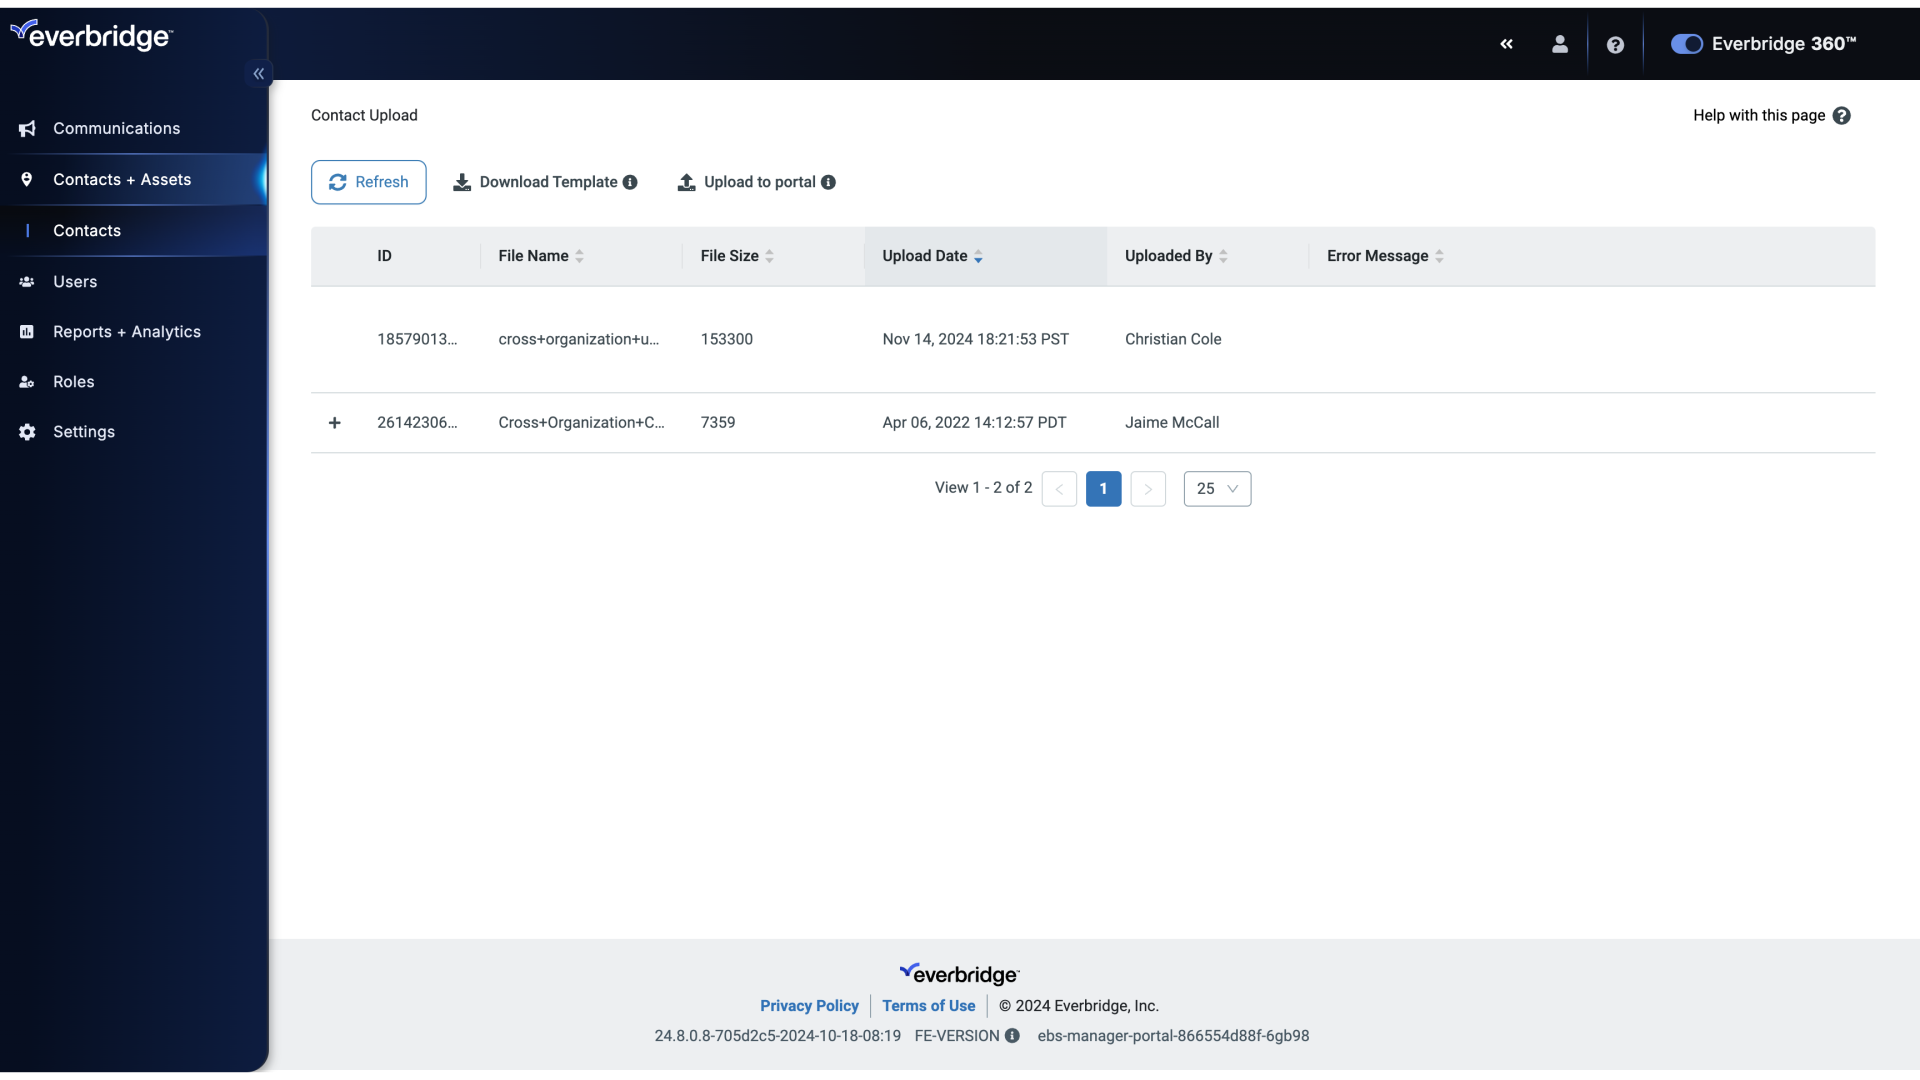
Topic
How to upload contacts to multiple organizations.
If needed, Contacts can be uploaded to Multiple Organizations all at once.
Go to manager.everbridge.net
1. Account Admin Dashboard
Account Administrators have access to cross-organization actions through the account level.
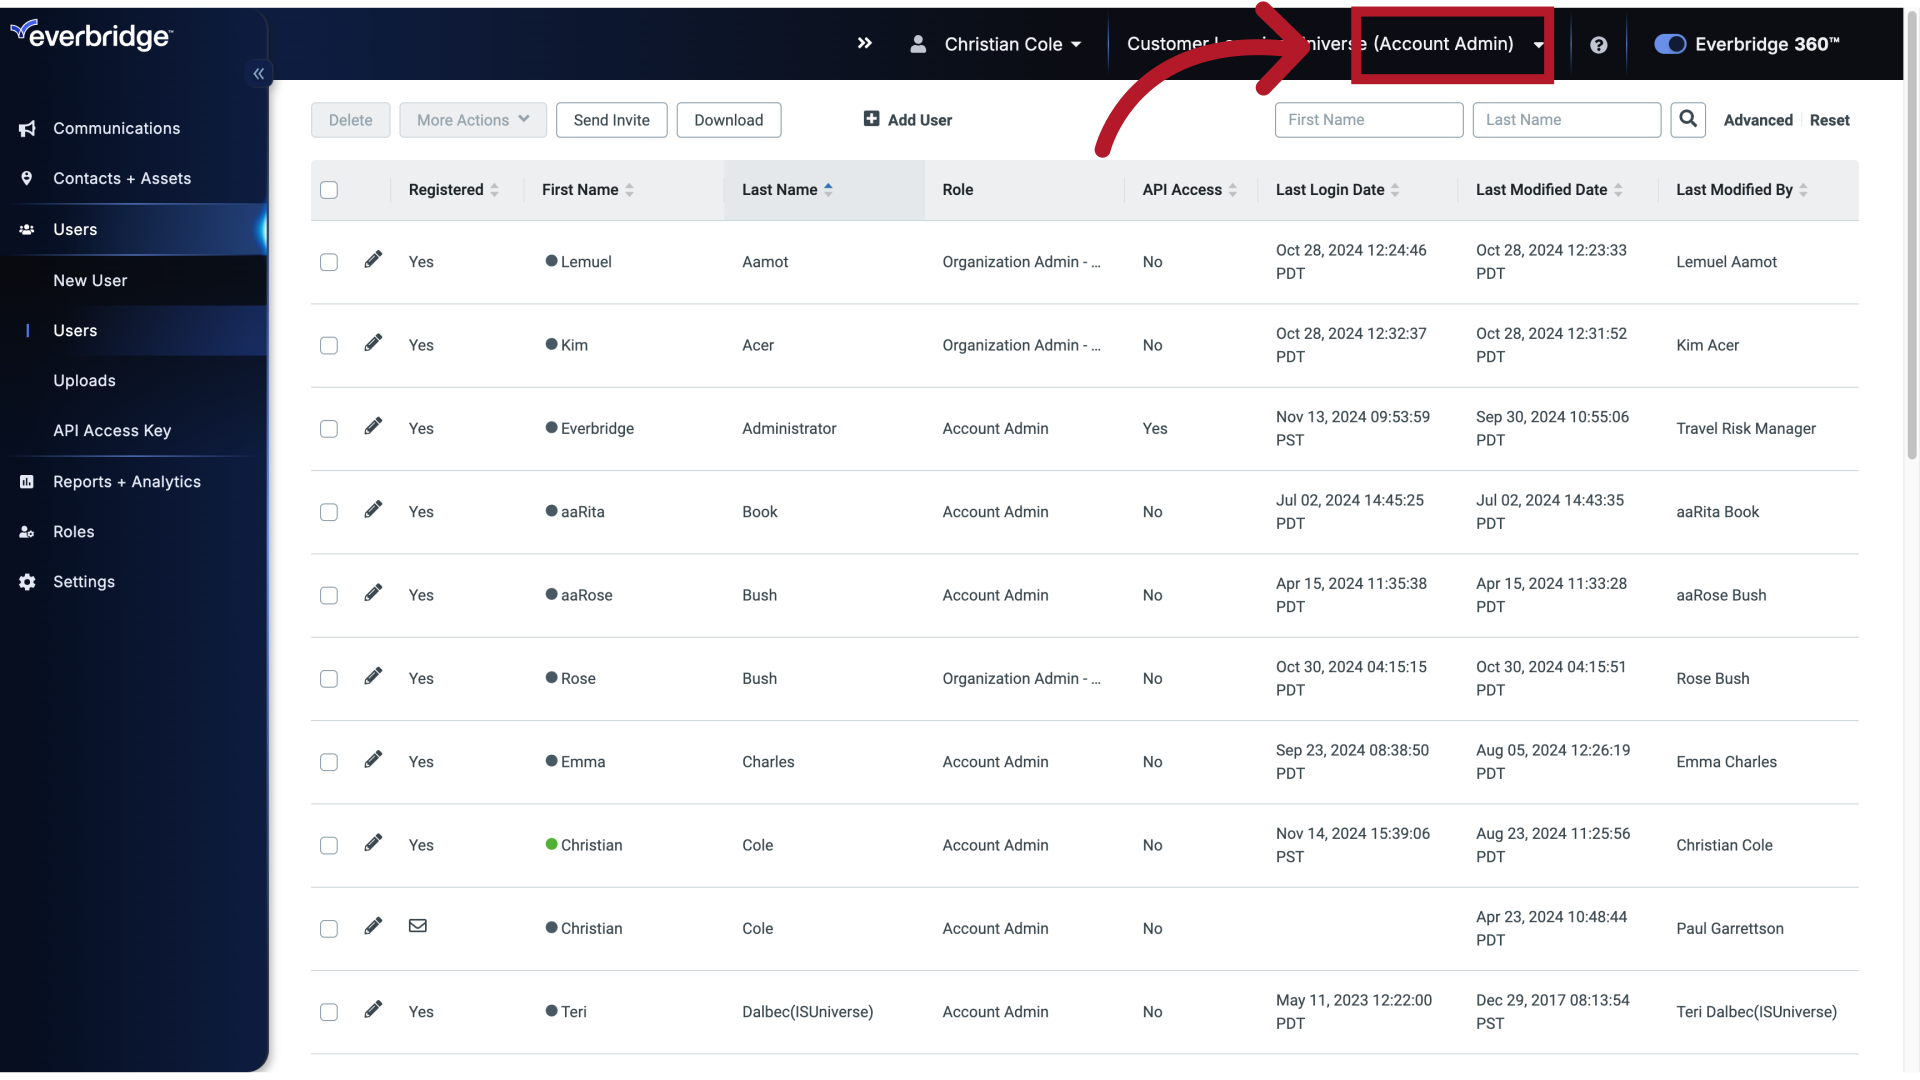
2. Account Admin Dashboard
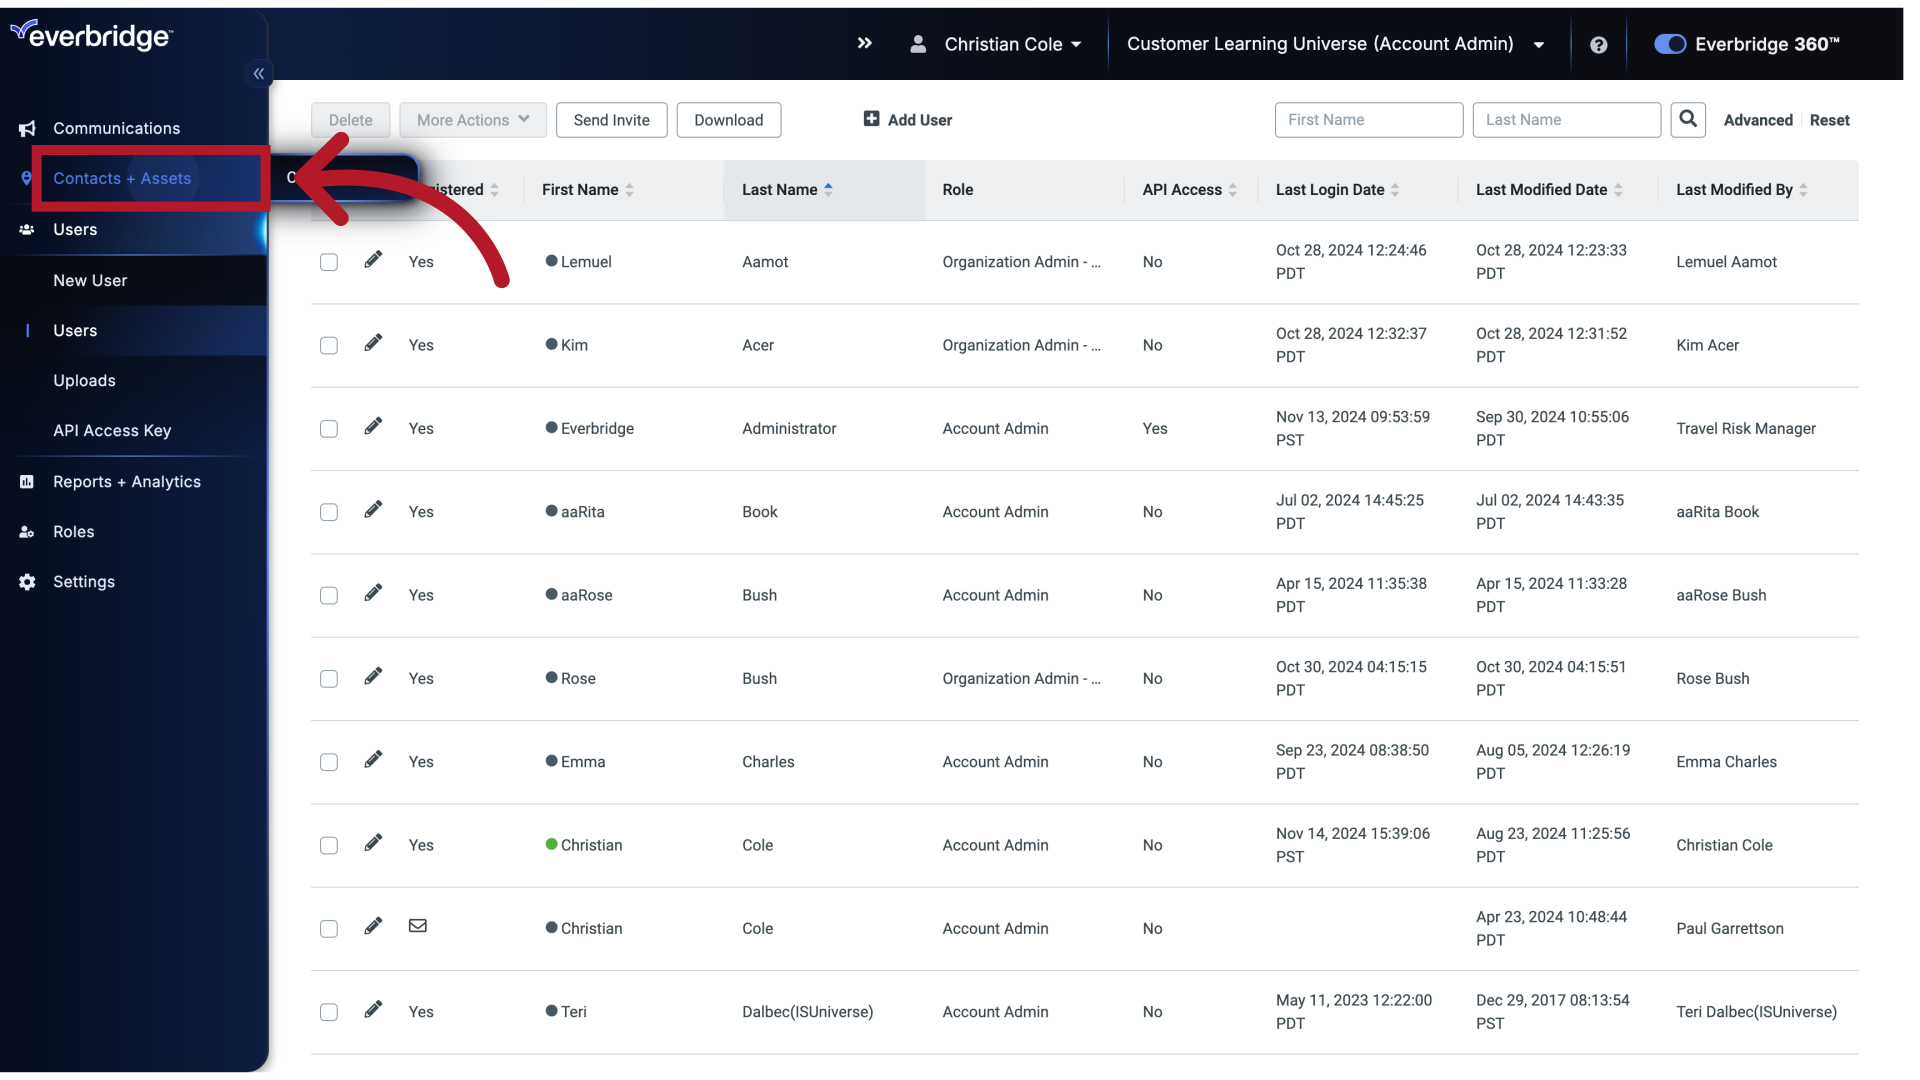
From here, click the Contacts + Assets tab.
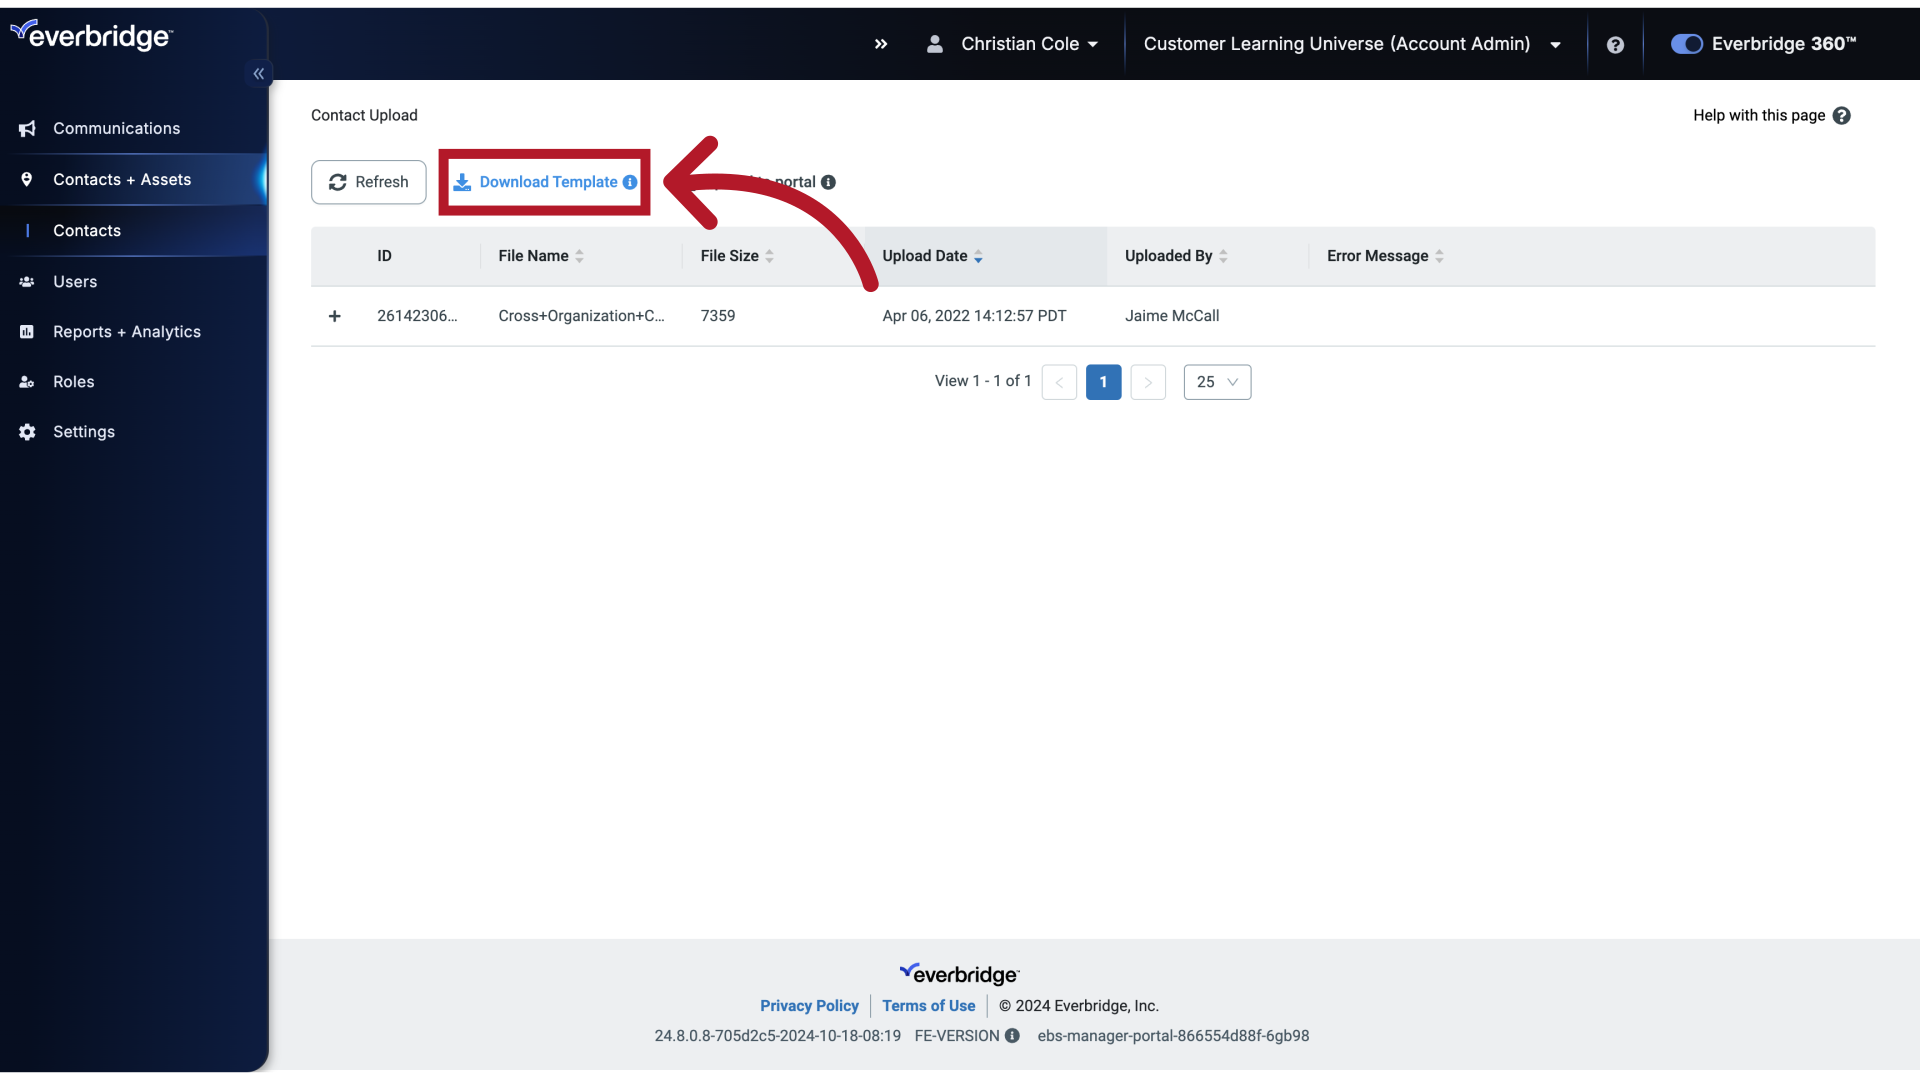
3. Contact Upload
Click Download Template to make sure that you have the proper template to start from, since the columns are different when uploading contacts to multiple organizations.
4. Contact Upload Template
It should be noted that there are specific formatting requirements for some of the information in any contact upload file. If needed, those details can be reviewed in our Formatting a Contact file for Upload video, which is linked at the bottom right. Formatting a Contact File for Upload

5. Contact Upload Template
Once information is added, and a file is ready.

6. Contact Upload
Return to the Contact Upload screen.
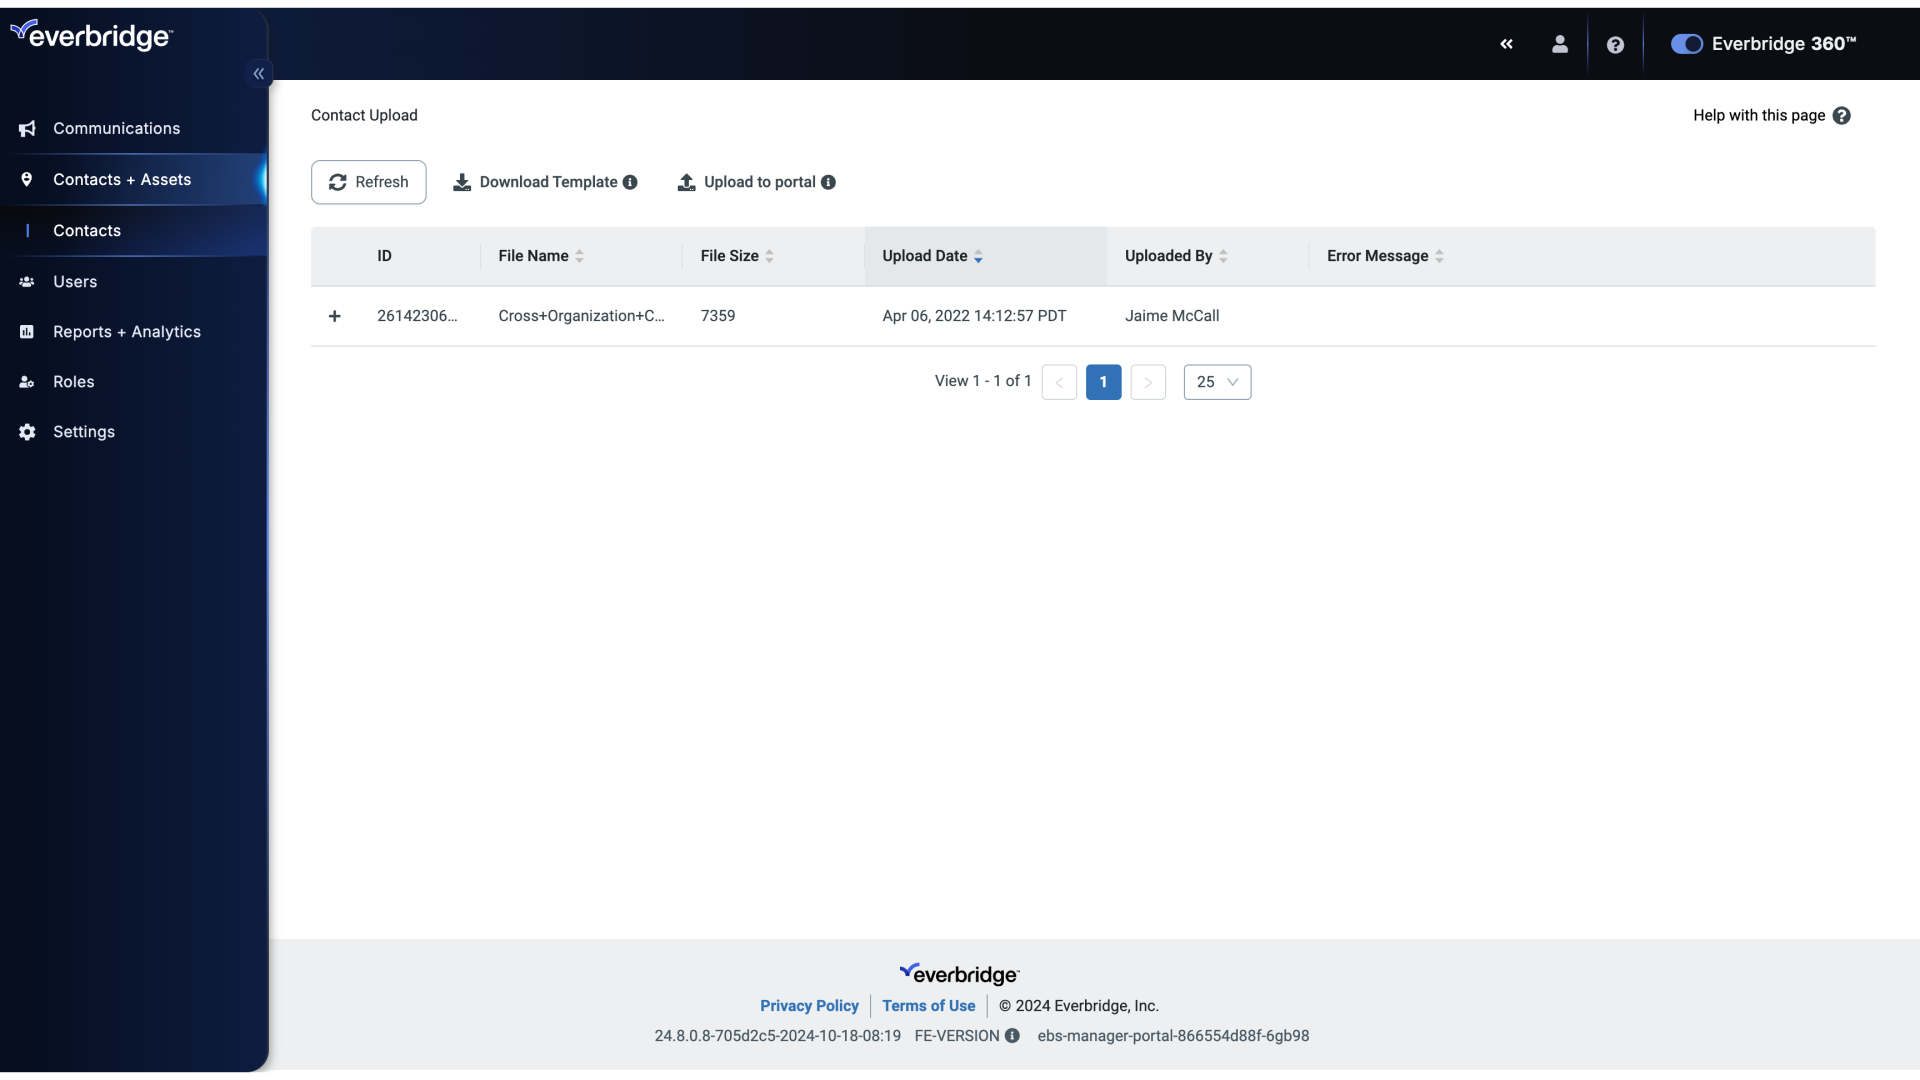
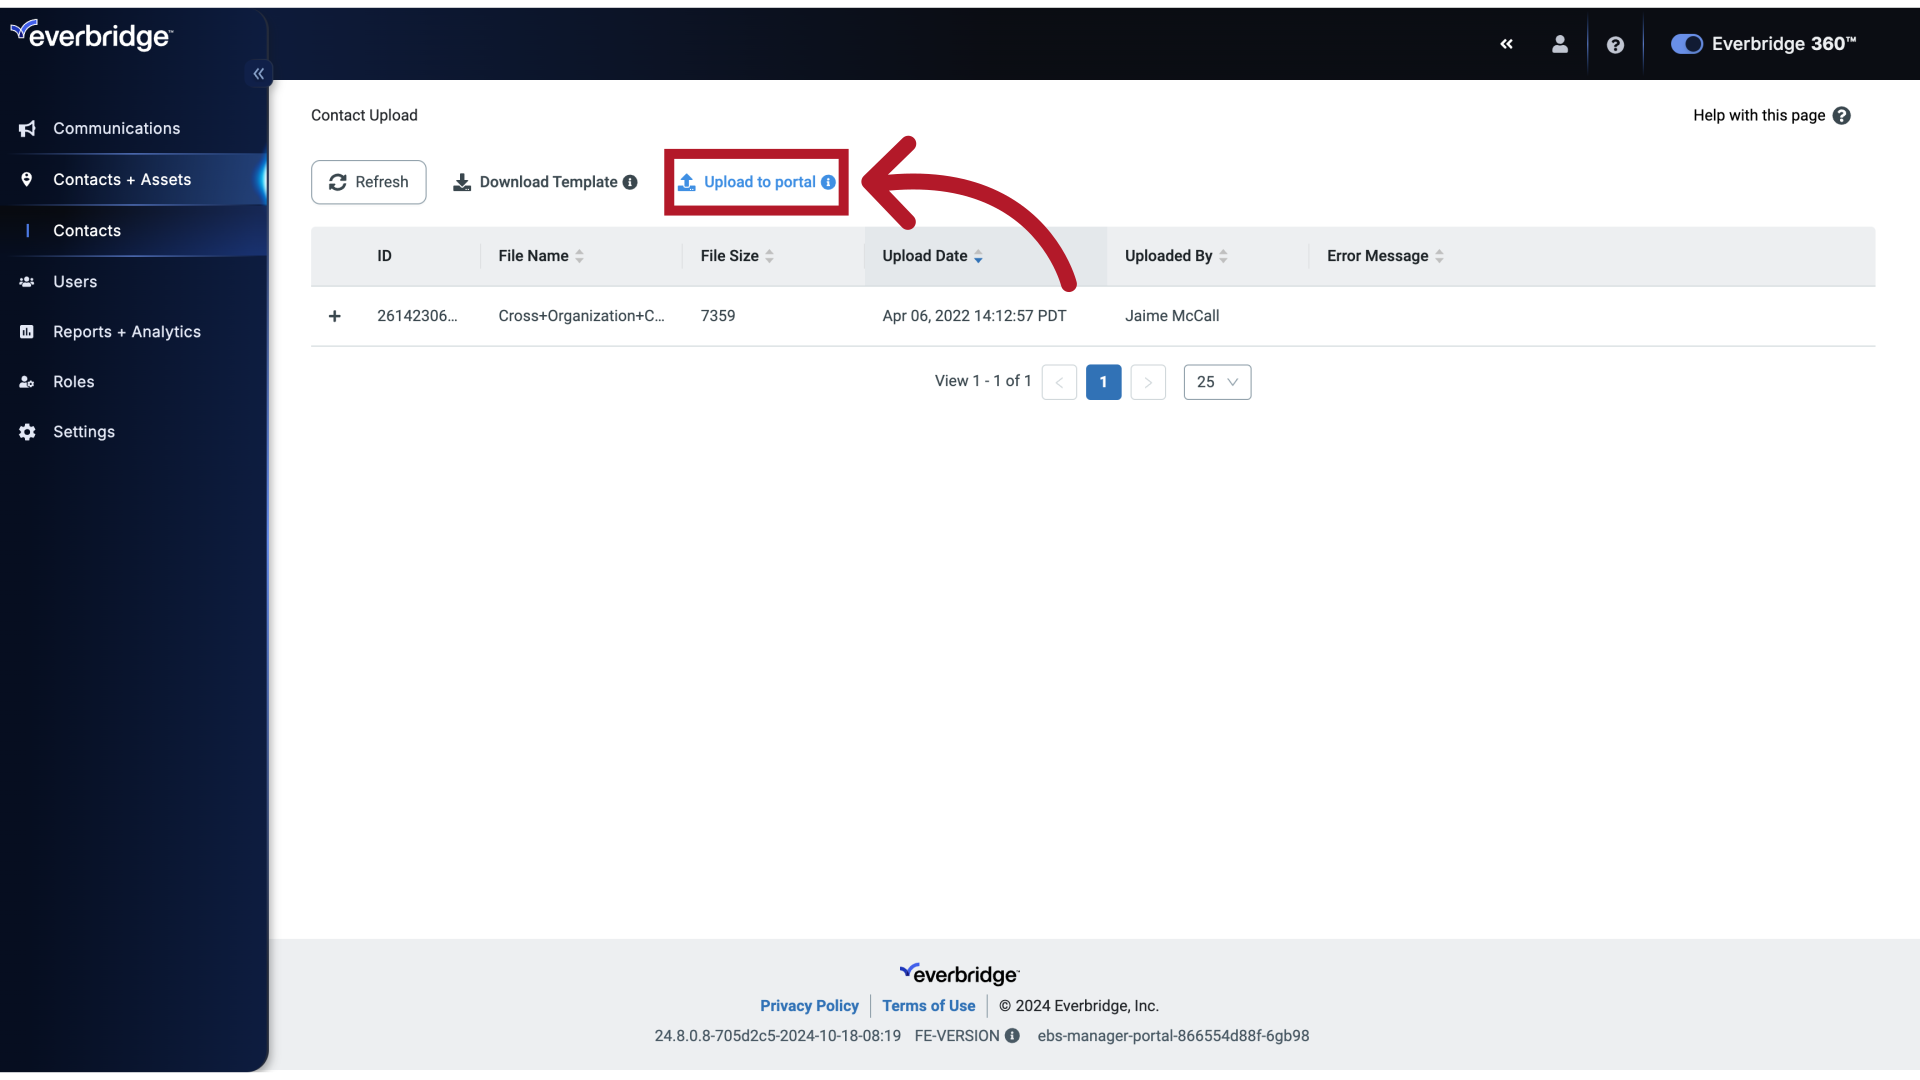
7. Contact Upload
And click Upload to portal.
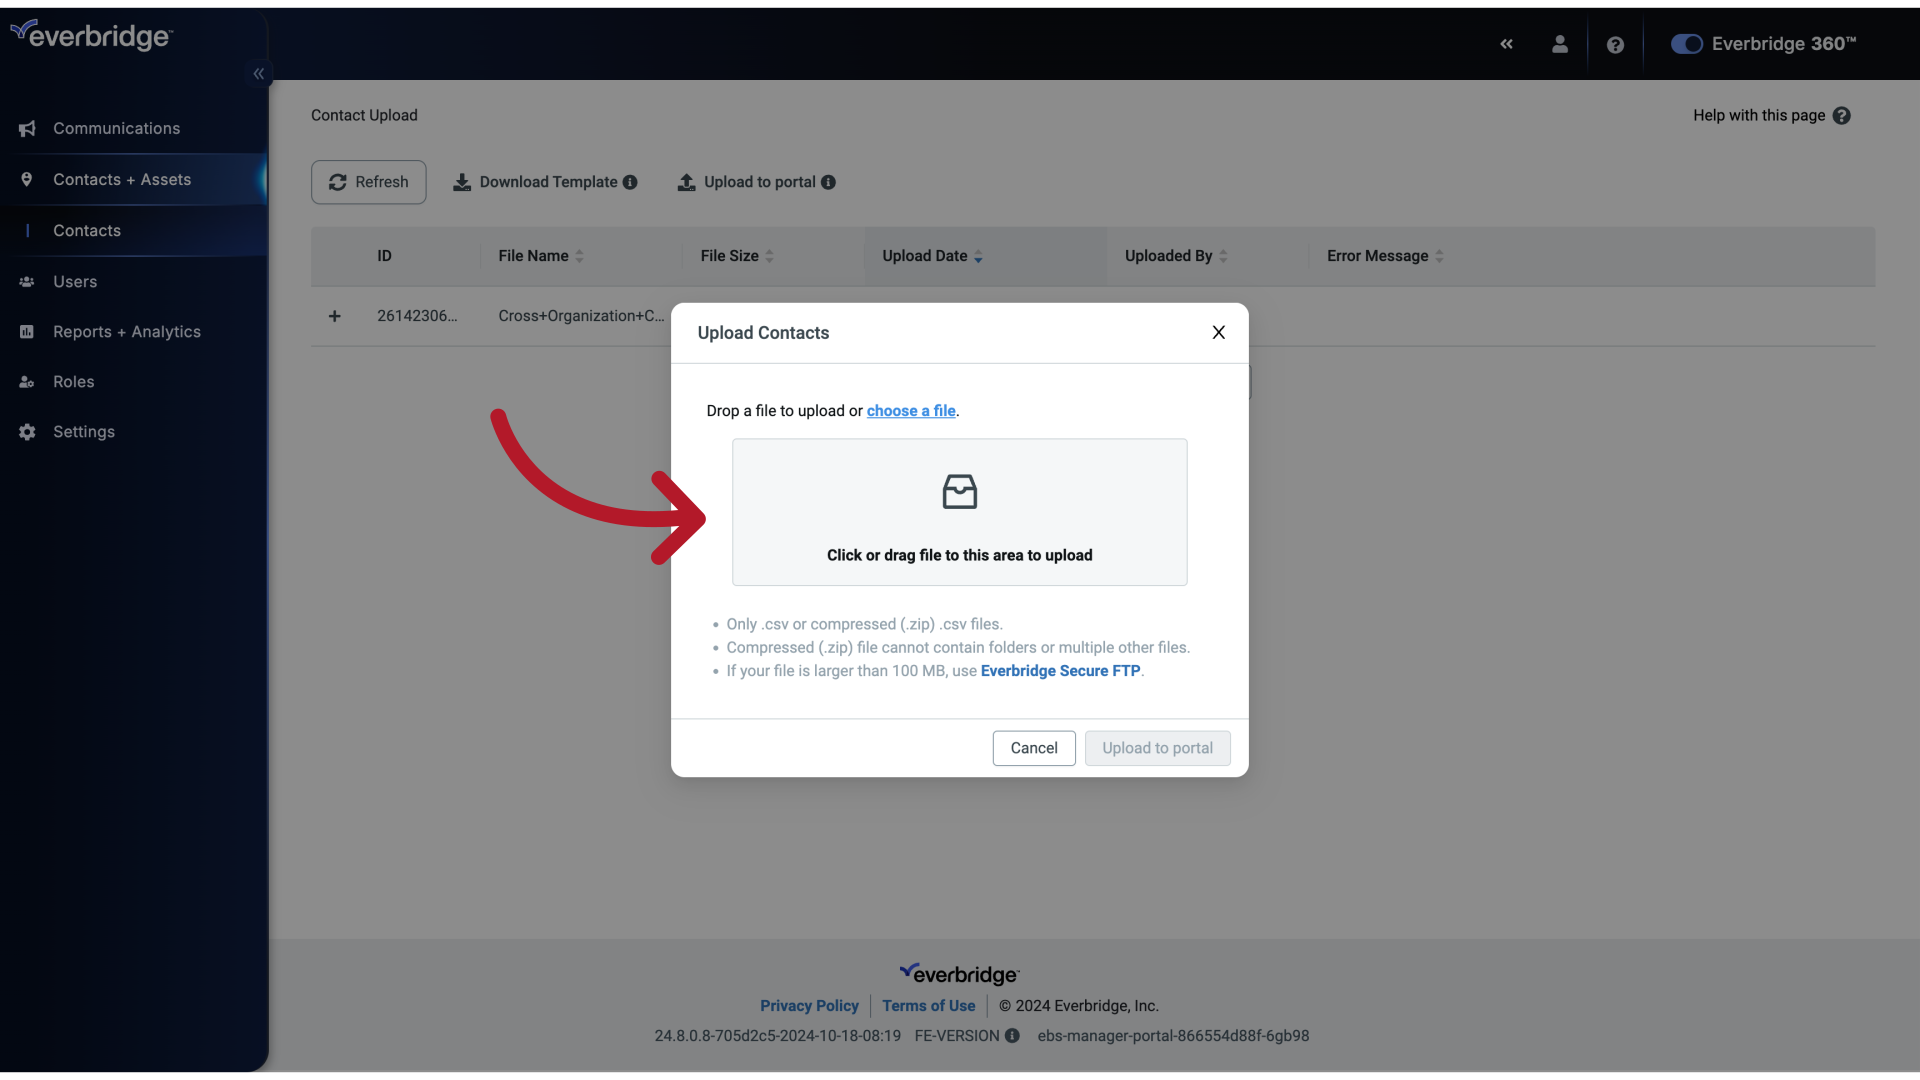
8. Upload Contacts
Then, either select choose a file or drag your file to the center area to upload.
9. Selected File
Here, we can see the file selected was successfully attached.
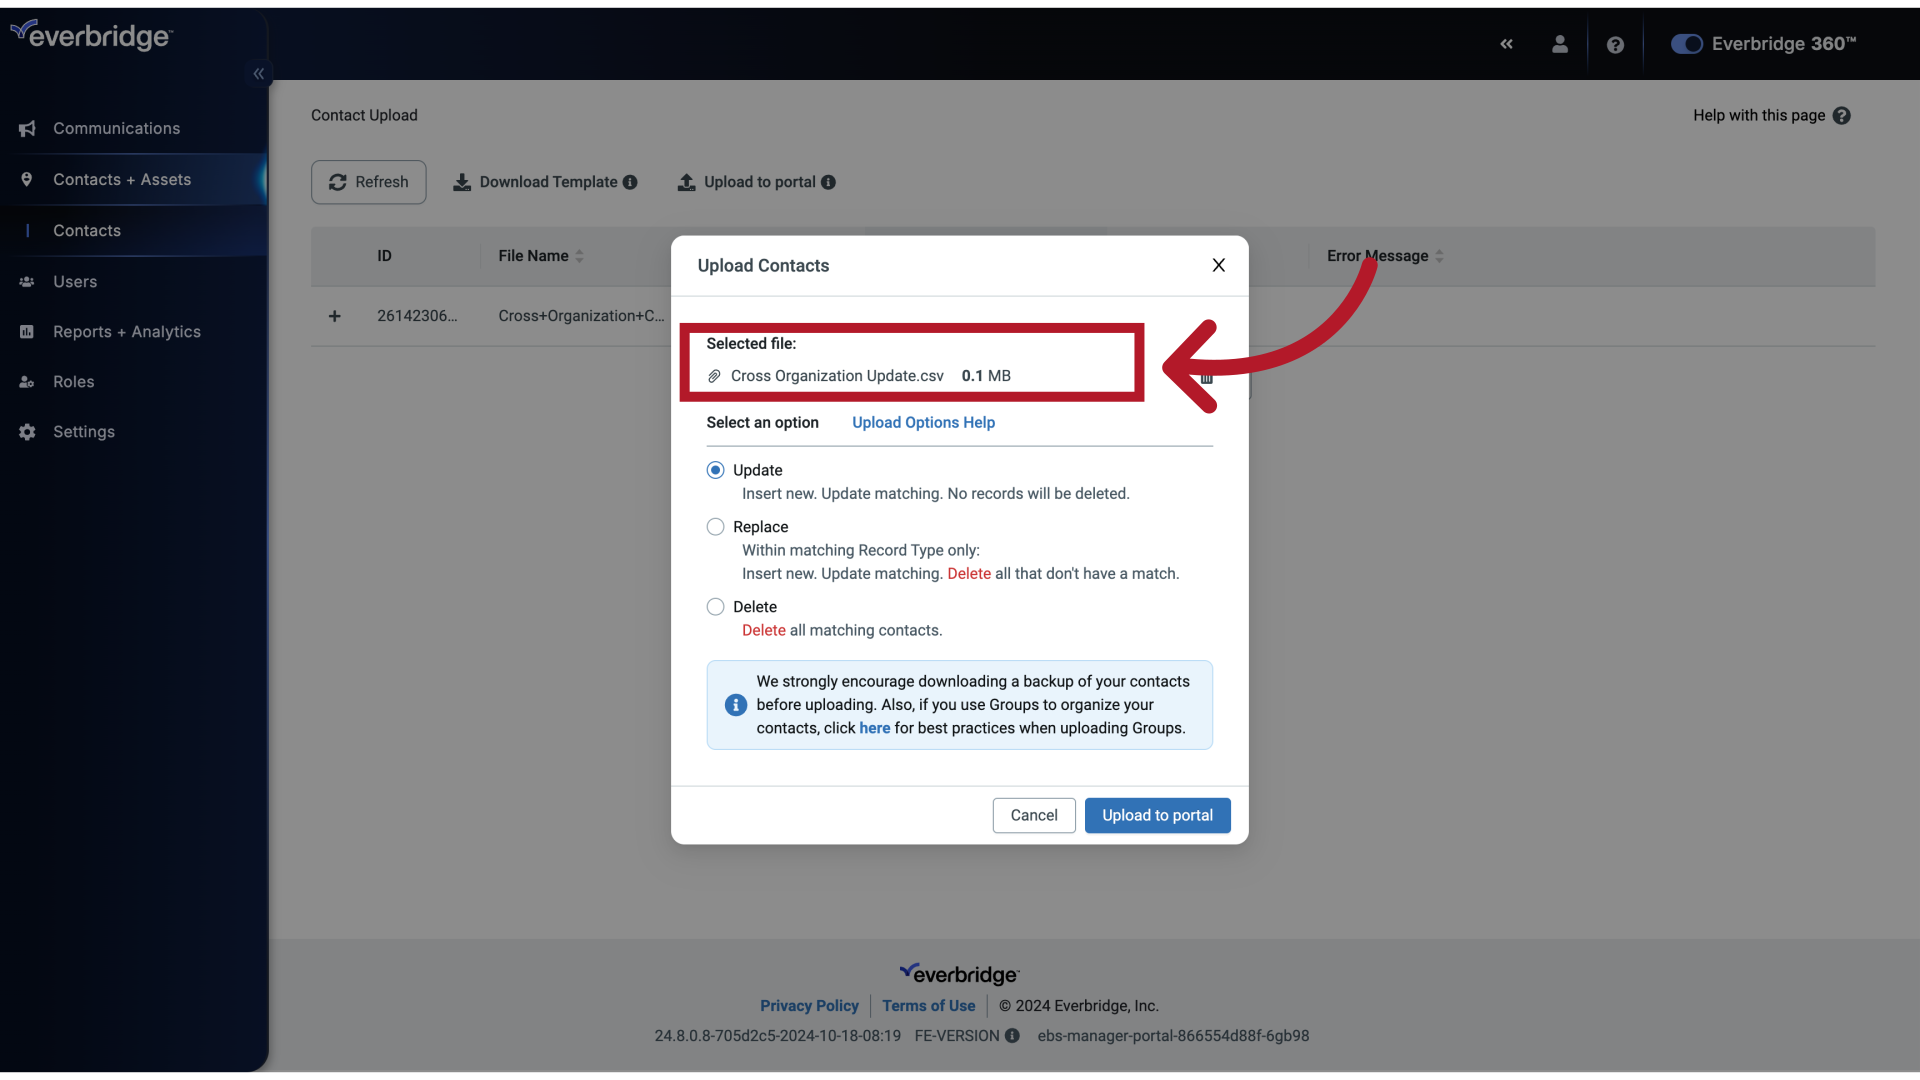
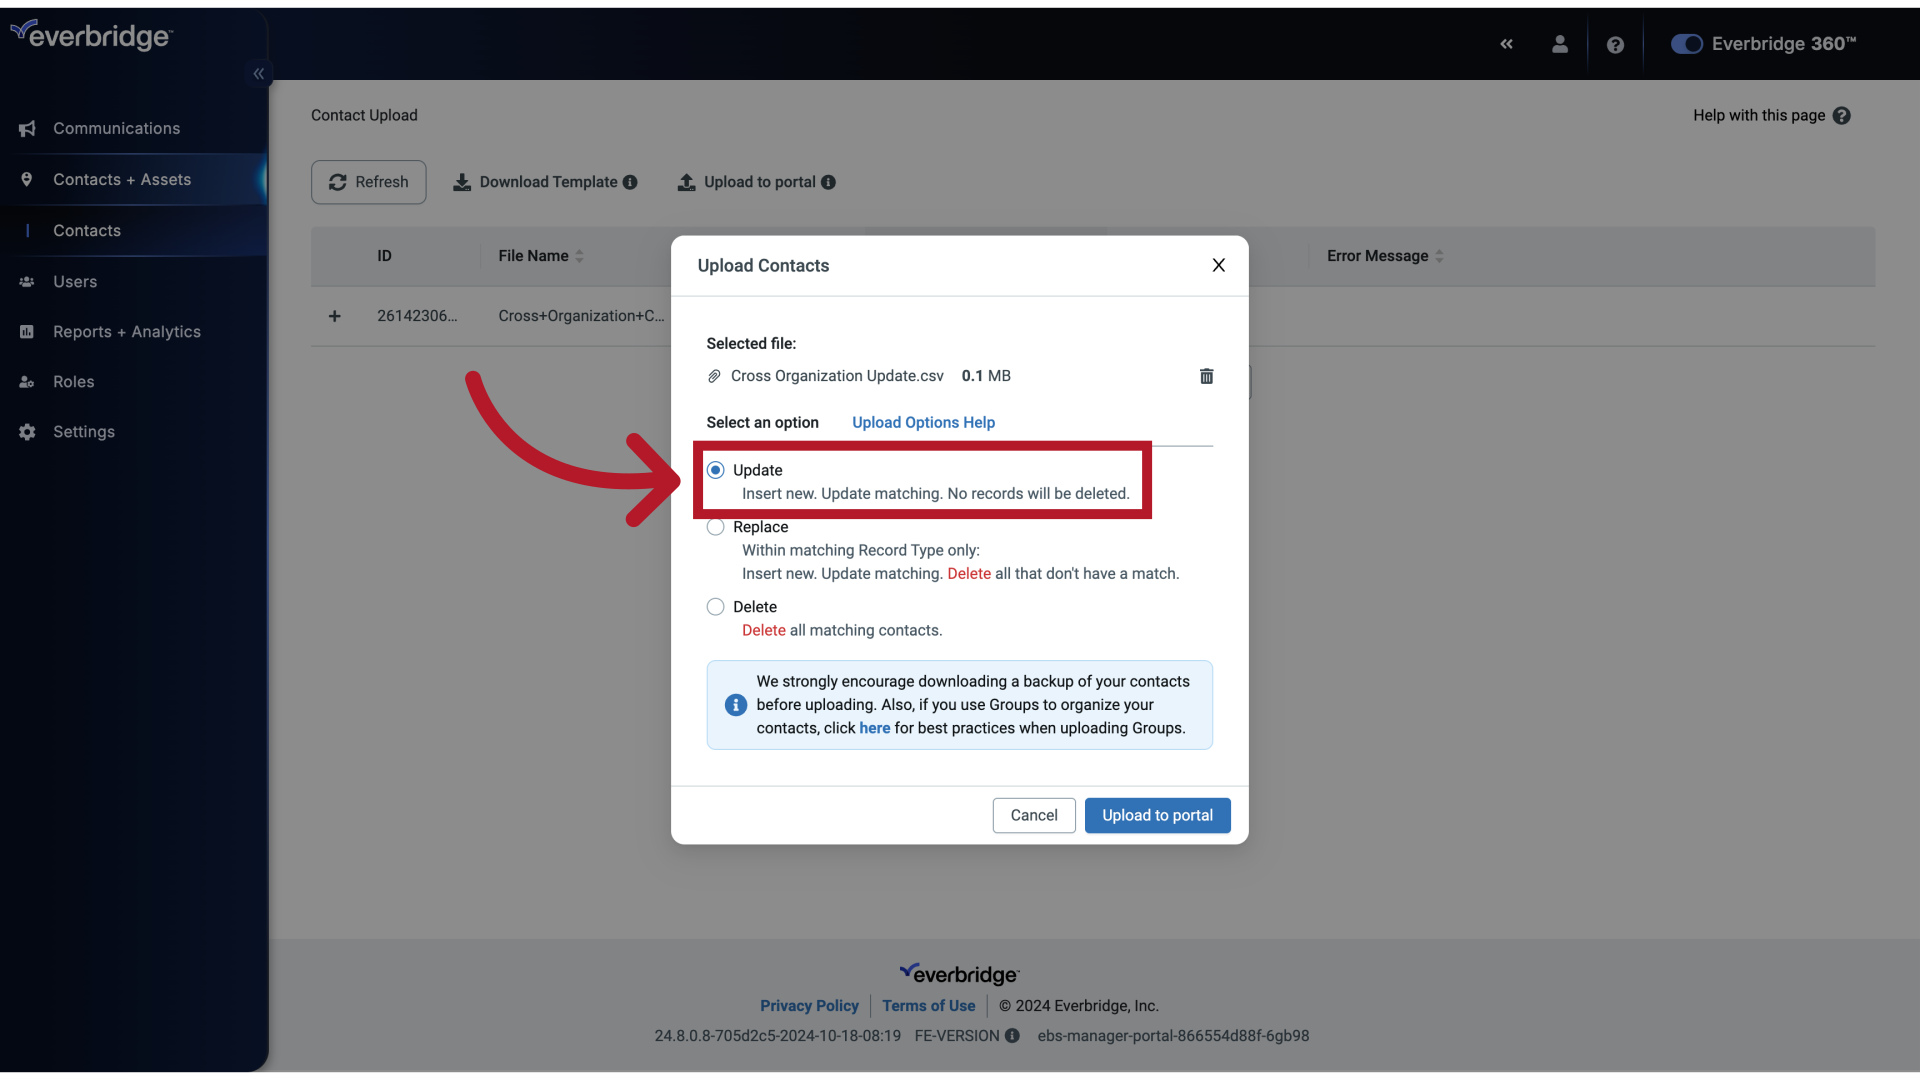
10. Upload Contacts Update
Update, the first option adds new contacts and updates existing contact information. It's selected by default. Click Upload to Portal.
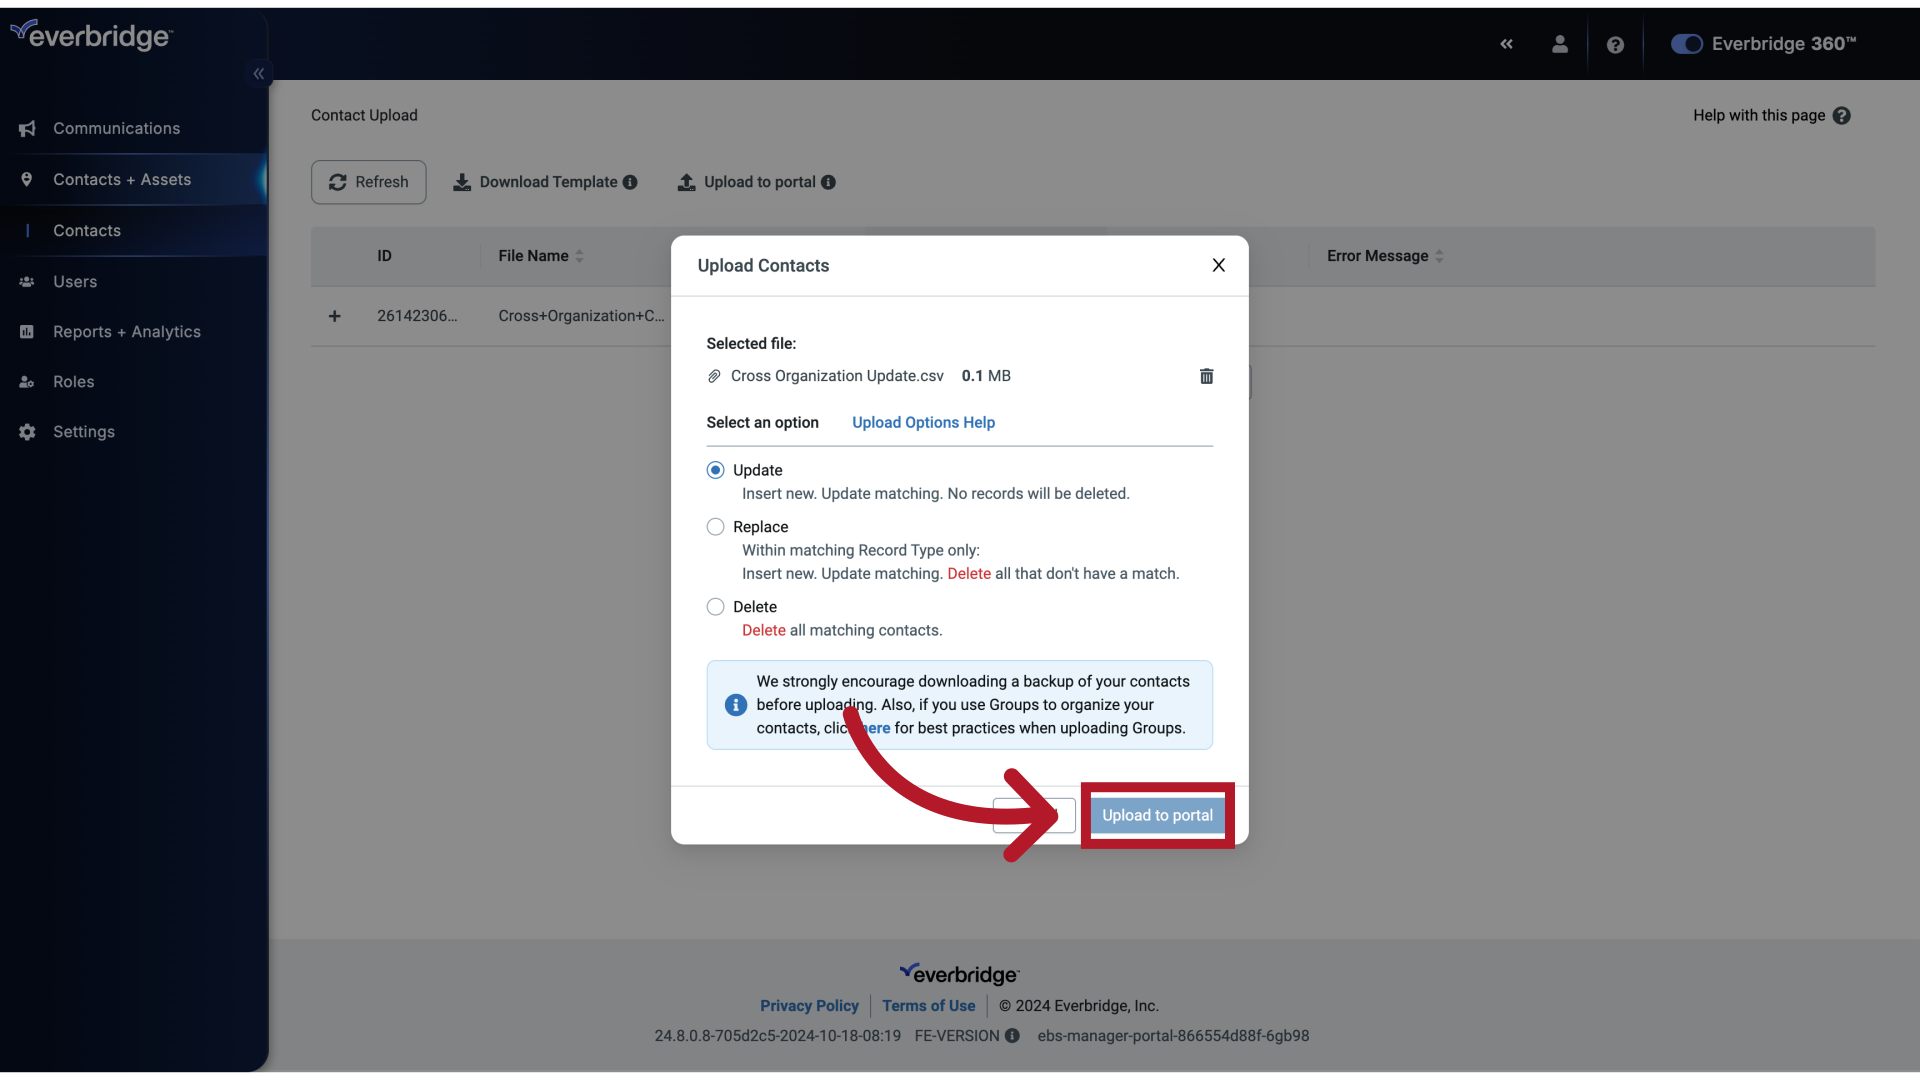
11. Upload to portal
Proceed with uploading to the portal.
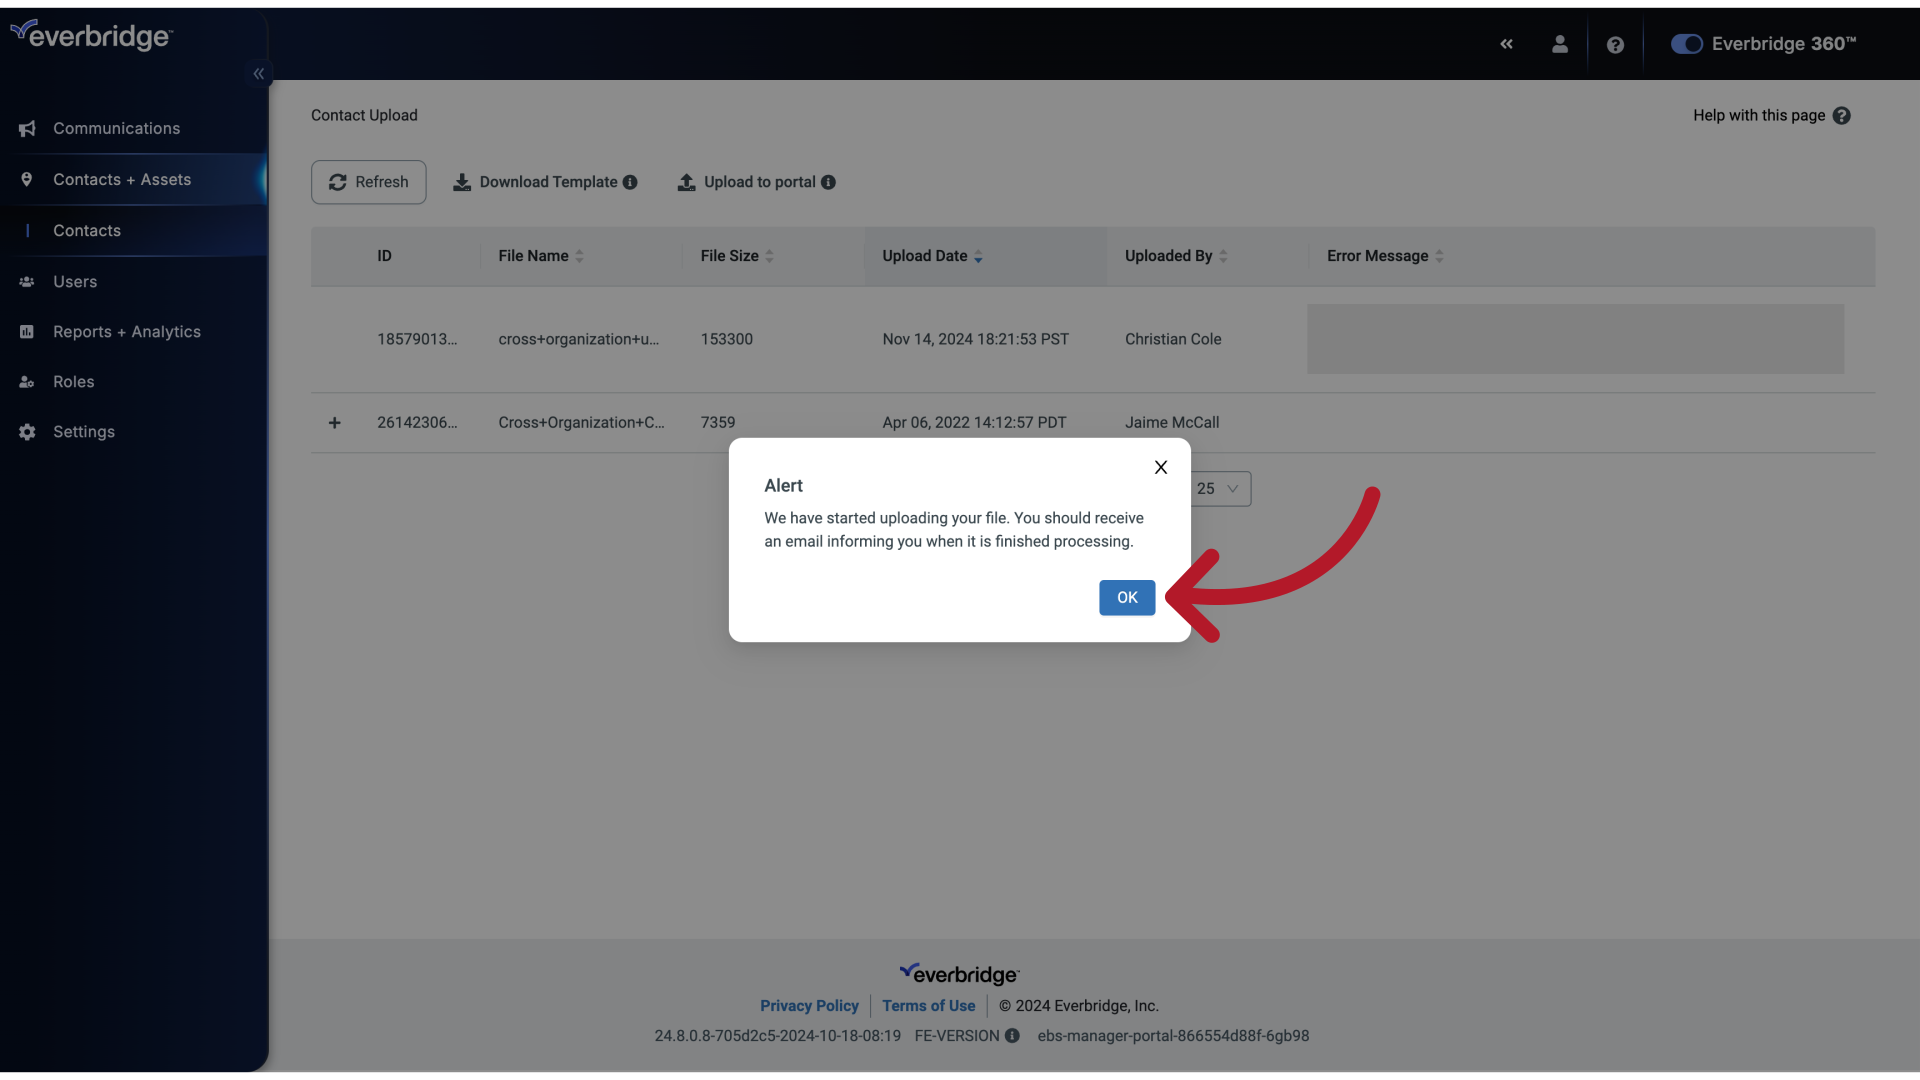
12. Upload to portal
And Click OK.
13. Contact Upload
Contacts will be added to the Organizations indicated in the file.
