Topic
How to add a single contact in Everbridge Suite.
Description
Contacts are people or devices who can receive messages sent by your organization. This tutorial will instruct you on the simple process of manually adding a single contact record.
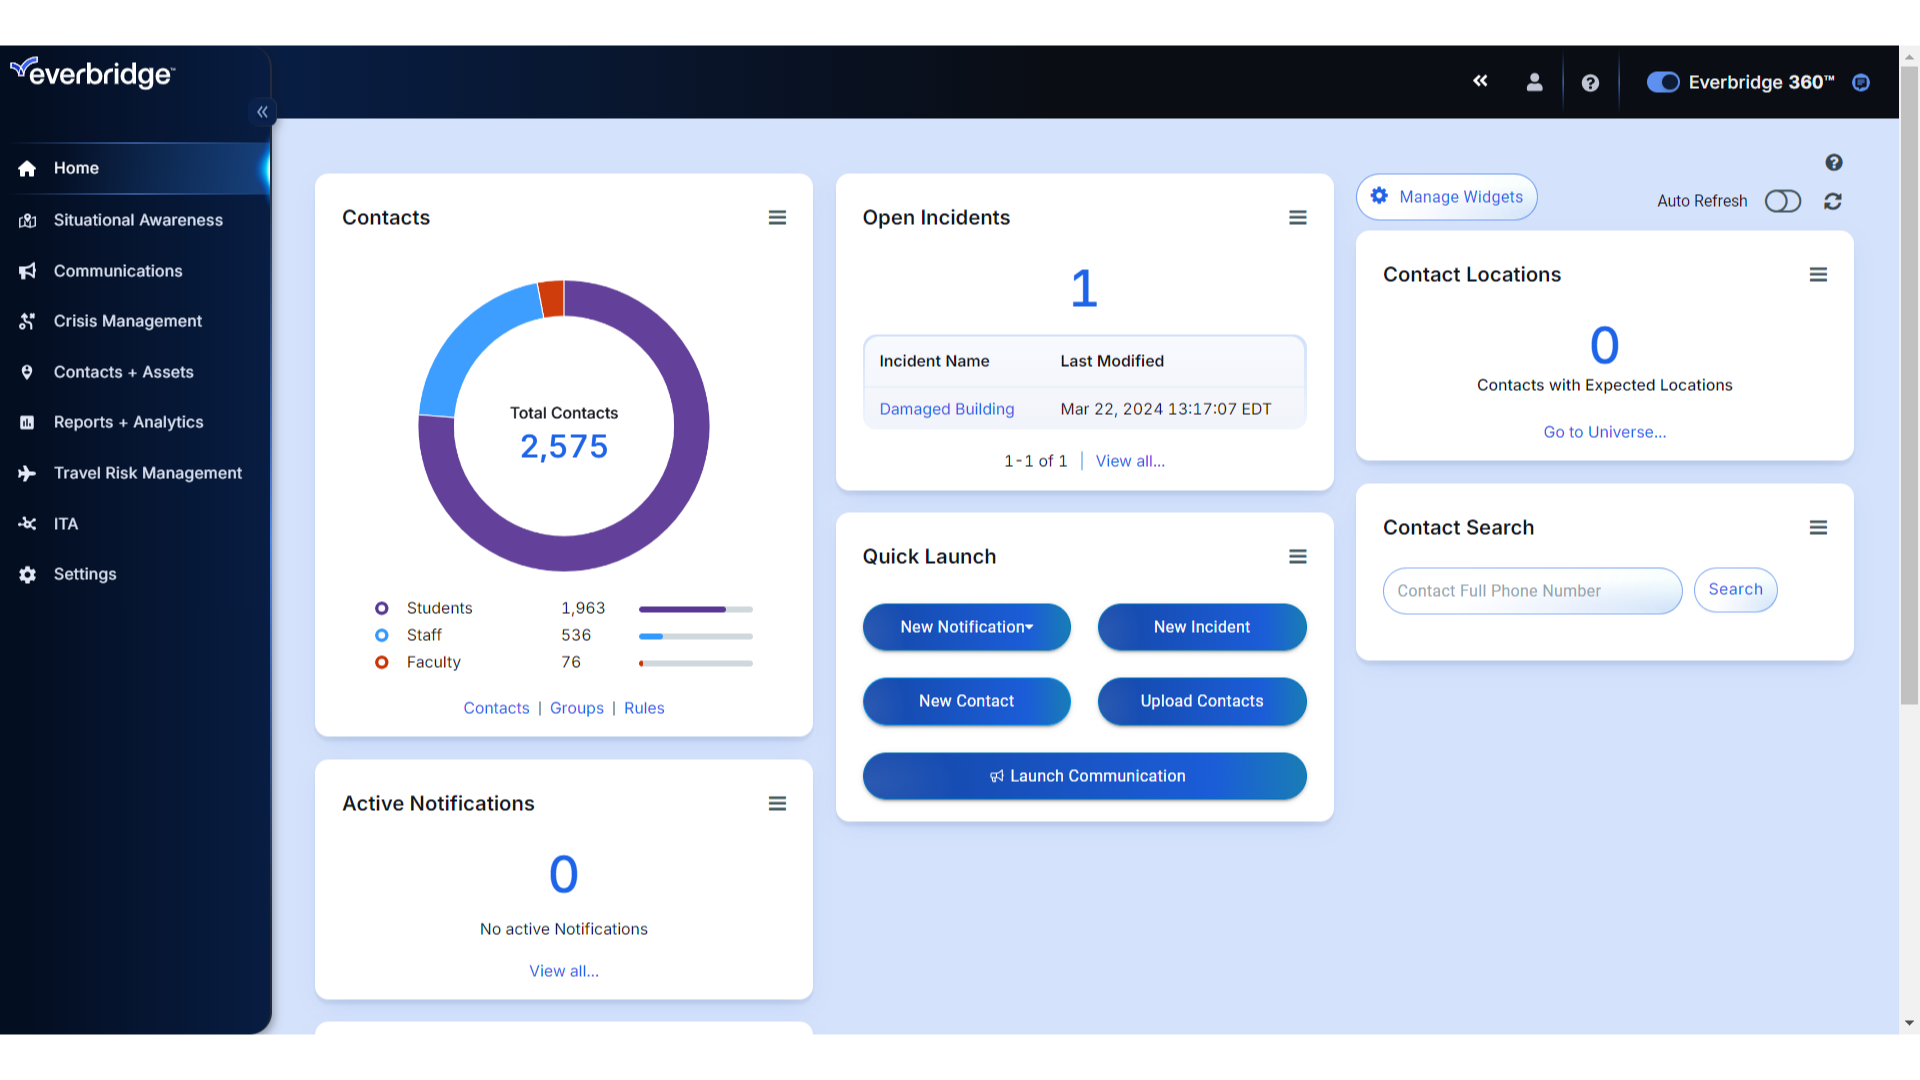
Go to manager.everbridge.net
1. Adding a Contact
In this example, Tessa is a new professor who has just started working at your university and you want to add her as a contact to your organization. Keep in mind only specific roles within your organization will have permission to add, edit or remove contacts.
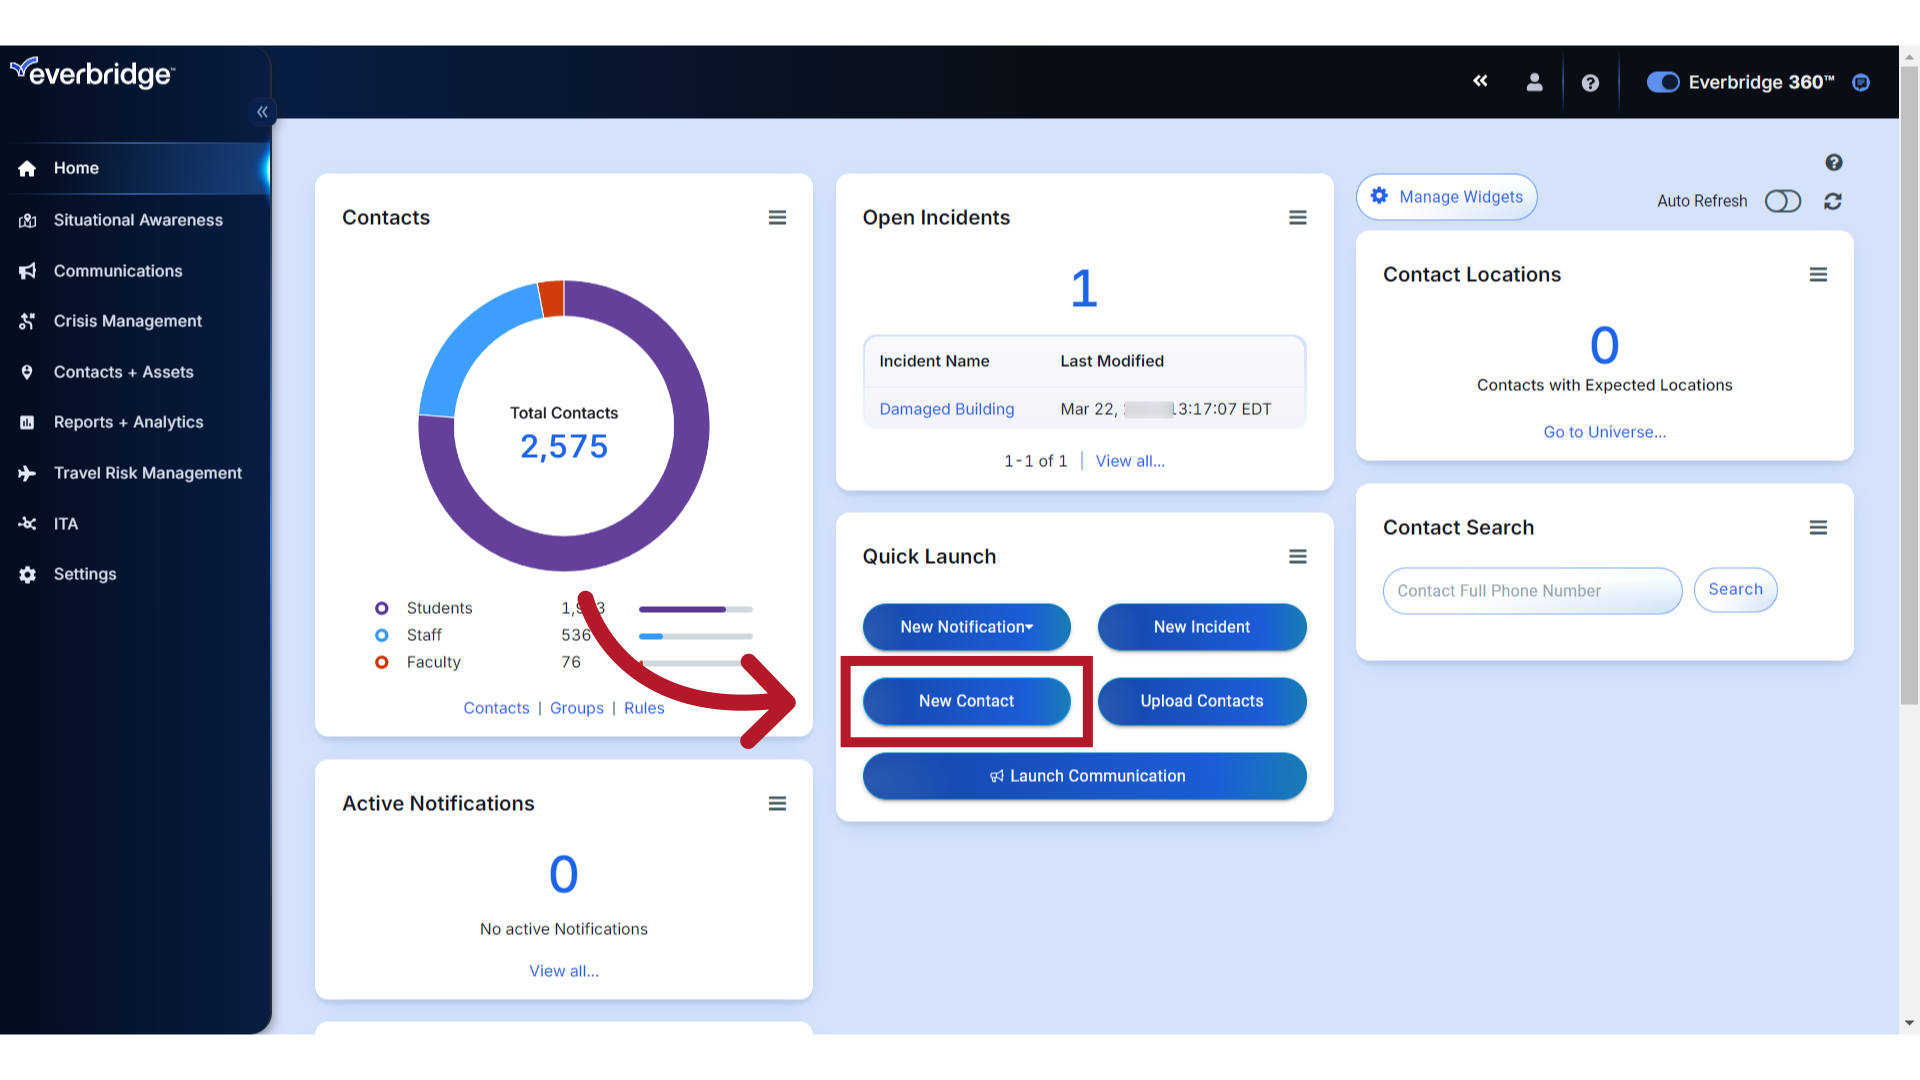
2. Quick Launch
To get started, select "New Contact" from the Quick Launch widget on your organization's dashboard
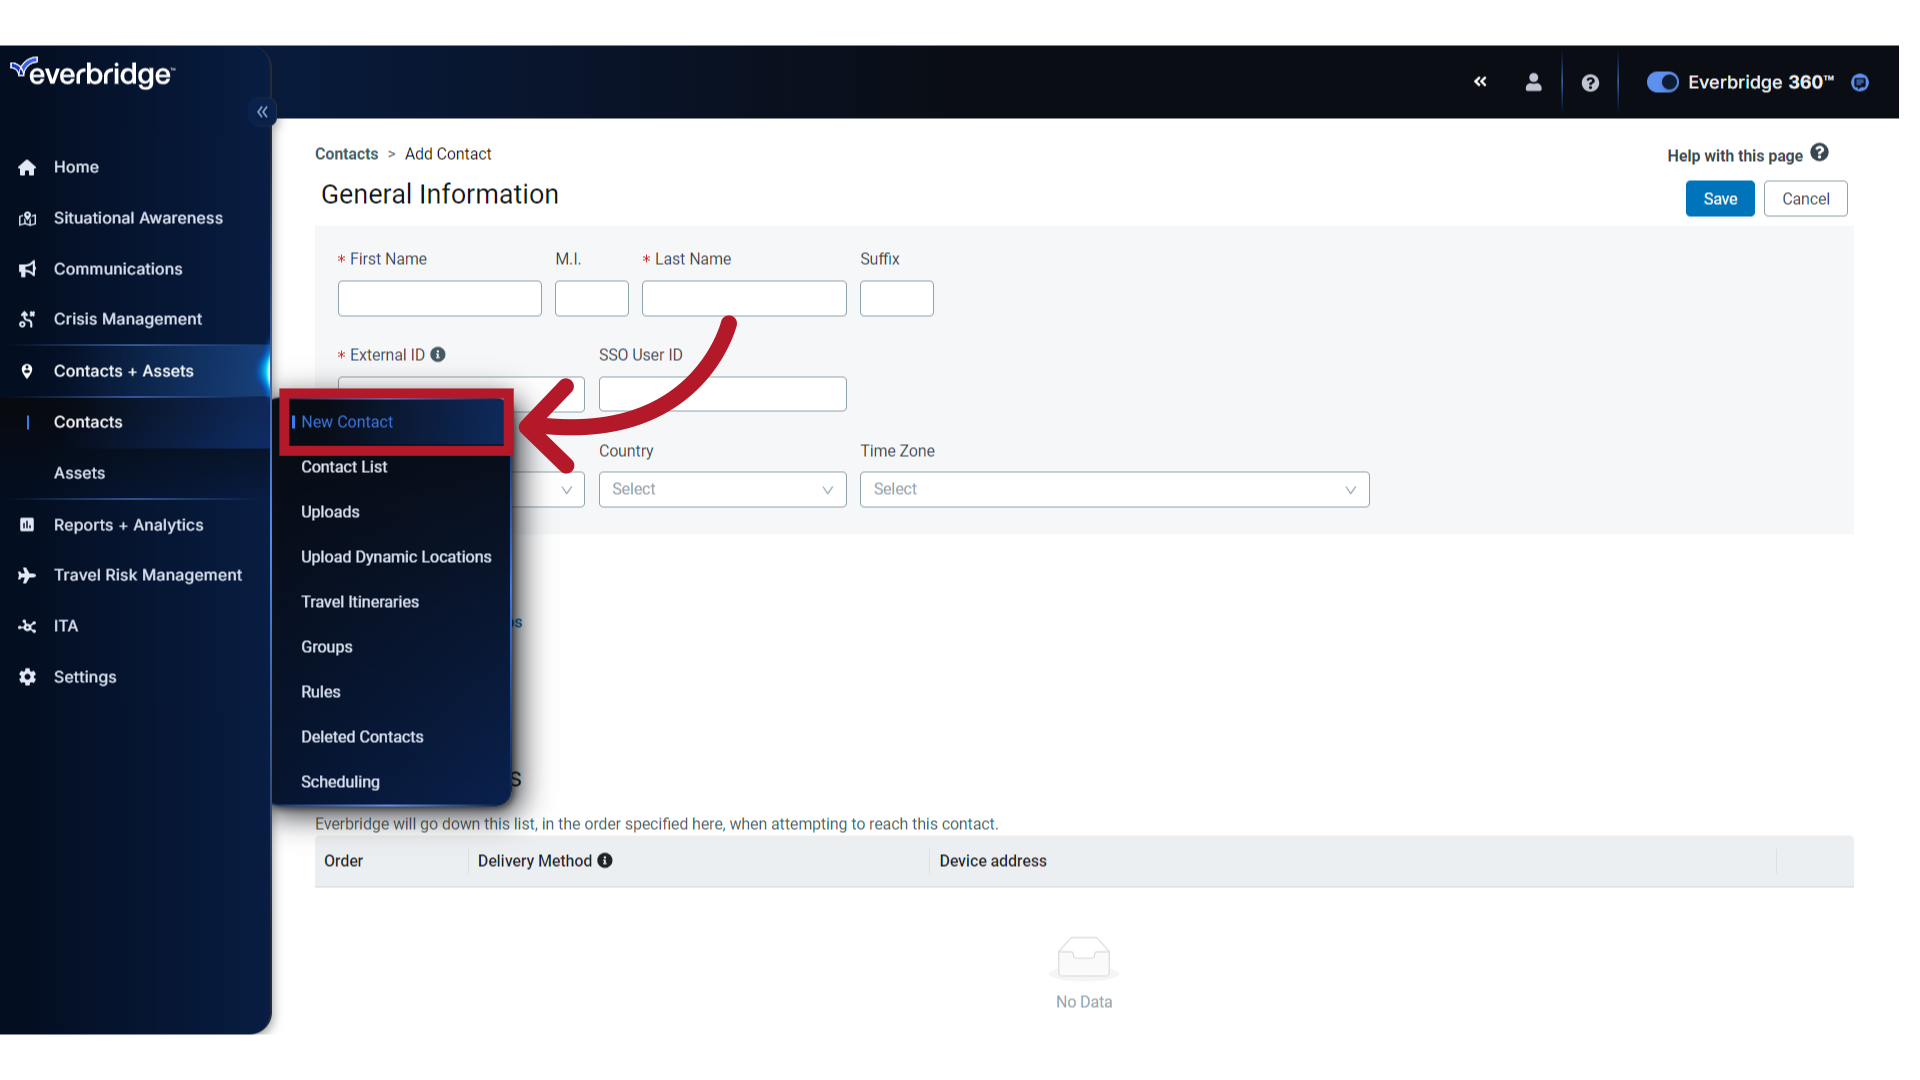
3. New Contact
or, navigate to the "New Contact" option from the "Contacts & Assets" menu.
4. Mandatory Fields
From here, enter Tessa's information. Anything with an asterisk is mandatory and must be filled out.
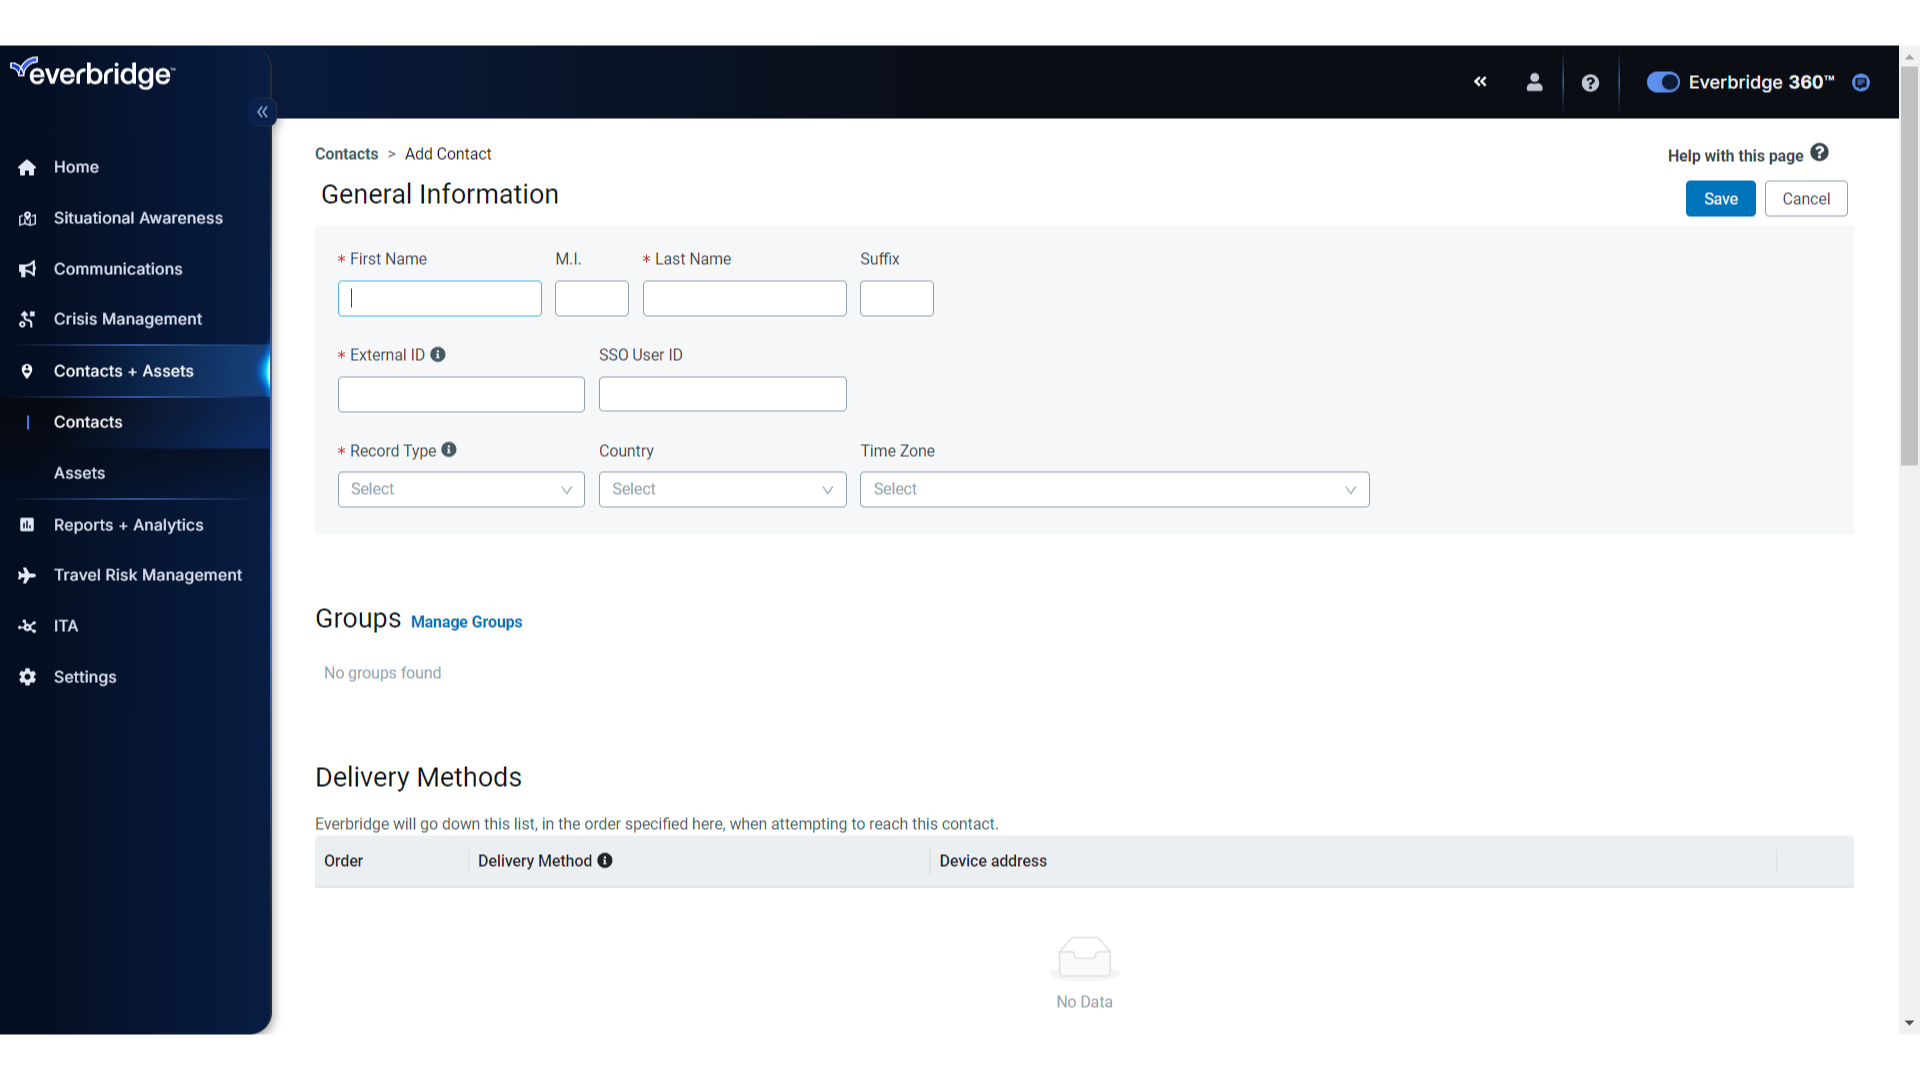
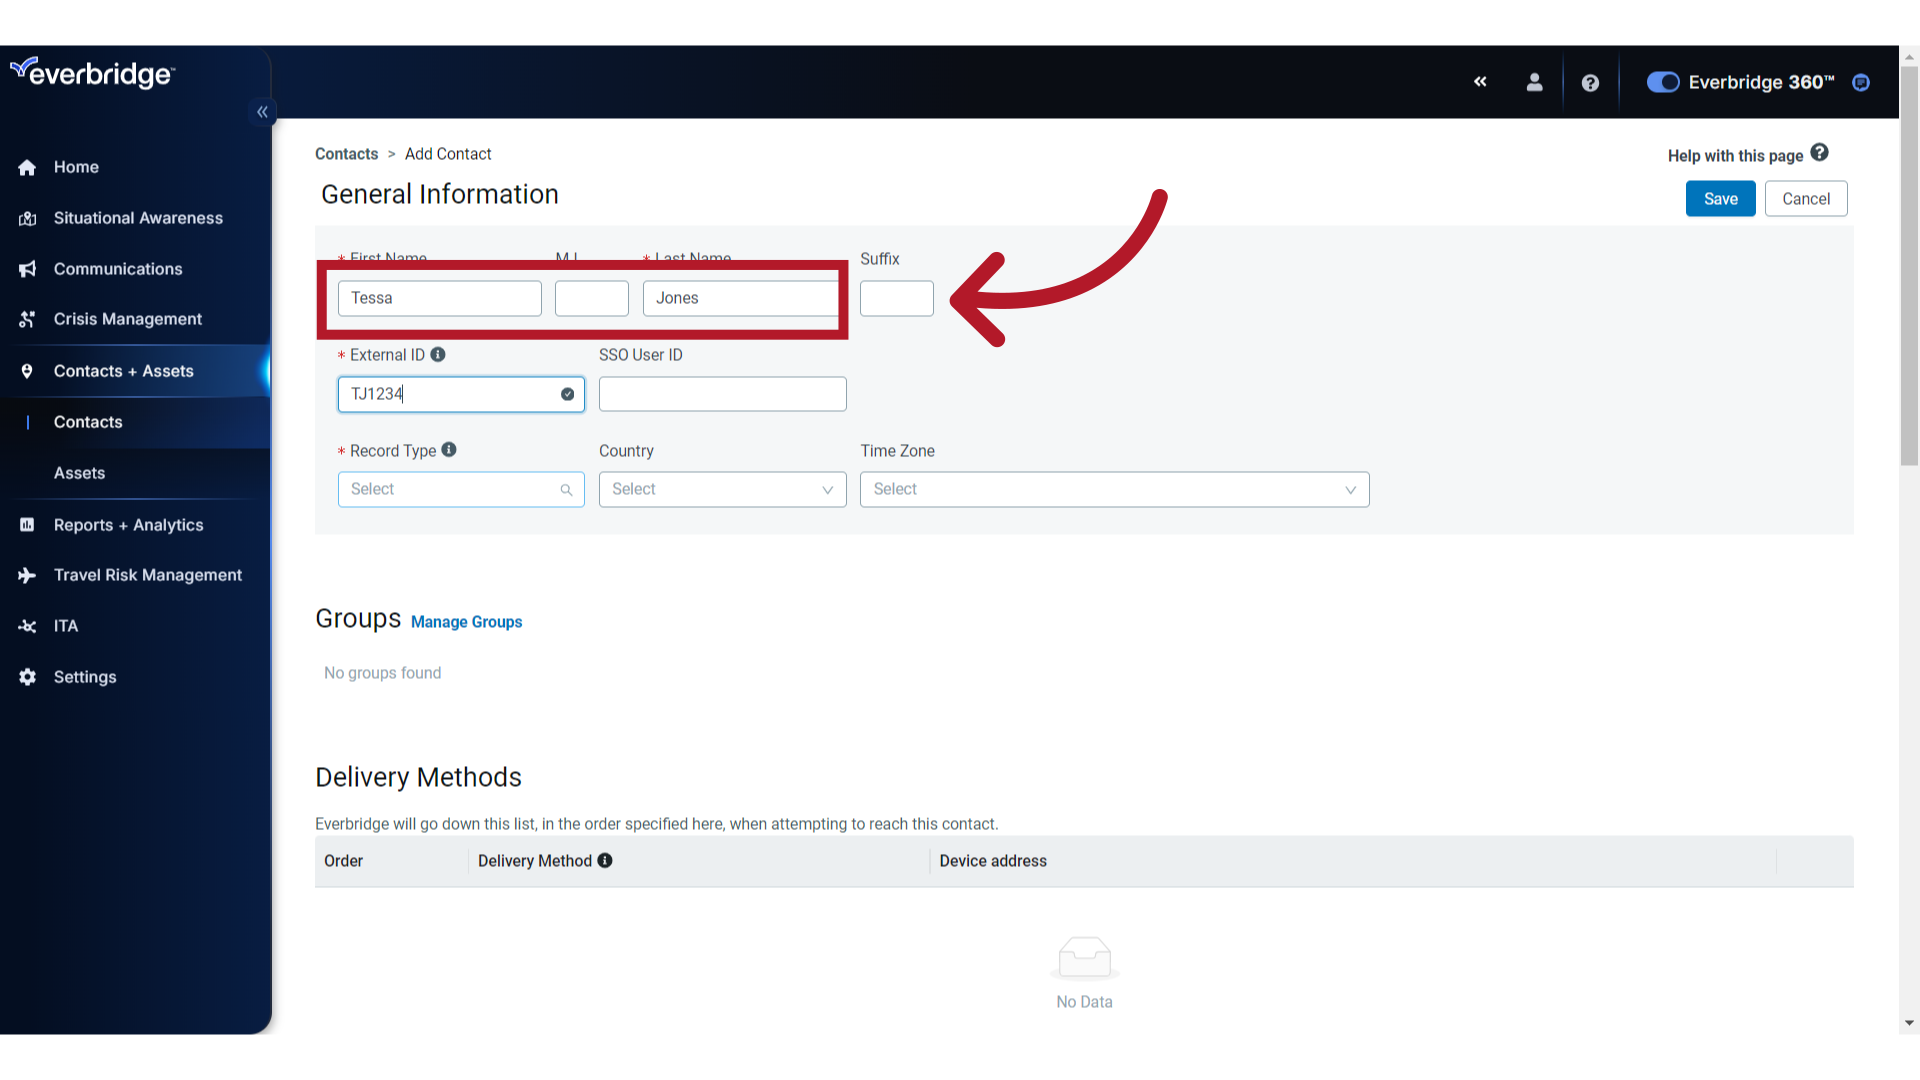
5. First and Last Name
Add her First and Last Name
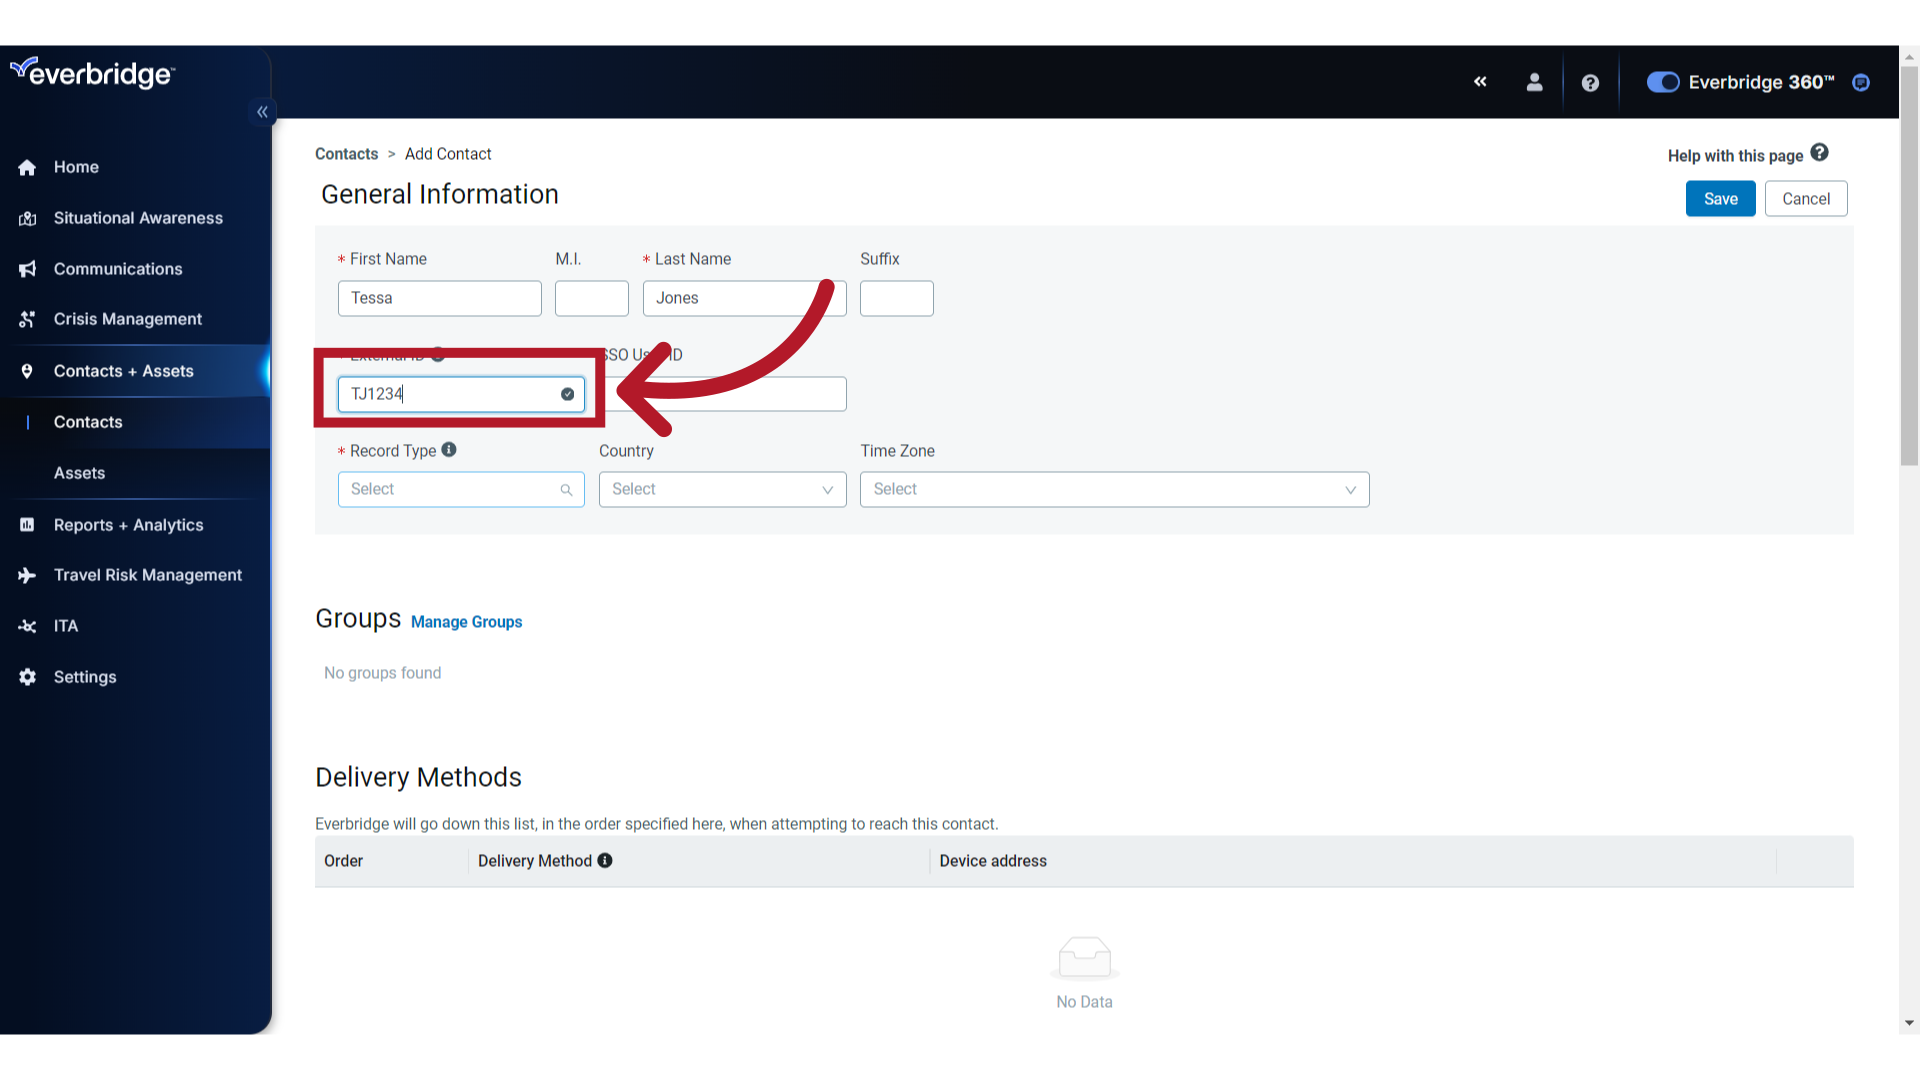
6. External ID
Next, add a unique identifier for the record in the External ID field. It can include any alphanumeric content, such as employee ID, staff ID, email address, or another unique code used by your organization. It is a best practice to be consistent when choosing the format or values for your contacts' External IDs. The value must have no possibility of being used by two different people within your organization, and should be a value that will not change over time (for example, a permanent employee number rather than a title or department). If using alpha characters, note that External IDs are case sensitive.
If your organization also loads contacts from external systems, make sure the External ID you assign for manually created contacts does not match any ID in those source systems. Only contacts that match on External ID with an integration source are updated or removed during automated syncs, so using a distinct External ID format for manual contacts helps prevent them from being overwritten or deleted.
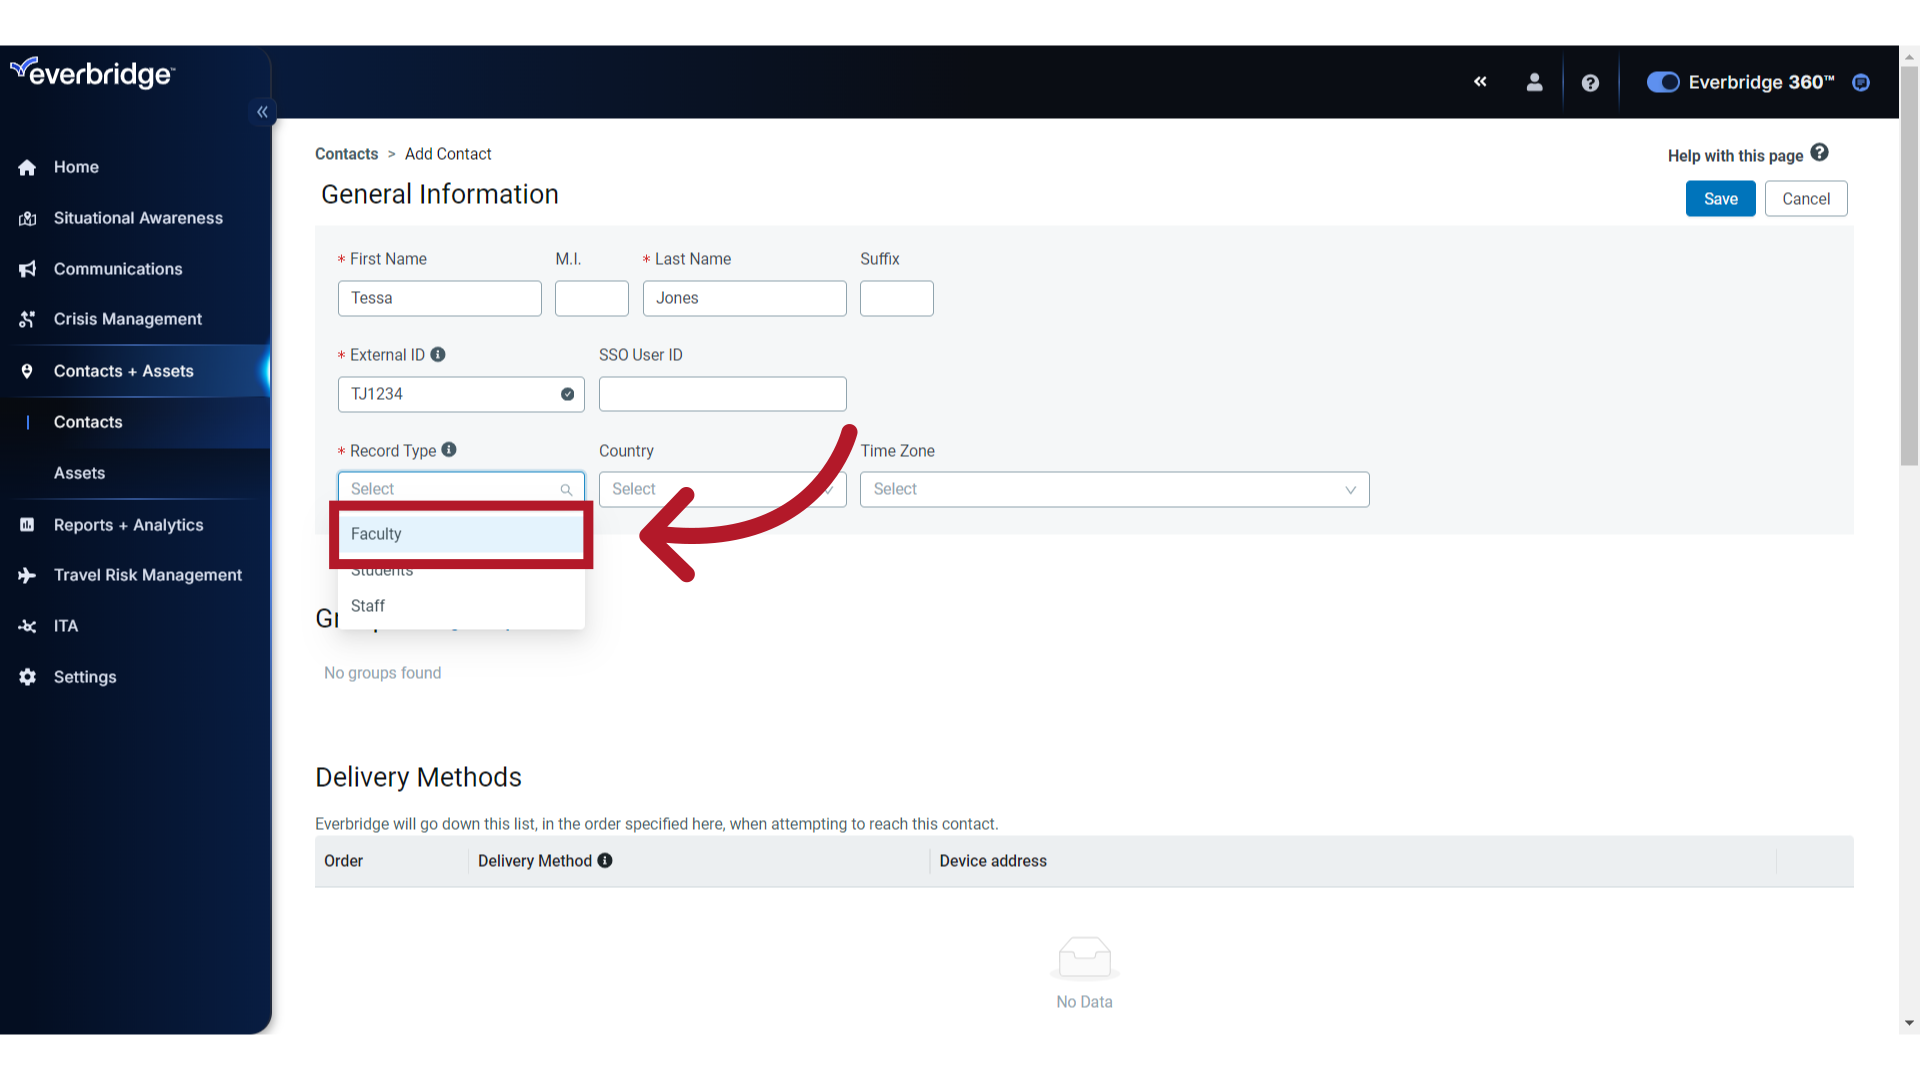
7. Record Type
Record Types allow you to put contacts into broad categories. Select from the preconfigured options in your organization. In this example, Faculty is selected.
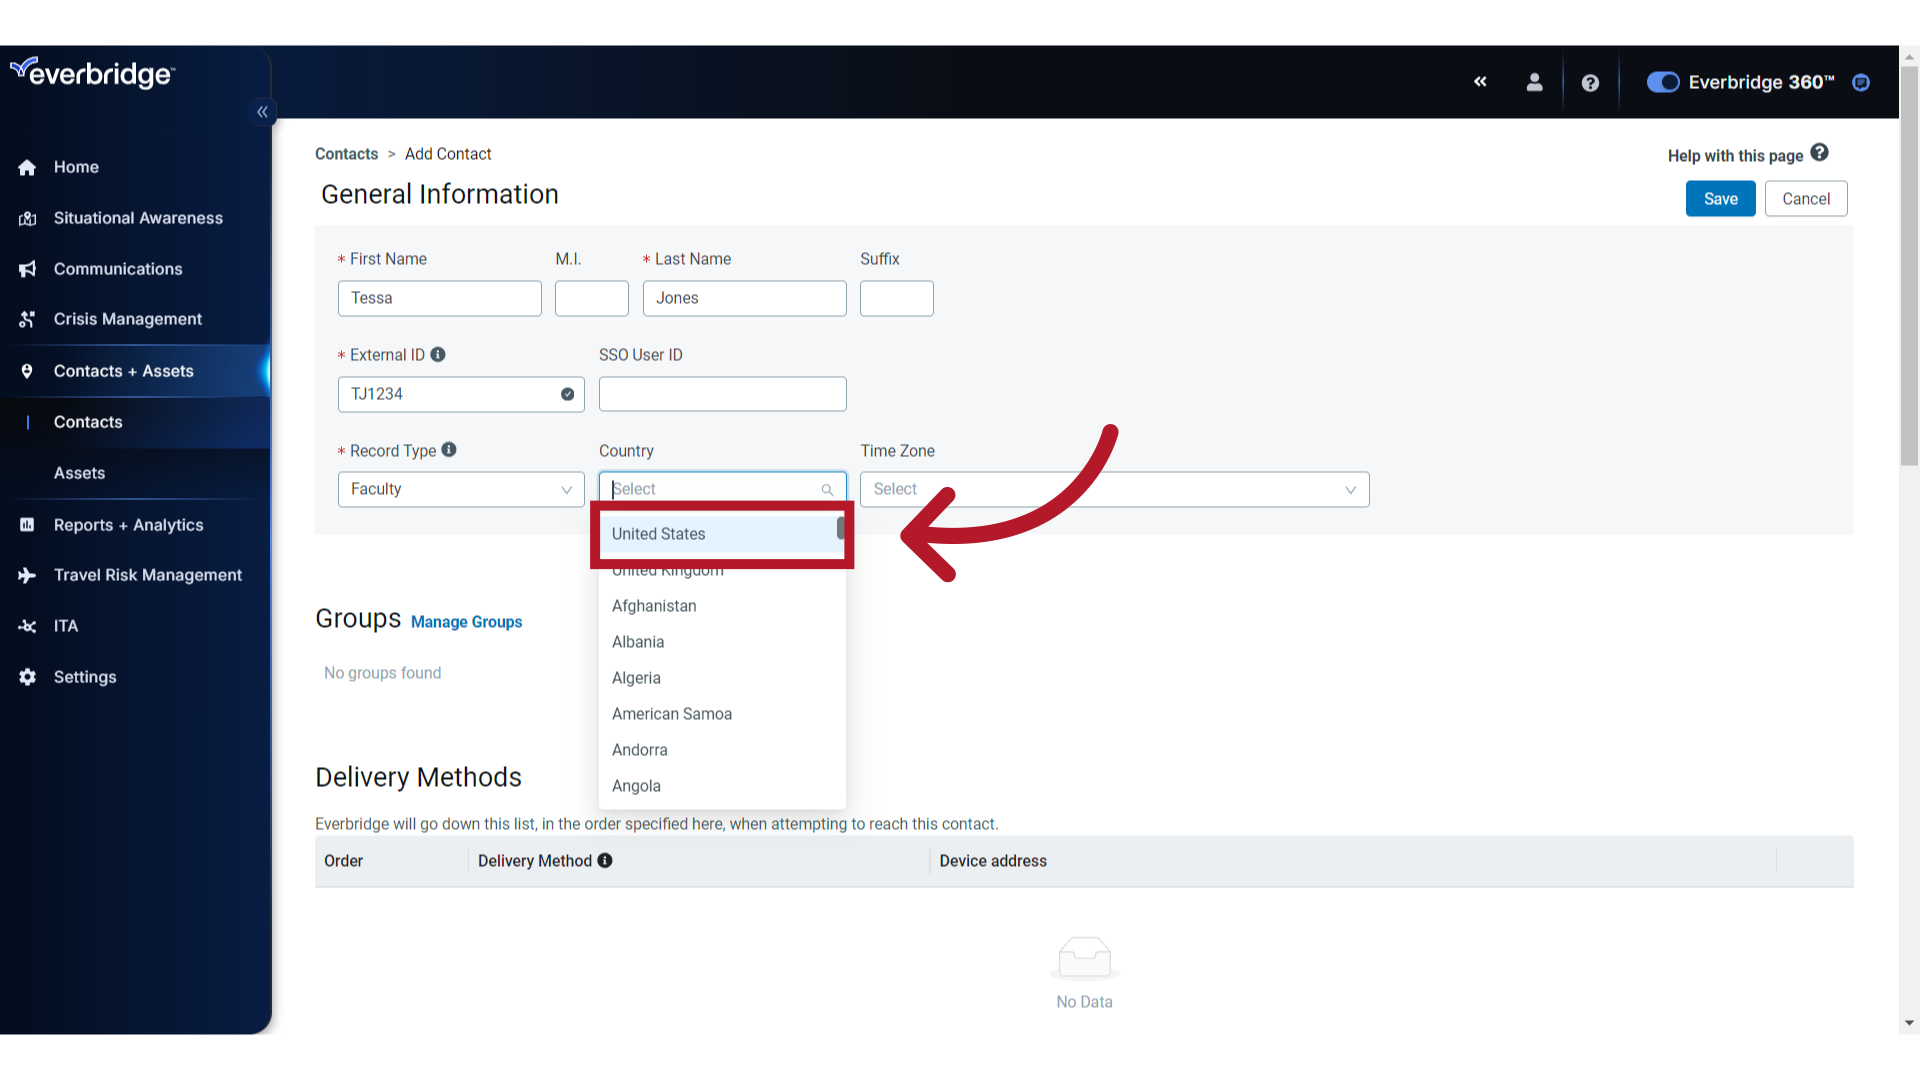
8. Country
Next, choose the default country from the selection list.
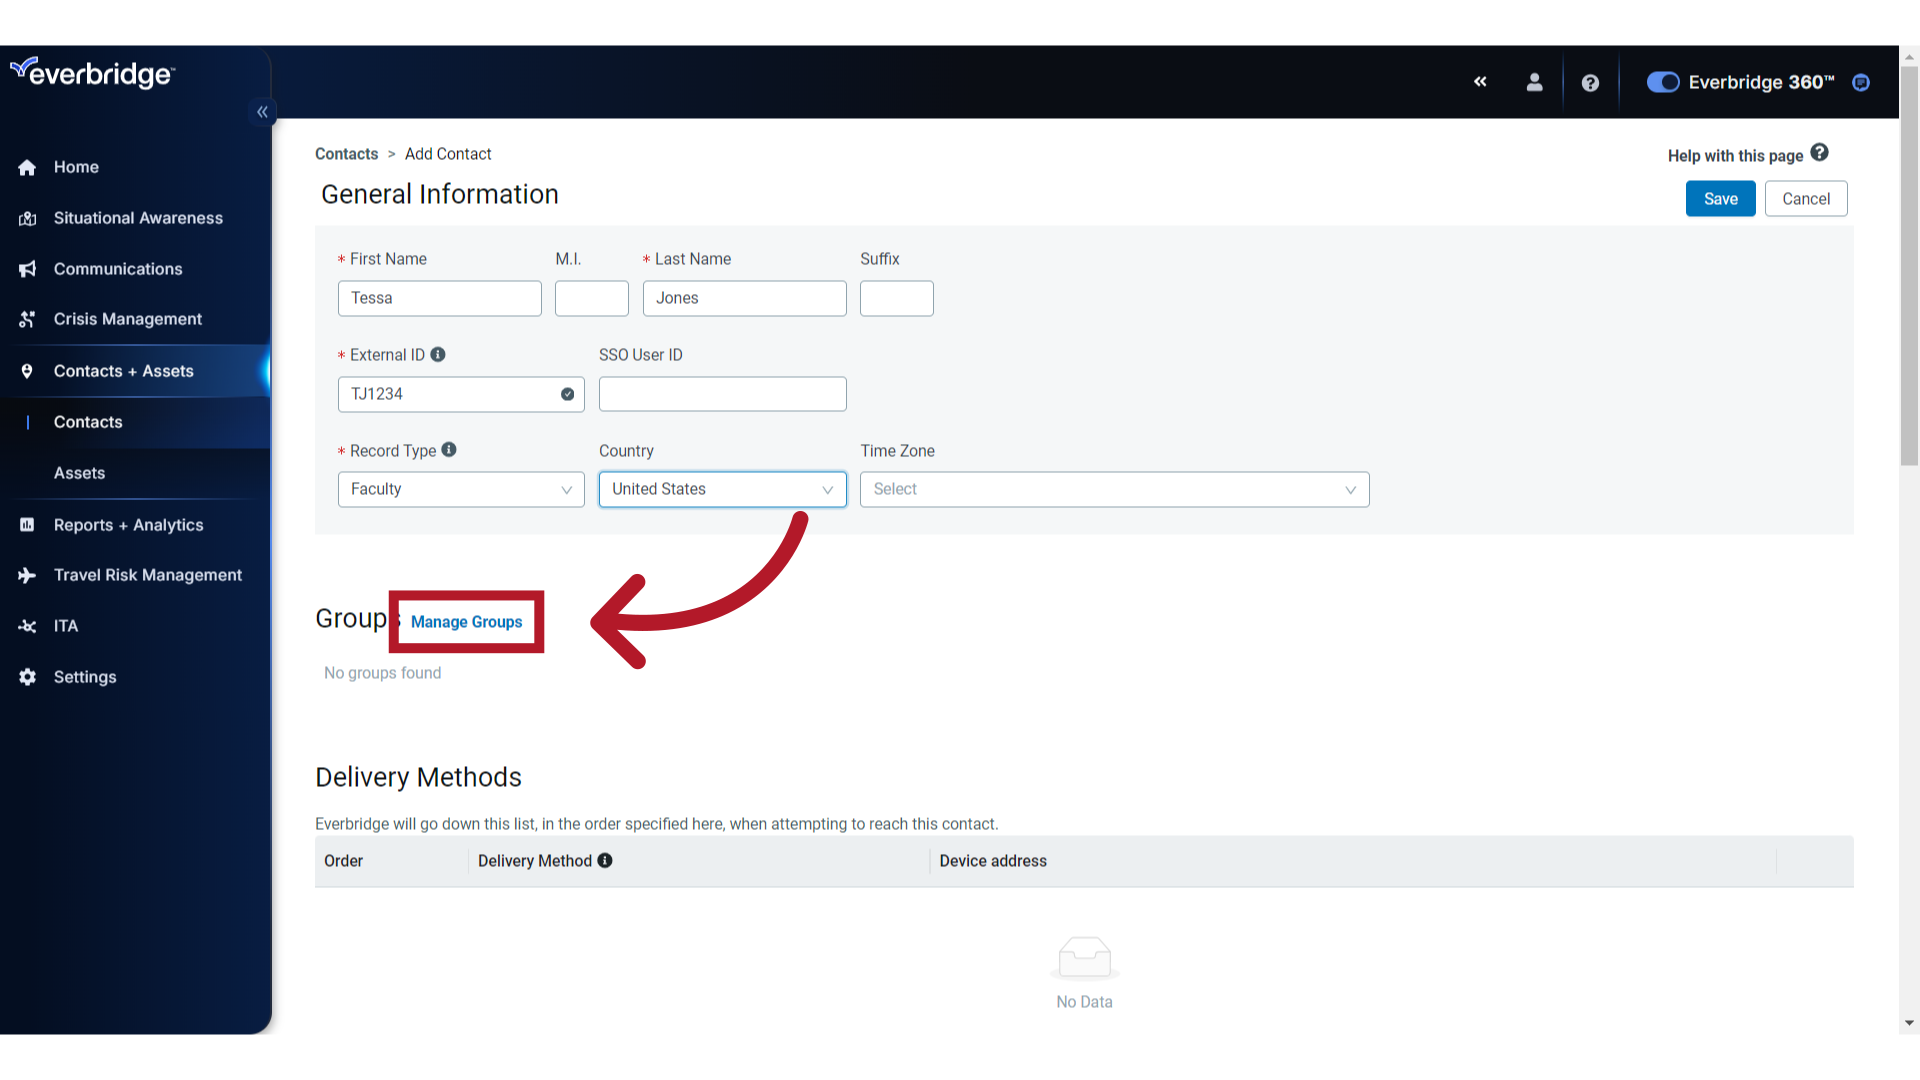
9. Manage Groups
You can also add a contact to one or more configured Groups. Groups are a way to organize and select multiple contacts for notification. From Groups, click "Manage Groups."
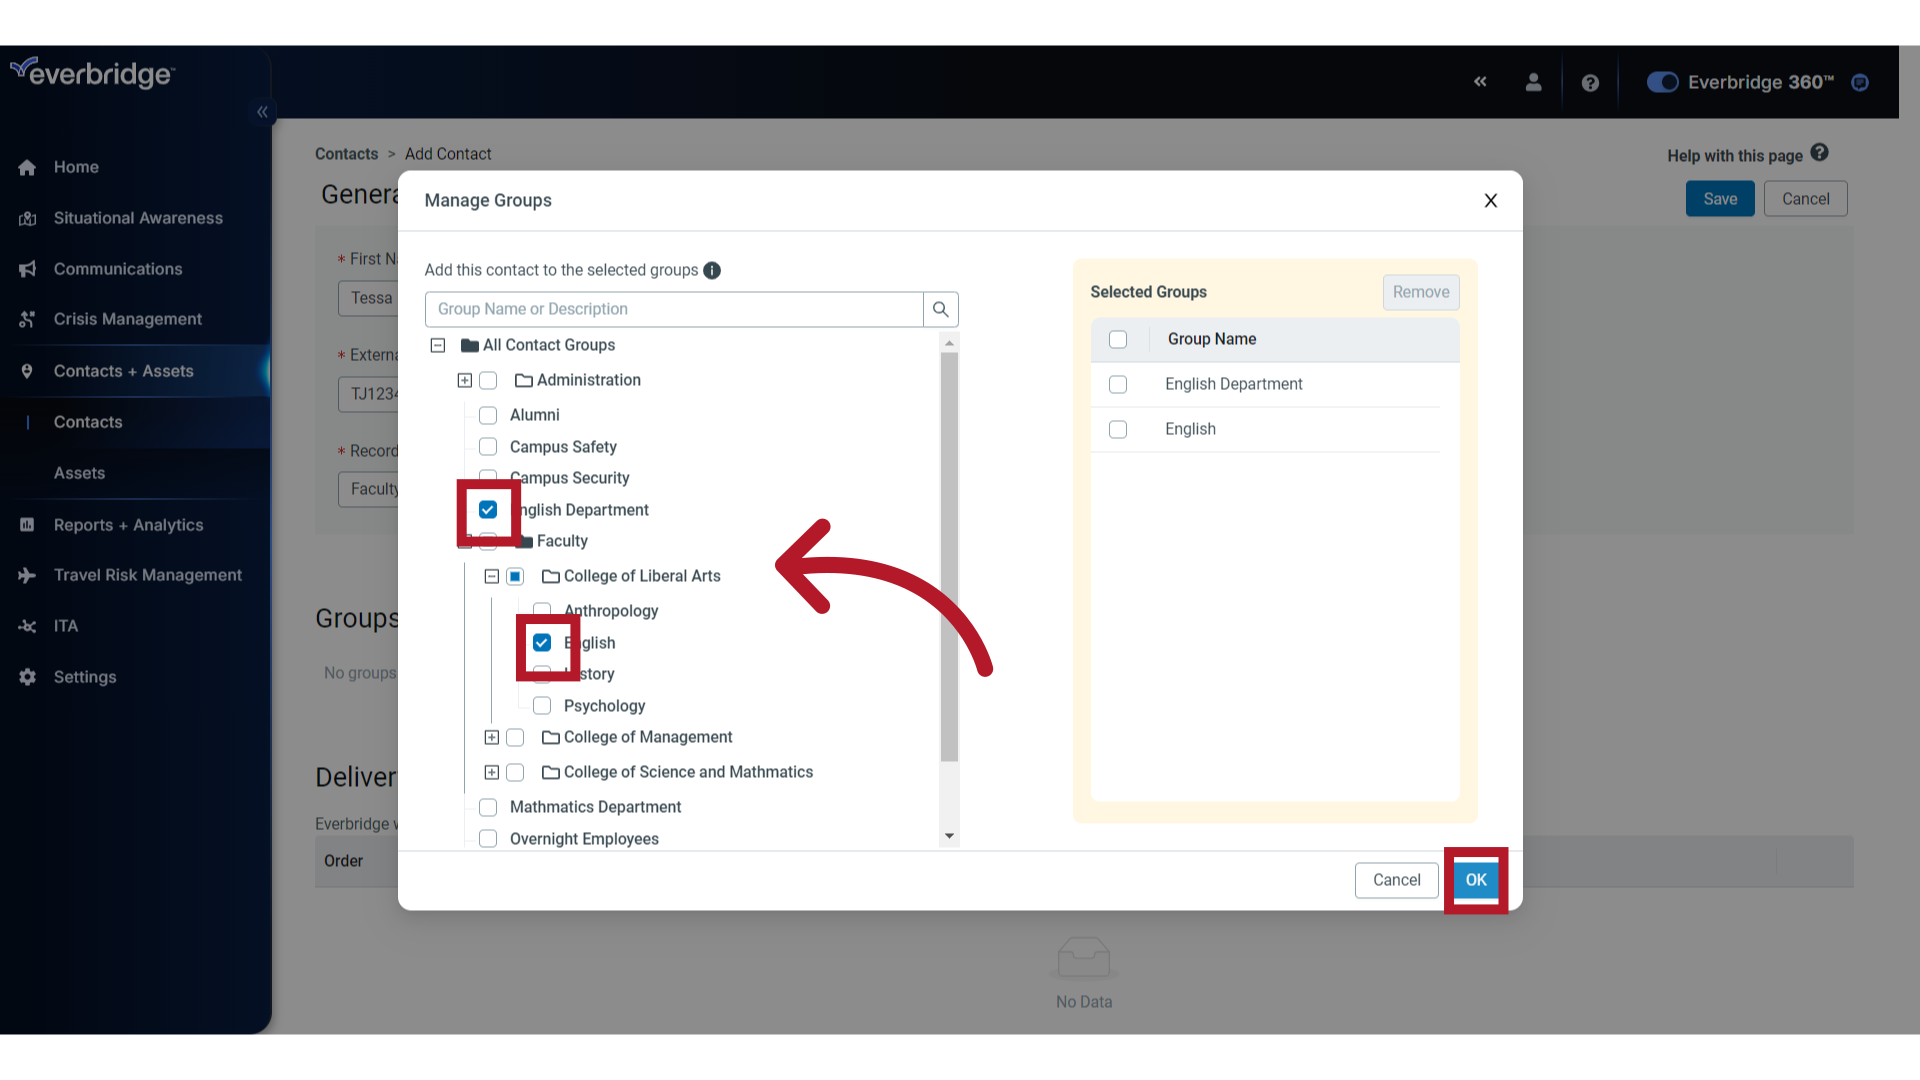
10. Groups
Tessa is a member of the English Department and a Faculty member in the College of Liberal Arts. Select the corresponding groups, and click OK to Save. Note: You may need to expand the Group tree to view and select any sub groups.
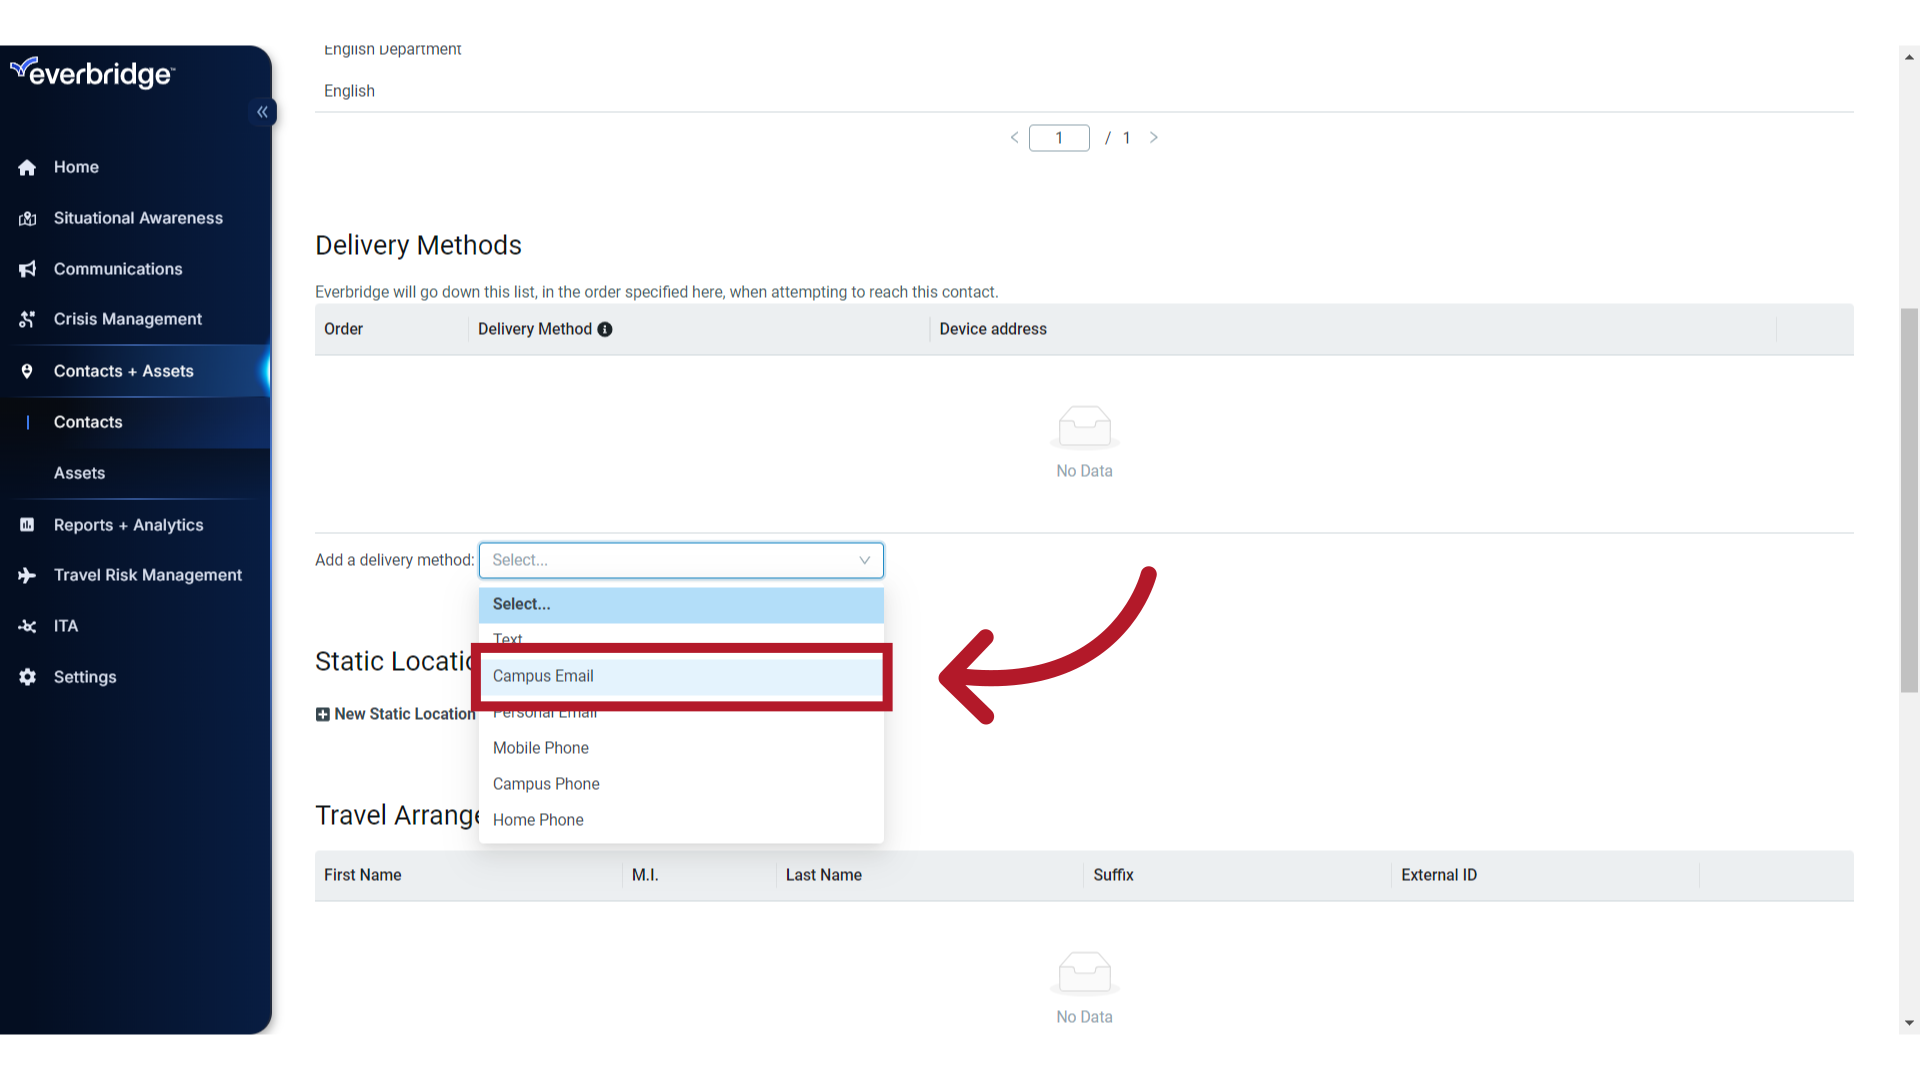
11. Delivery Methods
Next, add at least one delivery method for Tessa. This is how she can receive messages from your organization. In this example, Campus Email is selected from preconfigured Delivery Methods. It is a best practice to add additional delivery methods, such as text and phone paths, so that recipients have the best chance to receive messages, and on their preferred device.
12. Delivery Method Value
Add her email address.
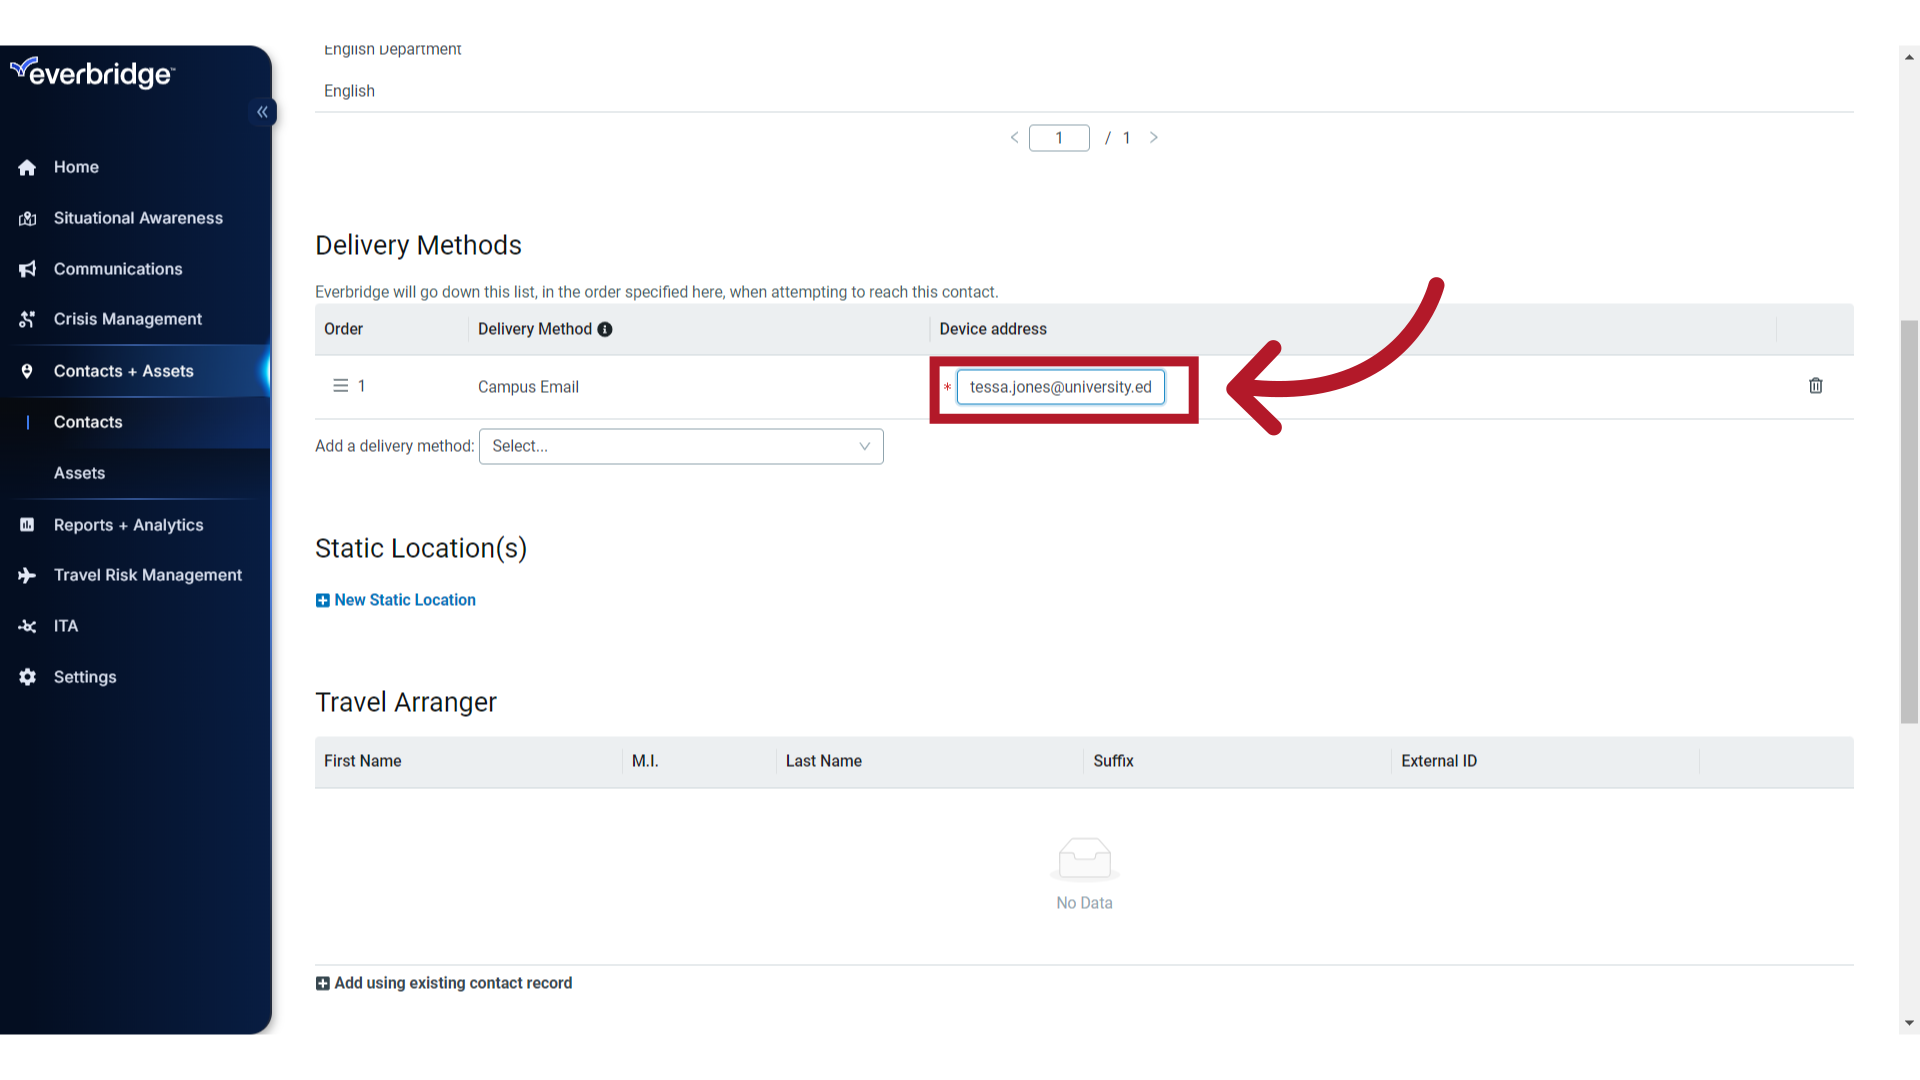
It is a best practice to add multiple delivery methods (for example, mobile phone, SMS/text, and additional email addresses) so contacts have the best chance of receiving time-sensitive notifications like trauma activations, severe weather alerts, or IT incidents.
13. Static Location
You can also add up to five Static Locations where Tessa is assigned to be. These will provide you the ability to select her for location-based notifications. To add, click "New Static Location."

If your organization uses location Assets in Everbridge 360™, you may also see options to link a contact's Static Location directly to a building or site Asset. This ensures the contact's address stays aligned with the Asset's details and can also be used when creating or updating contacts via the REST API by referencing the Asset's external ID.
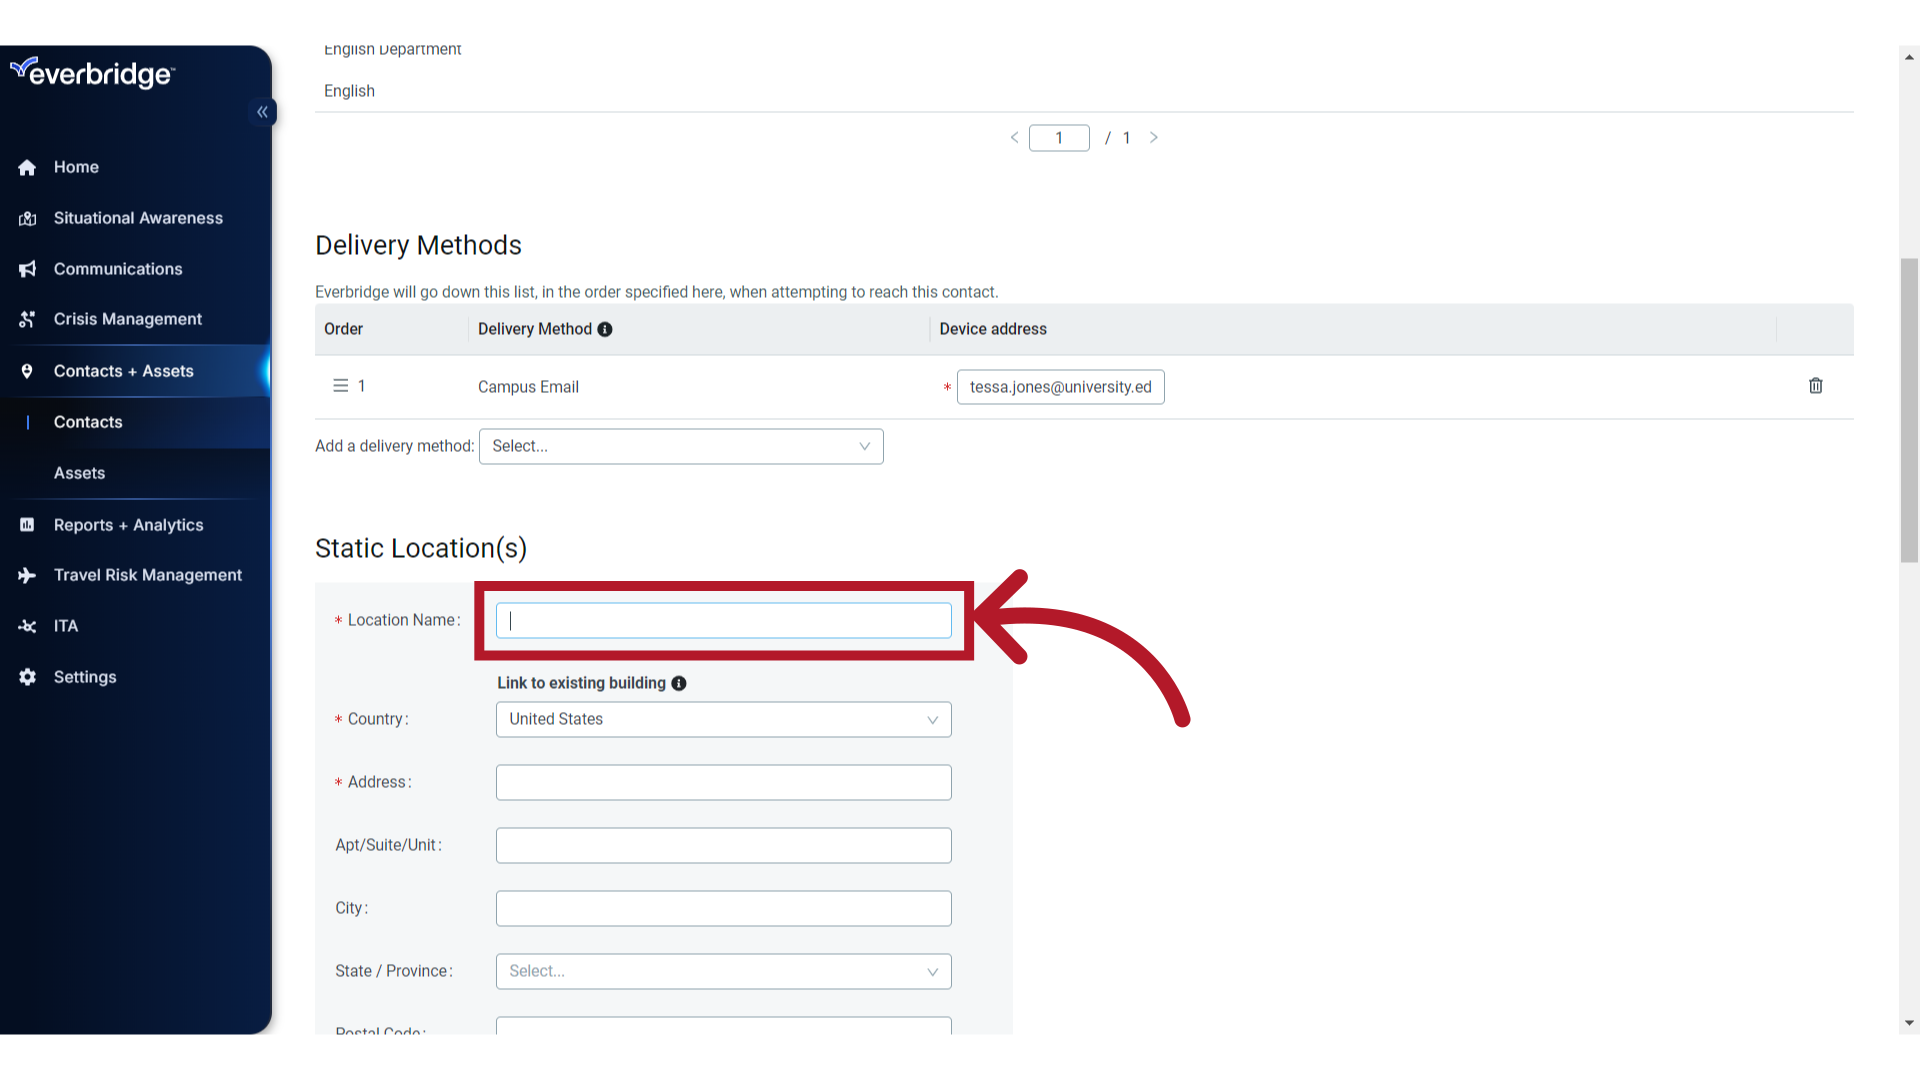
14. Location Name
It is a best practice to be consistent with choosing Location Name labels for your contacts. For example, use "Work" or "Home." Consistent labels will prevent the creation of an extra location when the existing location's address is updated via a CSV upload.
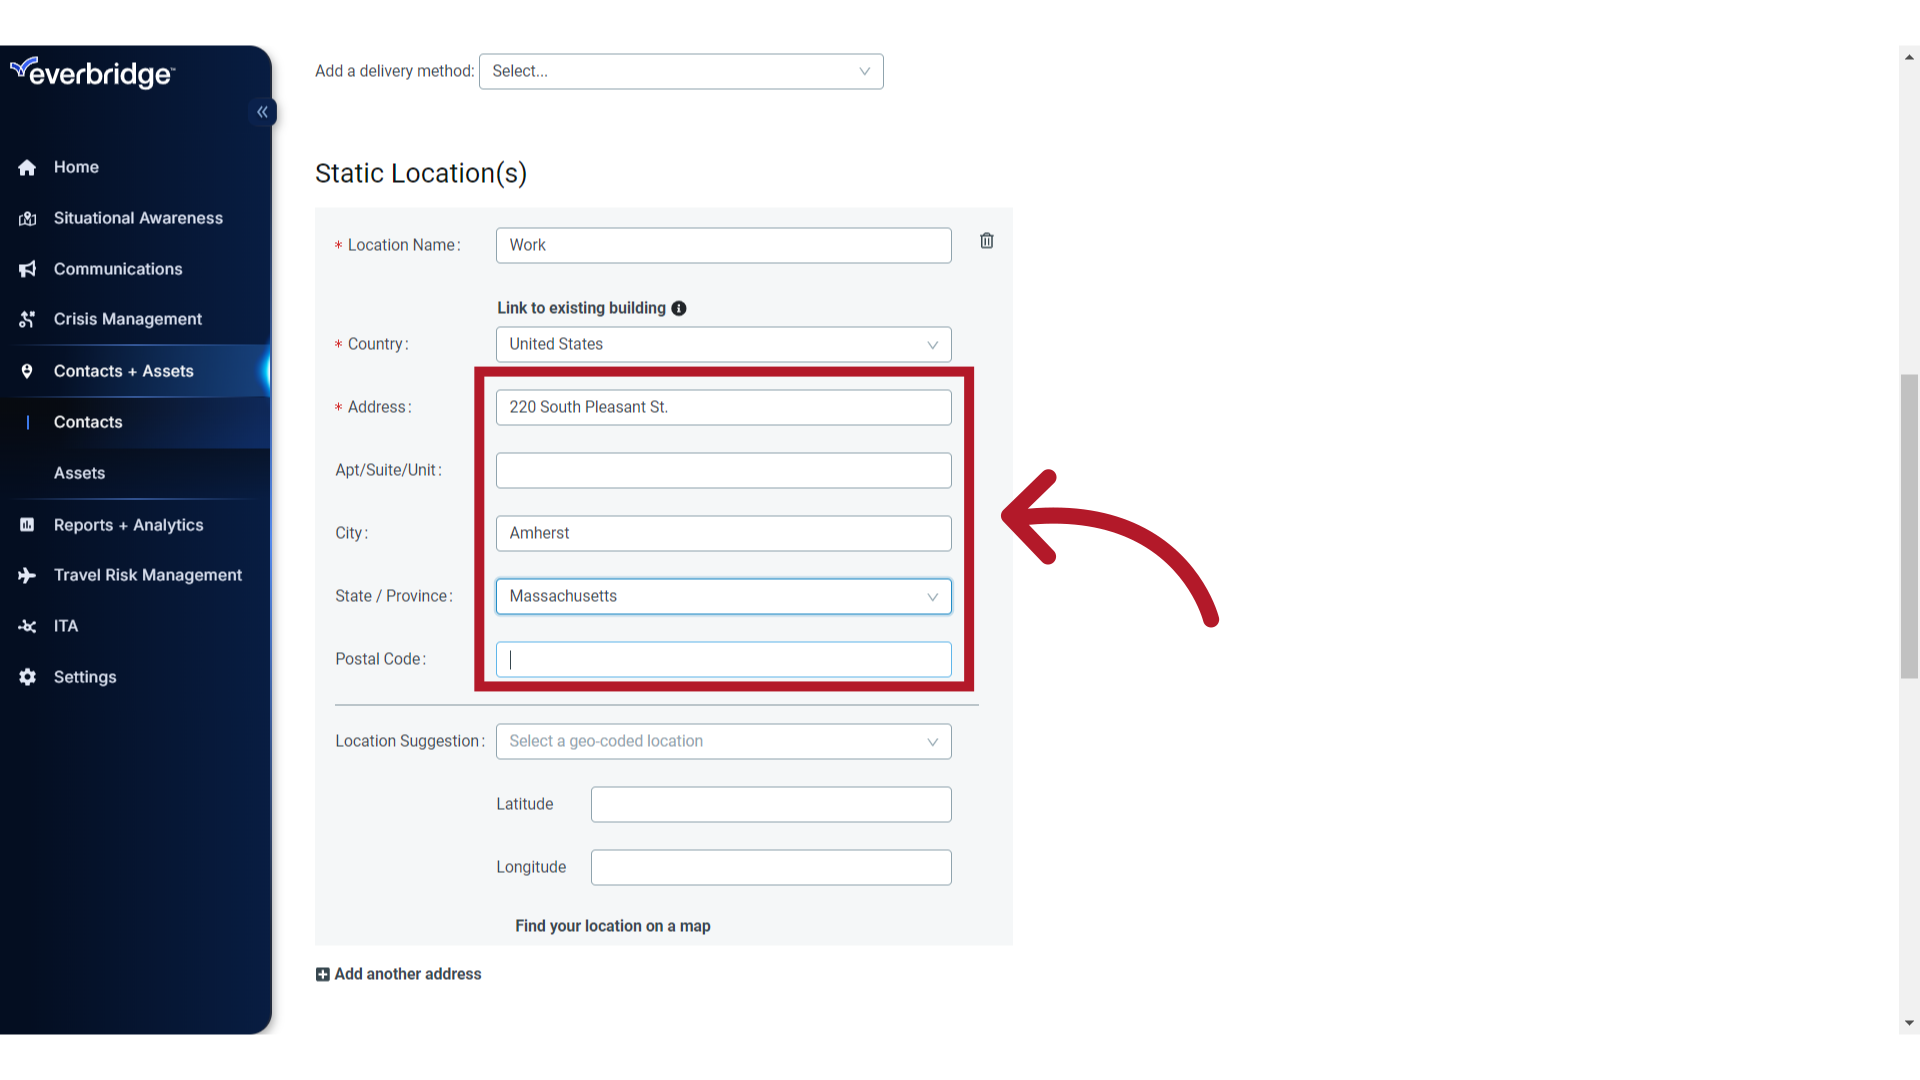
15. Location Details
Next, enter the location details, including Street Address, City, State or Province, and Postal Code.
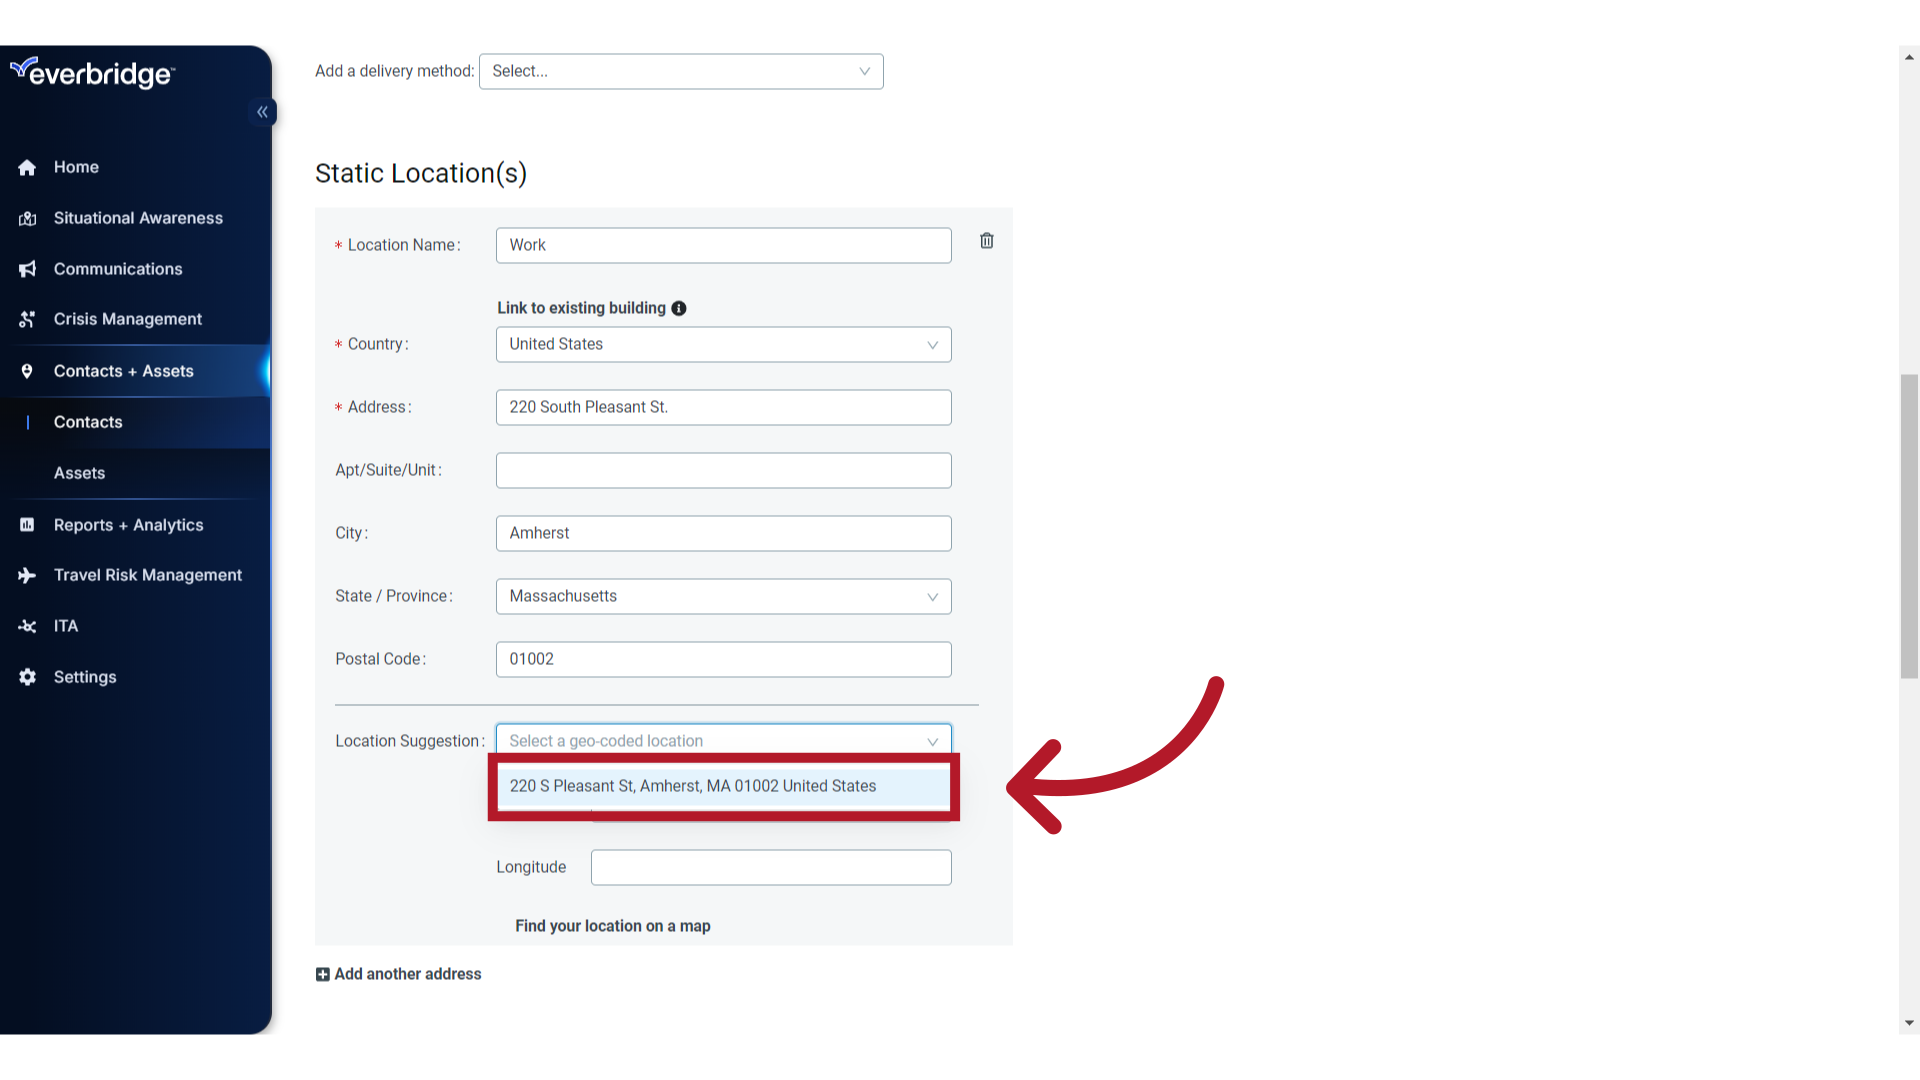
16. Suggested Options
Based on the address information provided, the system will suggest one or more Location for geo-coding. Select the one that best matches the address. You may add your own latitude and longitude values if there are no suggested locations, or the suggested locations are not accurate.
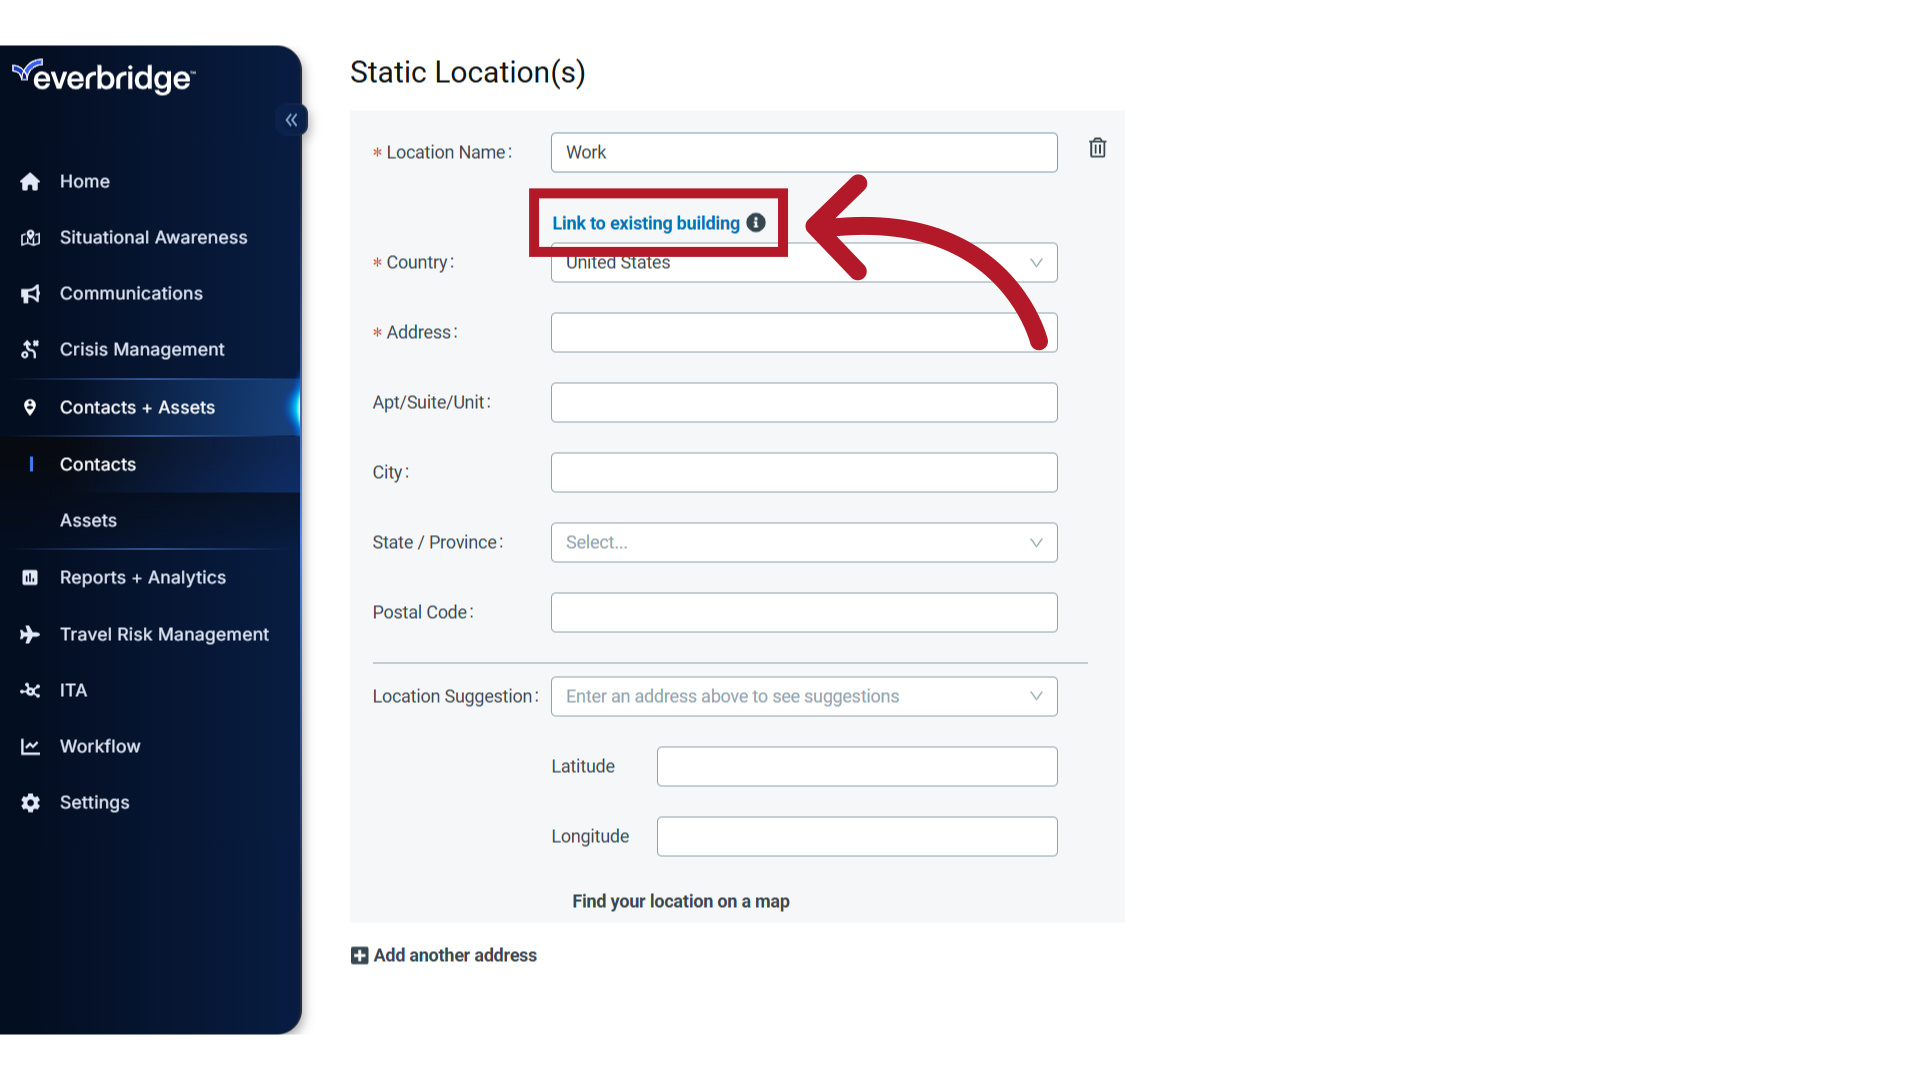
17. Link to Building
Alternately, if your Everbridge solution includes Safety Connection assets, you can automatically populate the address fields and latitude/longitude values by linking to the Asset that represents that location. To do this, click the option to Link to an existing building.
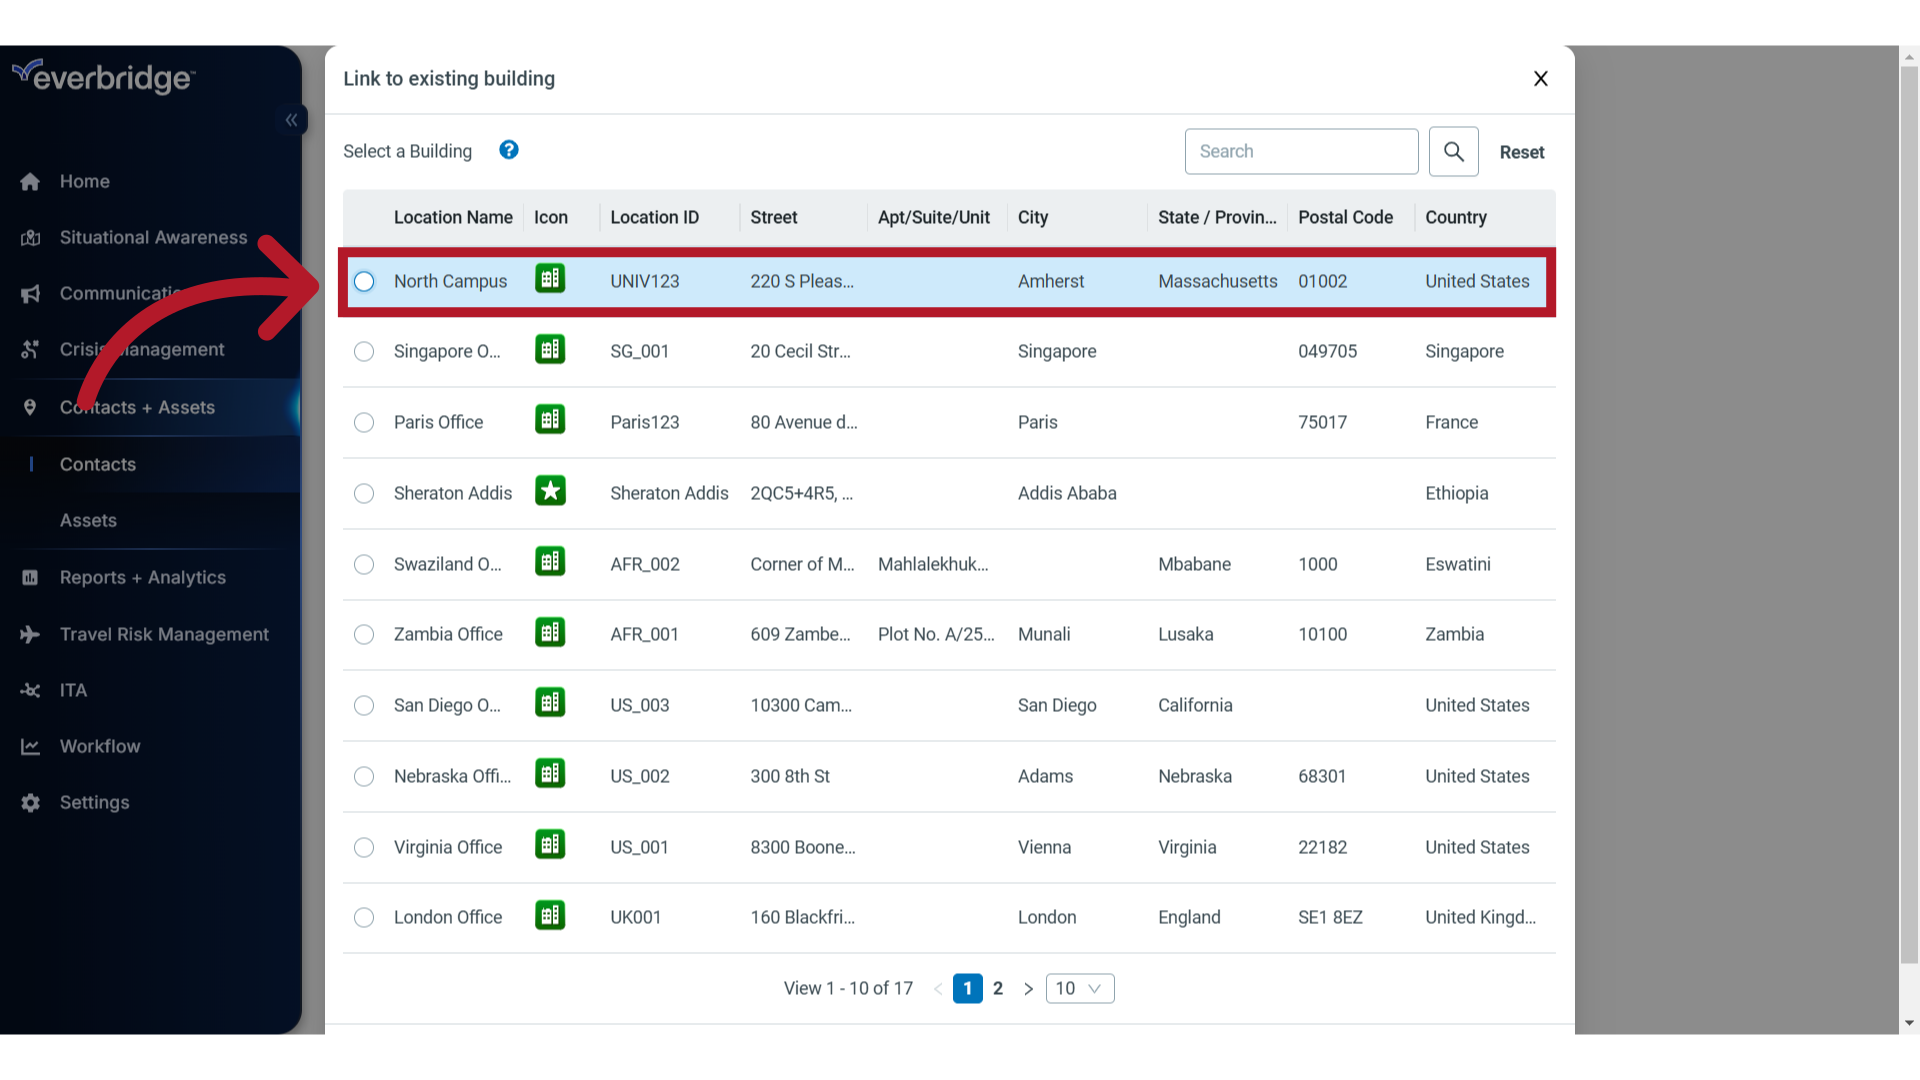
18. Select
Select the Asset that represents the contact's static location
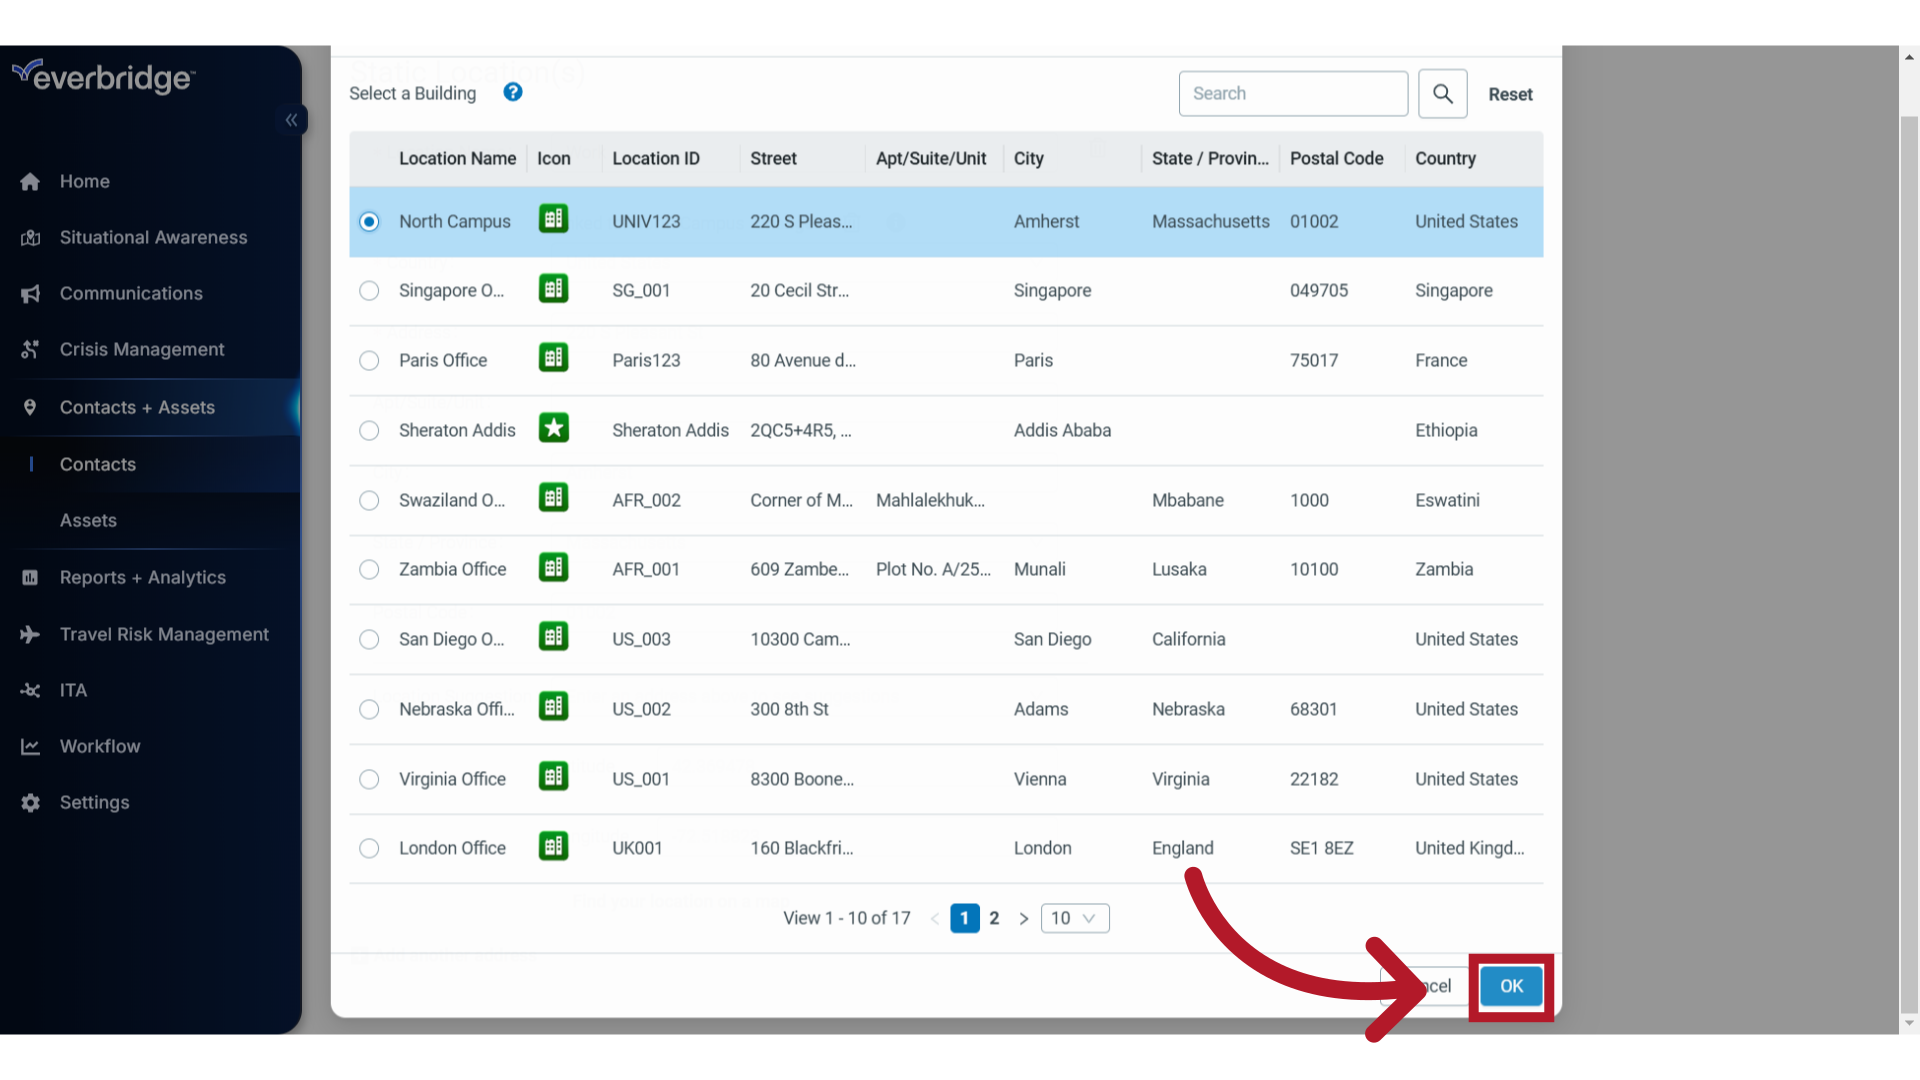
19. Save
and click "OK" to confirm the selection.
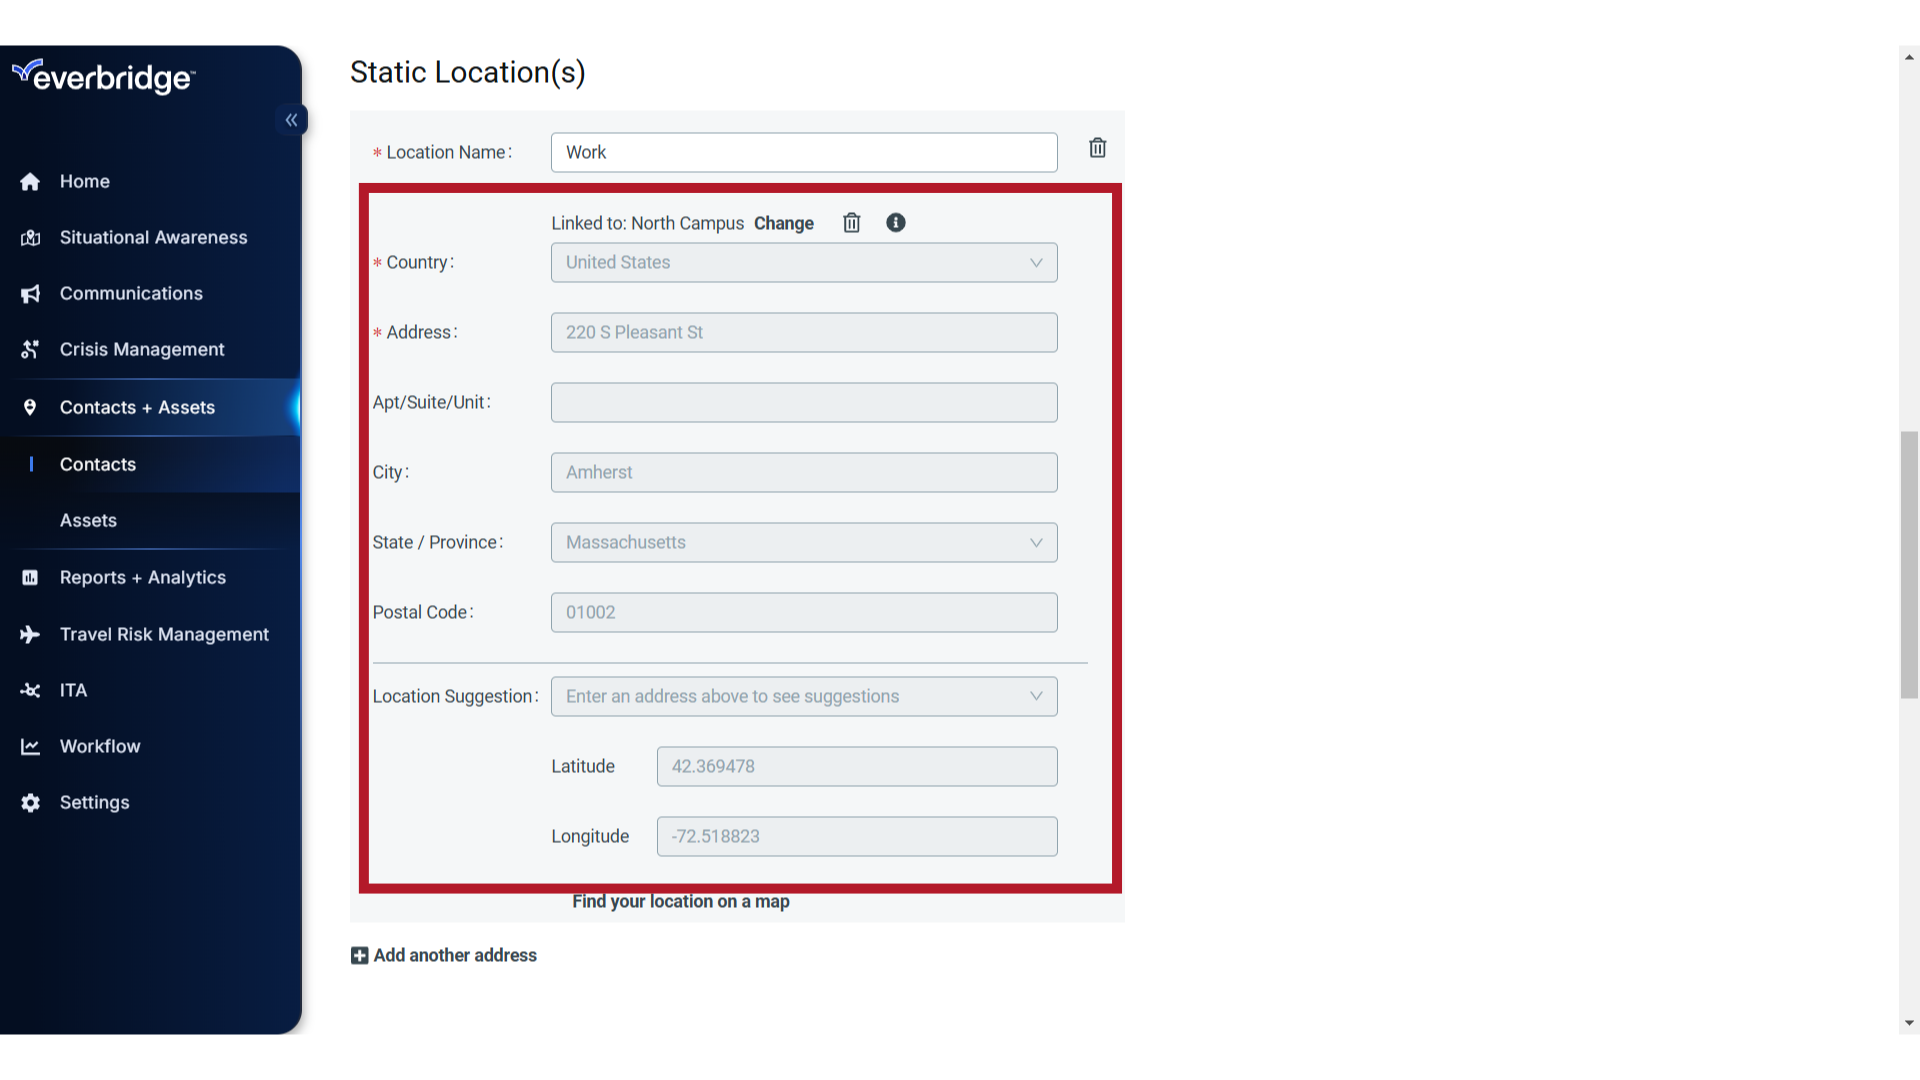
20. View
The contact is now linked to the Asset's location, and its address details are used for the contact's Static Location.
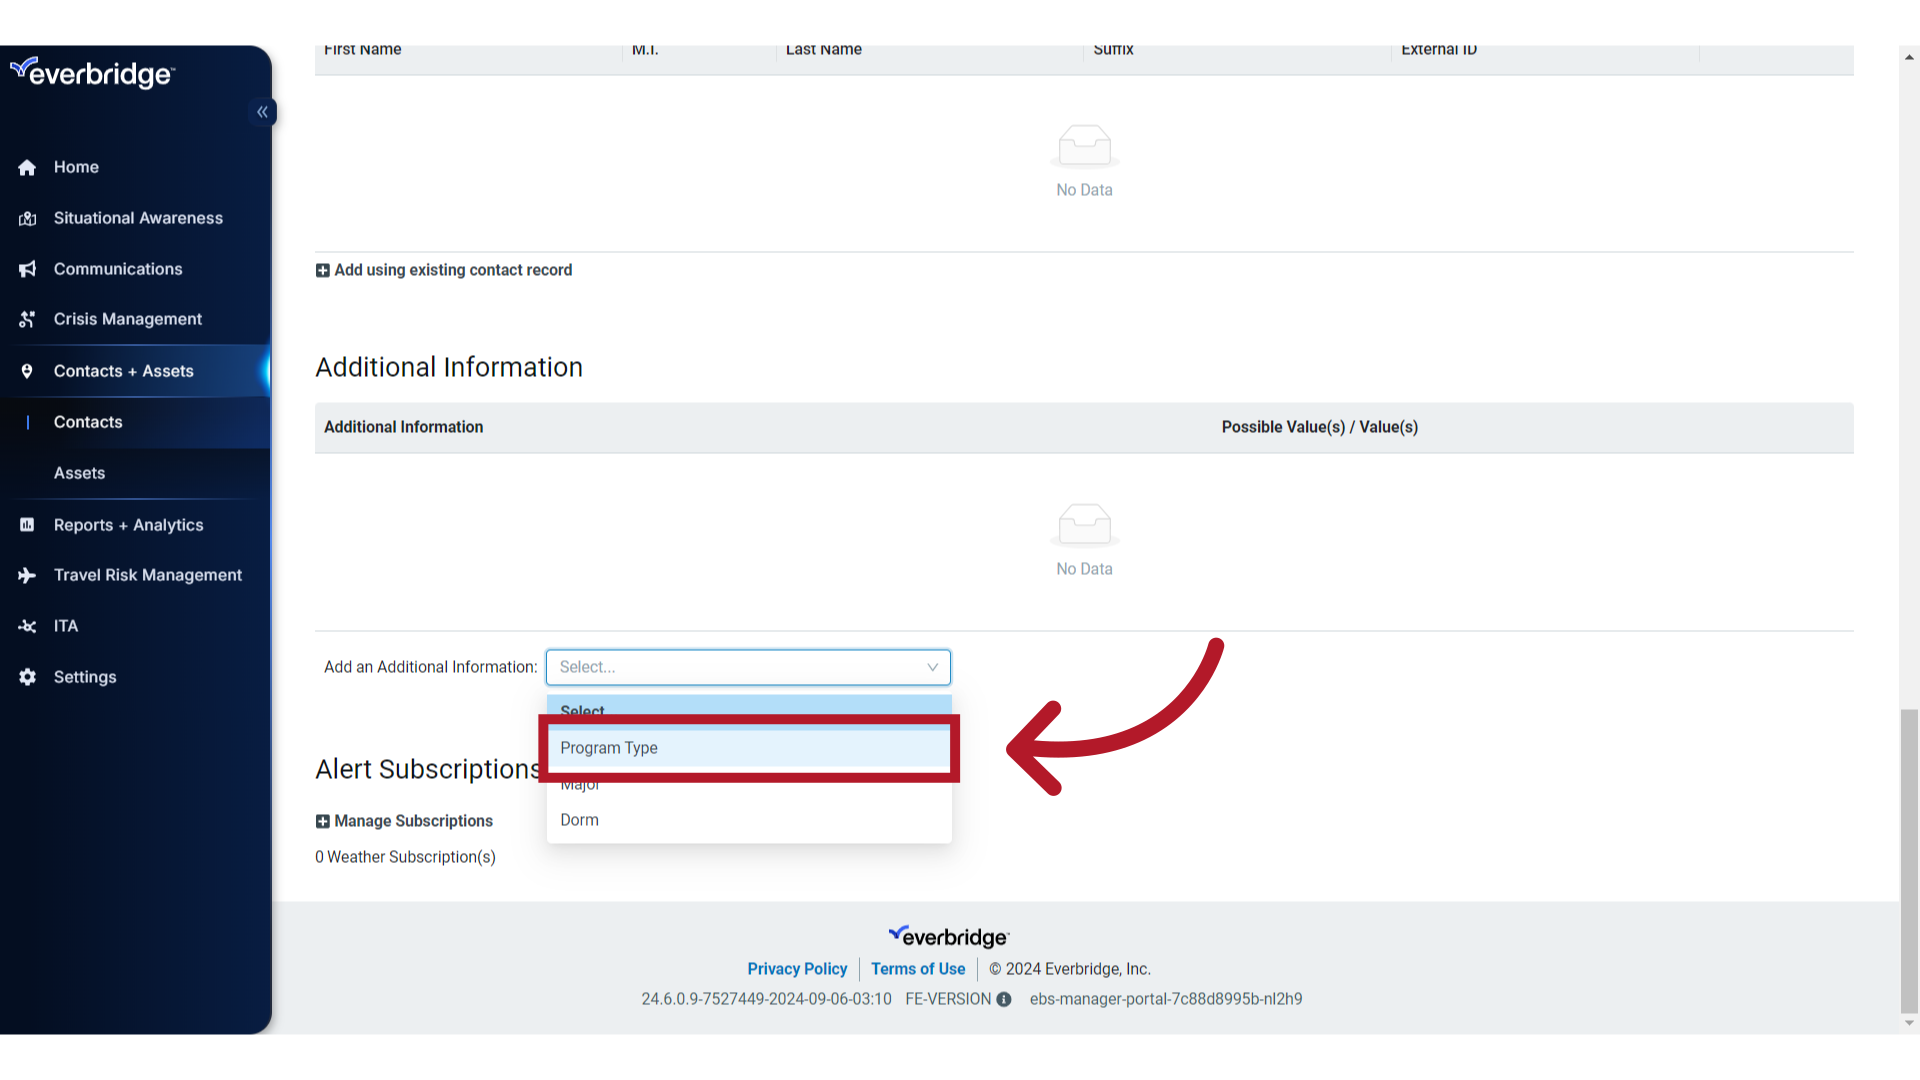
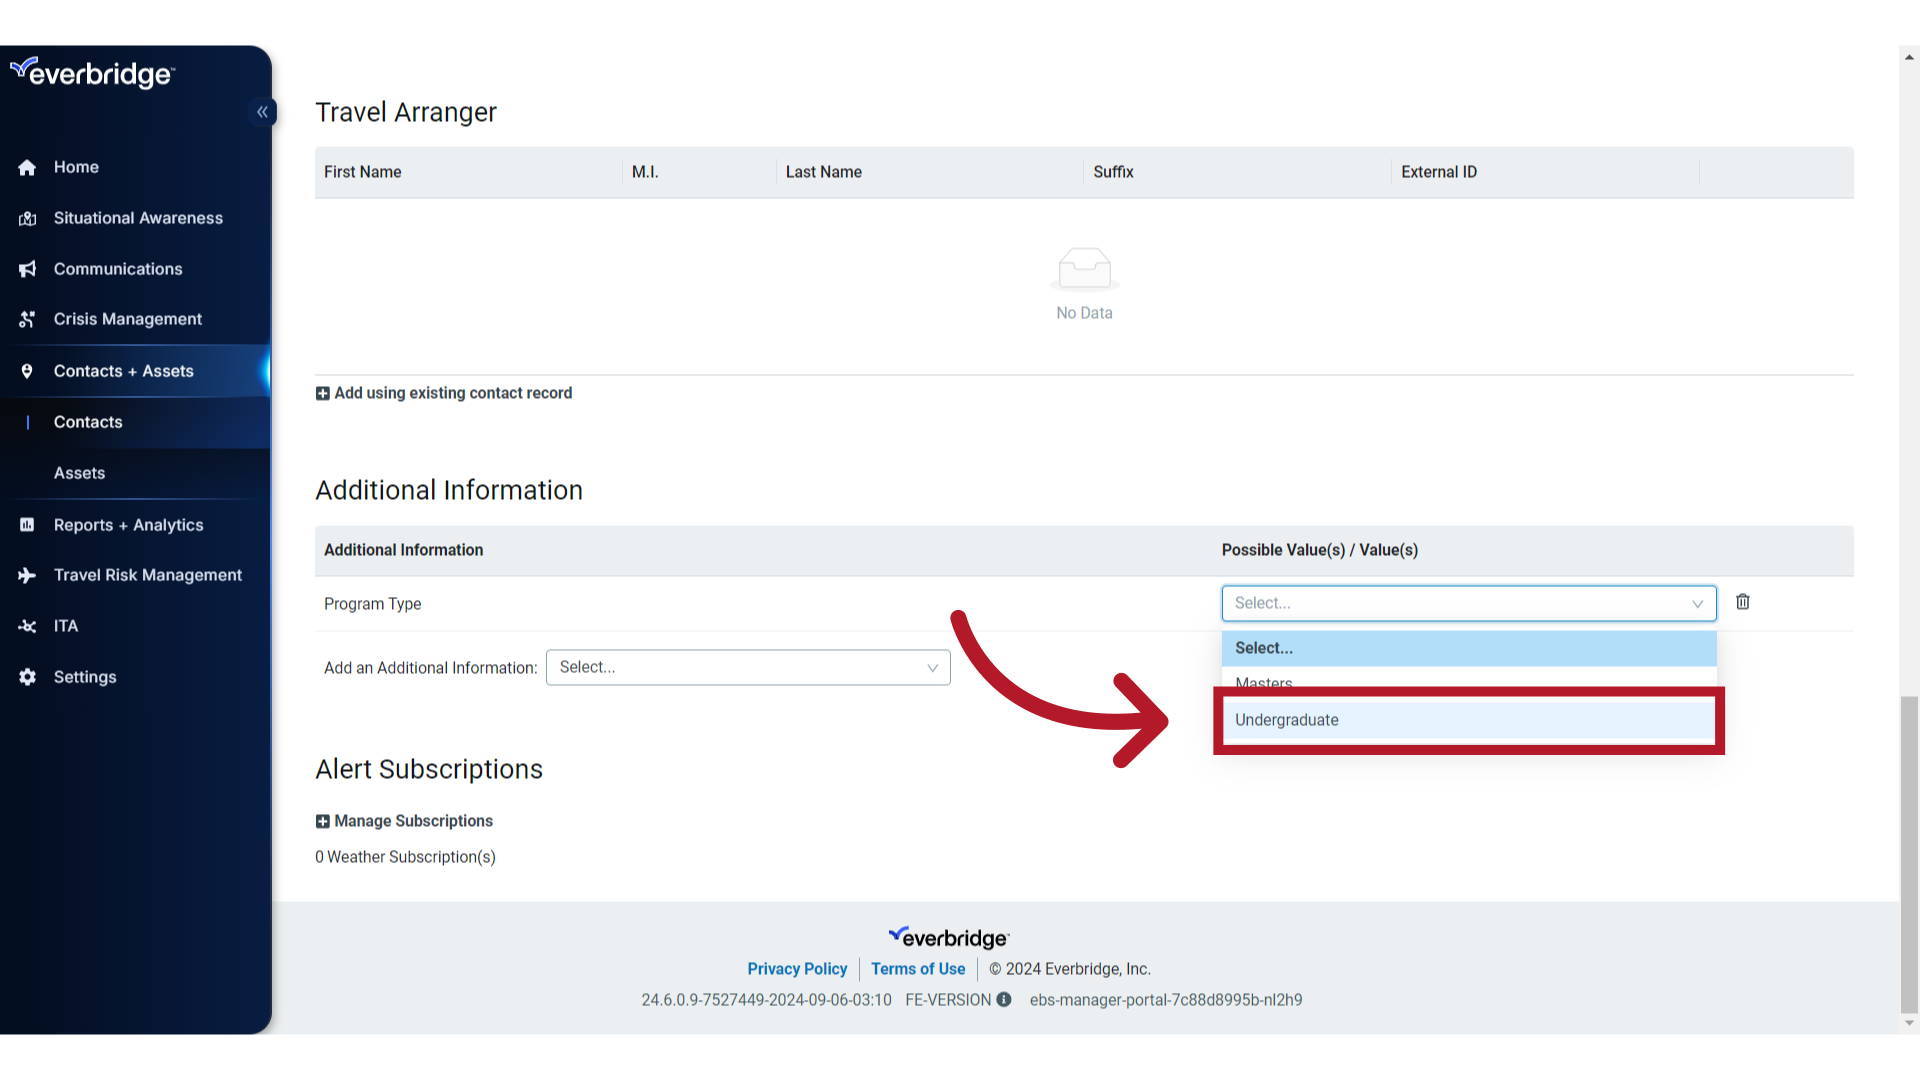
21. Additional Information Field
Lastly, input Additional Information, if configured for your organization. These custom fields provide you the ability to dynamically filter and select contacts for notification. In this example, Tessa teaches undergraduate courses, so you will click the drop down menu and pick Program Type
22. Additional Information Value
and then choose the value of Undergraduate.
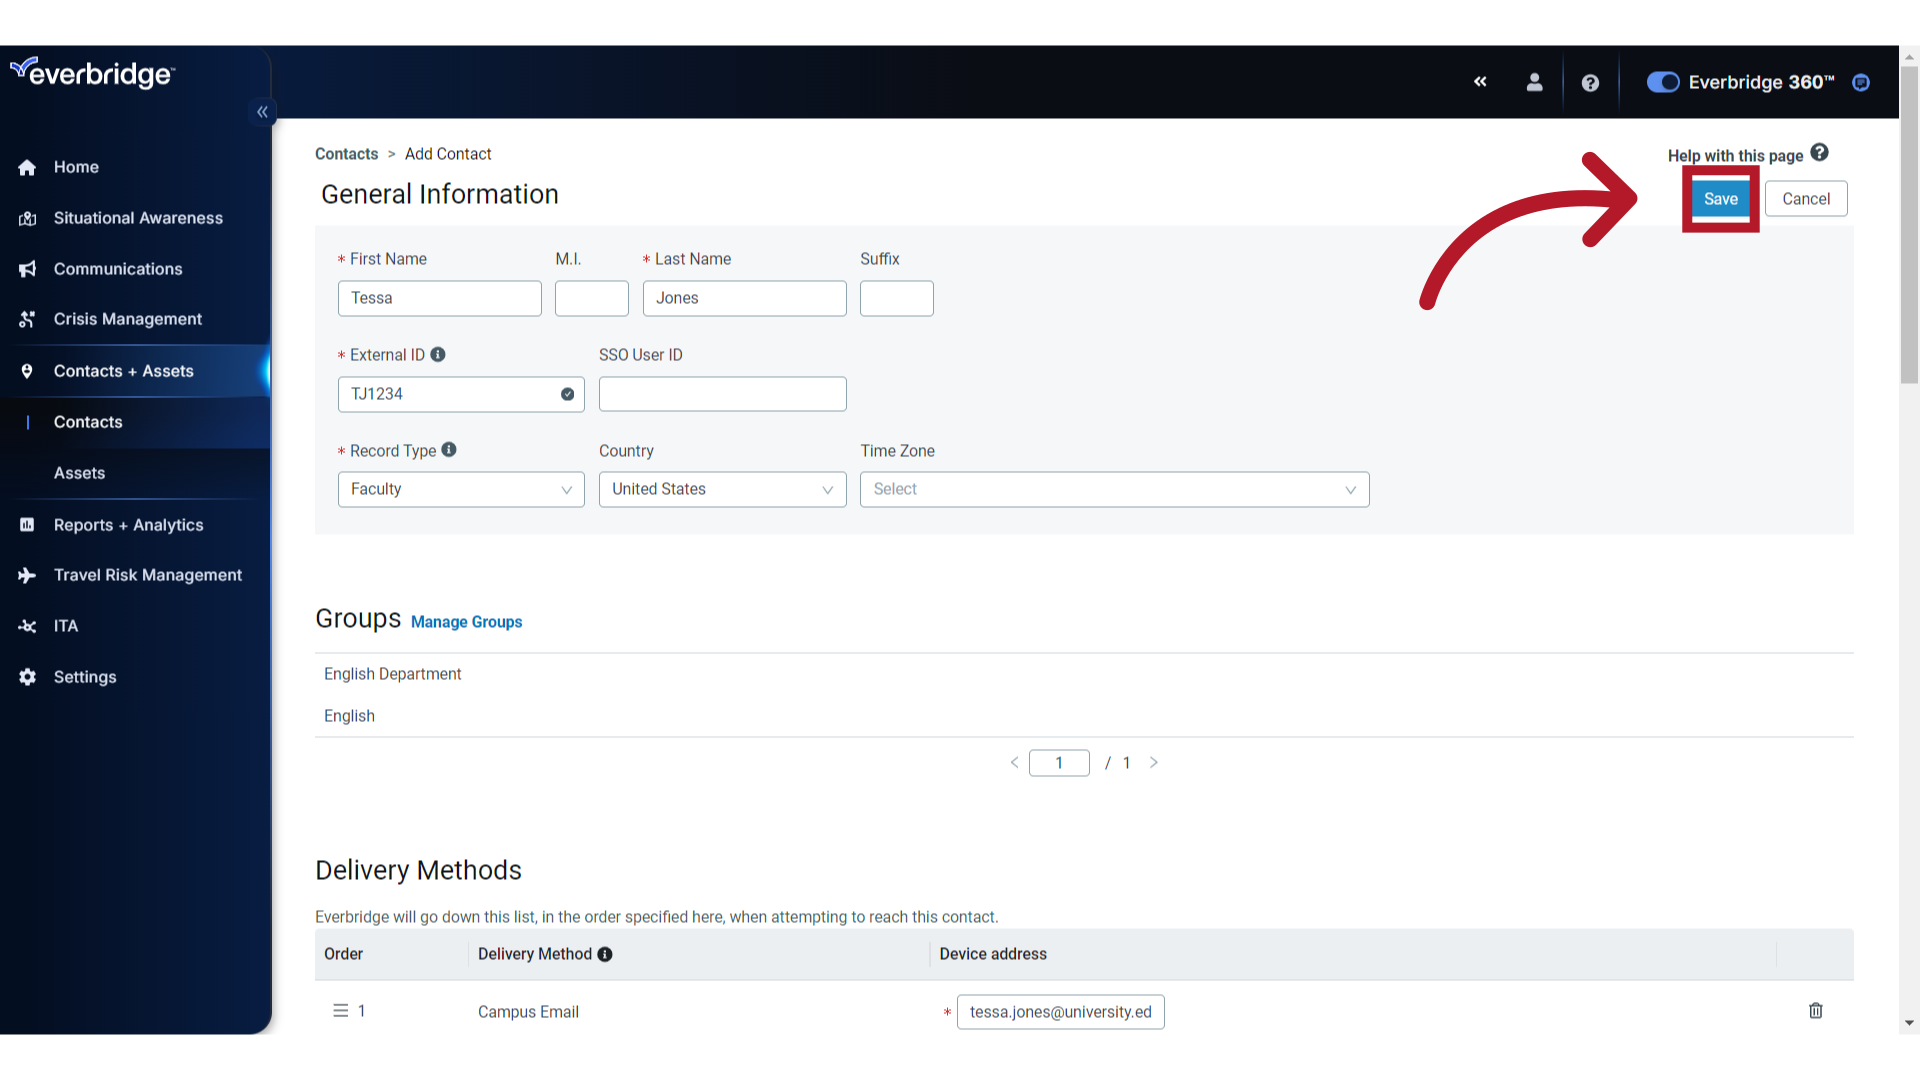
23. Save
Finally, click "Save" to create the contact with the information you have just configured.
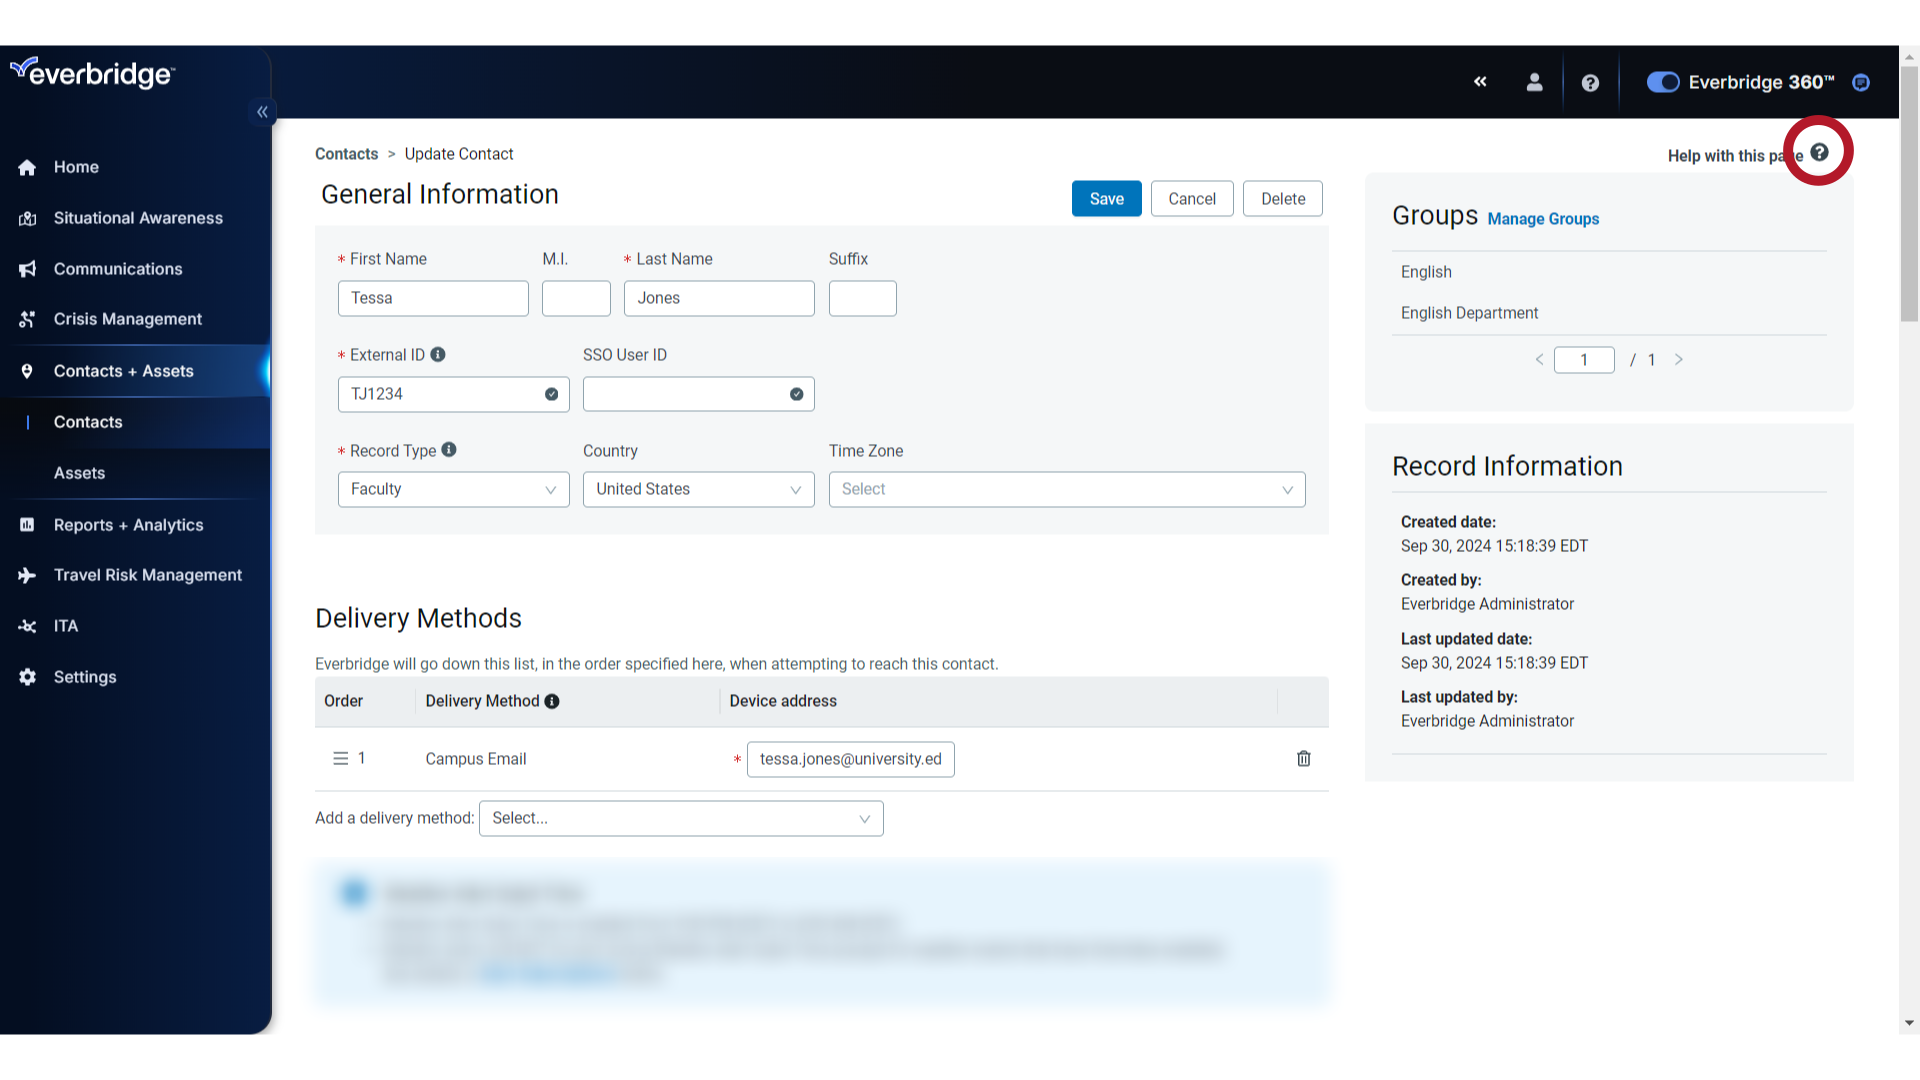
24. View
For more information about any of the fields on this page, click the Help icon to access the Online Support content.
Thank you for watching this guide on how to add a single contact in Everbridge!