Topic
This article describes how to upload contact CSV files using the Update option in Everbridge Suite.
Description
When uploading contacts from a CSV file (Contacts > Uploads > Upload to portal), there are four options; Update, Replace, Restore and Delete. This knowledge article explains the contact upload Update option:
1. Update Upload
The update option for uploaded contact files, adds new contacts and updates existing information based on the data in the contact file.

2. Dashboard
To use this option.
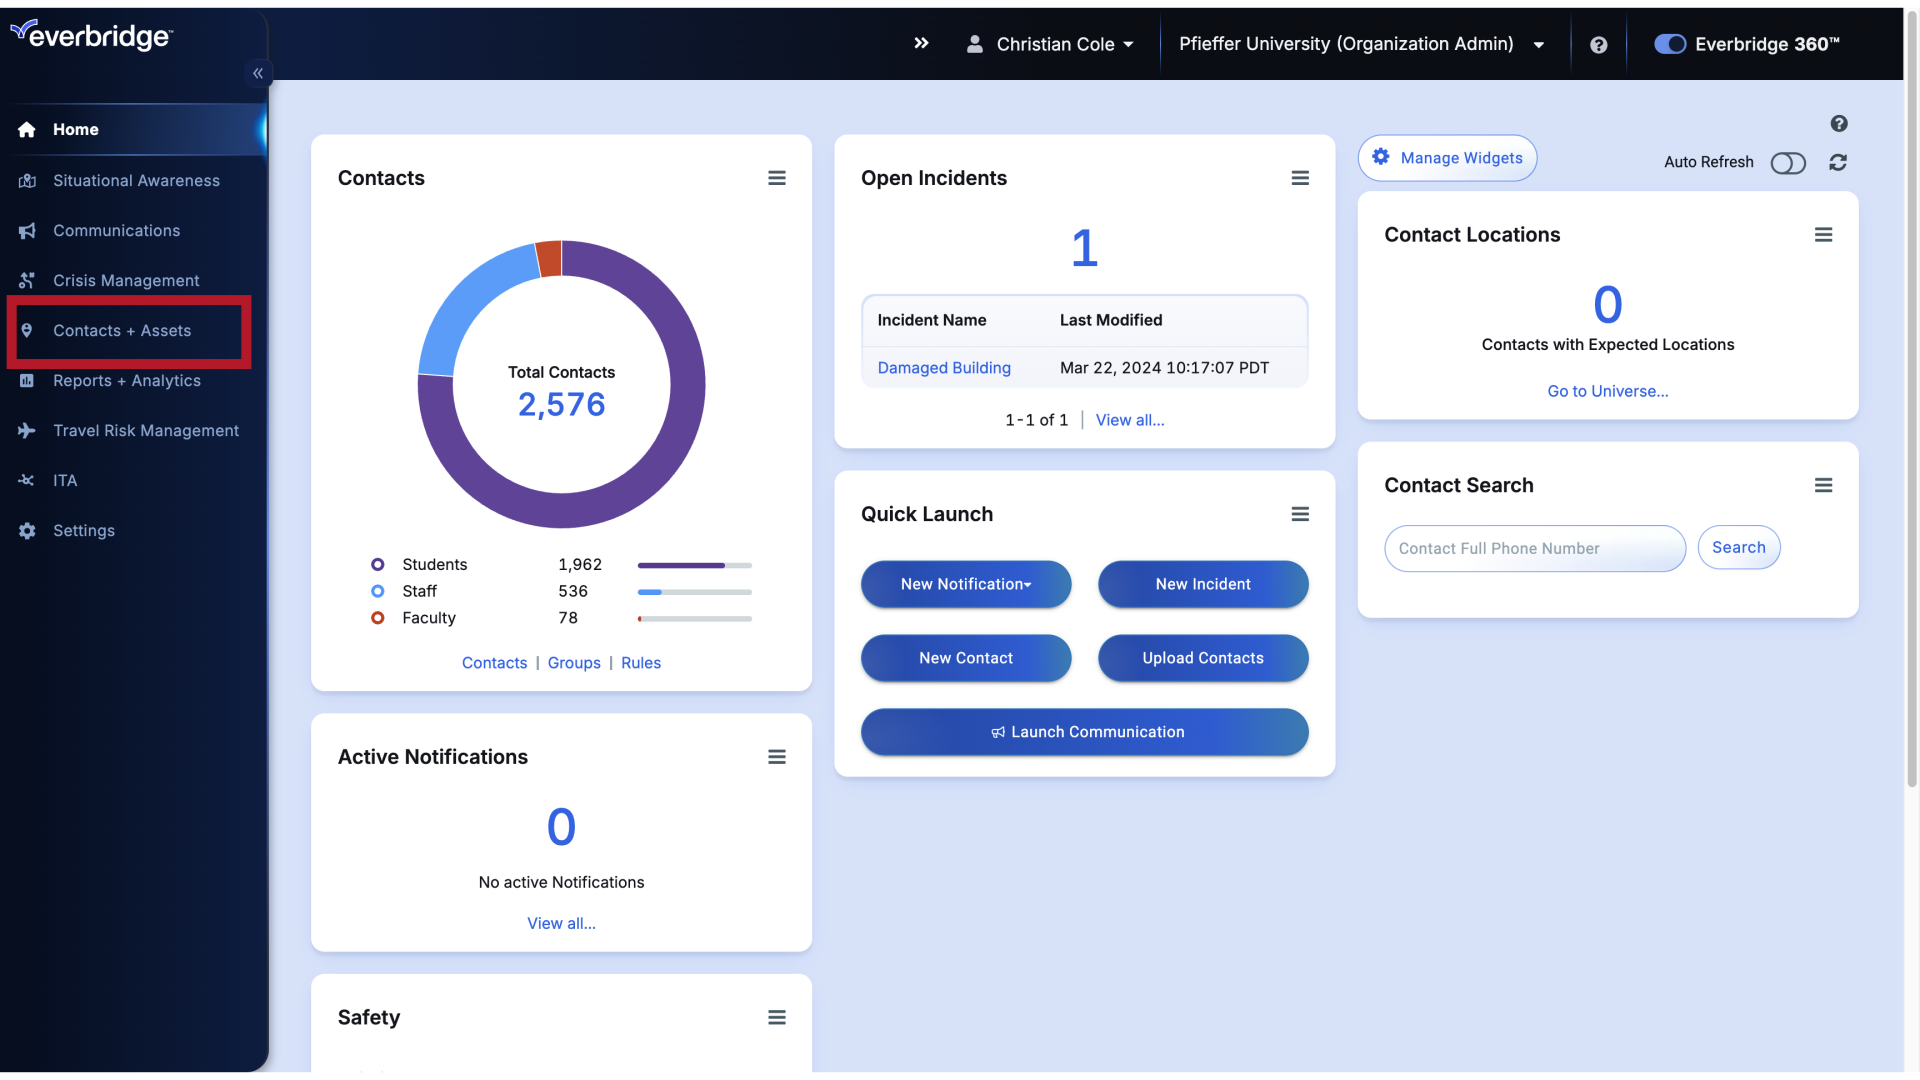
3. Dashboard
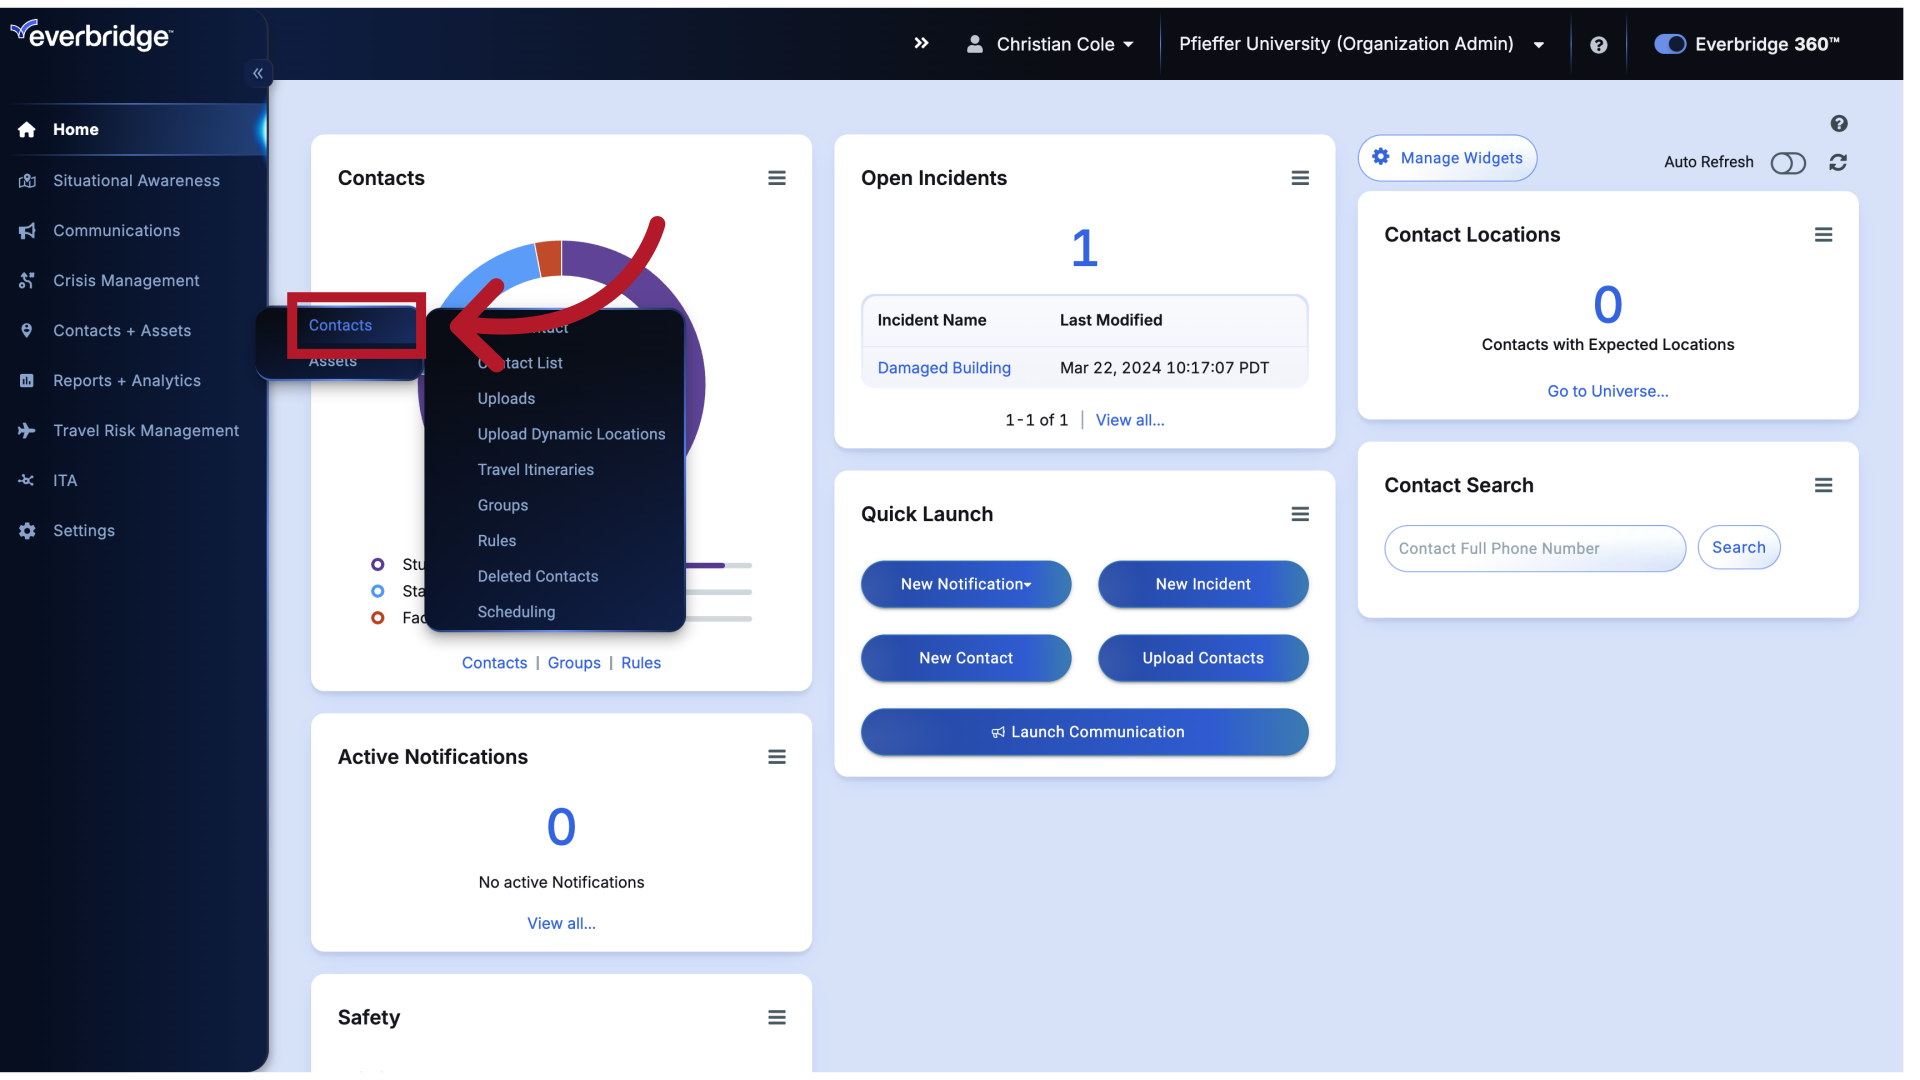
4. Dashboard
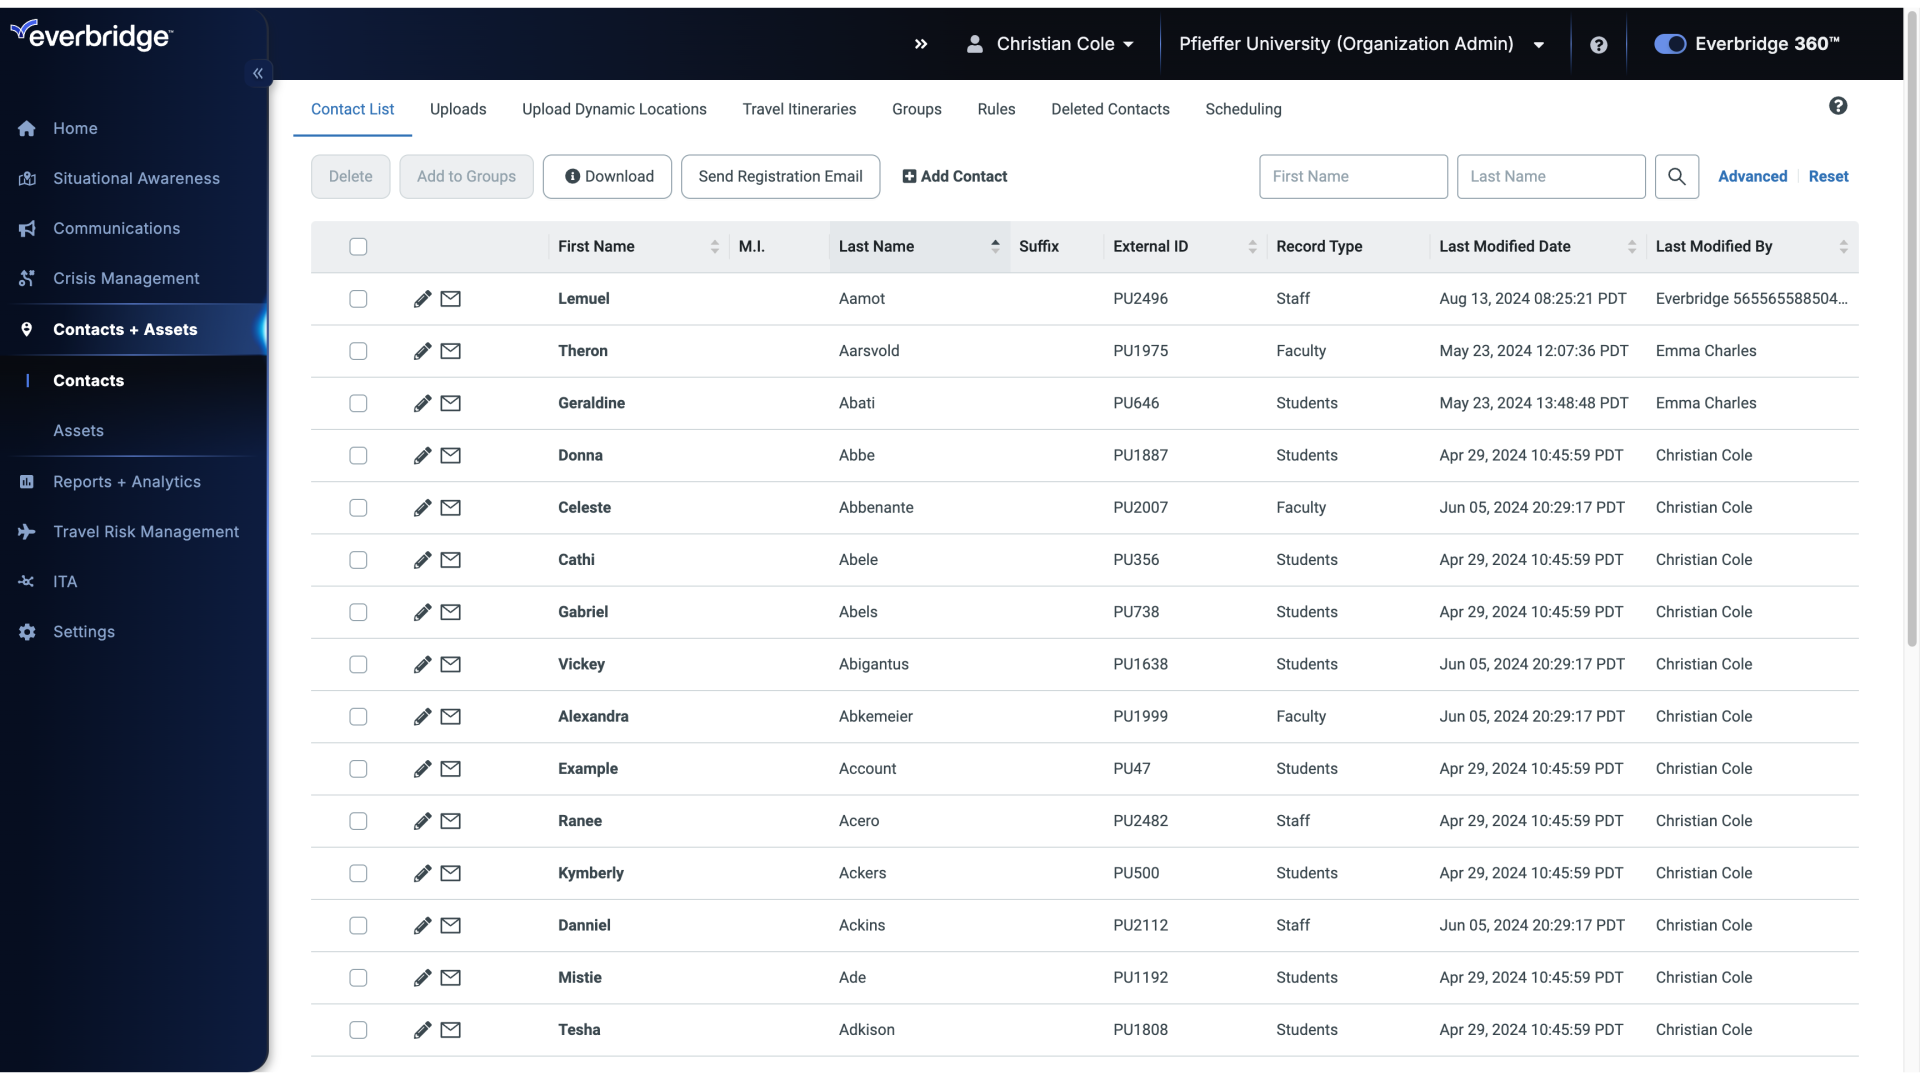
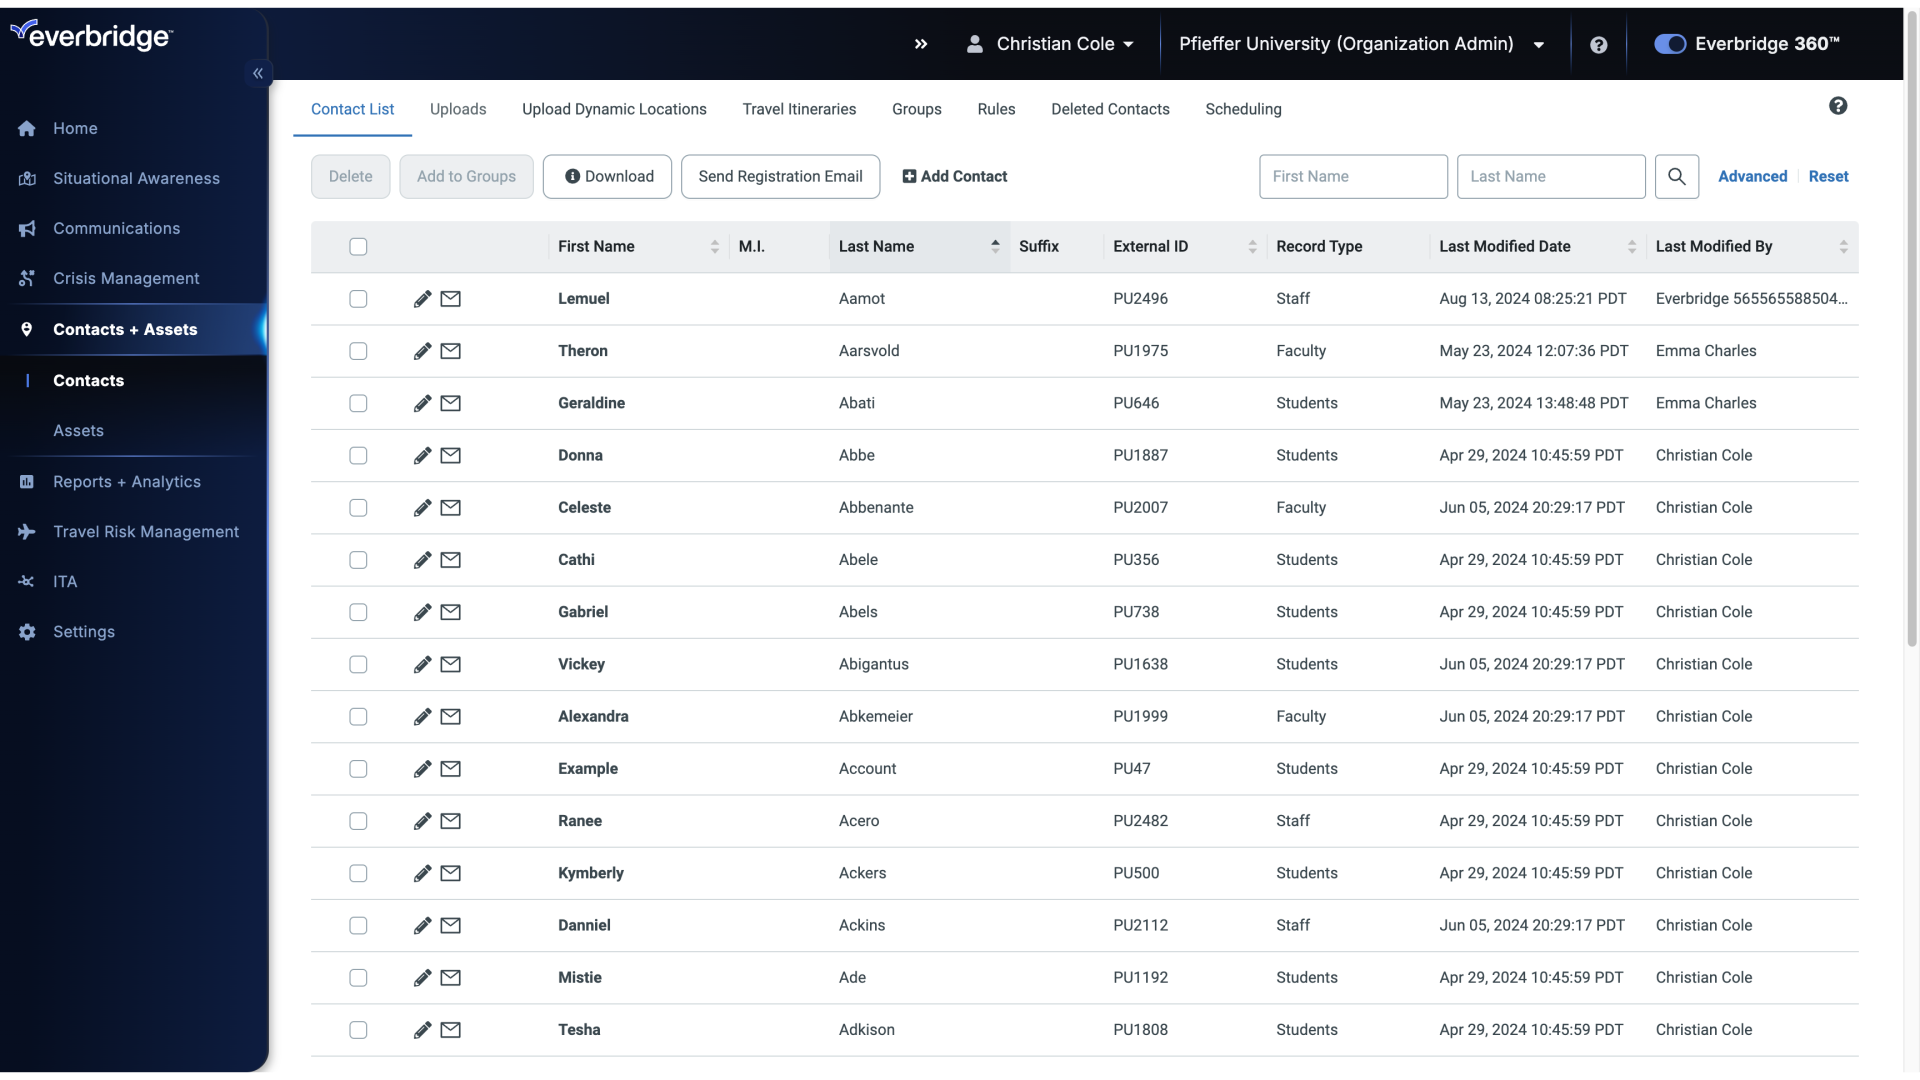
Begin on the Contacts List screen.
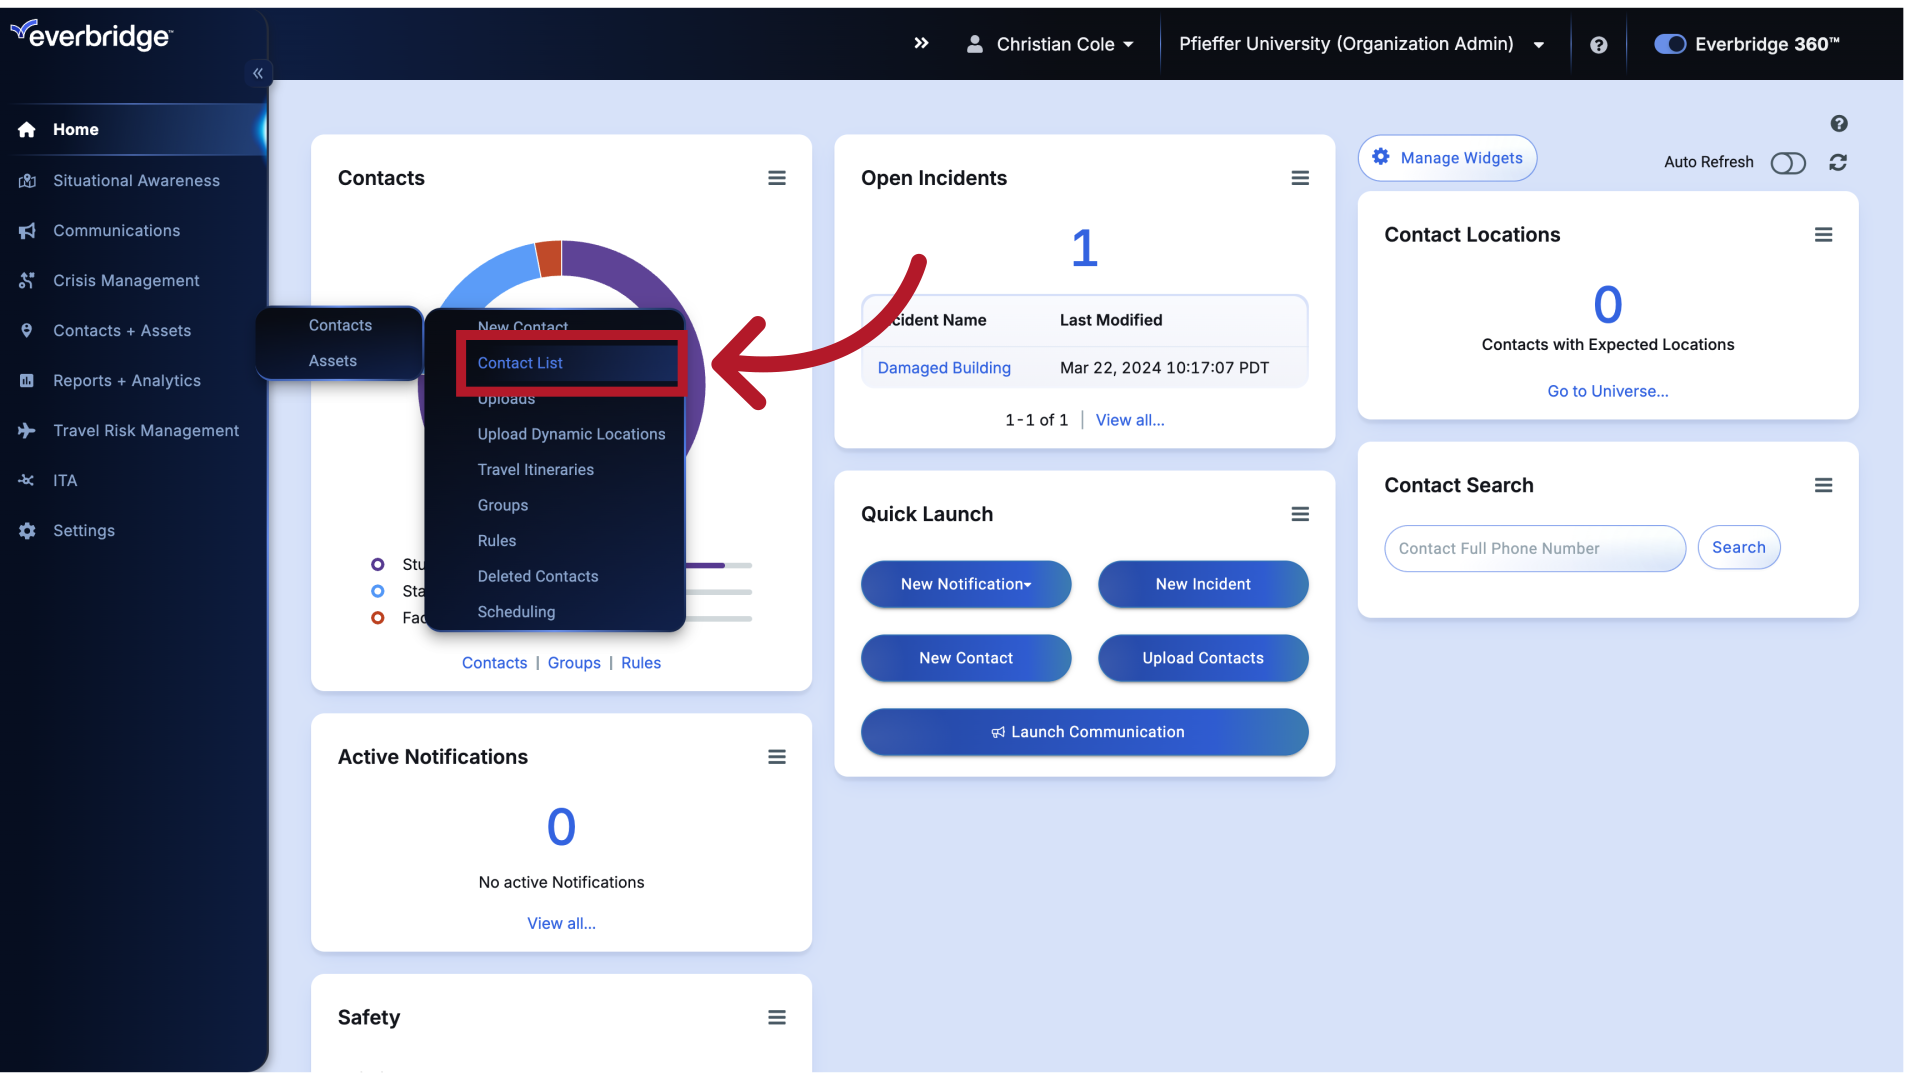
5. Contact List
6. Contact List
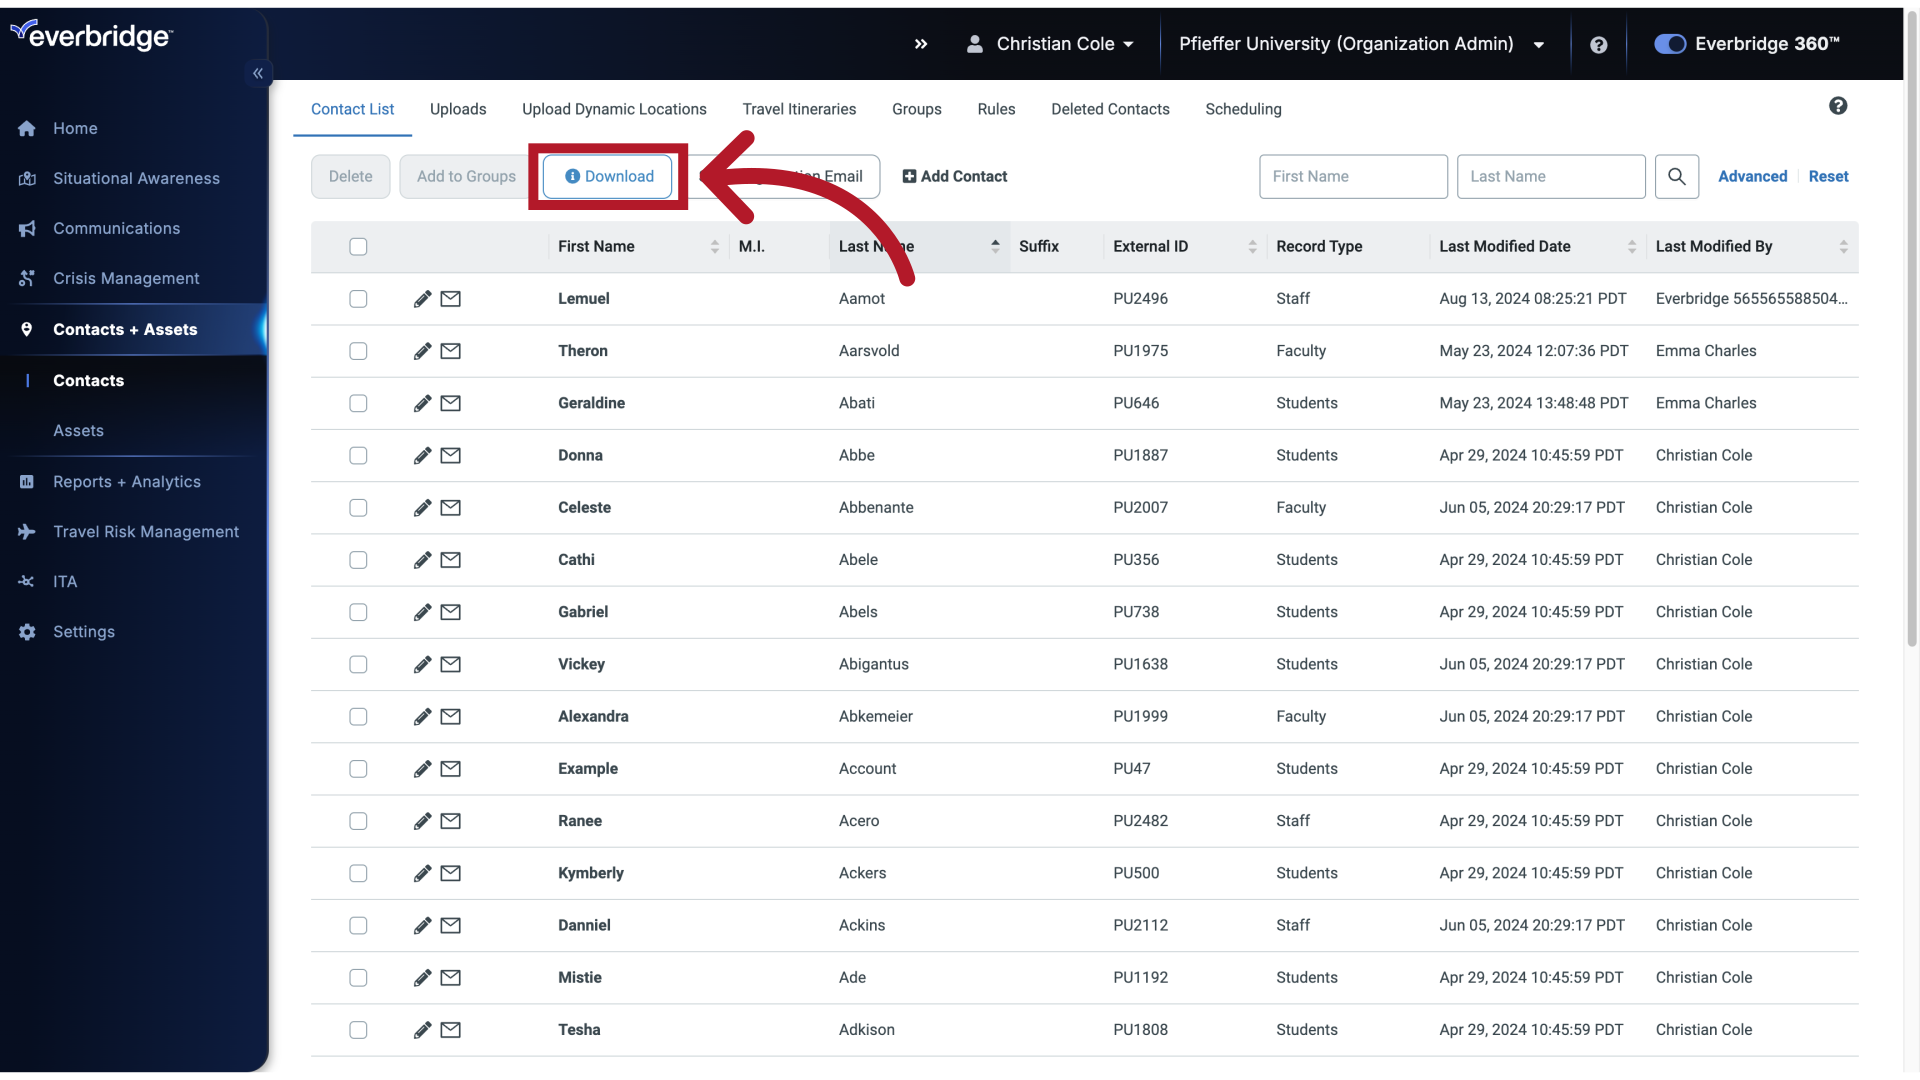
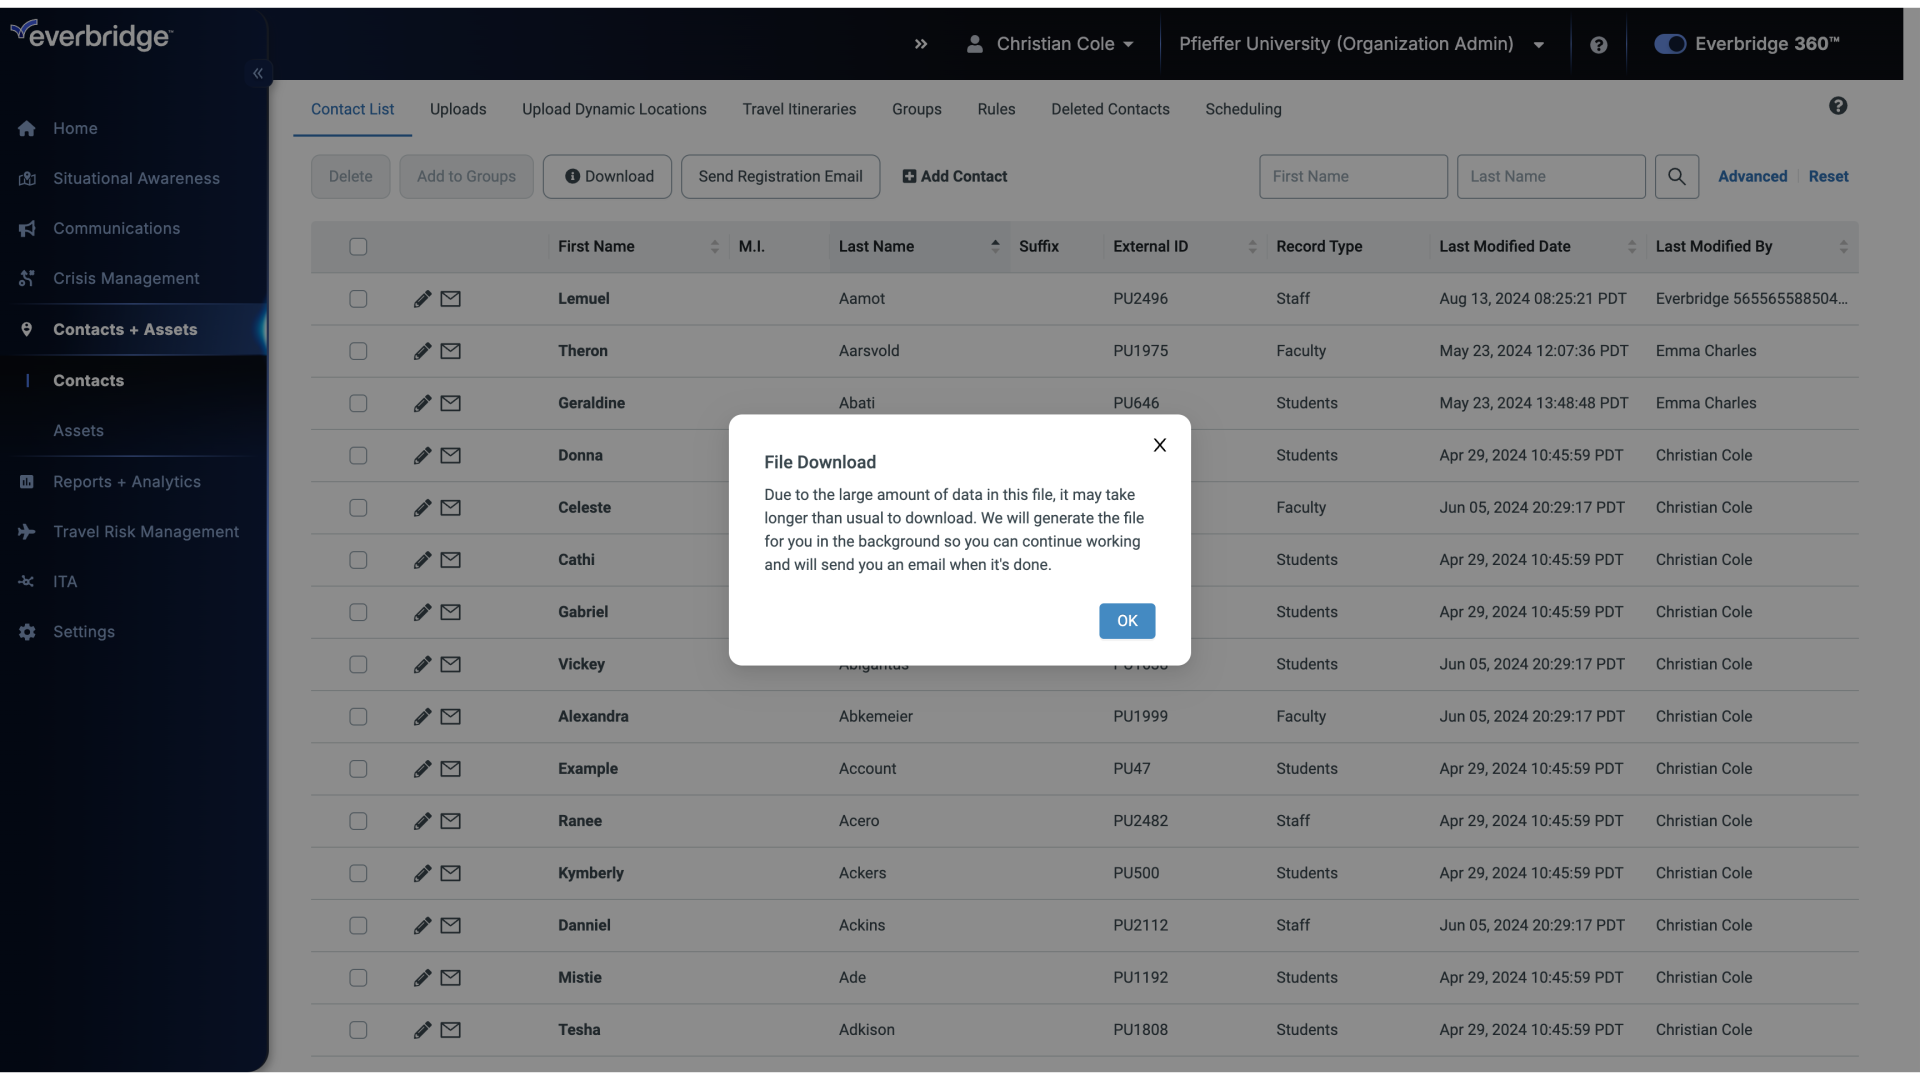
As always, we recommend downloading a backup of your current contact information.
7. File Download
Before making any changes.
8. File Download
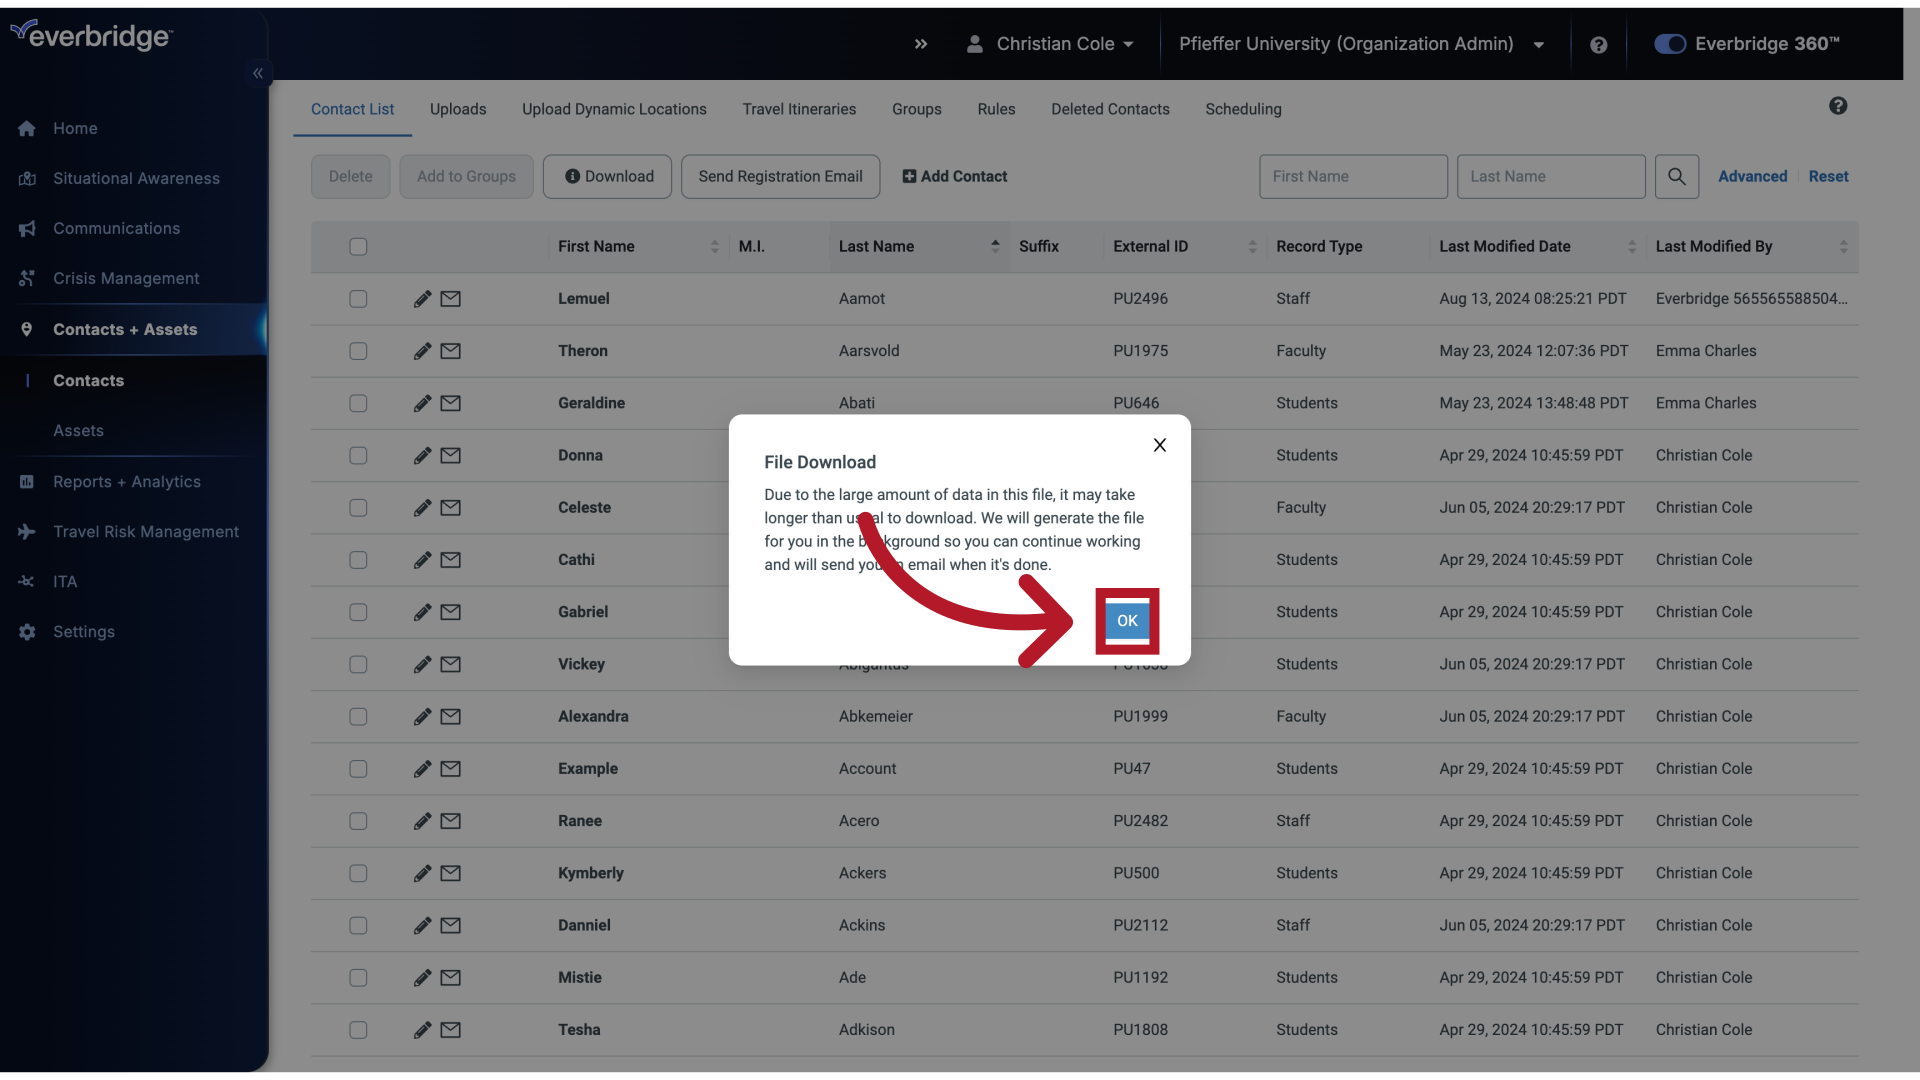
9. Contact List
When ready.
10. Uploads
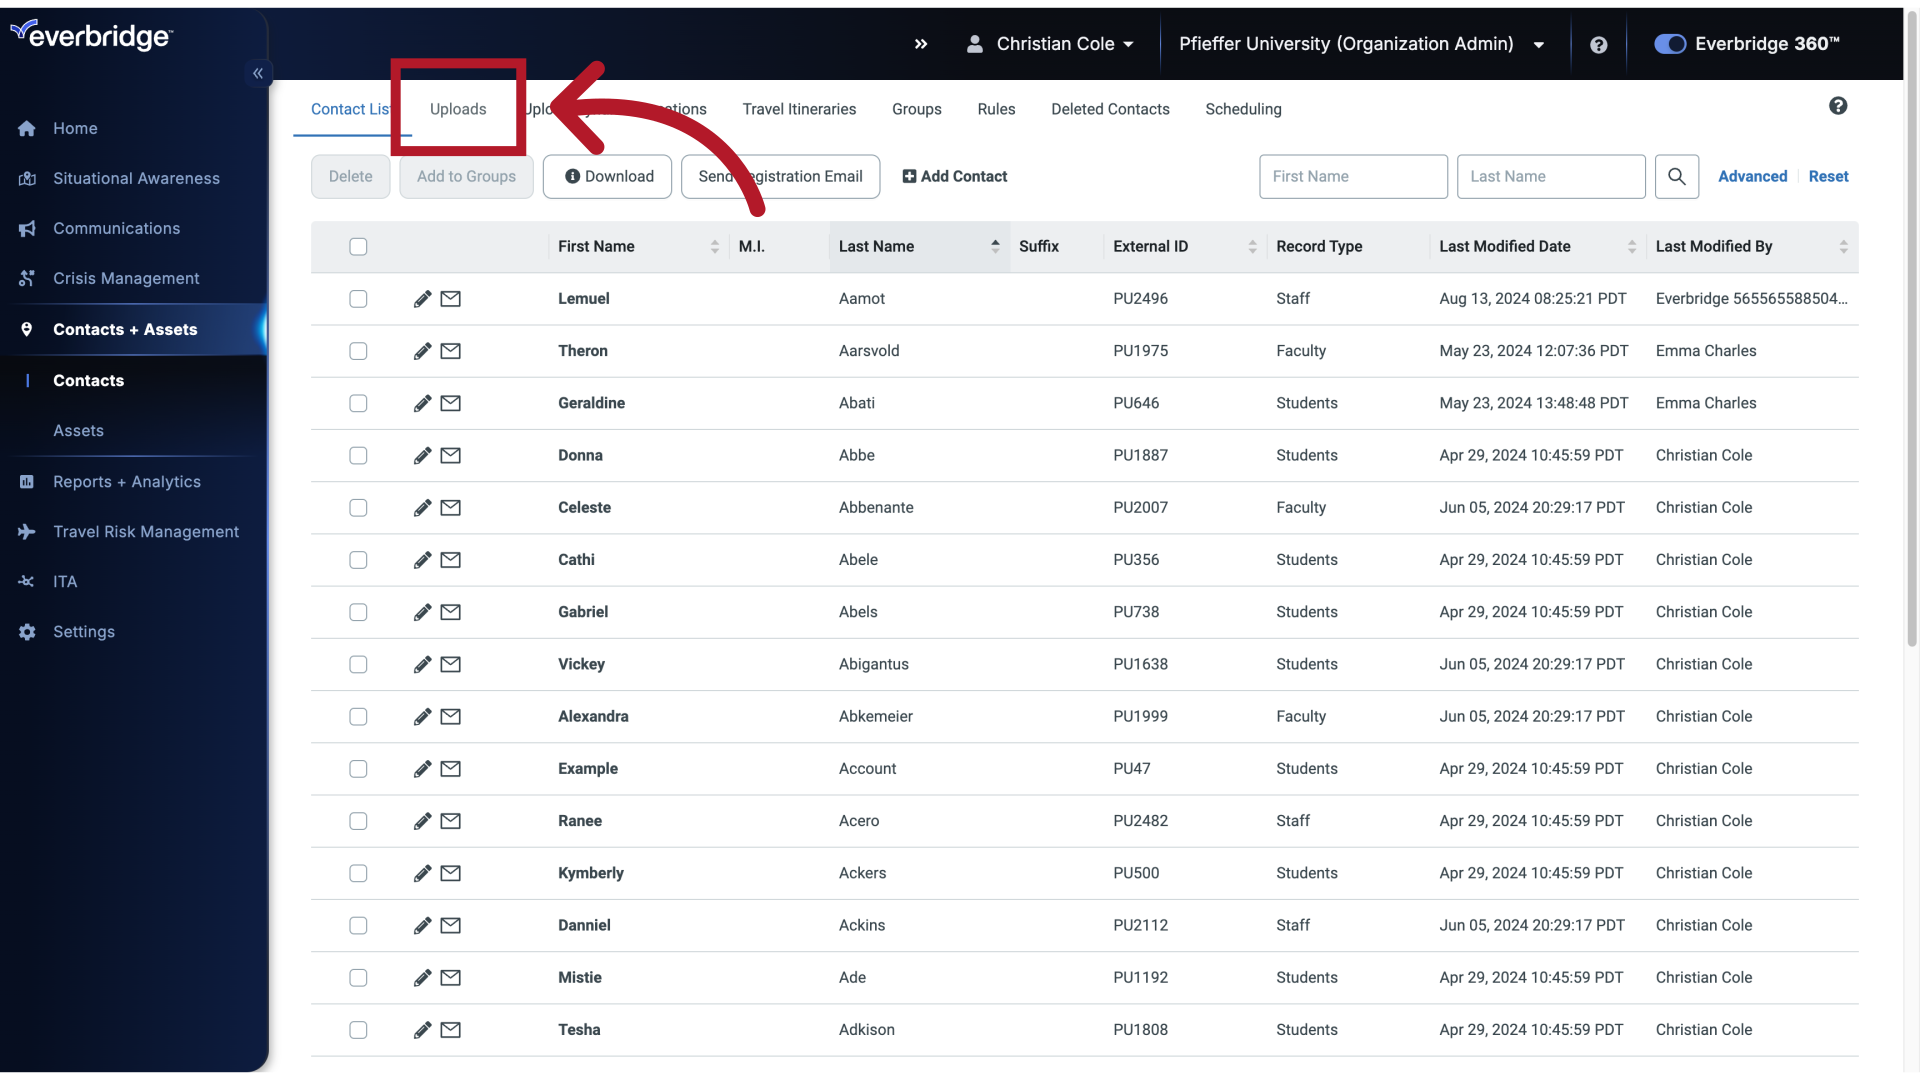
Click Uploads.
11. Uploads
12. Upload to Portal
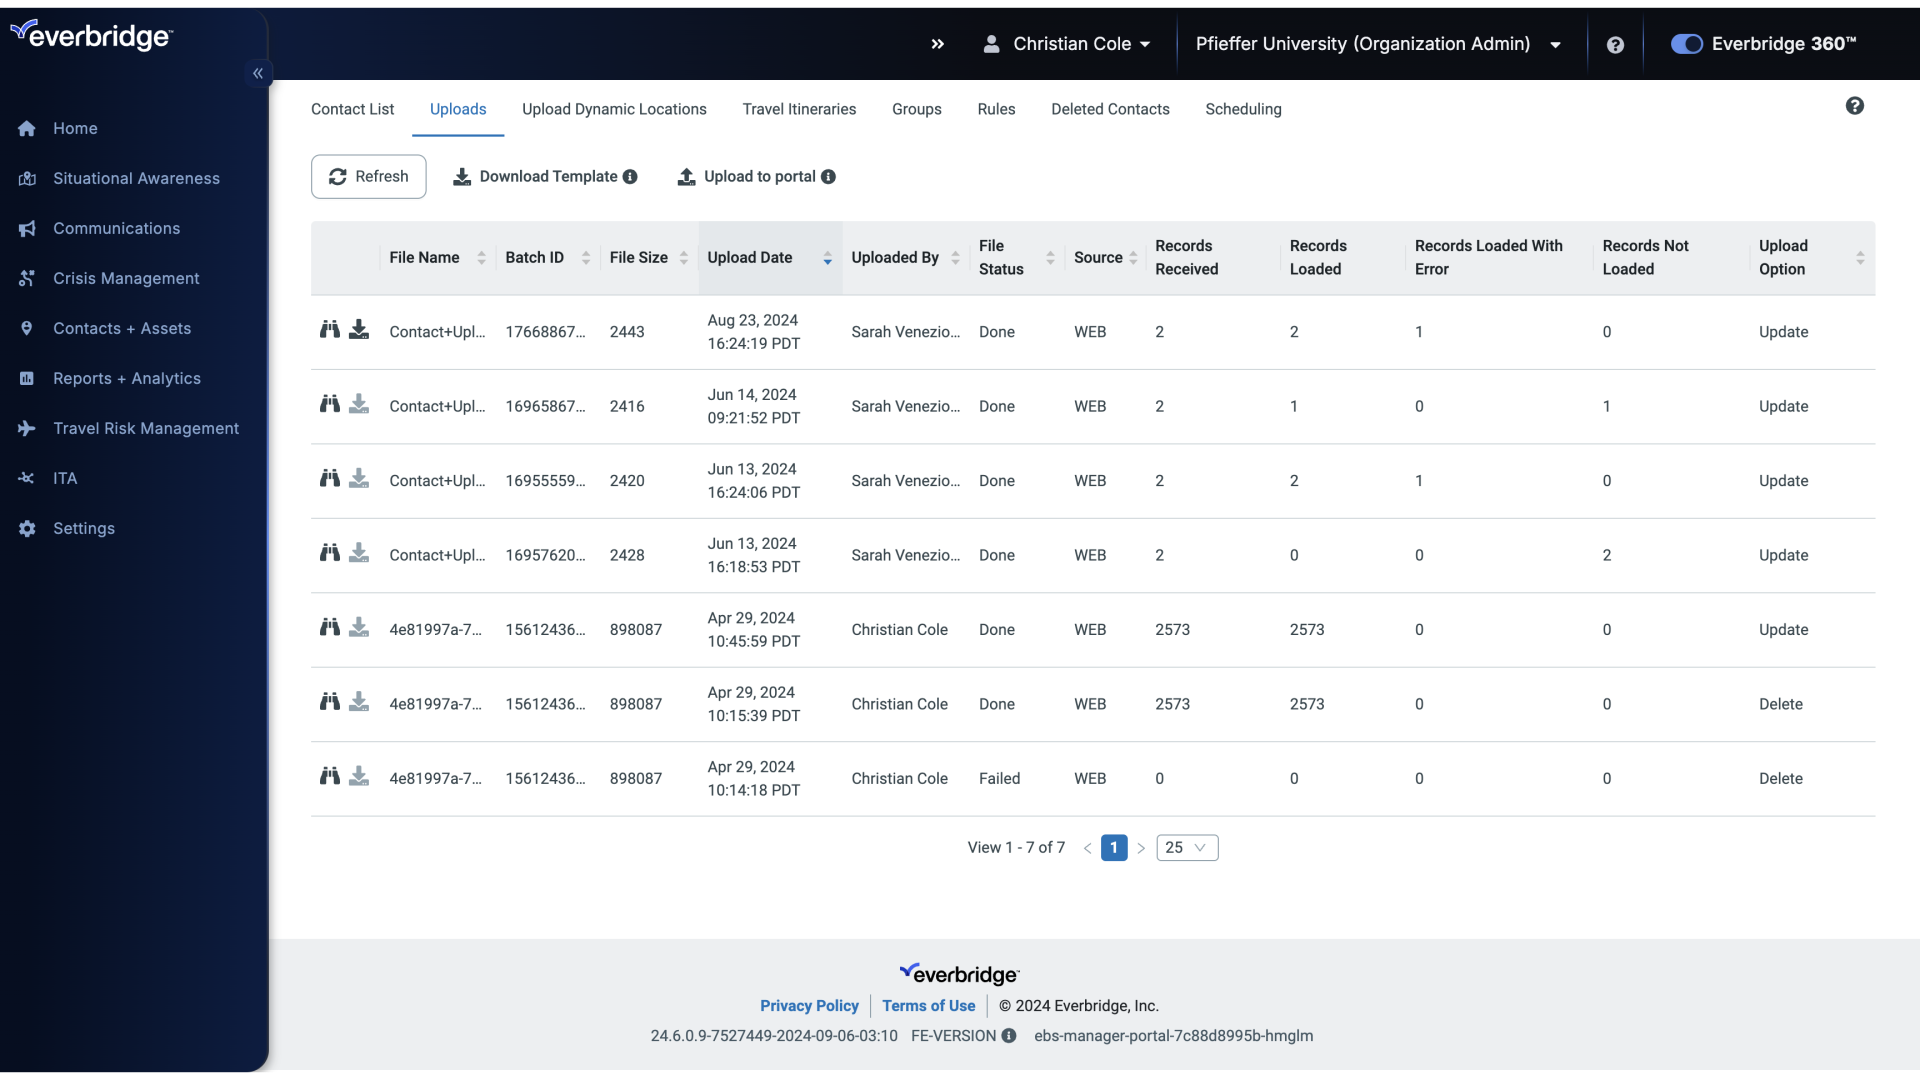
Click Upload to portal.
13. Upload Contacts
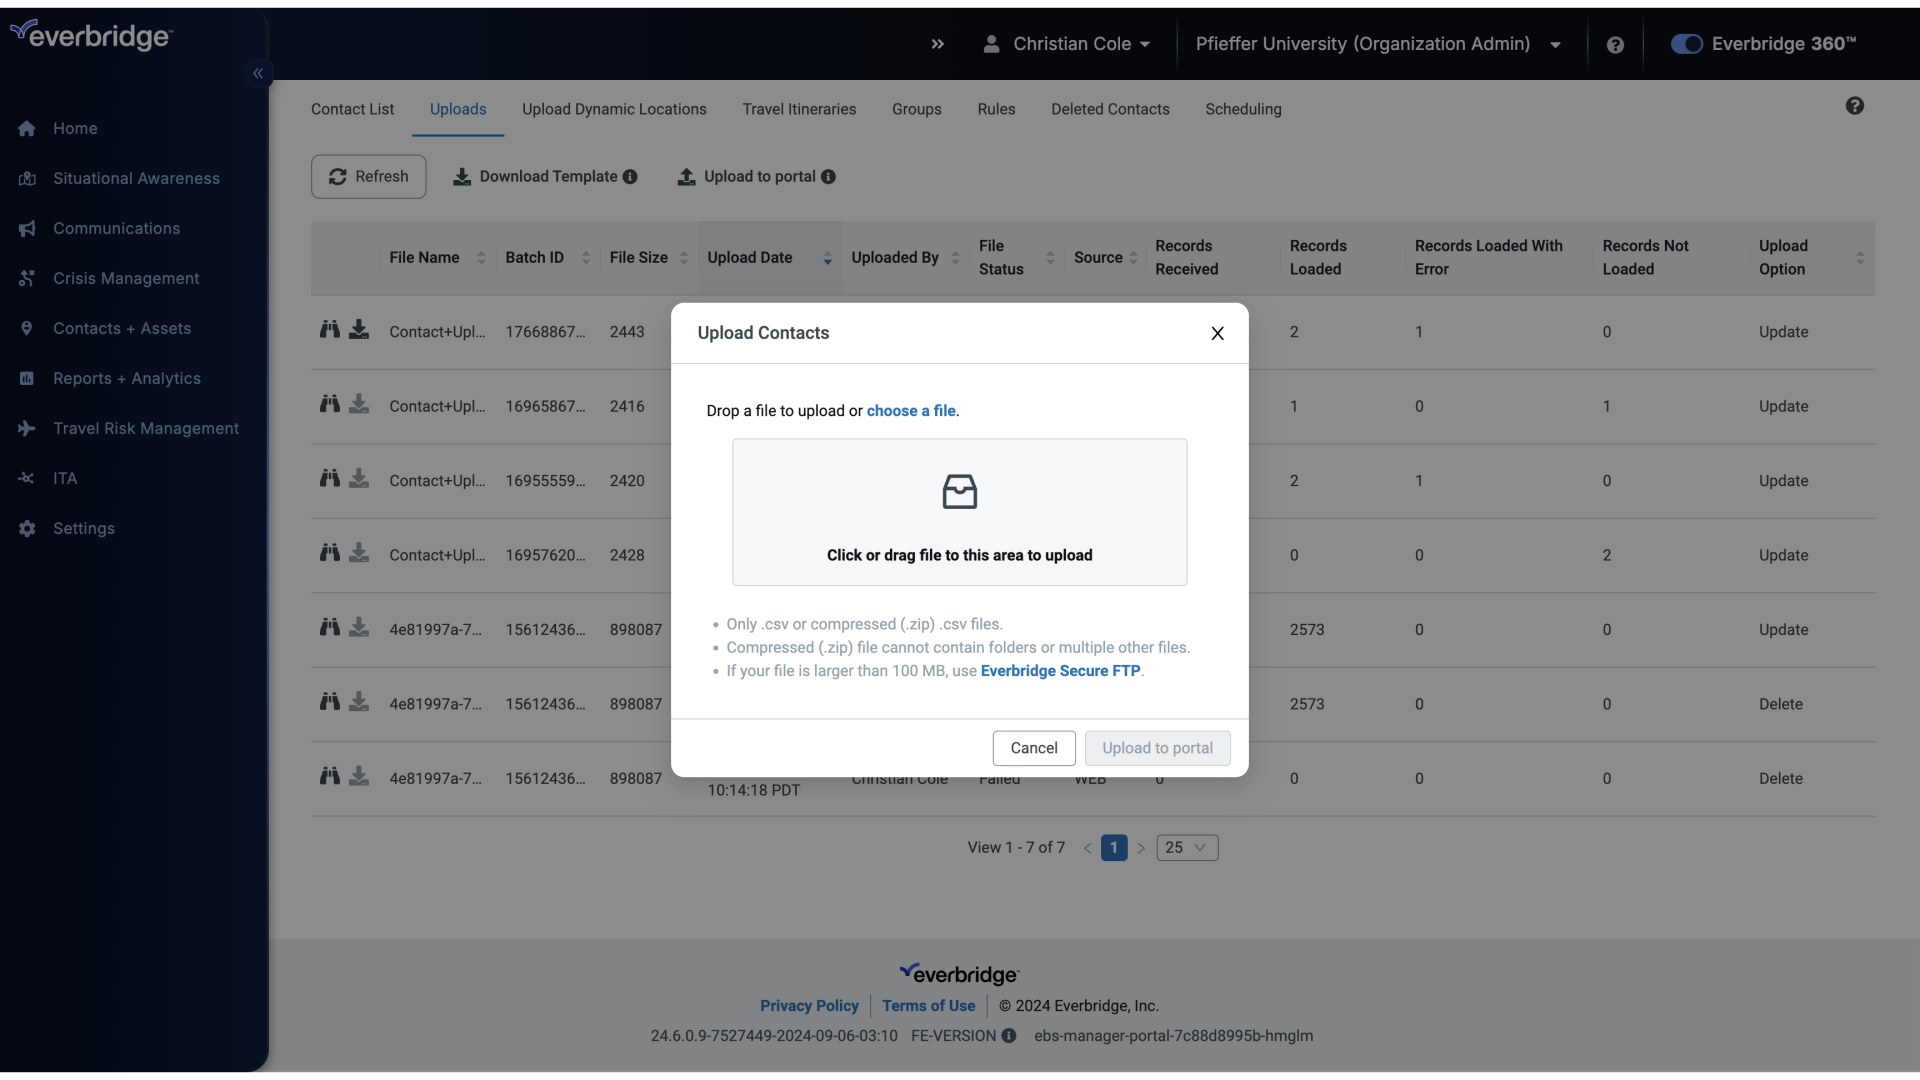
14. Upload Contacts
Click the highlighted text to upload your file, or drag your file to this area to upload. For this example we'll drag the file.
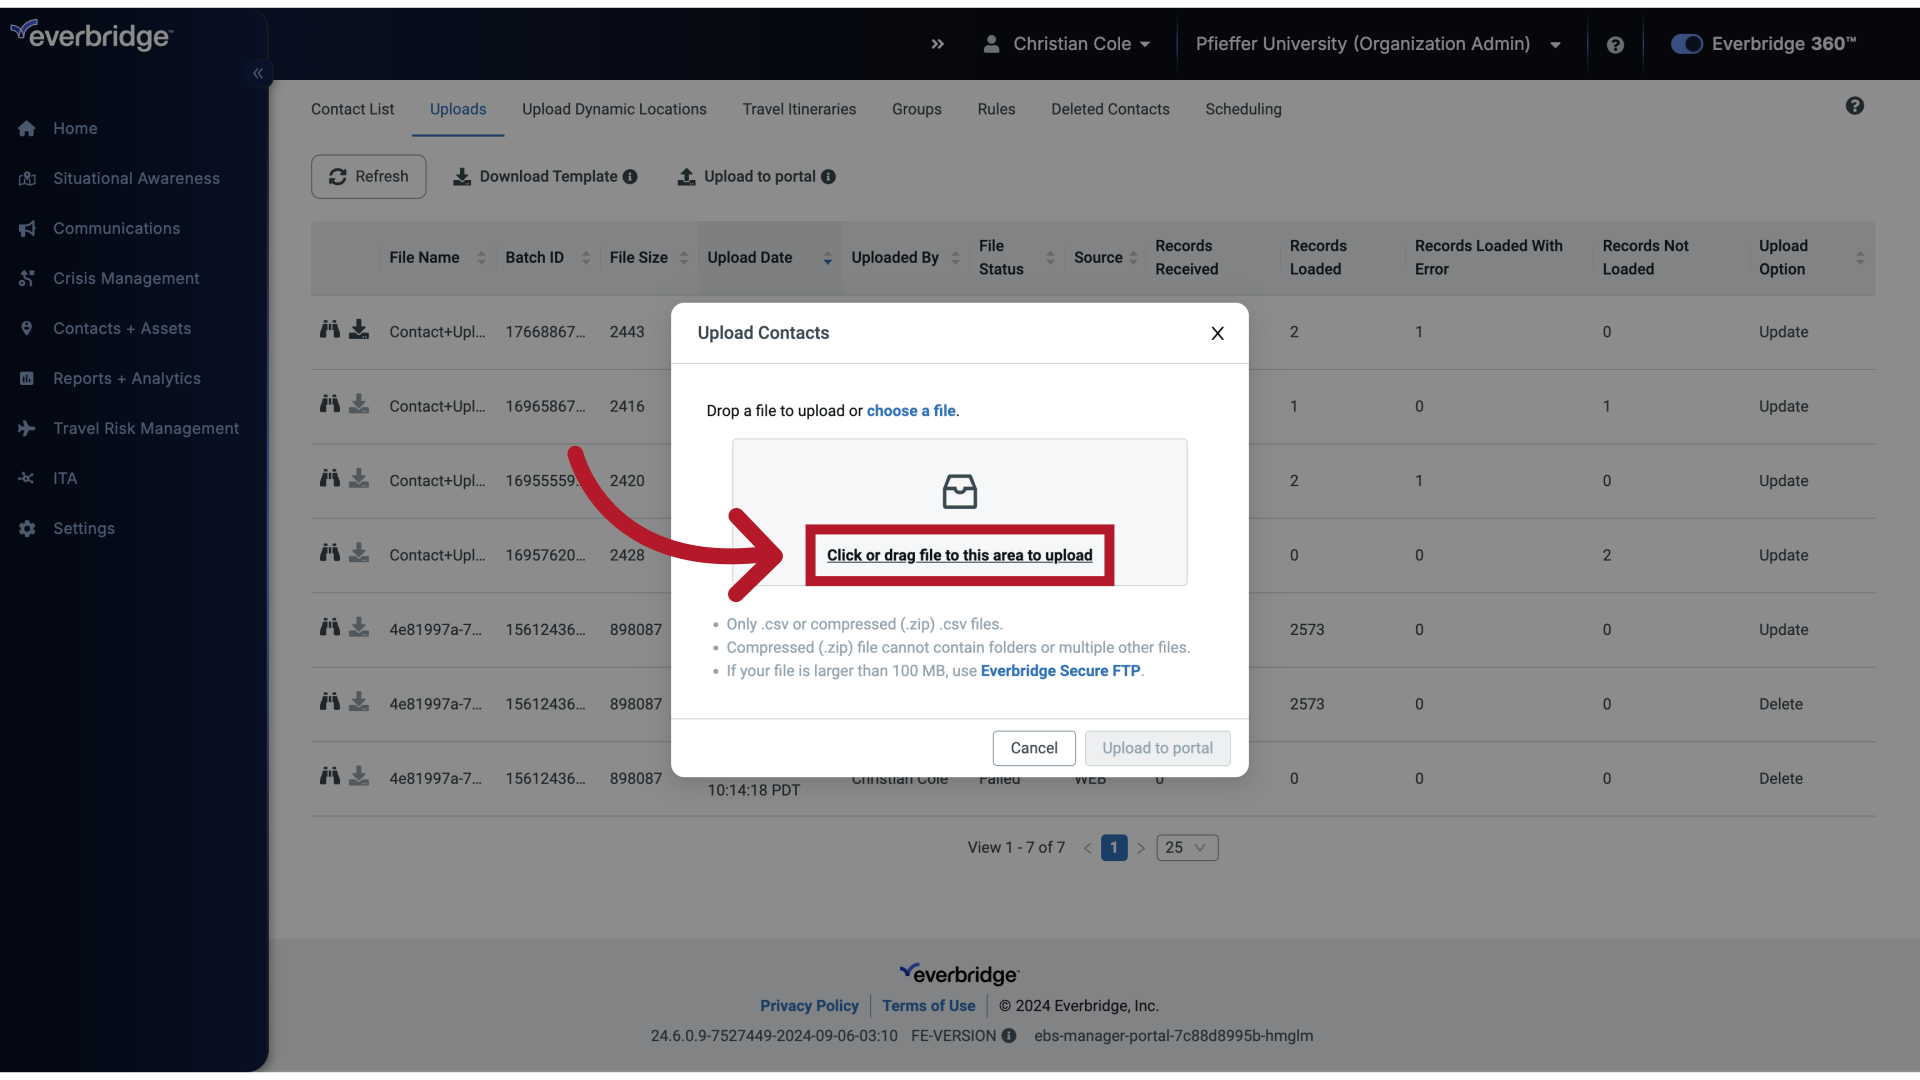
15. Upload Contacts
16. Update
It should be noted that some of the data in any contact file has specific formatting requirements.
17. Update
If needed, details on those requirements can be reviewed in our formatting a contact file for upload video which is linked in the upper left corner.
Formatting a Contact Upload File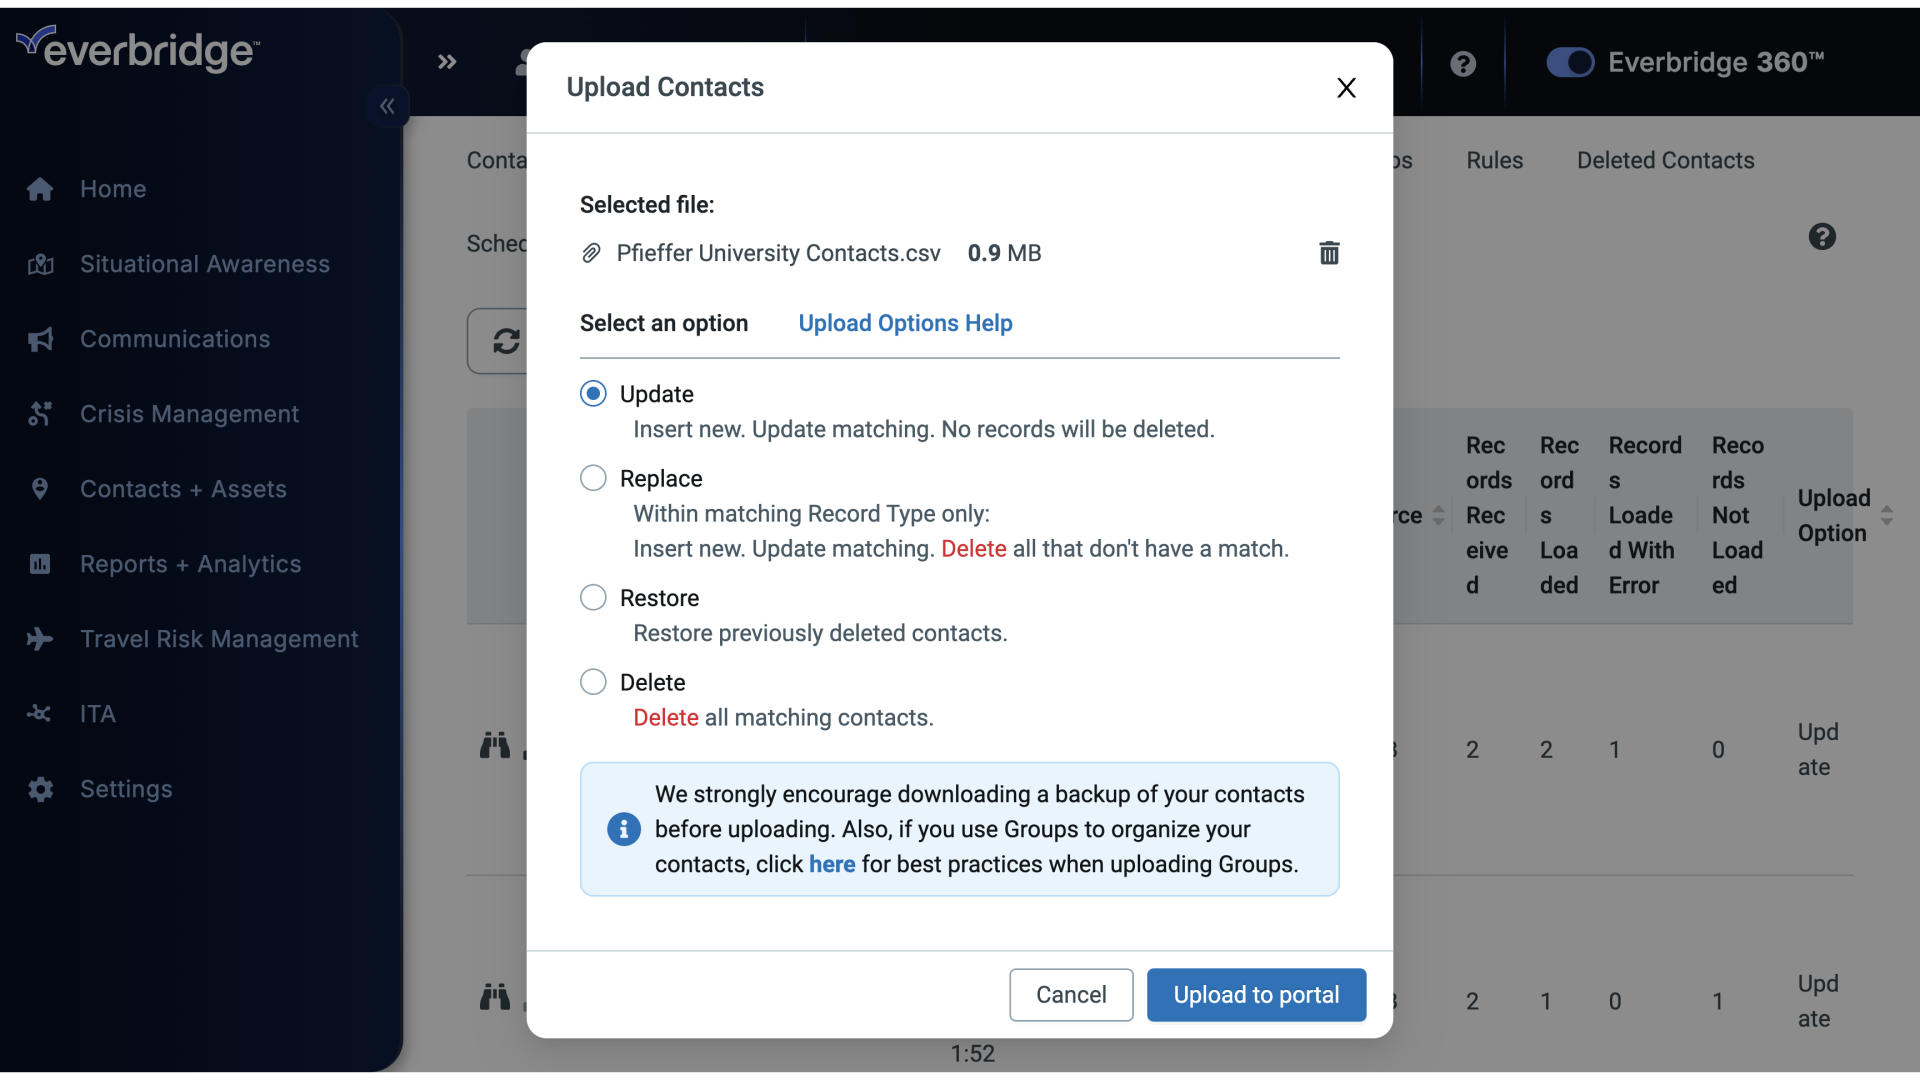
18. Upload Contacts
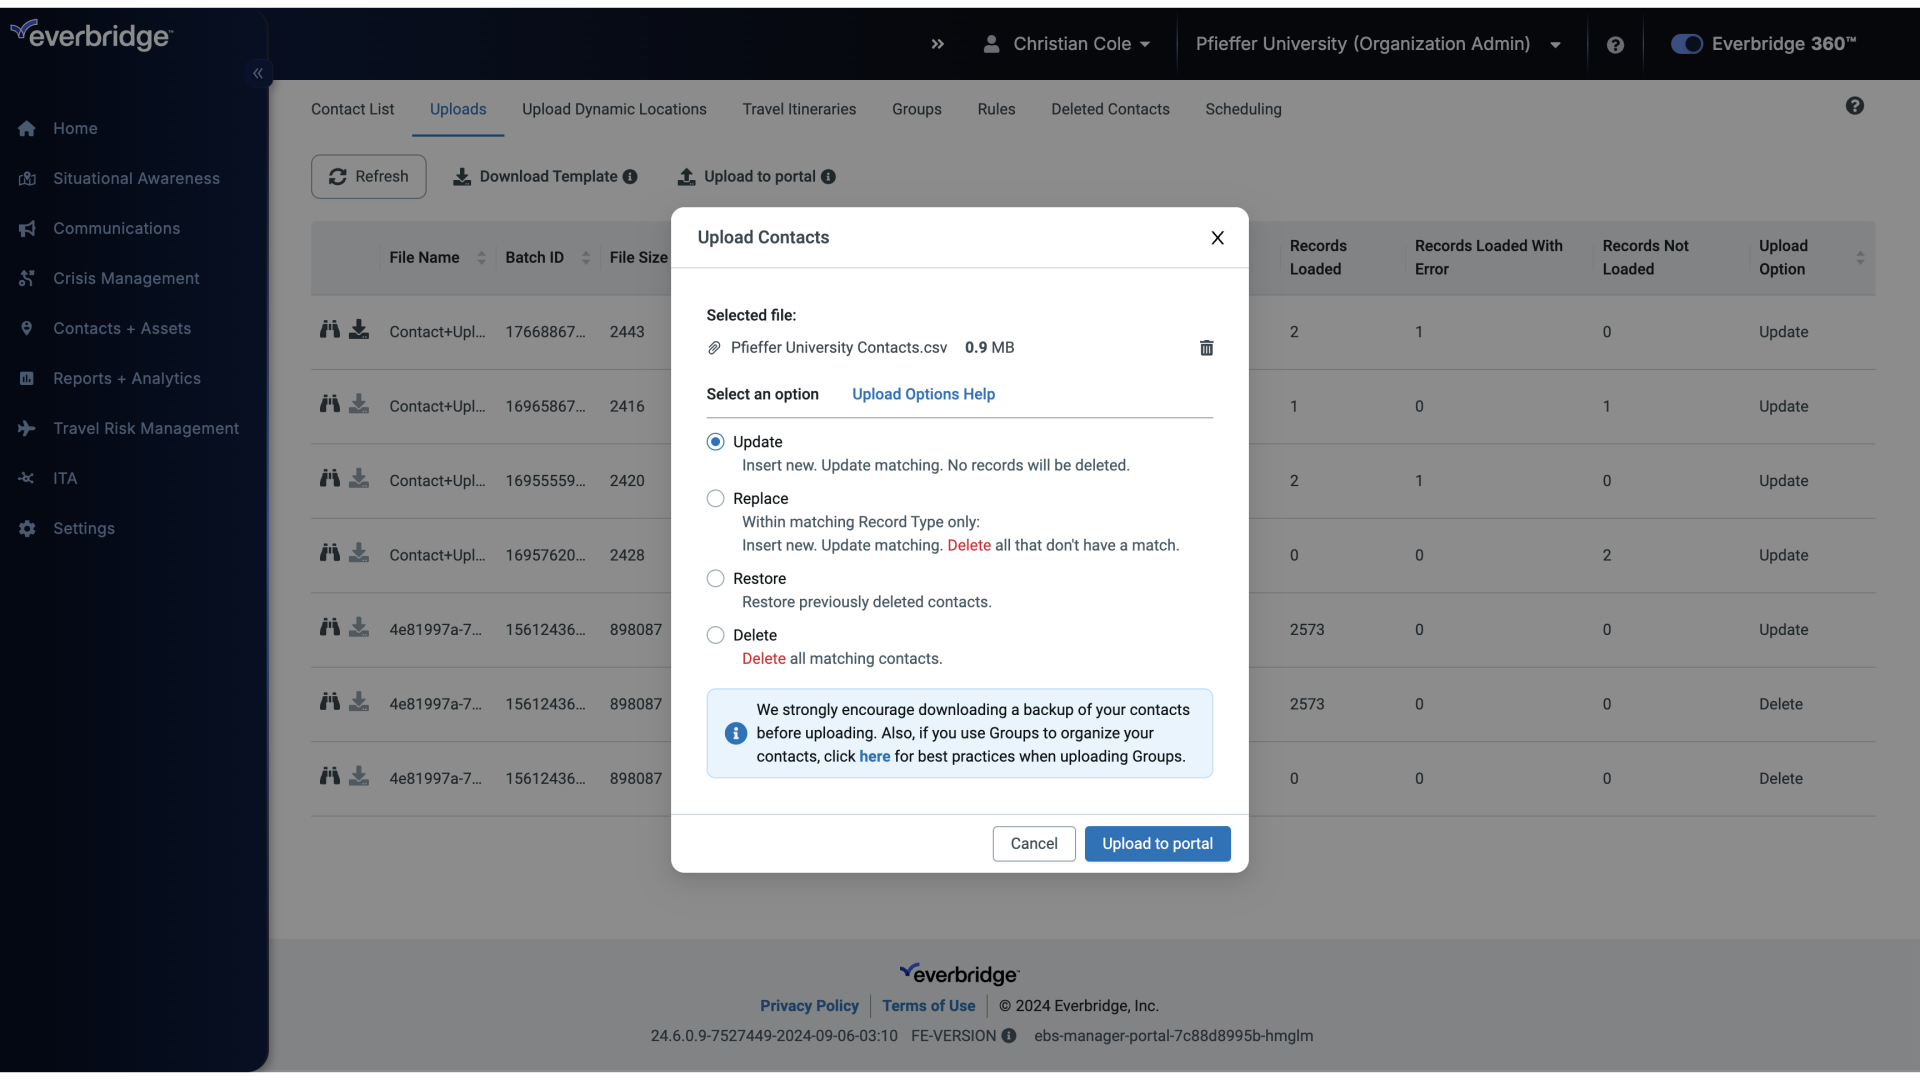
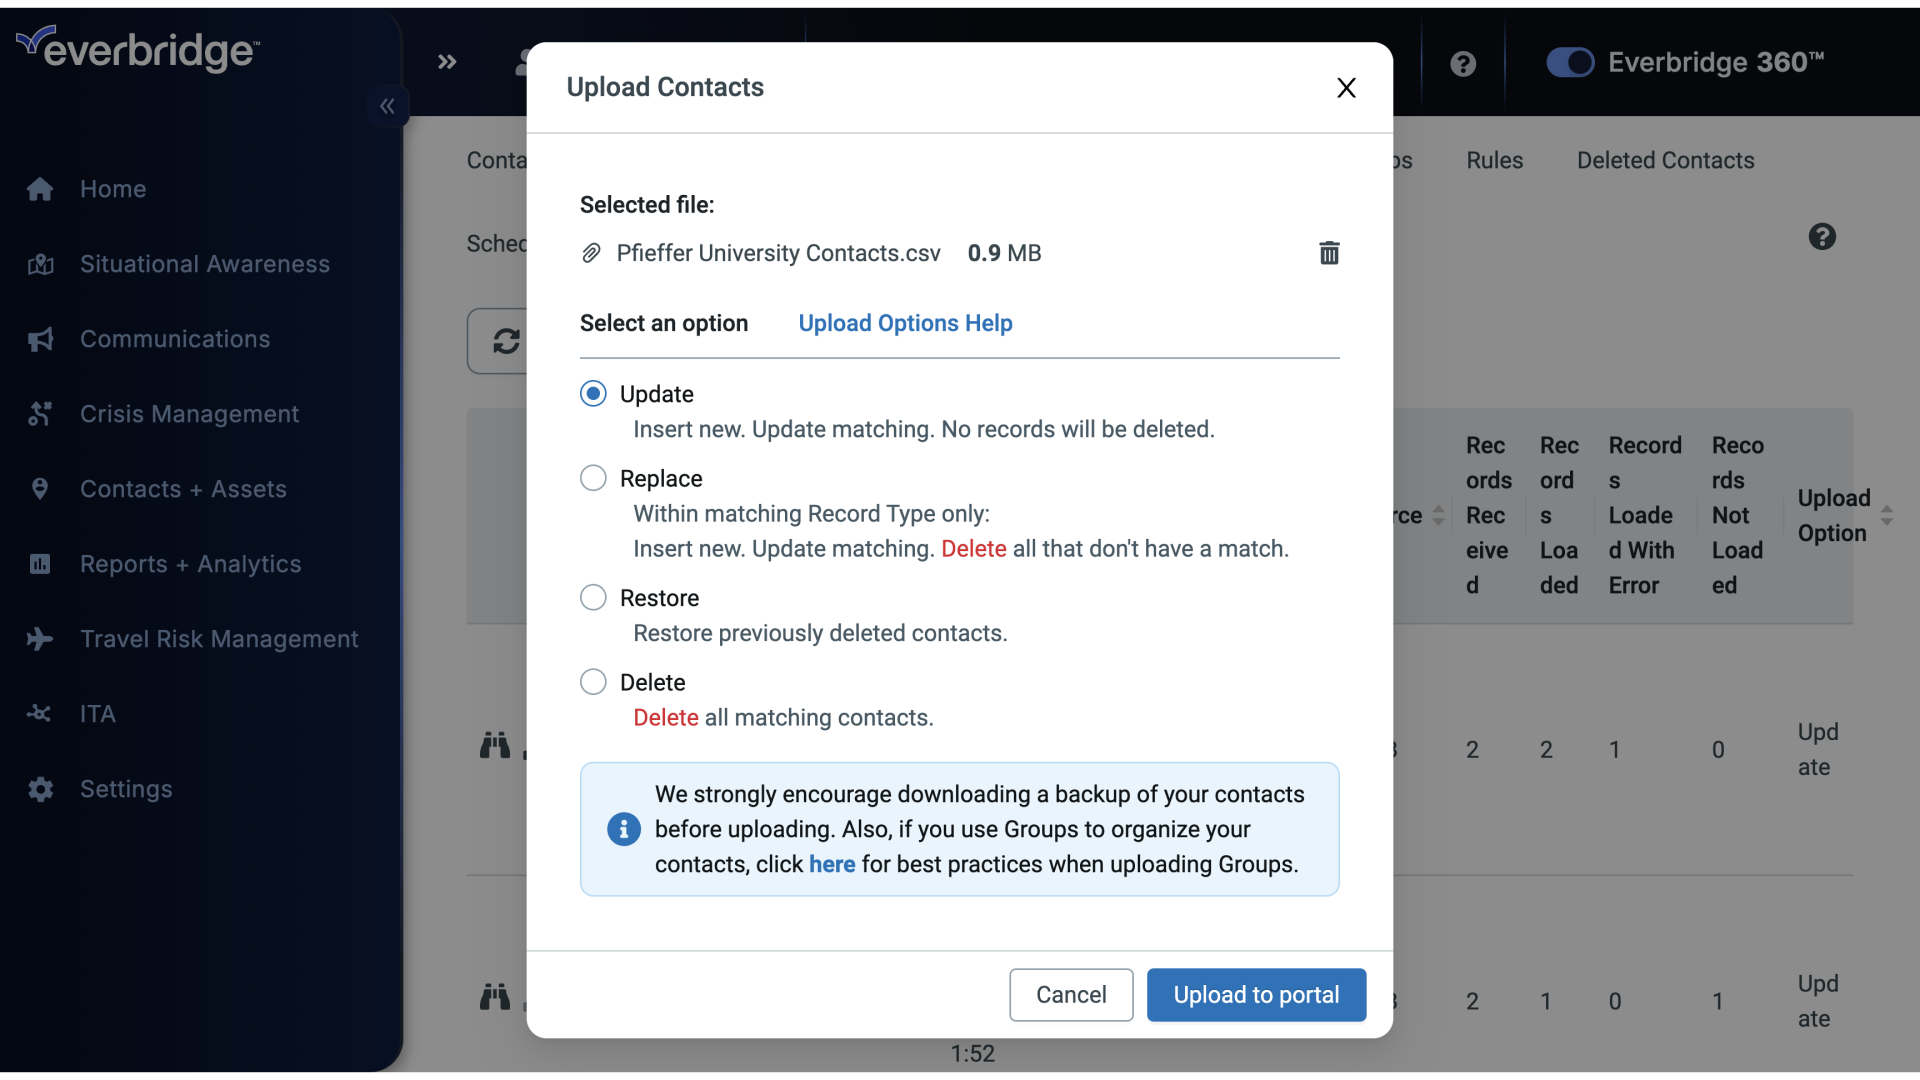
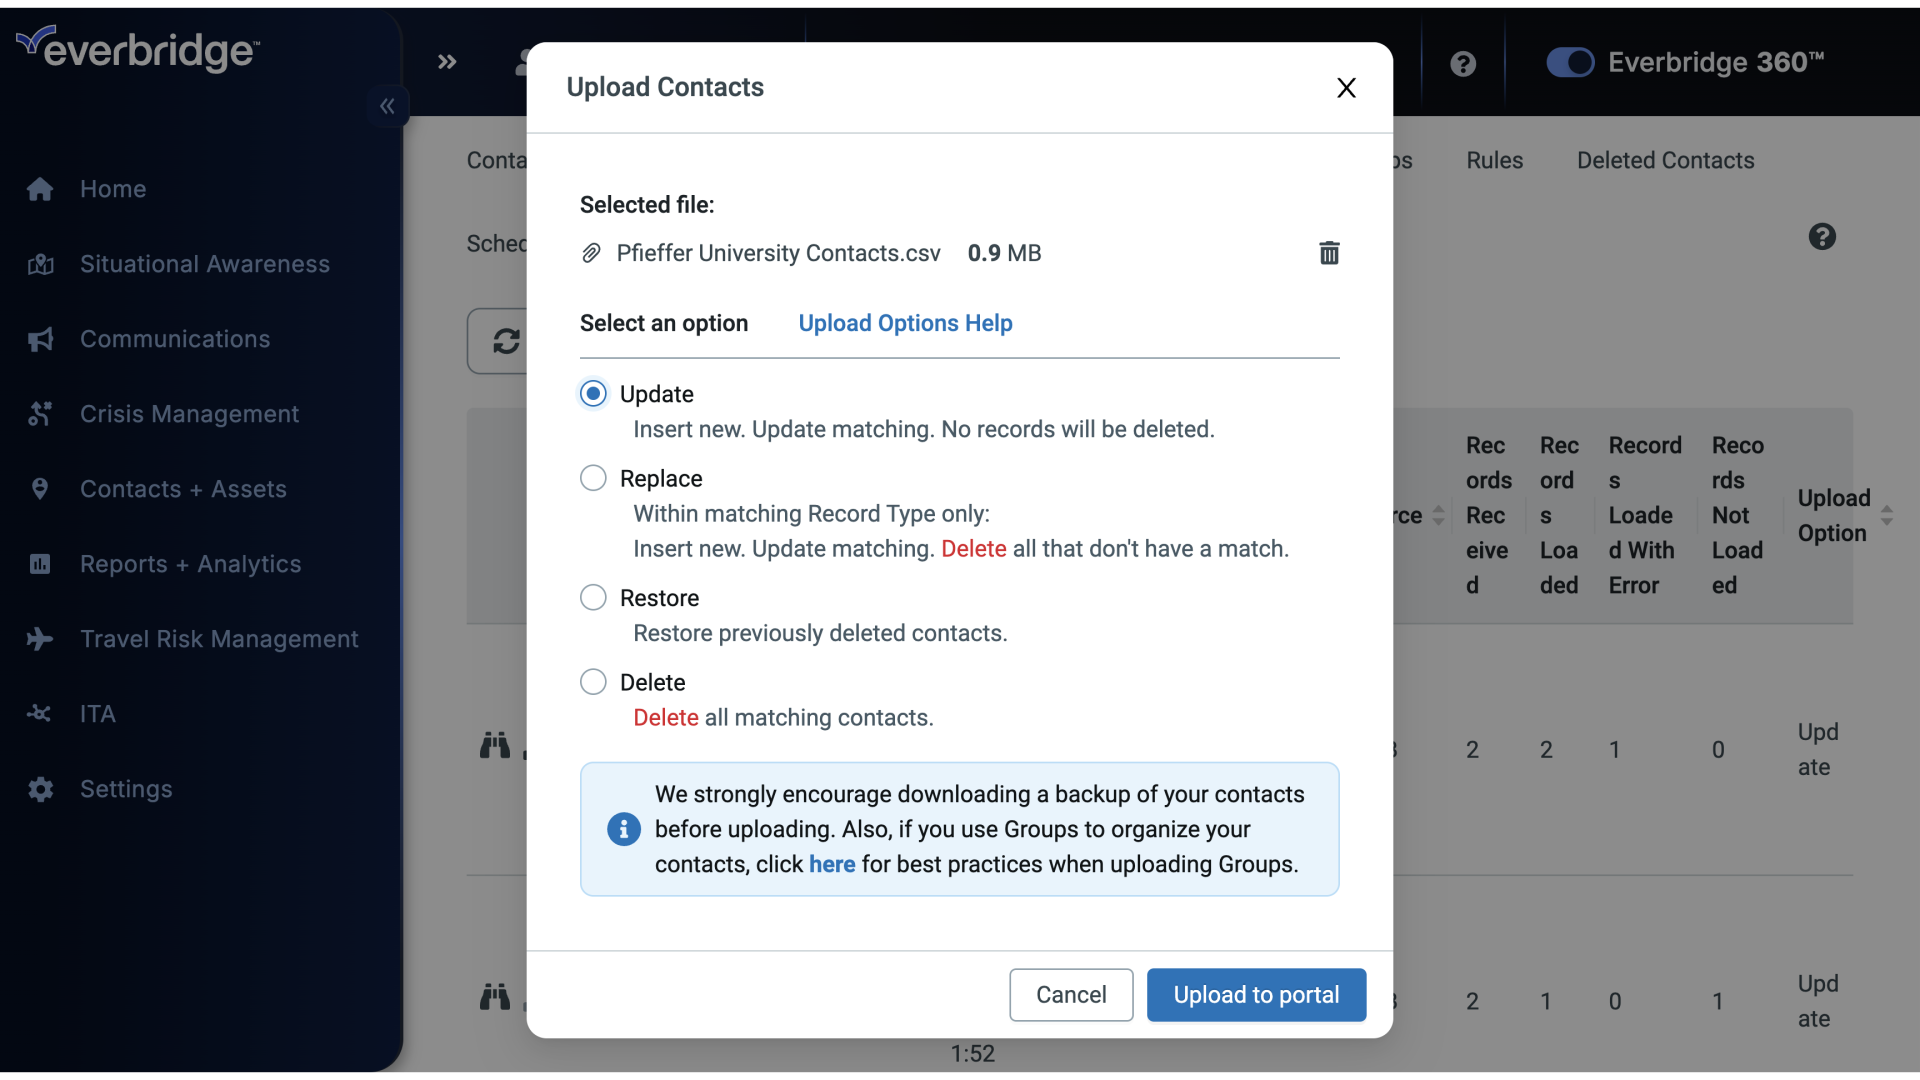
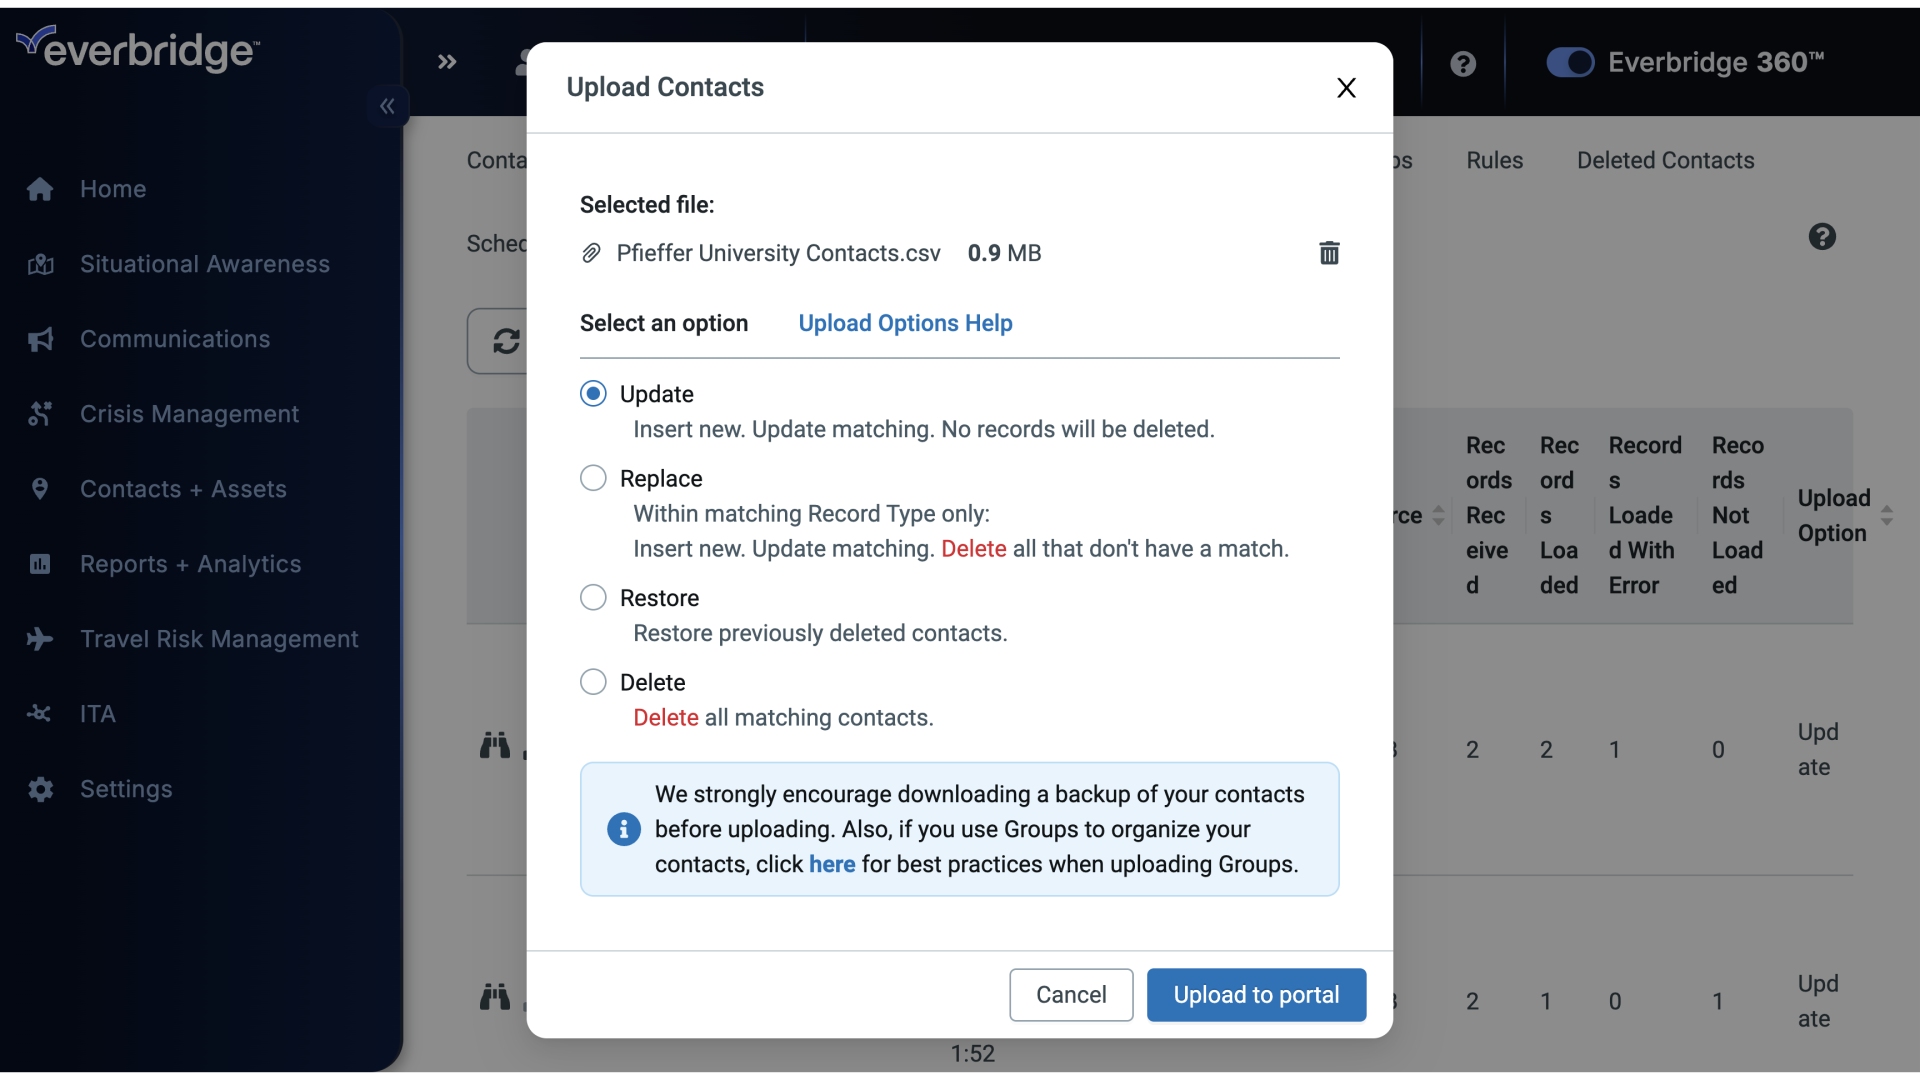
There are four choices for how information in the file will be applied.
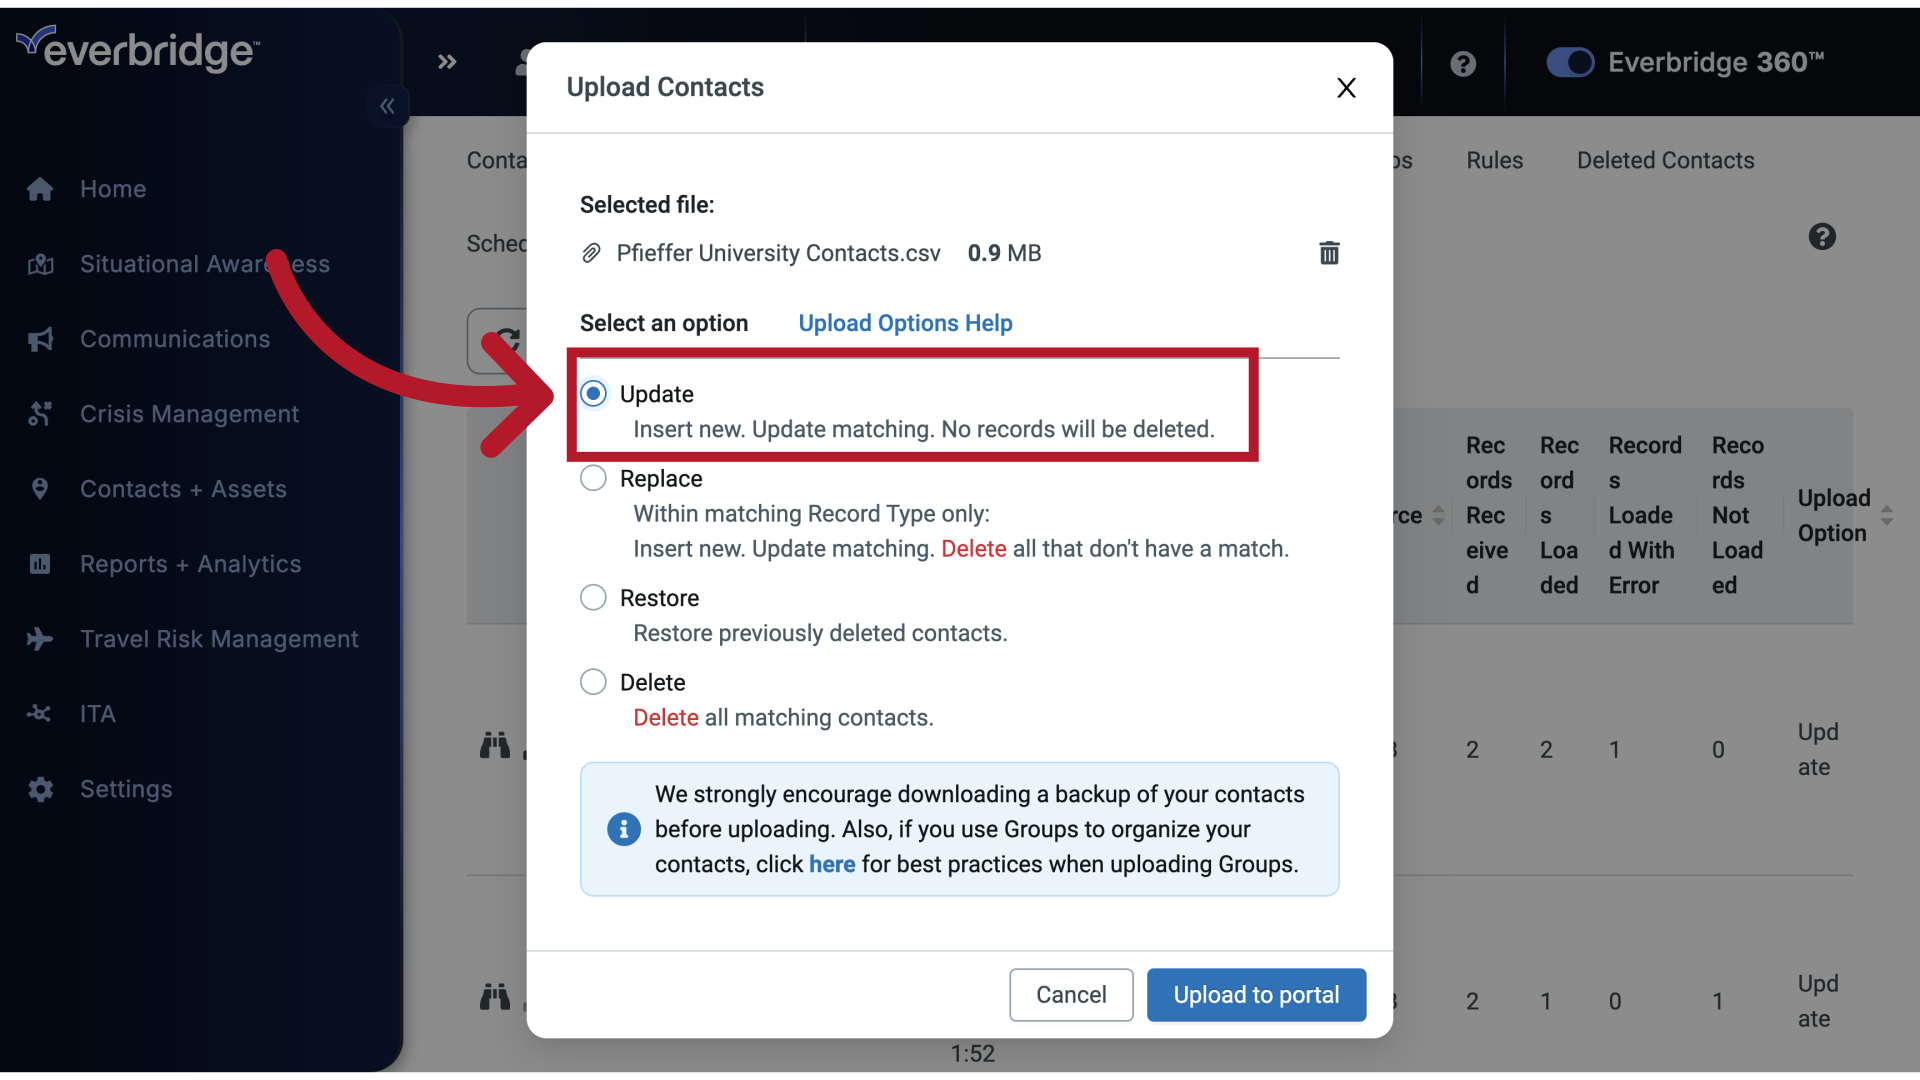
19. Update
Update is the first choice and is selected by default.
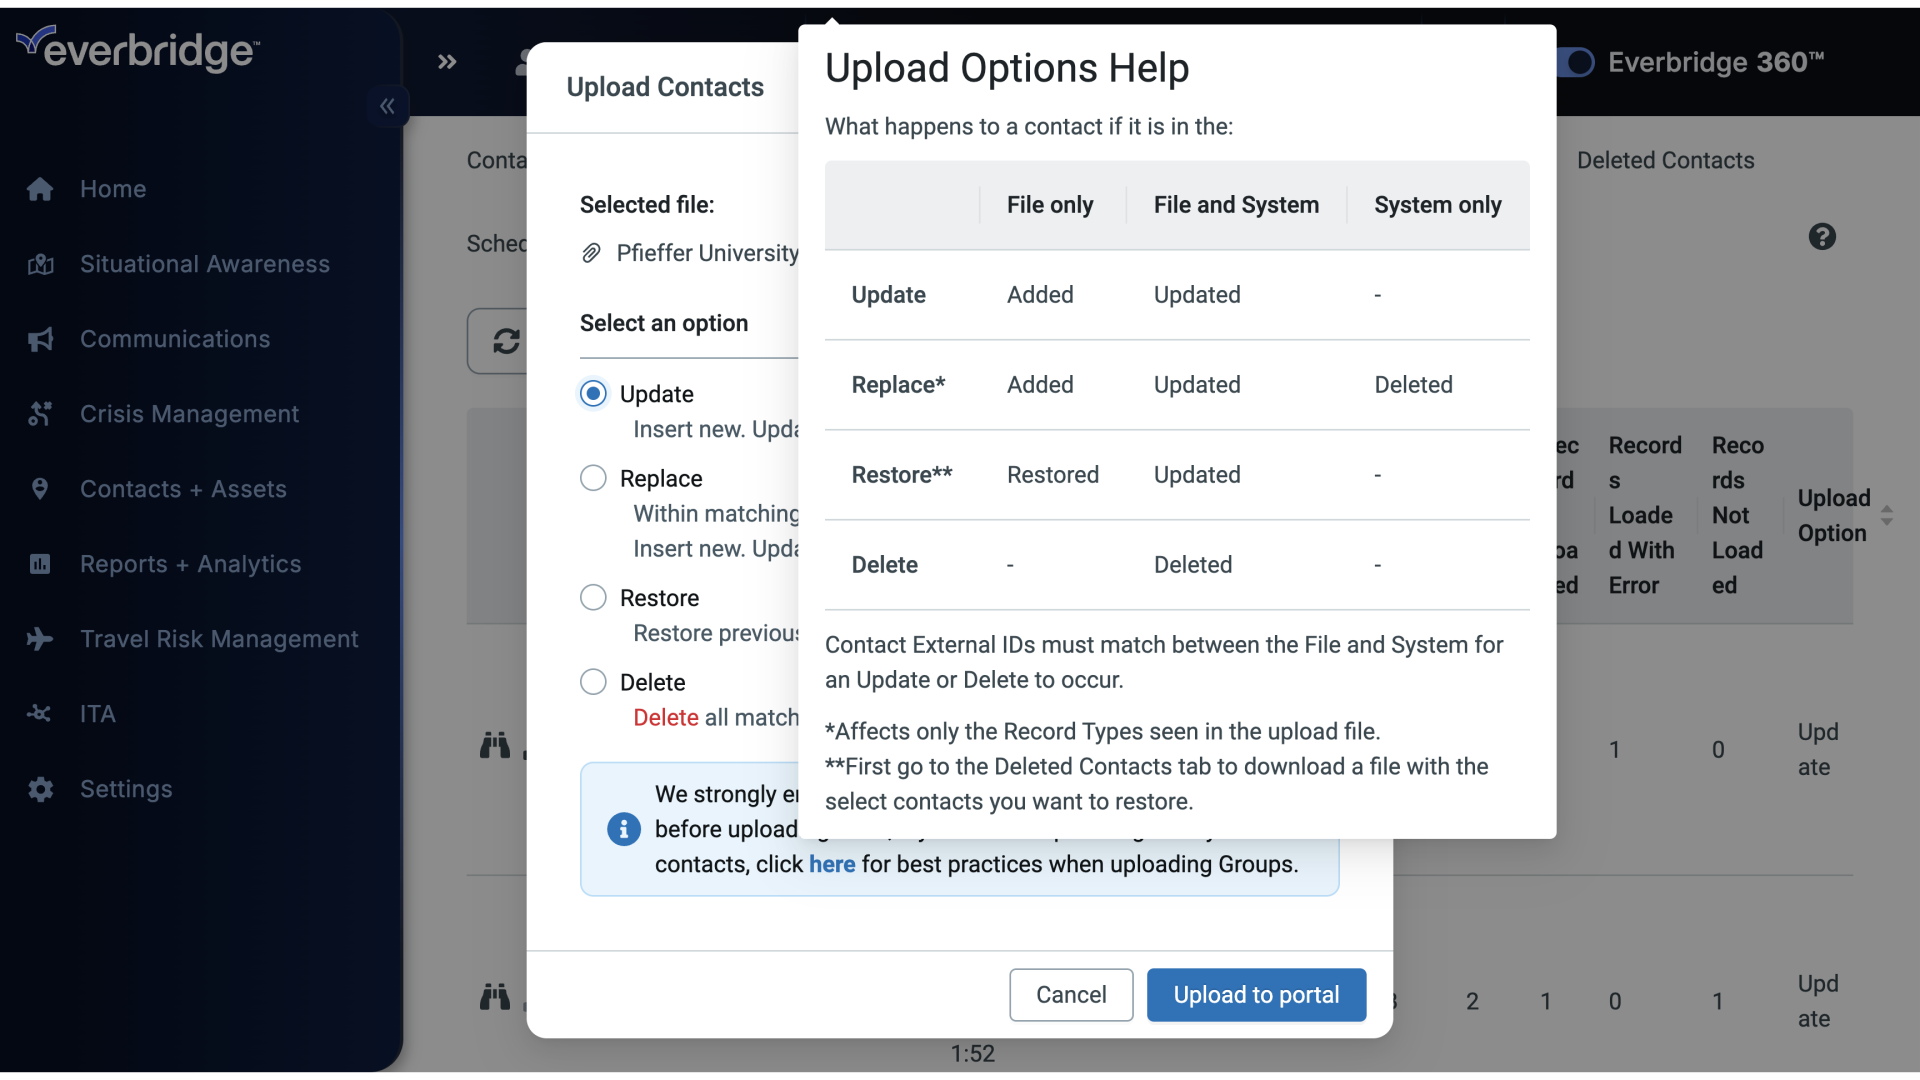
20. Upload Options Help
If you aren't entirely sure that this is what you need, you can click Upload Options help.
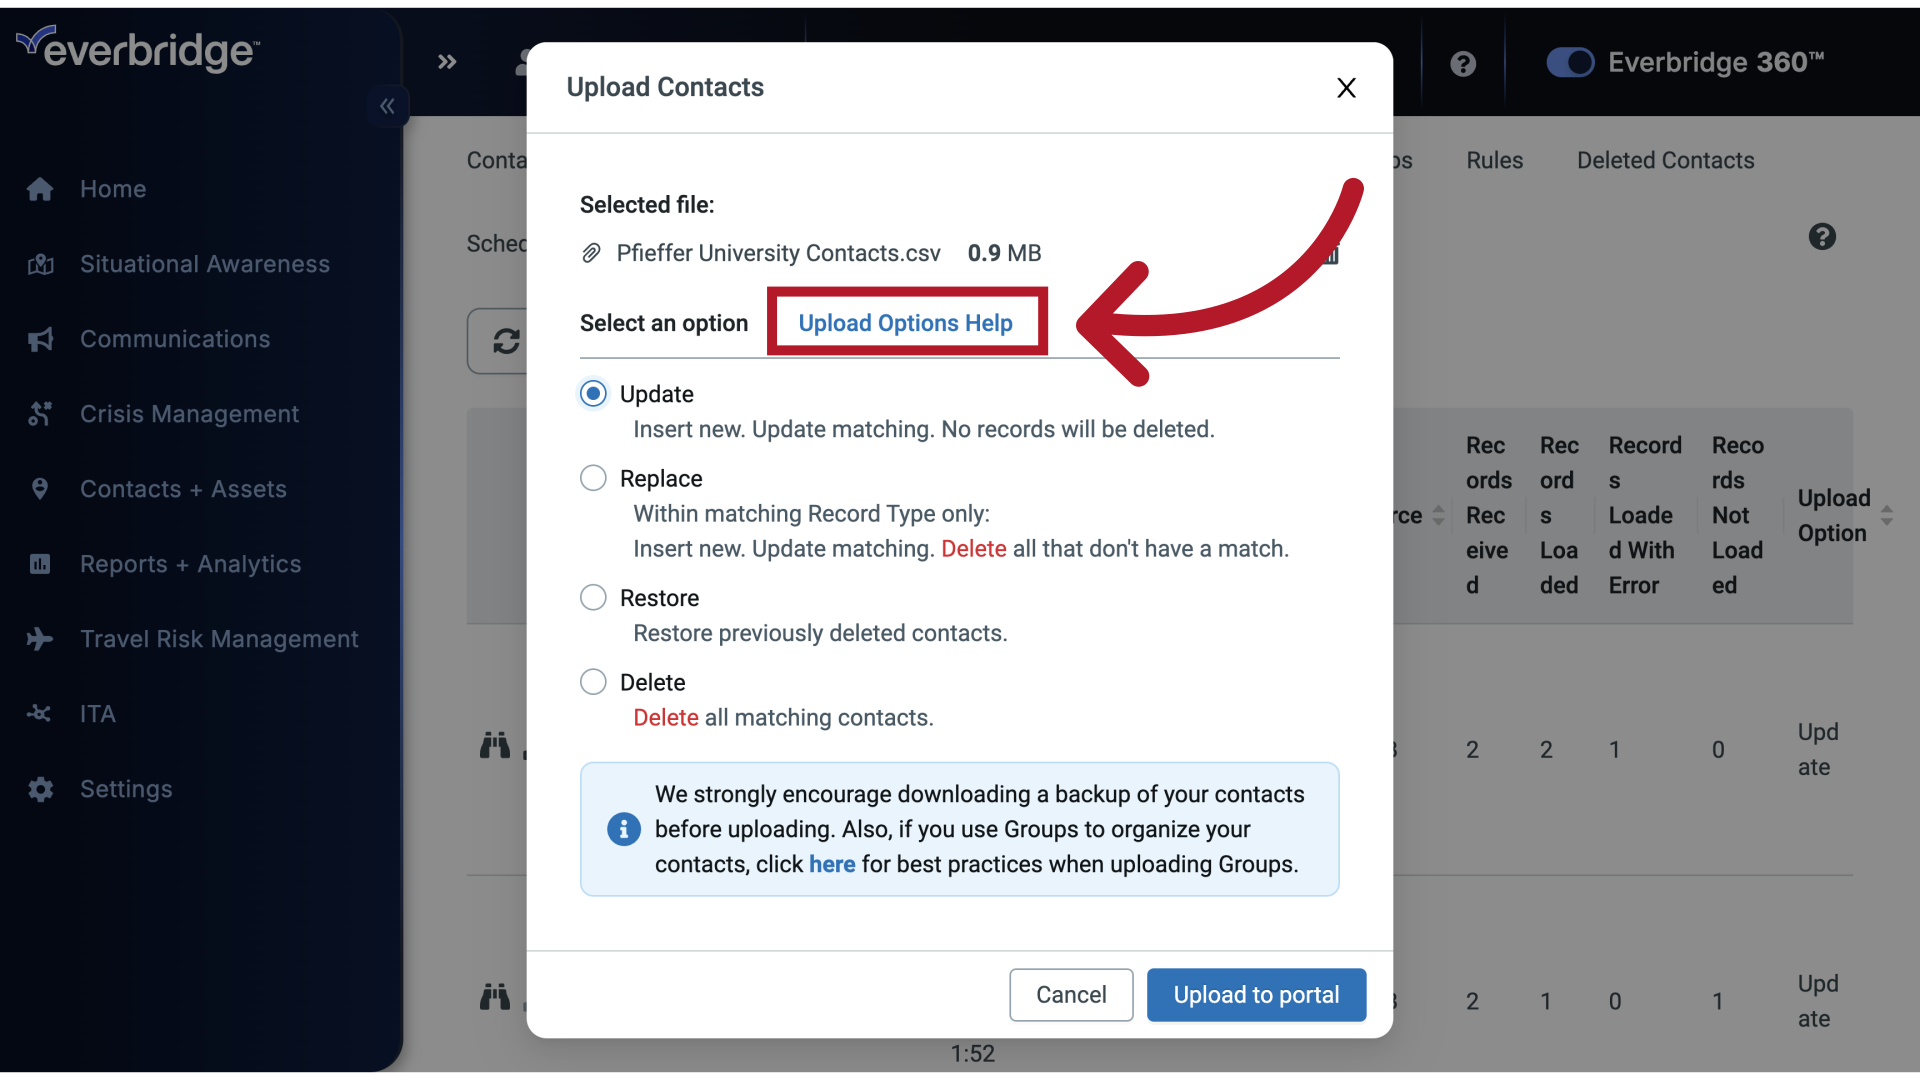
21. Upload Options Help
For more information on what each option does.
22. Upload Contacts
23. Upload to Portal
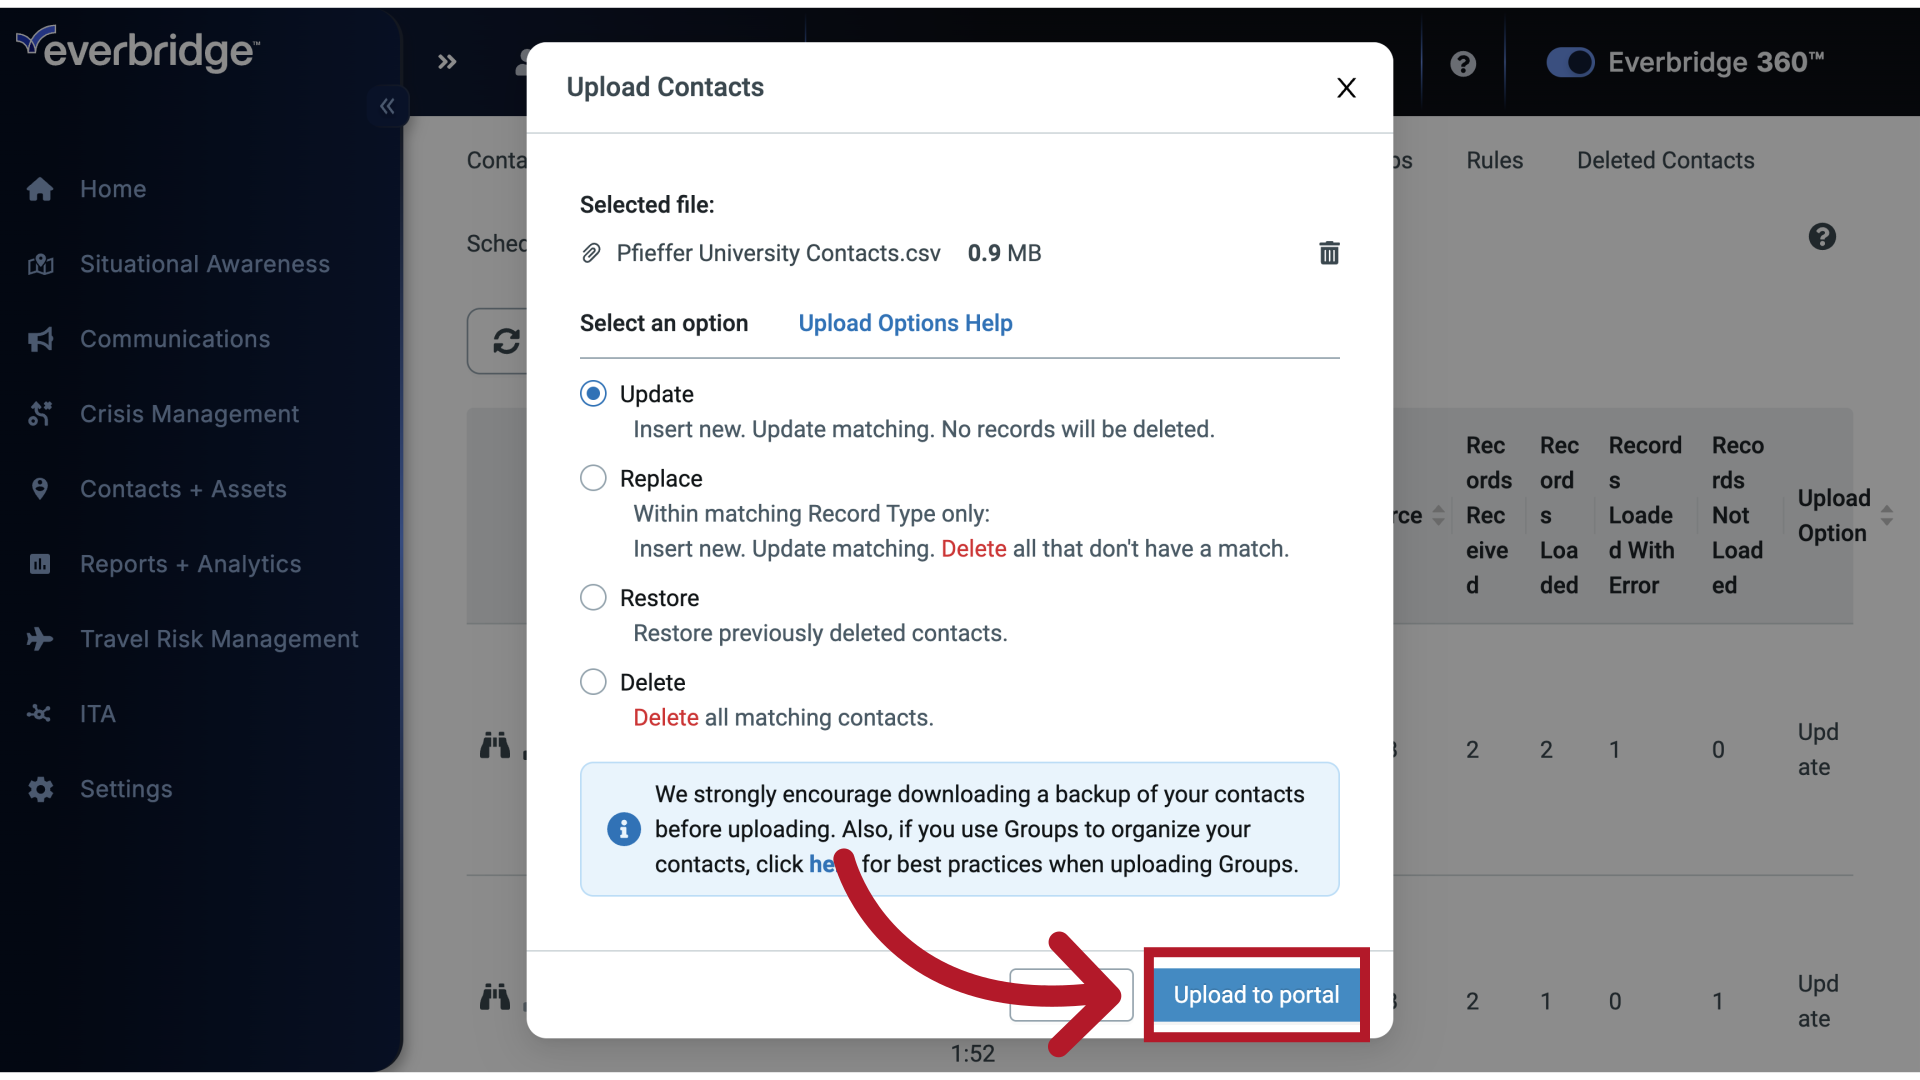
Once you're ready, click Upload to portal.
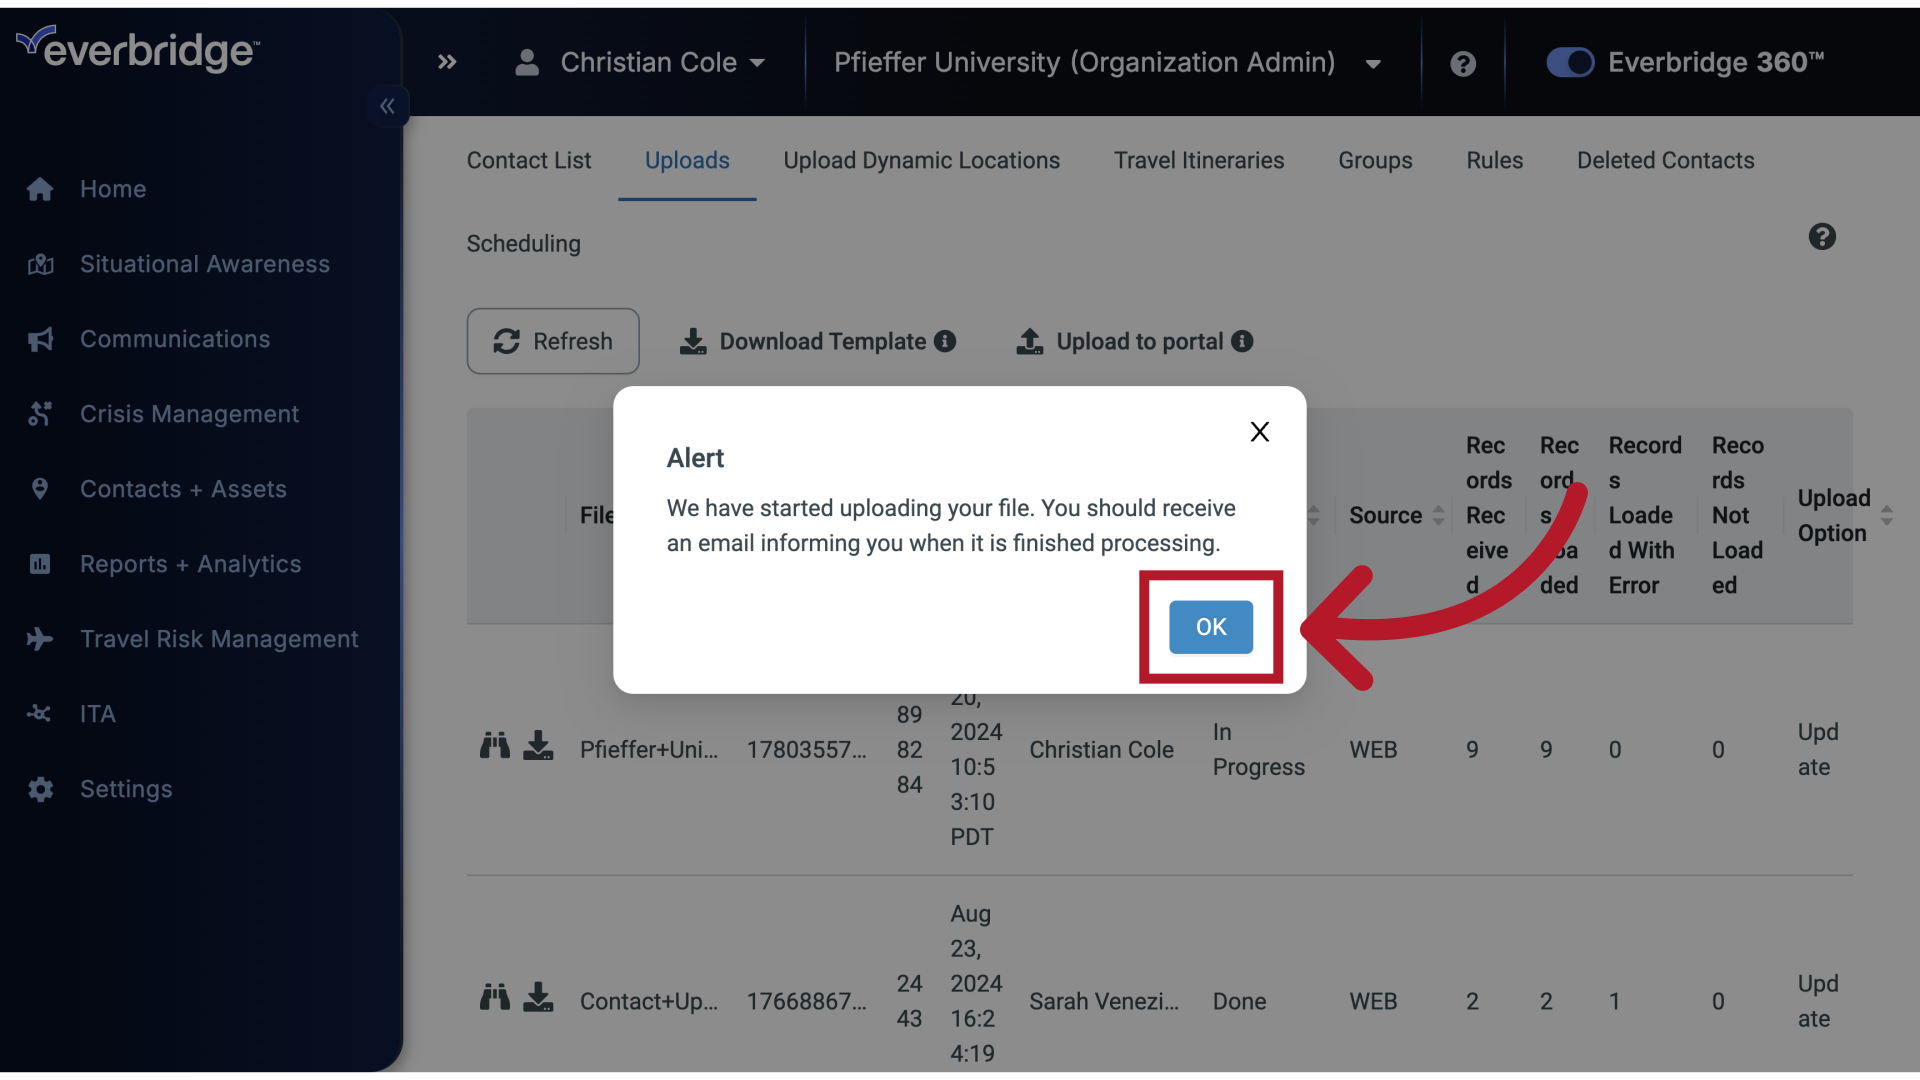
24. Upload Alert
25. Upload Alert
26. Uploads
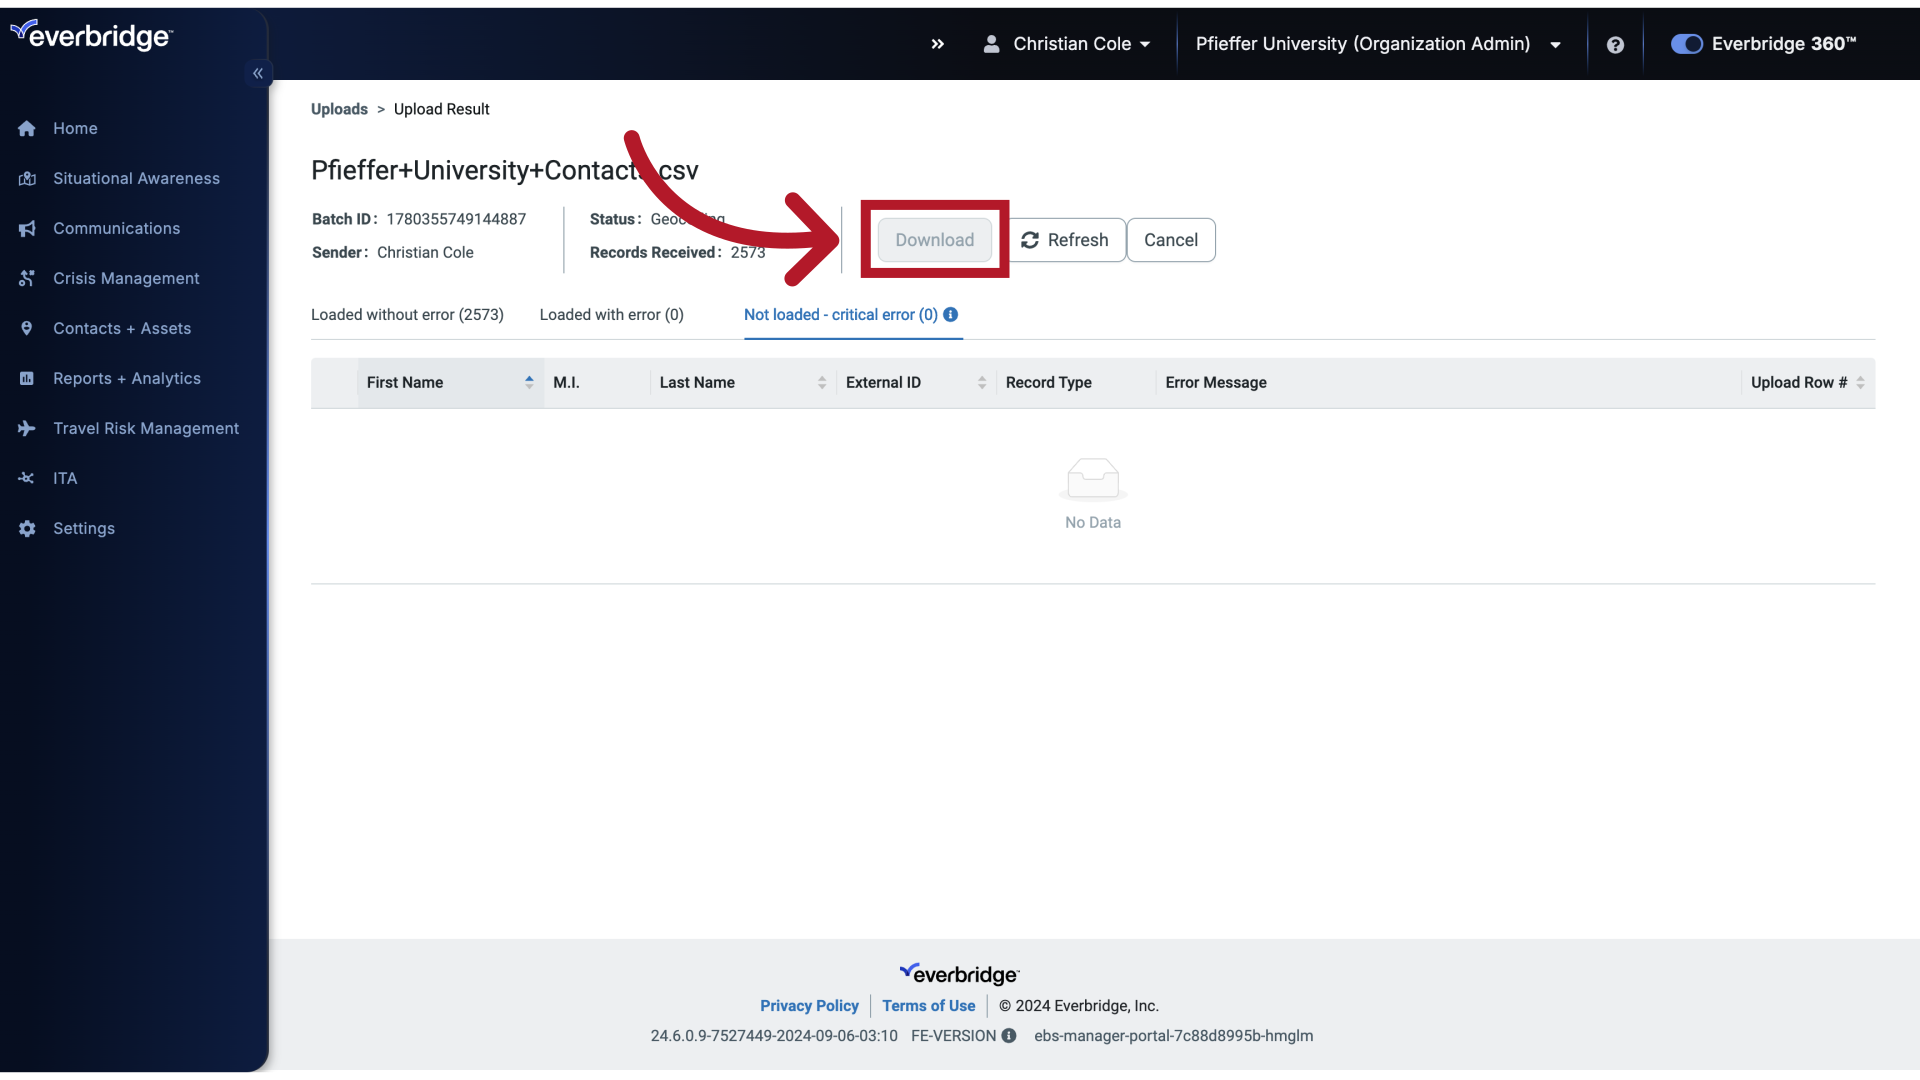
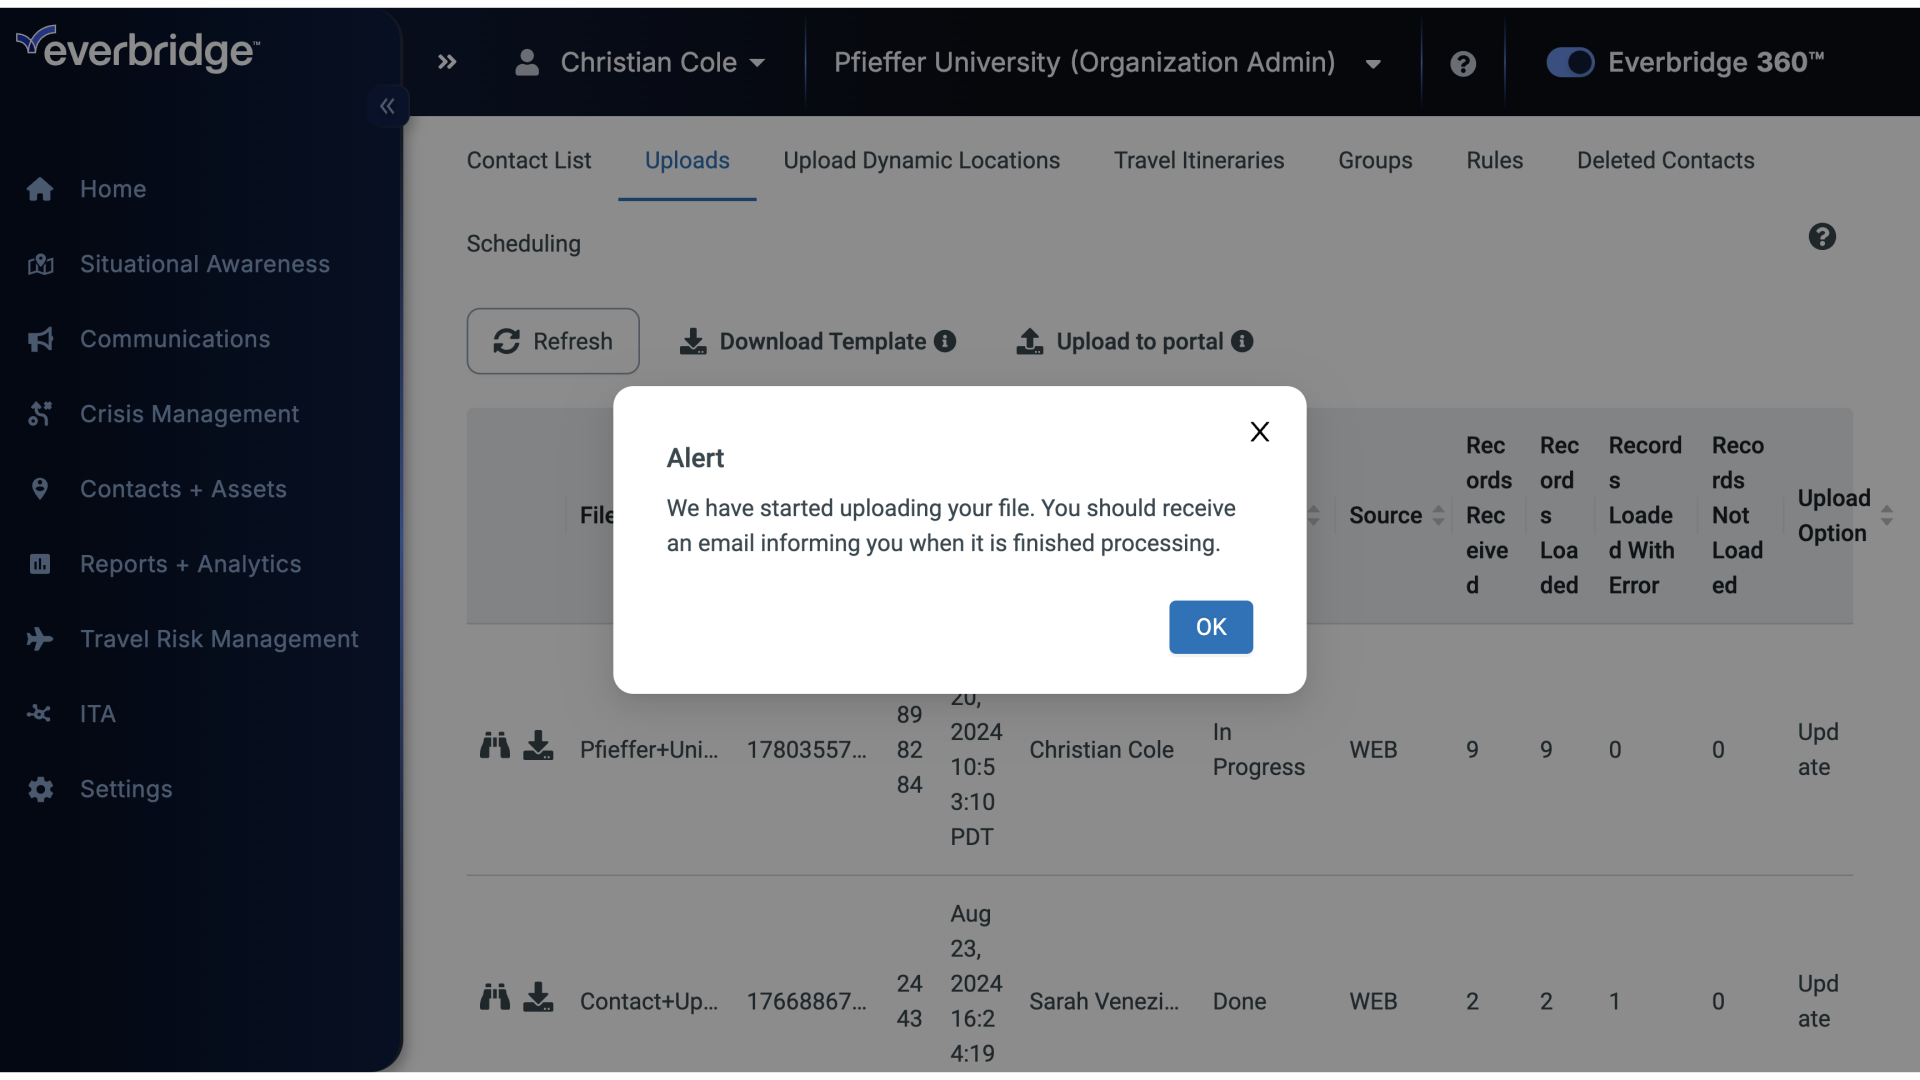
It's a best practice to make sure that the upload went smoothly and the information was added without issues.
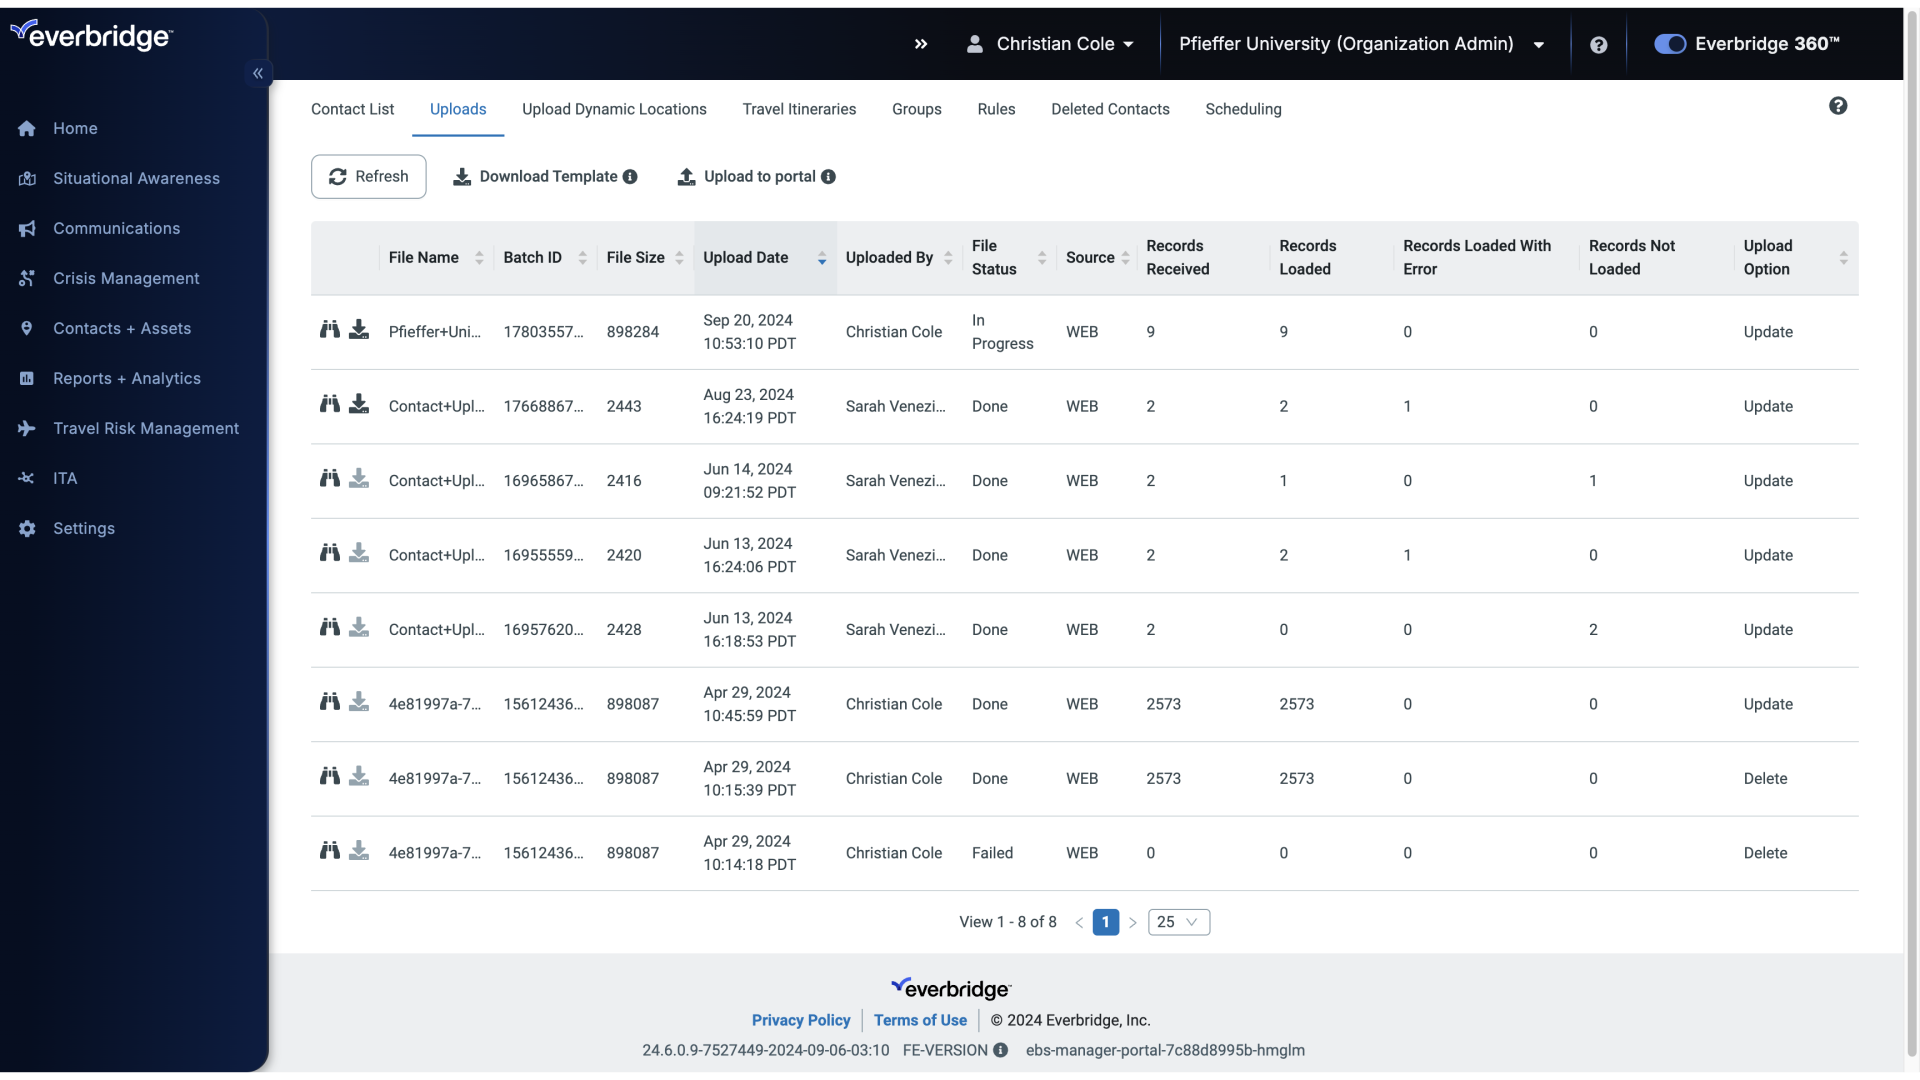
27. Uploads
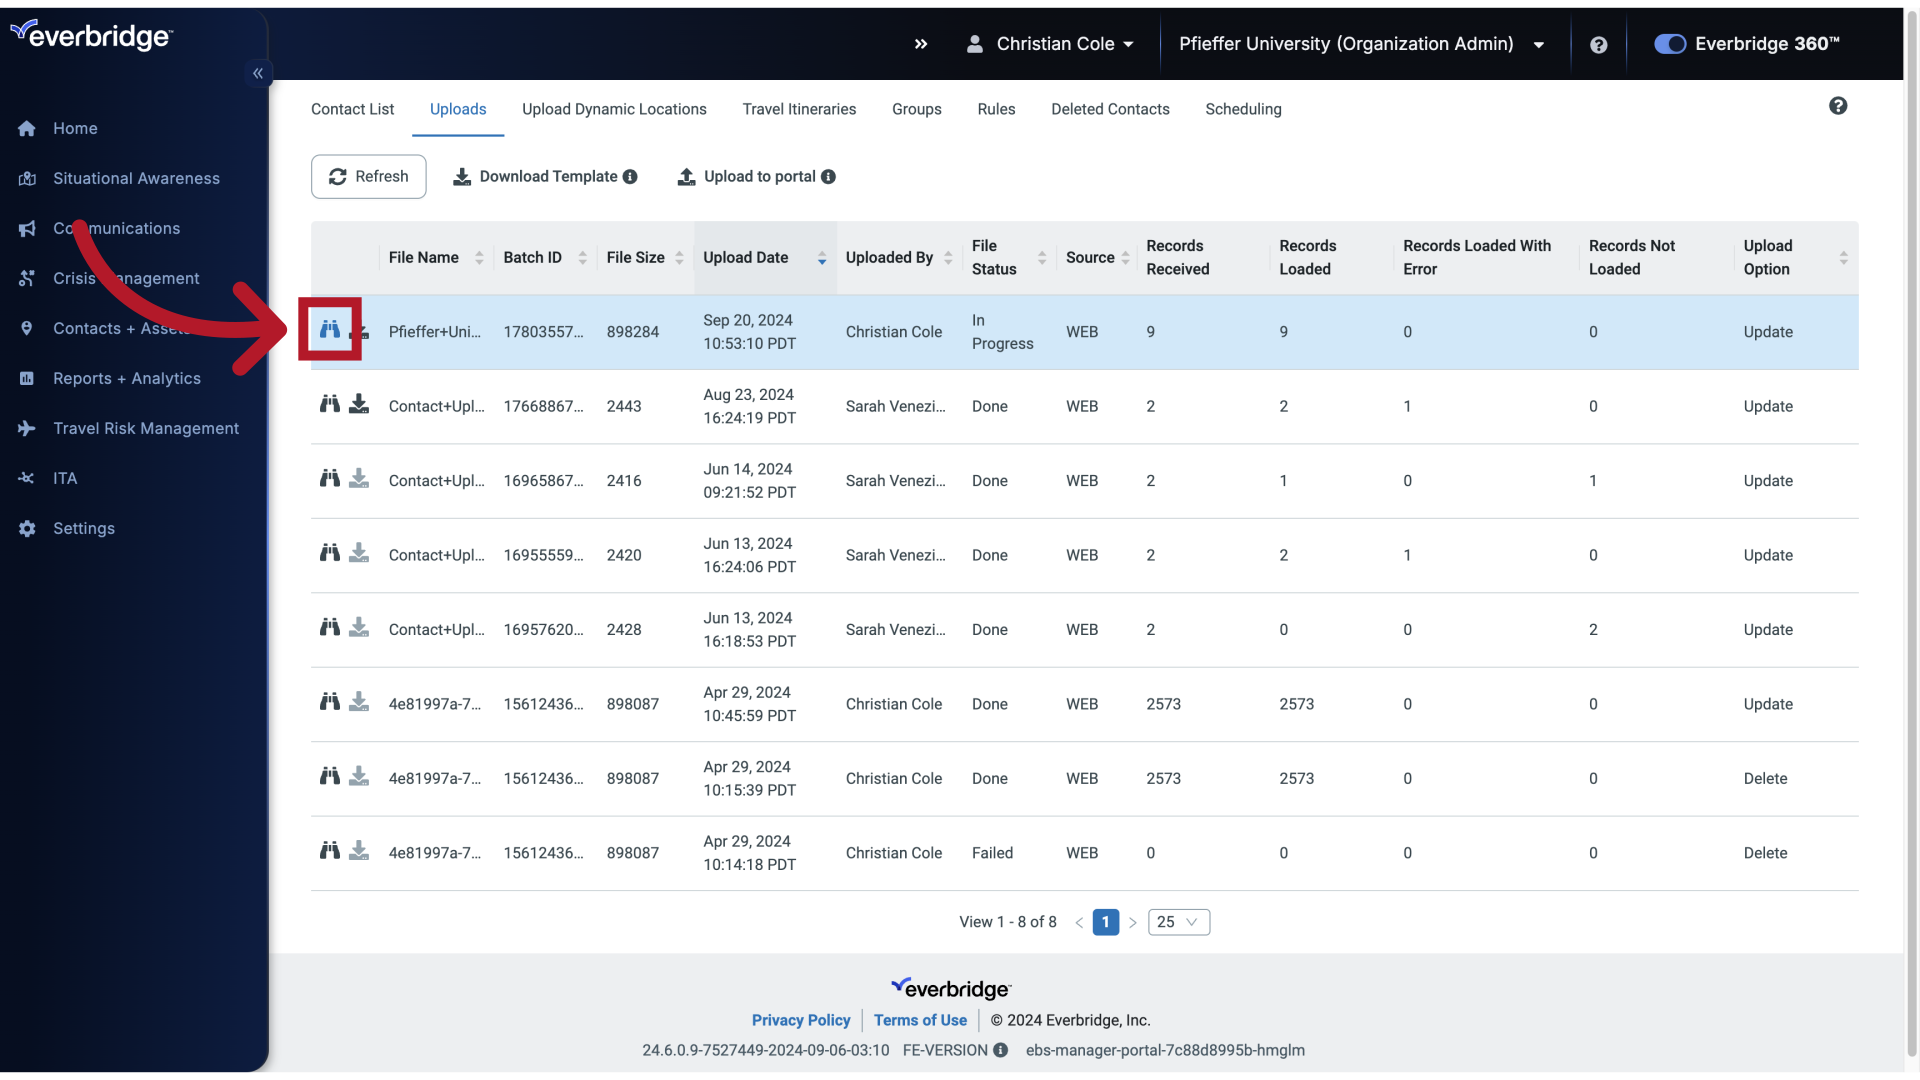
This is done by clicking the binoculars icon next to the name of the upload.
28. Upload Result
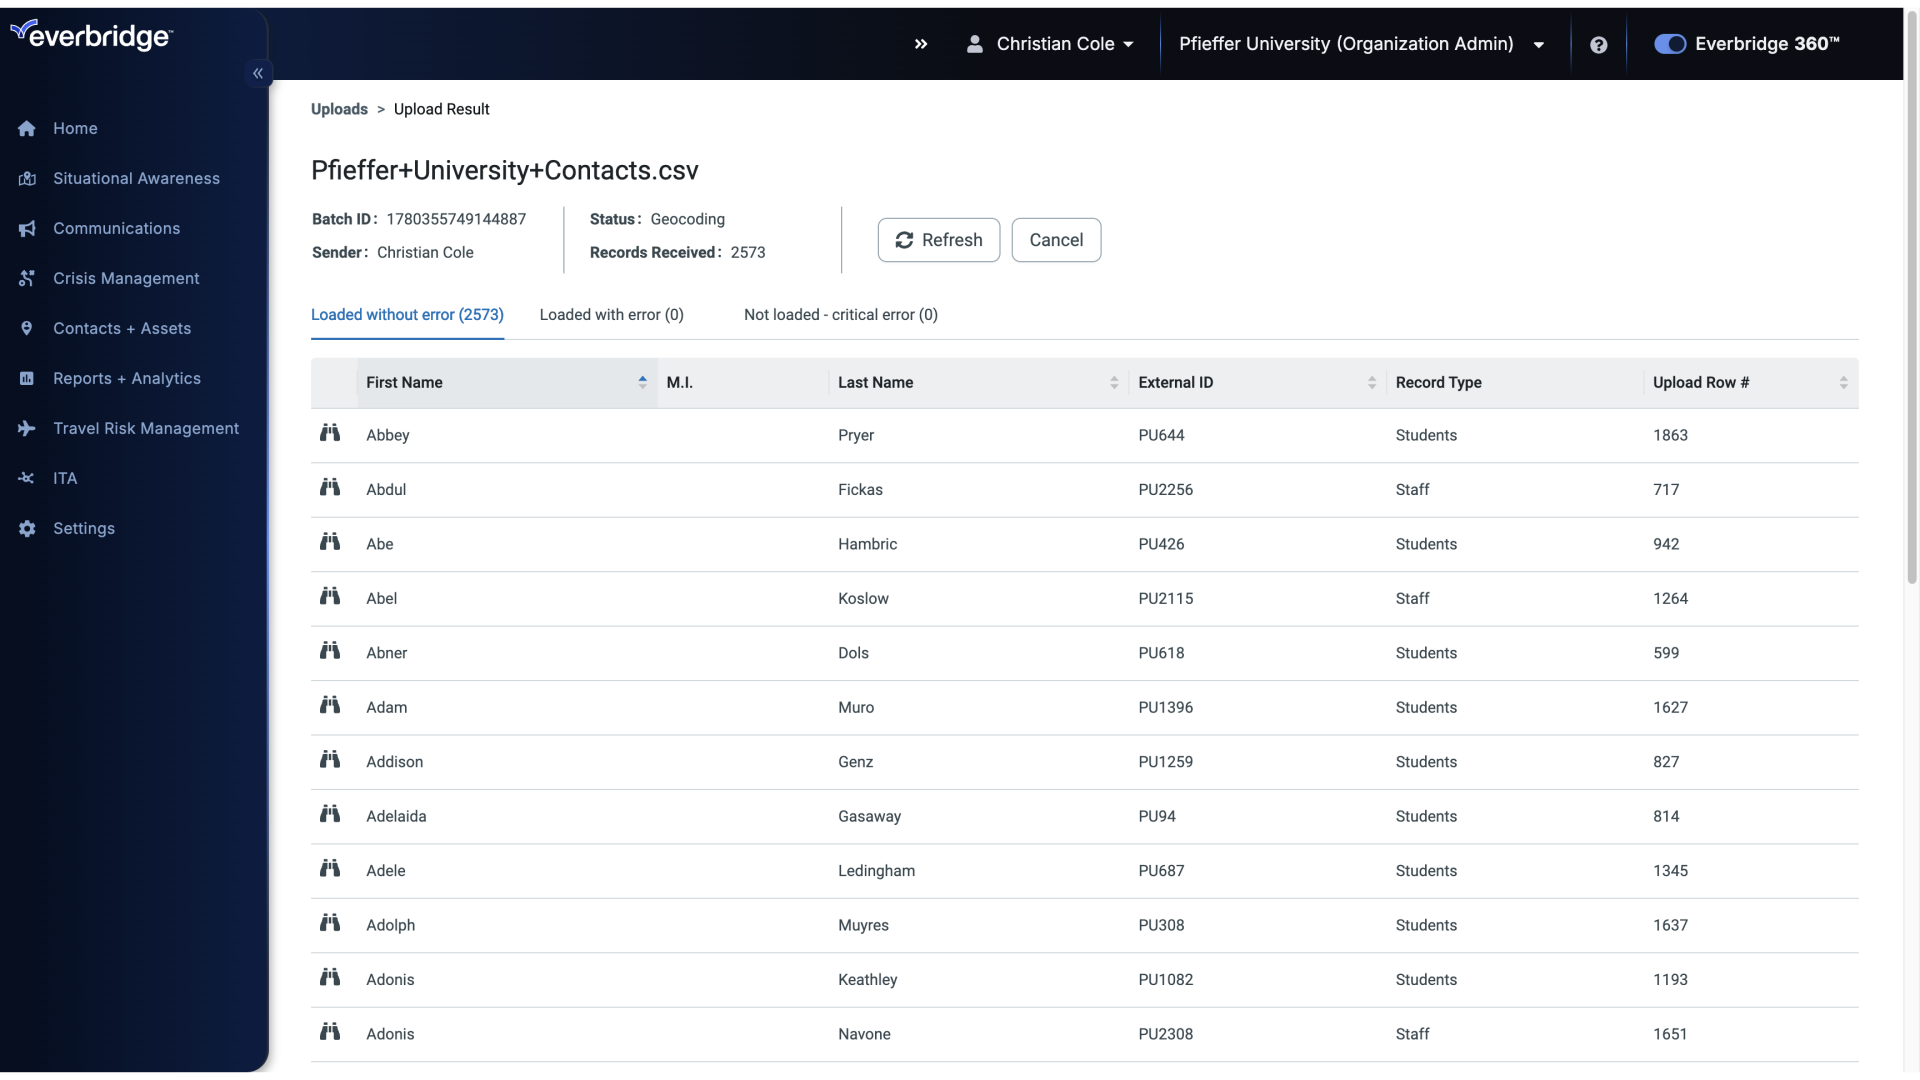
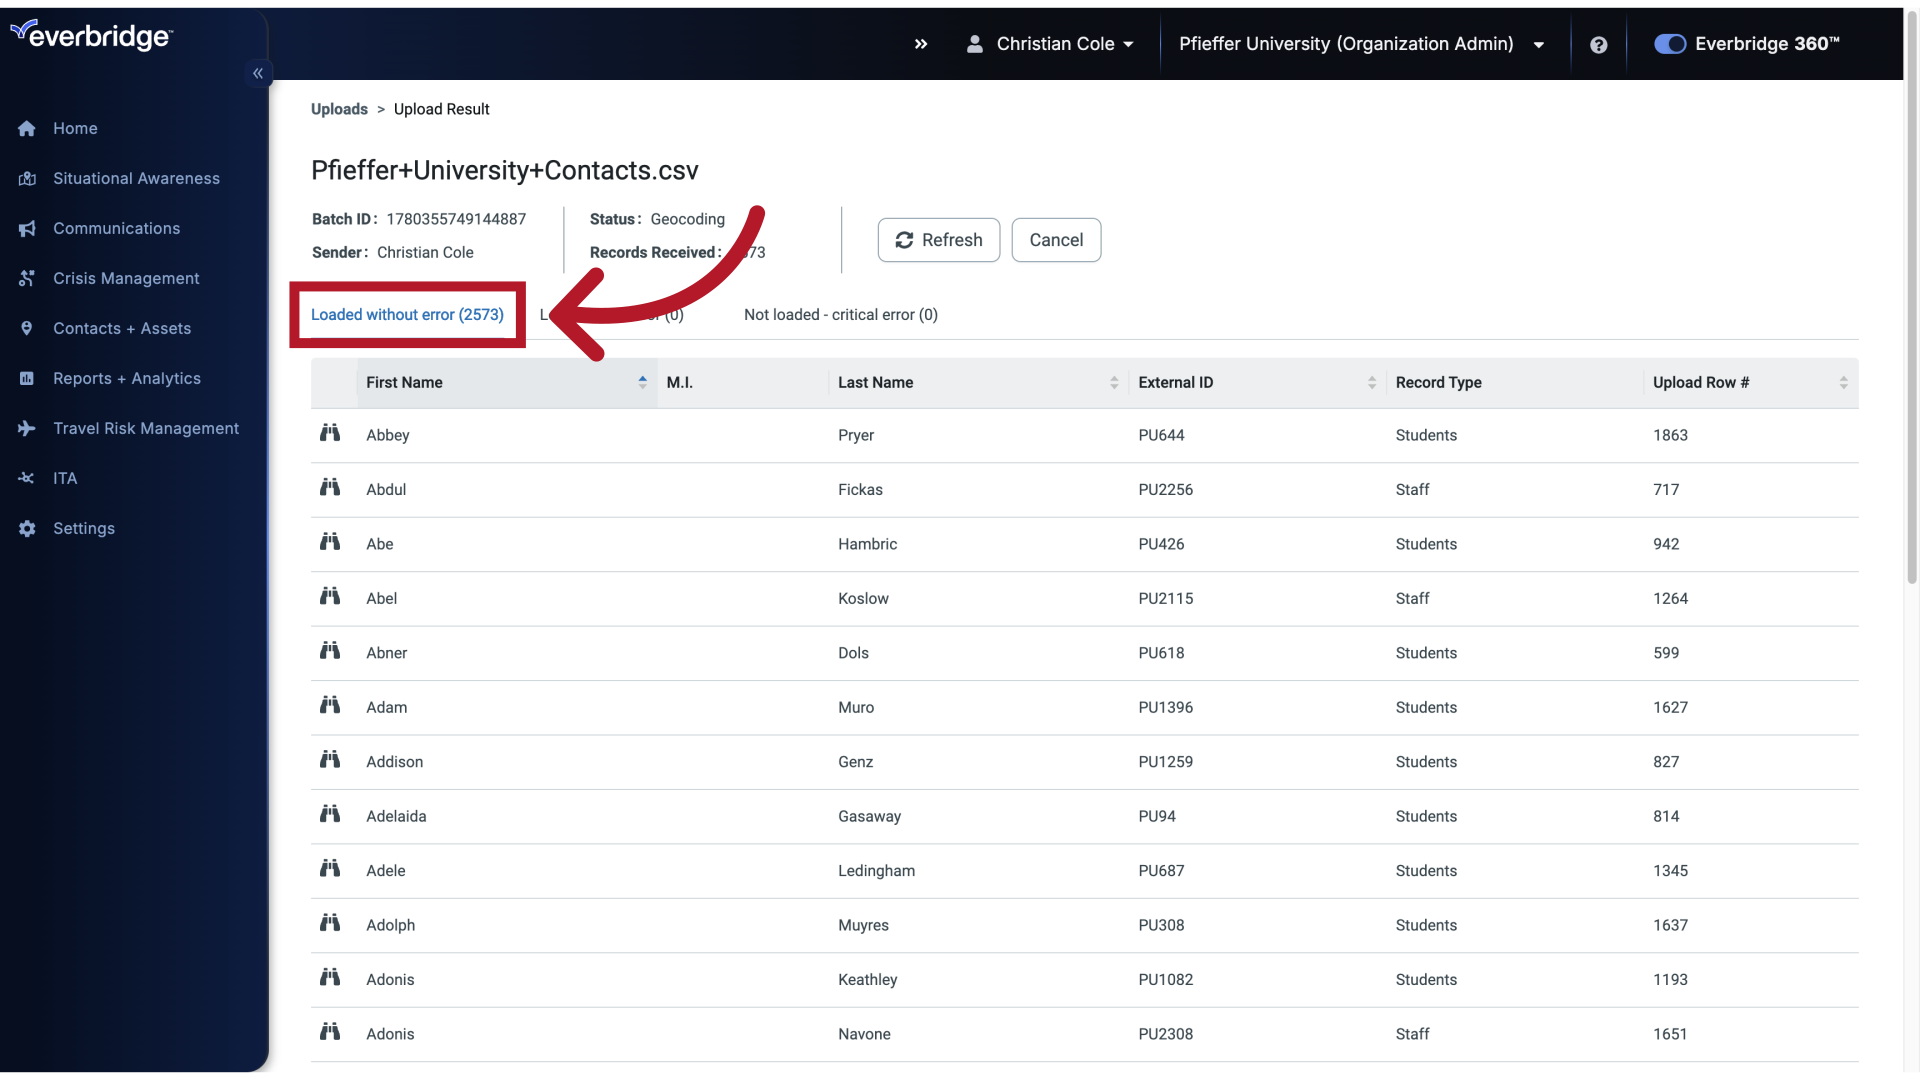
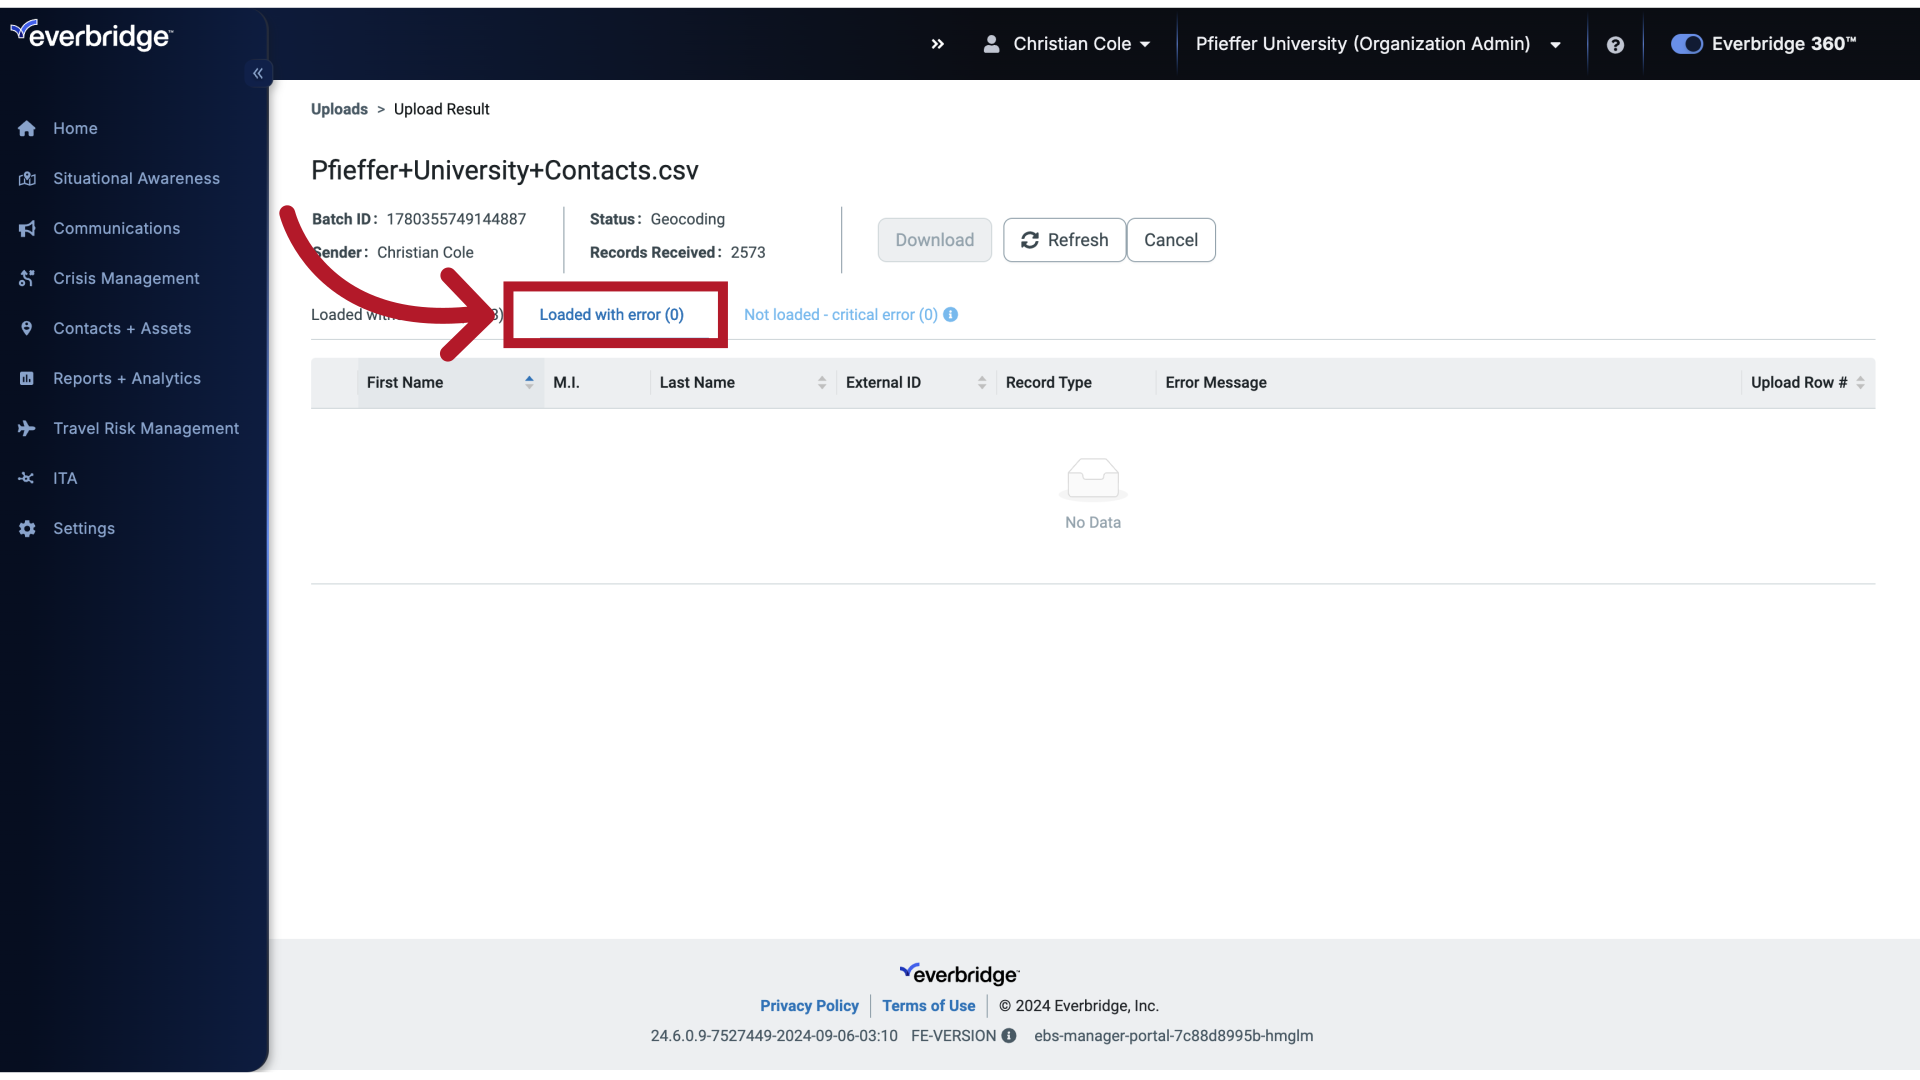
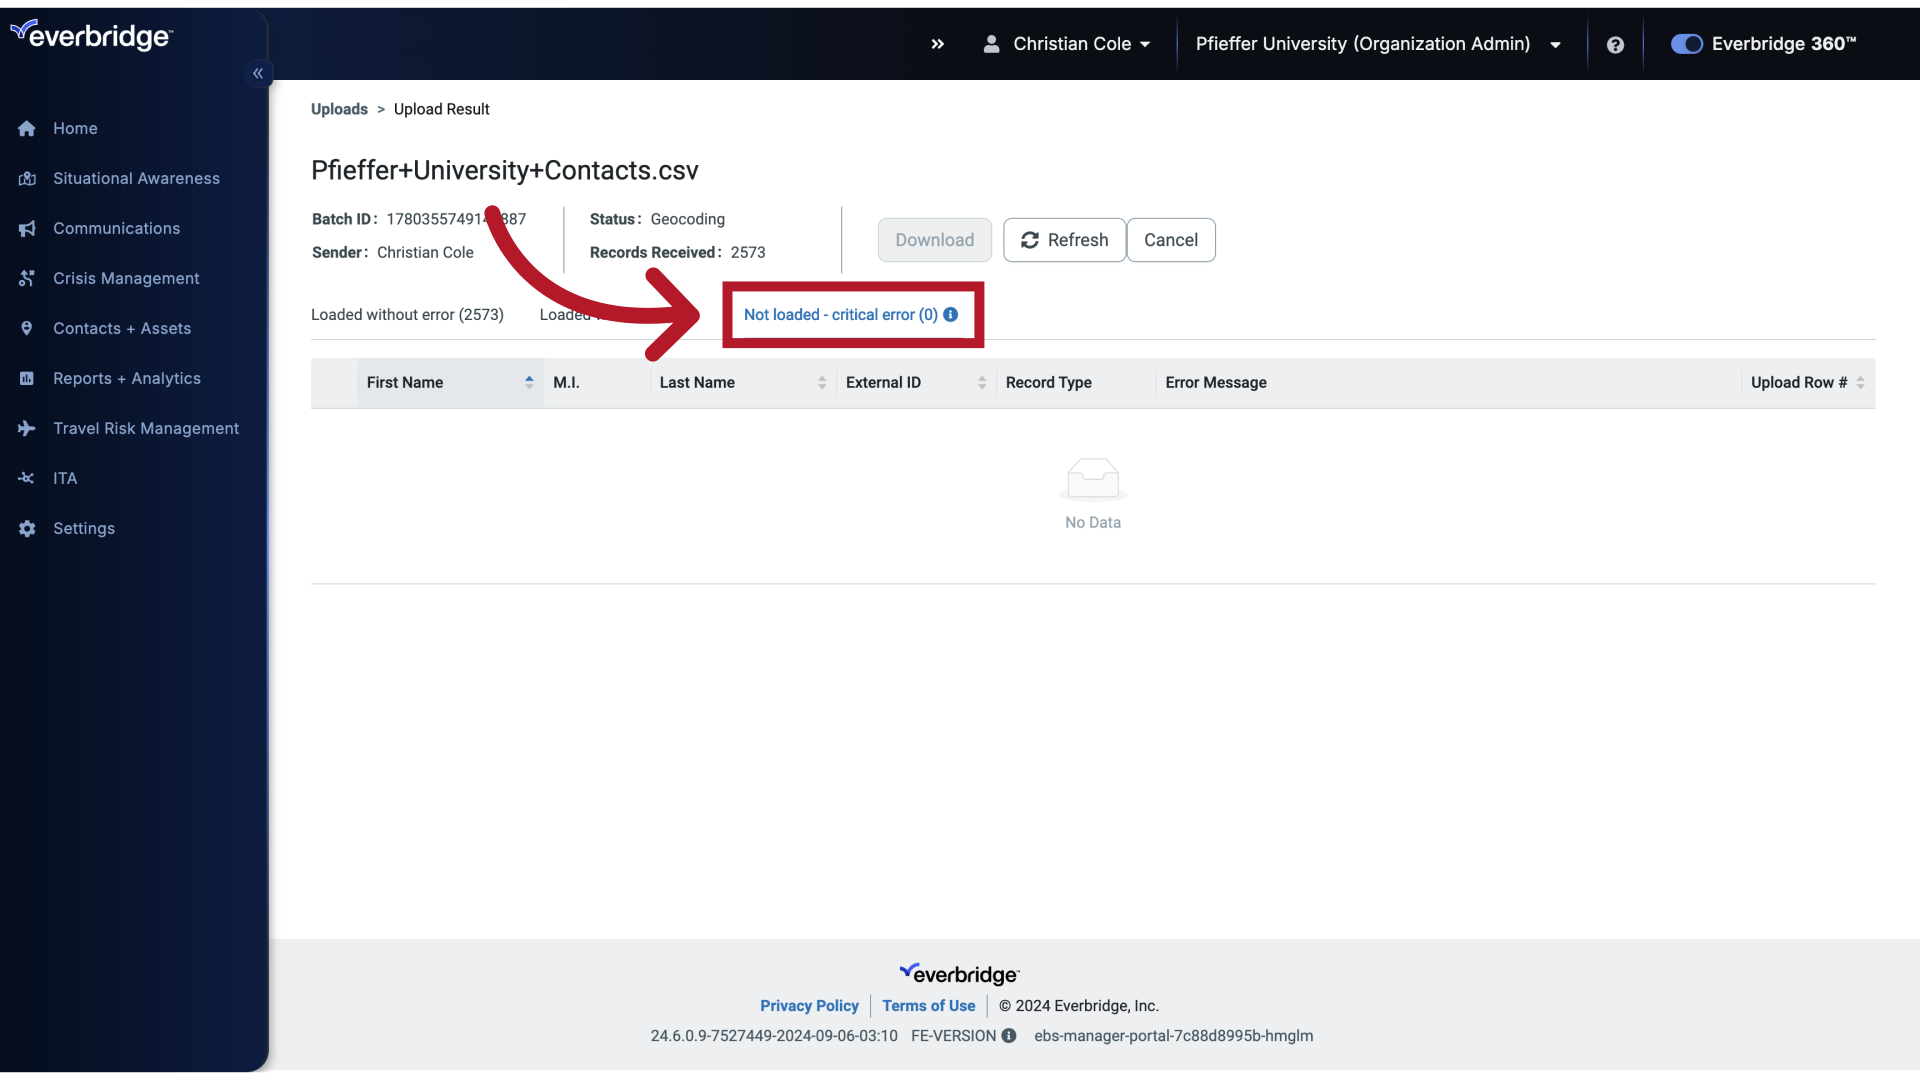
This brings you to a screen that breaks down all the possible outcomes.
29. Upload Result
Loaded without error.
30. Upload Result
Loaded with error.
31. Upload Result
And, Not loaded critical error.
32. Upload Result
The download button on each tab will let you download a file containing just those affected records. That way you can quickly make any necessary corrections and re-upload.
