Topic
Uploading Contacts Using Replace Option in Everbridge 360™
Description
The Replace option in Everbridge allows deletion of existing contact data while simultaneously adding and updating contacts from an uploaded file.
If a contact exists in the Manager Portal but is not included in the uploaded file for the selected Record Type, that contact is removed. New contacts are added, and existing contact records are updated. This option is powerful and must be used with caution.
In this video, we will guide you through the process of uploading contacts in Everbridge 360 using the Replace option.
Go to manager.everbridge.net
1. Replace Upload
Replace looks at Record Types, and uses the file as the authority for all contacts with that matching Record Type.
2. Contact Record
If a contact is not included in the file but exists in the Manager Portal, it is deleted from the Manager Portal. While new contacts are added and existing information is updated. It's a very powerful upload option and should be used carefully.
3. Dashboard
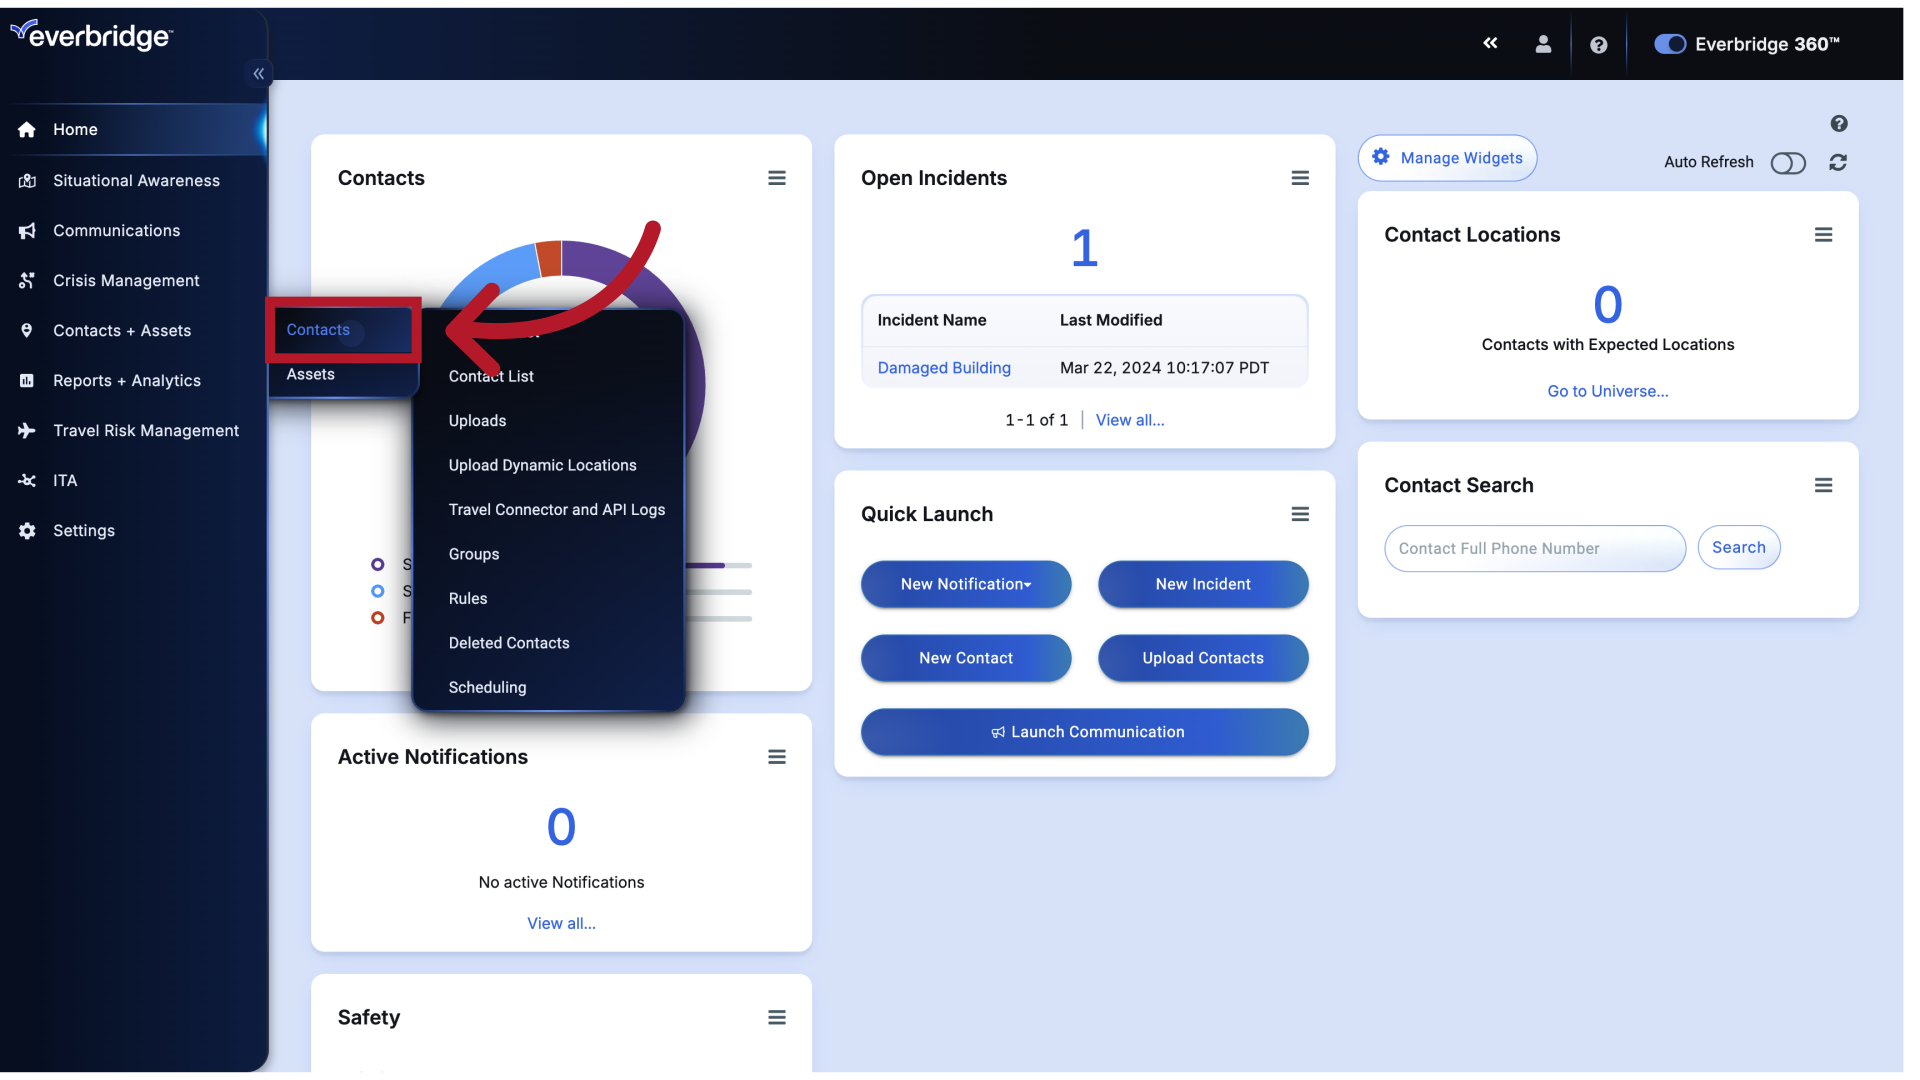
To start updating contacts, go to the Contacts tab.
4. Dashboard
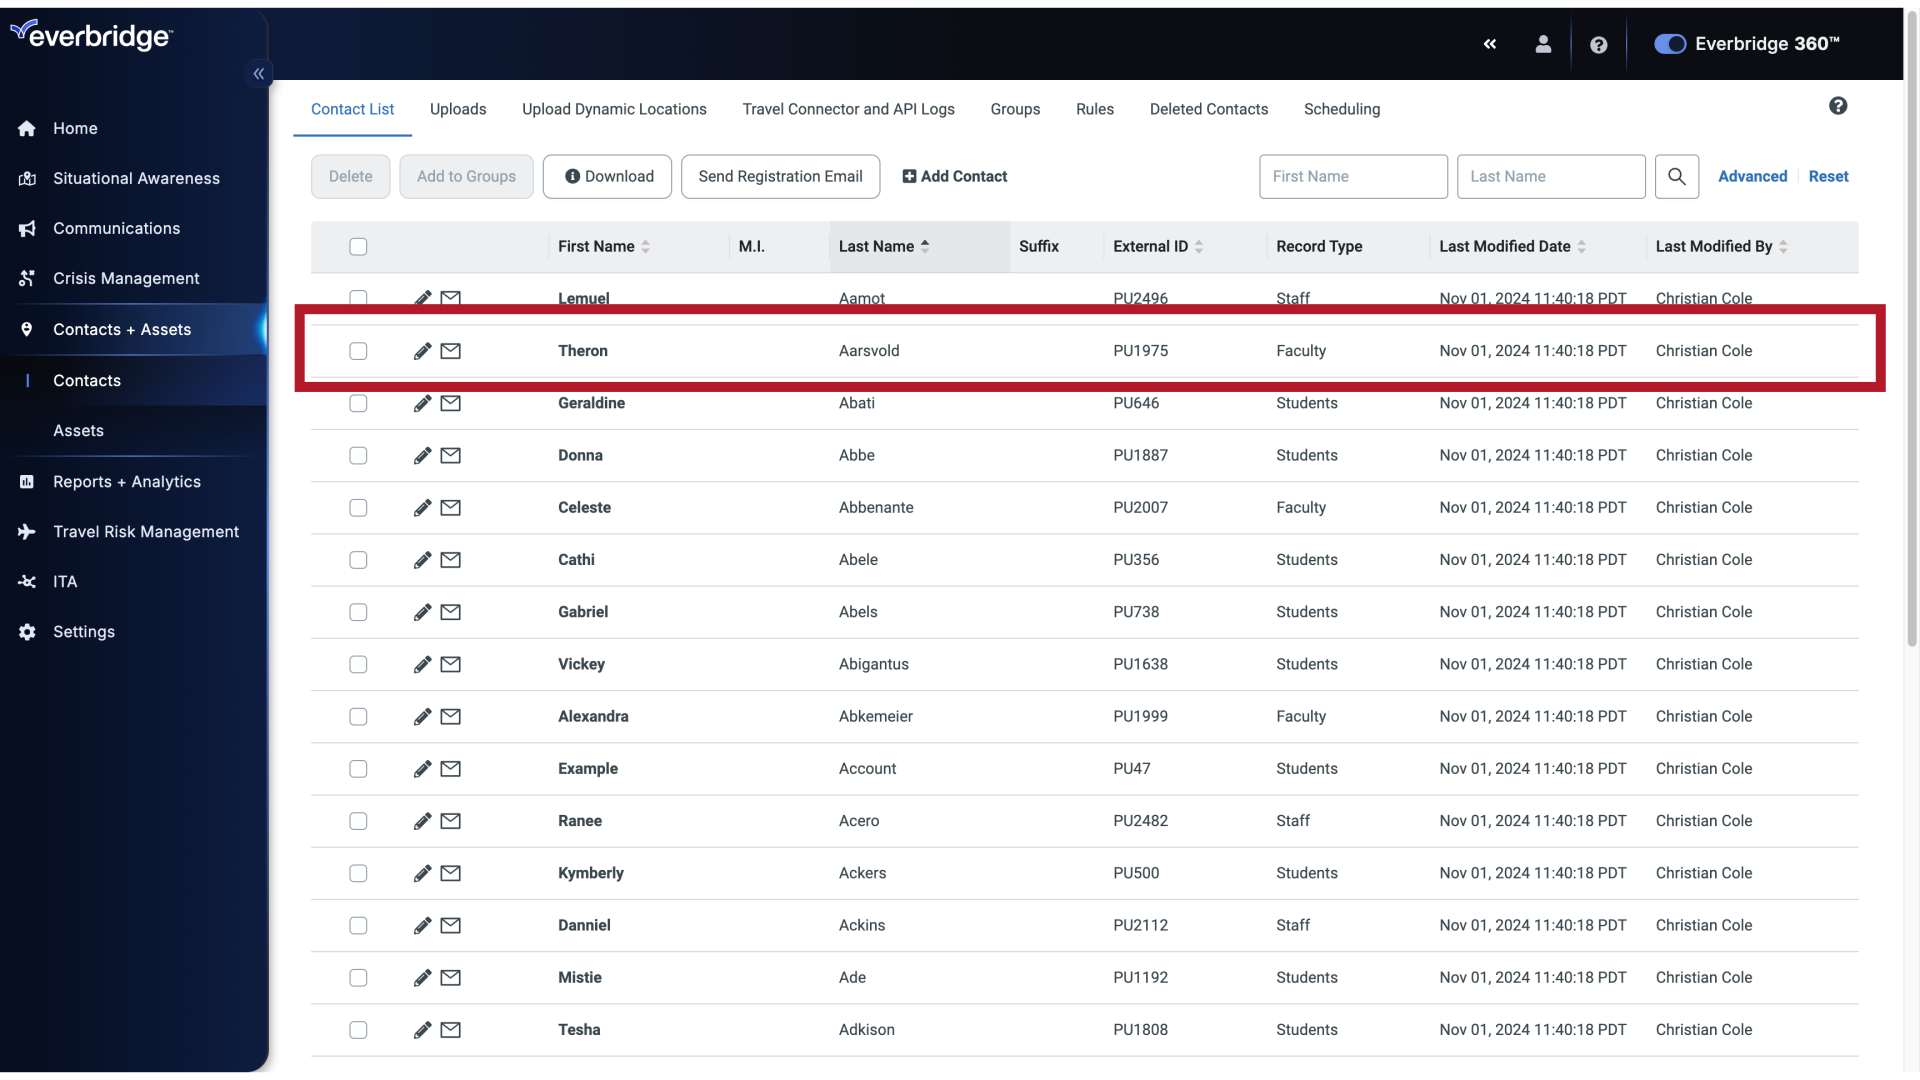
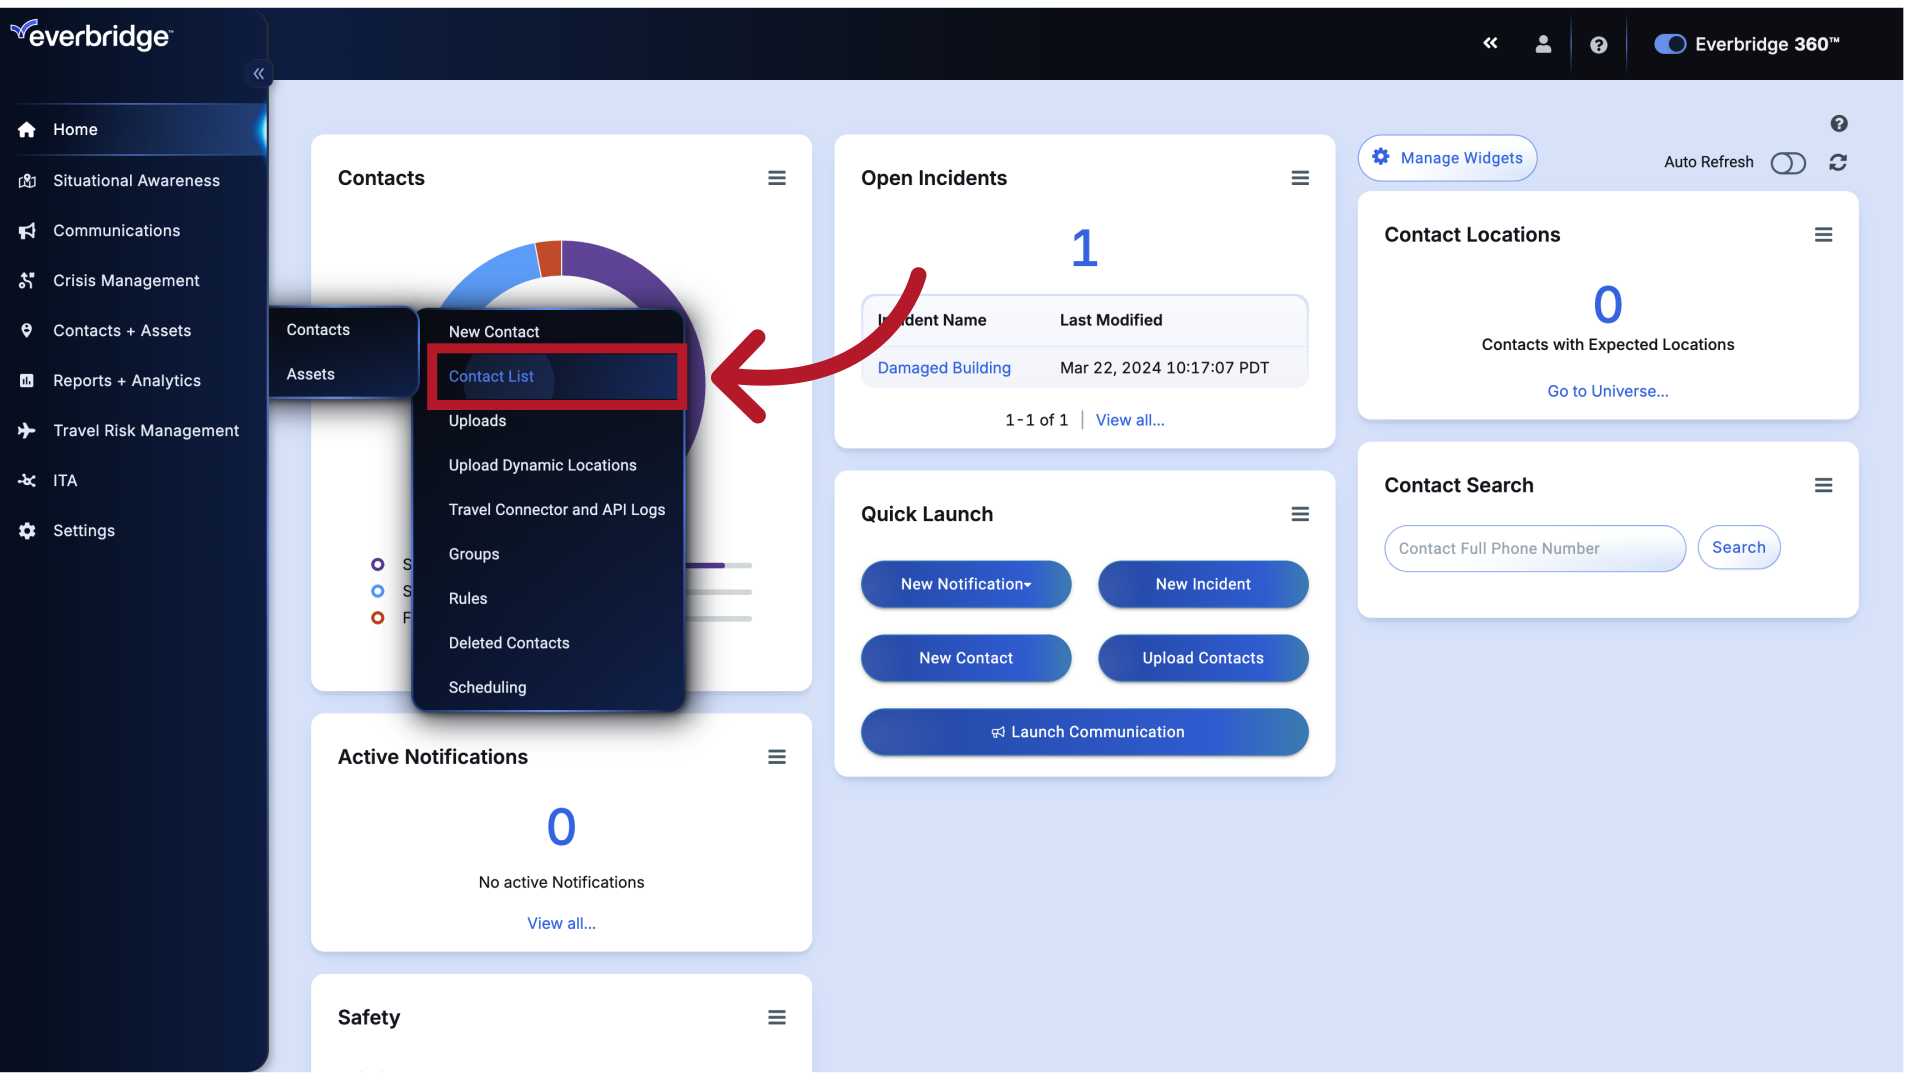
Next, choose the Contacts List.
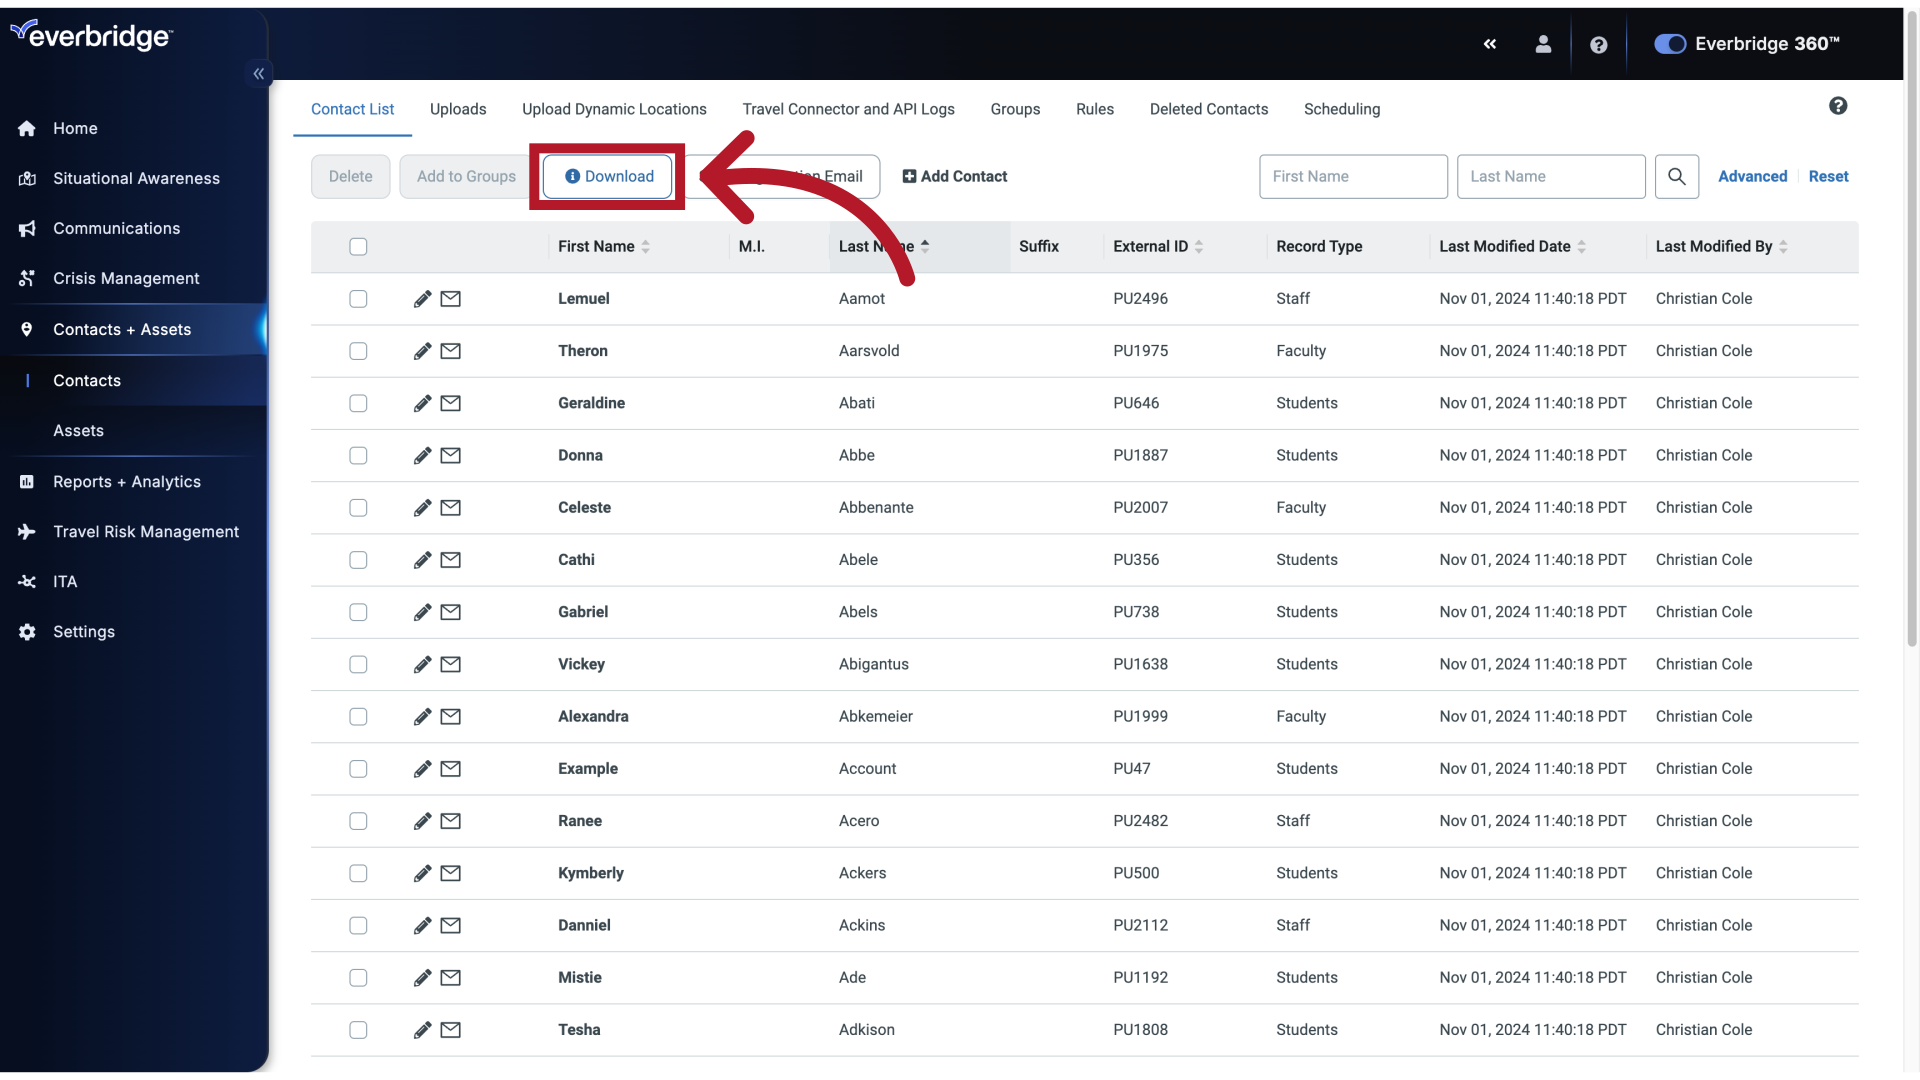
5. Download
As always, we recommend downloading a backup of your current contact information before making any changes.
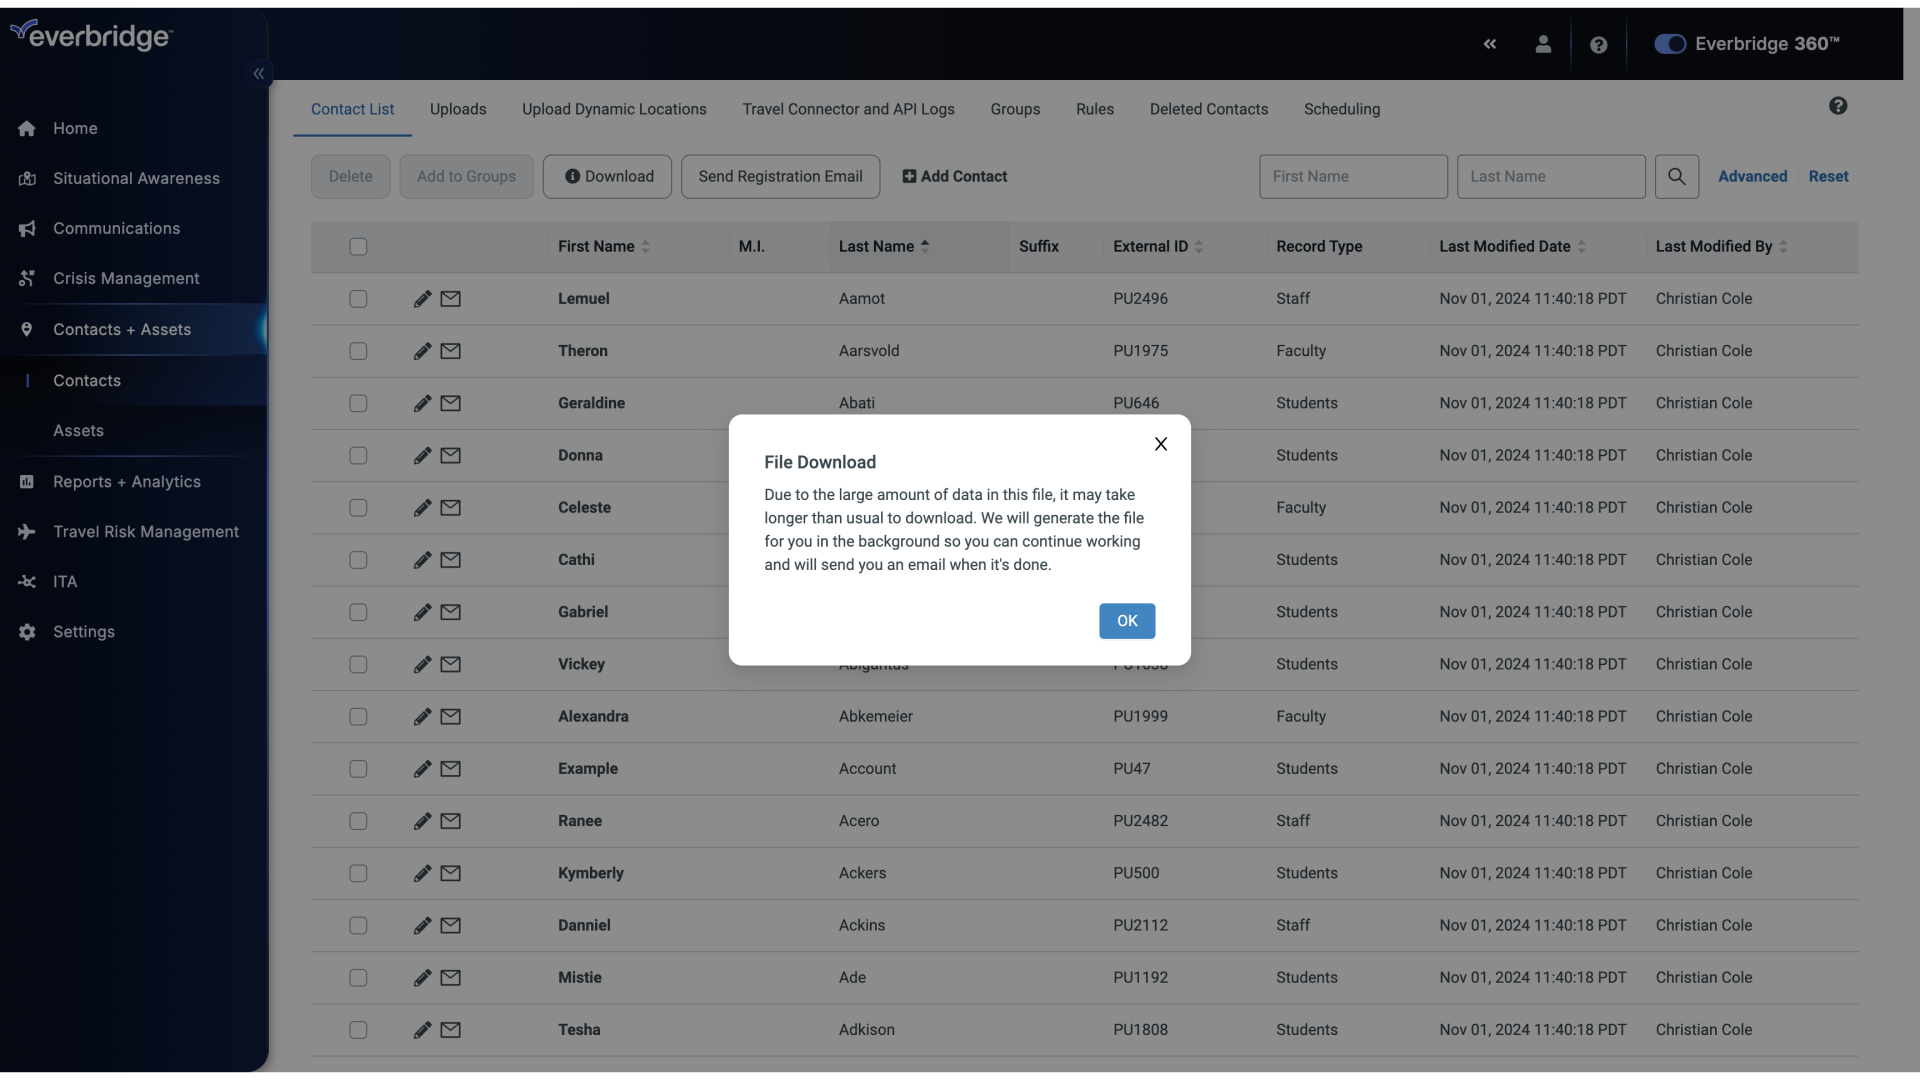
6. File Download
If you have a large contact base, the contact file will be emailed to you.
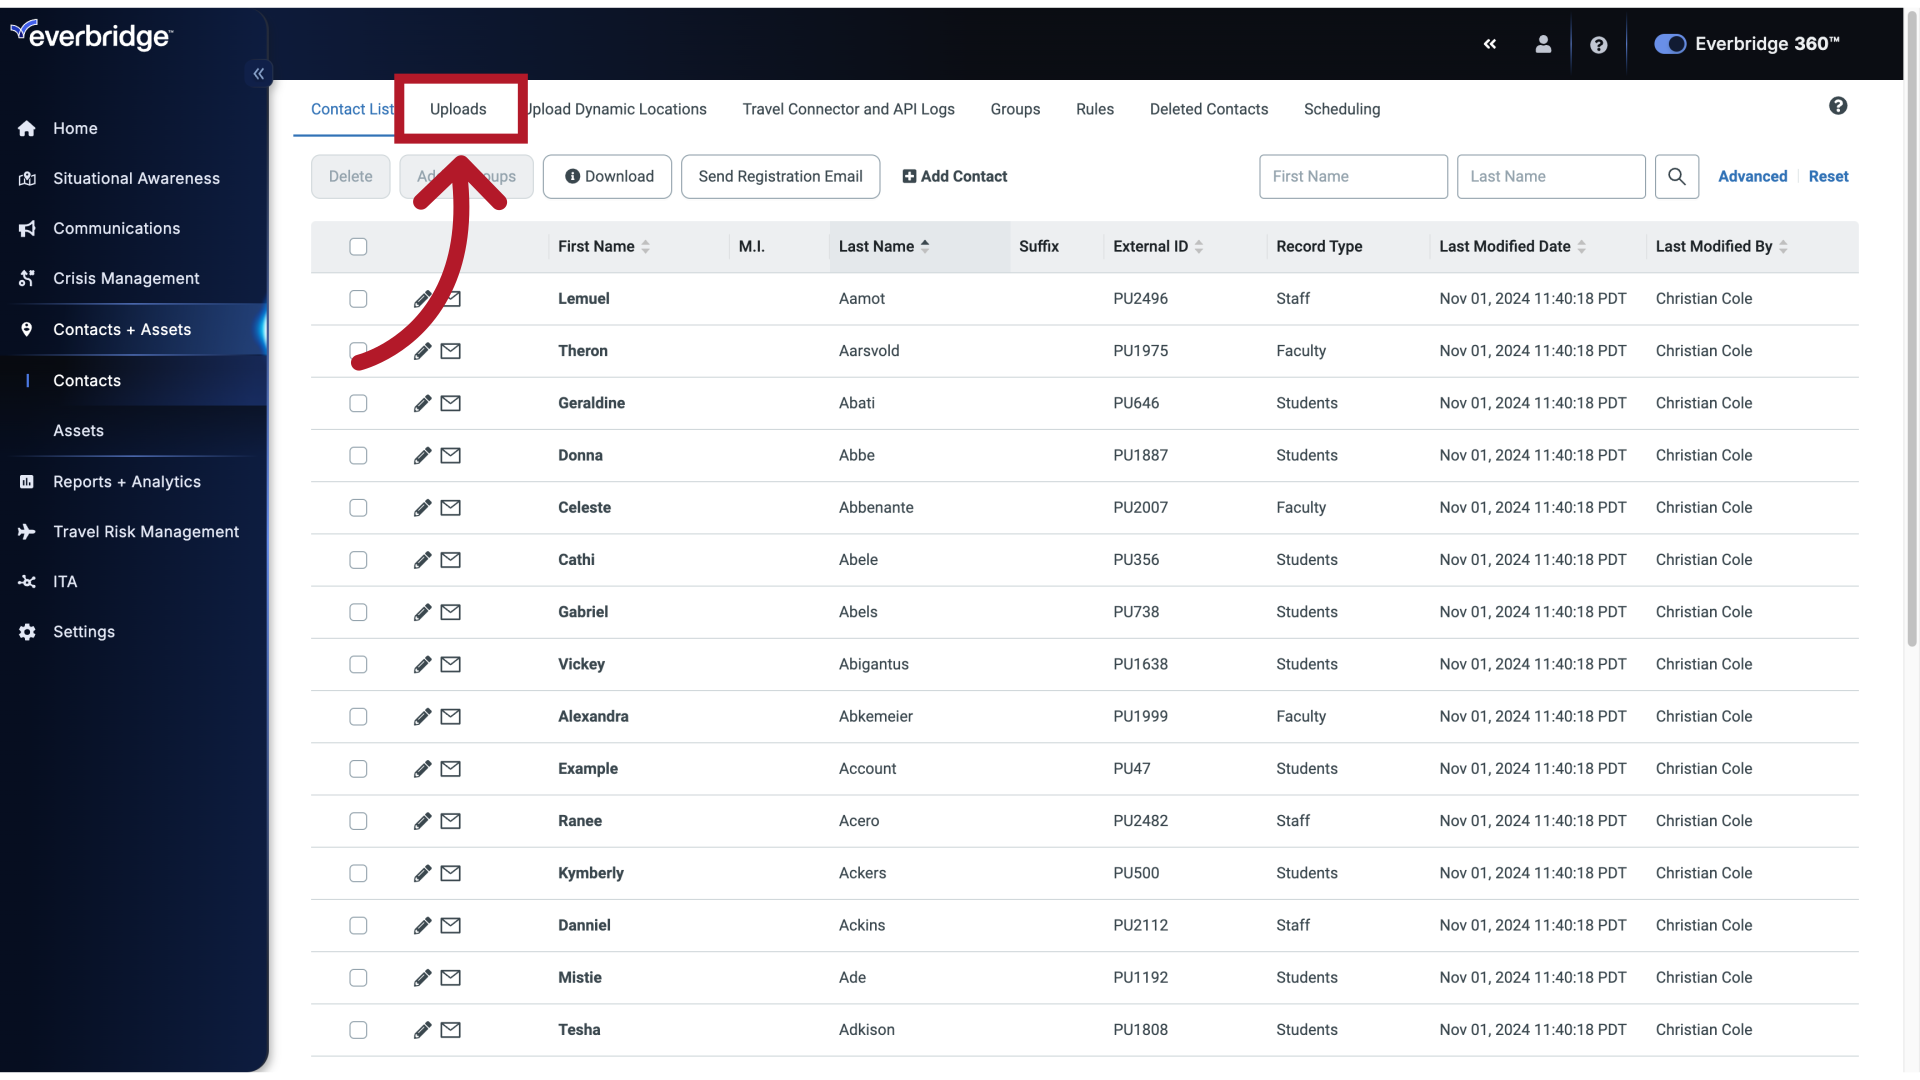
7. Uploads
Once you have backed up the contact data, click on the Uploads tab.
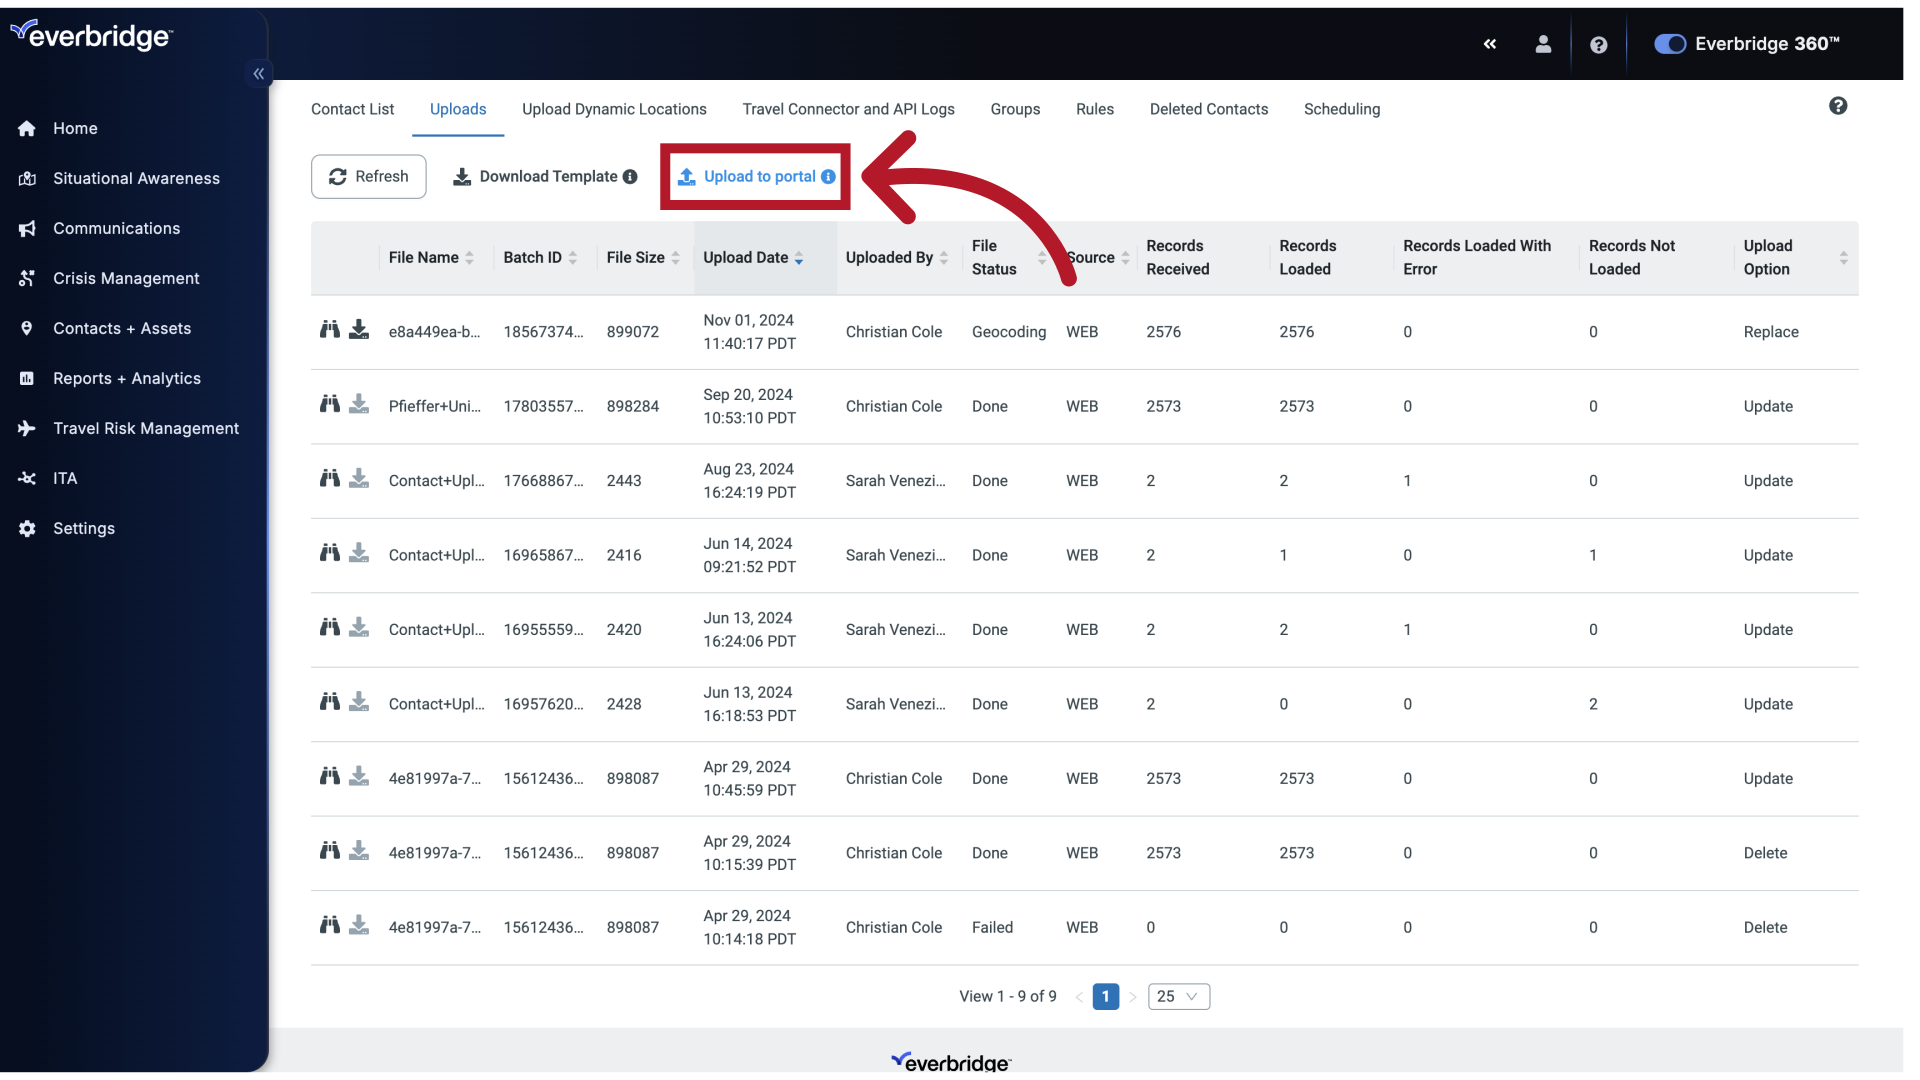
8. Upload to Portal
Select the option to upload to the portal.
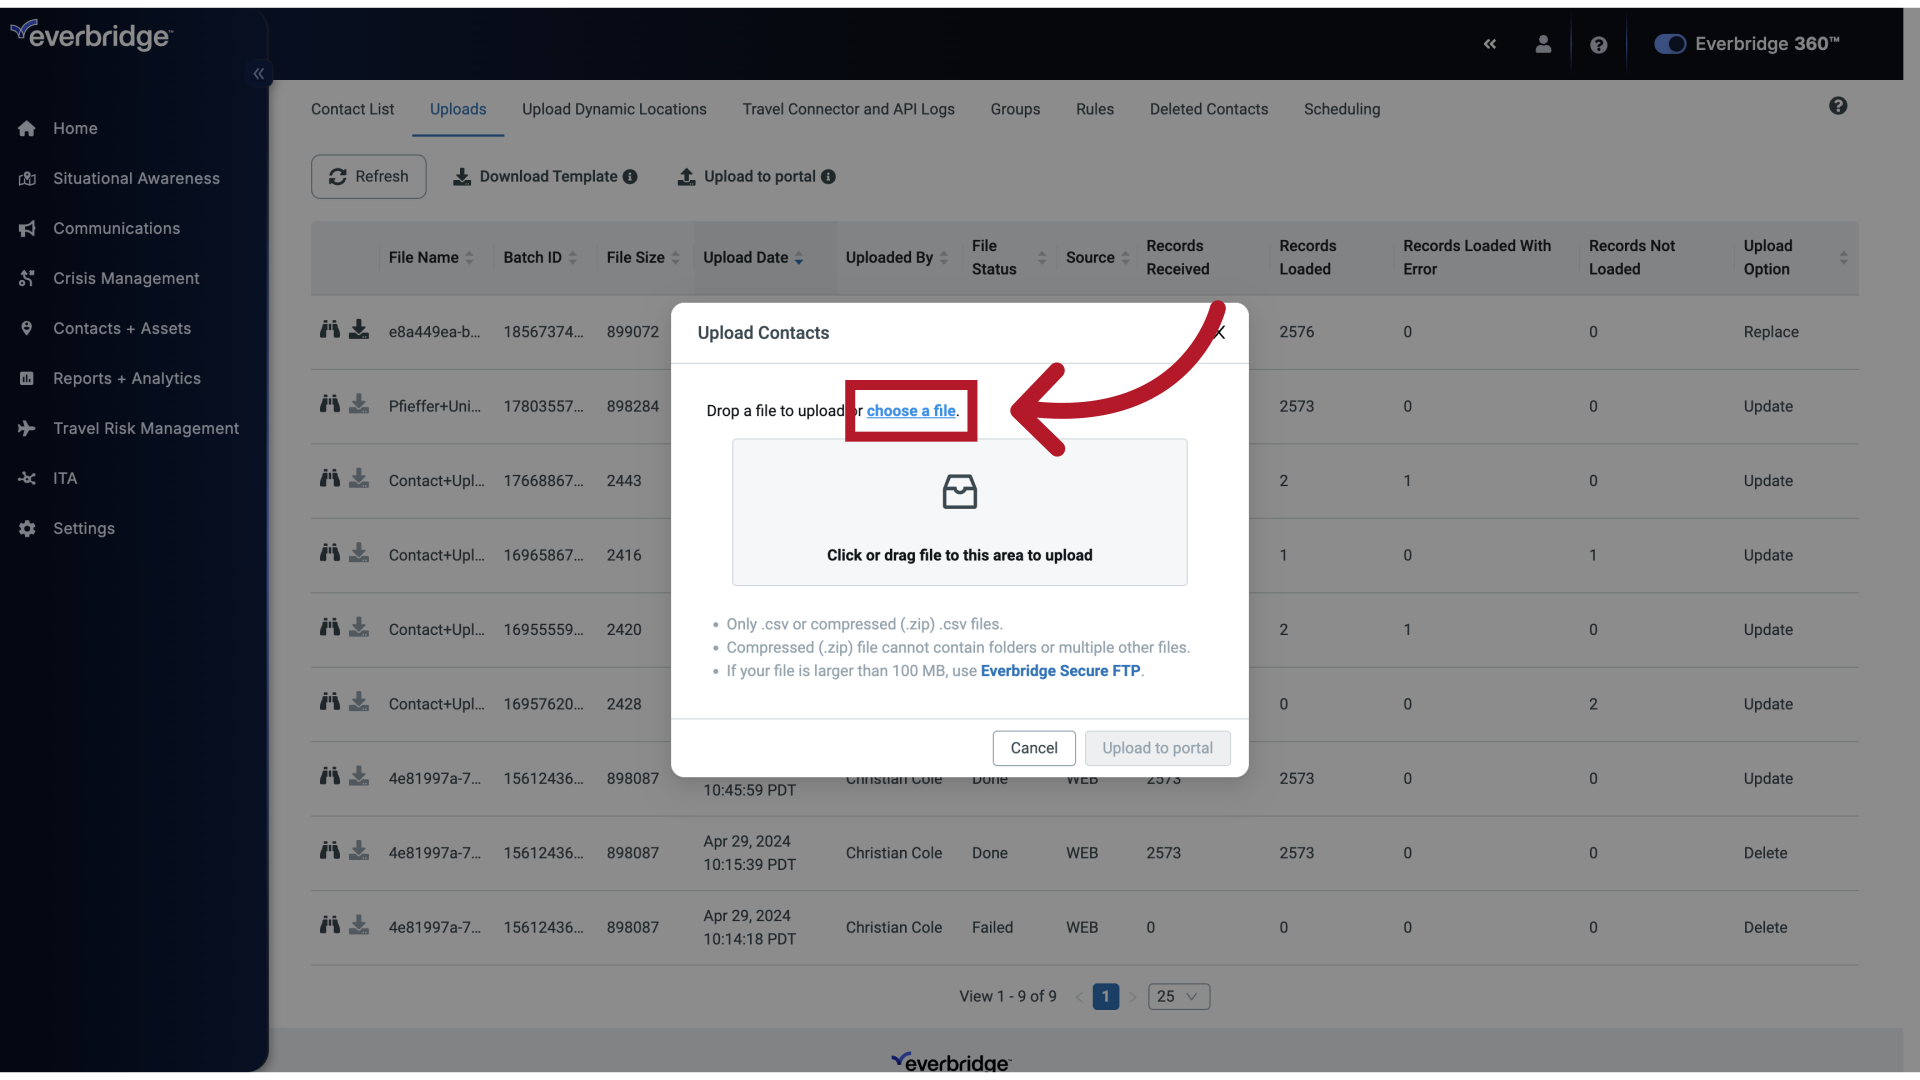
9. Choose a file
Click the highlighted text to upload your file, or drag your file to this area to upload. For this example we'll drag the file.
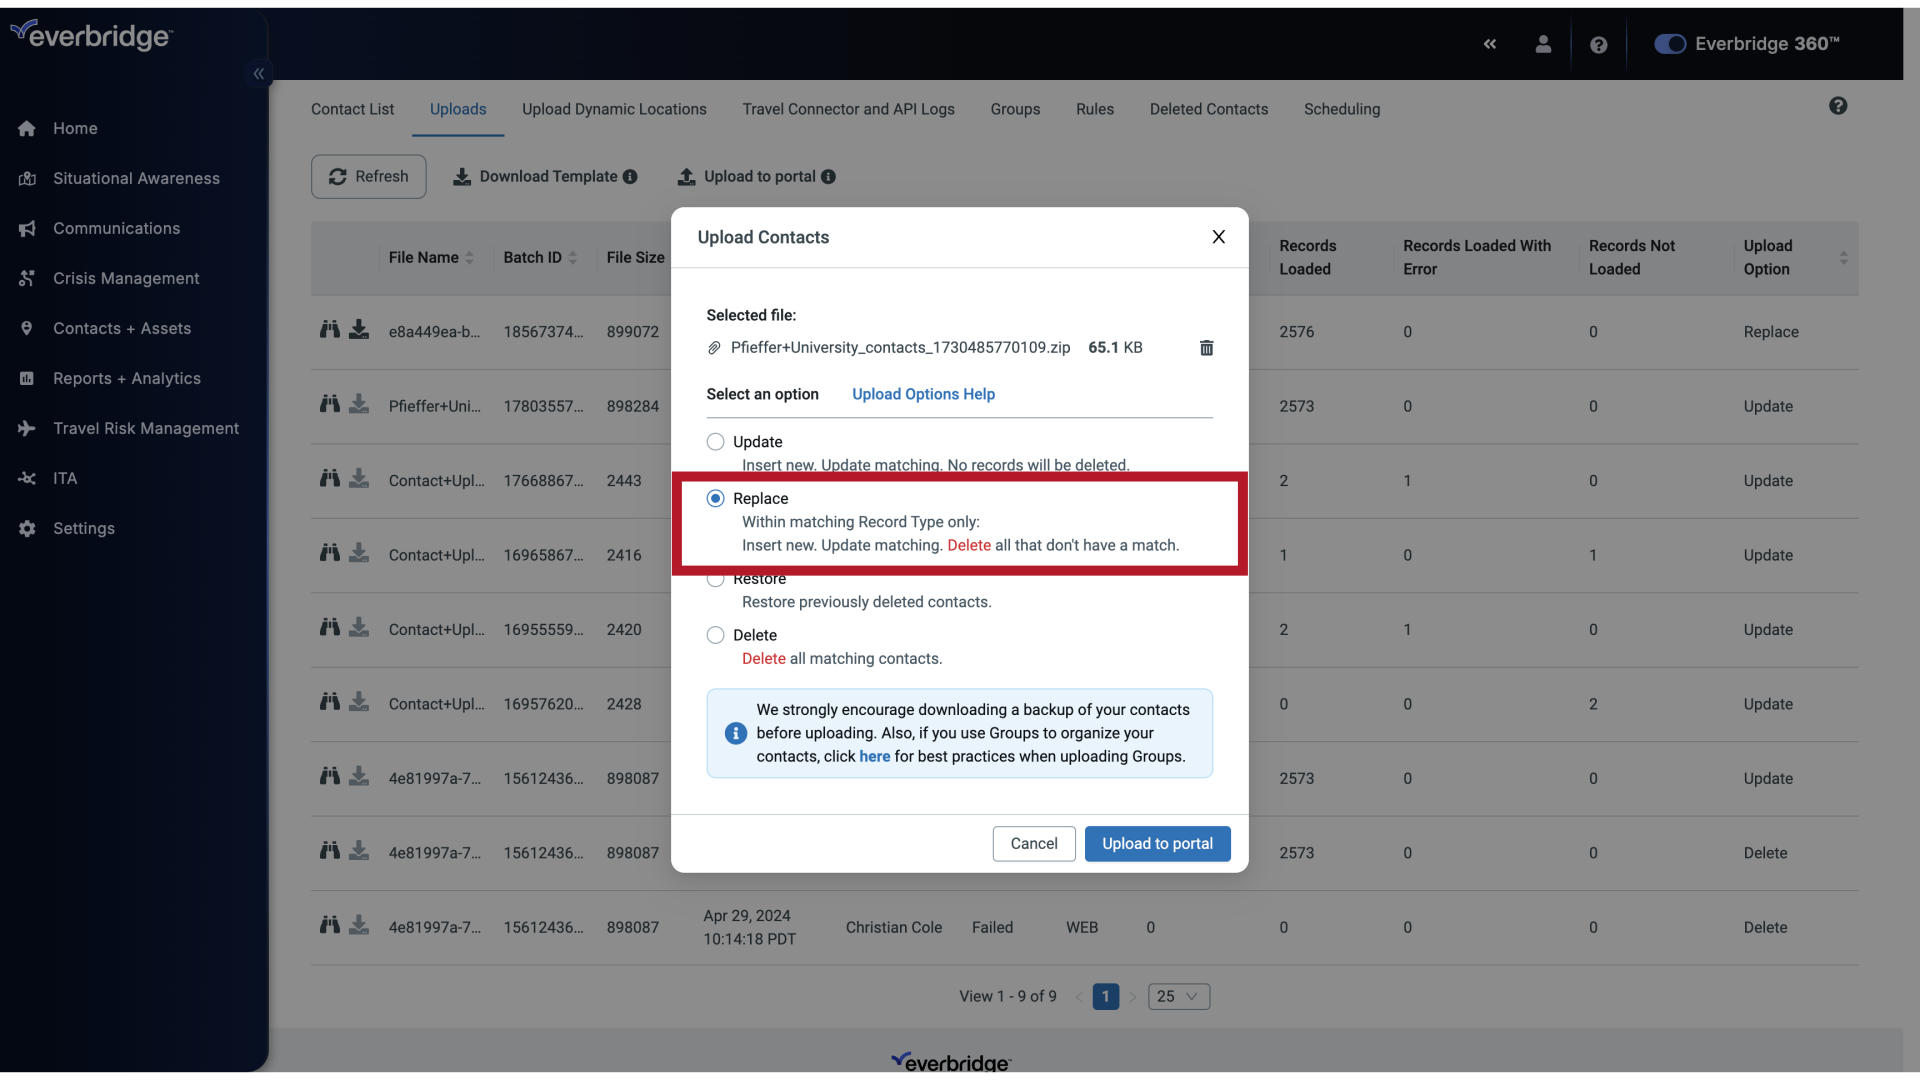
10. Upload Contacts
There are four choices for how information in the file will be applied.
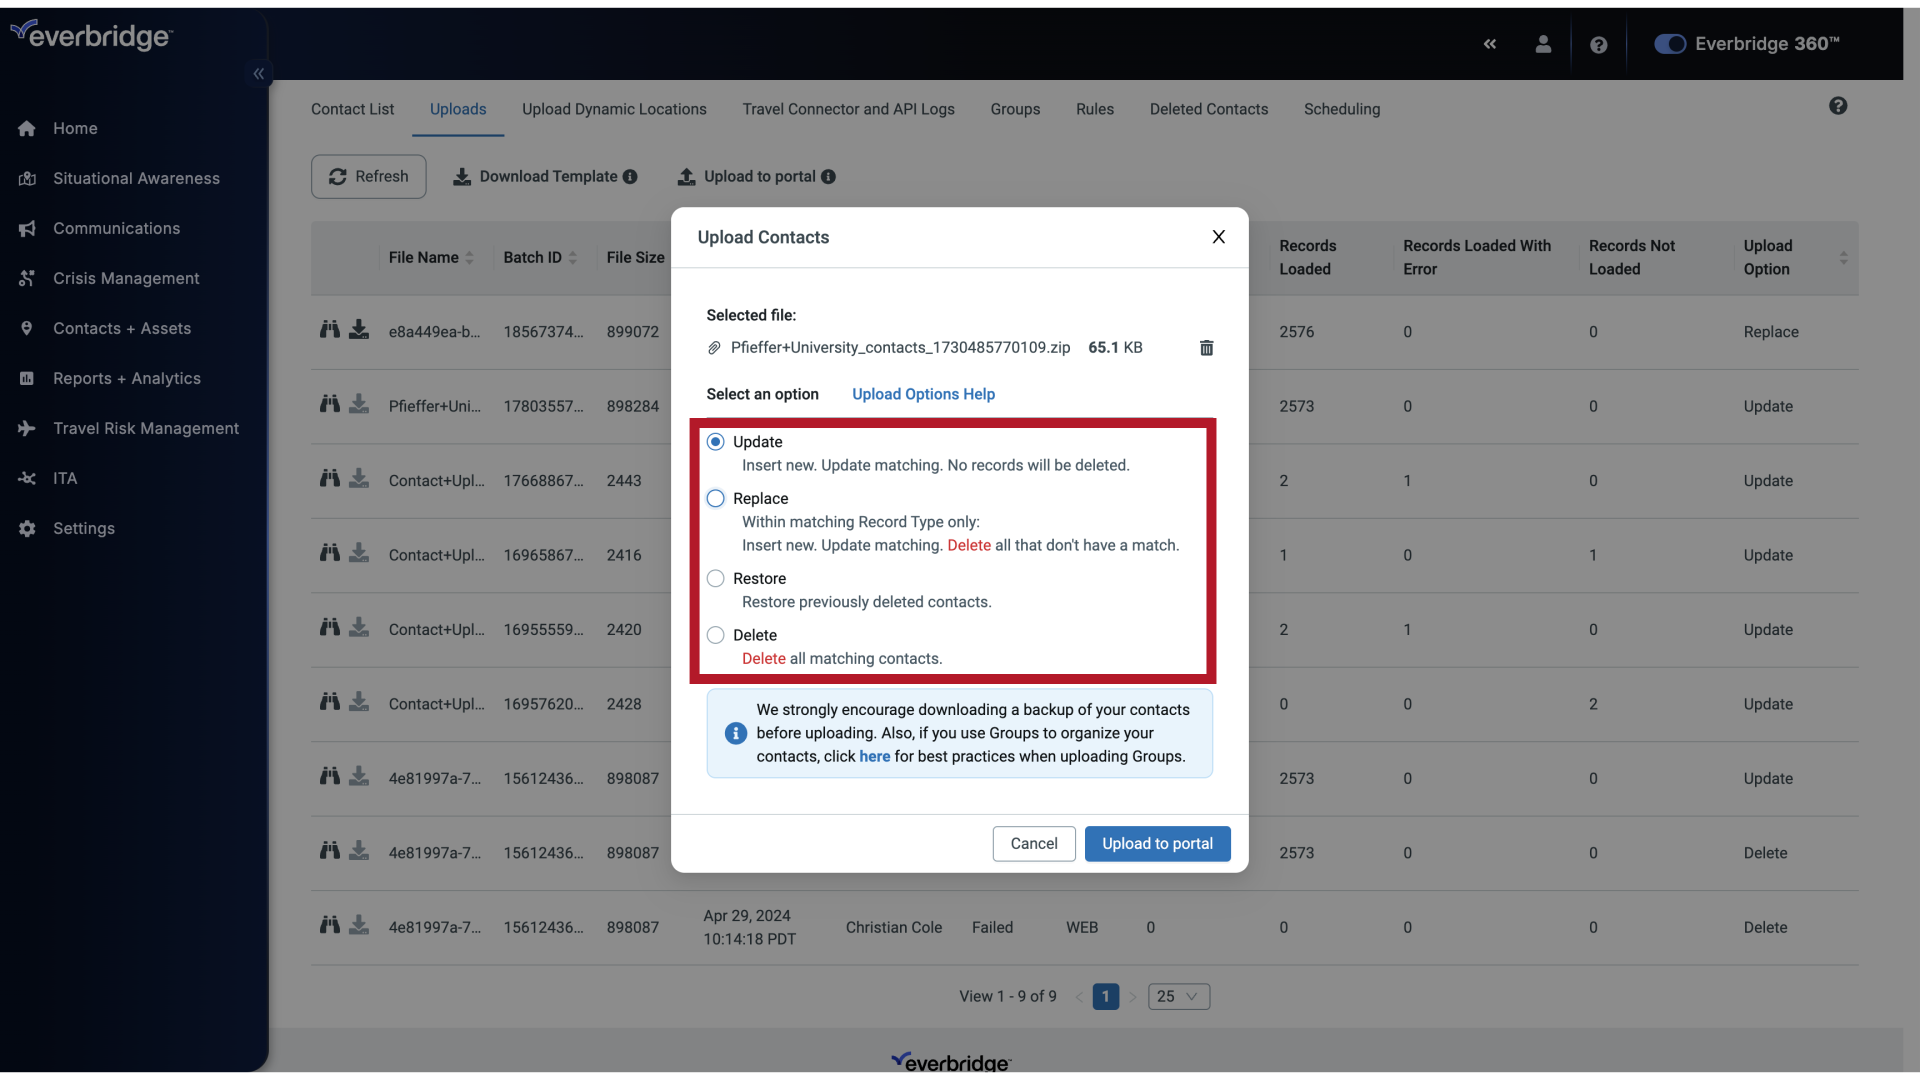
11. Upload to portal
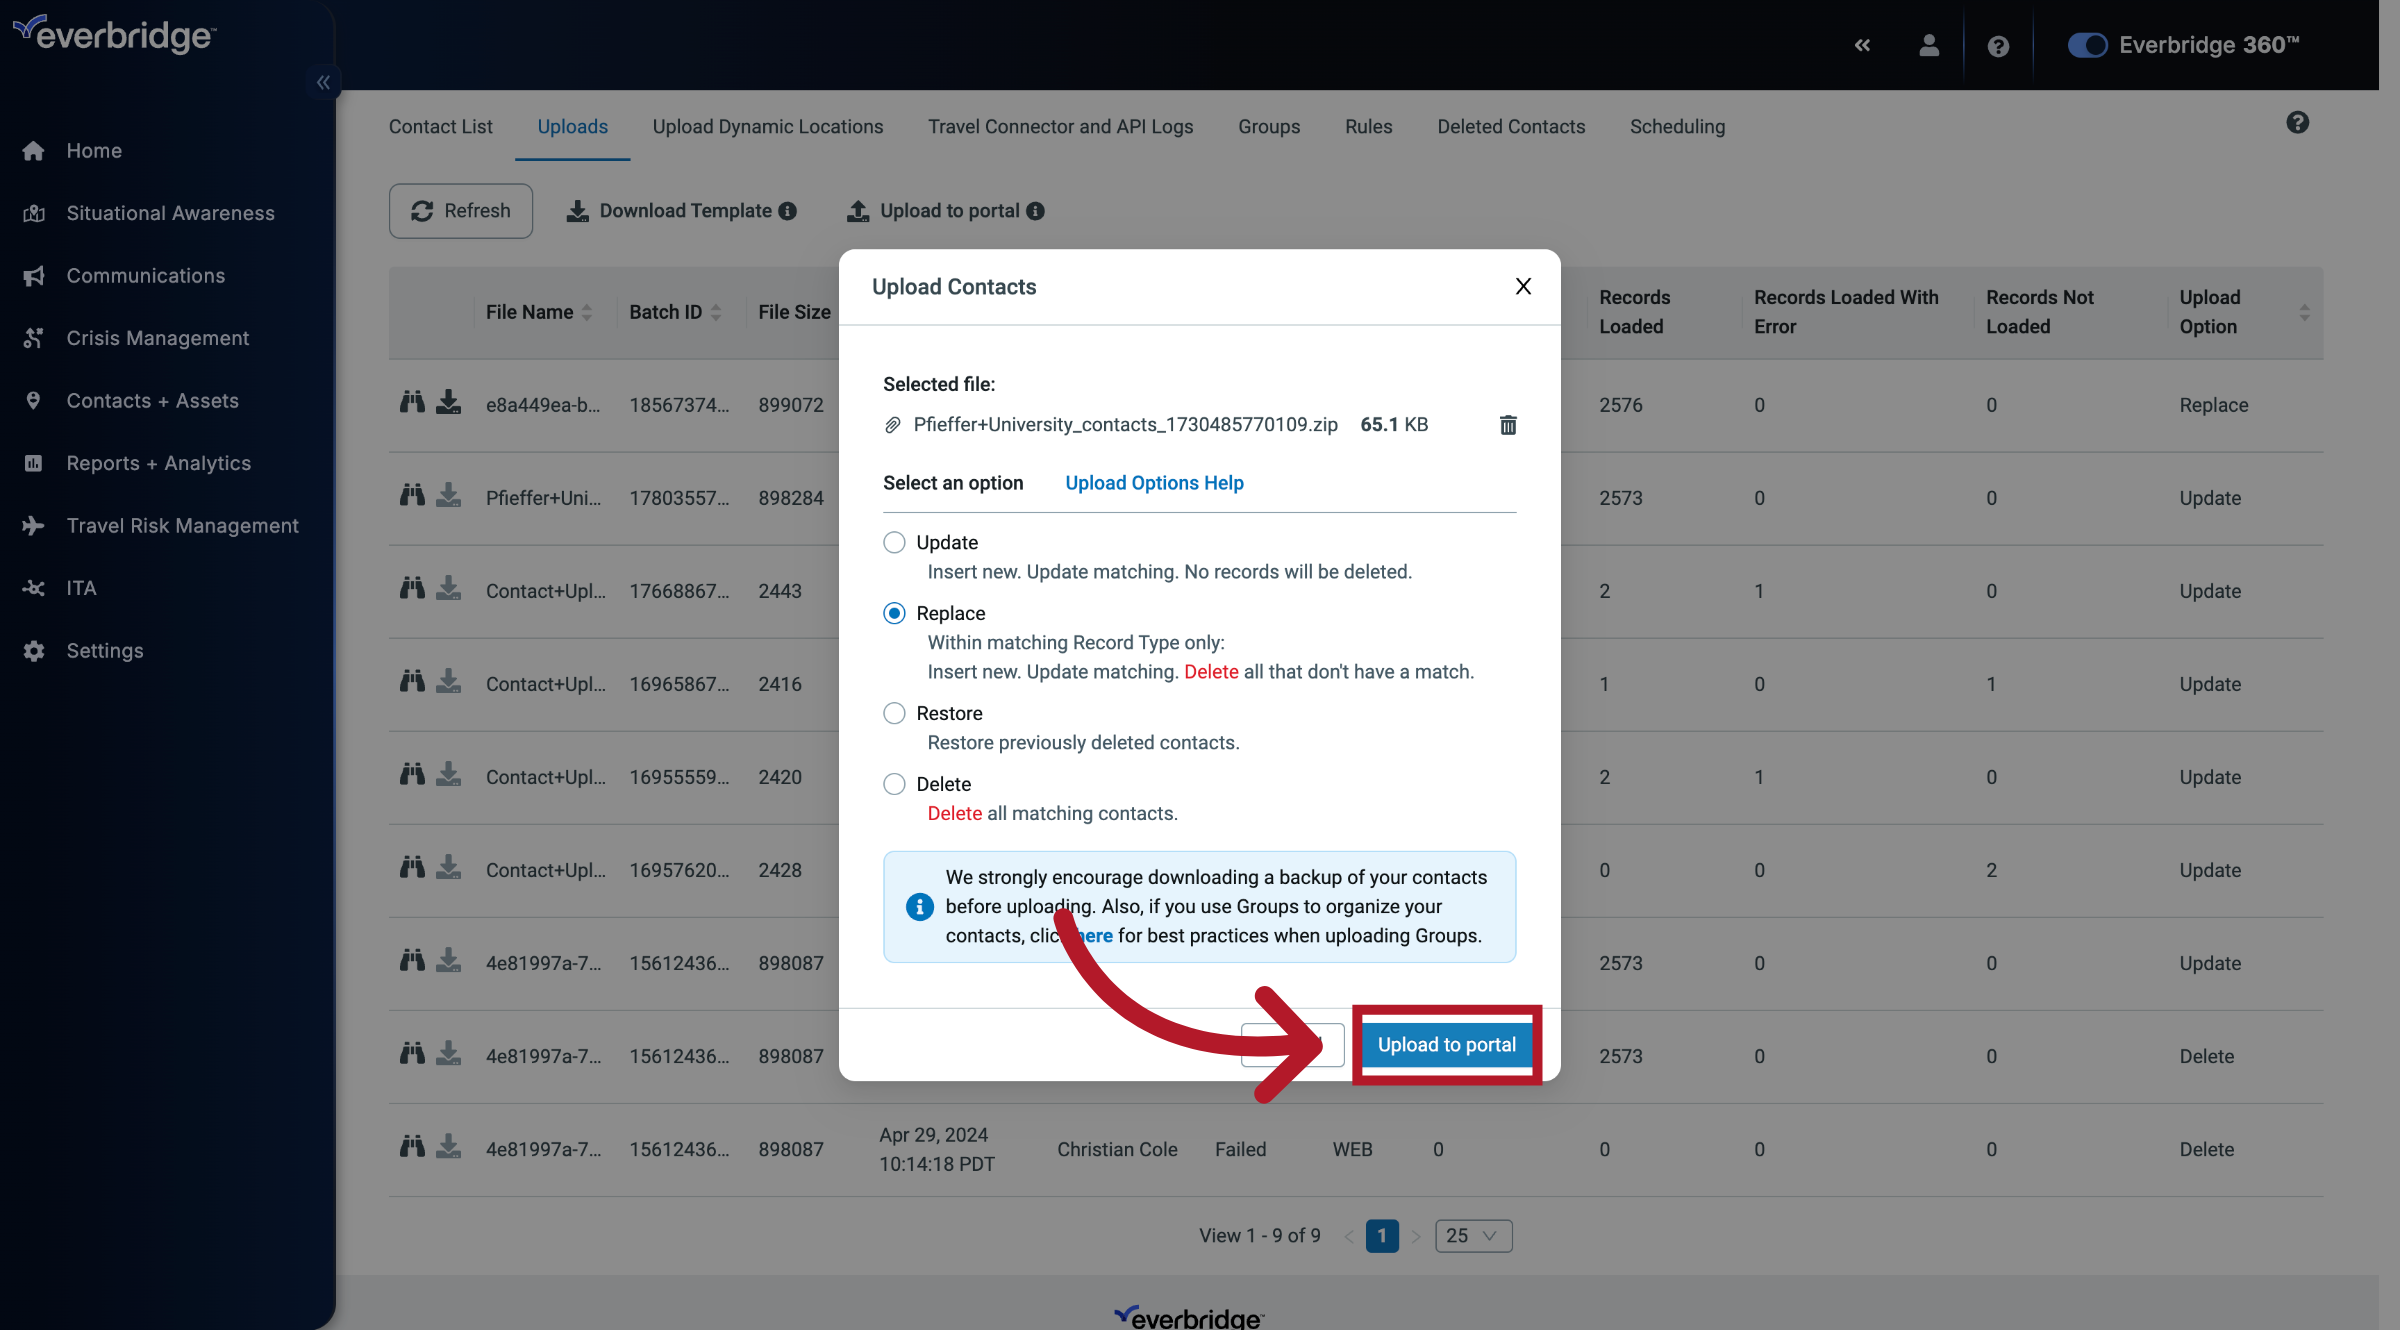
Select the option "Replace"
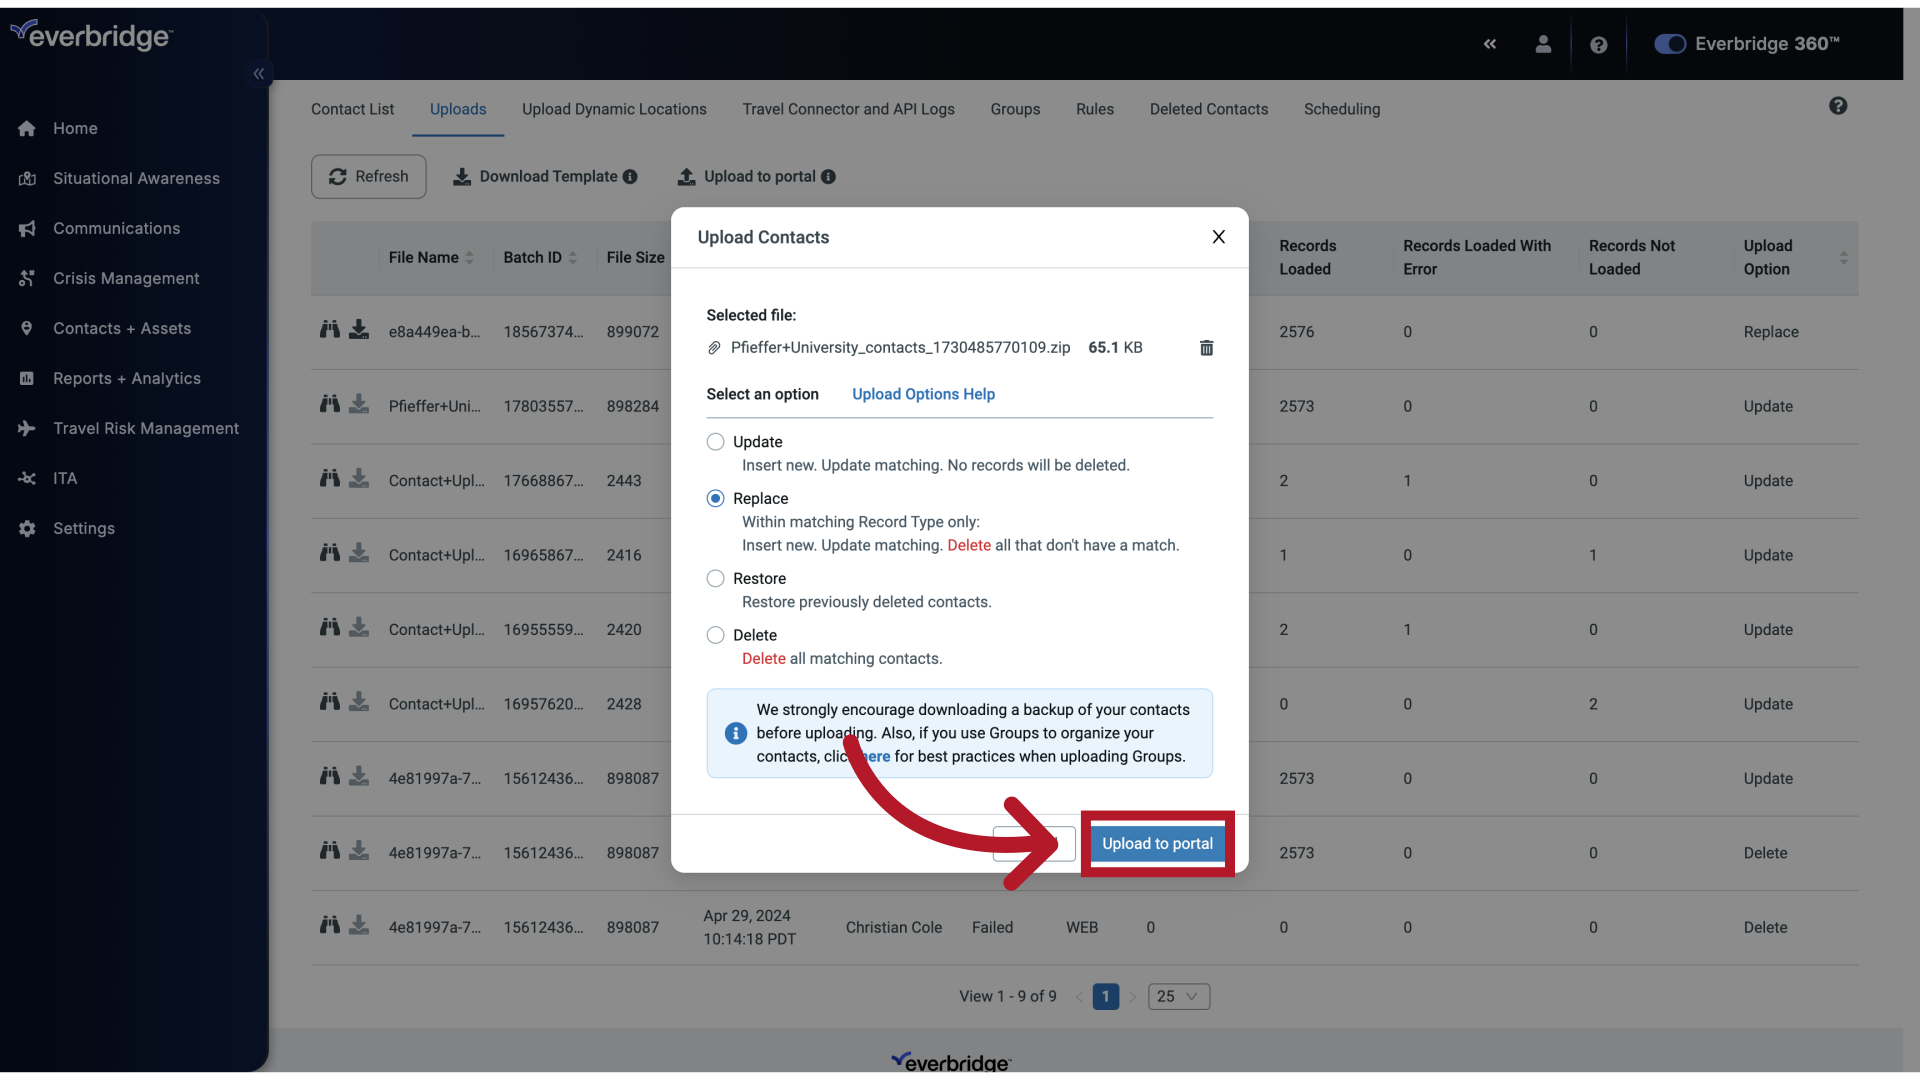
12. Upload to portal
Once you're ready, click Upload to portal.
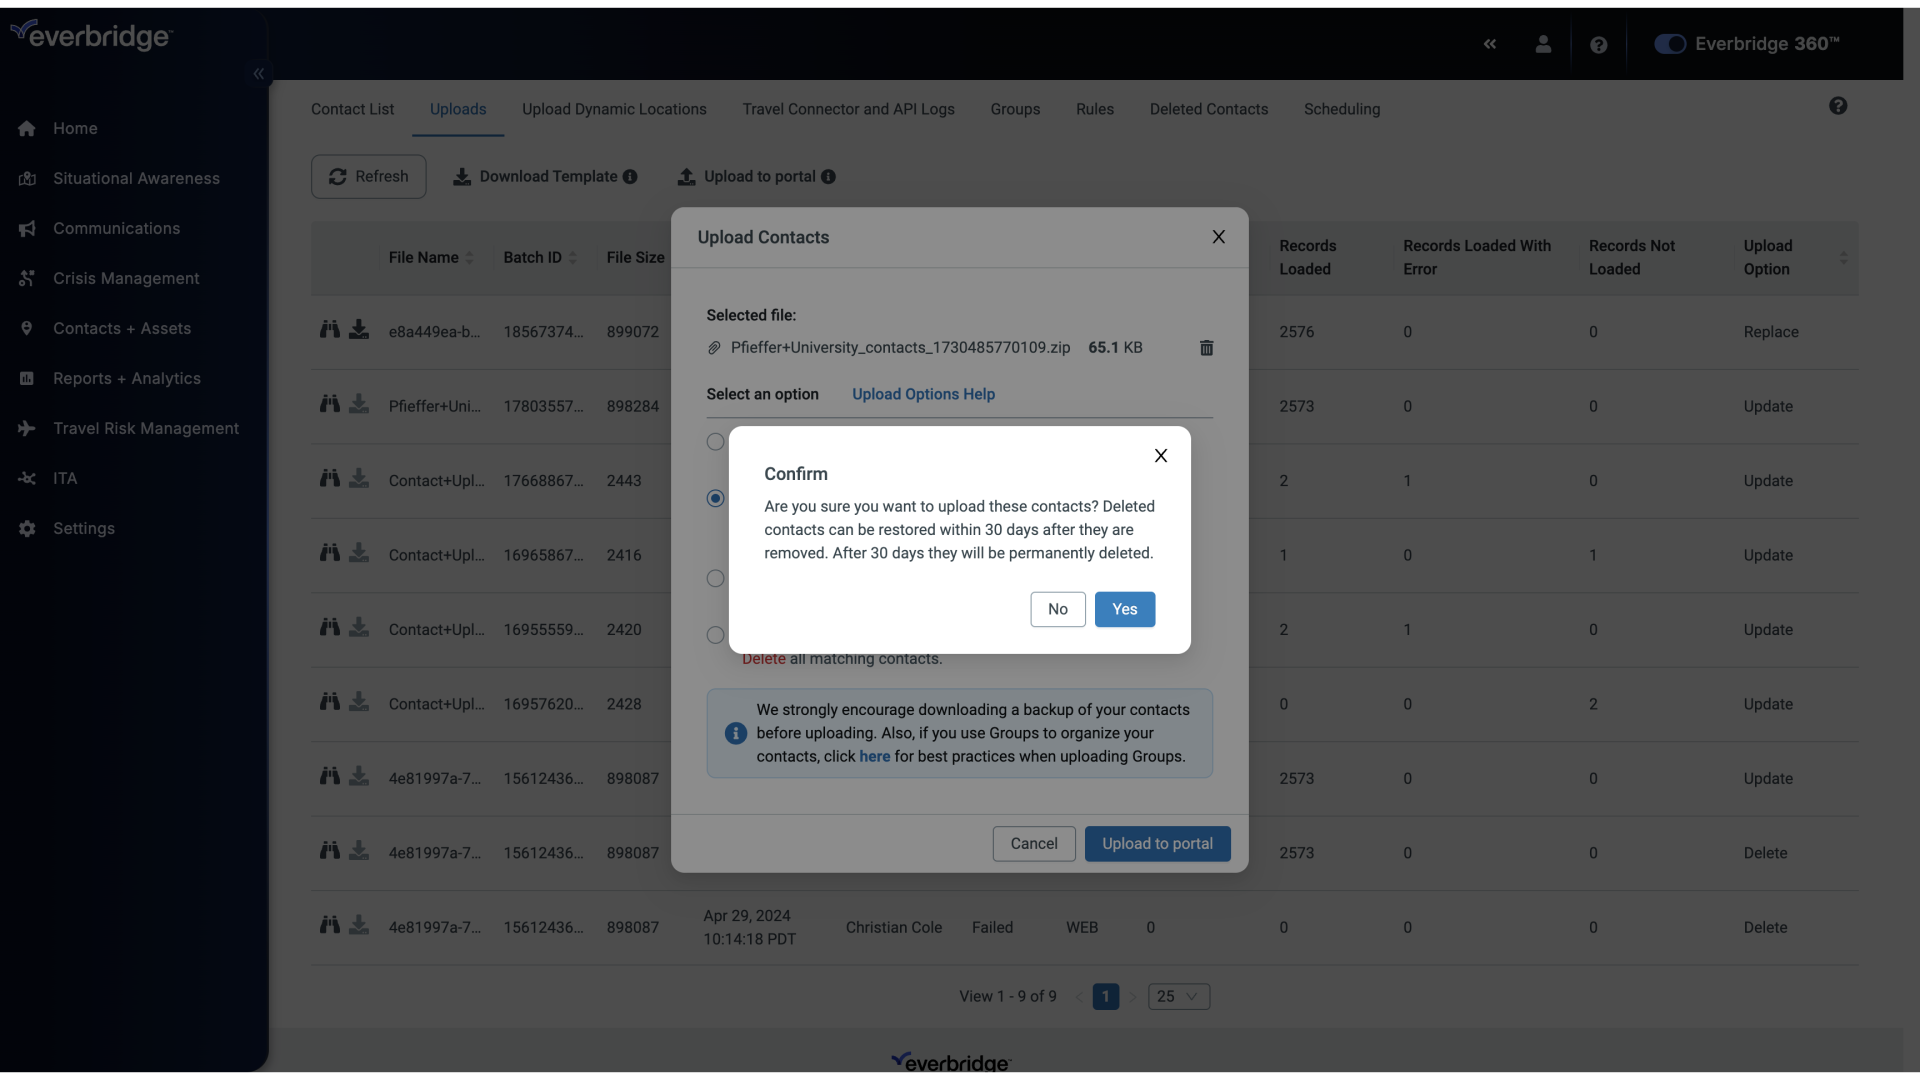
13. Upload to portal
Click "Yes" to confirm the upload process.
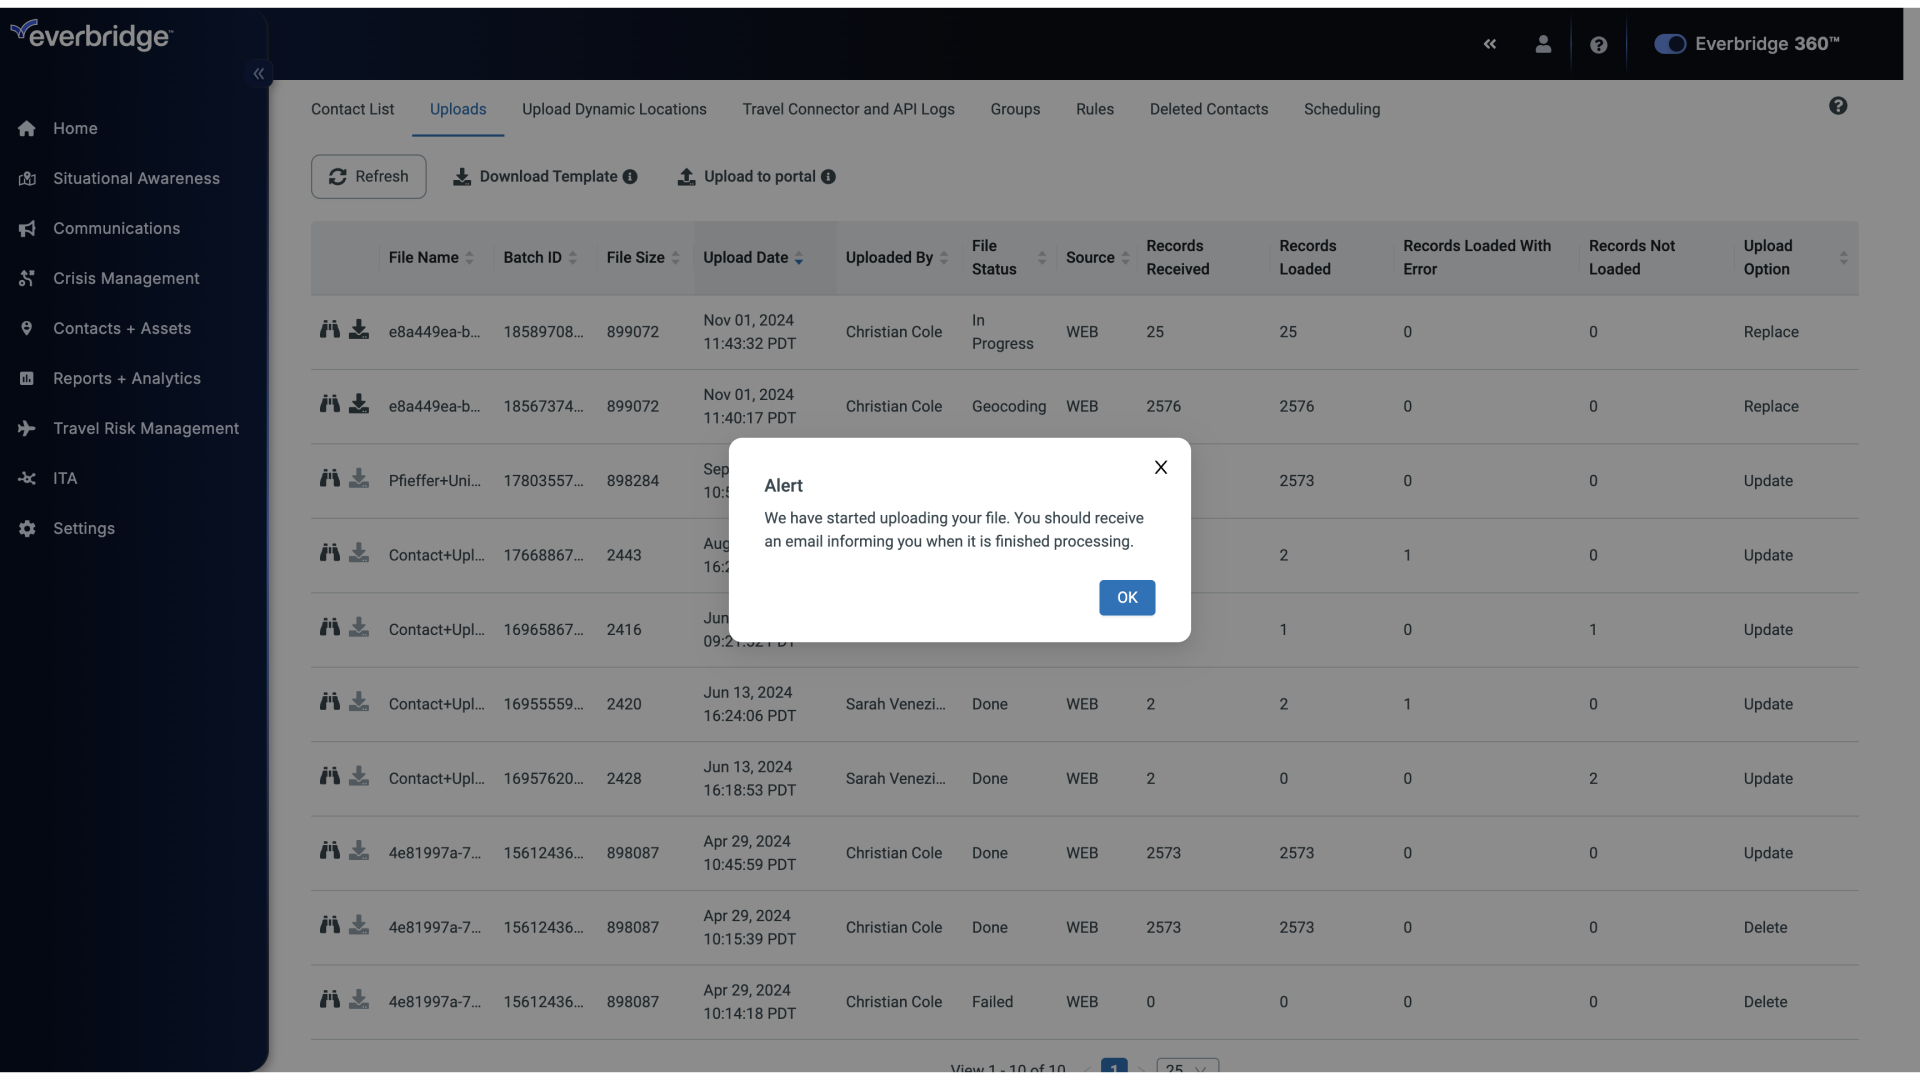
14. Upload to portal
An alert will display to indicate that the upload process has started. An email will be sent to you to indicate the start and when the upload file has completed processing.
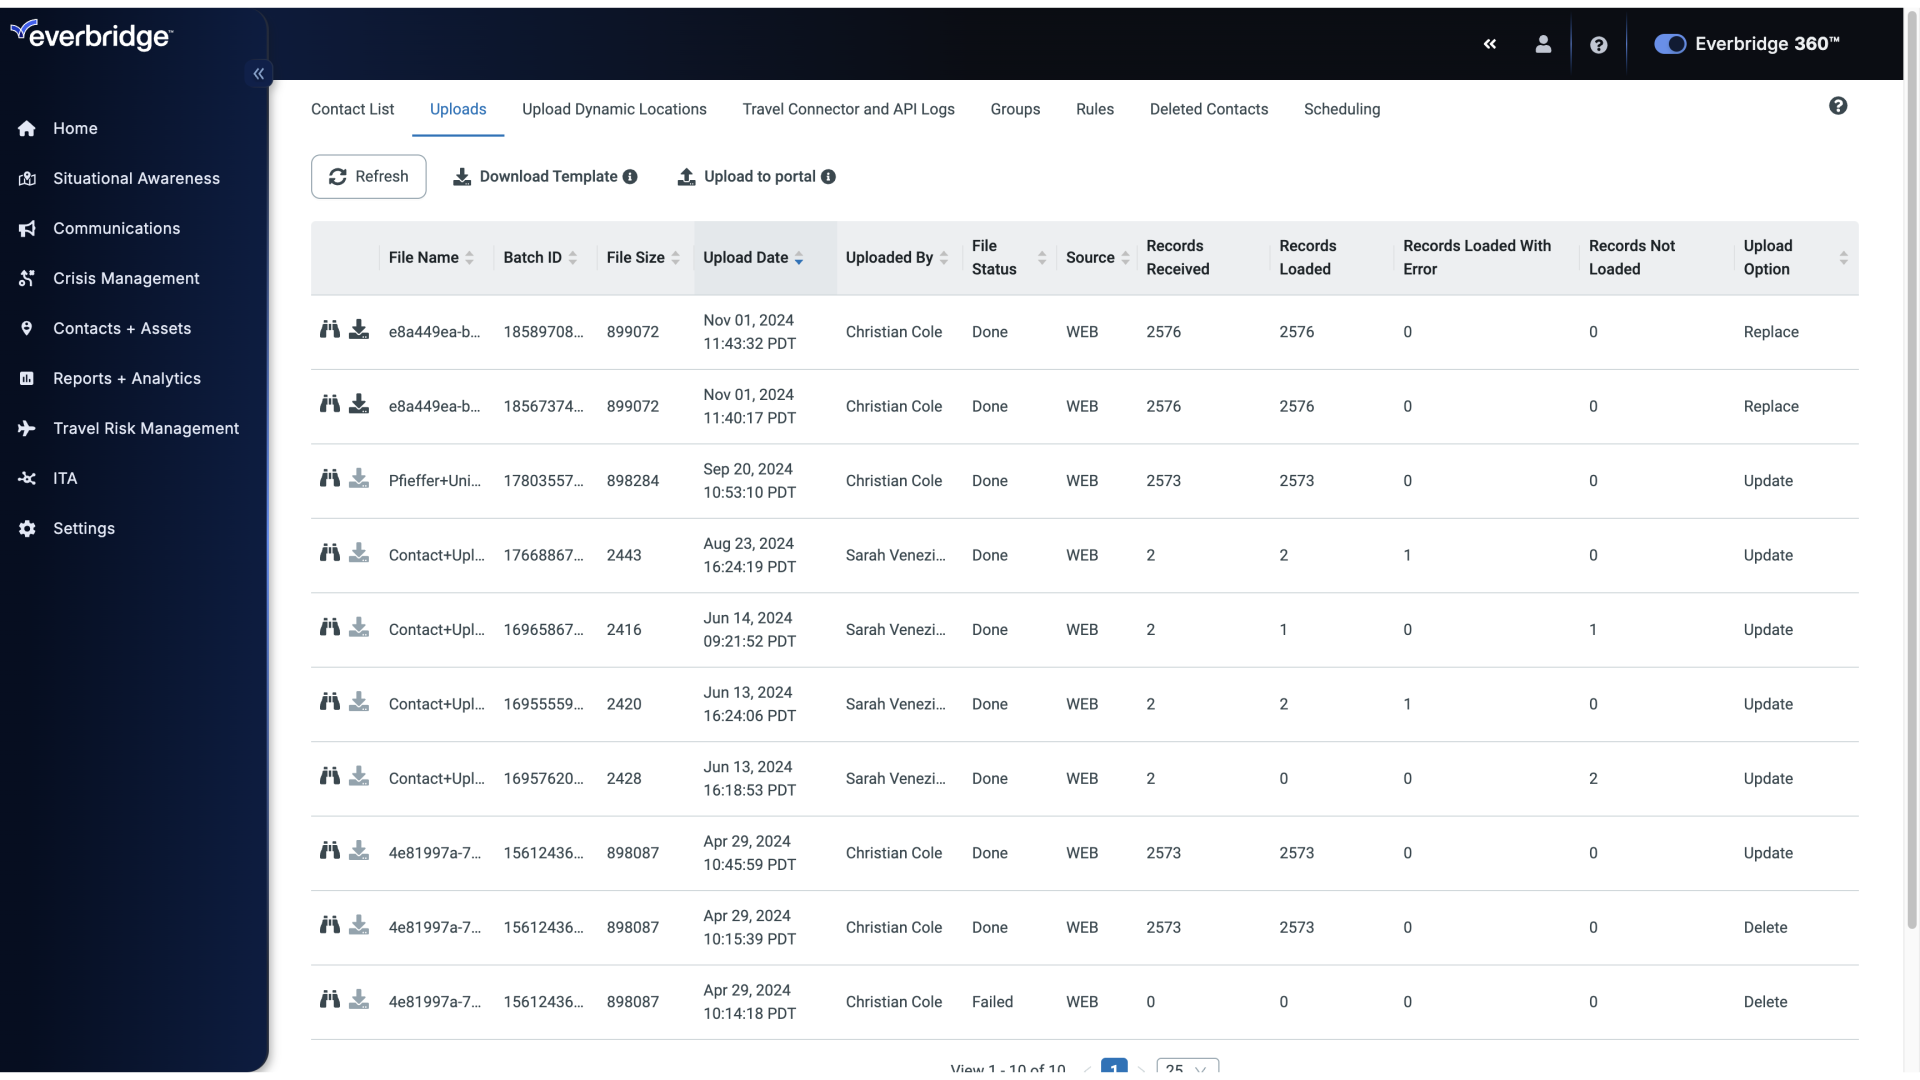
15. Uploads
It's a best practice to make sure that the upload went smoothly, and the information was added without issues.
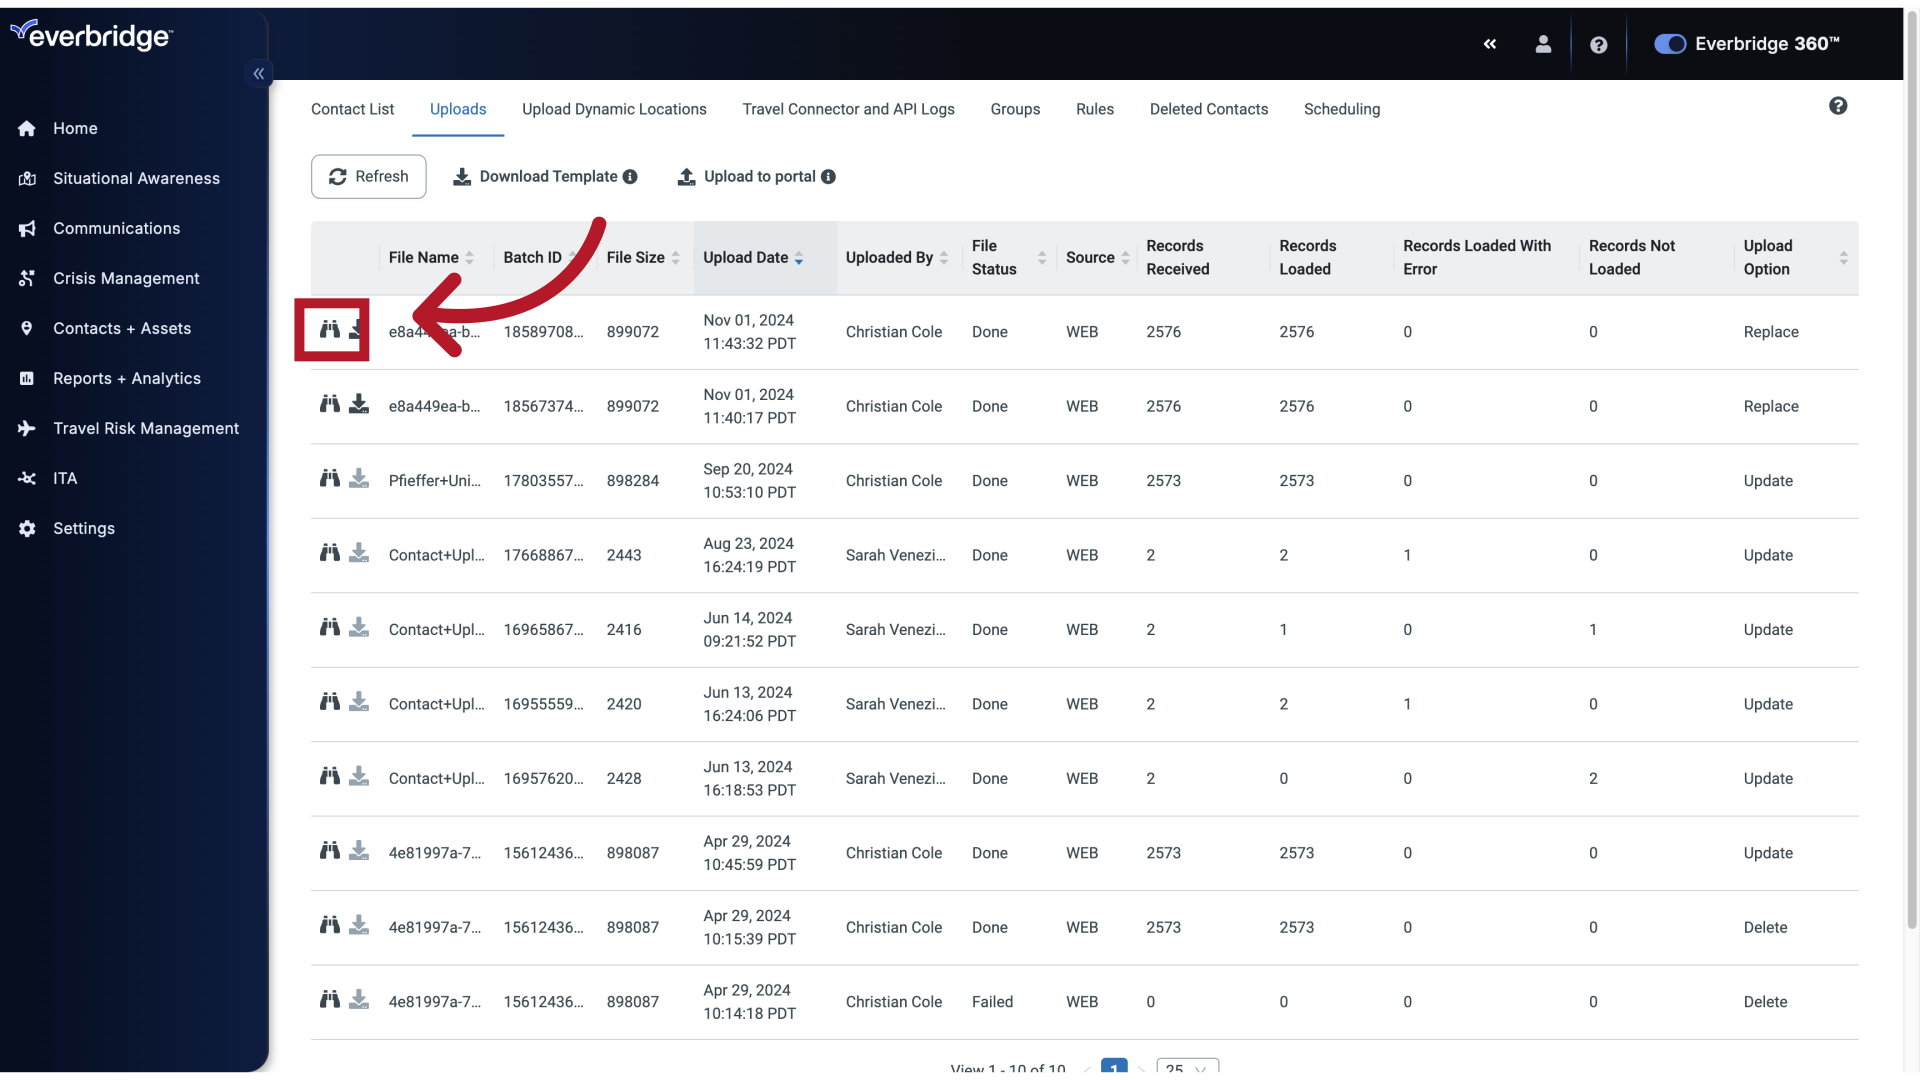
16. Uploads
This is done by clicking the Binoculars beside the upload.
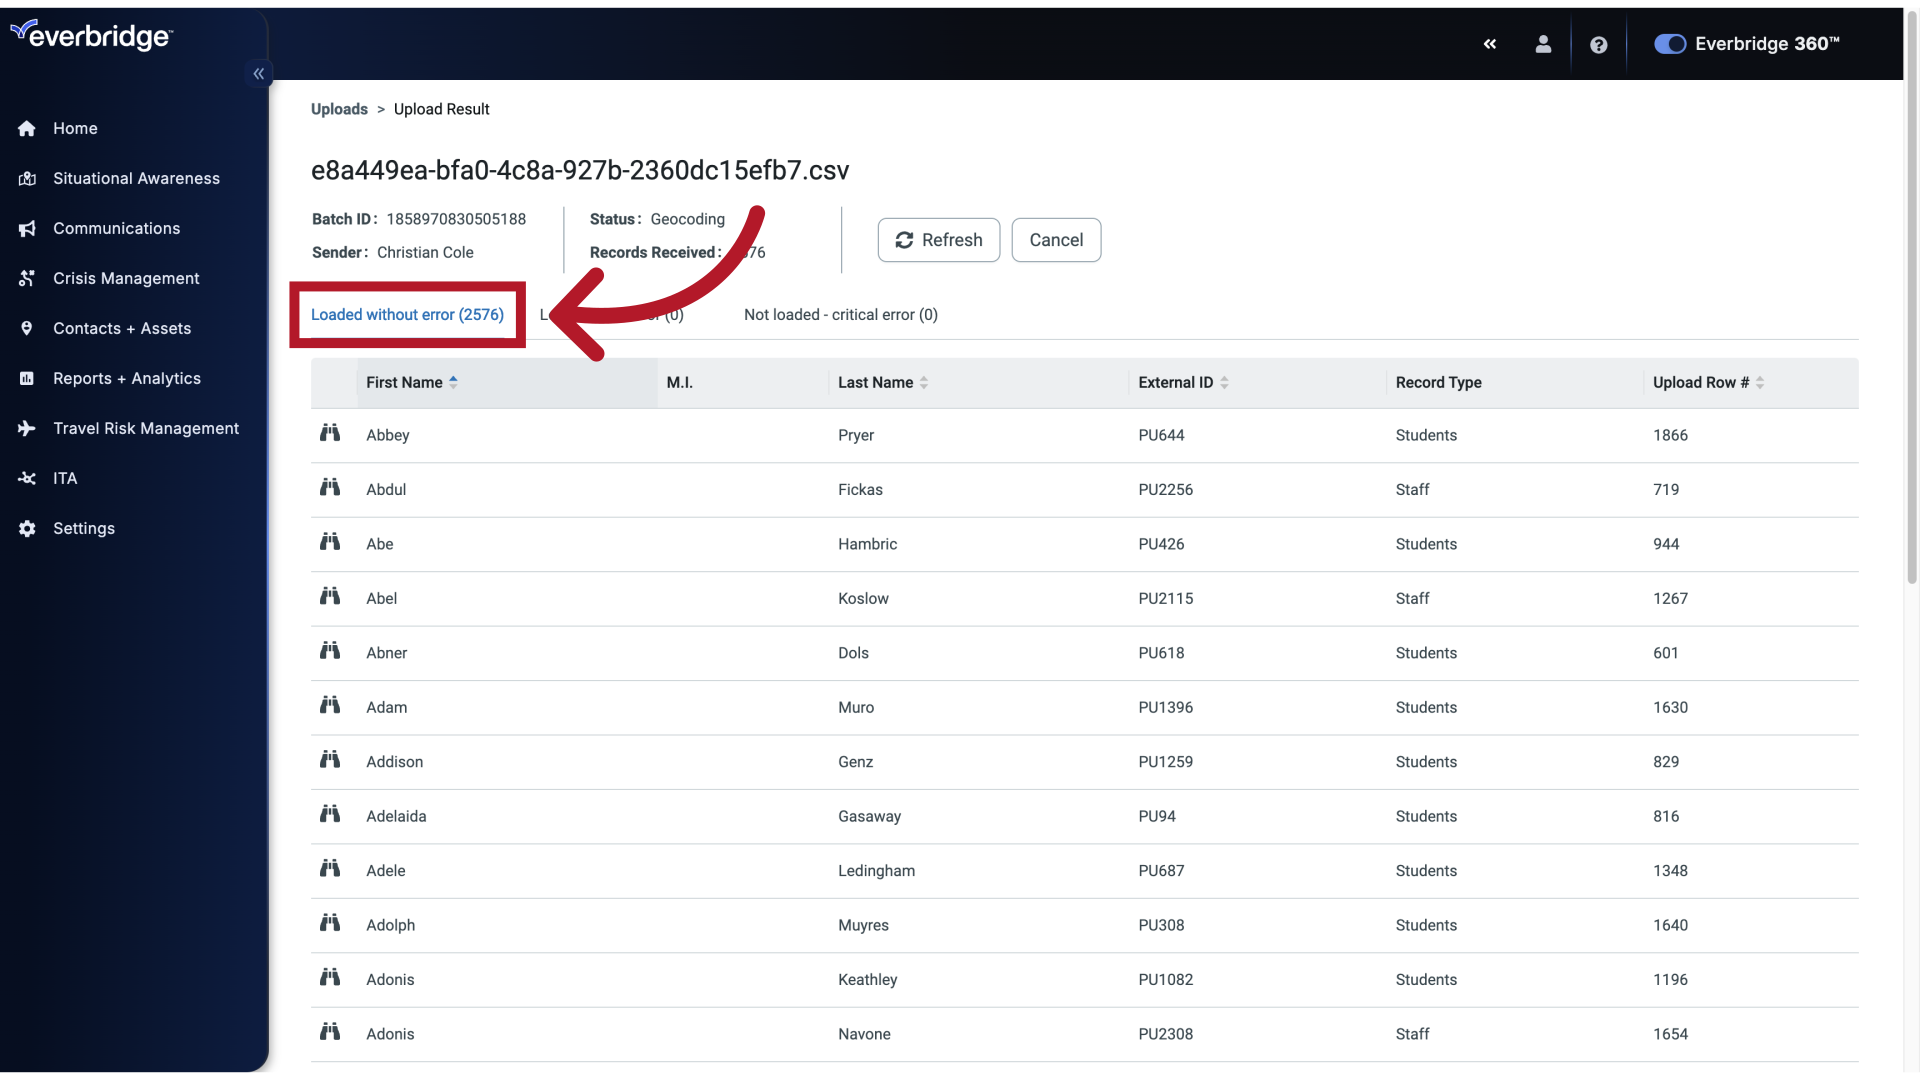
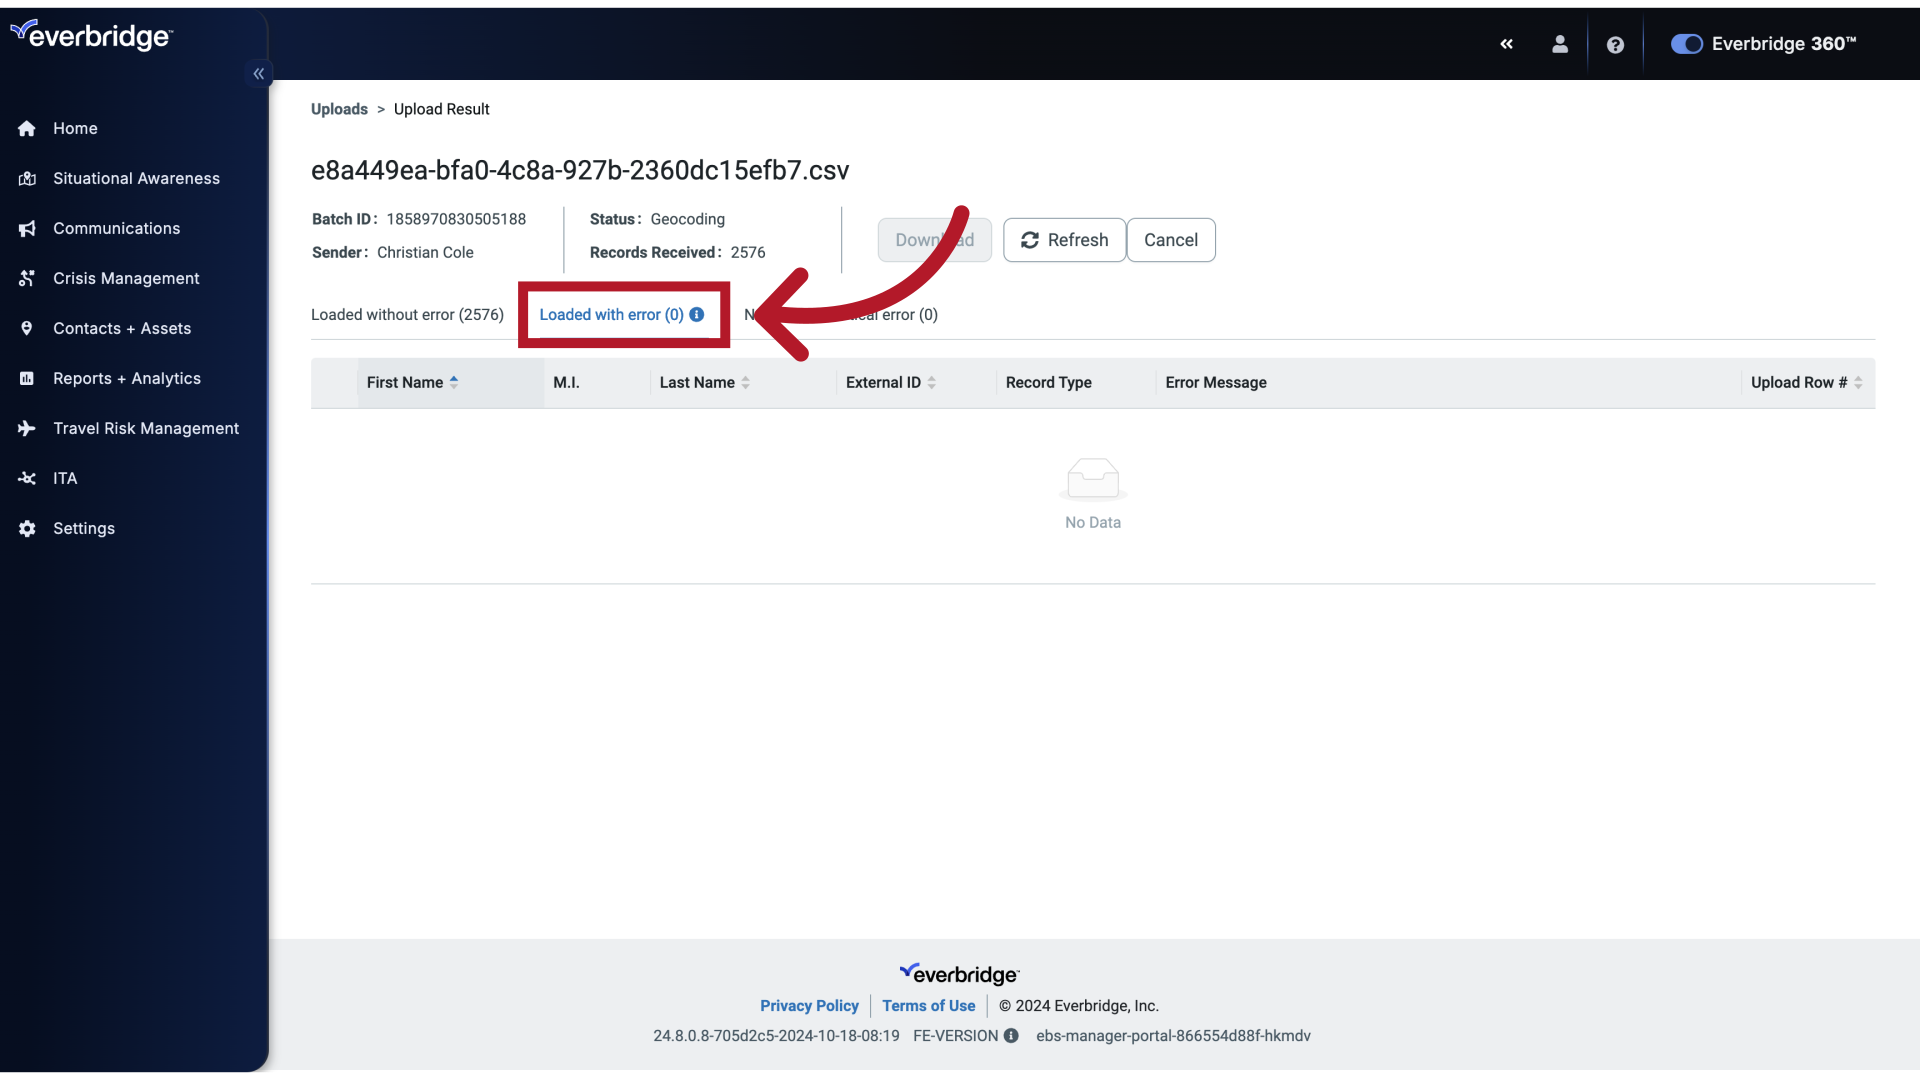
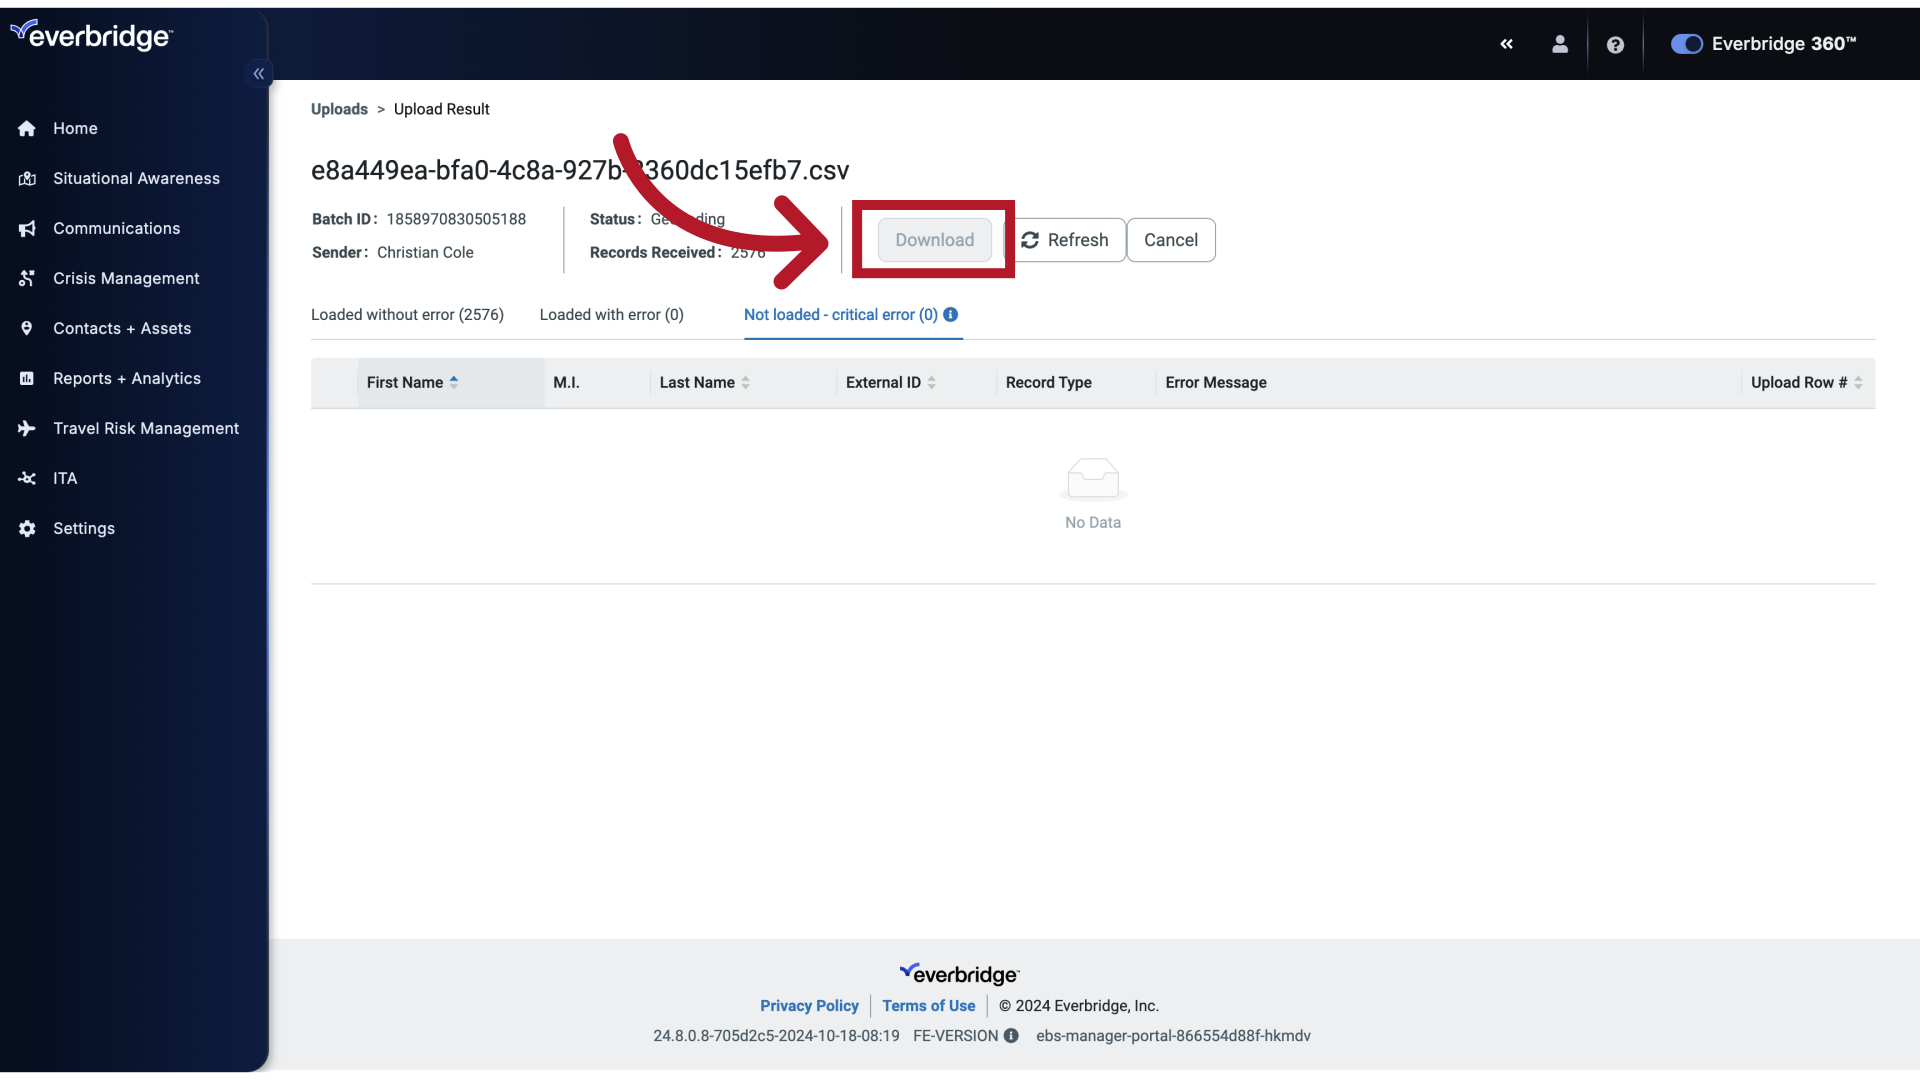
17. Upload Result
This brings you to a screen that breaks down all of the possible outcomes
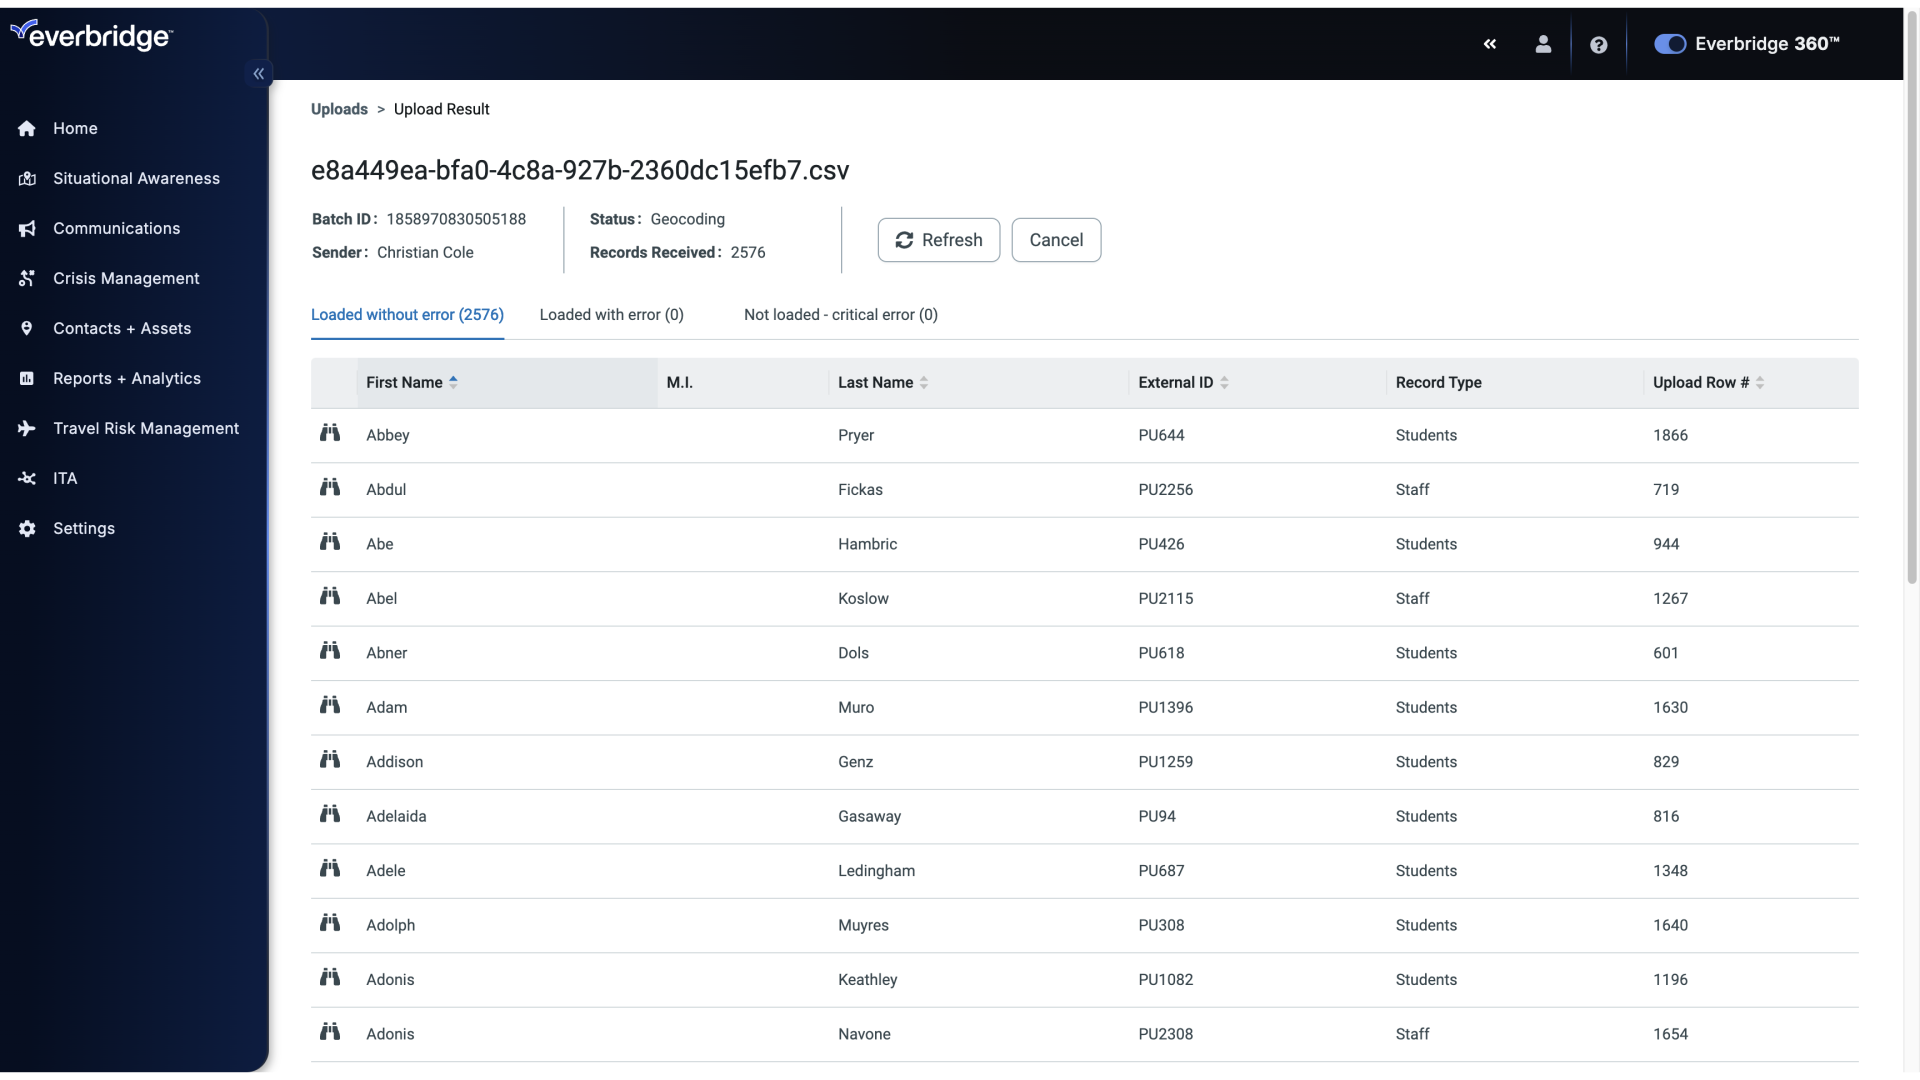
18. Loaded without error
Loaded without error.
19. Loaded with error
Loaded with error.
20. Not loaded - critical error
And Not loaded - critical error.
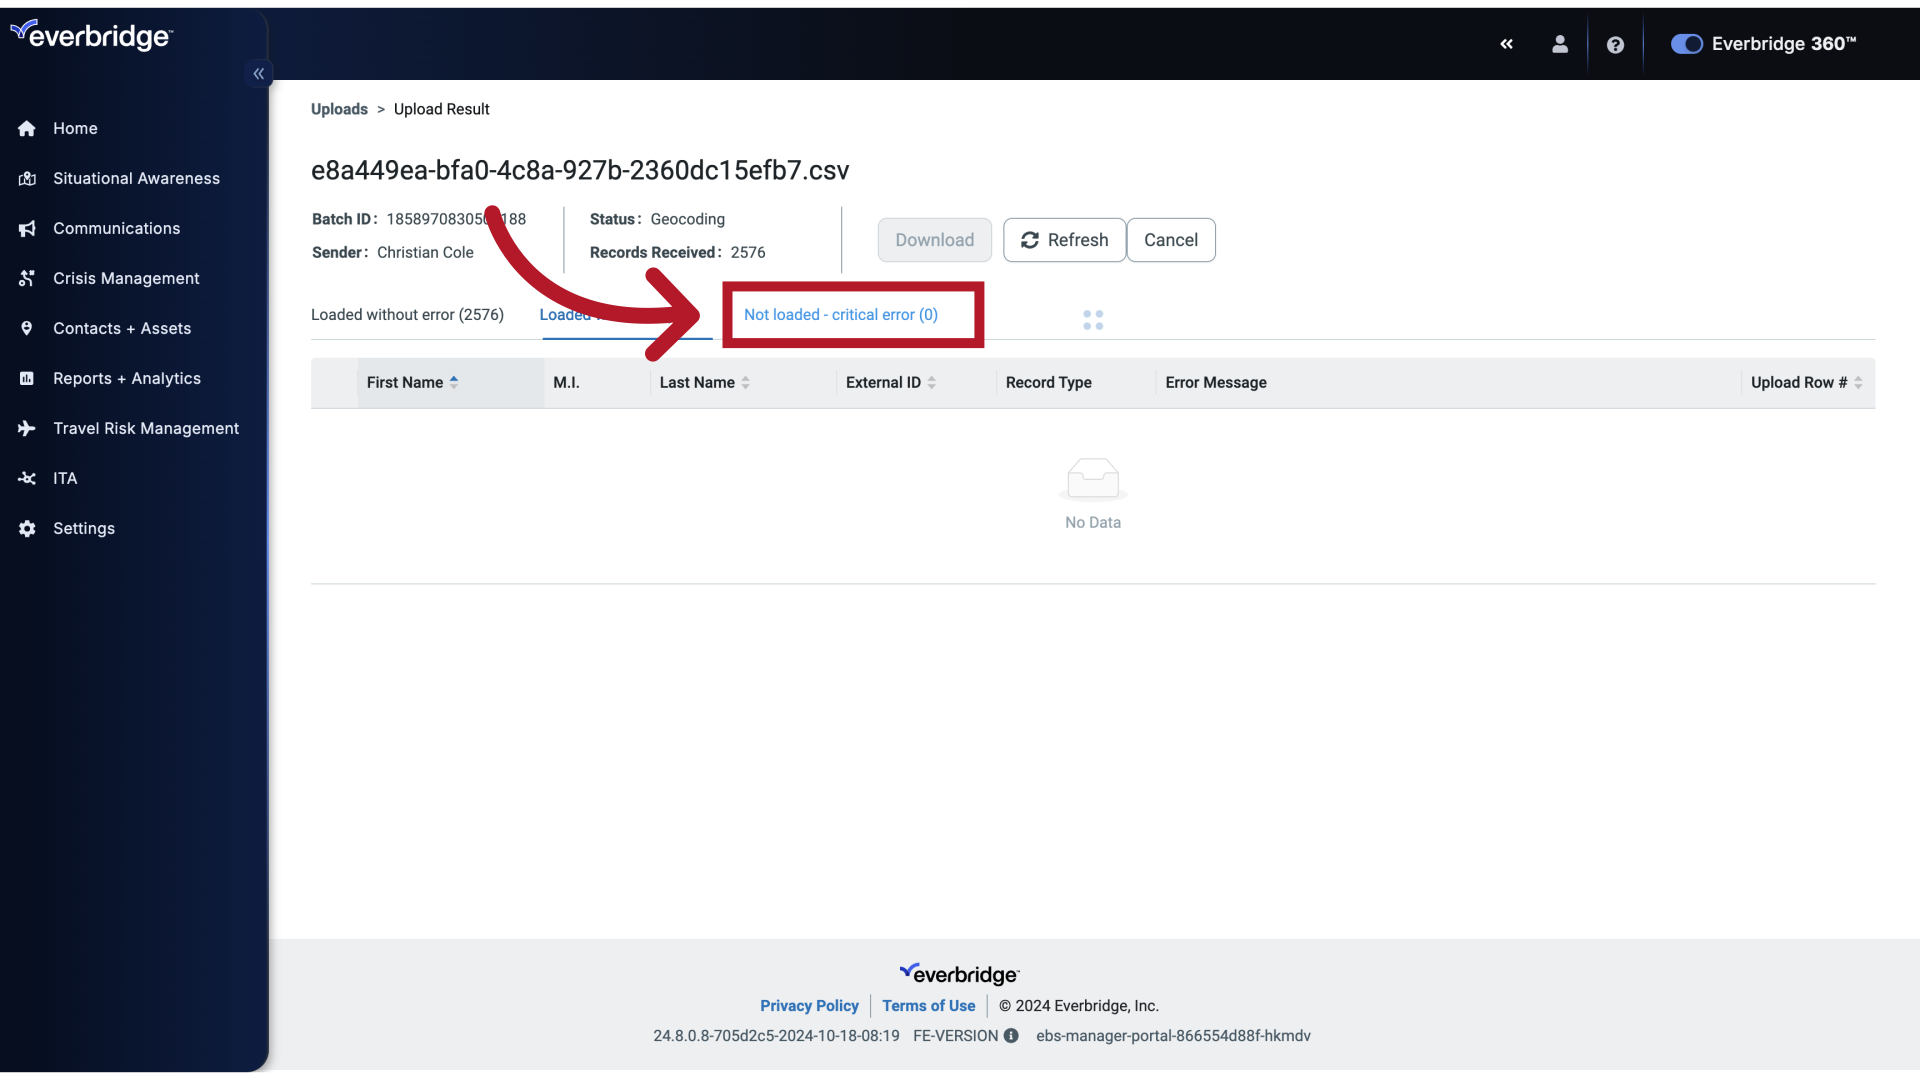
21. Download
The download button on each tab will let you download a file containing just those affected records. That way, you can quickly make any necessary corrections and re upload.
This video outlines the steps necessary to upload contacts to Everbridge using the Replace option.