Topic
How to create an Account Administrator in Everbridge Suite.
Description
This guide will walk you through creating an Account Administrator in Everbridge. IMPORTANT: Only Account Administrators can create other Account Administrators.
1. Login Page
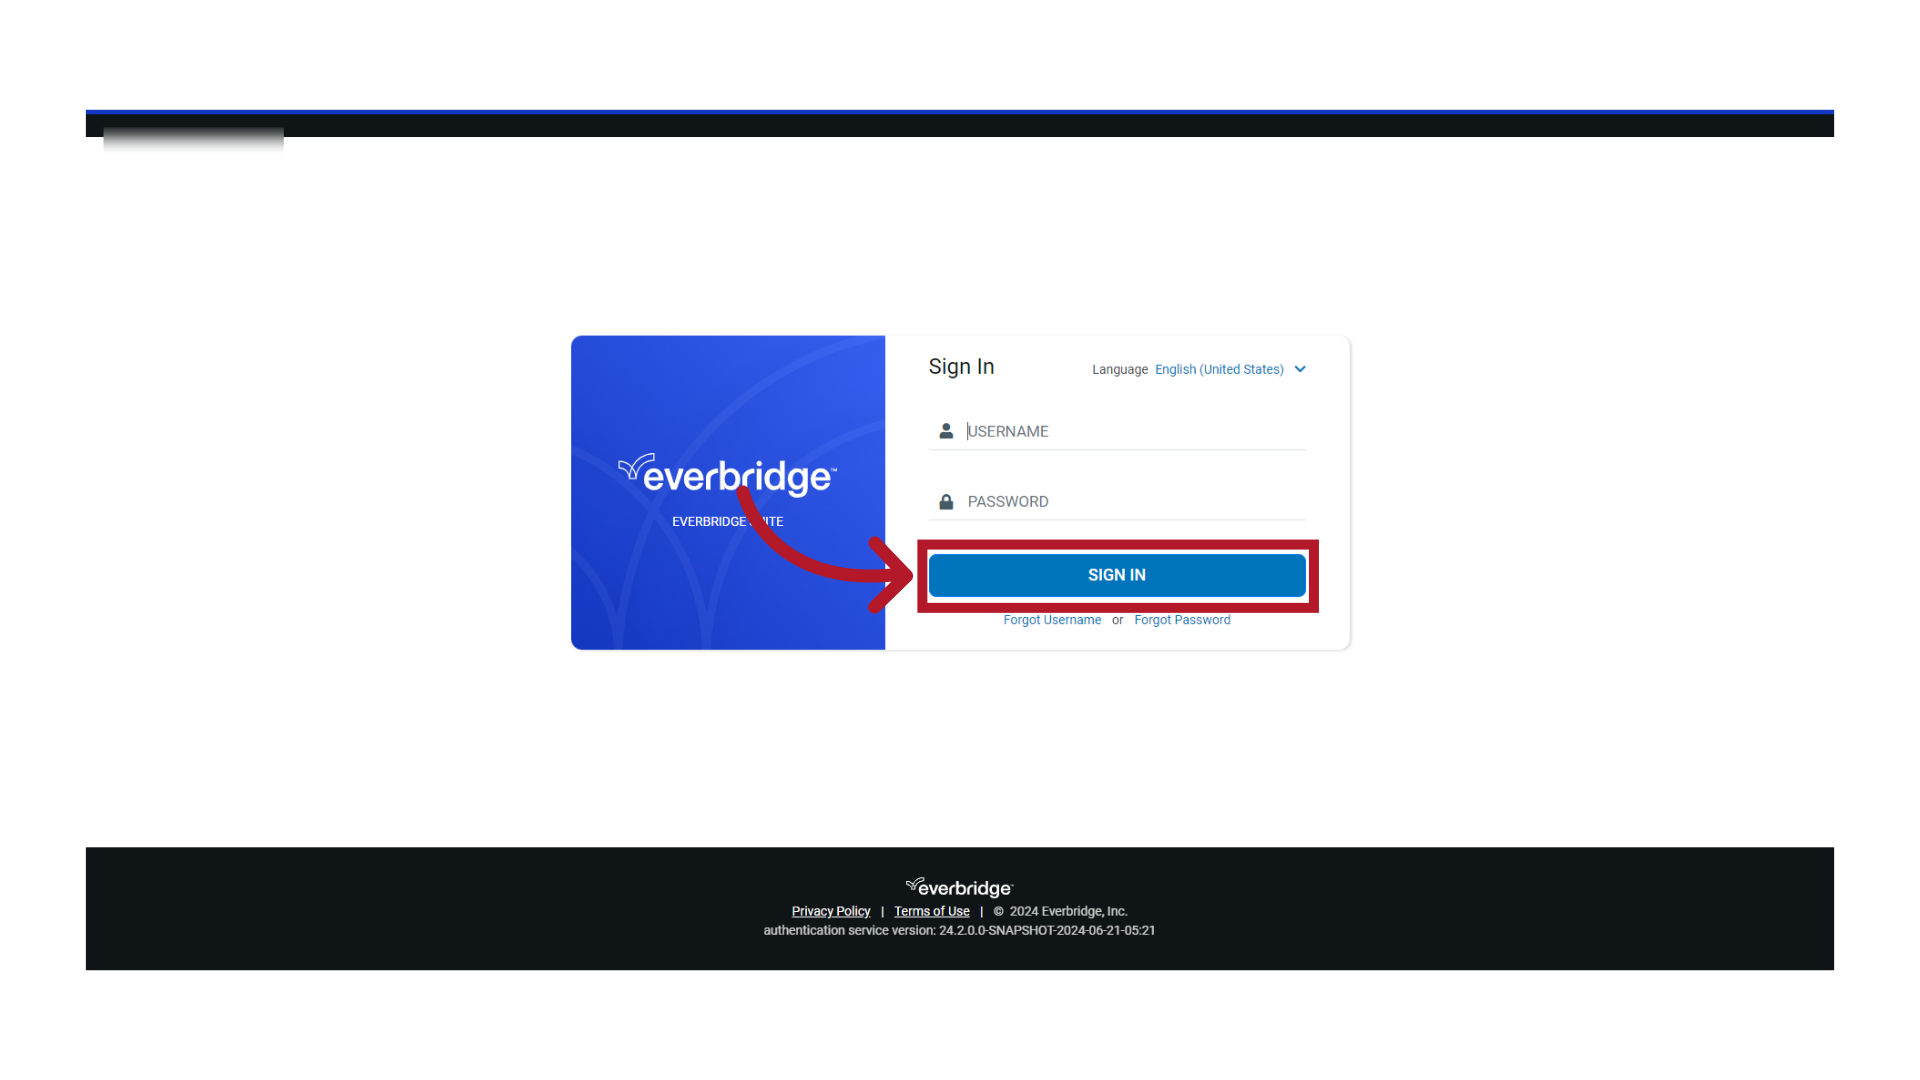
Sign in to the Manager Portal using your Account Administrator credentials.
2. Manager Portal
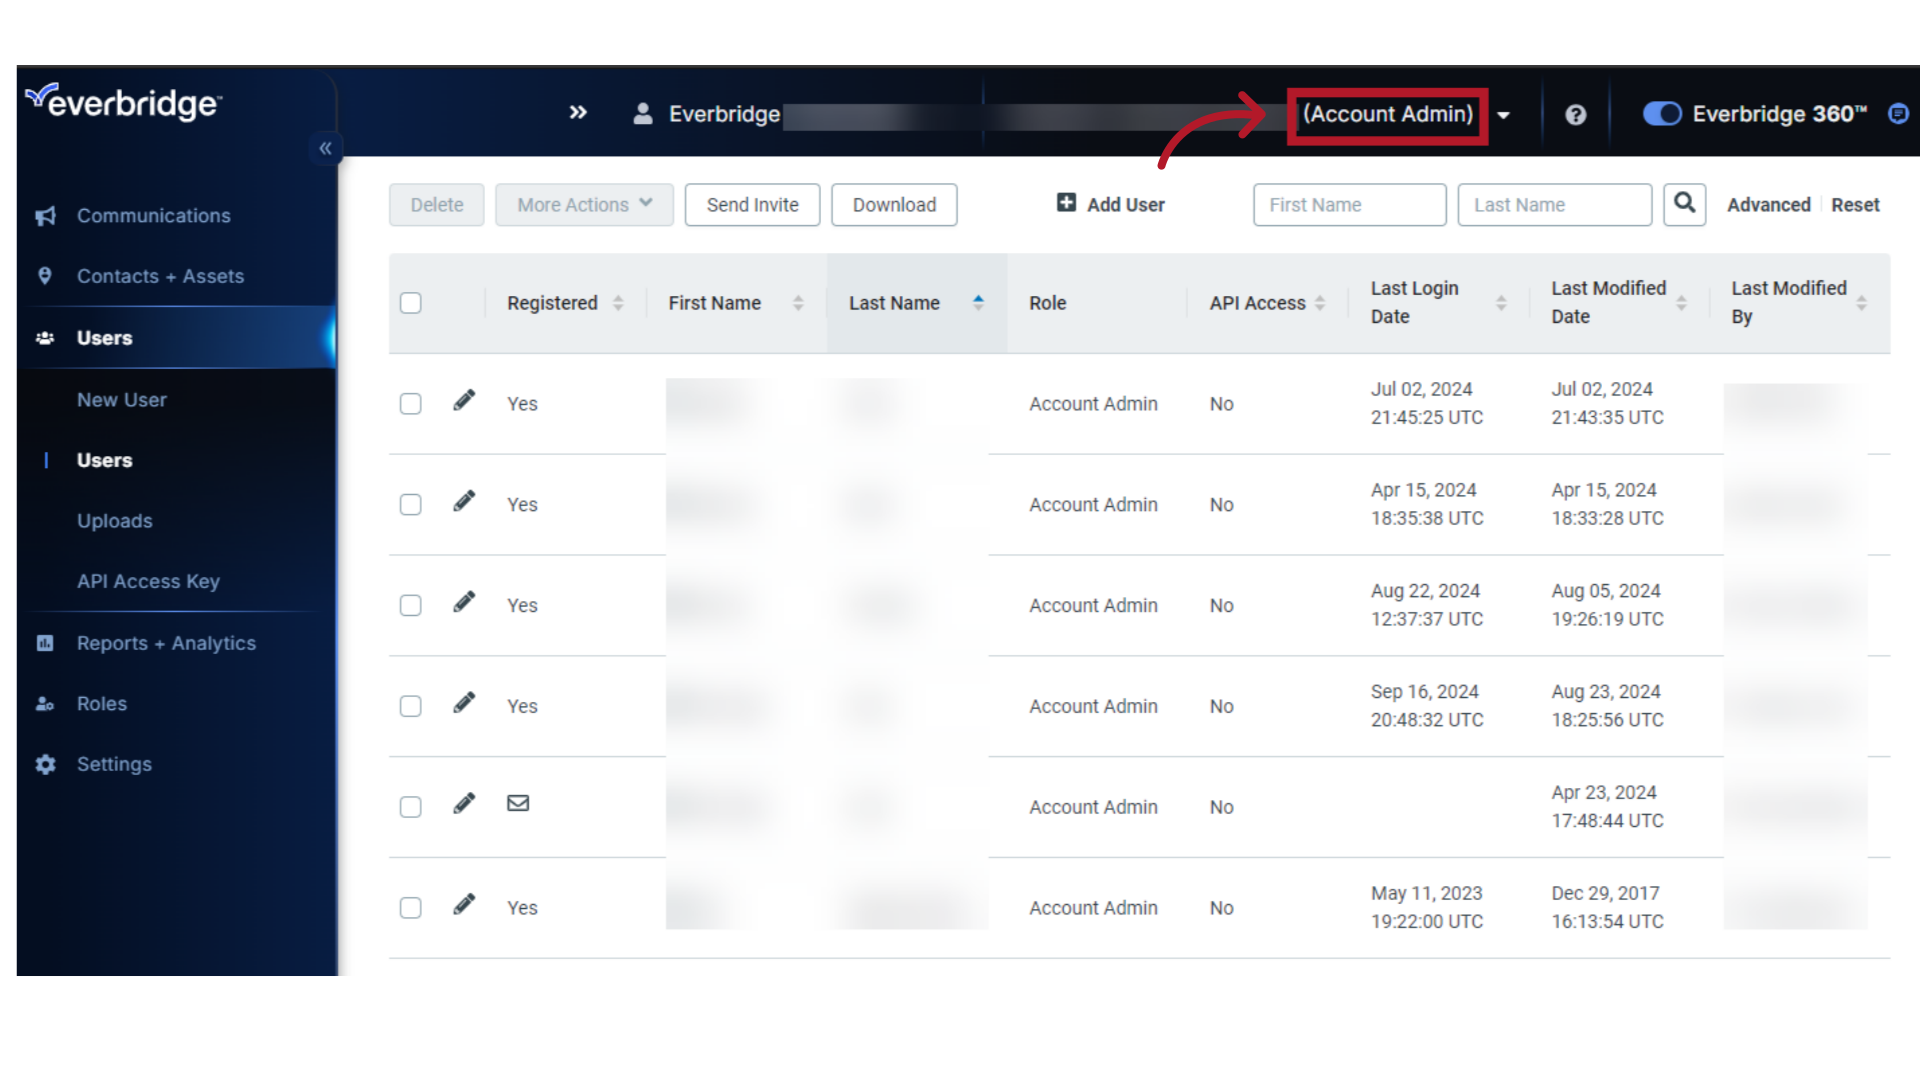
Ensure you are at the Account level.
3. Add New User
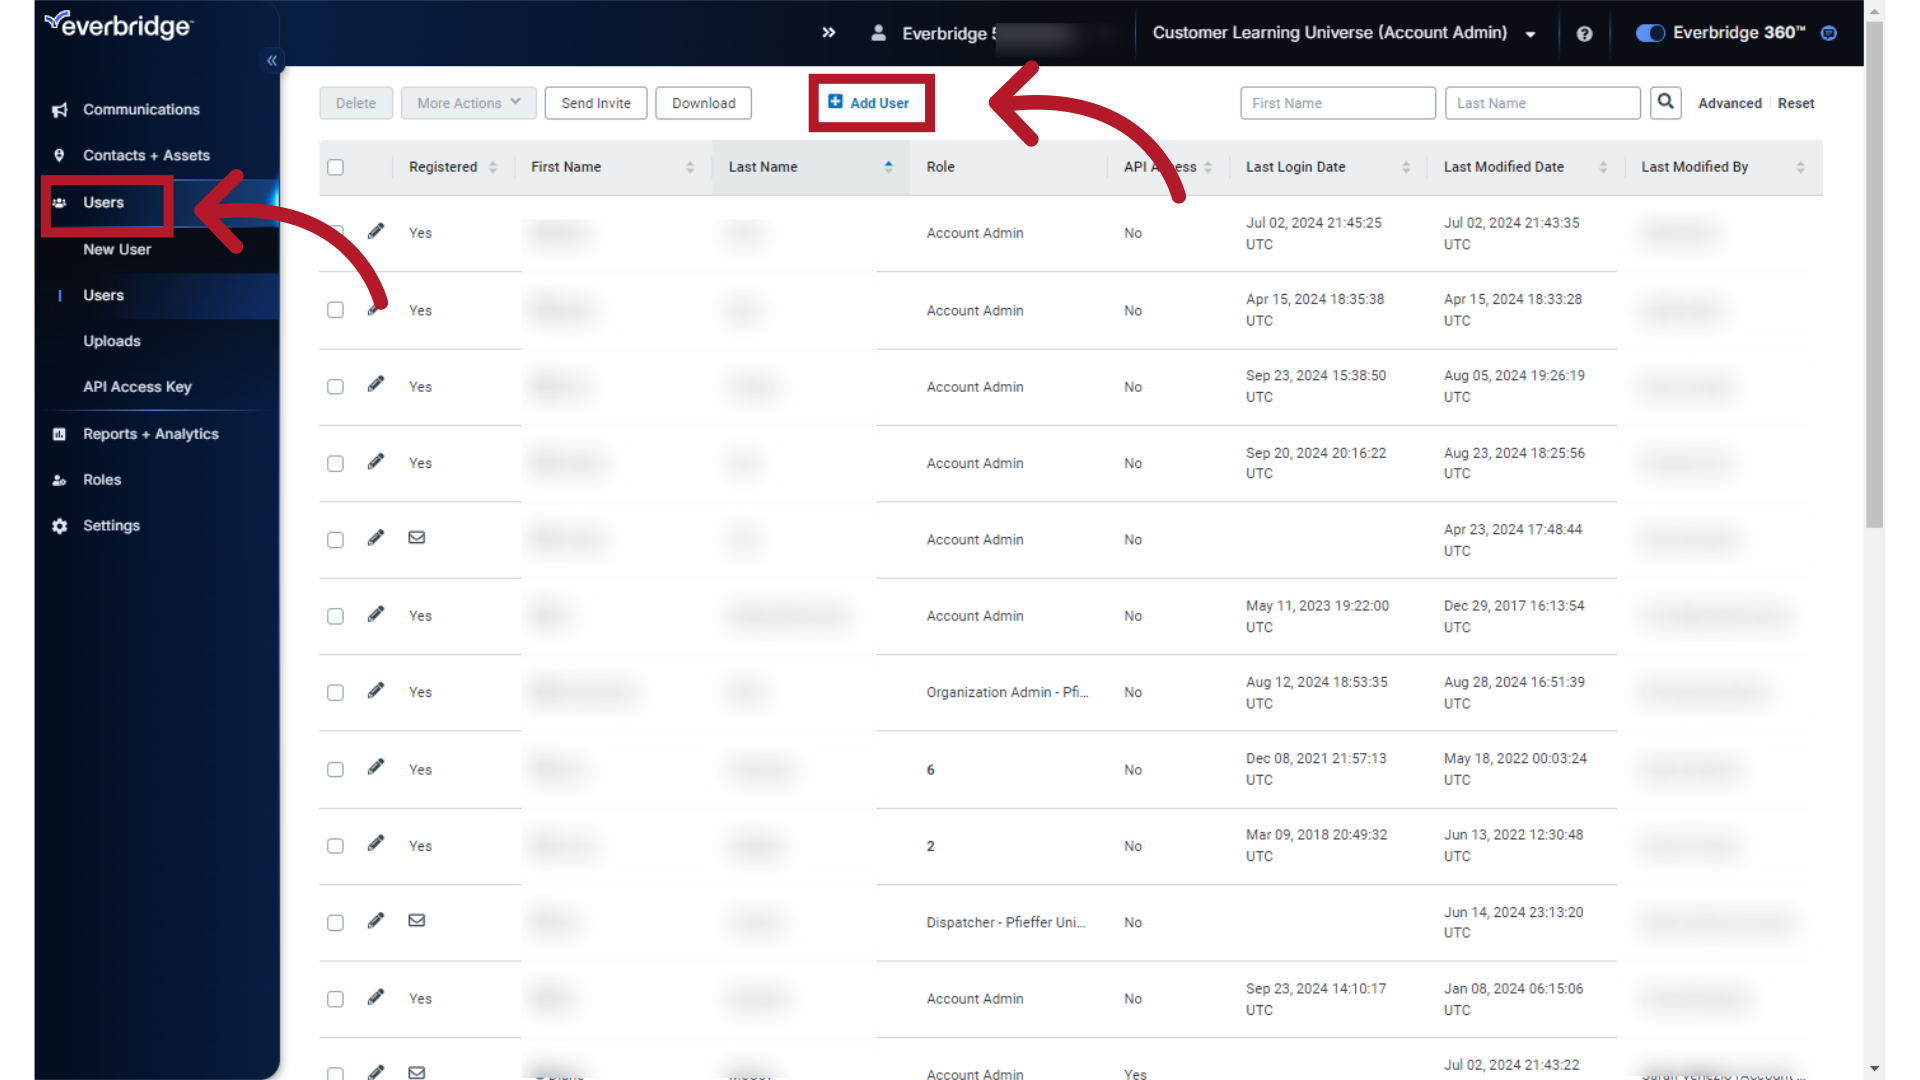
There are two ways to create a new user. 1) Select "Users", then select "+ Add User". or
4. New User
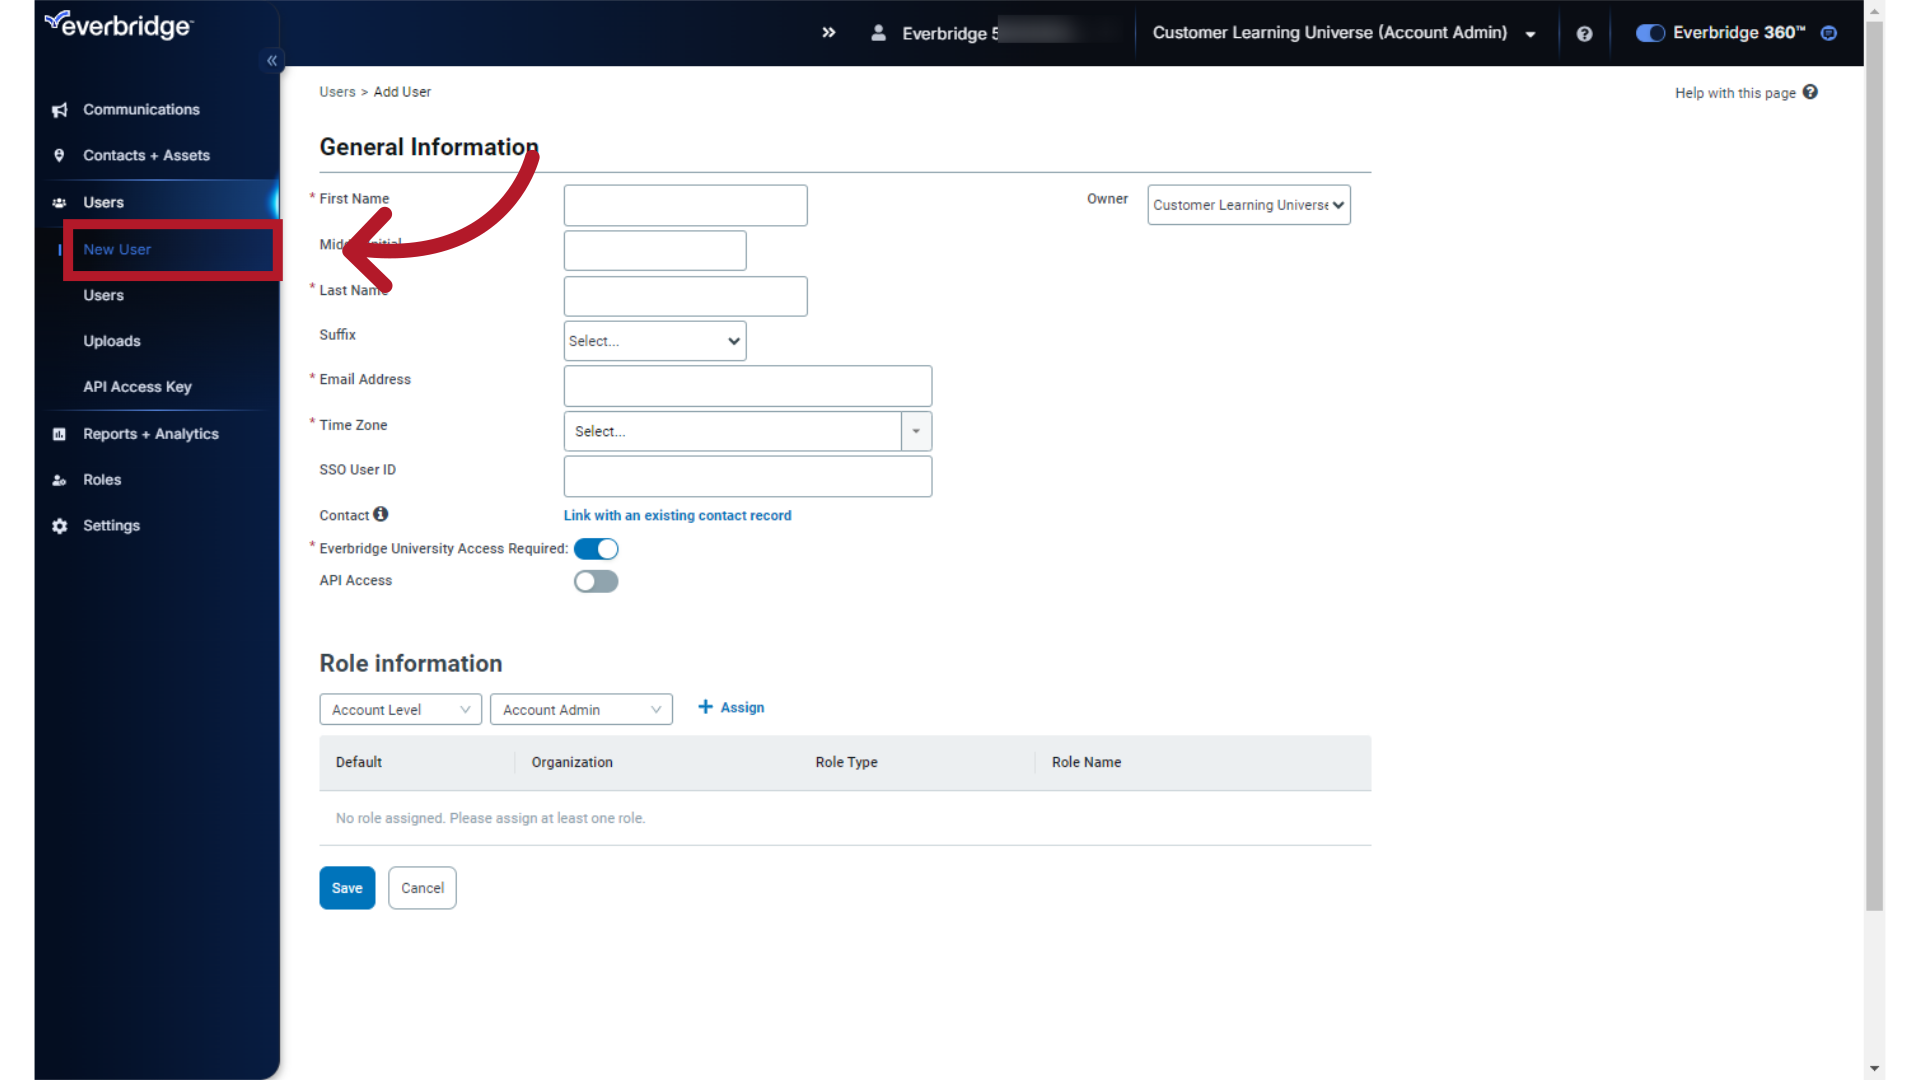
2) Select "New User".
5. General Information
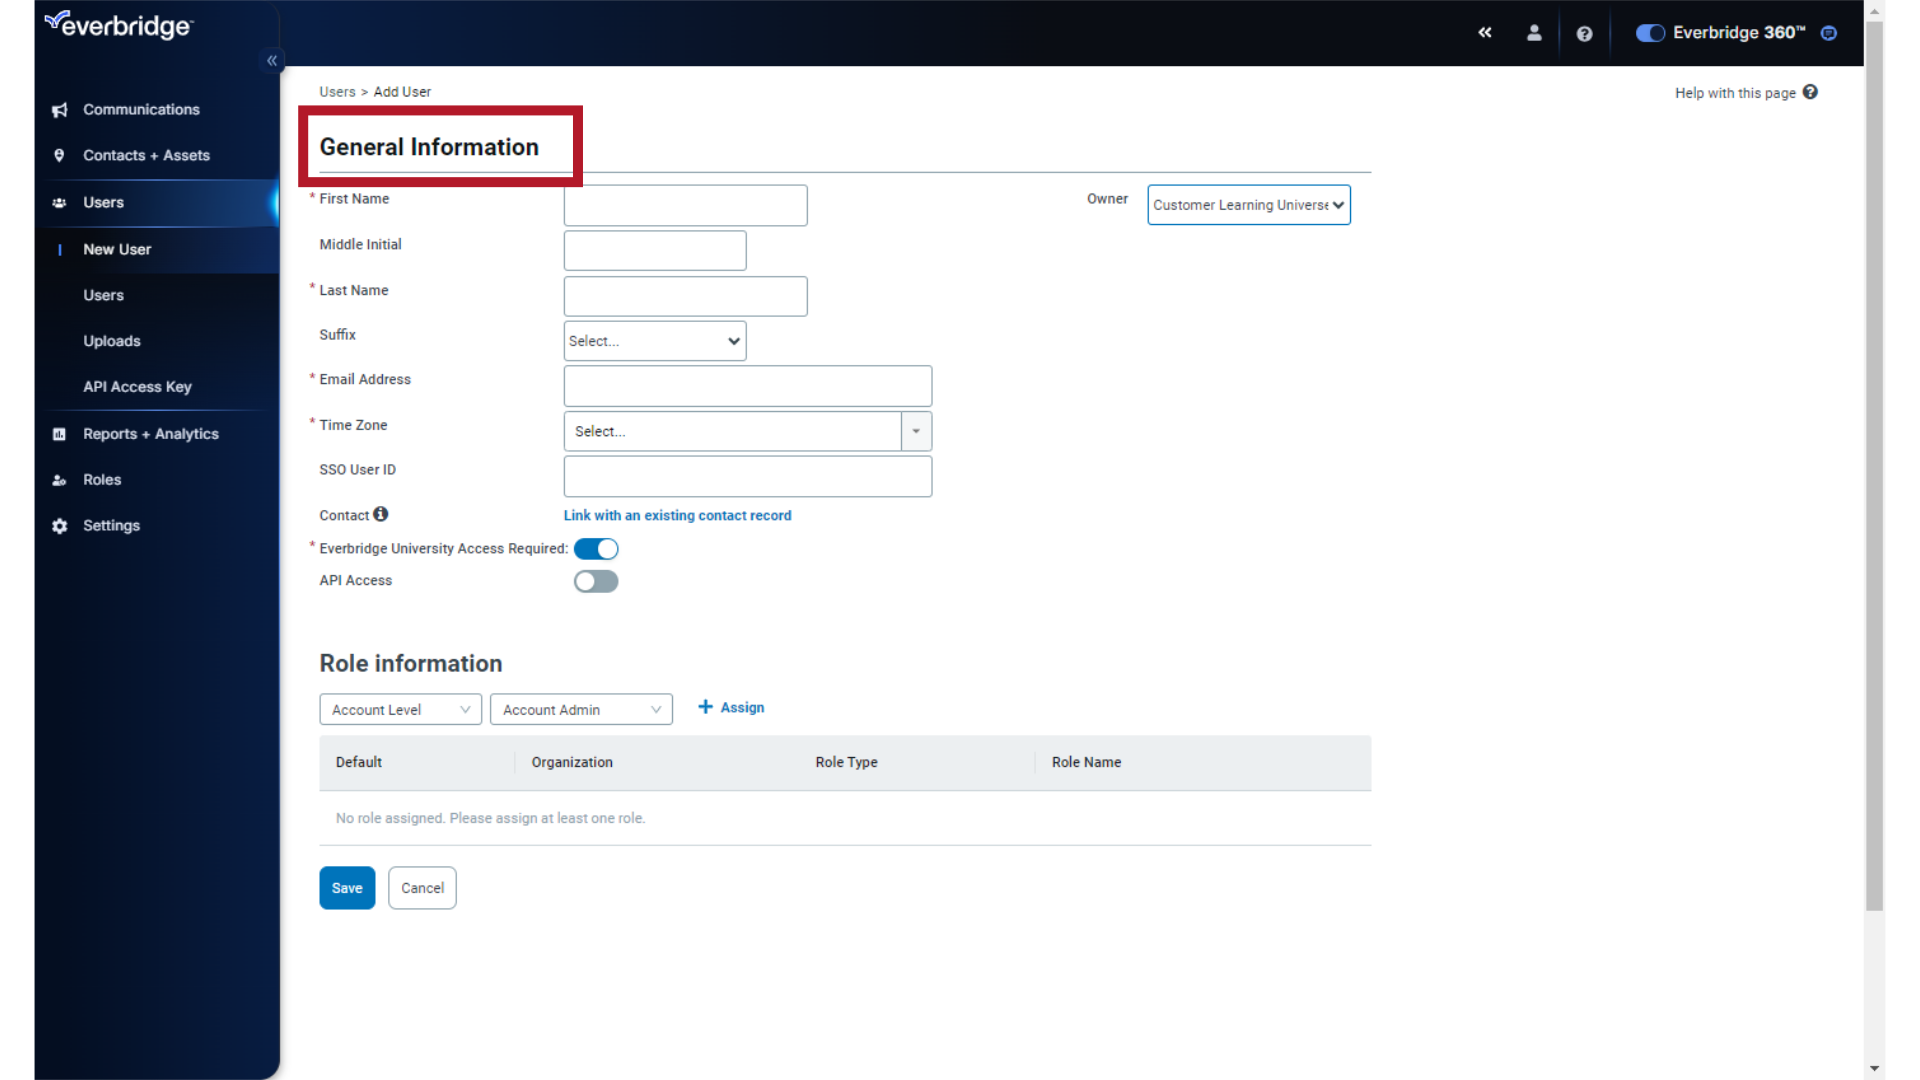
Fill in the General Information fields for the new user. Required fields are preceded by a red asterisk.
6. First Name
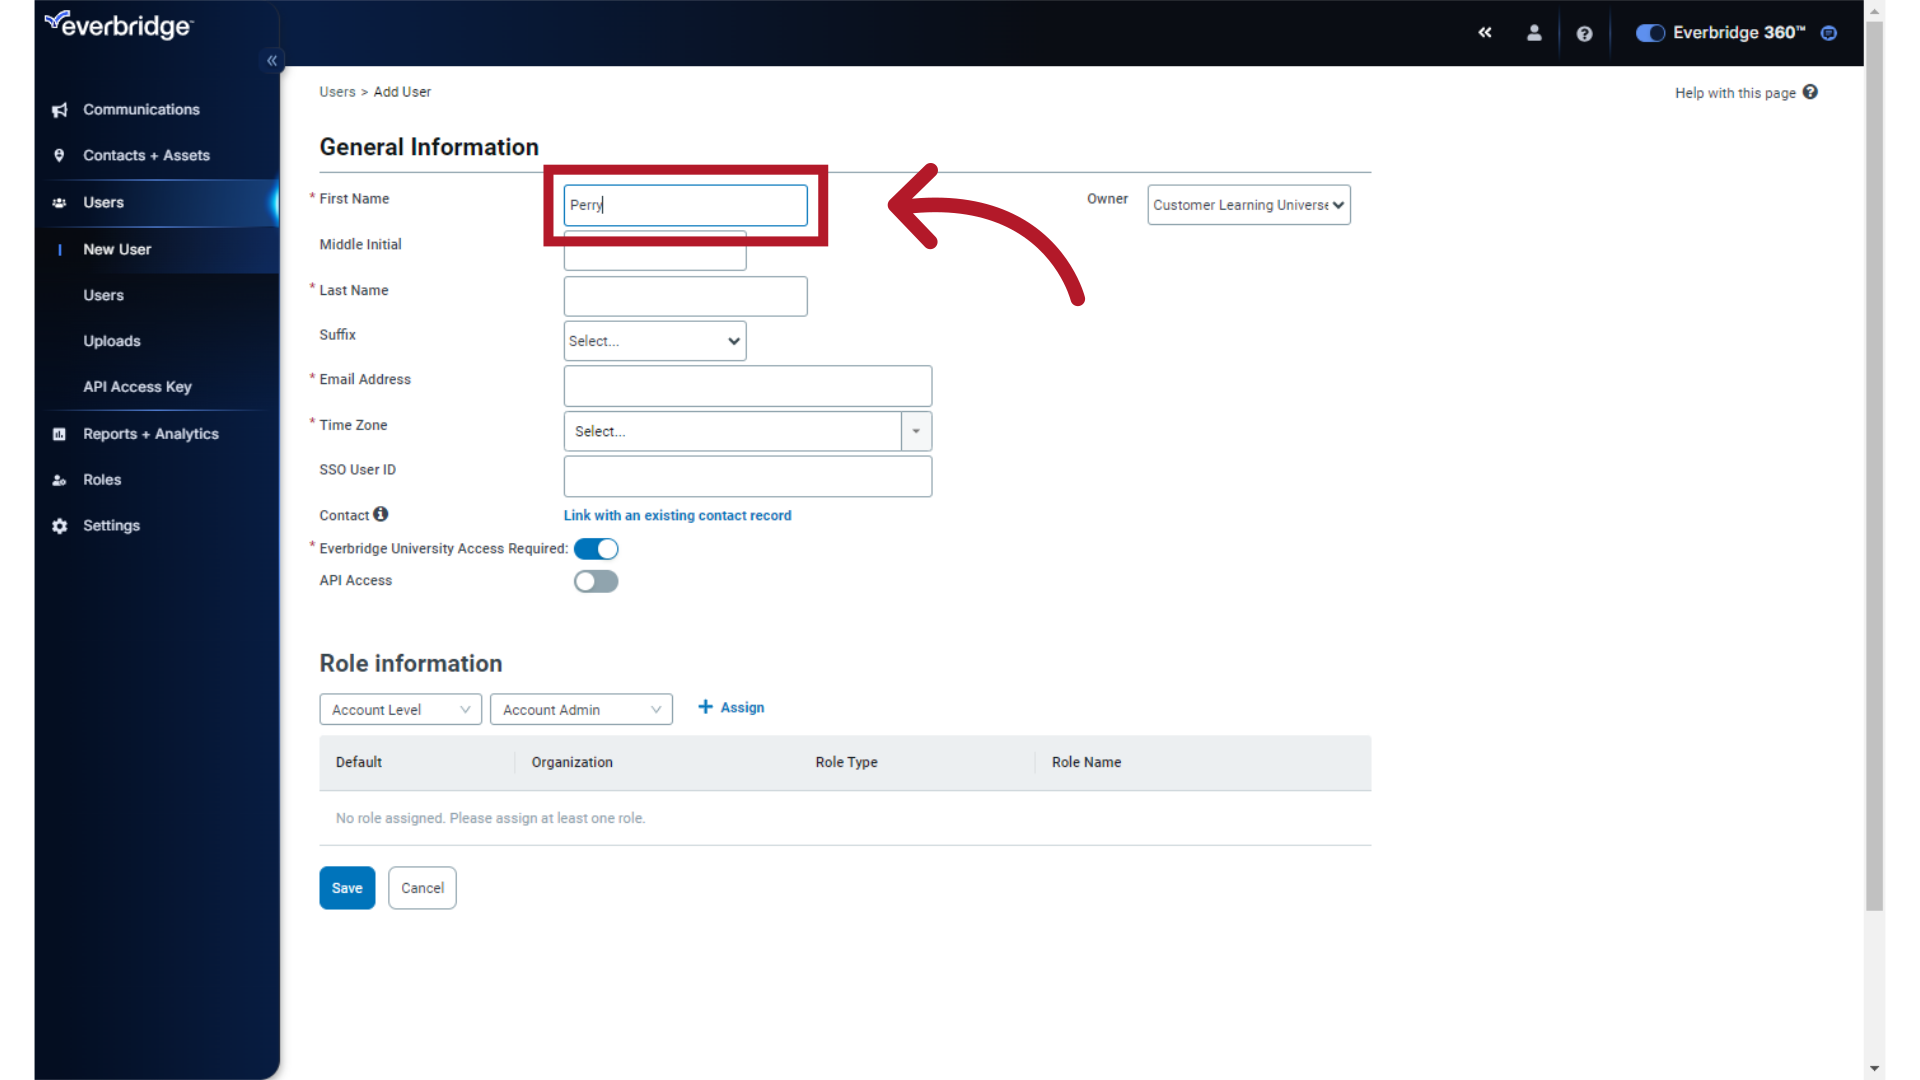
Enter the "First Name".
7. Last Name
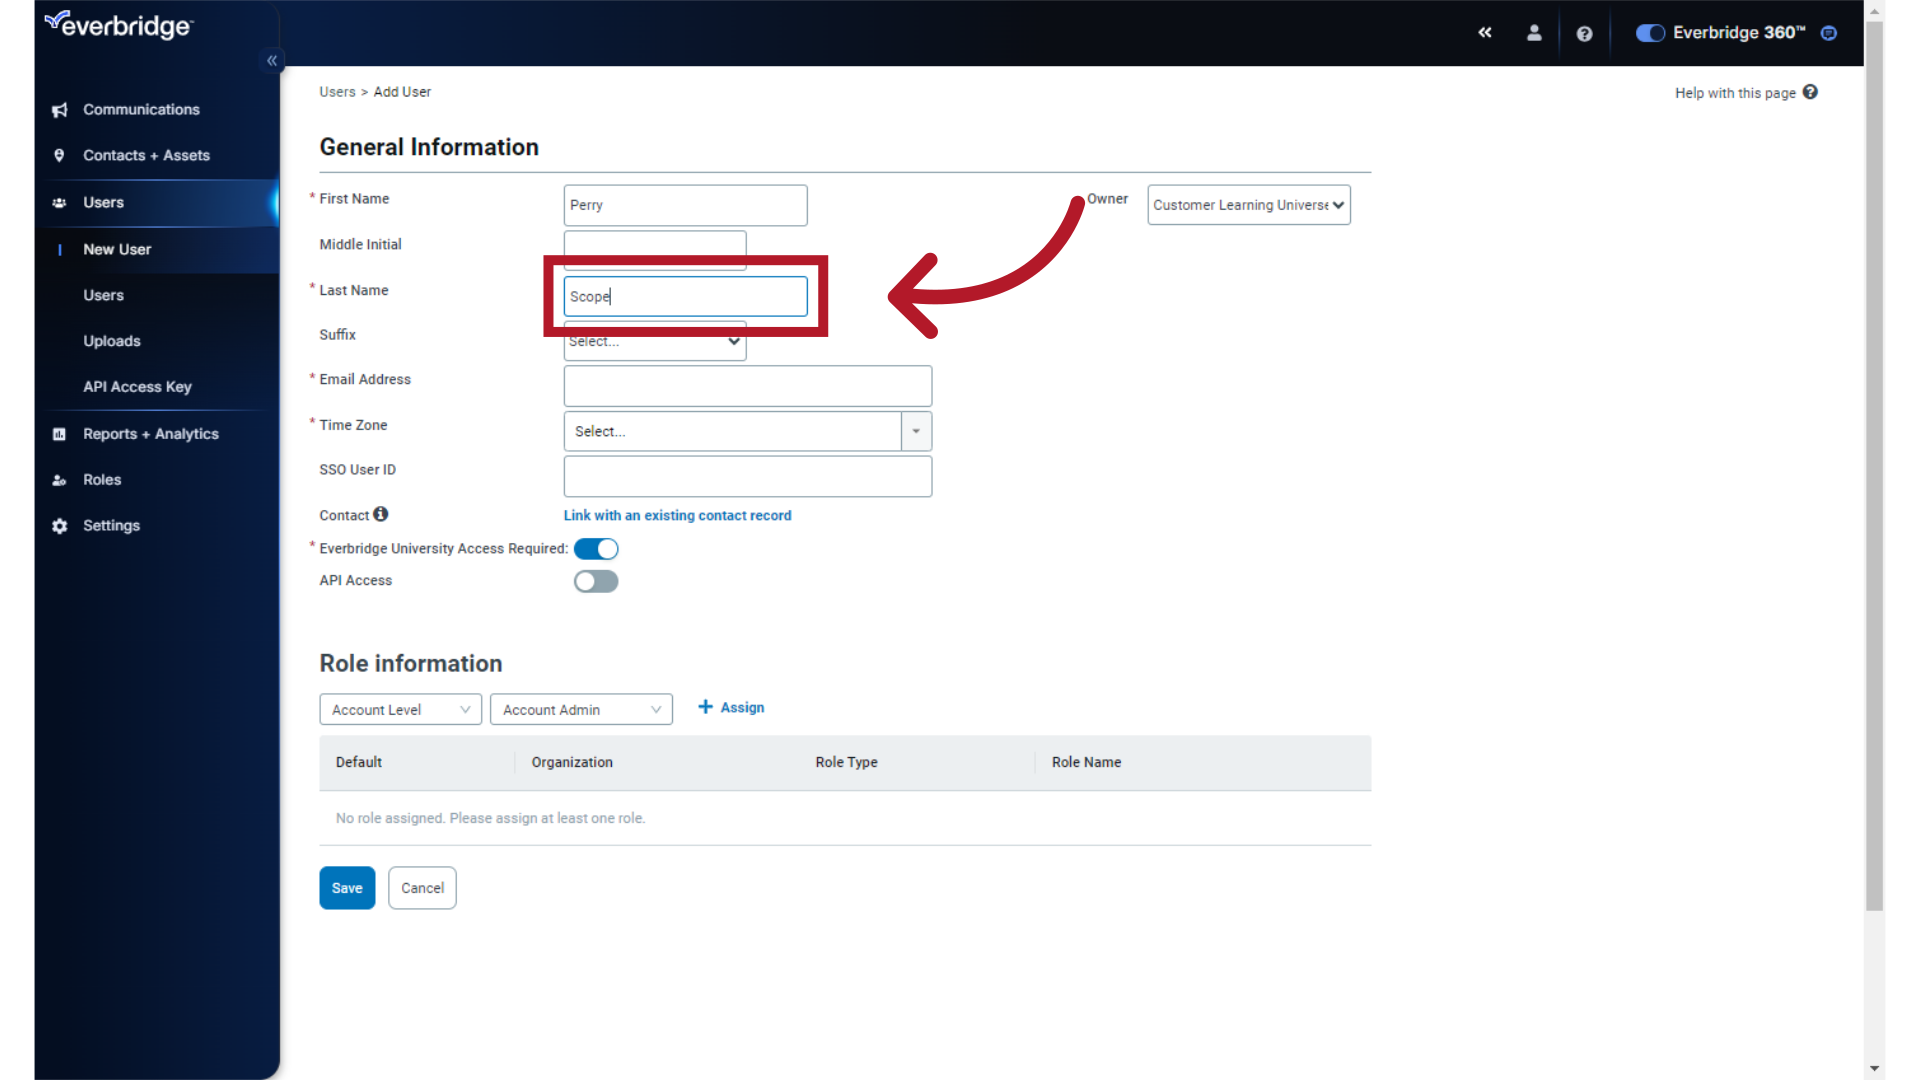
Enter the Last Name.
8. Email Address
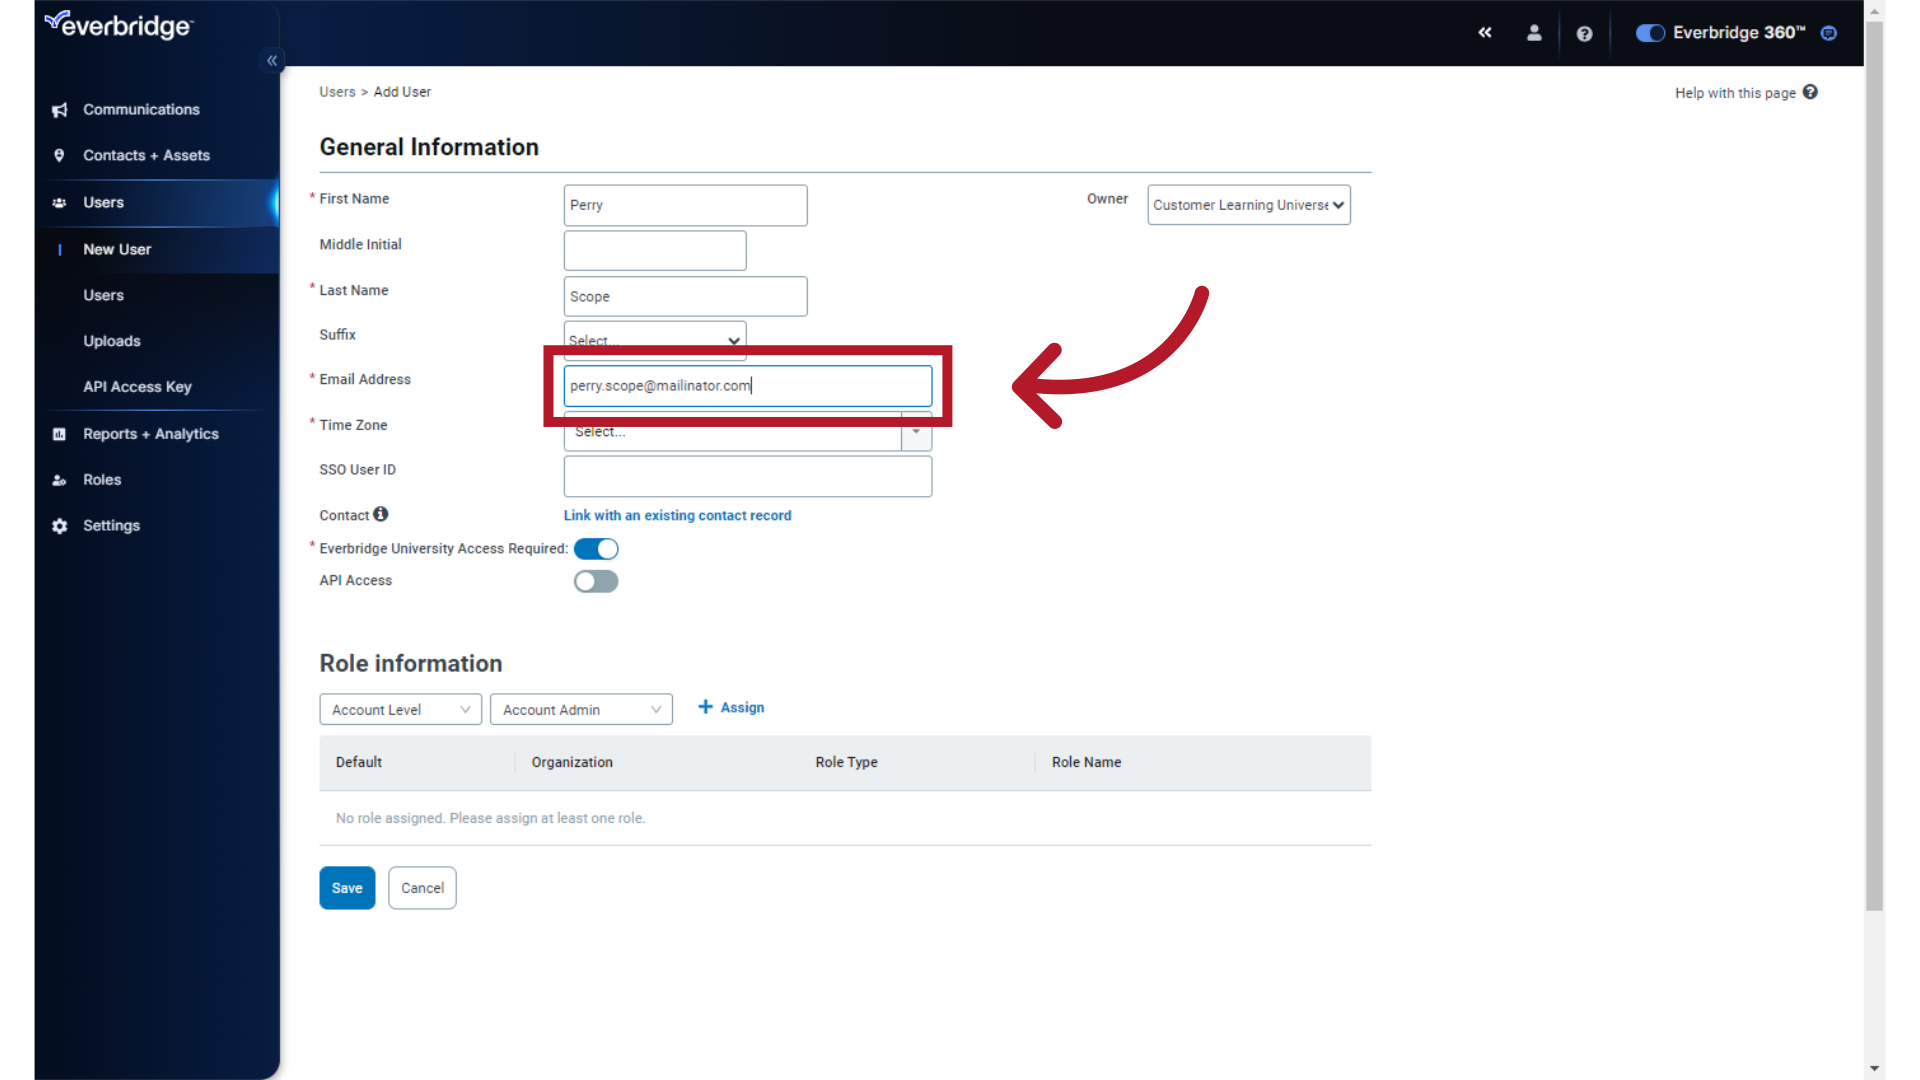
Enter the Email Address/
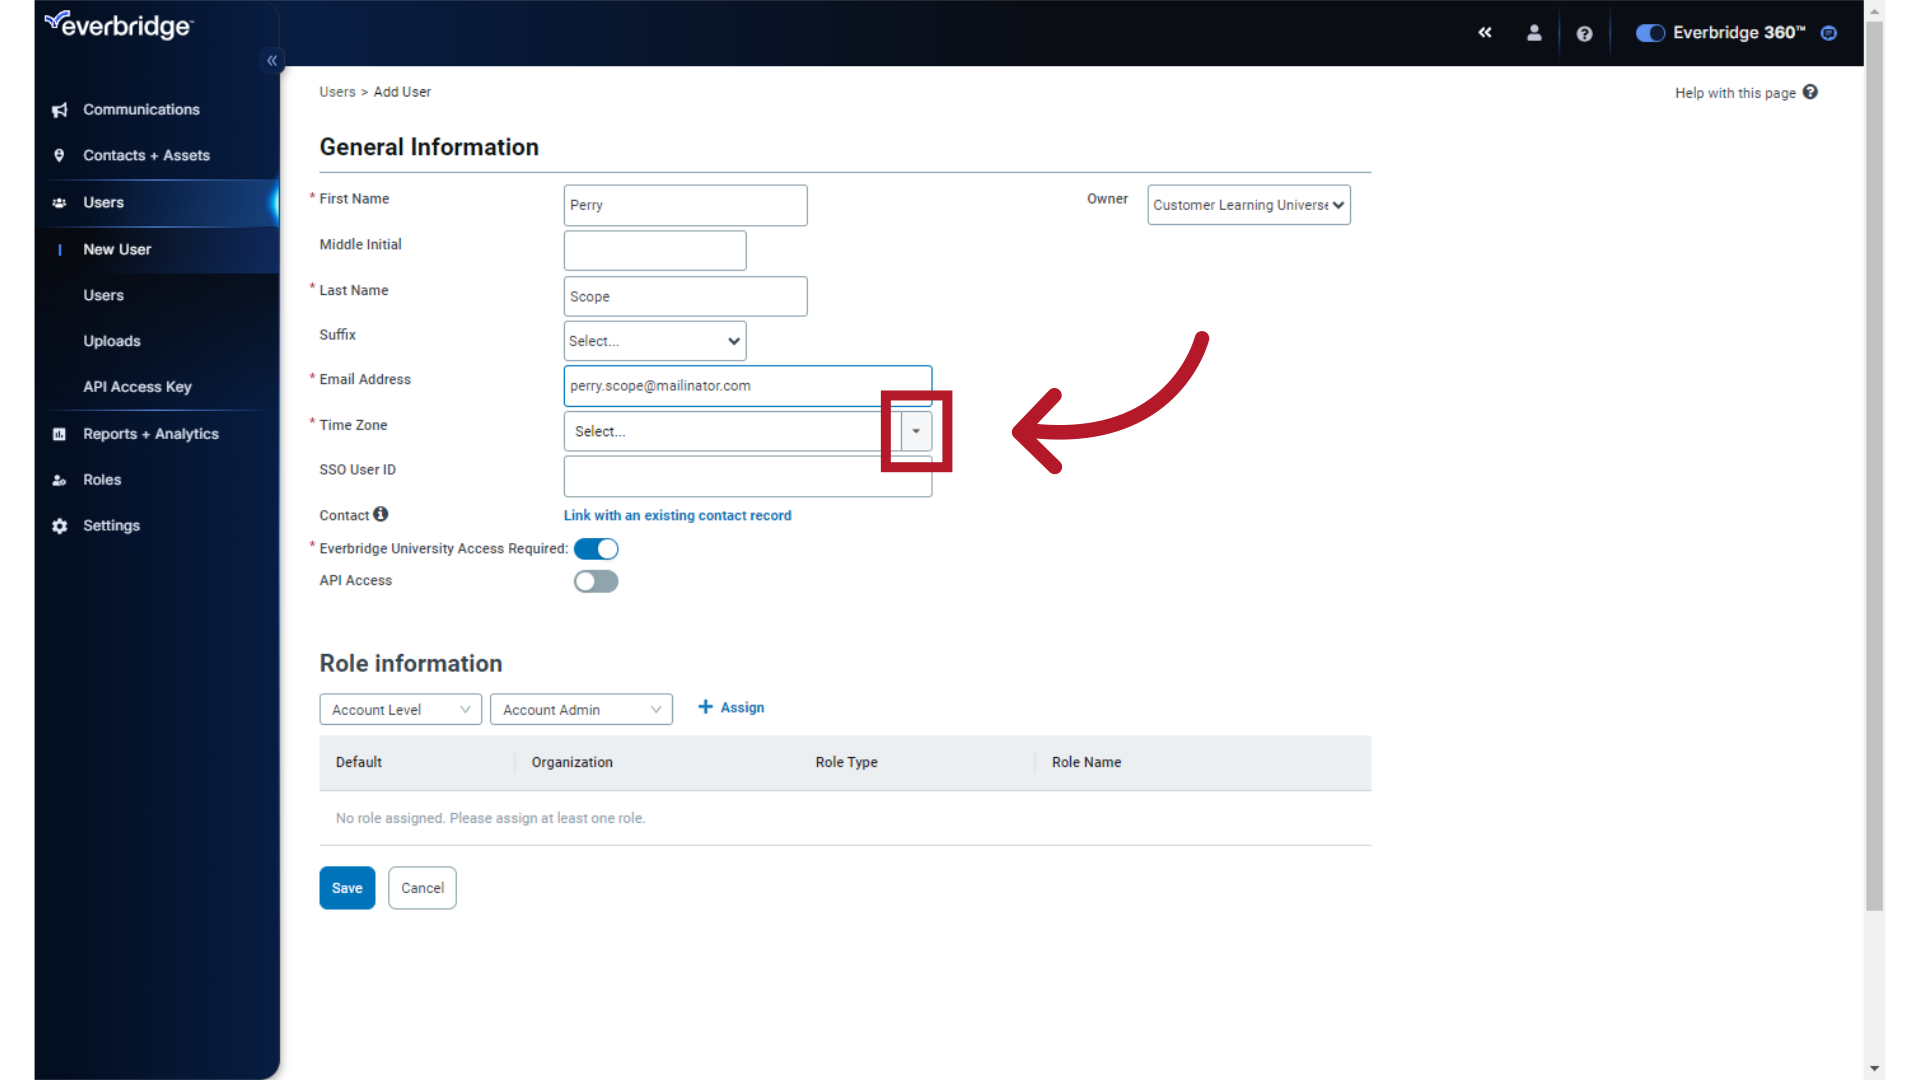
9. Time Zone
Enter the Time Zone.
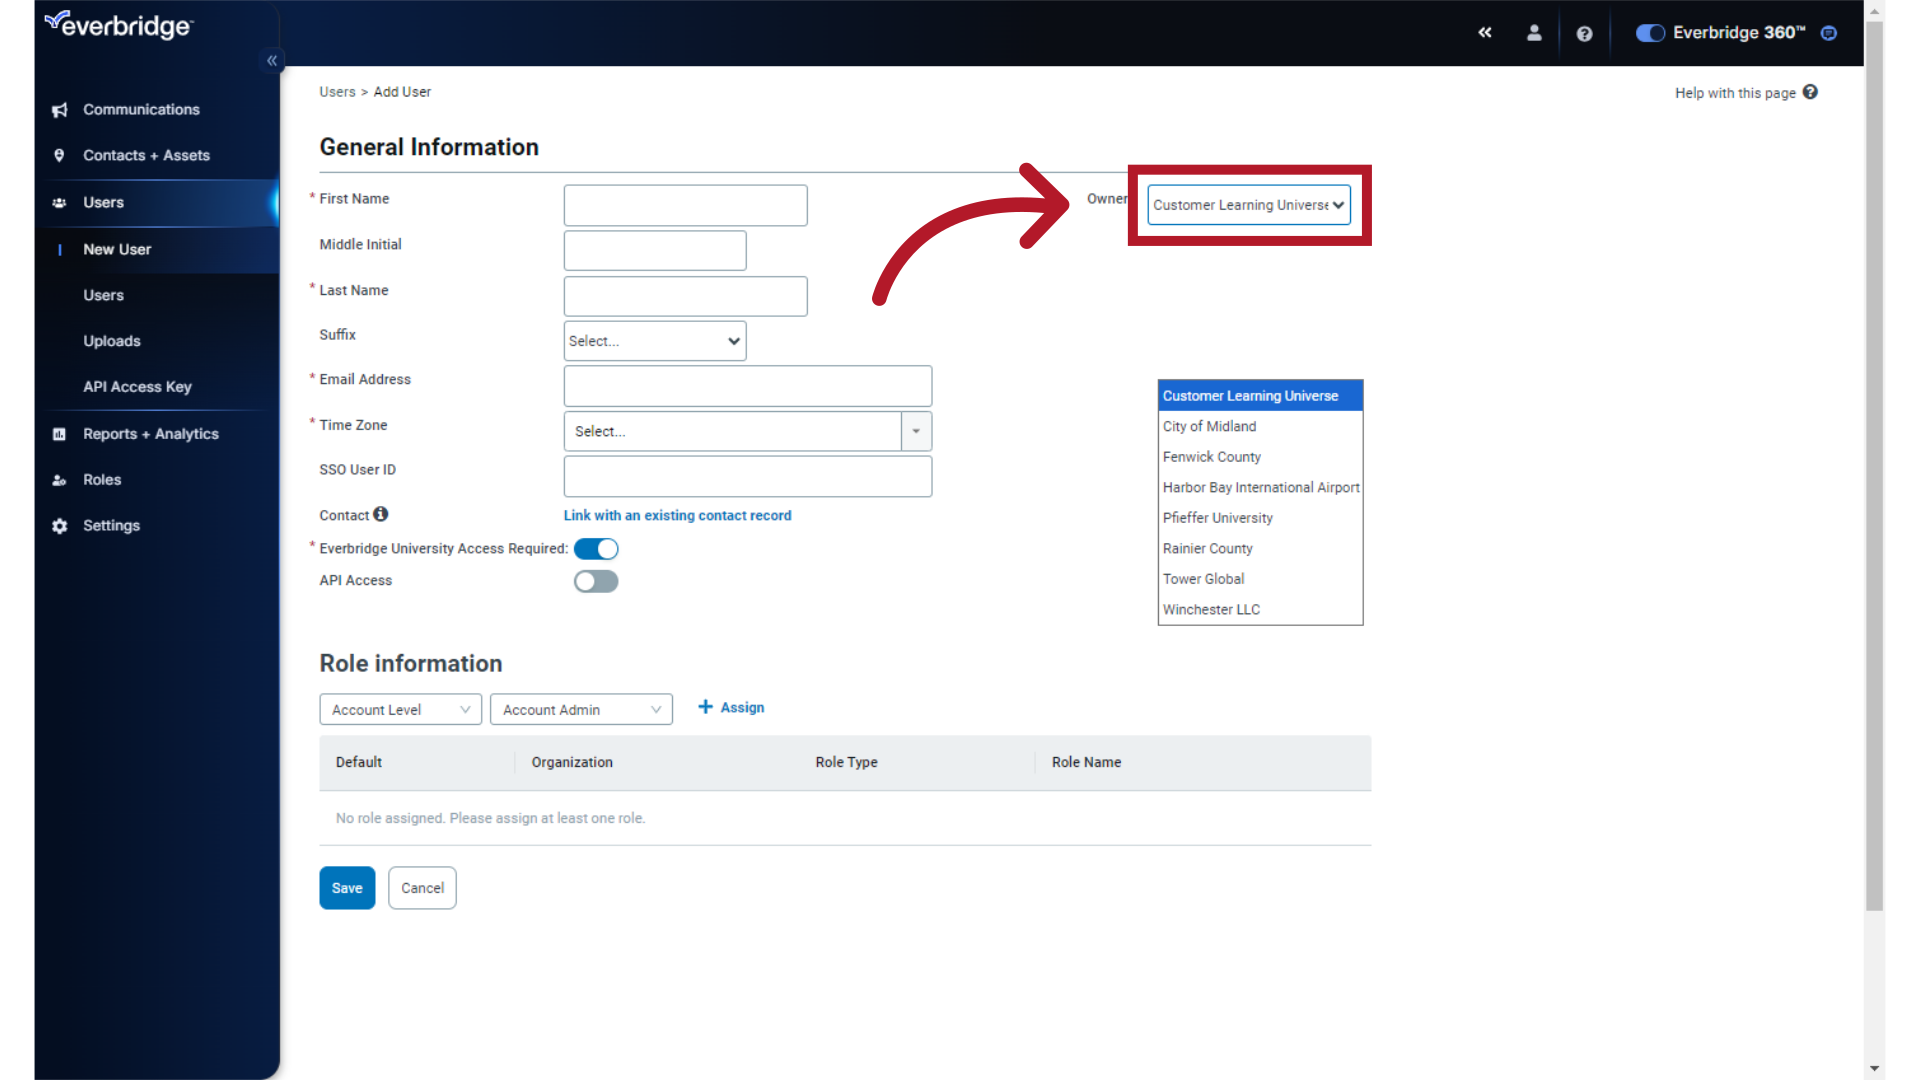
10. Account
Select the Account from the drop-down menu. Note all your Organizations are available here as well. To continue creating an Account Administrator, select the Account.
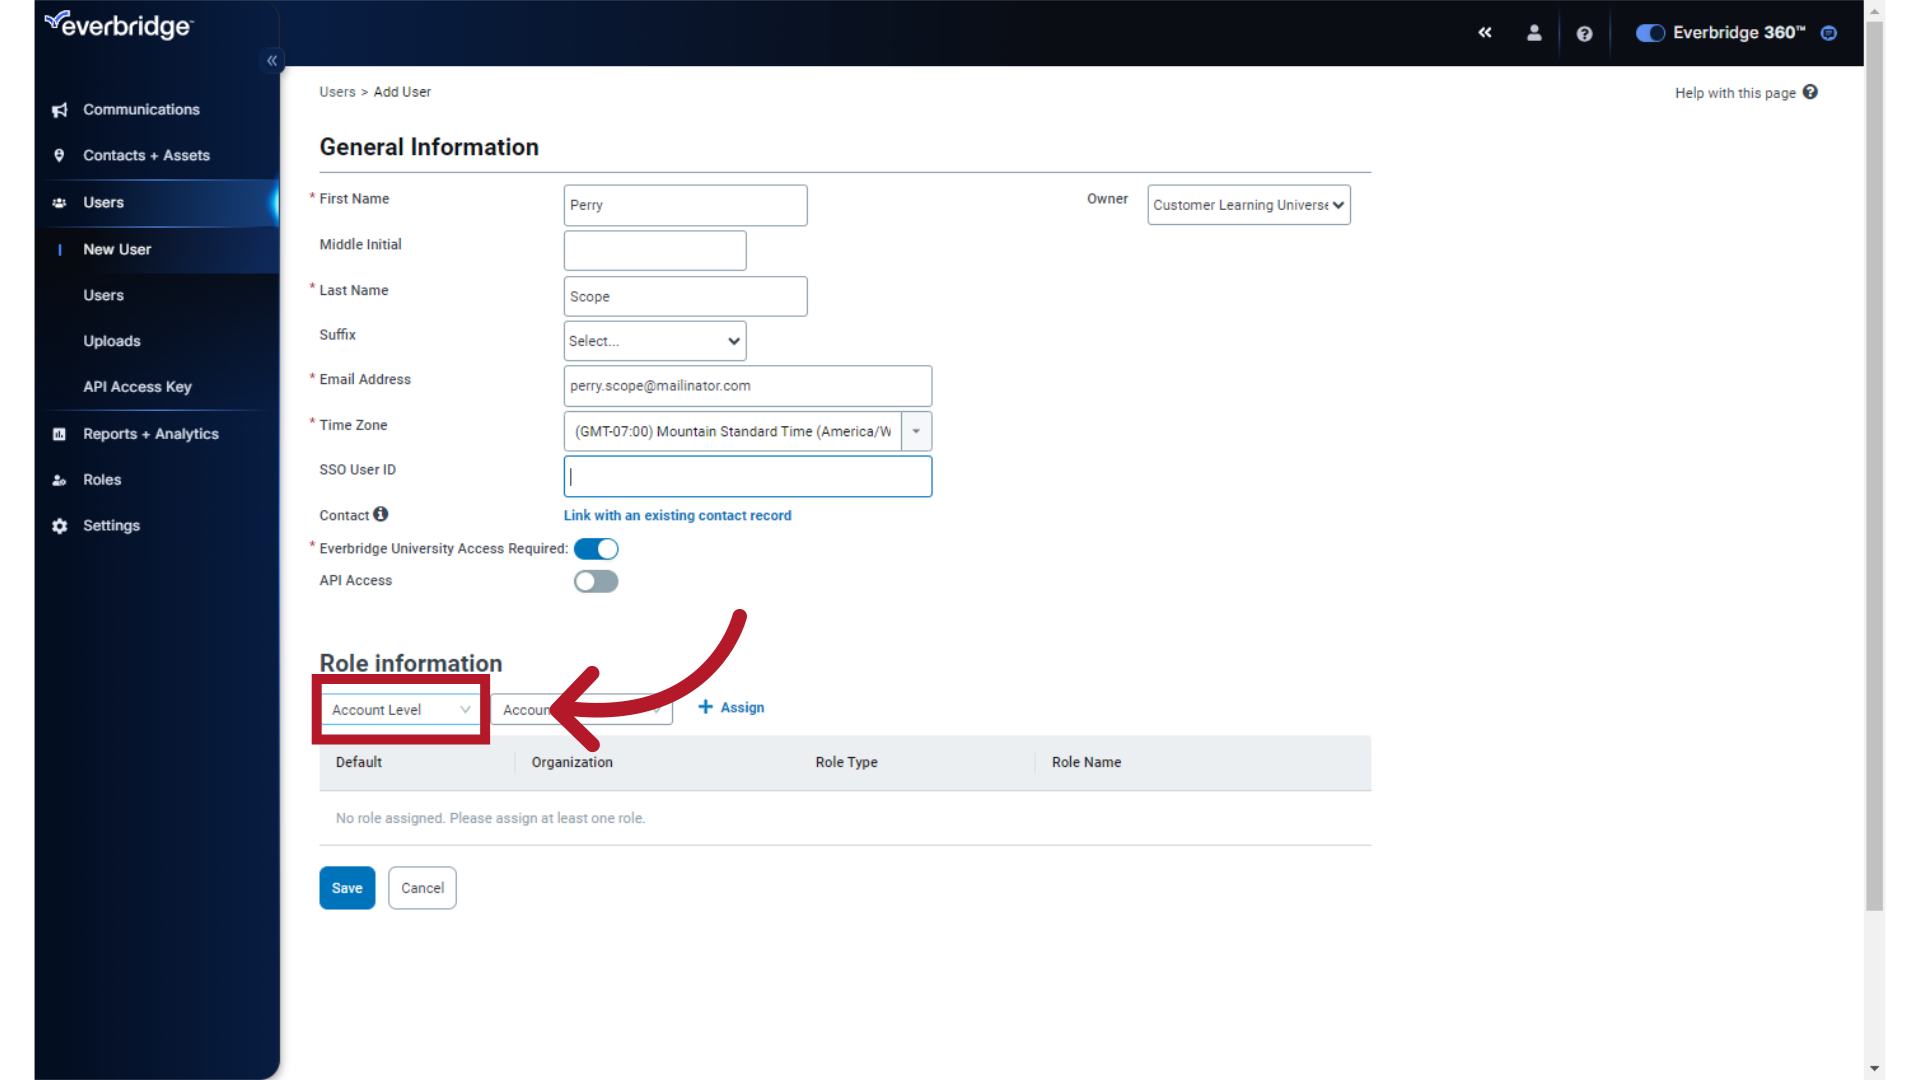
11. Role Information Pane
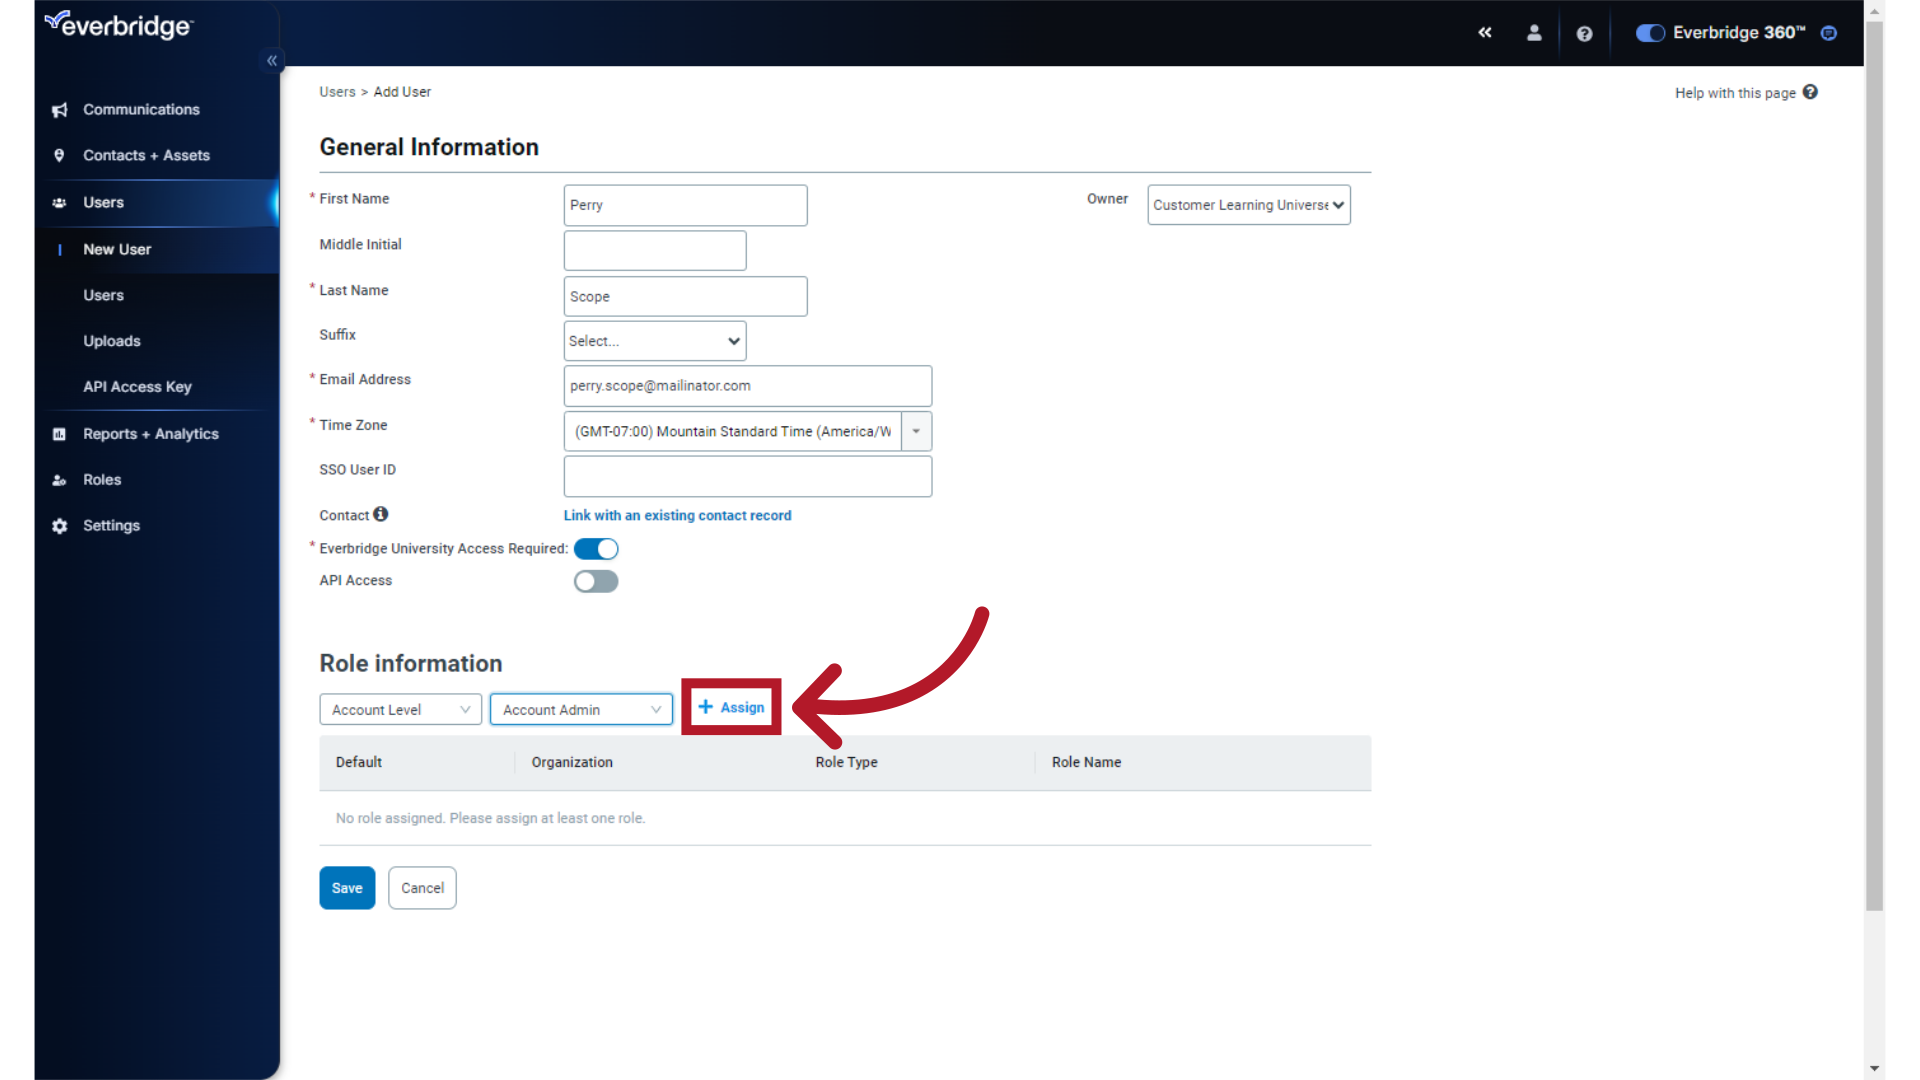
The first value under Role Information determines whether the role being added is at the Account level or the Organization level. Leave this set to "Account Level."
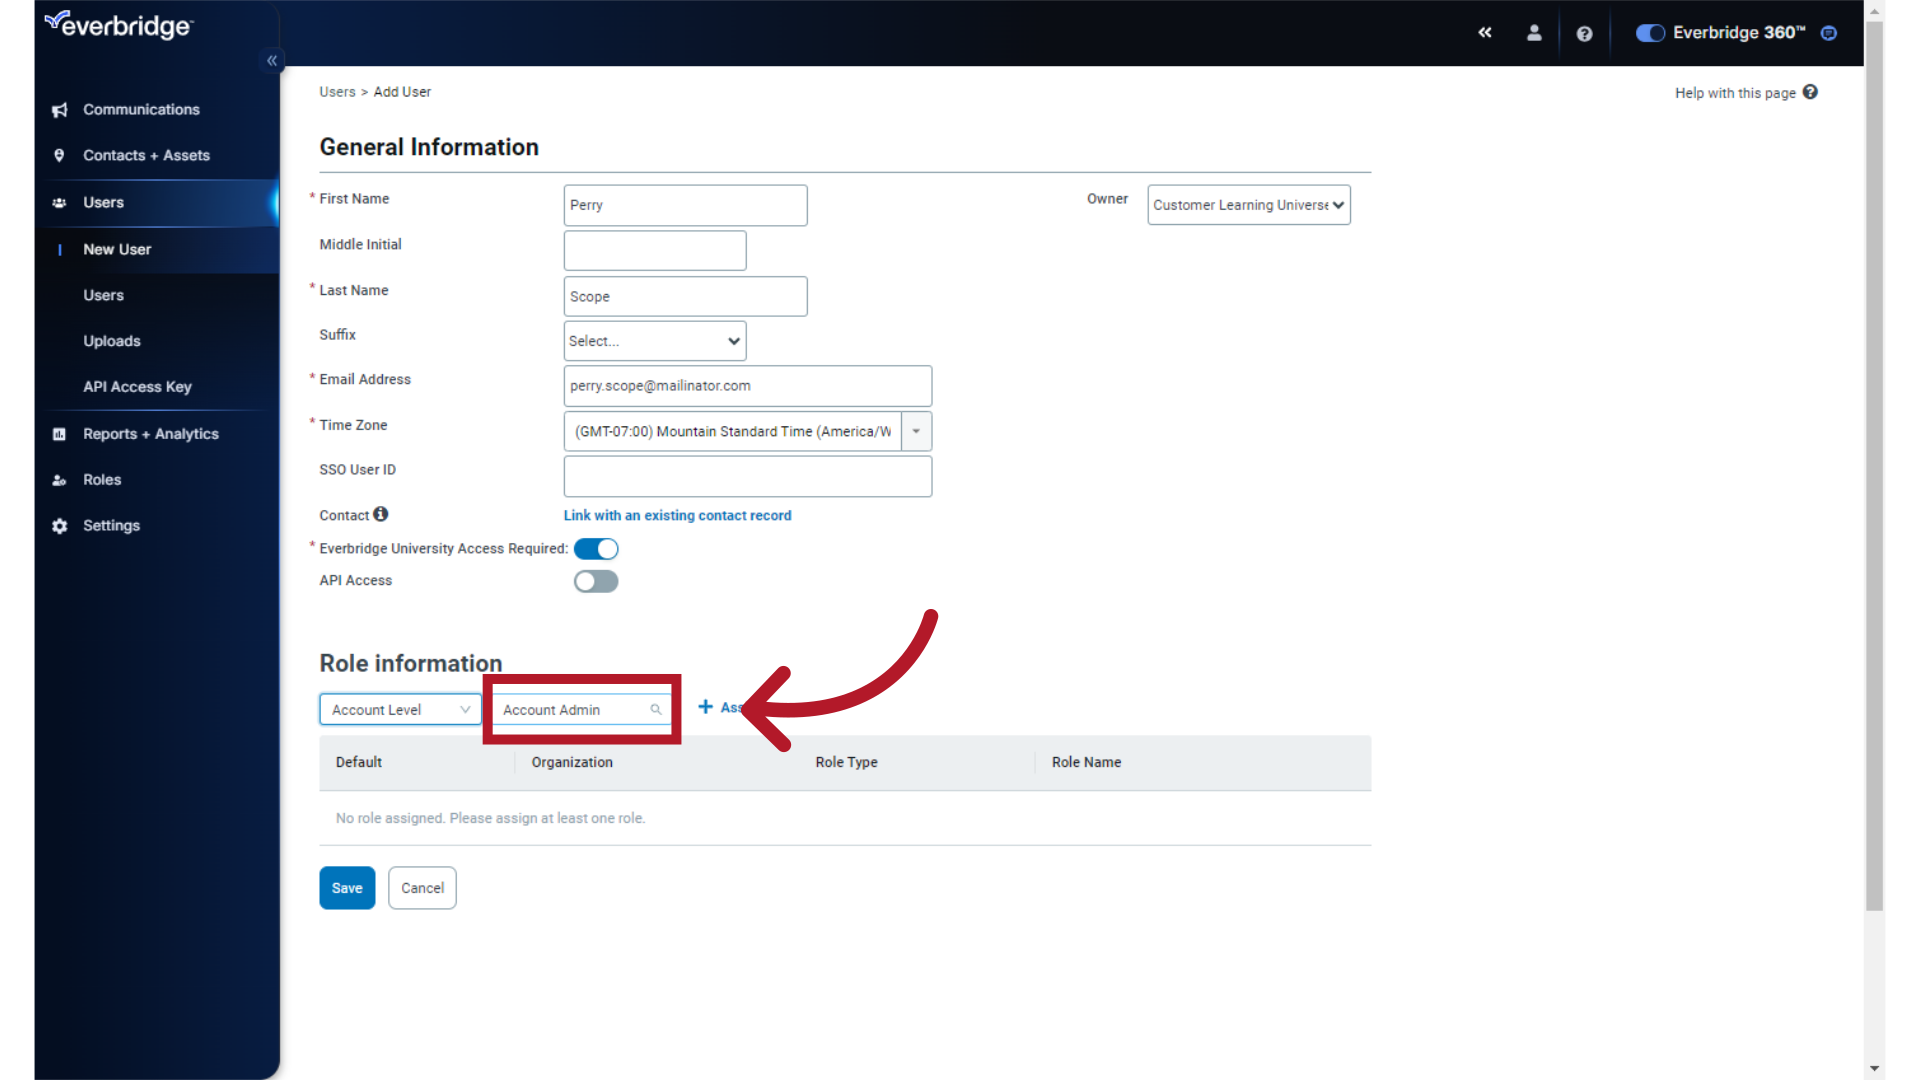
12. Role Information Pane
The second value under Role Information is the name of the Role. Leave this set to "Account Admin".
13. Assign Role
Select "+ Assign" to assign the Role.
14. Role Assigned
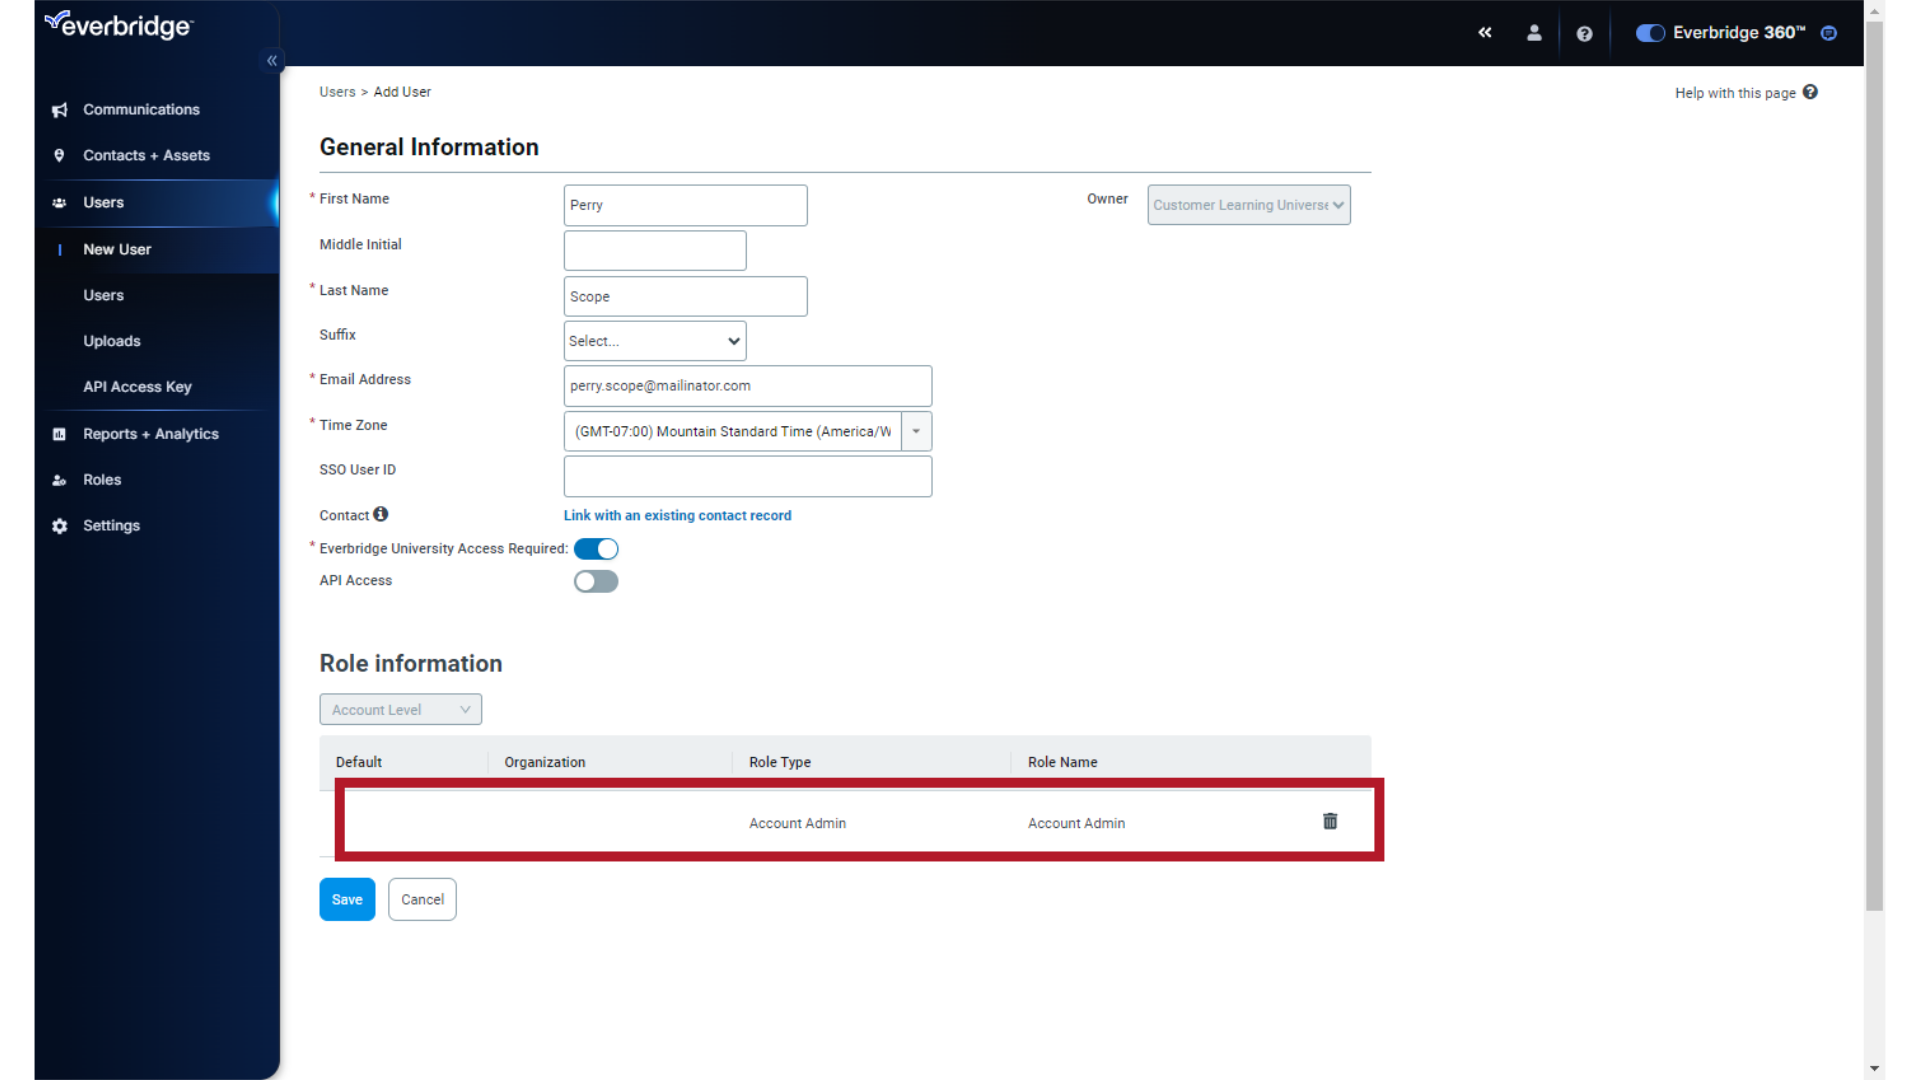
Note the "Account Administrator" Role has been assigned to the new user.
15. Save
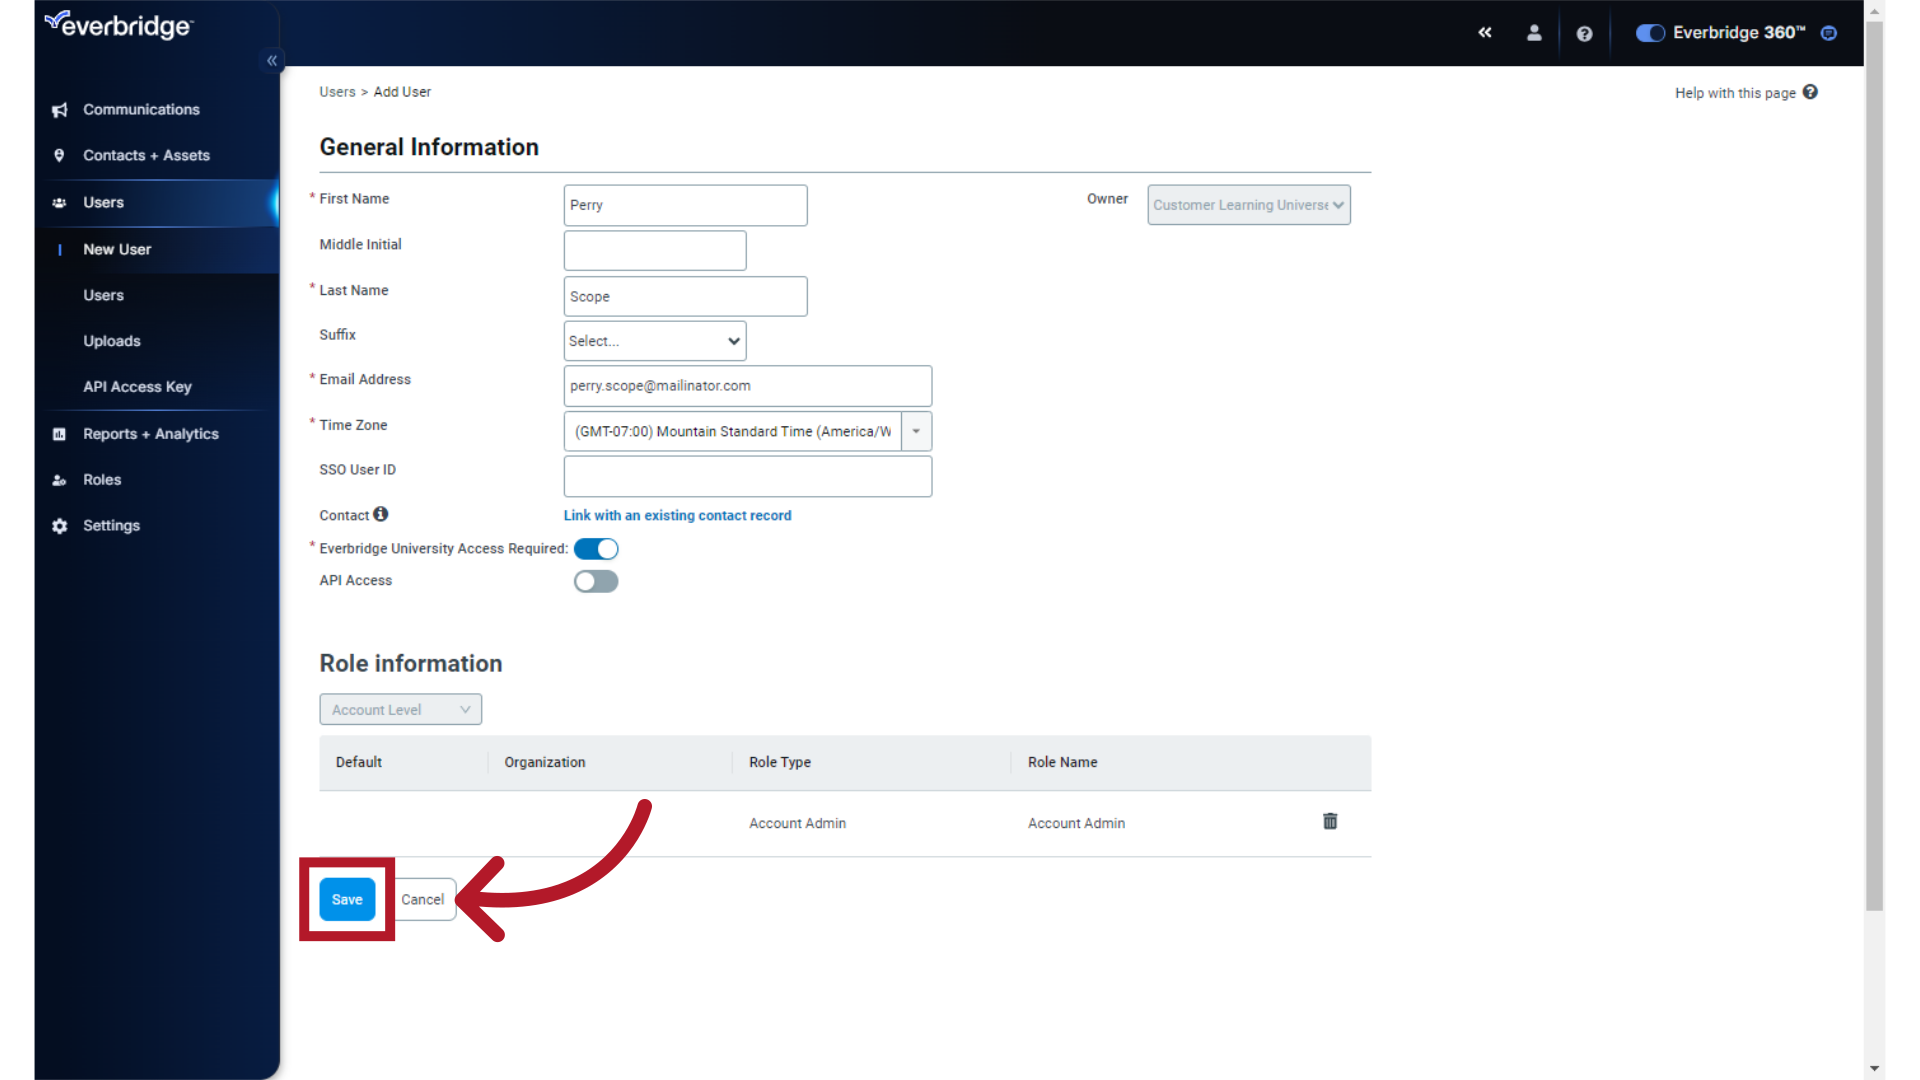
Click "Save".
Thank you.